
Track Bred EG6 Build…
The Track Bred EG6 Build has surpassed the number of posts that I thought it would have. So what I have decided to do, is to create a separate post with links to each individual post, so as to free up some of the wasted space at the beginning of each new post.
For those who would like a full recap of this build, I’ve provided the links below…
Track Bred EG6 Build… Introduction
Track Bred EG6 Build… Part 32
Cuzz’s CD4 Lancer Build… Part 3
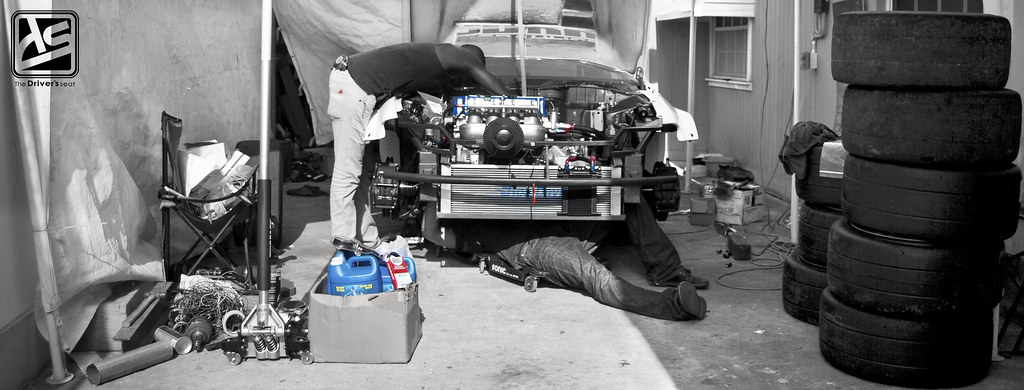
Today’s post is a pretty important one in this build series. Cuzz got the car back from bodywork and finally made a decision on the colour he will be going with. This being out of the way it was time to prepare the car for paint, I have some shots for you guys of this process.
Below is the link to the previous post for those who may have missed it…
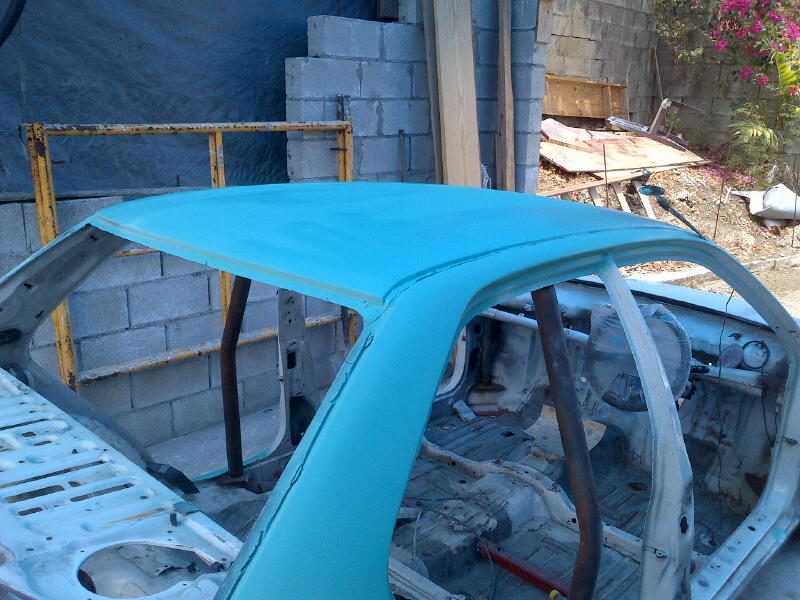
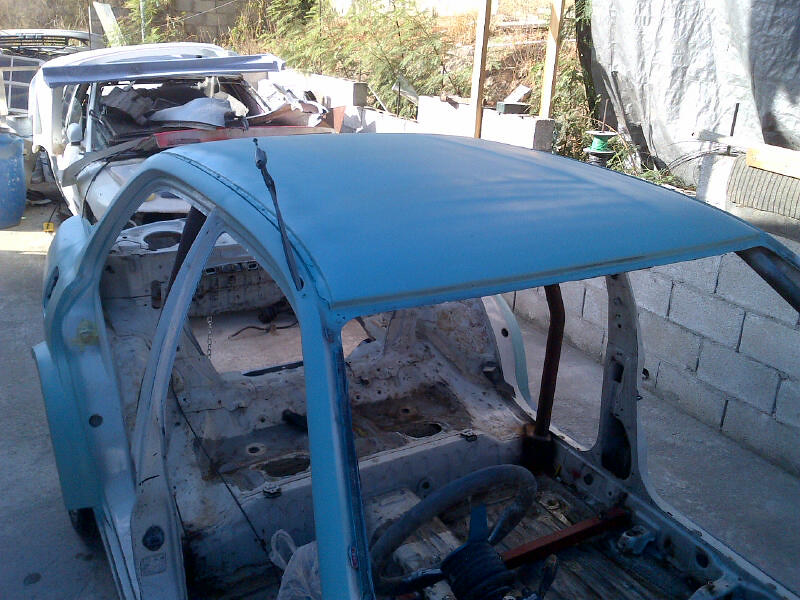
Primed and ready to go…
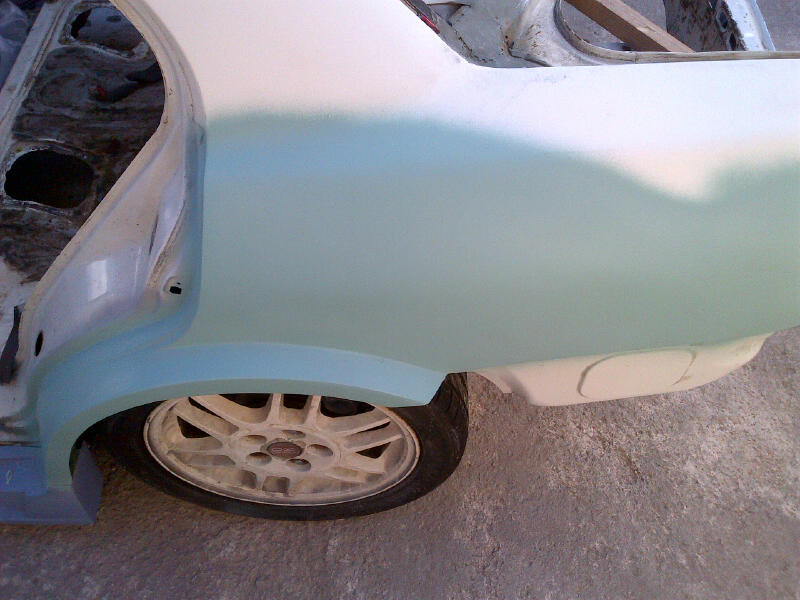
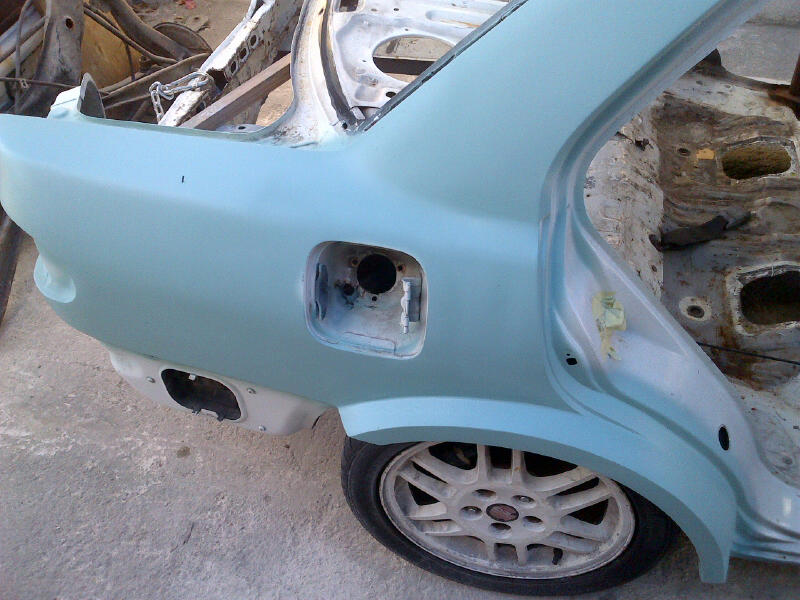
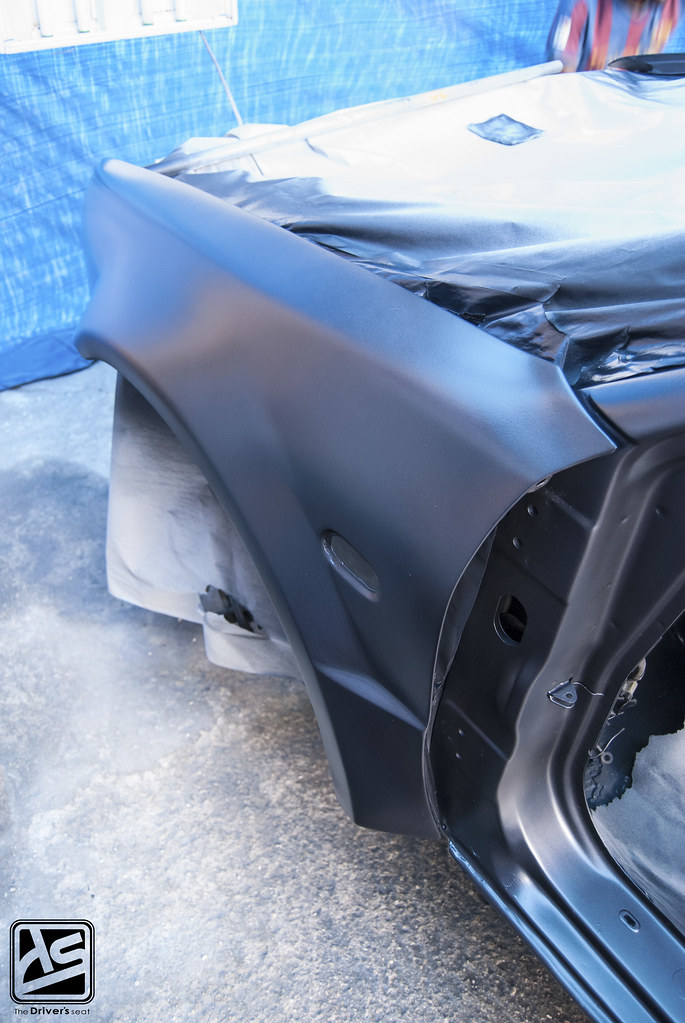
Adjusted back fenders looking a lot smoother now…
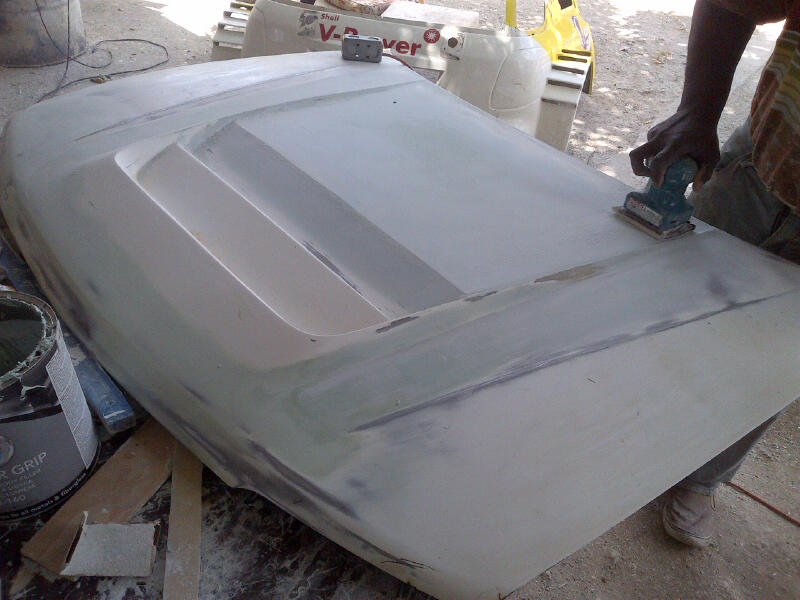
This is the custom hood that I have been telling you guys about. Cuzz went ahead and added a vent to ensure that engine bay temps remain as low as possible.
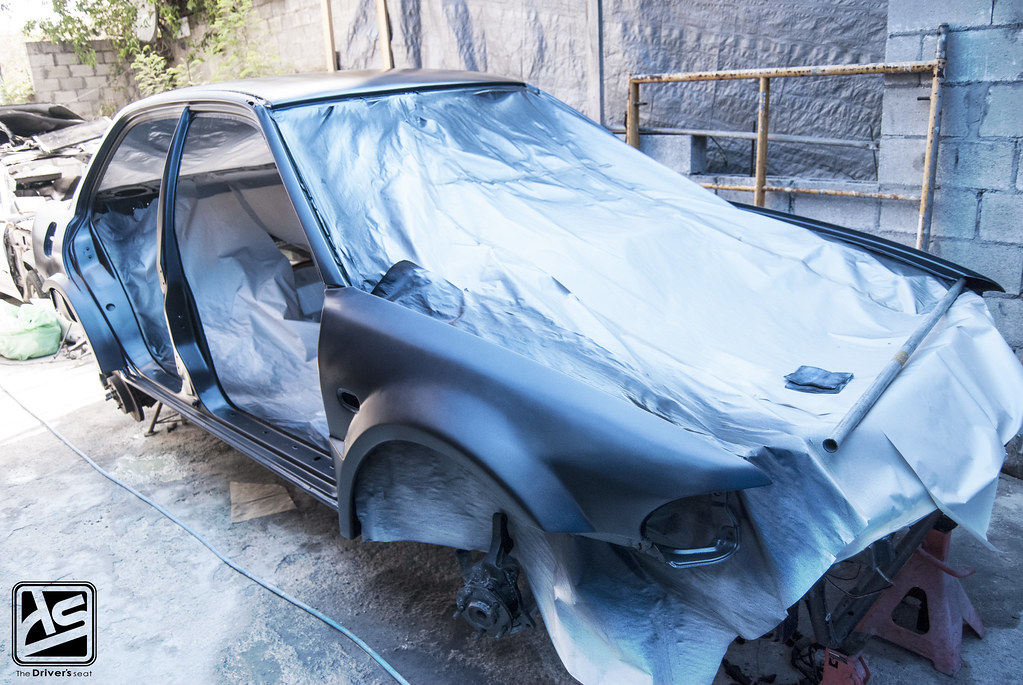
Paint finally blown!!!
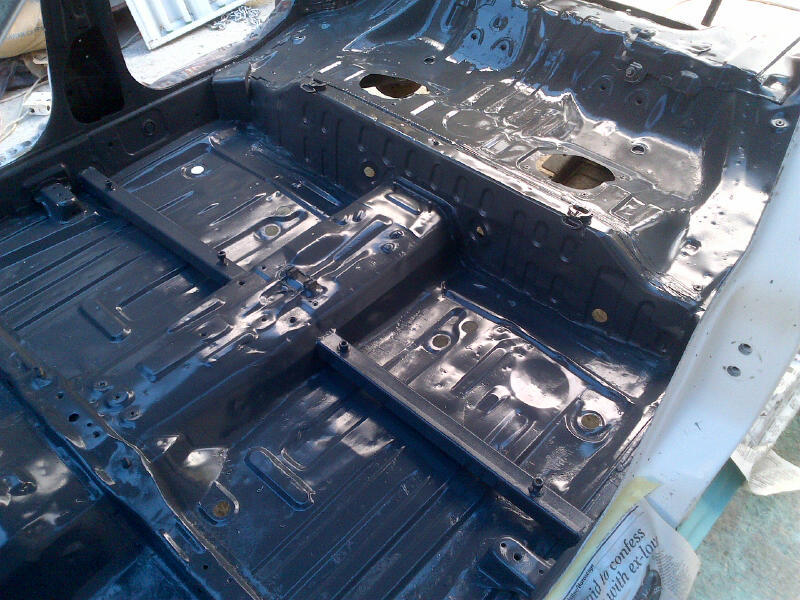
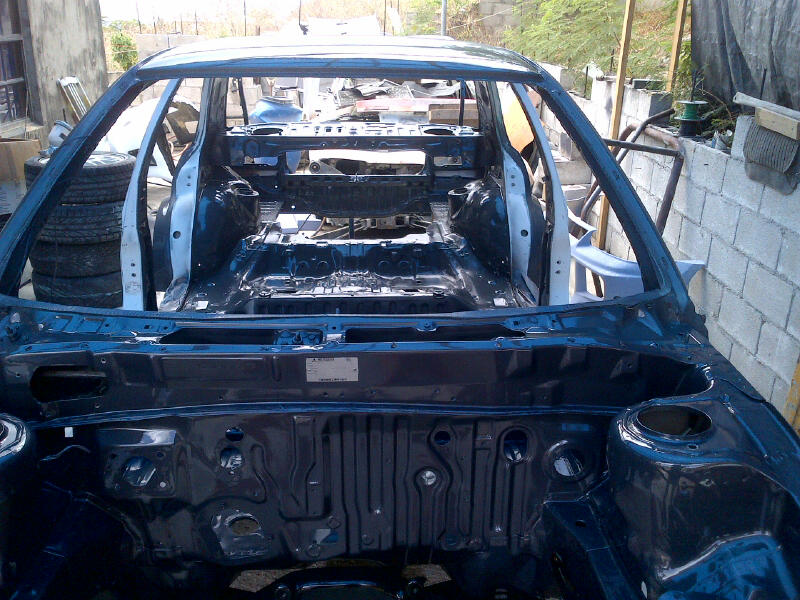
If you guys are paying close attention you would realize that roll cage has been removed. Cuzz had a change of heart and decided that he wanted to retain the full use of the car and make it more street oriented than his initial plan for the track…

A glance at the donor car along with some other misc stuff surrounding it…
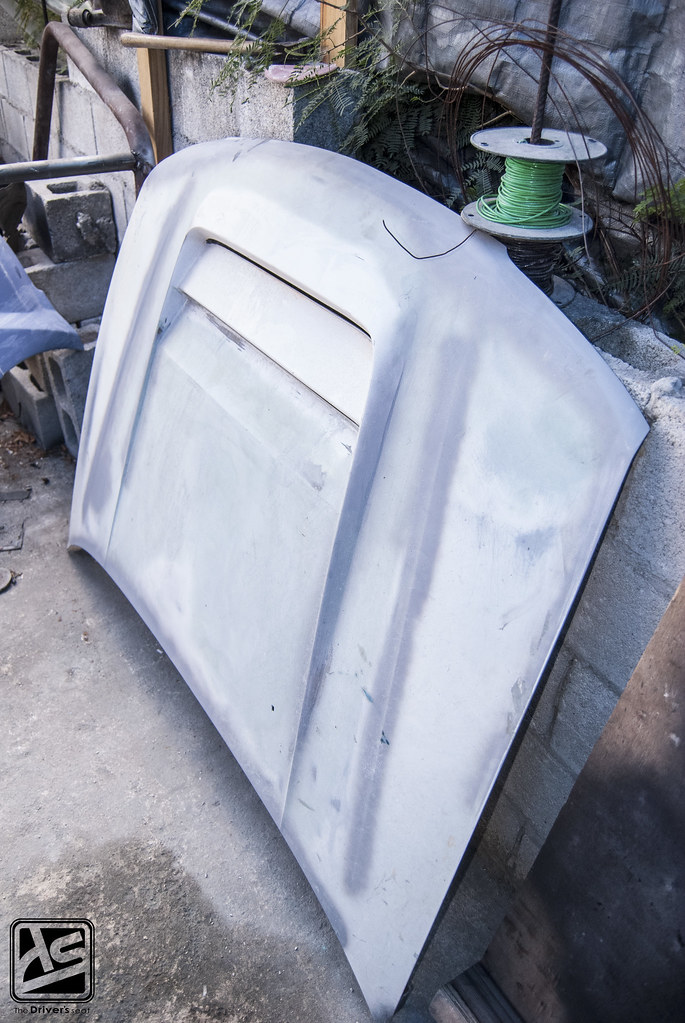

Hood design practically complete, as it sits just awaiting paint…
And in just a short space of time…
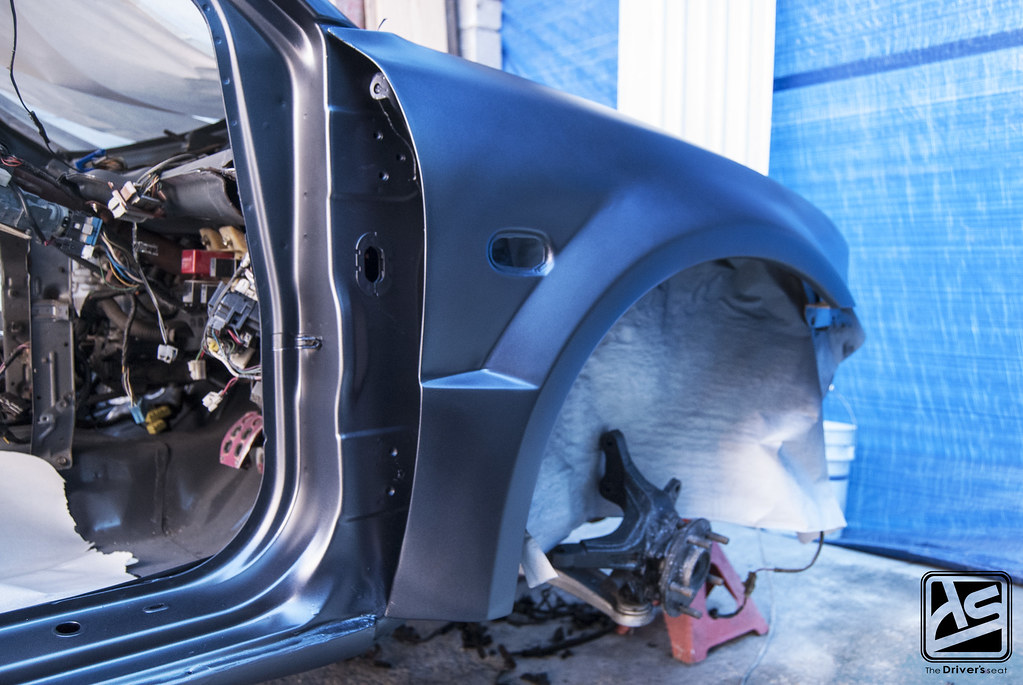

Paint was finally applied to the exterior of the car… In a custom matte gray tone that Cuzz spent quite some time putting together…
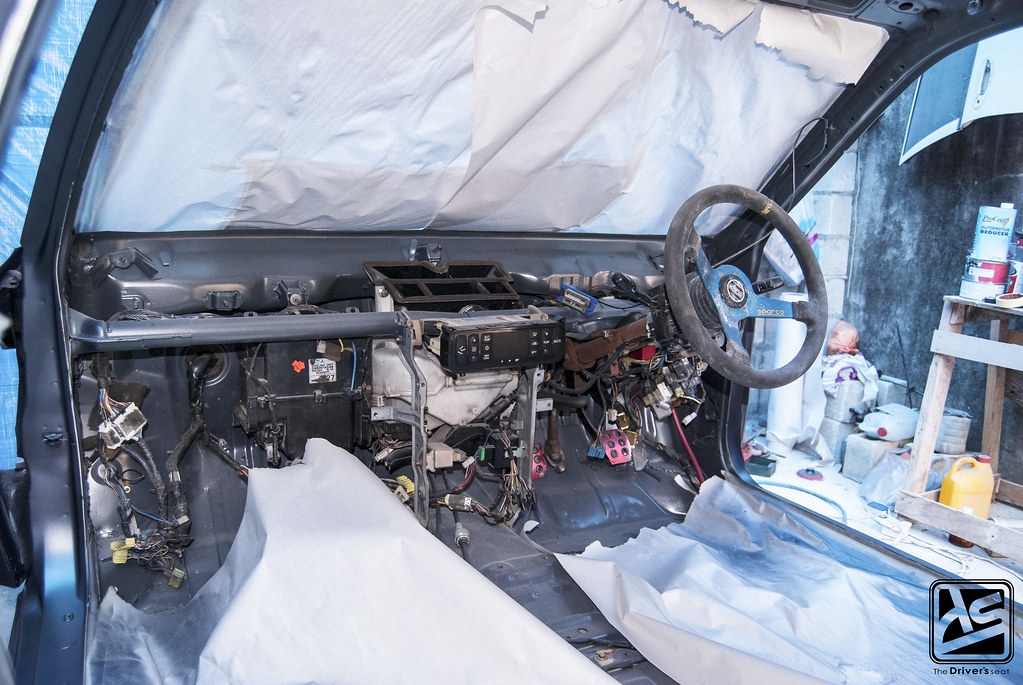
Interior slowly being pieced back together with the majority of harness already ran…

Sitting back, soaking in the results that came through hard work and dedication which got him to this stage…
That’s it for today, but stay tuned for the next update when we’ll be taking a look at the engine setup portion of this build.
