
Track Bred EG6 Build… Part 30
Welcome back to what has become more than just an average car build. Jerry has taken this to a whole other level, making it so much more. From the conceptualization of the idea, gathering all the necessary information and moving this build beyond just the paper stage – countless hours have been dedicated to getting it to this point. Even though not completed as yet it’s still interesting to see this limits Jerry will push this chassis to.
In today’s post, we’ll take a look at the progress made since the last update and a closer look at some of the welding work done by Delarc Fabrications.
For those who would like a full recap of this build, I’ve provided the link below…
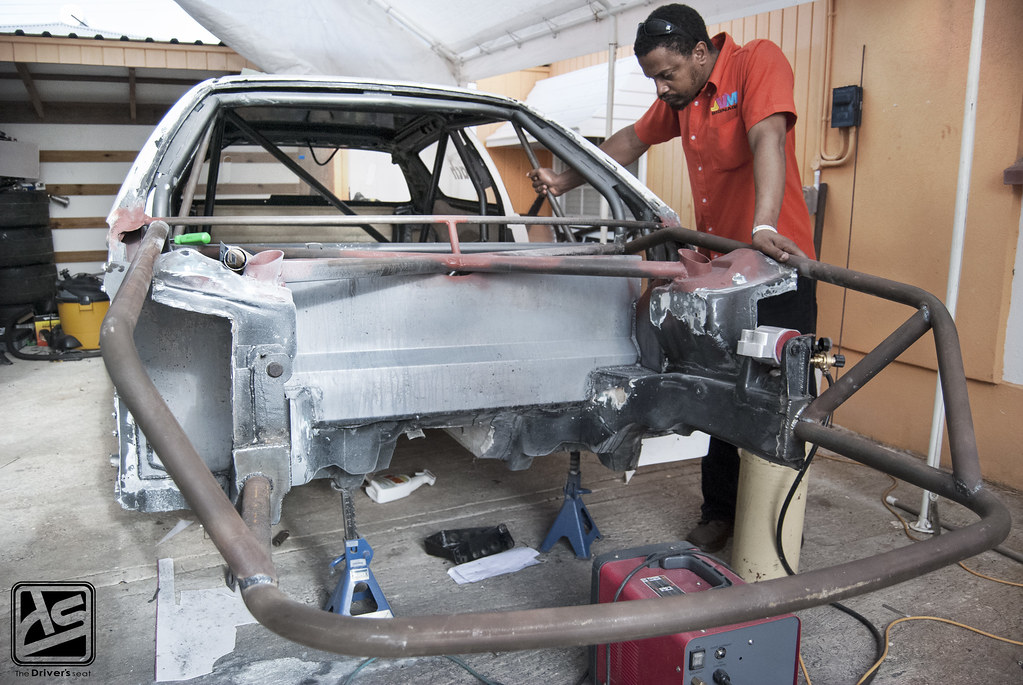
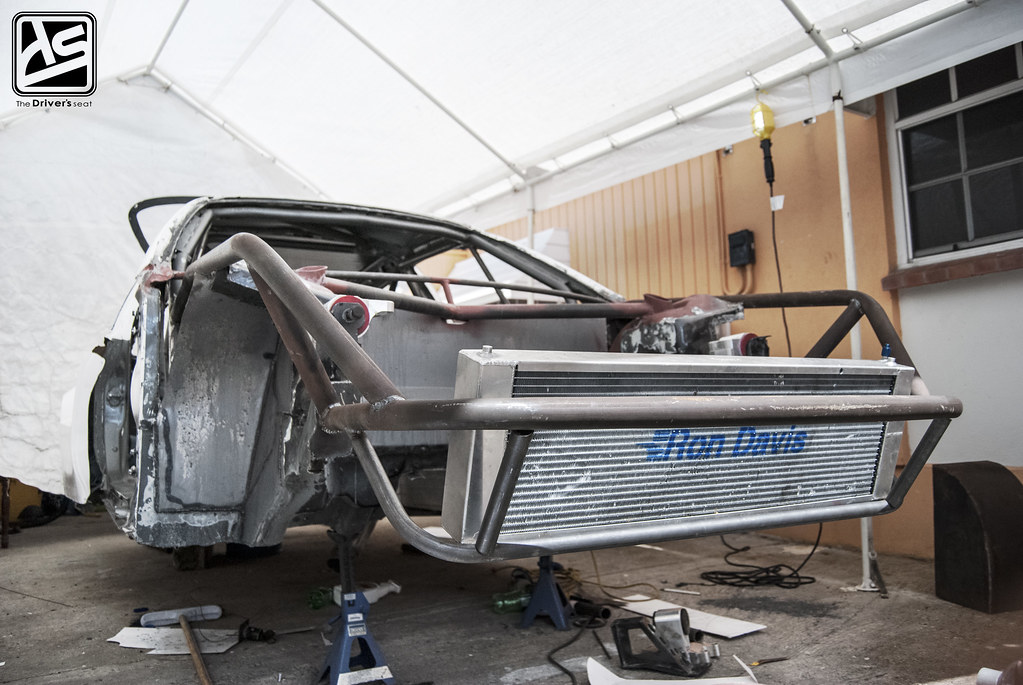
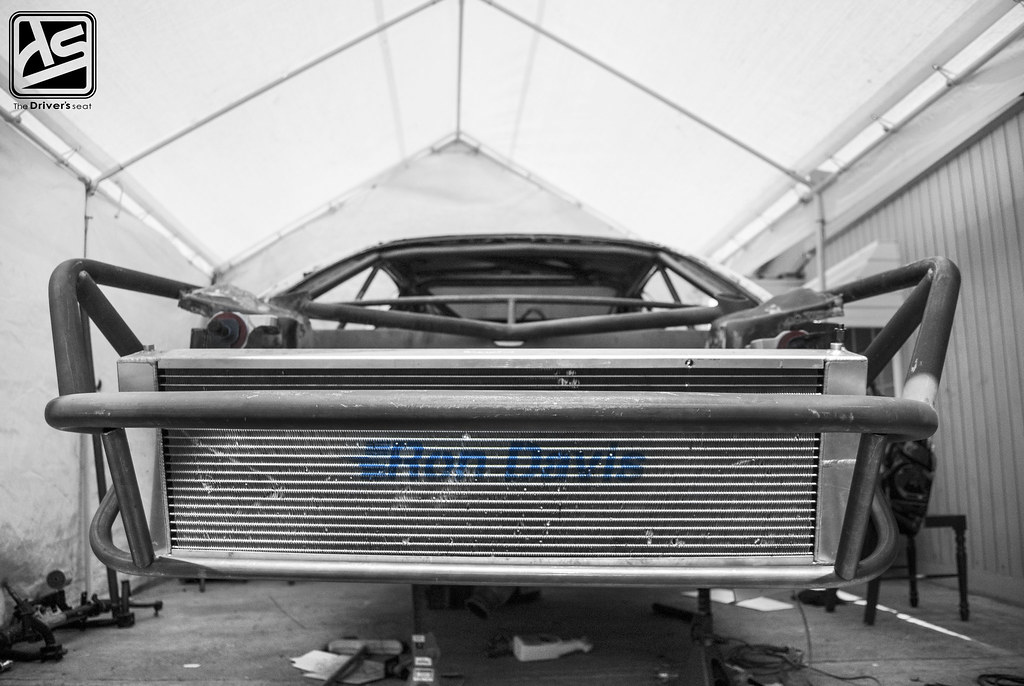
A look at the front end now taking some shape and giving you guys a better idea of where this is going…


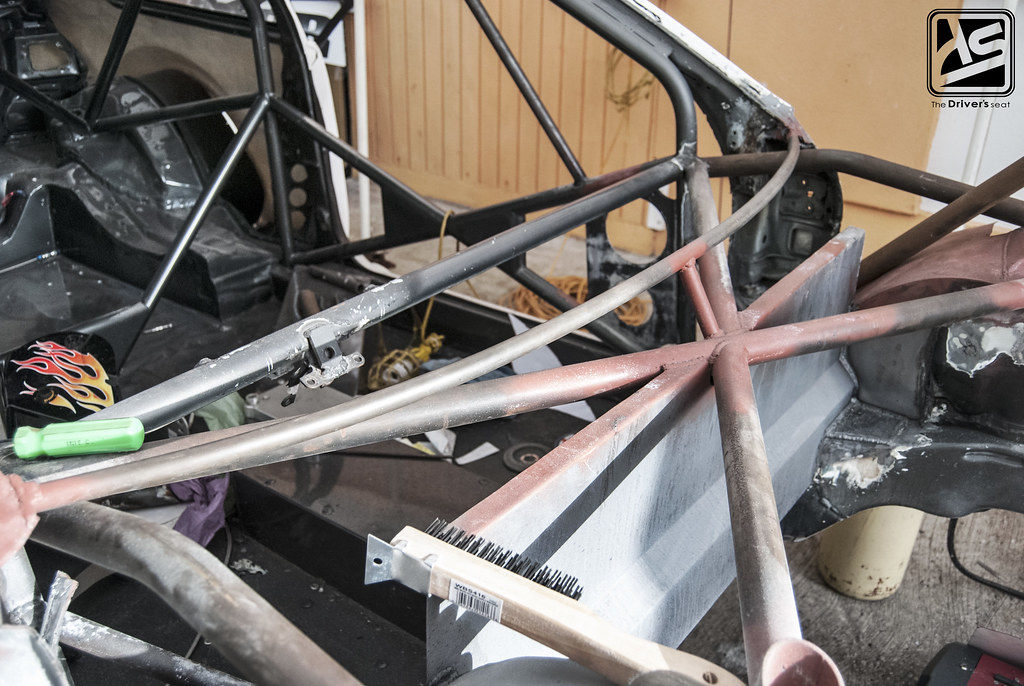
Left and right views of the front end which is now partially tube-framed…
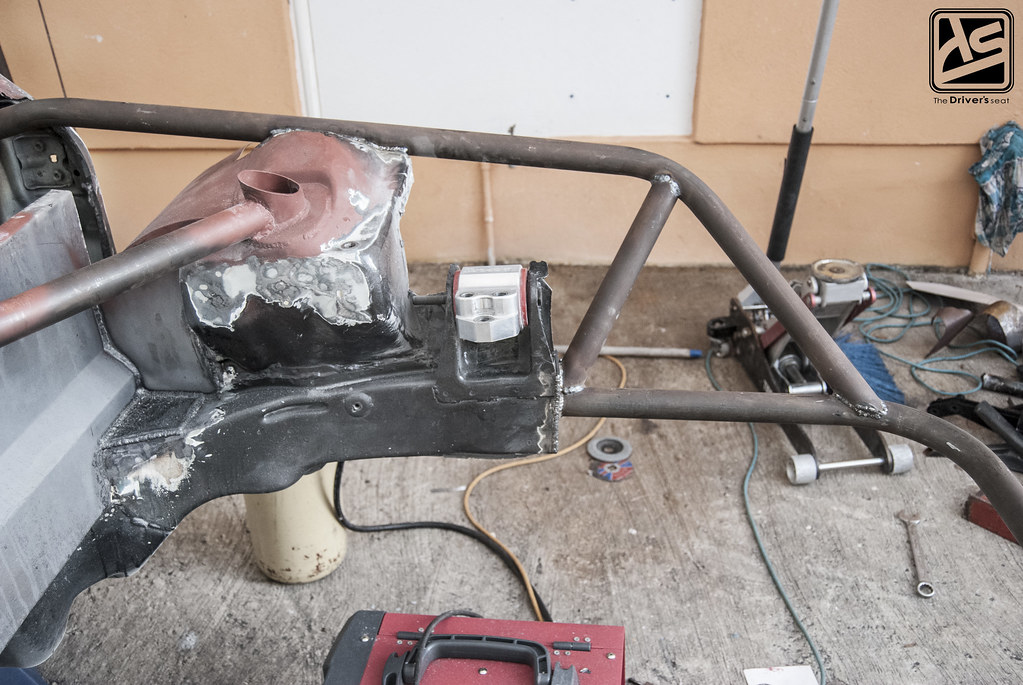

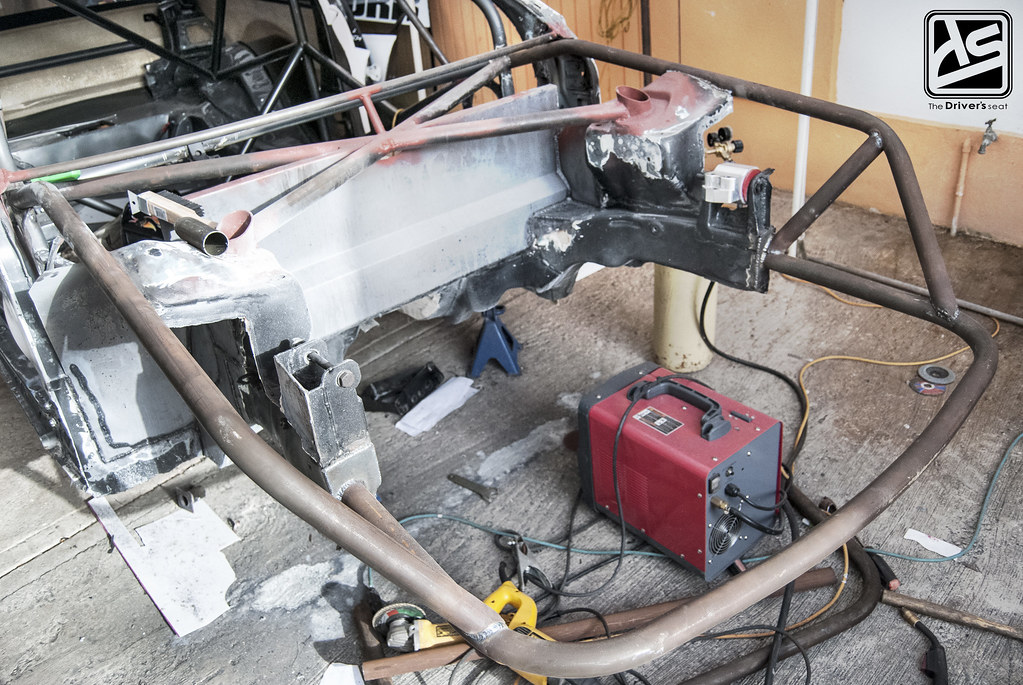
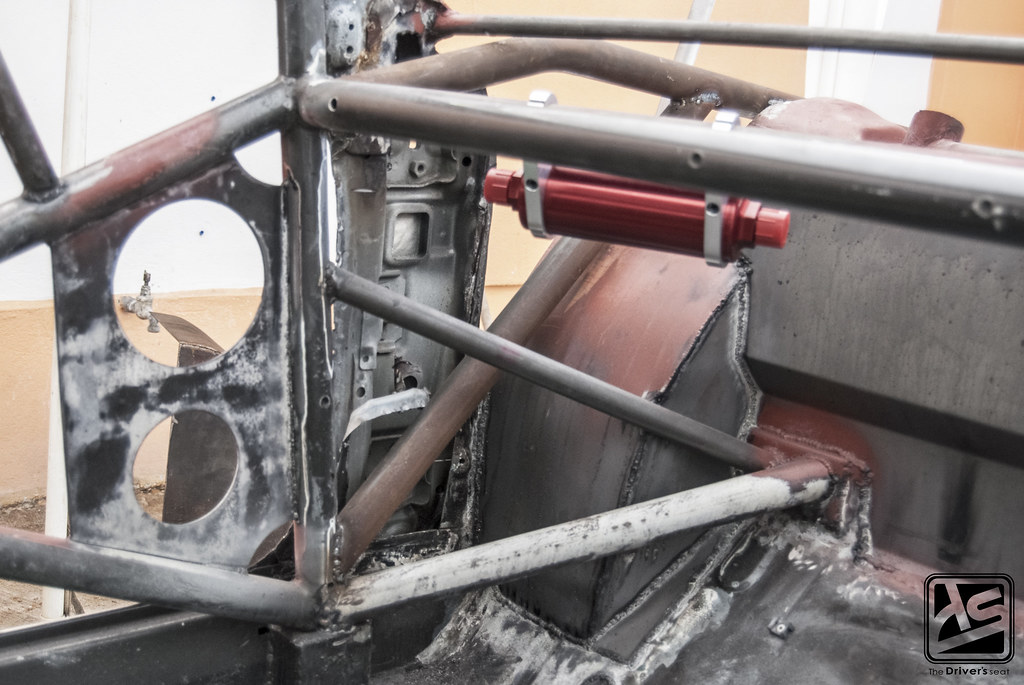
A closer view of the engine bay where the pipe was ran and tied into the chassis…
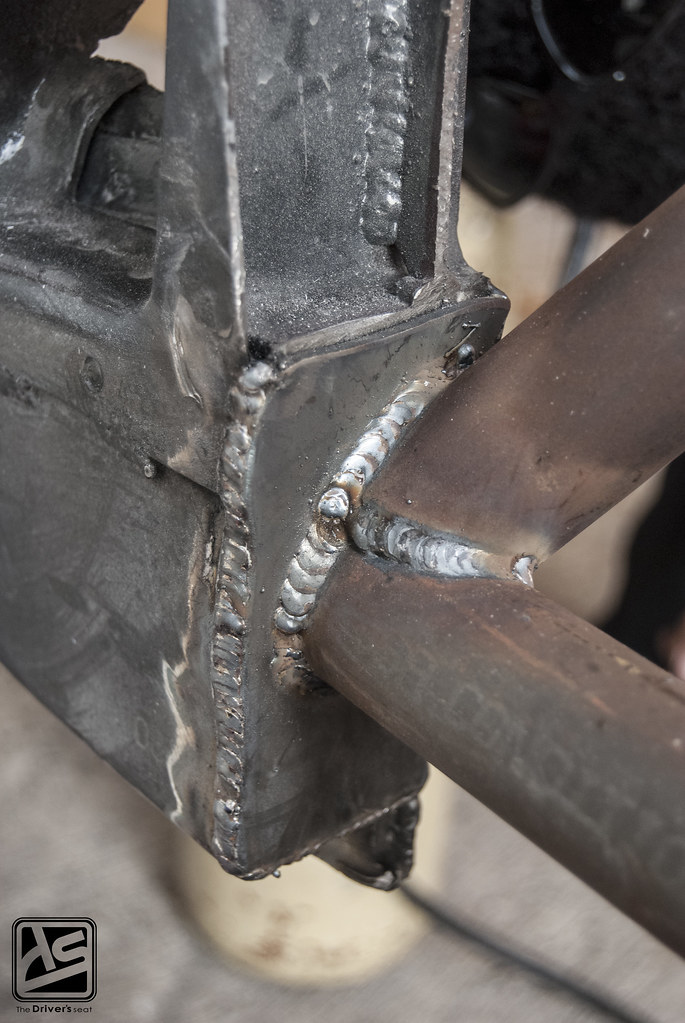
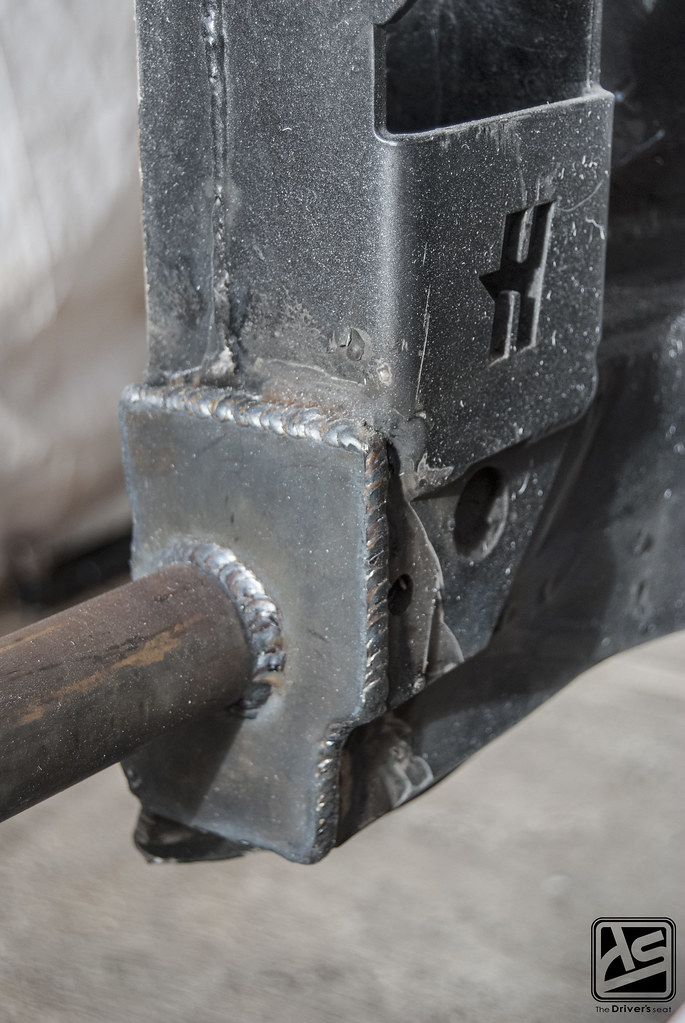
A better look at the welds on the left and right side of the engine bay…
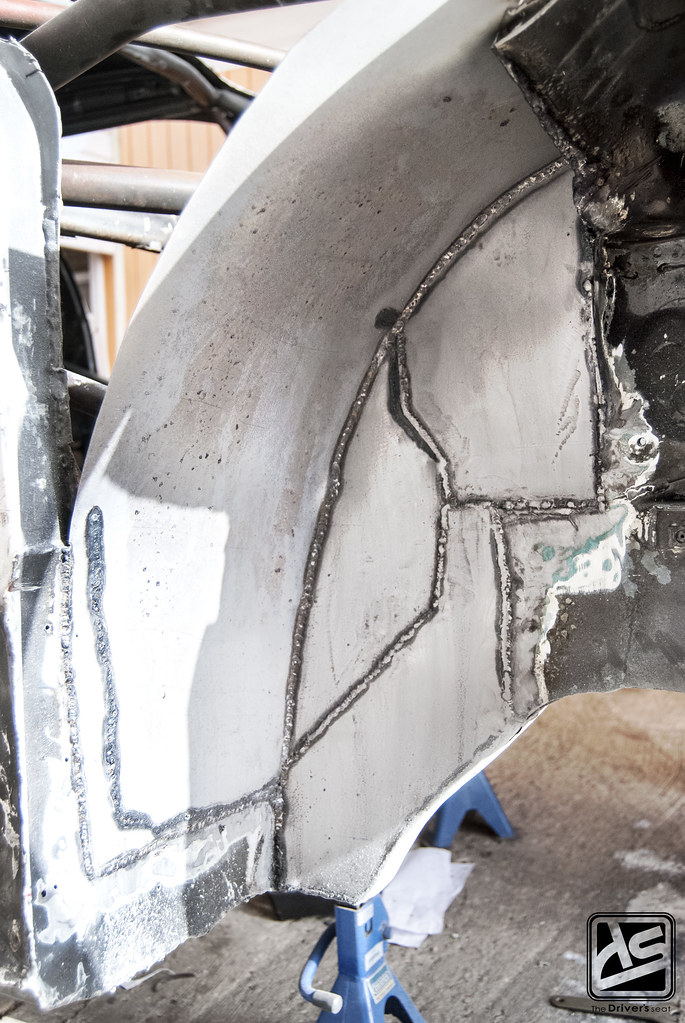
A look at what is now the new reconstructed wheel arch, which is still a work in progress…
A glance at the separation between the firewall and the dashboard and how it is also tied together…

From the inside looking towards the firewall where you can see the huge wheel arches being formed…
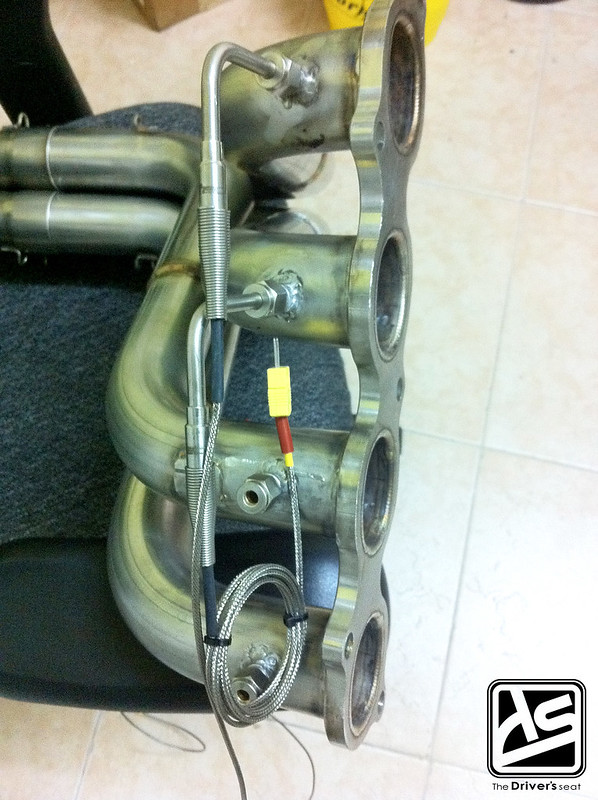
A mock up of how the thermocouples will fit into the header…

Along with that came a new piece of the puzzle… Jerry swapped out his AiM digital unit for a more up to date Haltech replacement…

Additional pipe that was added to the upper pillar that ties into the pipe running along the roof…
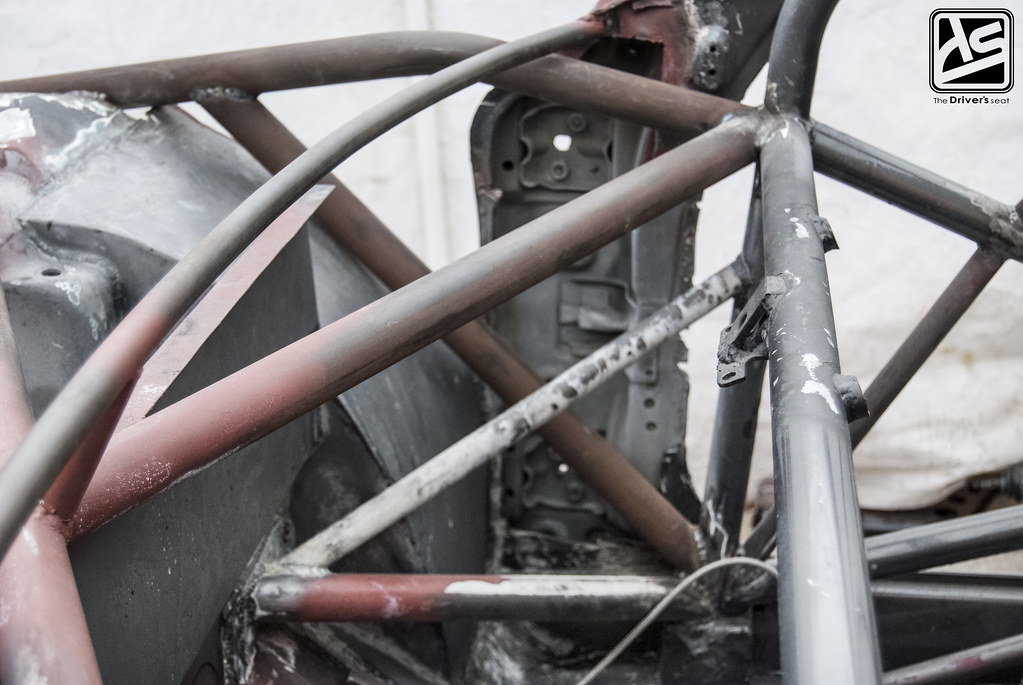
Rigidity couldn’t be stressed enough throughout this rebuild…
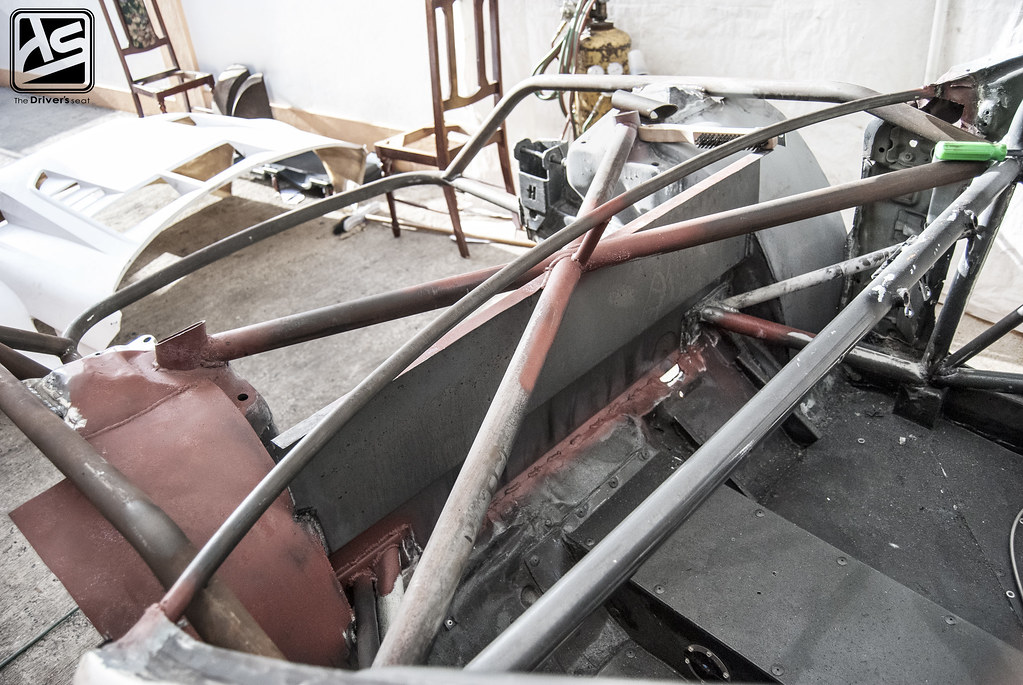
Varying angles of additional pipe that was added and tied directly into the chassis…

Engine bay starting to take shape…
A few more shots…
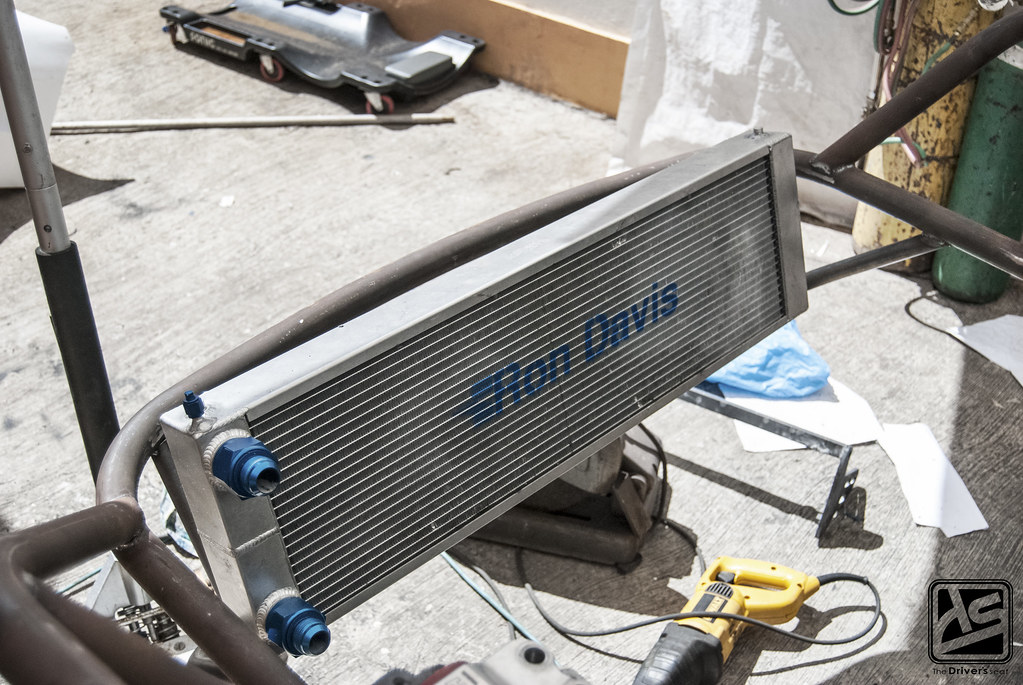
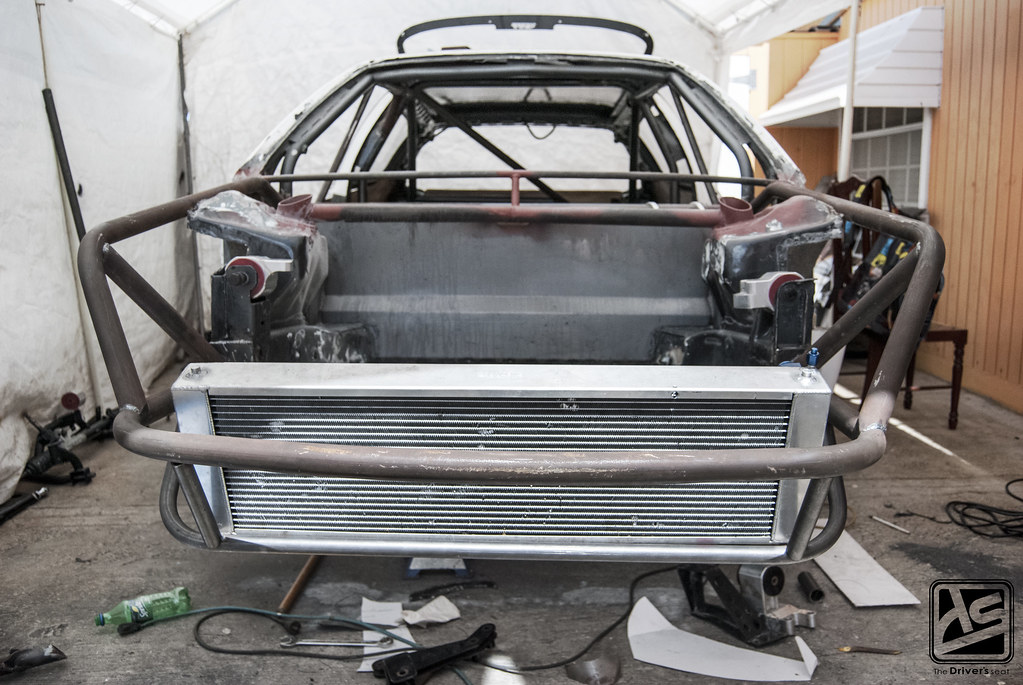
Radiator temporarily mounted to allow for any necessary adjustments to be made…

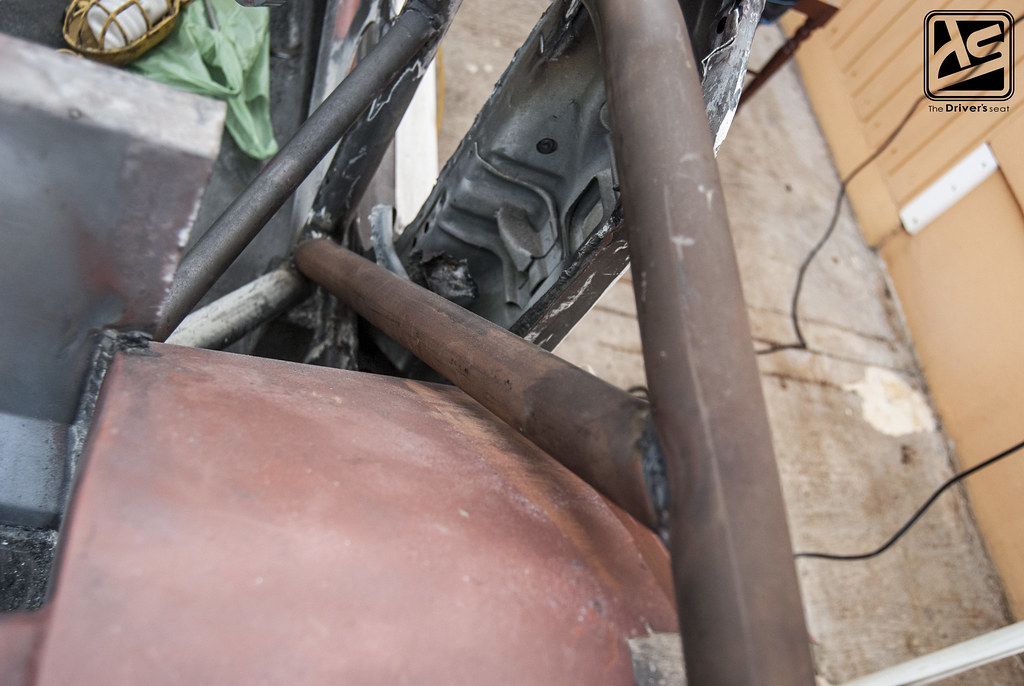
For additional strength in the front, another pipe was added to tie into the chassis…
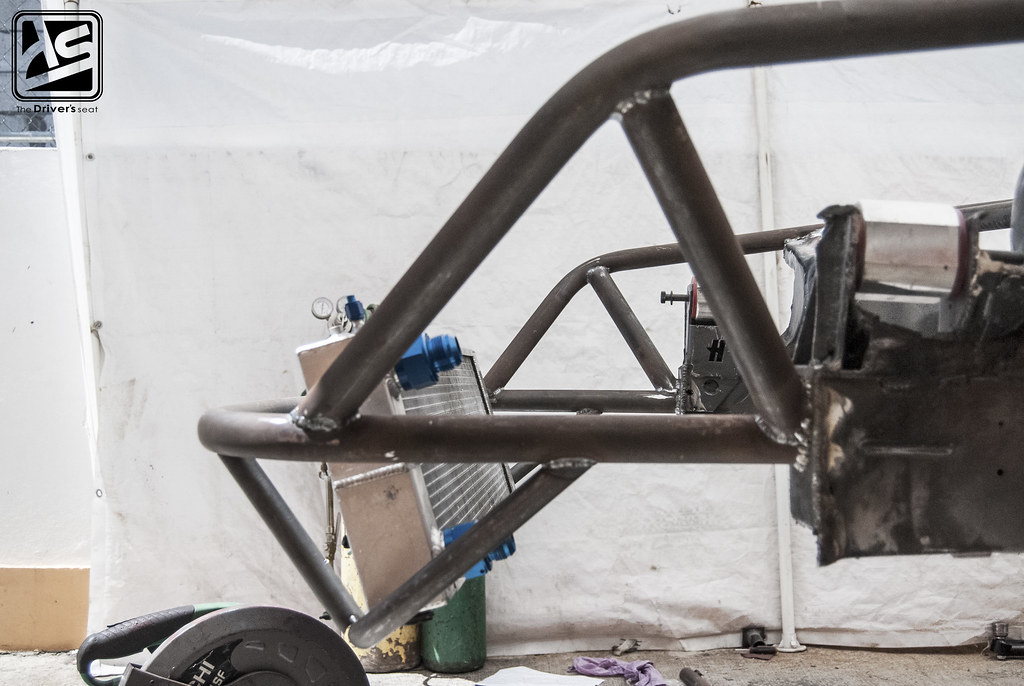
A side view, giving you an idea of how many pieces of pipe it took to make up the front end that will house the essentials…
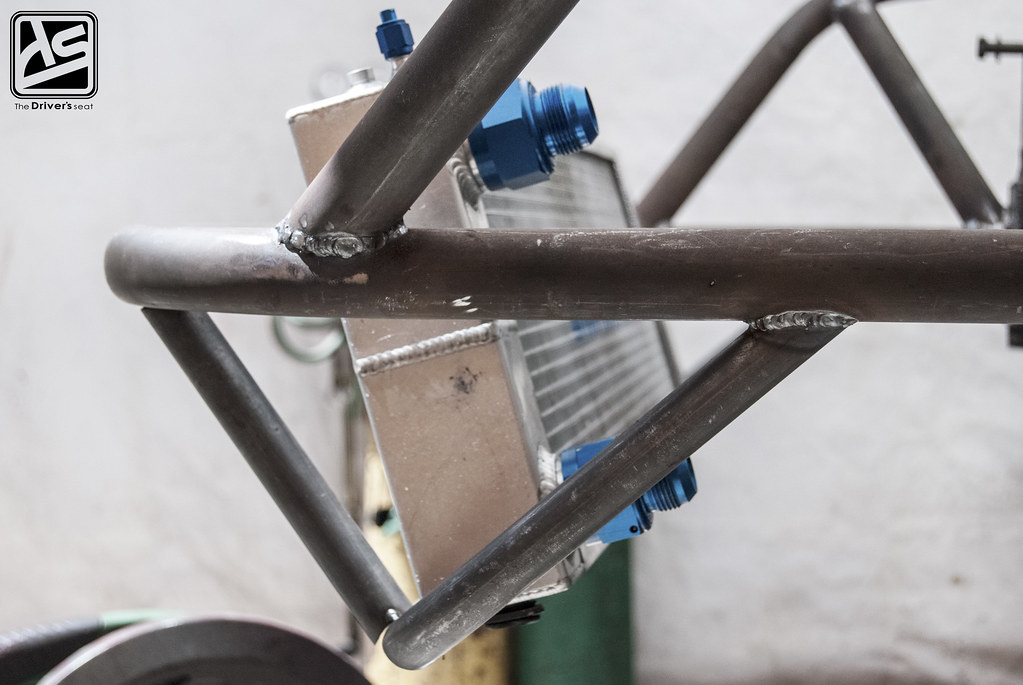
A closer look at some of the welds…
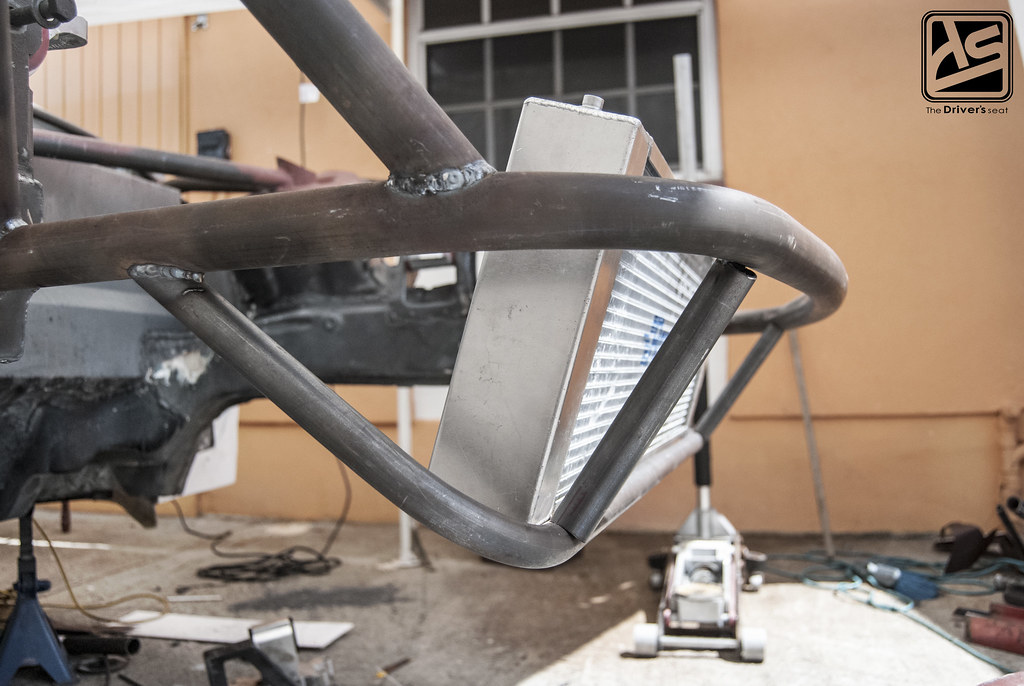
A rough idea of the angle the radiator will be mounted once everything is completed…
Well that’s a wrap for today, thanks for taking a look and stay tuned for much more to come…

What are the specs on that radiator? Dimensions and cores specifically.
Those aren’t things I can confirm, you can contact the owner directly through Facebook.