
Track Bred EG6 Build… Part 31
The end is near. Jerry can see it in his sights, the finishing line for this project is fast approaching. No, I’m not referring to the completion of the car; I’m referring to the major structural modifications that were being undertaken. Dalarc Fabrications did a very good job with the task at hand. Today I have some photos of the final stages before the shell is sent to be resprayed. As with almost every post, I also have some shots of some new goodies that Jerry will be using in the upcoming rebuild.
For those who would like a full recap of this build, I’ve provided the link below…

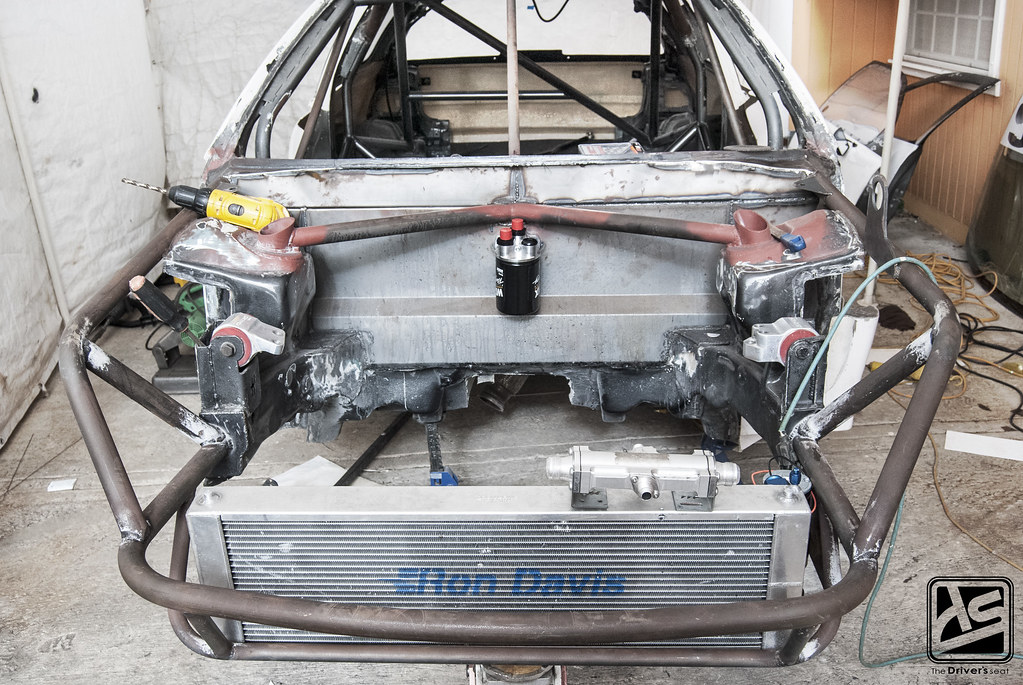
How the car currently sits…
Jerry test fitted a few things in the engine bay to determine their location…

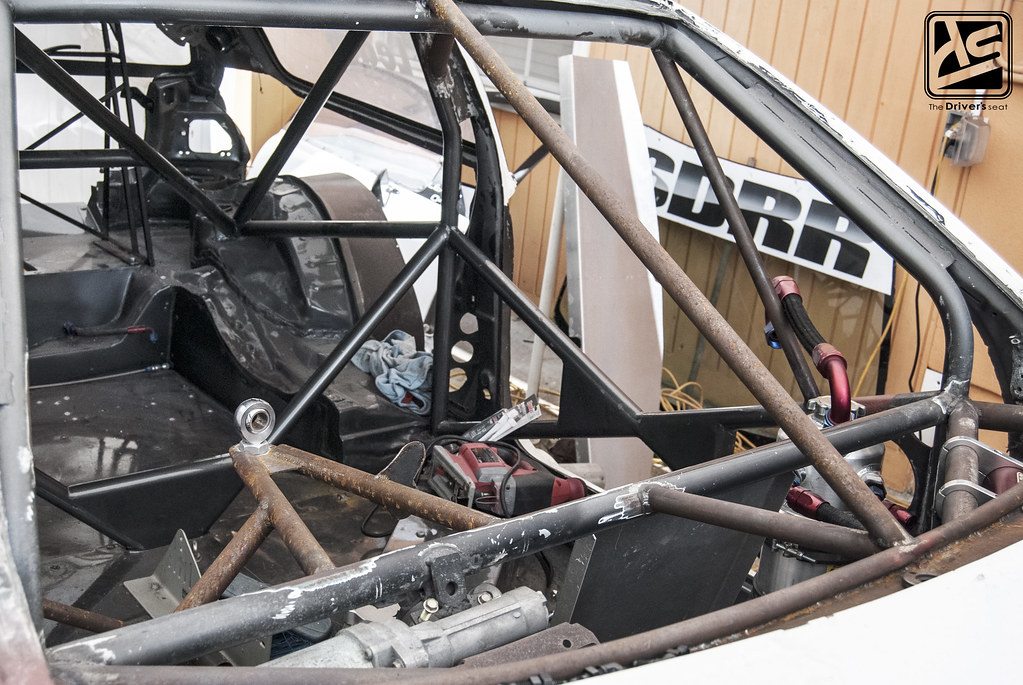
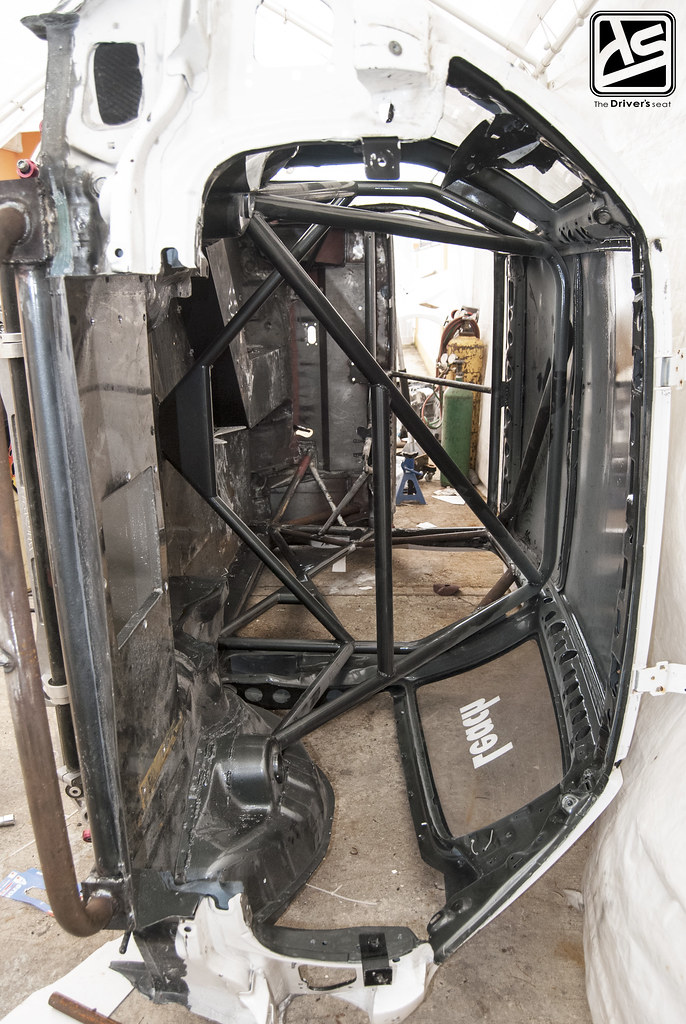
Dalarc Fabrications finally finished up the welding work on the redesigned wheel arches…
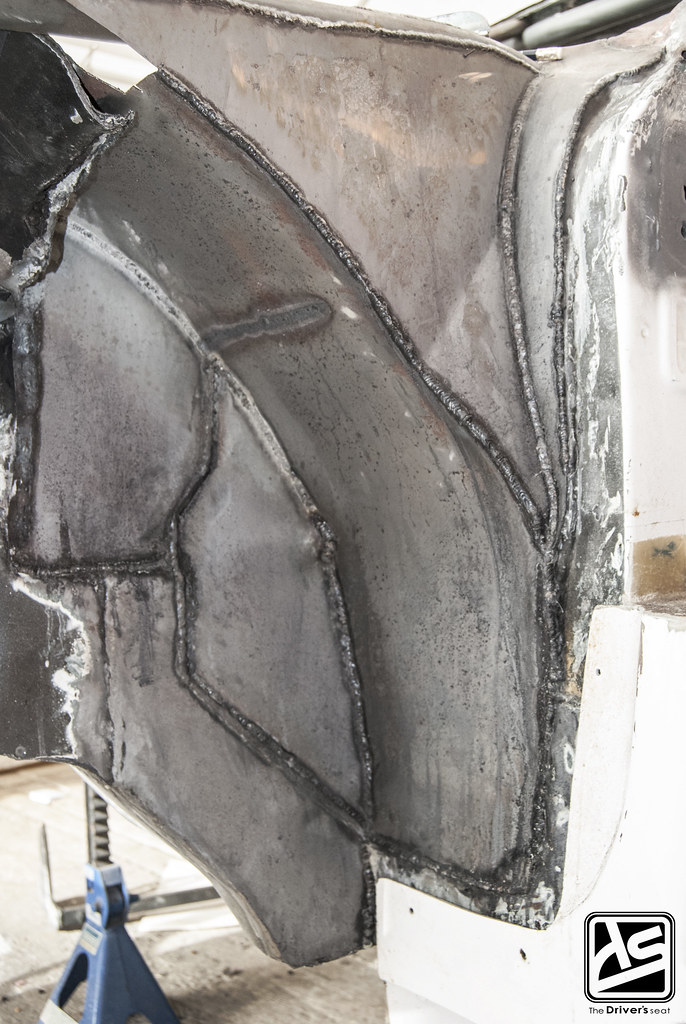
A glance at the left side wheel arch. Judging by the way it looks alone you can see this took a ton of patience along with time…
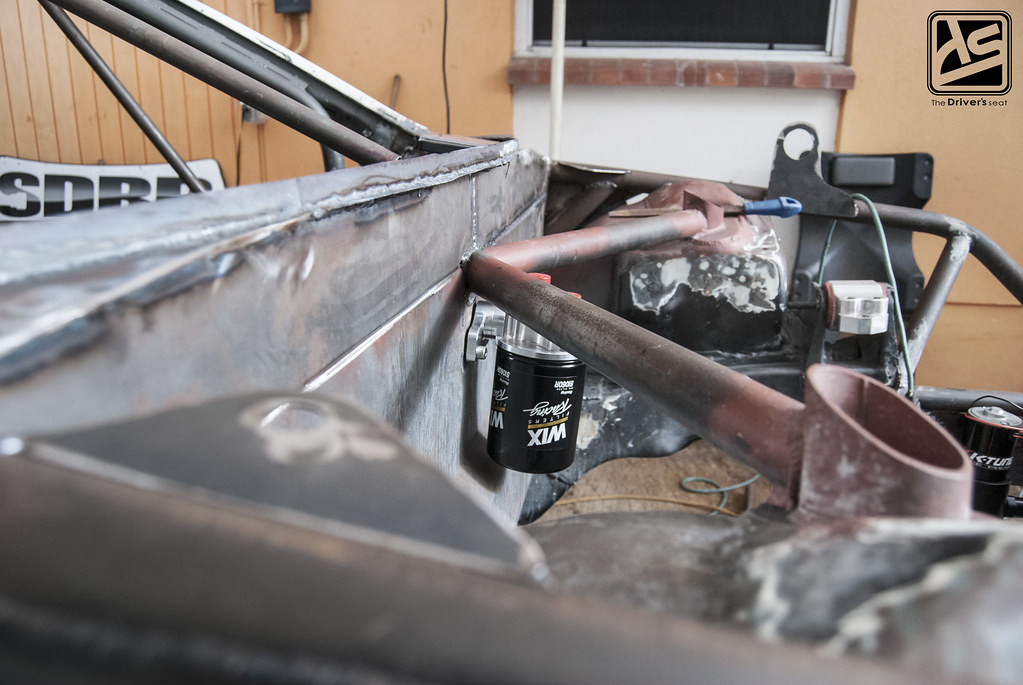
Pipe, pipe, and more pipe…
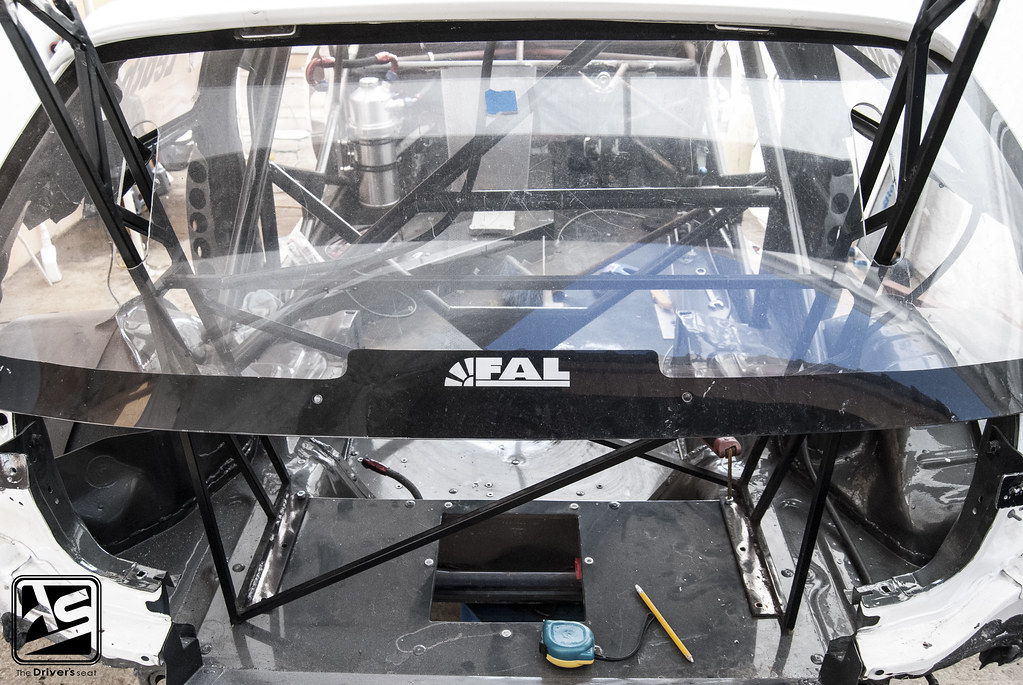
After going the lengths at which Jerry did, he thought it would be best to get rid of the glass windshield and go with a lexan piece. Let alone the bad luck that seems to be following him and constantly causing windshields to be broken. Here is a mock up of the brace that will be lending additional support to the windshield.

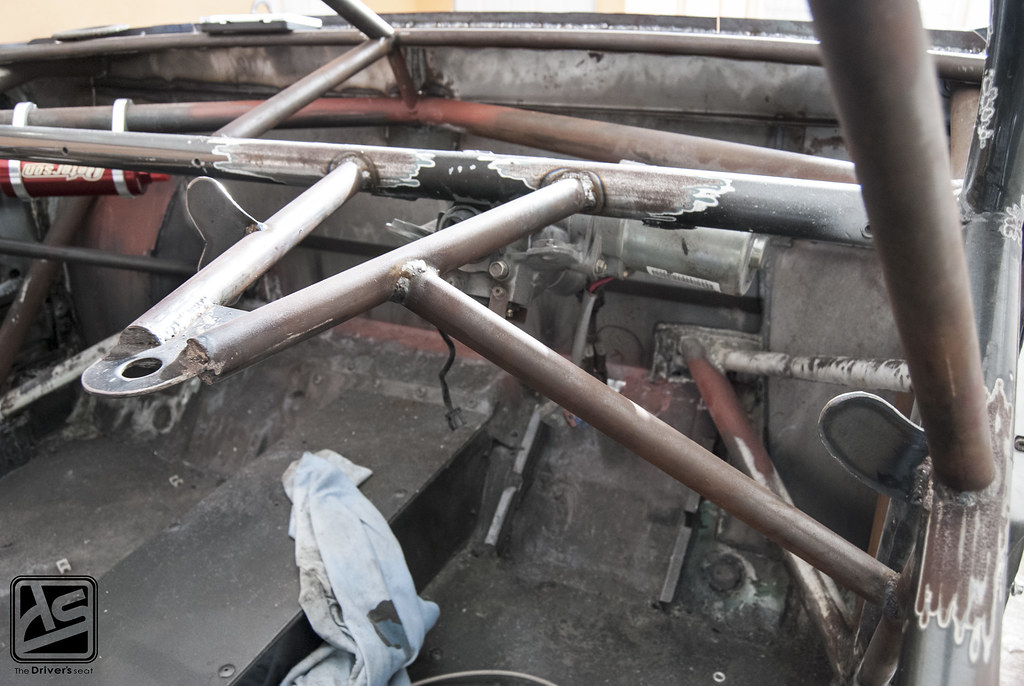
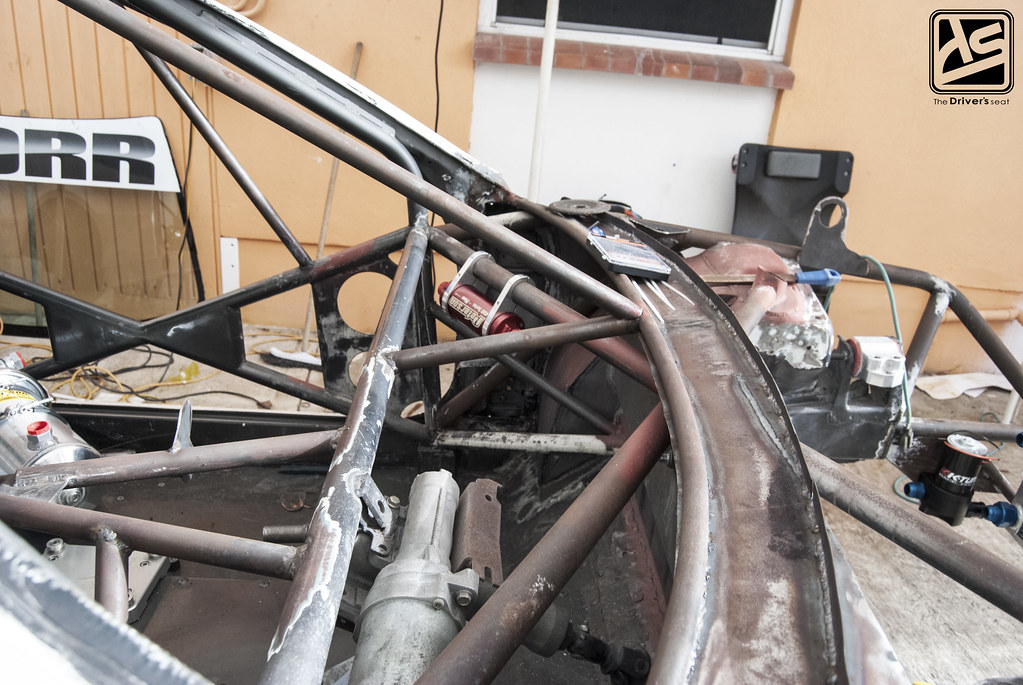
Jerry completely changed the design of the mounting position of the steering and the digital display.
A view to give you a better grasp of how it all comes together…
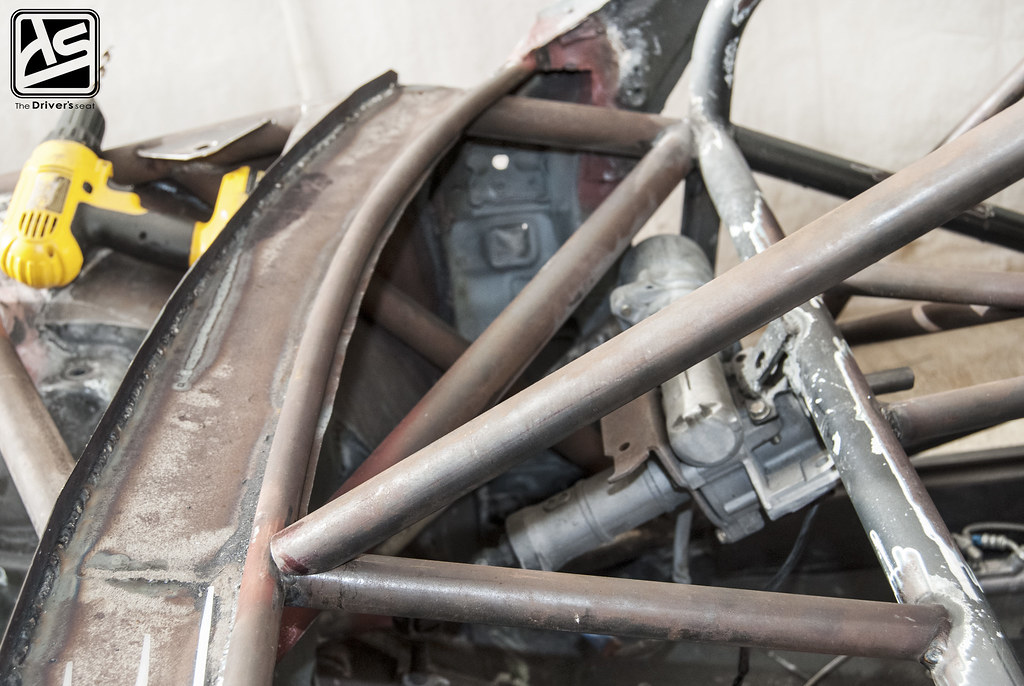
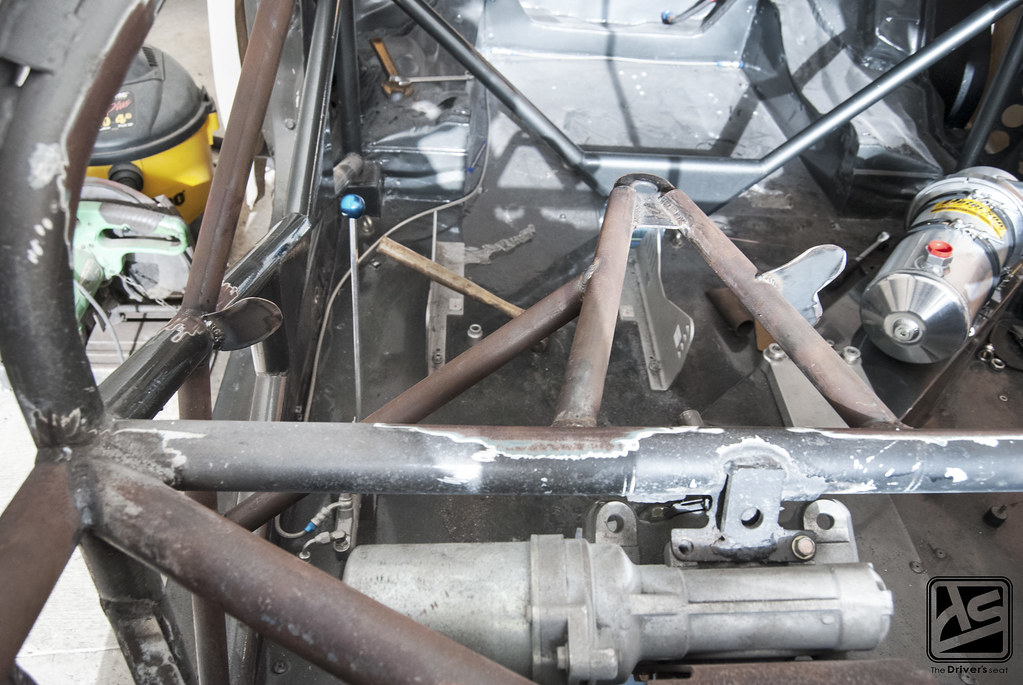
Close up giving an idea of how the bars that tie the roll cage to the top of the strut tower and enter the firewall…
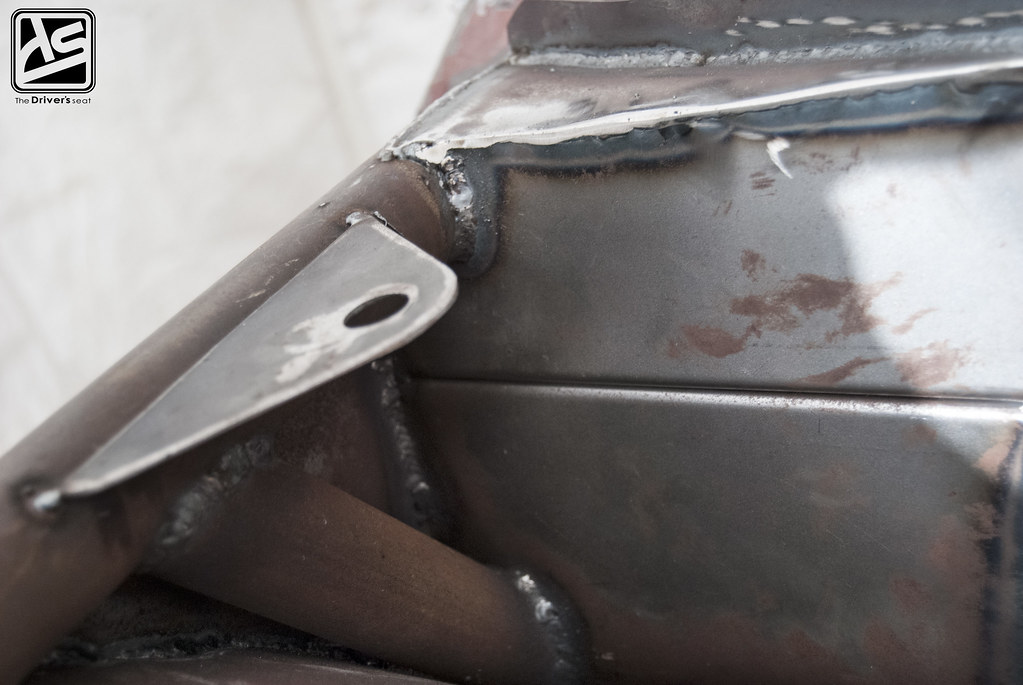
A tab that was needed to fasten the one piece front to the body of the car…

Since Jerry went ahead and redesigned the front end, the previous towing points no longer existed. Jerry thought it would be great to custom make one and have it welded a few inches away from the shock tower.
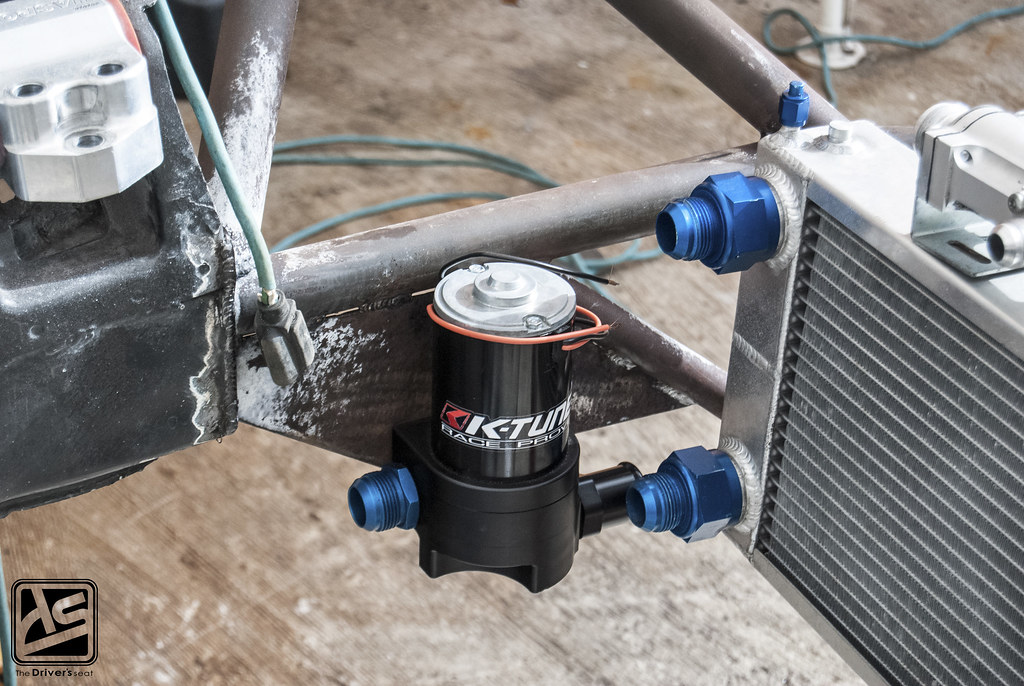
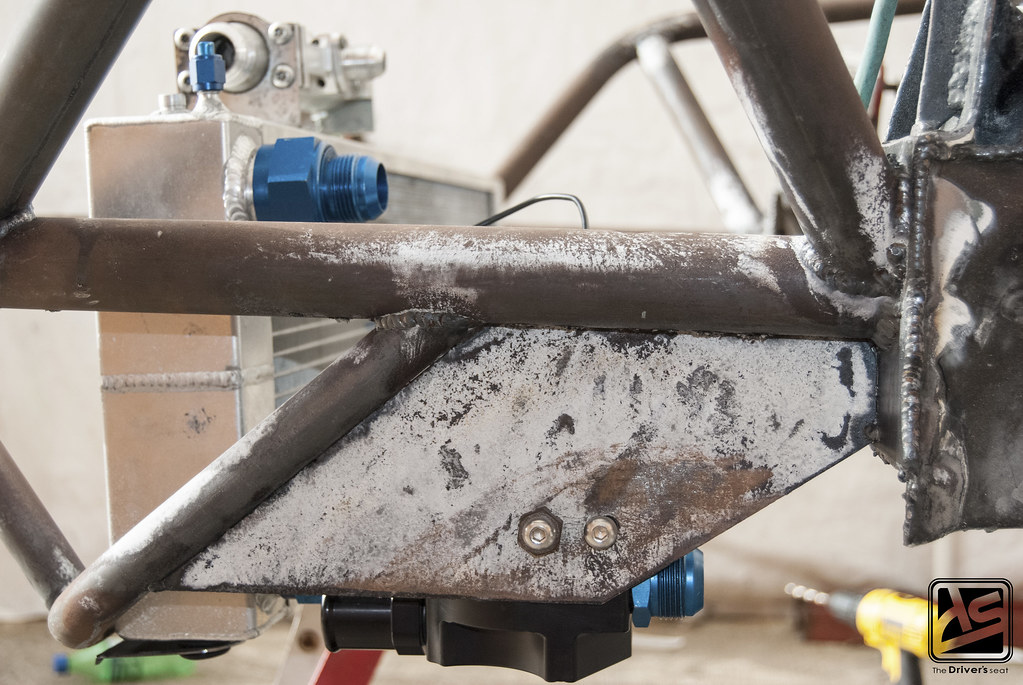
New mounting location for the K-Tuned electric water pump which was previously mounted at the front of the engine, but due to the current dry sump setup it wouldn’t allow for it to be placed in that location.
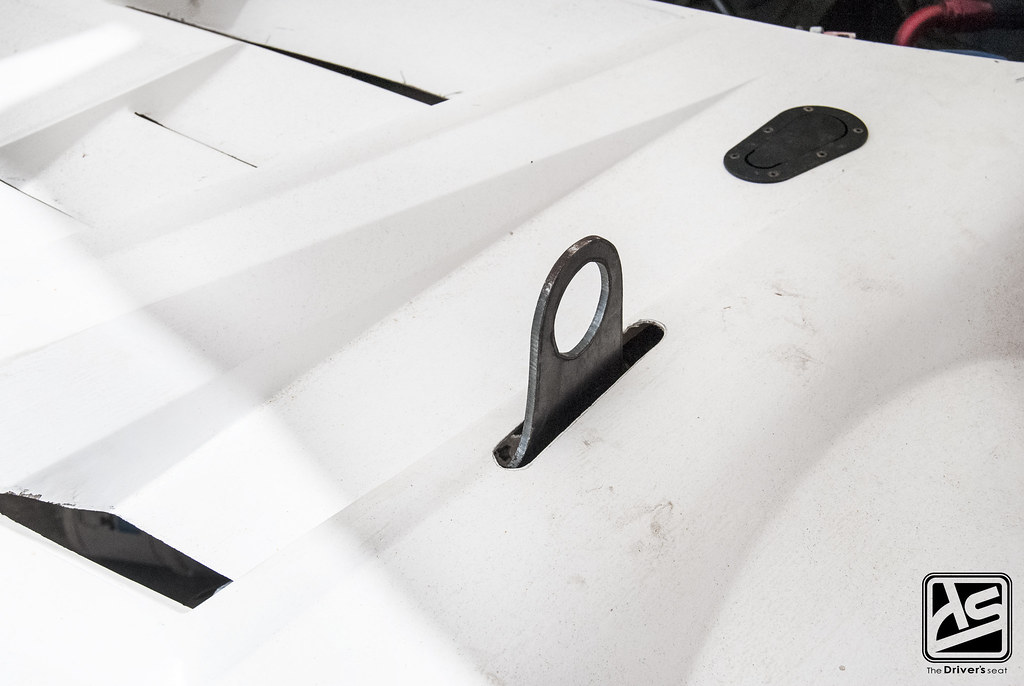
After making the decision to change the location of the towing point, Jerry then had to cut a hole to accommodate for where it projects through the one piece front…

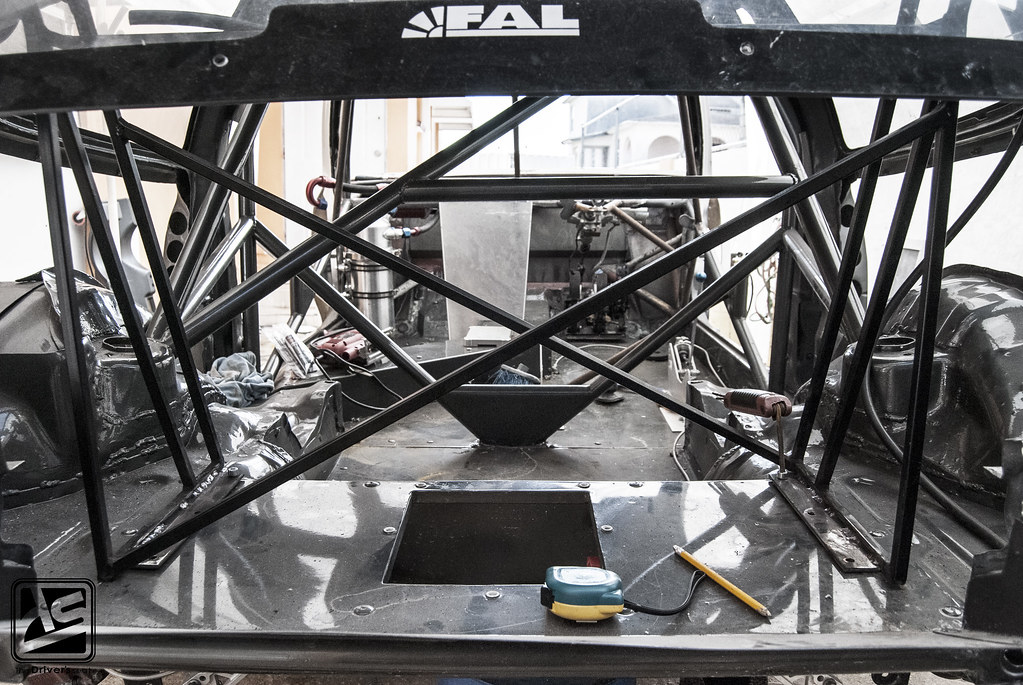
The brace for the lexan windshield has been permanently welded in place…
Another view to give you a better perspective of how it is positioned…
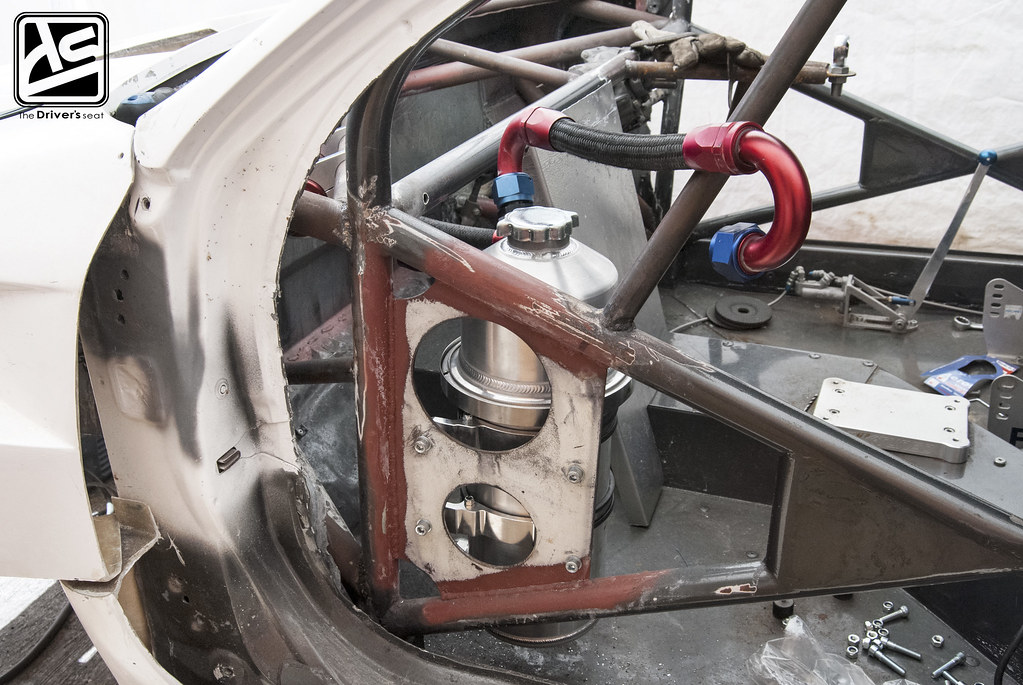
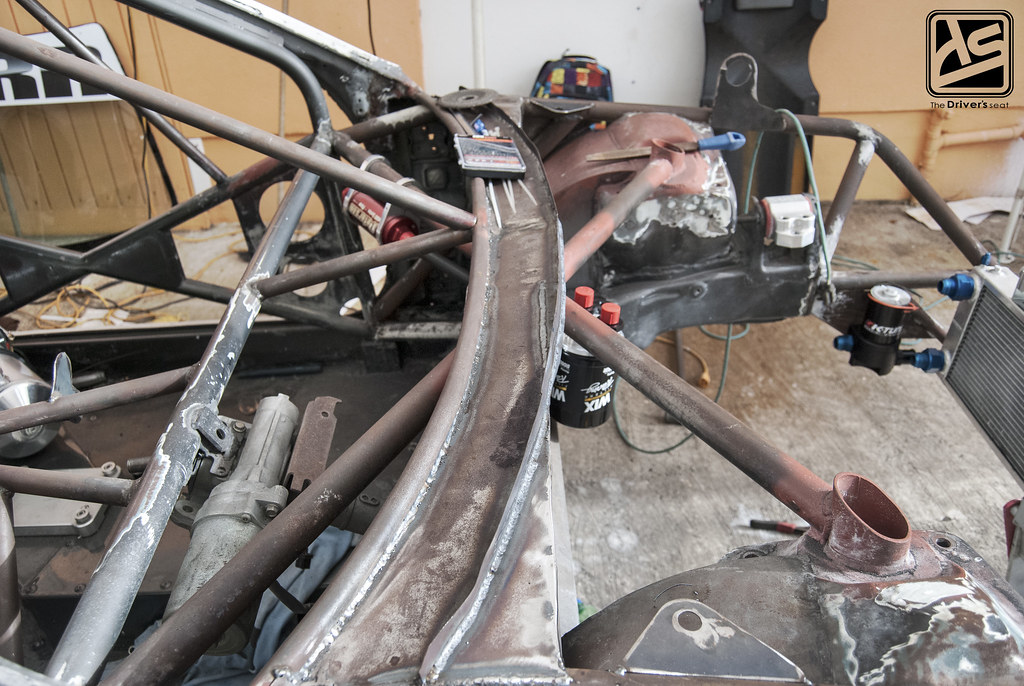
Test fitting the Peterson Fluid Systems oil canister…

Close up of how it will be fastened to the specially made plate which was welded to the roll cage…
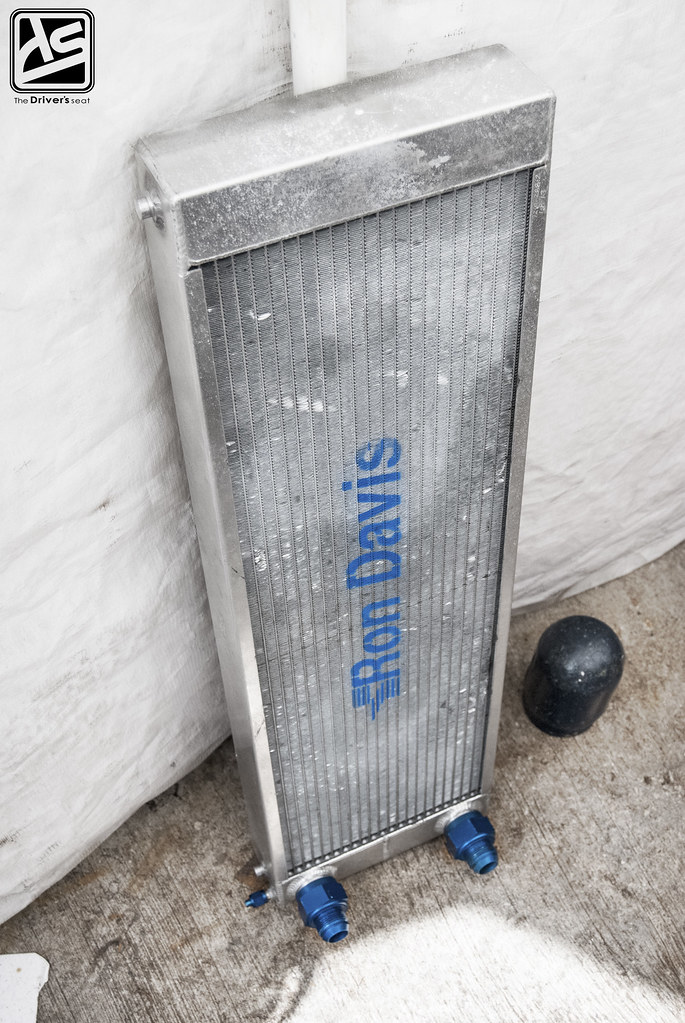
Custom made Ron Davis radiator that more than likely will be replaced with a new one when its time for the final reassembly…
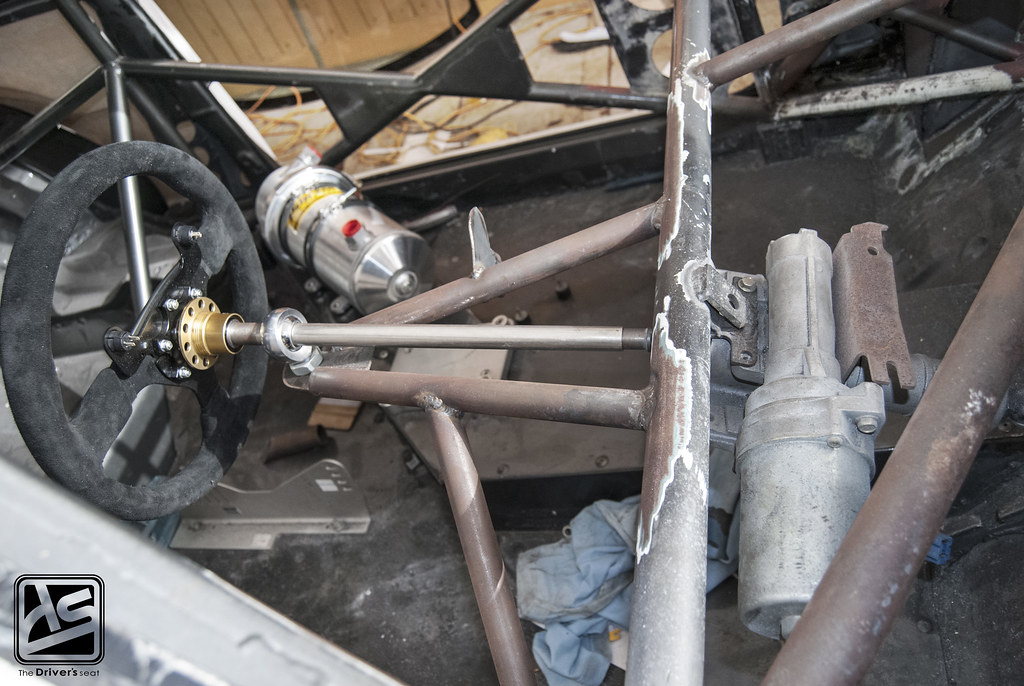
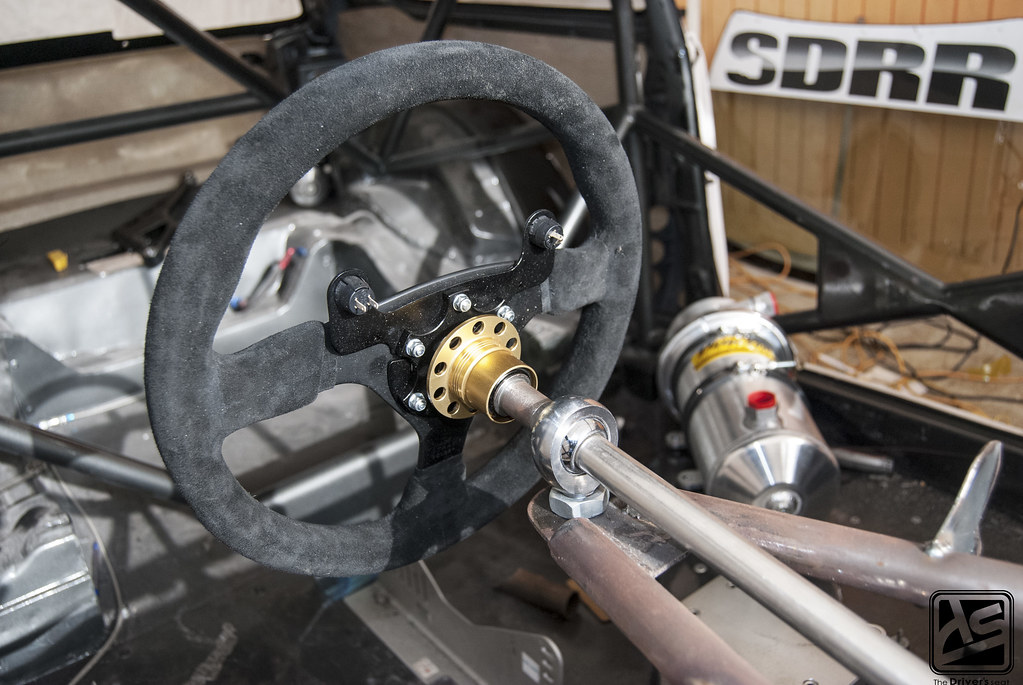
A first look at the new steering mounting position with the steering wheel test fitted in place… A look at the previous setup.
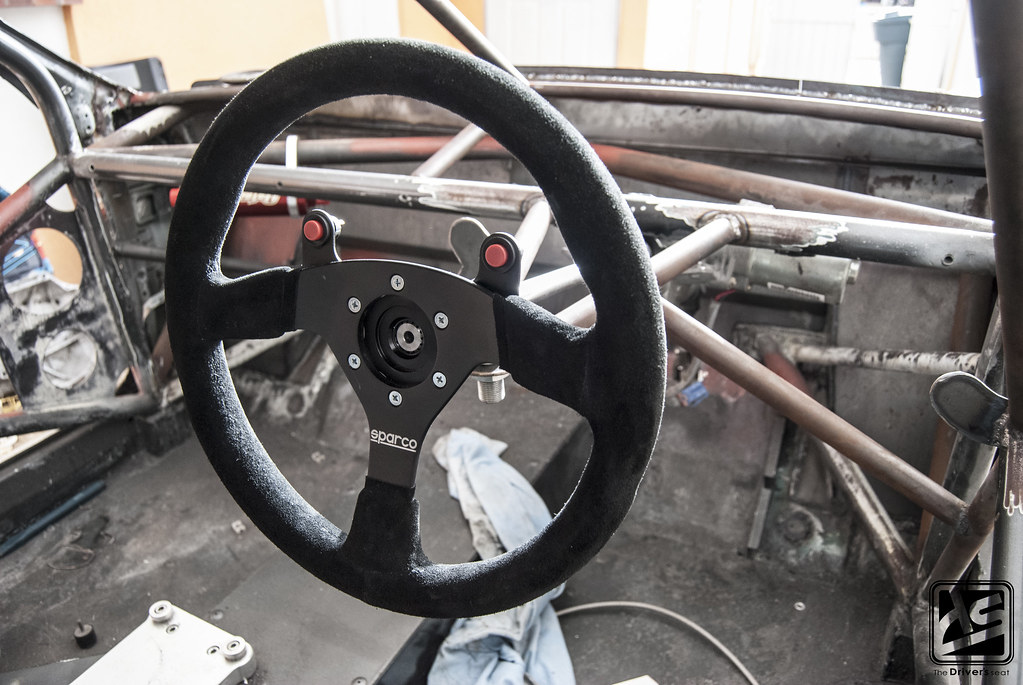
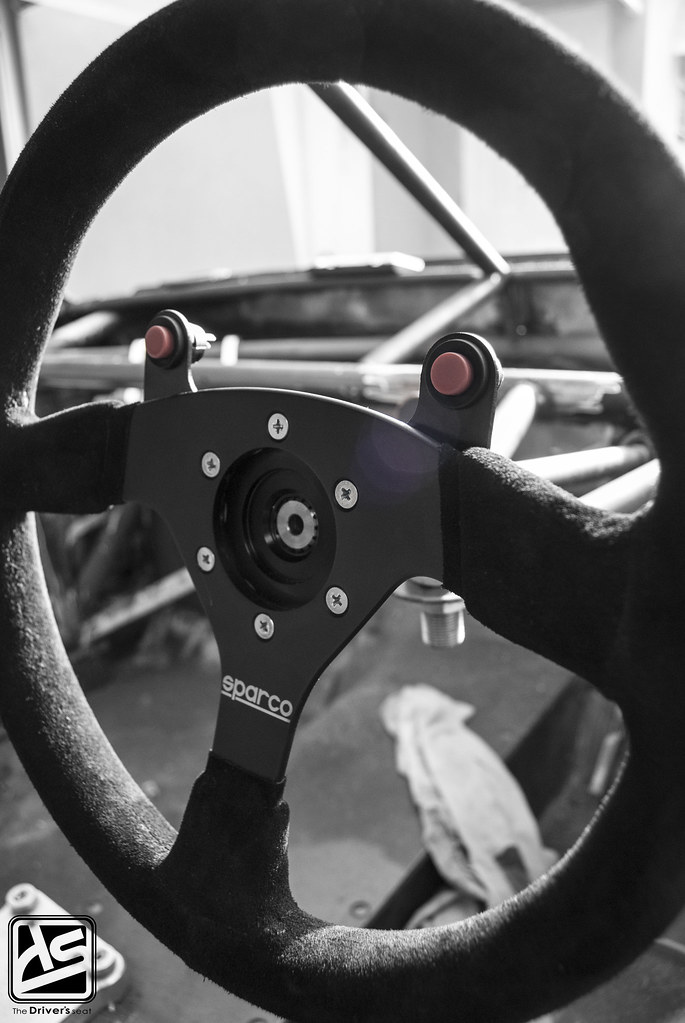
With this being a new build, Jerry decided to ditch the previous OMP wheel and NRG quick release combo and went with a more race oriented option in the form of a Sparco wheel with external horn buttons and…
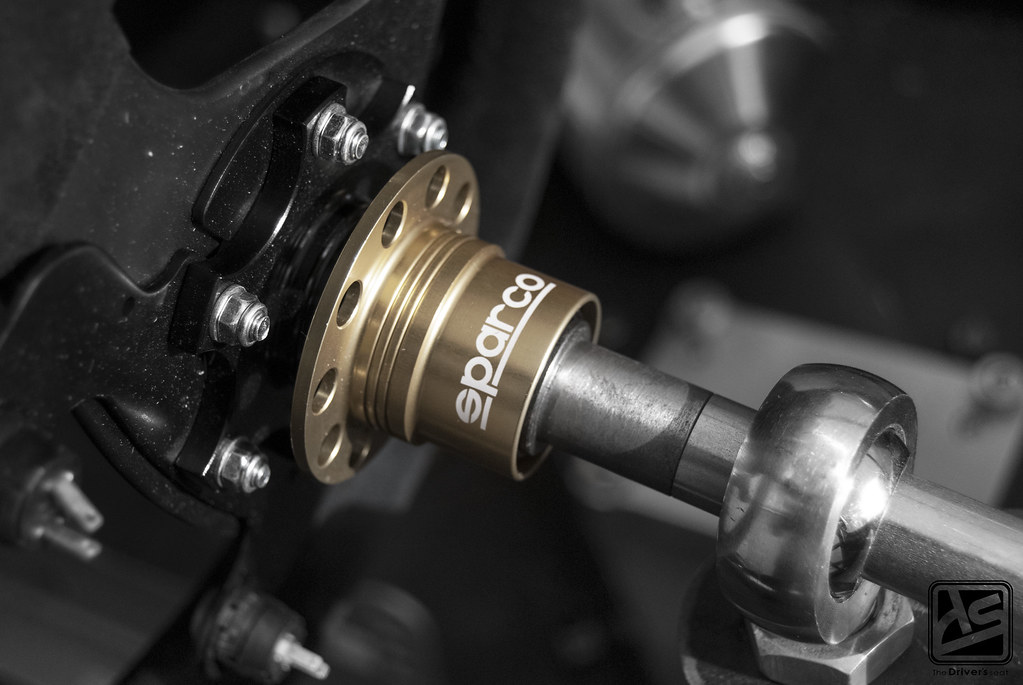
Matching Sparco quick release…
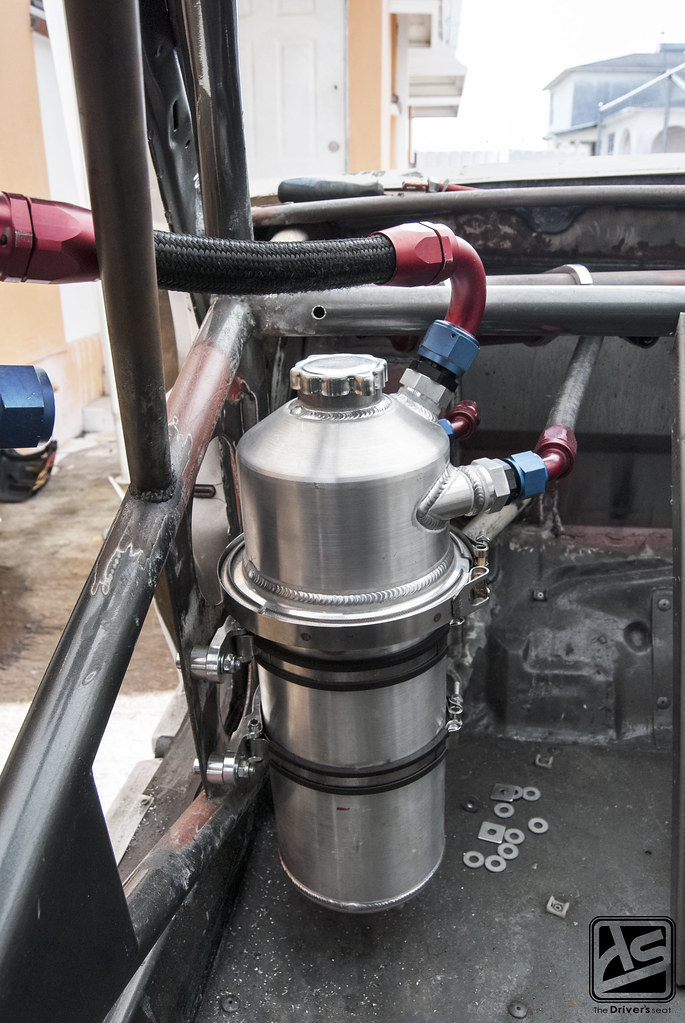
Working our way to the back of the car, Jerry has test fitted the Peterson breather tank for the dry sump setup…
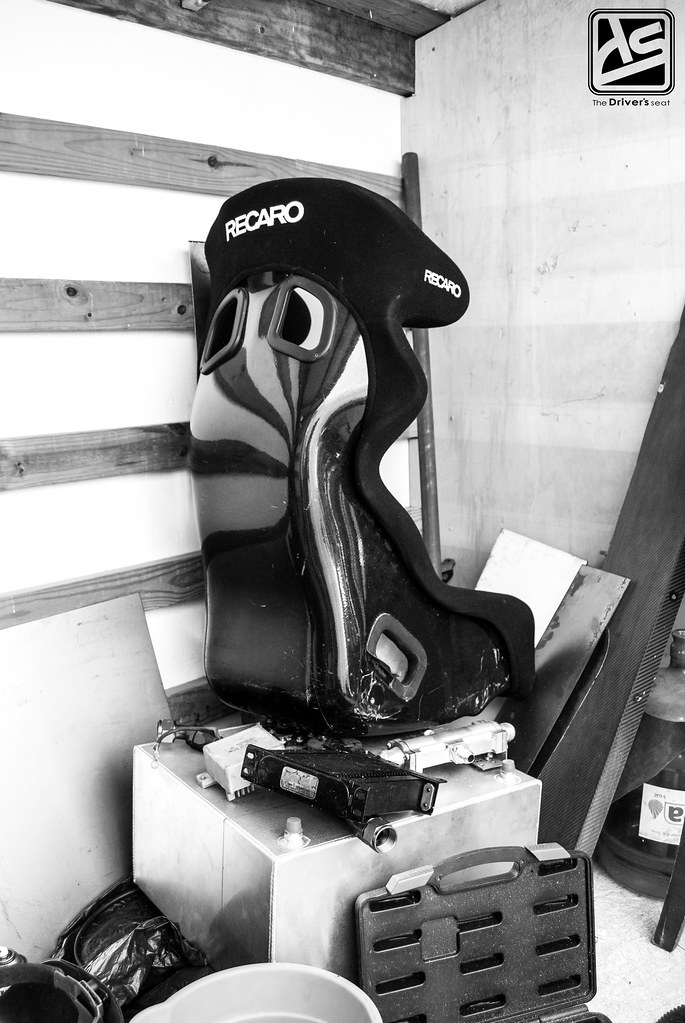
Tucked away in a corner for the moment is the Recaro Pro Racer SPG seat…
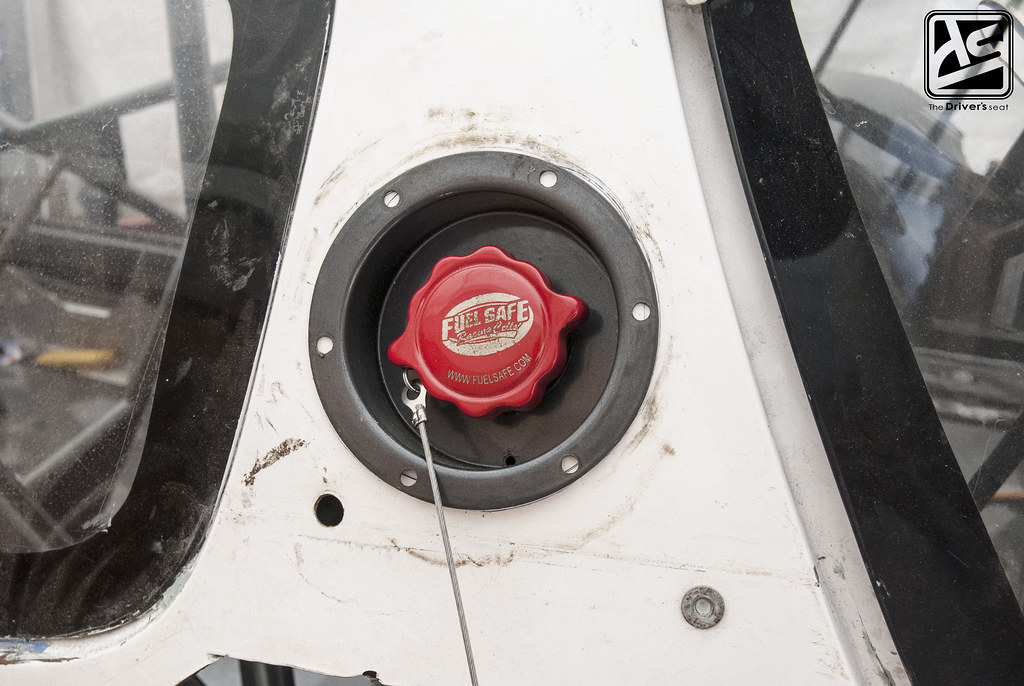
Jerry decided that he will no longer refill the fuel cell from inside of the car and opted to pick up a Fuel Safe remote filler kit to make things easier.
Pipe and bars and more pipe that make up the roll cage for added rigidity and also the base of the new wing…
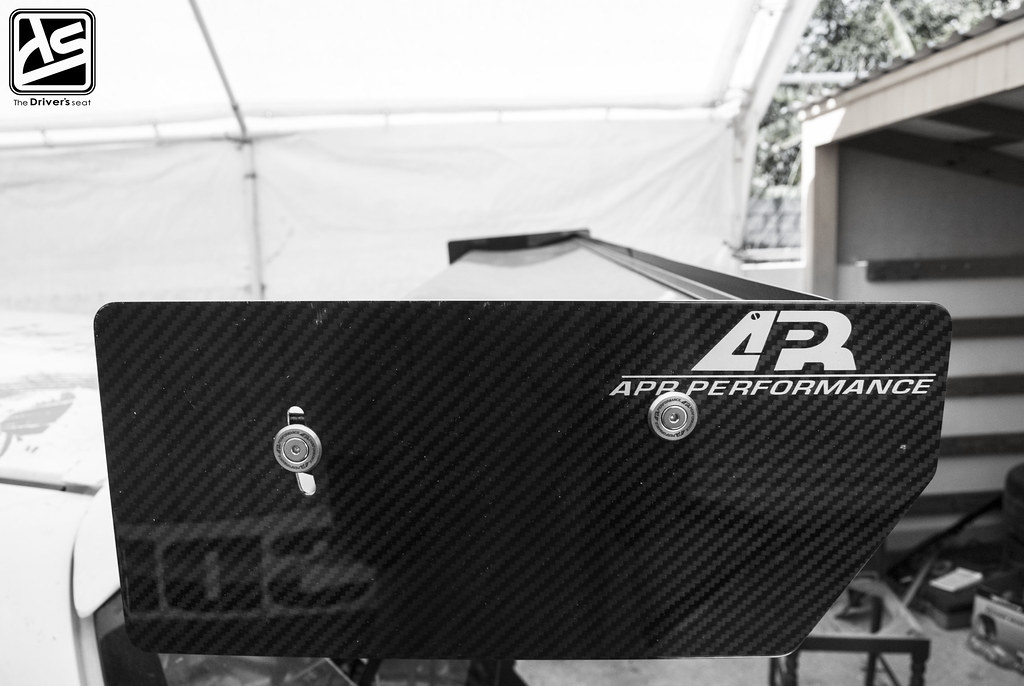
This build it wouldn’t be complete without the signature big ass wing…
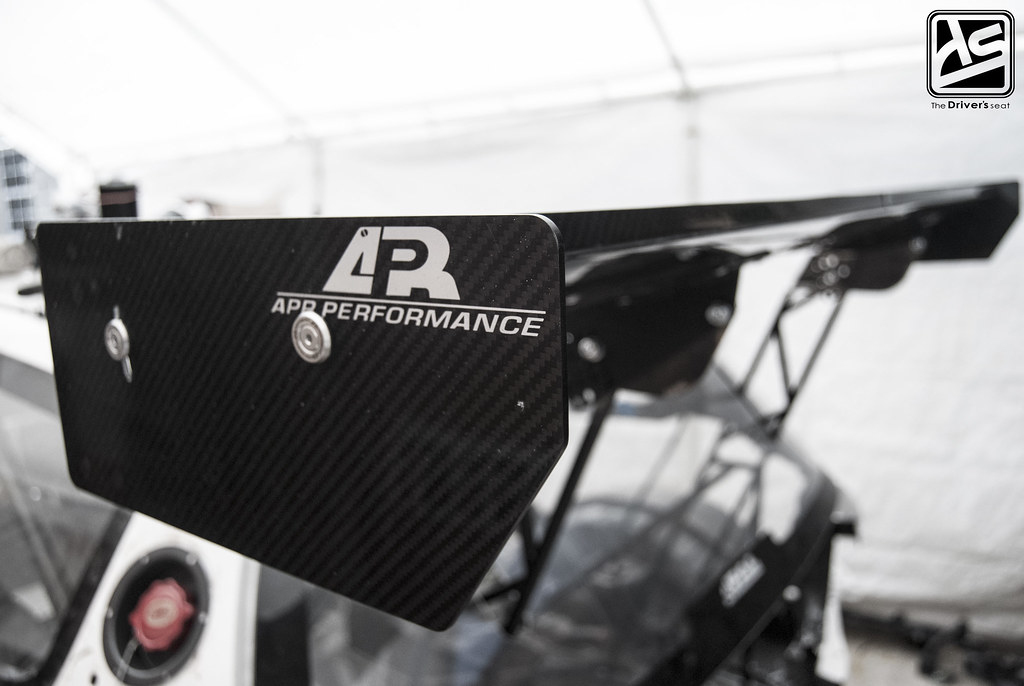
After doing some extensive research Jerry finally made a decision and went with the APR Performance GTC-250 adjustable wing…
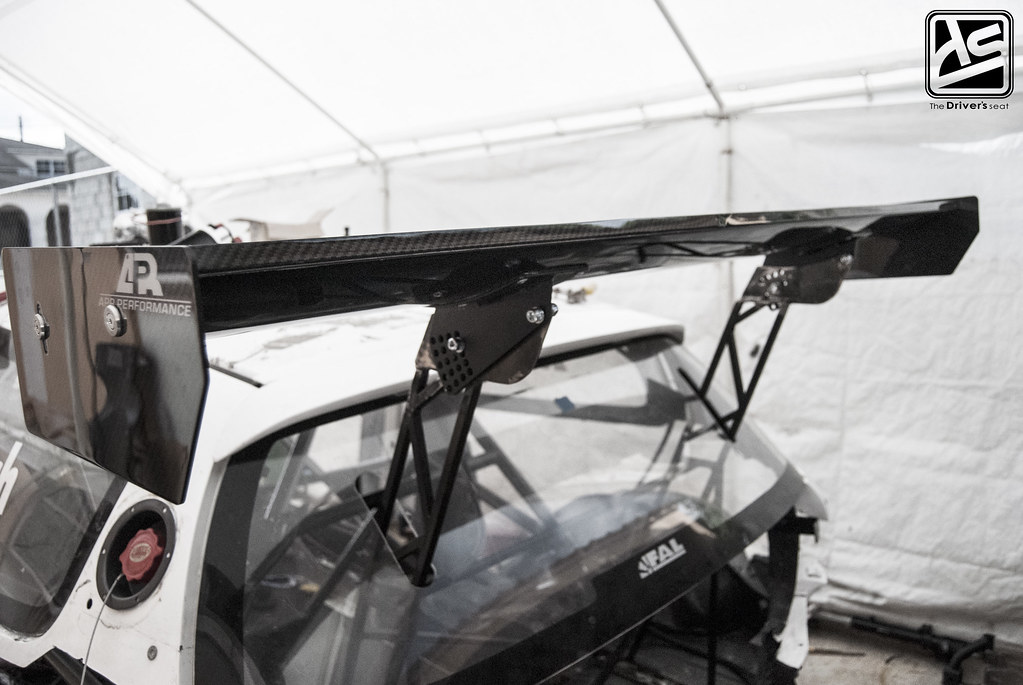
The wing features a 2D airfoil shape that is designed to produce great downforce with minimal drag.
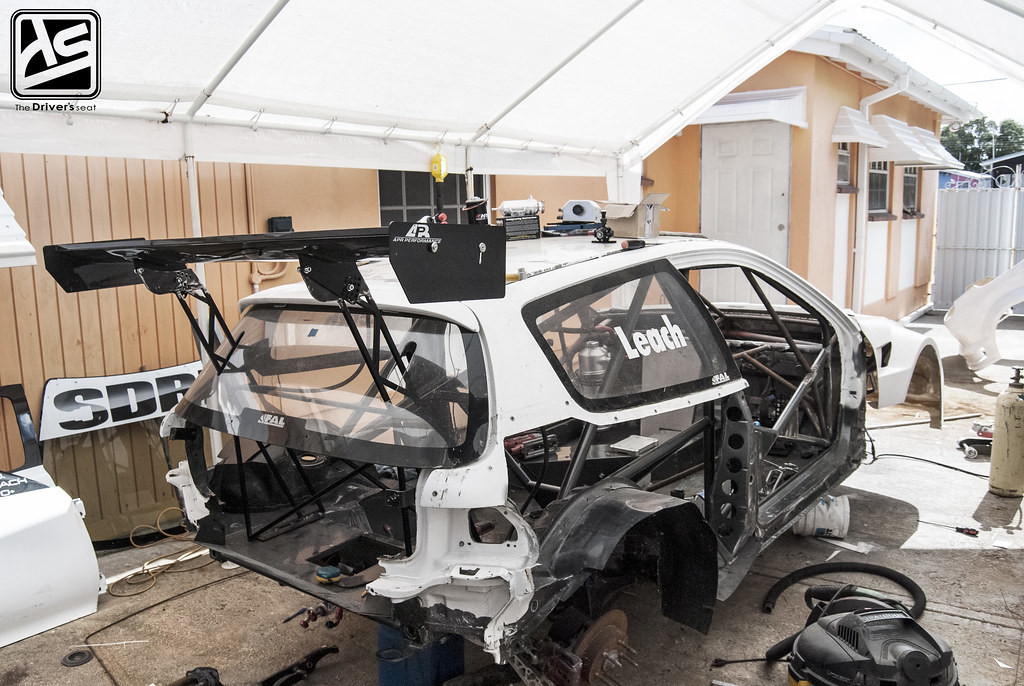

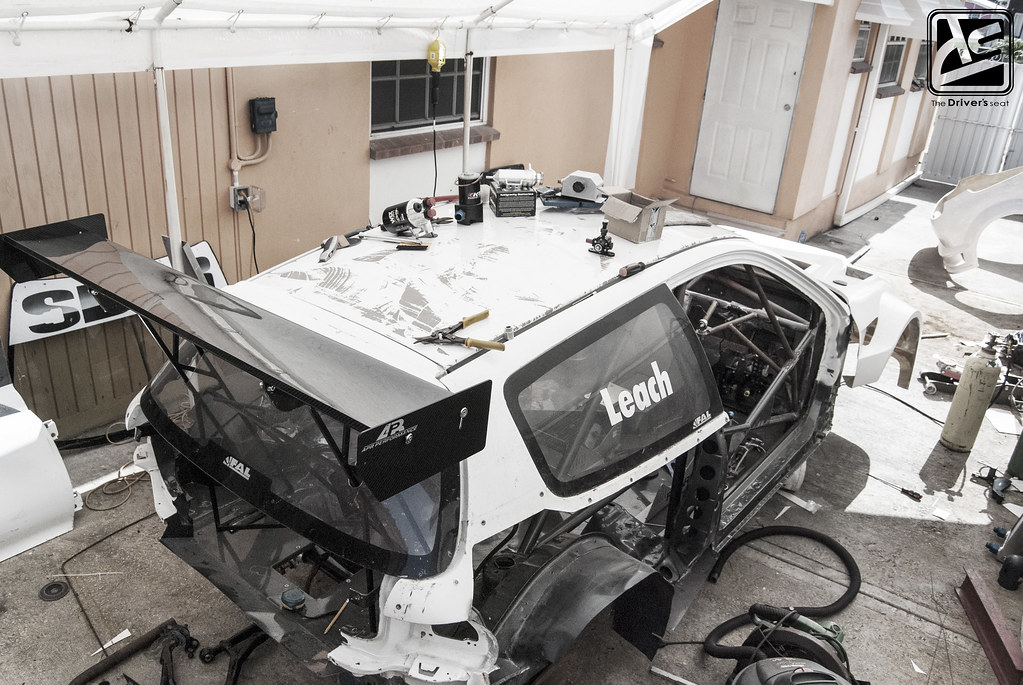
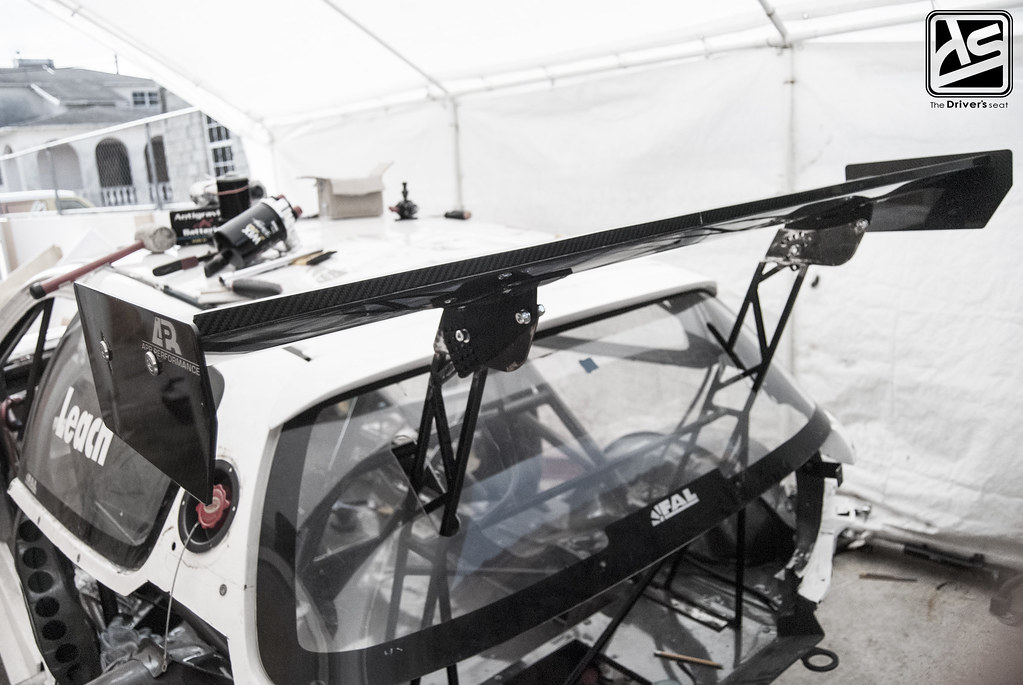
Varying angles of how the car sits with the wing in place…
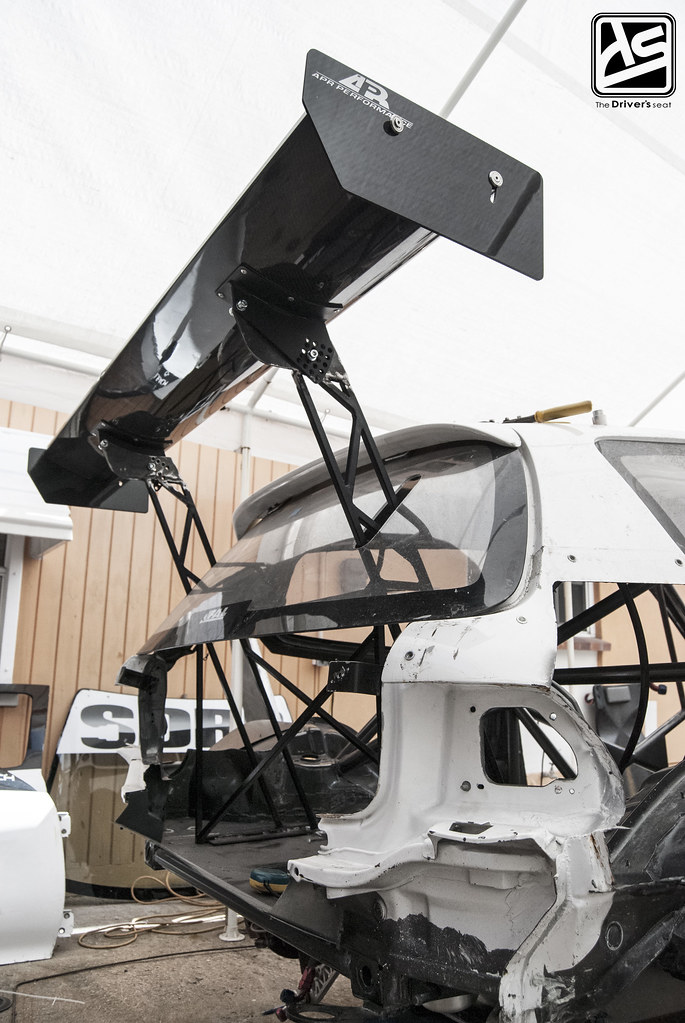
One last shot of the APR Performance wing…
Following the test fitting which went exceptionally well, it was time to tear the car apart once more and send it off to be painted…
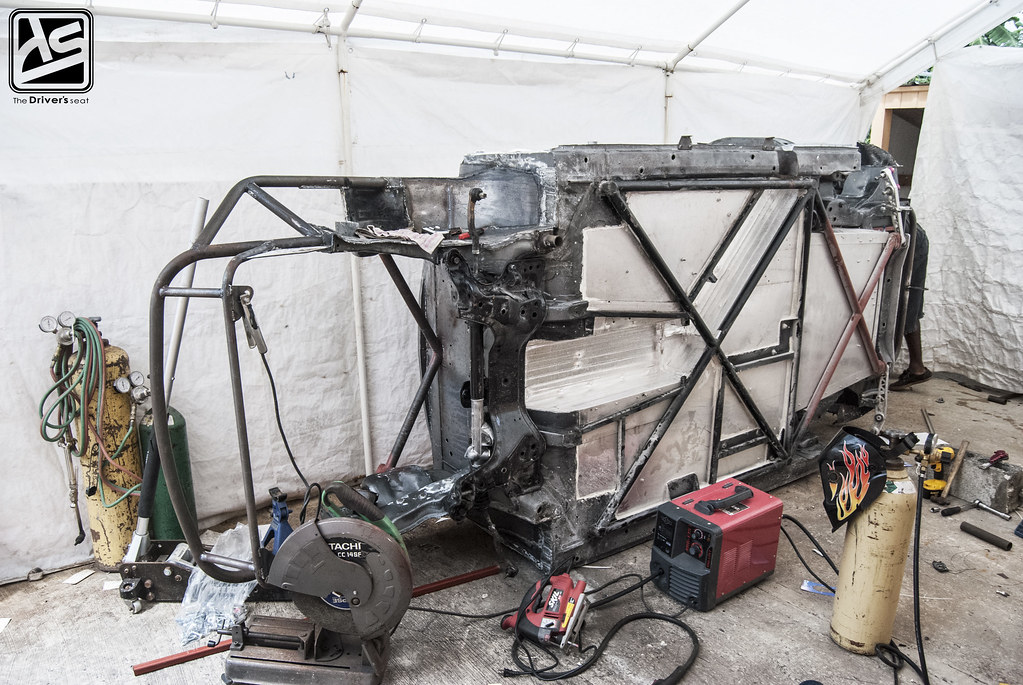
Stripped, gutted and on its side…

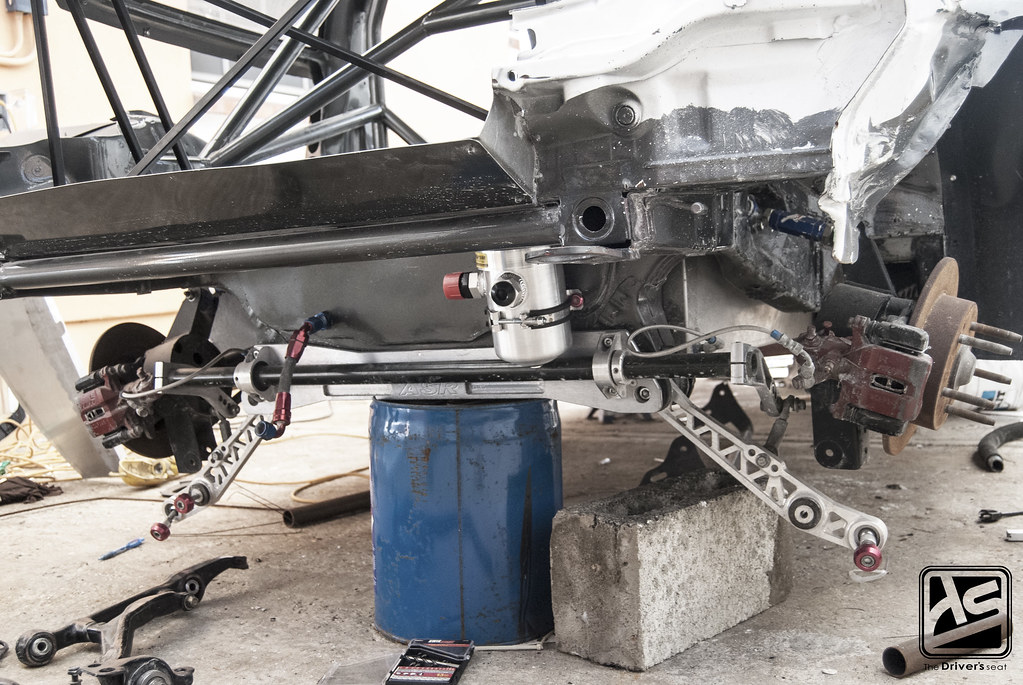
The subframe and a few remaining pieces of the rear suspension were the only things left to be removed…
One last shot of the gutted interior as the shell rests on its side…
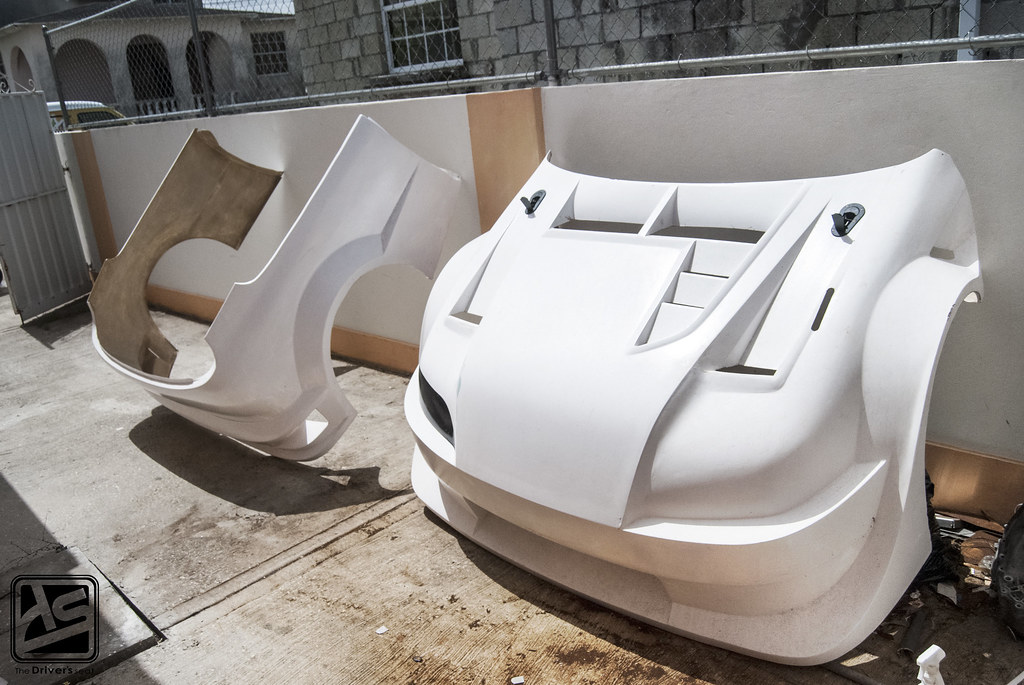
The one piece front and rear that will also be heading off to paint.
Well that’s a wrap for today’s post, I hope you guys enjoyed as usual. Be on the lookout for more to come from this build…
