
Track Bred EG6 Build… Part 29
We return today with yet another interesting post on Jerry’s Track Bred EG6 Build. Moving forward with the custom redesigned front end, Jerry went ahead and saw an opportunity to add more rigidity to the chassis. And like every other post thus far, when I arrived Jerry had something additional to add to the build. I’ll stop right there and get right into it.
For those who would like a full recap of this build, I’ve provided the link below…

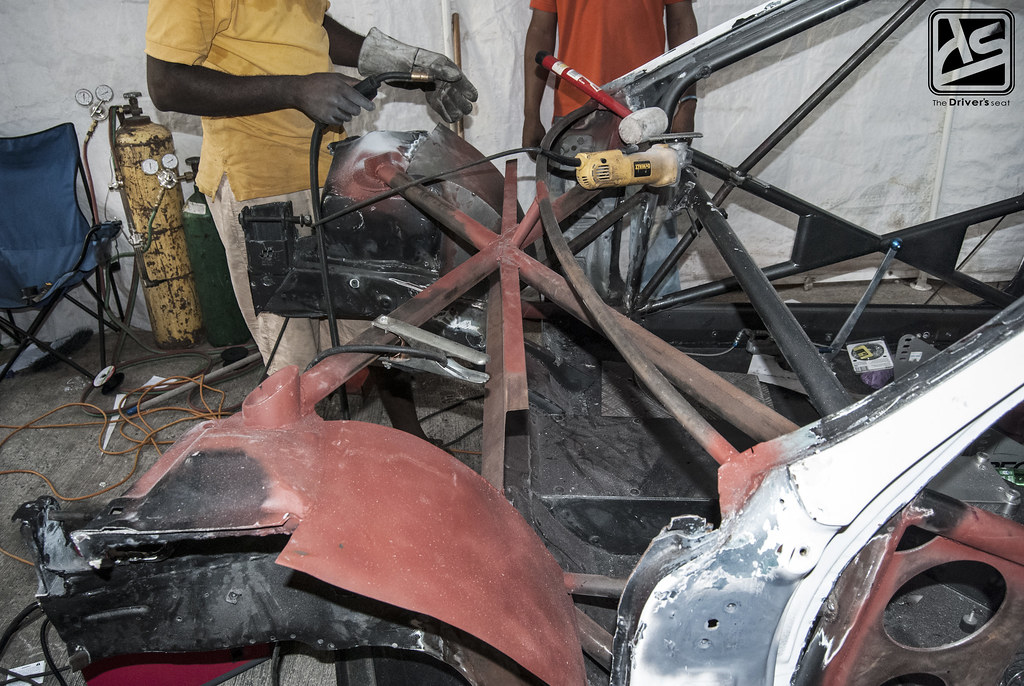
Taking a look at the additional rigidity that was a must after redesigning the firewall…

To be completely honest I really did not see where Jerry was going when I first heard of the plans but now everything is starting to take shape it’s becoming clear…

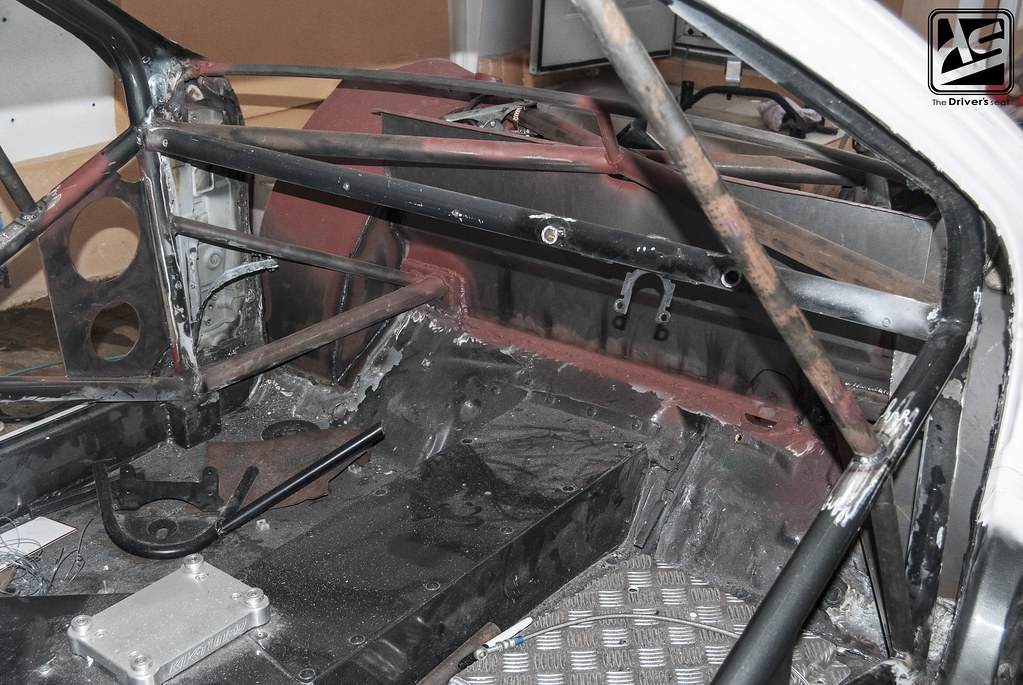
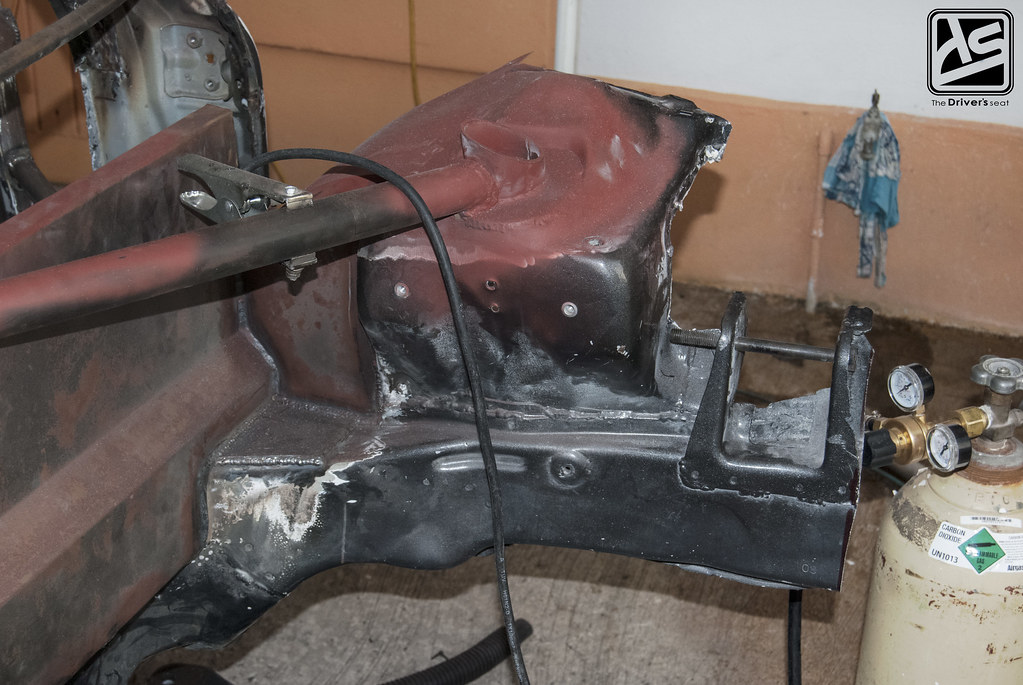
A view of where the firewall will stop and where the newly designed wheel arch will begin to give you guys a better understanding of what is going on.

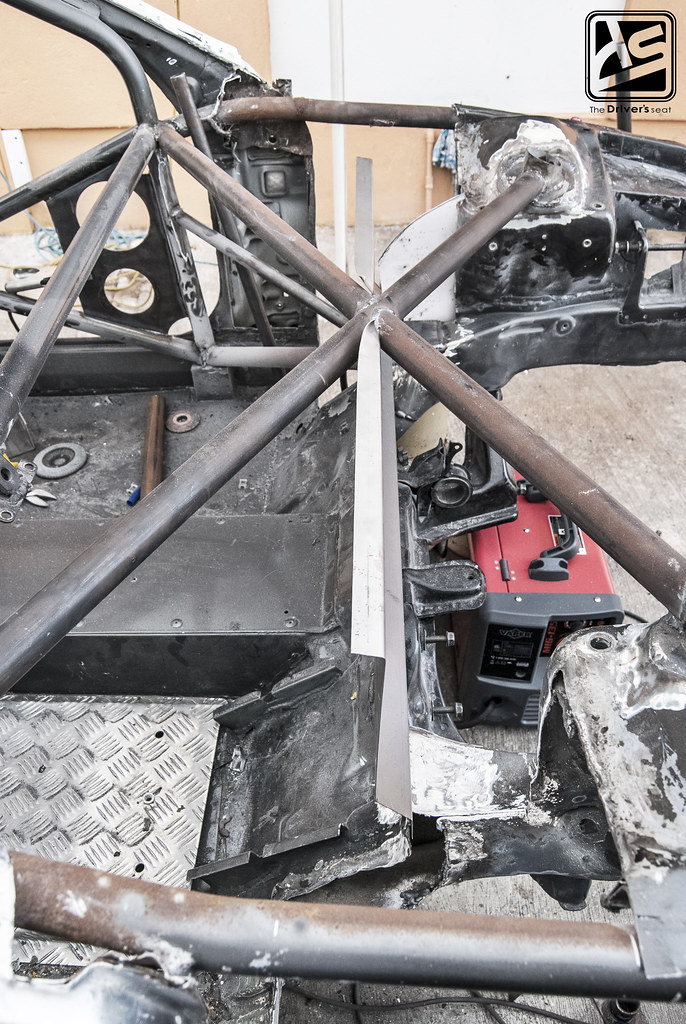
A piece of pipe was added to each shock tower and tied diagonally into the roll cage at the level of the dashboard to increase the rigidity at the front. Where the pipes meet in the centre serves as the location to where the firewall will be placed.
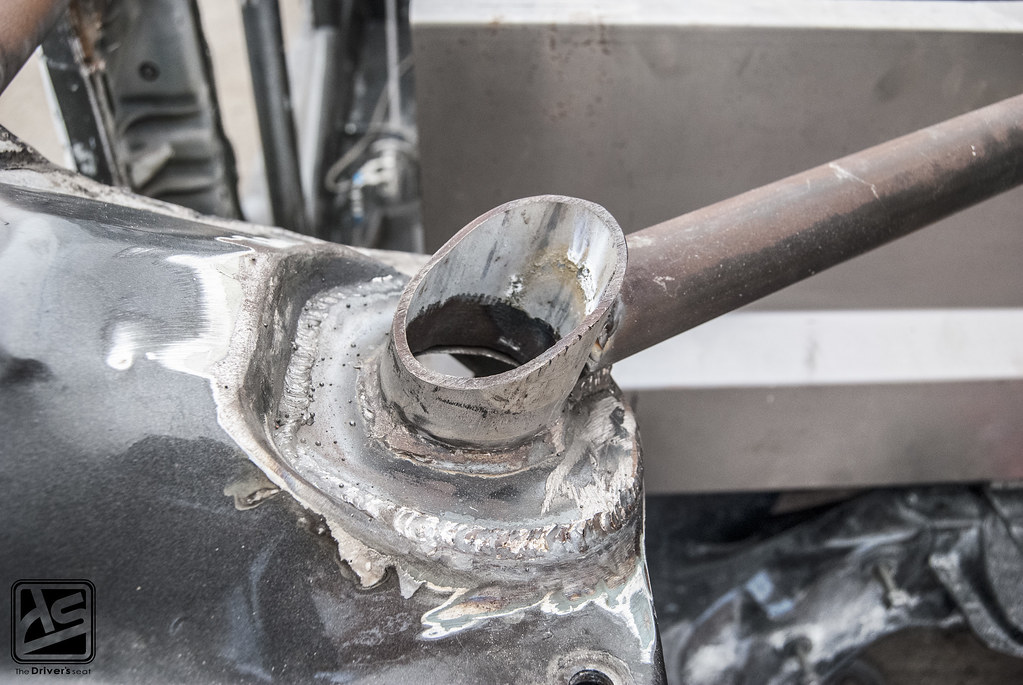
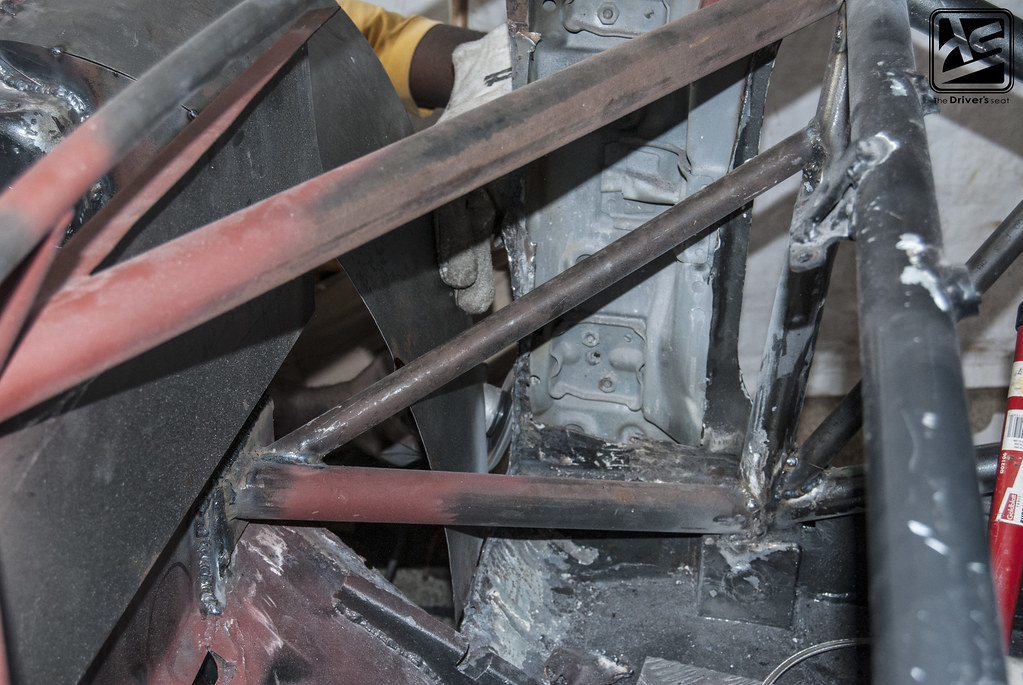
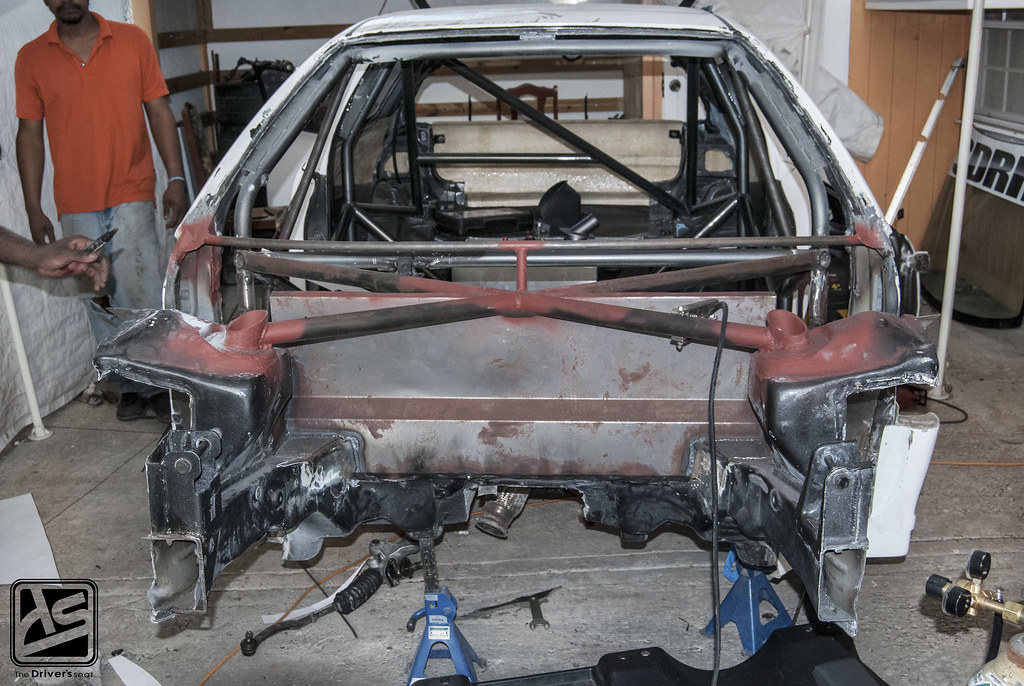
Closeup of what would basically be a permanent and more effective strut tower brace…

Additional piping was used from two separate point on the roll cage and tied into the existing chassis that will also increase rigidity.

A side profile showing the thickness and location of the new firewall…

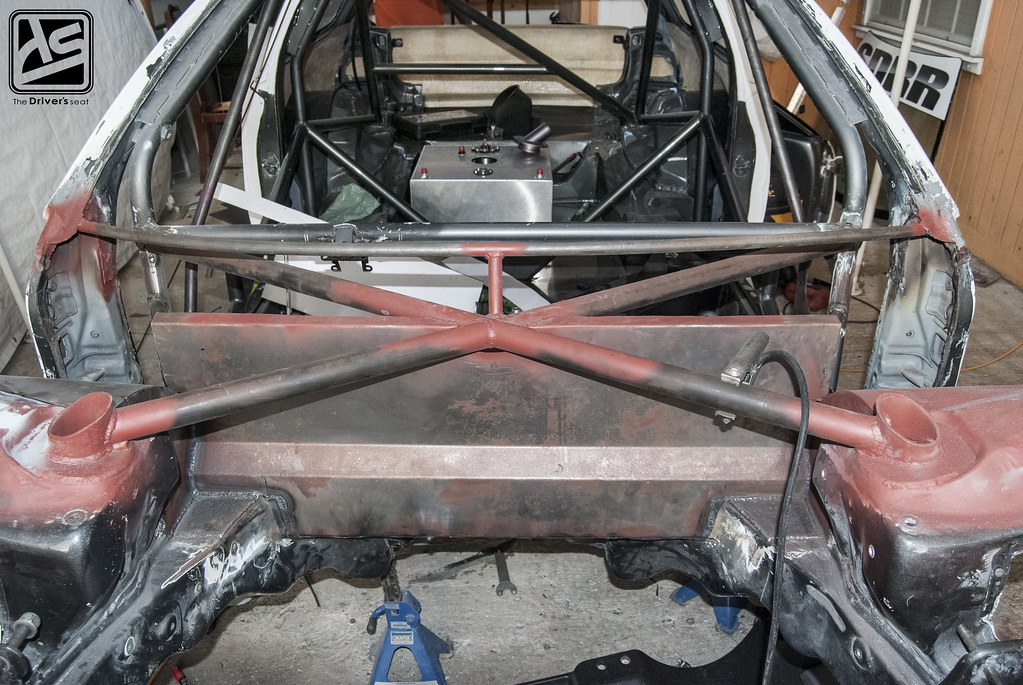
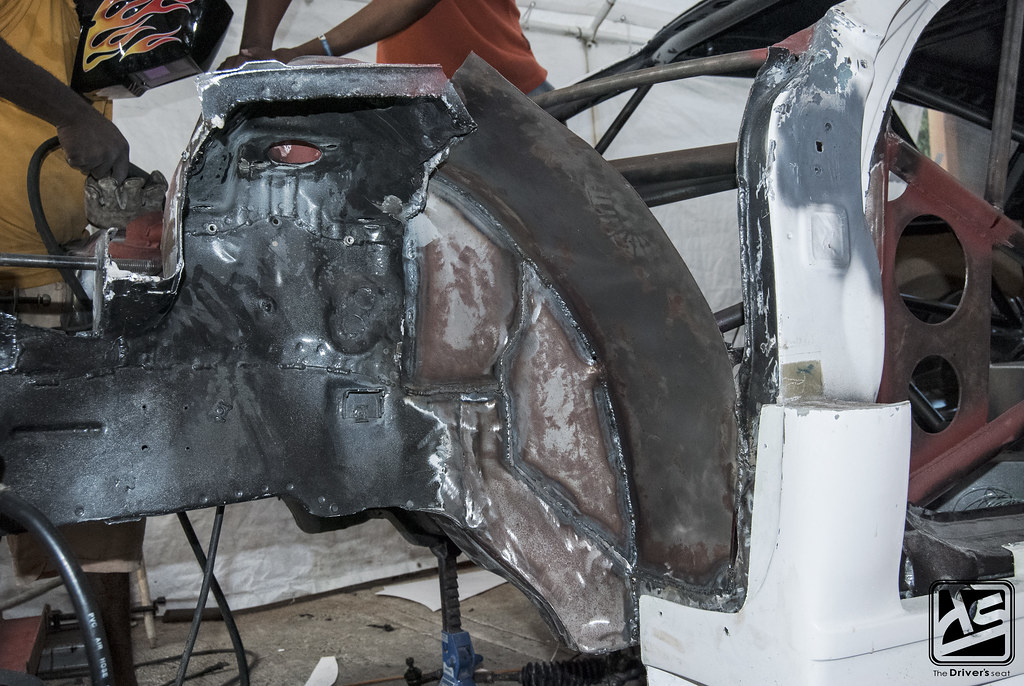
A better view of the progress that was made so far…
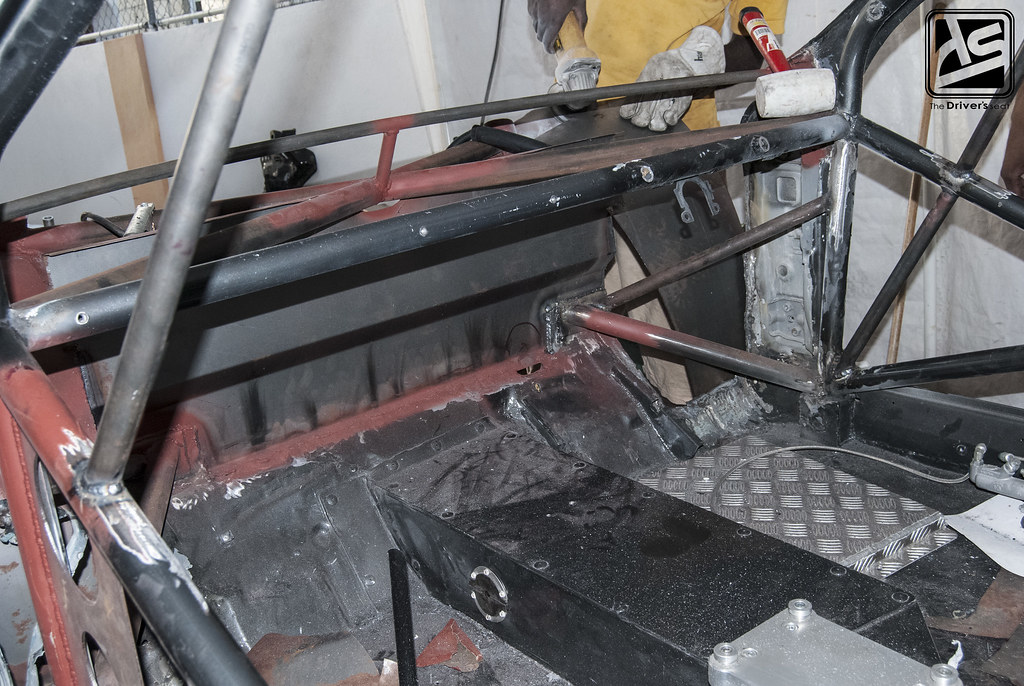
On the inside some significant progress being made with the firewall now fully welded in place and the beginning portion of the wheel arches starting to take shape.

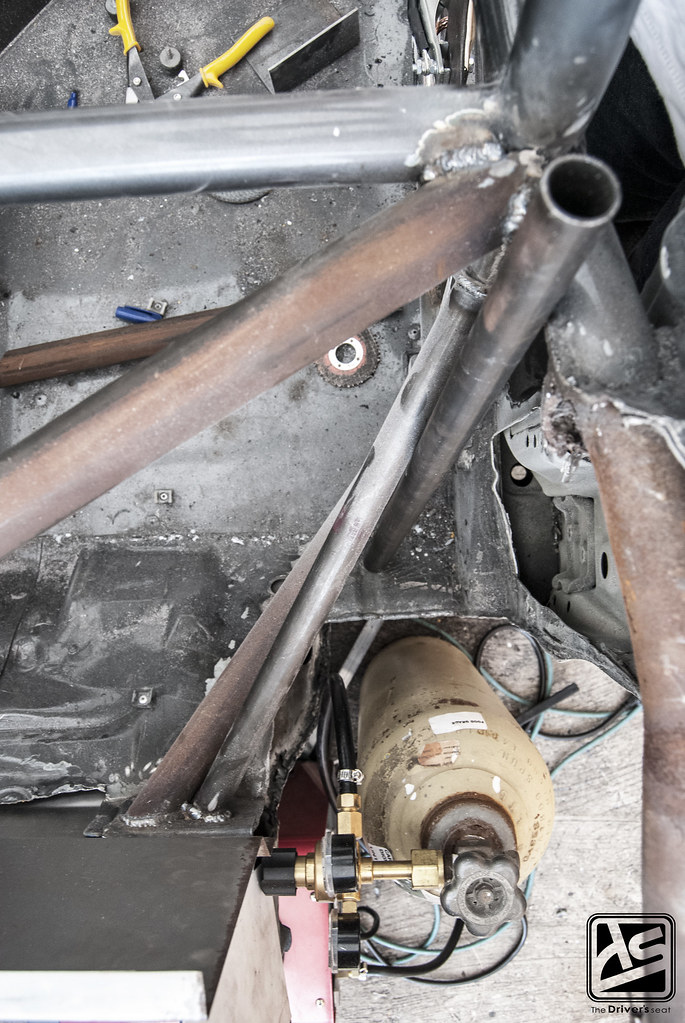
A view from the left side, where if you pay close attention an additional piece of pipe was placed just above the location of where the oil tank will be mounted to tie into the upper portion of the roll cage running along the roof.
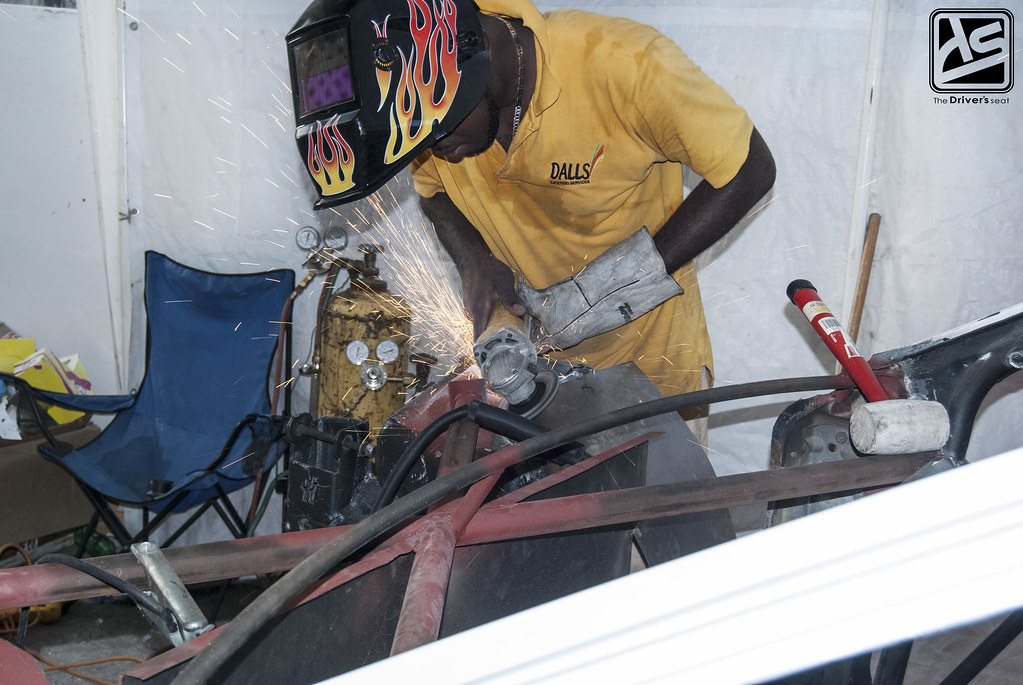
Dalarc Fabrications busy at work…
Varying angles from the inside and outside showing a rough outline of where the windshield will sit and where the dash will be mounted…
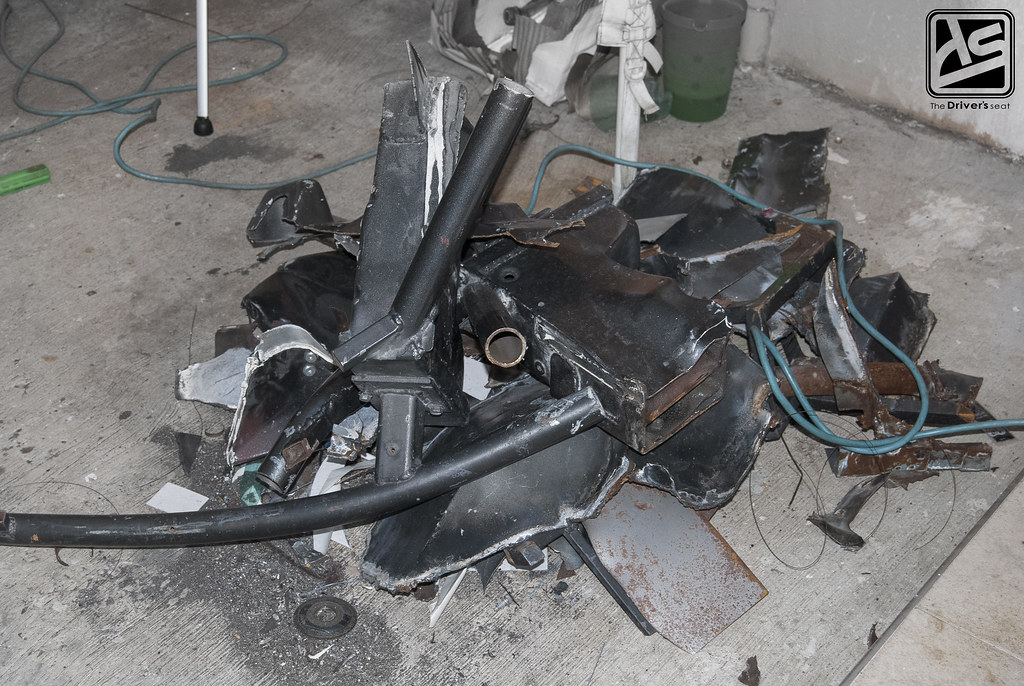
Quite a surprise here, the guys also decided to cut from the mounting points of the engine forward off and replace it with a lighter material…
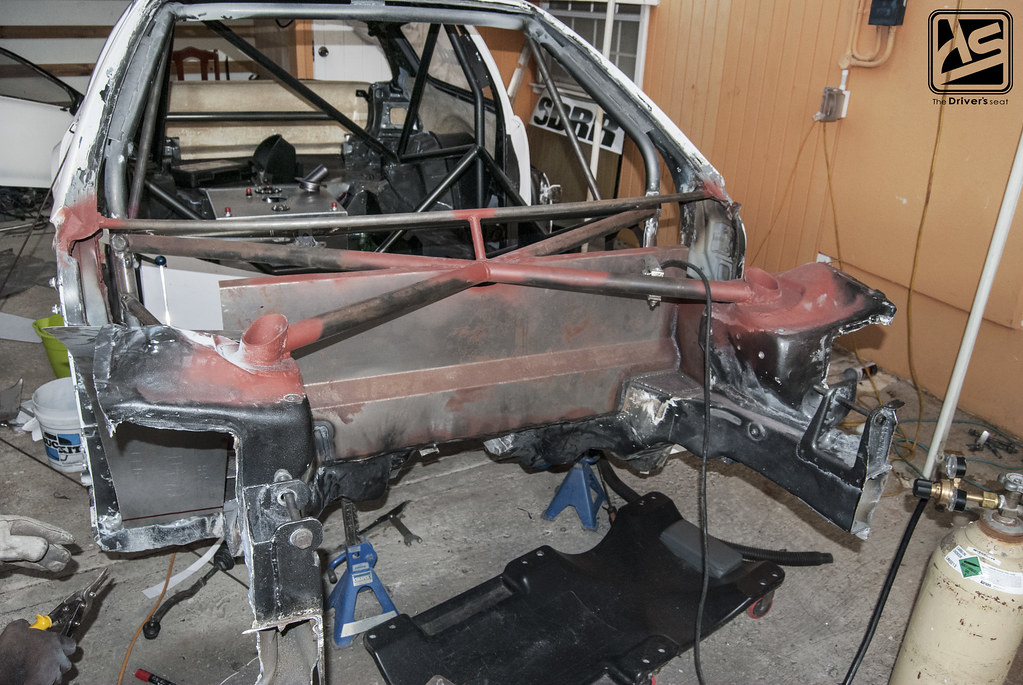
A few angles for you guys to get a fairly decent idea of how things are shaping up or lack there of…
Shock tower to firewall to chassis connection…
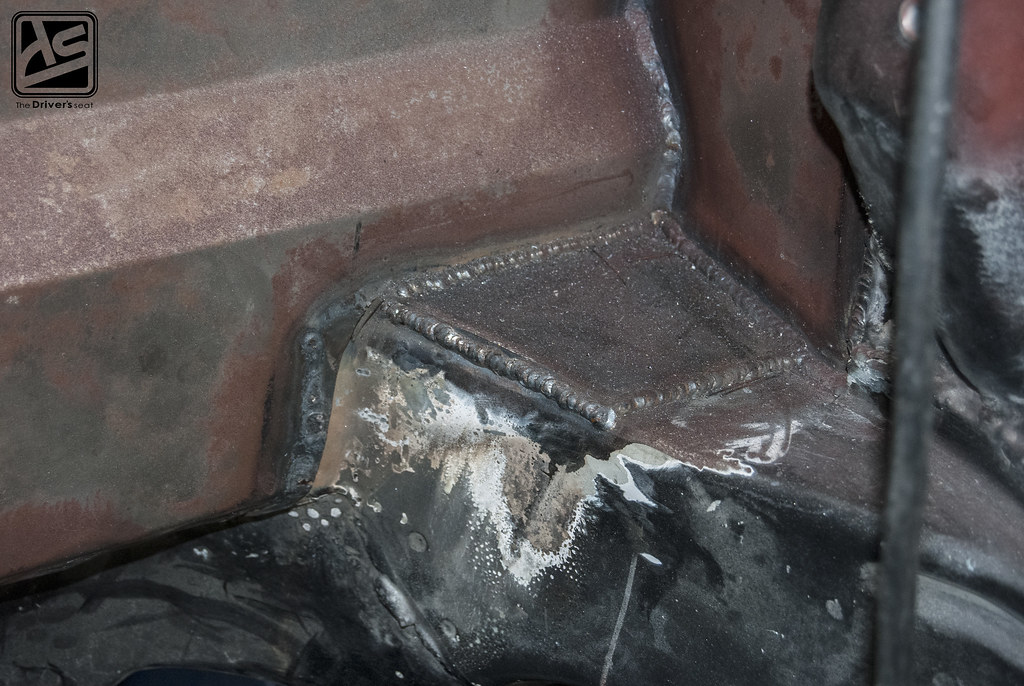
Close up of some of the welding work that was done to join the firewall to the existing chassis…
Some of the welding work that was done to recreate a portion of the wheel arch to existing chassis…
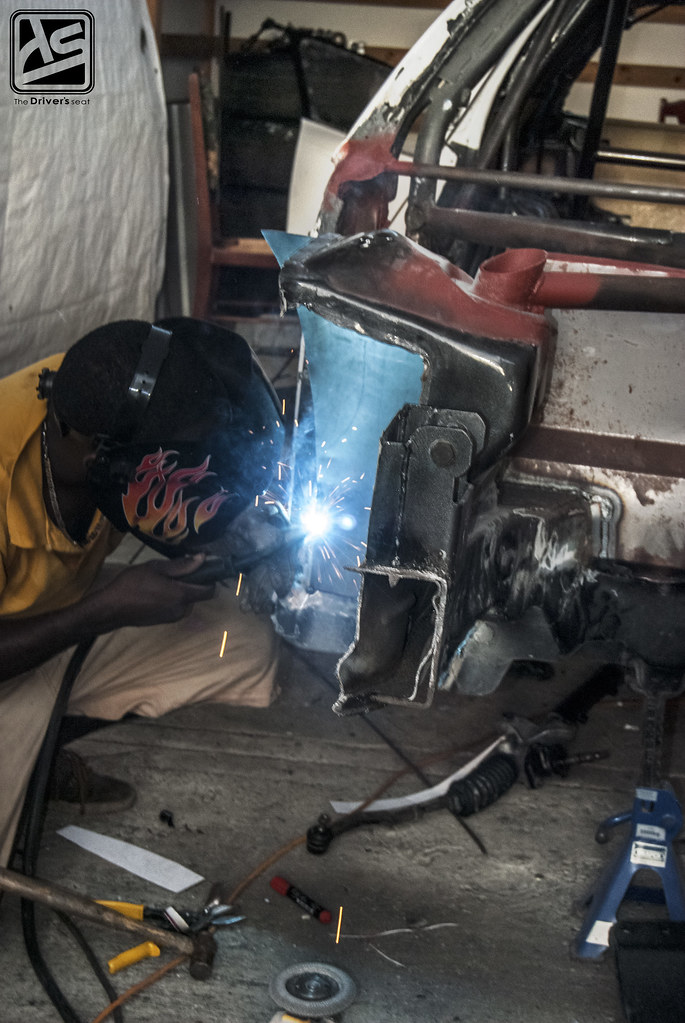
Hard at work duplicating the same results on the other side…
While progress was being done on the shell, Jerry also had some progress being made on the inside…
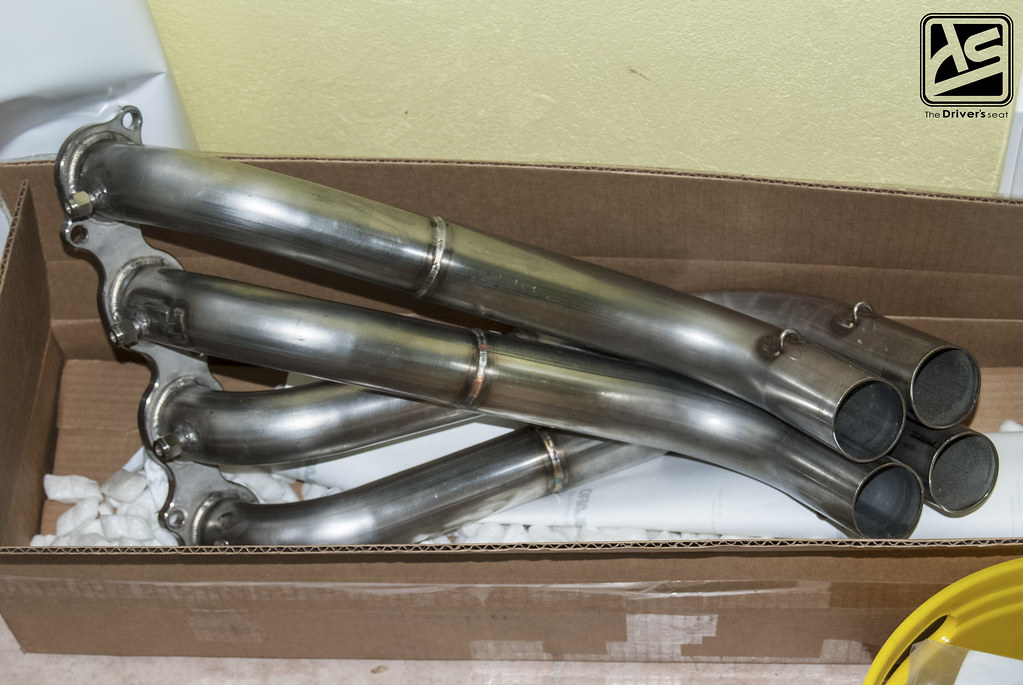
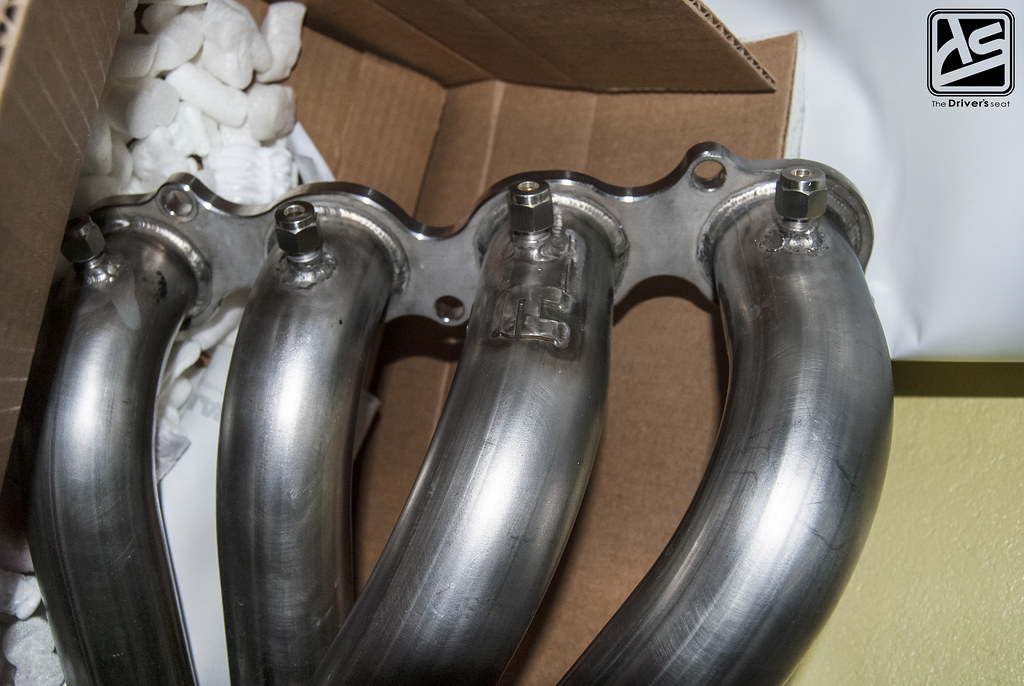
Jerry had the header cut and provisions made for the thermocouple…

Oddly I found the 4 Piston Racing spec. Kinsler ITBs sitting on a box as if there were ready to be shipped back out…
As odd as it was I paid it no mind until…
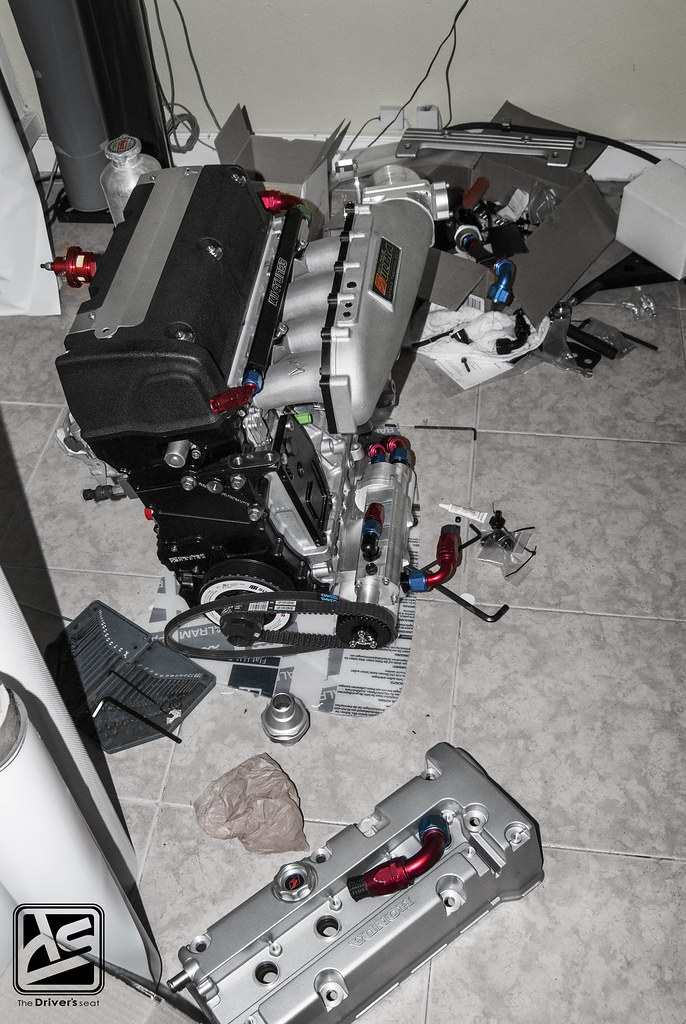
I spotted the engine tucked away in its corner with a newly mounted intake…
The main reason behind the change from the 4 Piston Racing spec. Kinsler ITBs was the clearance issue. After having a few setbacks with the motor, it wouldn’t have been completed in the desired time frame and Jerry had to push ahead with the widebody kit. When the motor finally arrived, Jerry realized that there wouldn’t be enough room for the ITBs to clear the one piece front. This would mean, that in order for Jerry to use them he would have to take the car back with the motor mounted and have the front redesigned once more which would not only be time consuming but also quite costly. To avoid going to this trouble, he opted to replace them with Skunk2’s Ultra Series intake manifold.

The Skunk2 Ultra Series intake manifold has a three-piece modular design that allows for easy disassembly, porting, and plenum volume changes through the use of a removable plenum and optional plenum spacers. The Ultra Series Intake Manifold has undergone extensive dyno and on-car testing which has led to a design that is less restrictive, yielding both torque and power gains. The large 90mm throttle body opening, 87mm velocity stacks, and hi-velocity intake runners with smooth transitions allow the Ultra Series Manifold to outflow the competition.
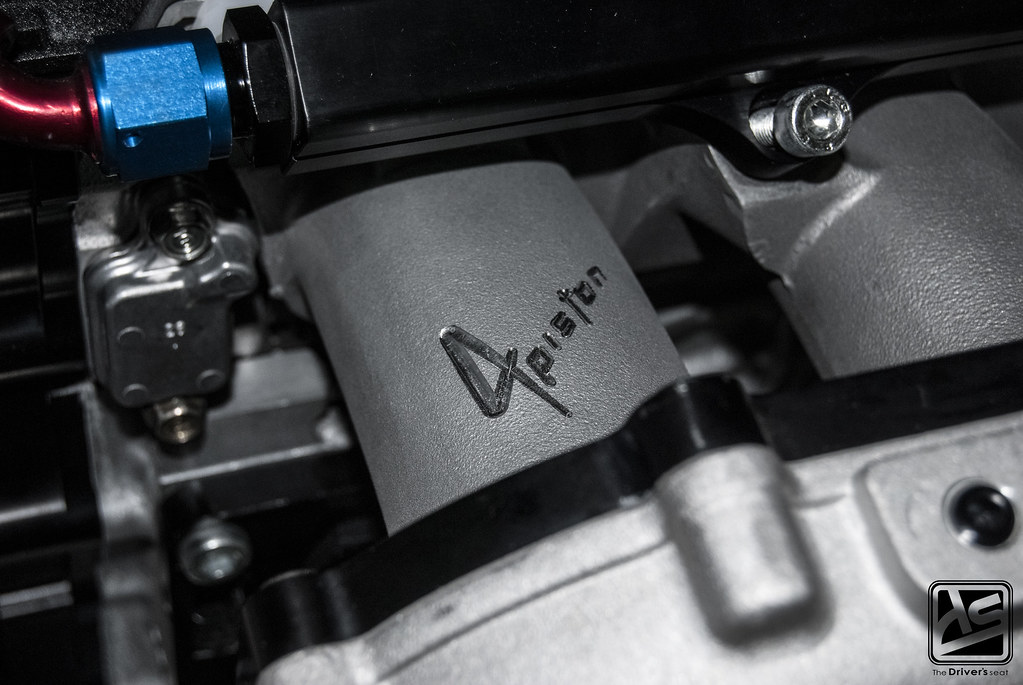
But that is all well and good on its own, Jerry however, opted to pick up the 4 Piston Racing CNC ported Ultra manifold. With 5-axis CNC ported runners that drastically improve flow. The runner is reshaped to provide superior taper down to a port opening that more closely resembles that of your cylinder head, and to, remove casting imperfections.
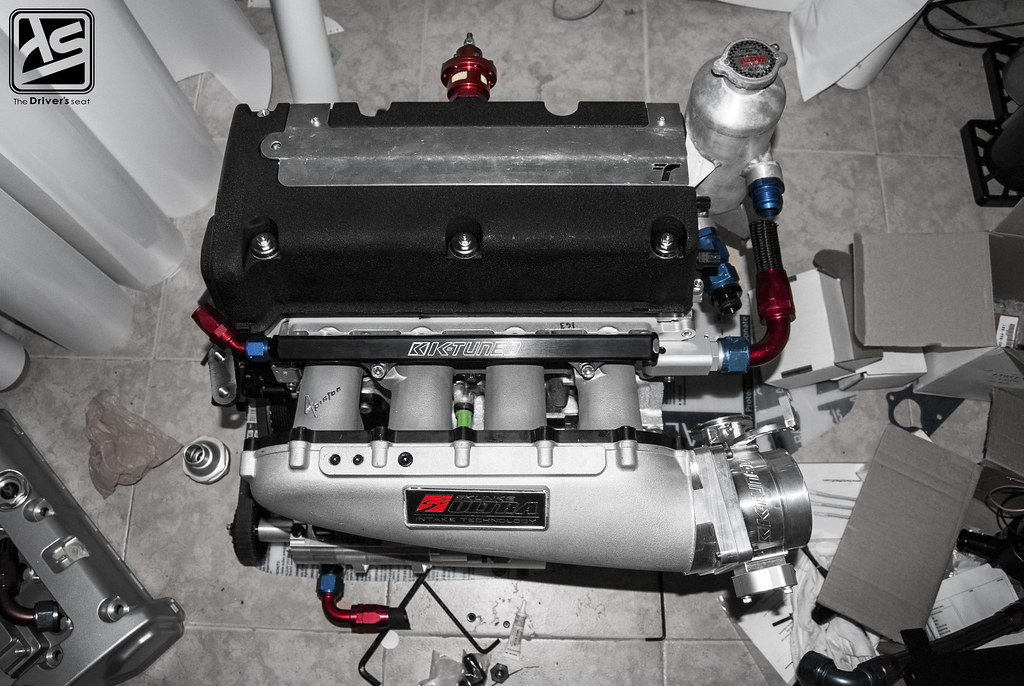
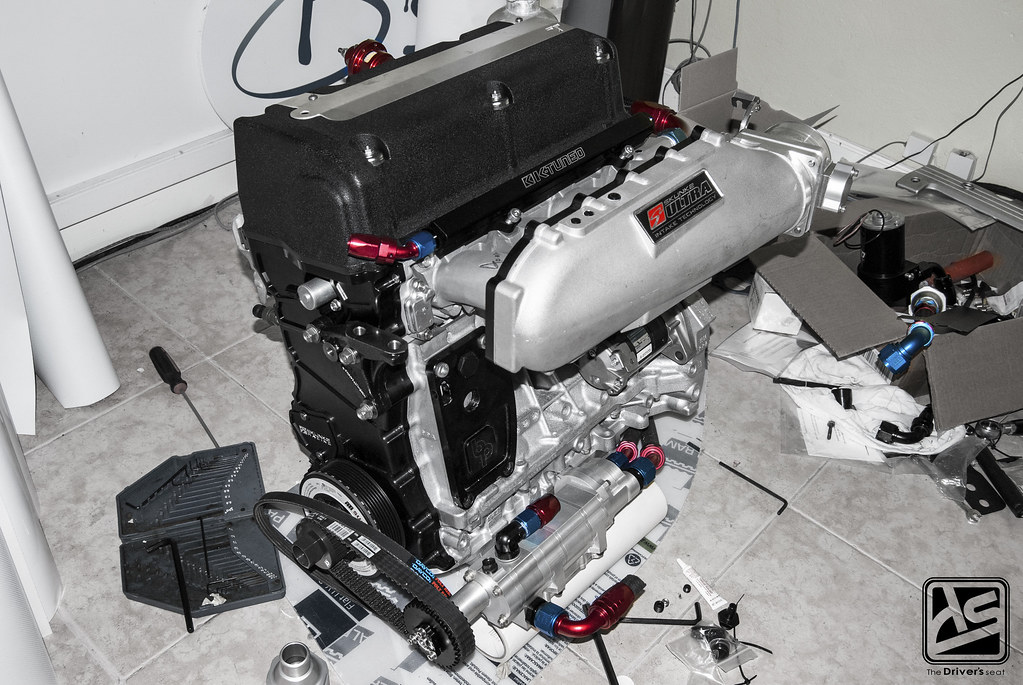
Money shot!!!… Showing off the custom Trac Tuff valve cover, powder coated in a wrinkle black finish with their Trac Tuff coil plug cover to compliment it. Here you get a better view of the 4 Piston Racing spec. Skunk2 Ultra Series intake manifold. Being a big fan of the quality products K-Tuned produces it was a no brainer to go with their 90mm billet throttle body and TPS for this setup.
That brings us to the end of another post in this series, i’m going to leave you with a parting shot of the motor…
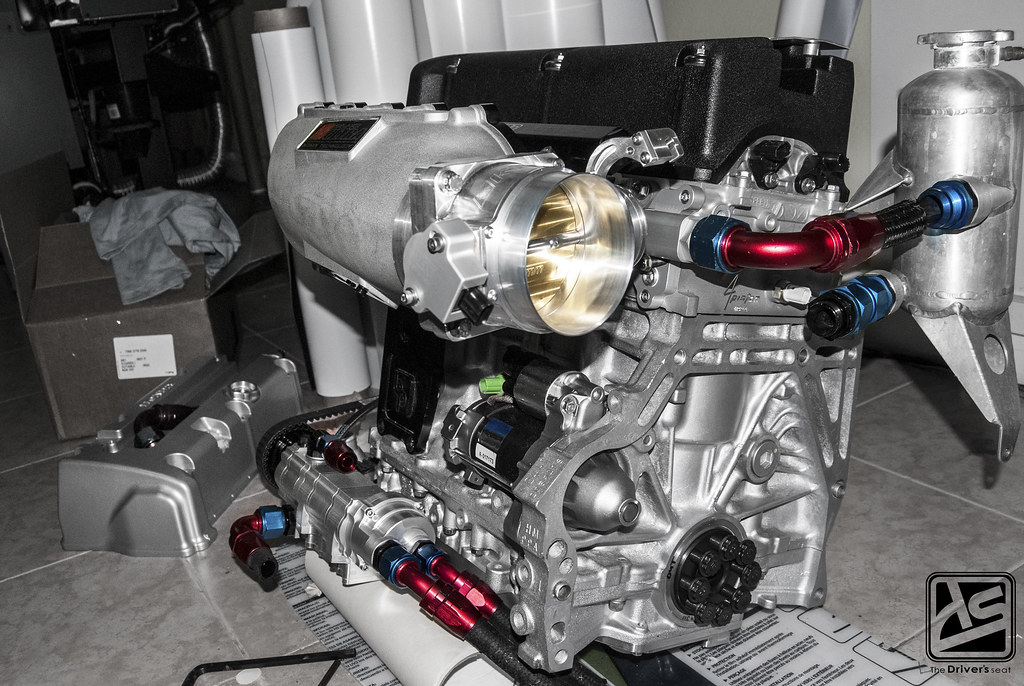
I hope you guys enjoyed it and stay tuned for more to come…
