
Track Bred EG6 Build… Part 33
I don’t even know where or how to begin this post, but let me start off my wishing everyone a Happy New Year and I hope you guys had a great Christmas. Hard work, late nights and endless sacrifices are all things which made this build possible and got it to the point where it’s at. But recently frustration, disappointment and broken promises are what seem to have taken over this build.
Those who are following this build were probably wondering what has been going on and would also realize with this post we skipped a number. The truth is, a post was written and prepared for quite some while but after reviewing it several times we decided against putting it out based on the severity of its contents. As important of a post it was, we thought it would be best to leave it out looking at the build from a holistic standpoint.
When we last left off, the car was stripped and in the process of being sent off to Wint’s Auto Shop to have a fresh new look for the upcoming season but in the end it proved to be less rewarding. This is nothing Jerry is accustomed to, as with previous posts you guys would come to realize that Jerry is very meticulous and takes just as much pride in the paint work as with quality of work done to the interior and exterior. To sum it up, Wint’s Auto Shop was the straw that basically broke the camel’s back. At the moment Jerry is contemplating if after the car is finished, whether or not he should part ways with it and make his exit from the the racing scene altogether.
With the car finally back at home, Jerry started the reassembly and managed to have the motor and gearbox installed. He also recently got the body panels back from paint which he started to install. And of course, what would a Jerry post be without some fresh new goodies to compliment the build. And with that said, enough of the words and on to the photos…
For those who would like a full recap of this build, I’ve provided the link below…

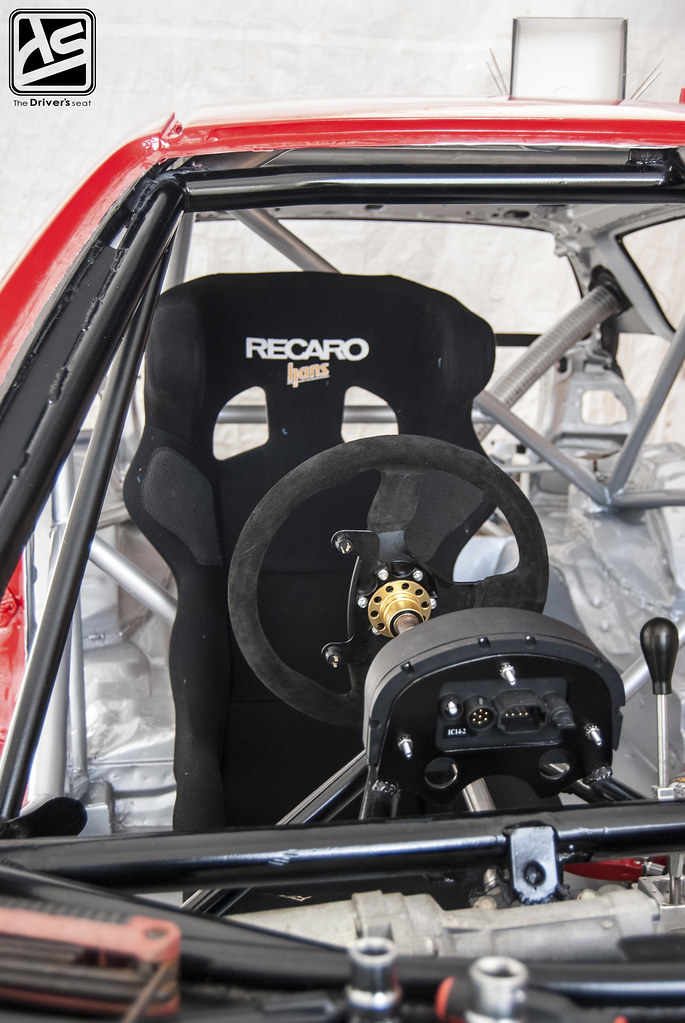
A quick look of the interior as it comes together…
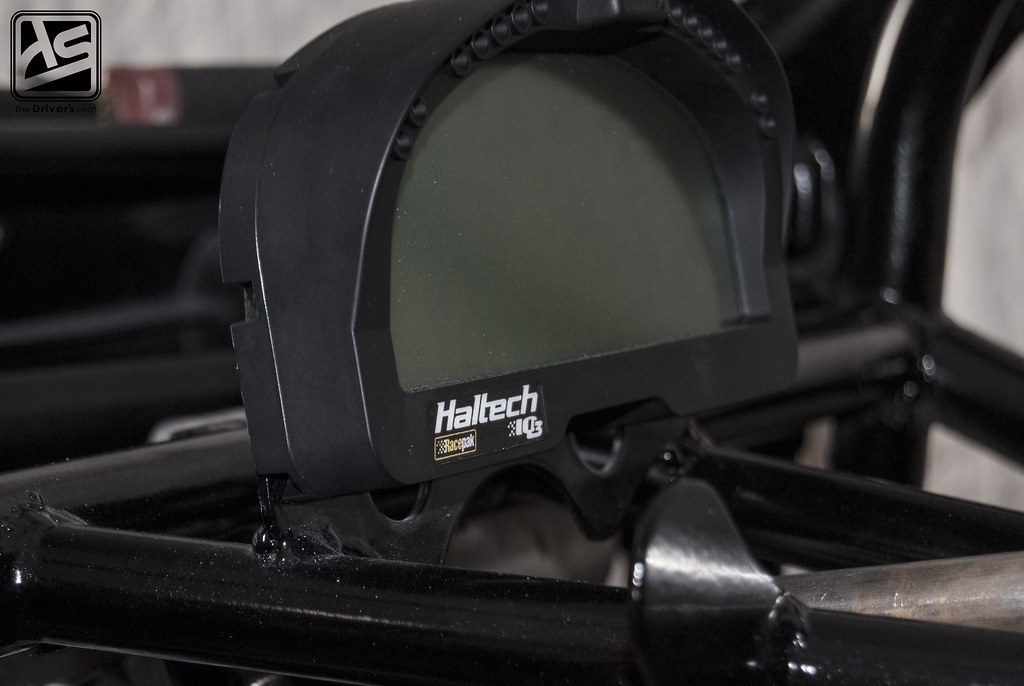
Haltech digital display finally in its new location…

Random shot of the refurbished office showing off the K-Tuned shifter, Recaro SPG seat and Sparco steering wheel…

Raw view of the skeleton of a shell…
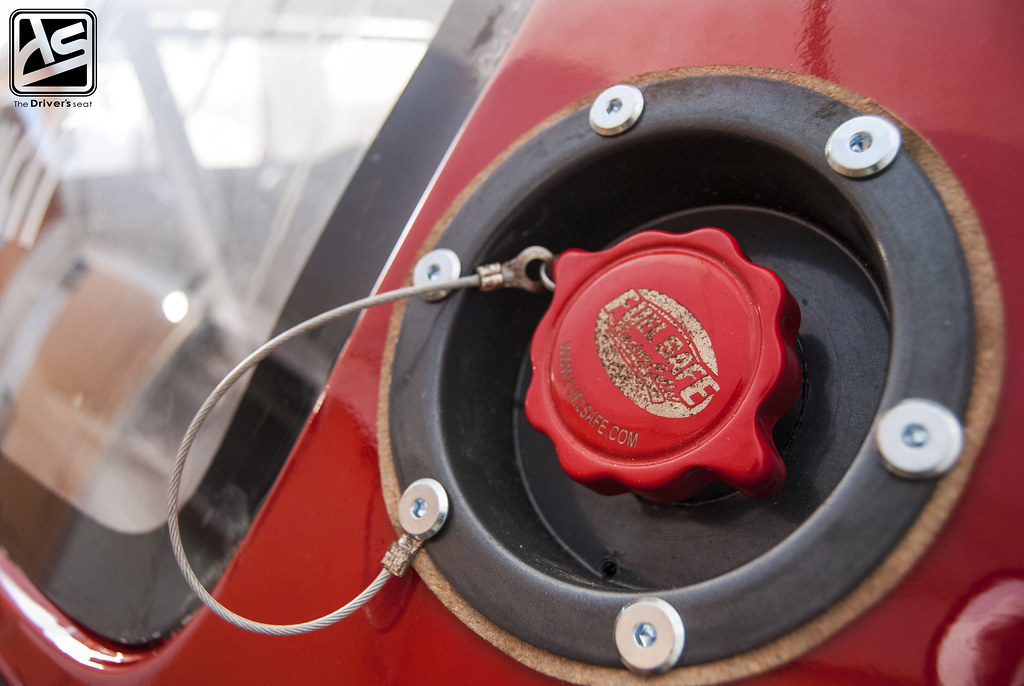
Fuel Safe cap fitted in place to allow for external refilling of the fuel cell…
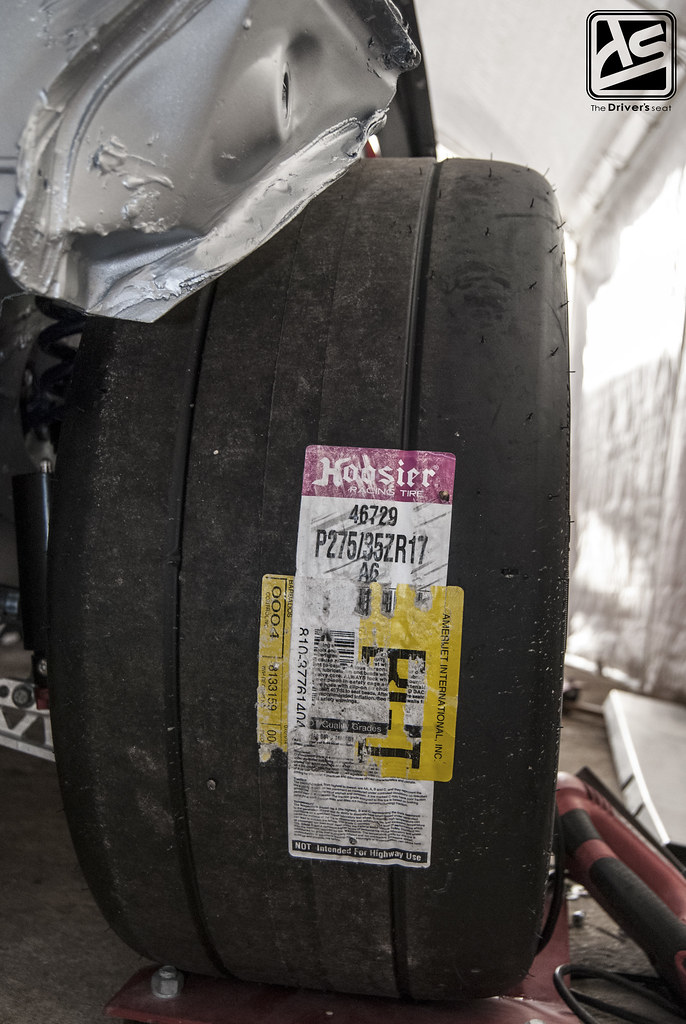
New Hoosier 275/35/17 rubber that will now be worn on the rear of the car…
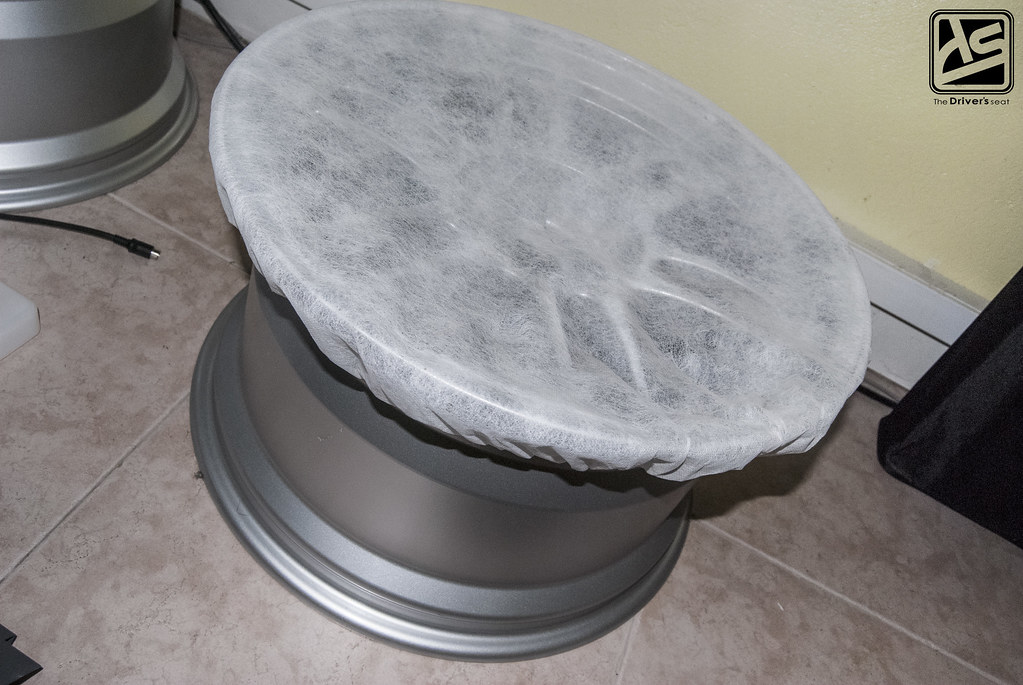
Thus far with this rebuild, pretty much every major component has been either refreshed, replaced or upgraded. With that said it would only be fitting for Jerry to place an order for some new wheels…
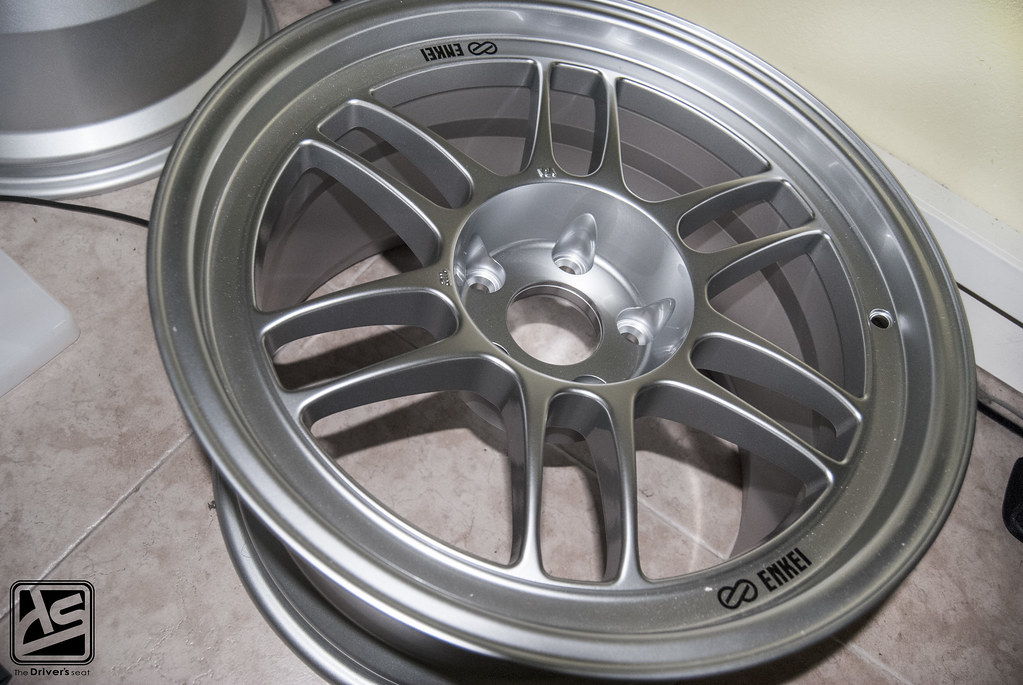
Being the big fan of Enkei RPF1s he ordered some more…
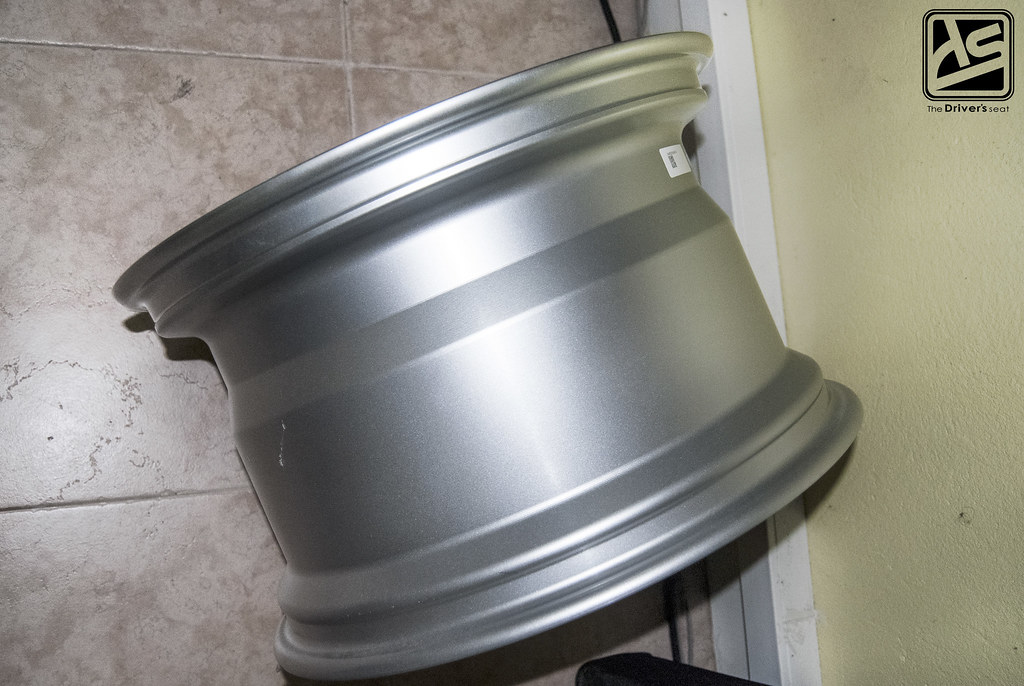
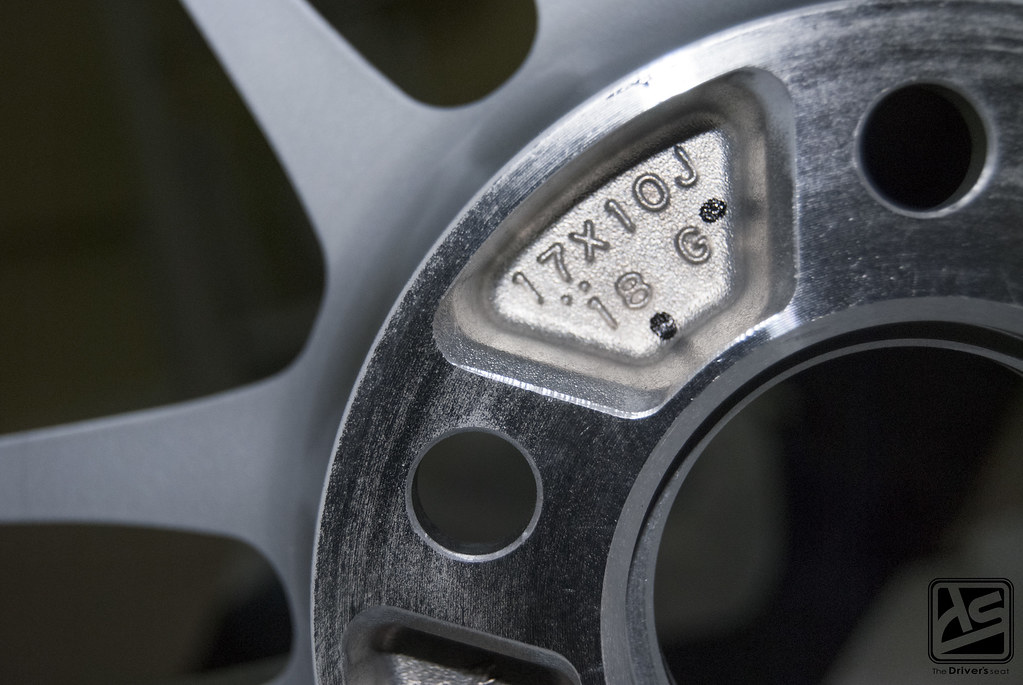
Only this time around he went with 17×10…
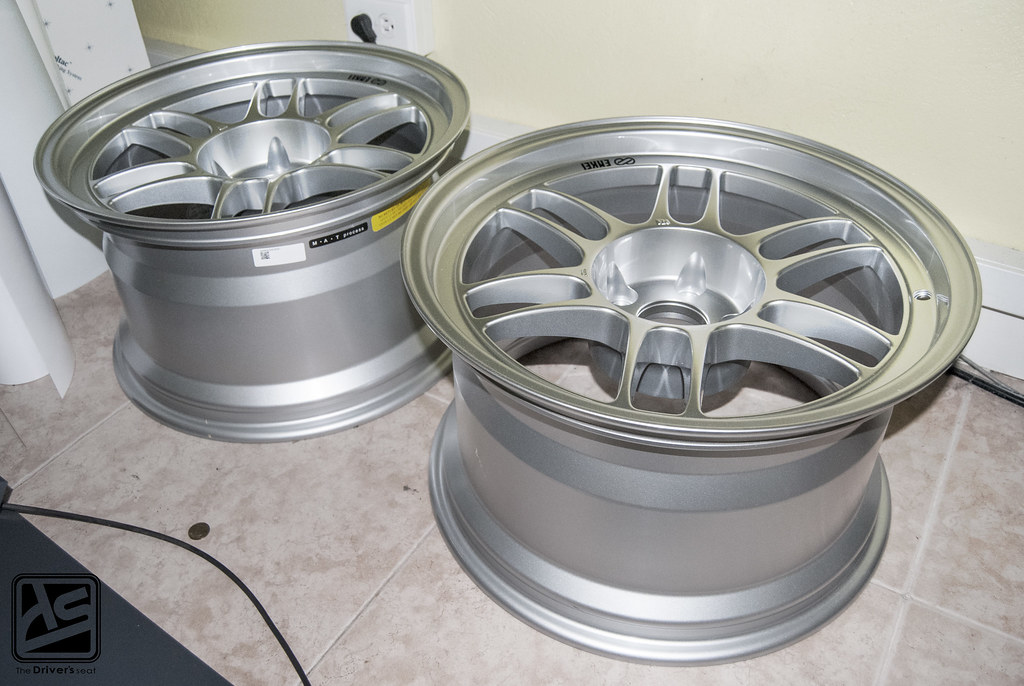
It will be pretty epic when these are mated with the new Hoosier A6 rubber…
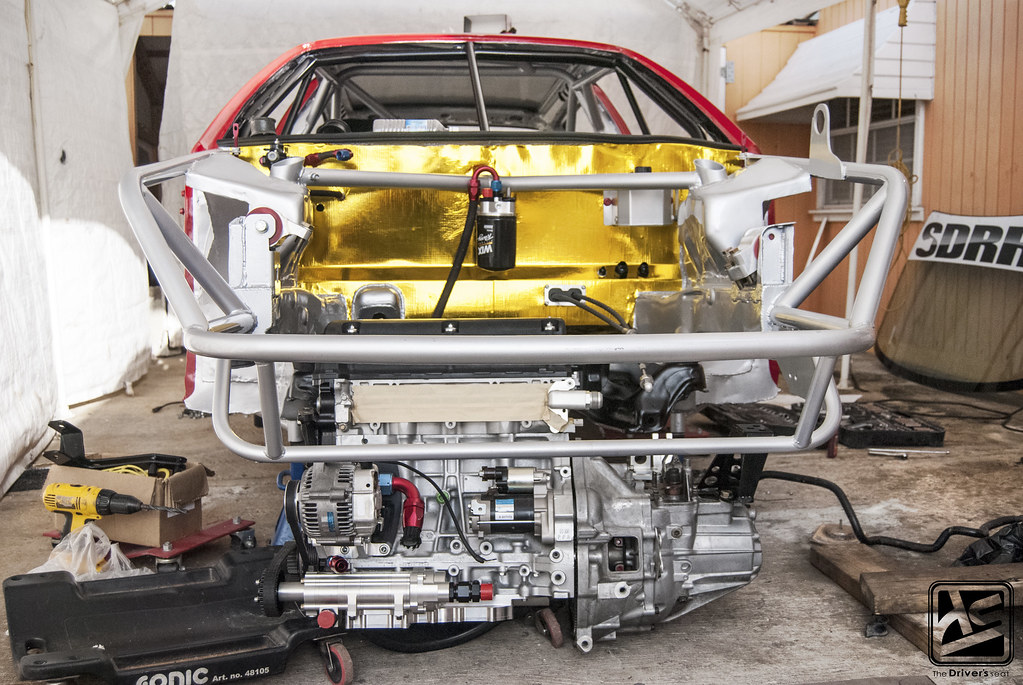
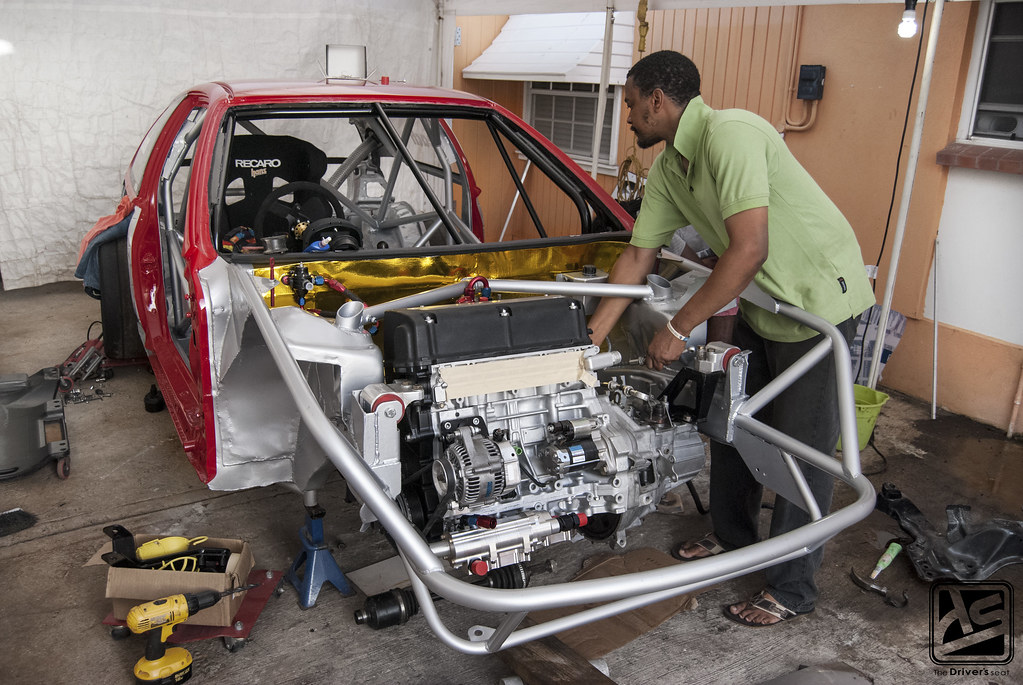
With the motor sitting for such a long time awaiting the return of the shell, Jerry was more than excited to get everything in place so he could lift it into the bay as soon as possible…

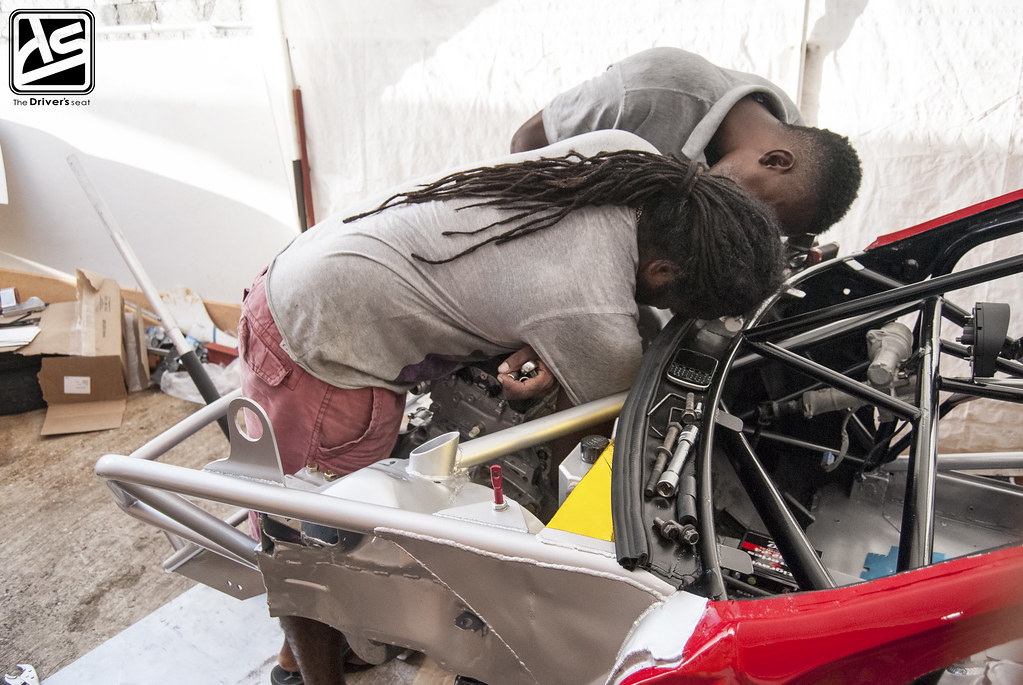
With some help, the goal was accomplished in virtually no time…

Aerial view of the motor and gearbox mounted in place…
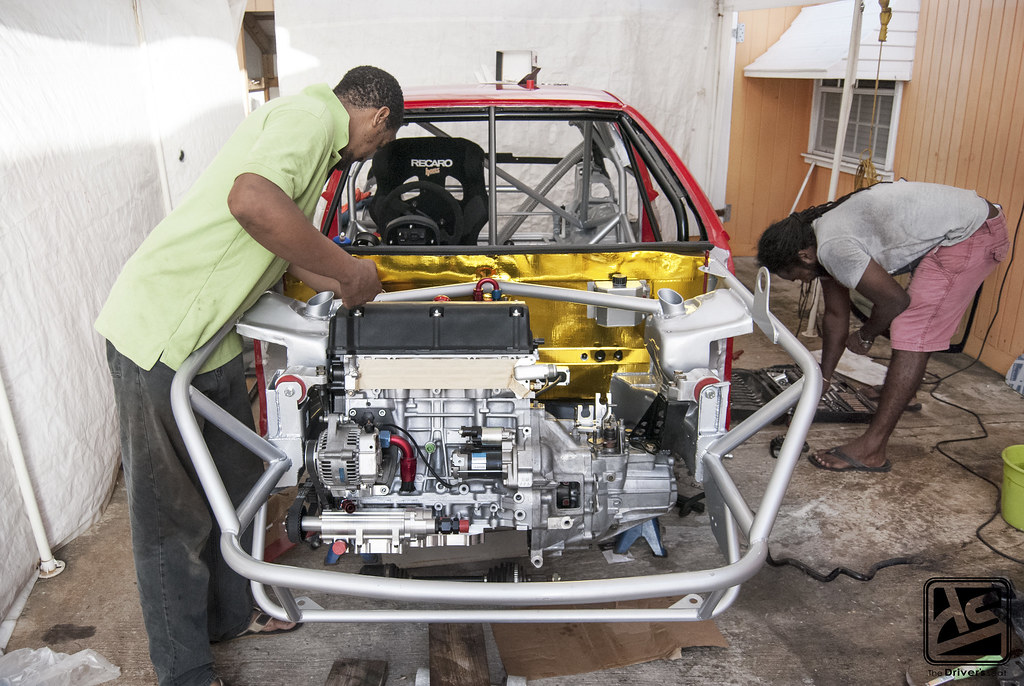
Jerry posing for the camera to give the impression he was actually taking part in the install haha…
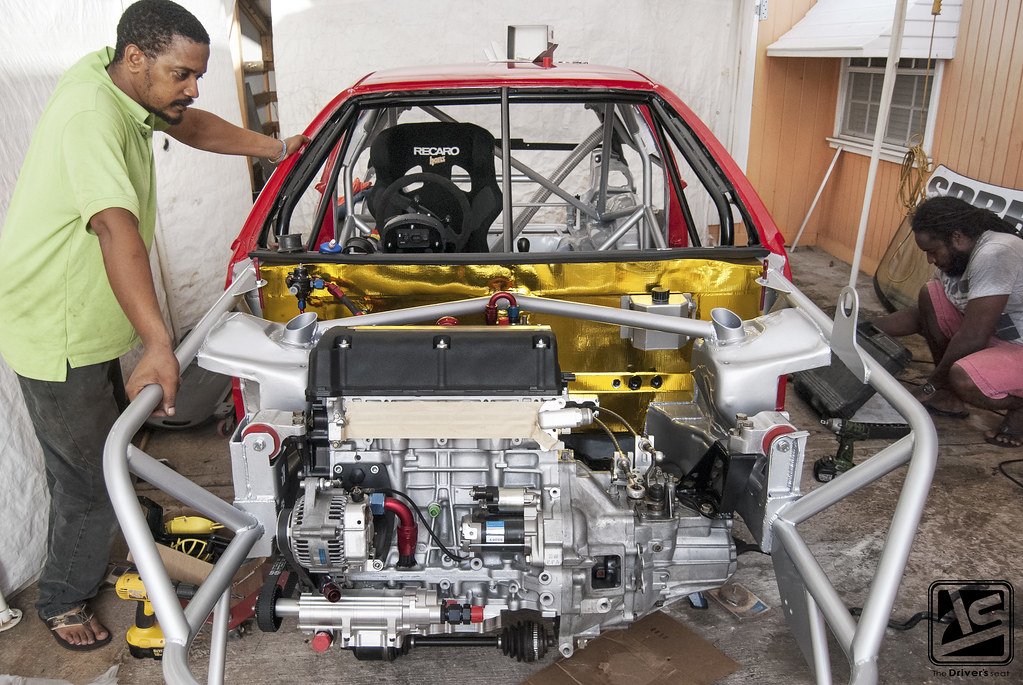
A long time goal finally coming together…
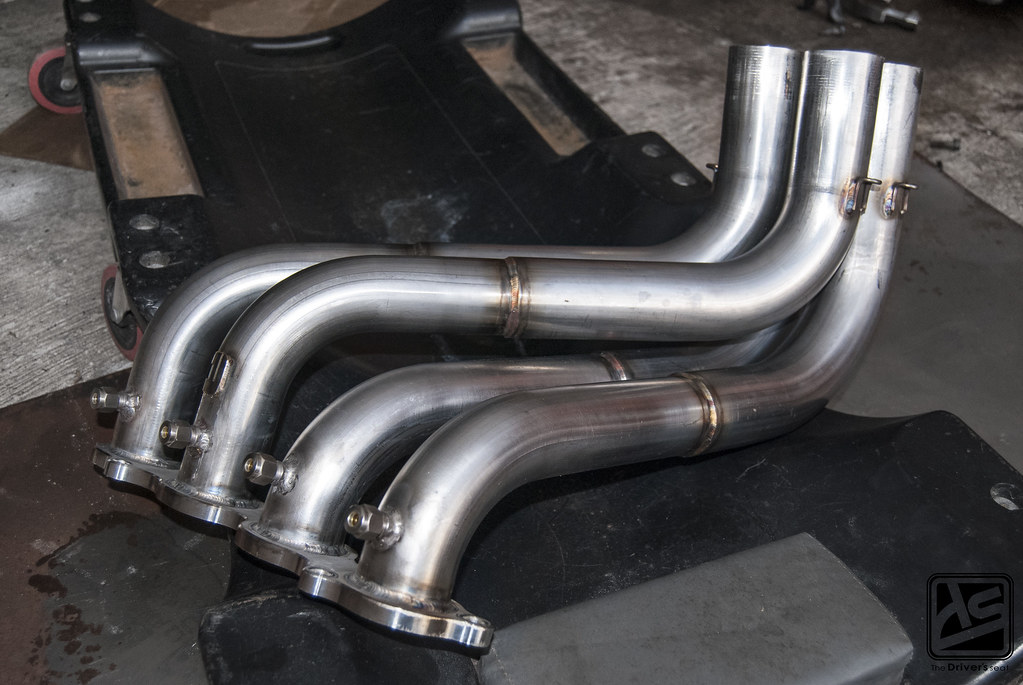
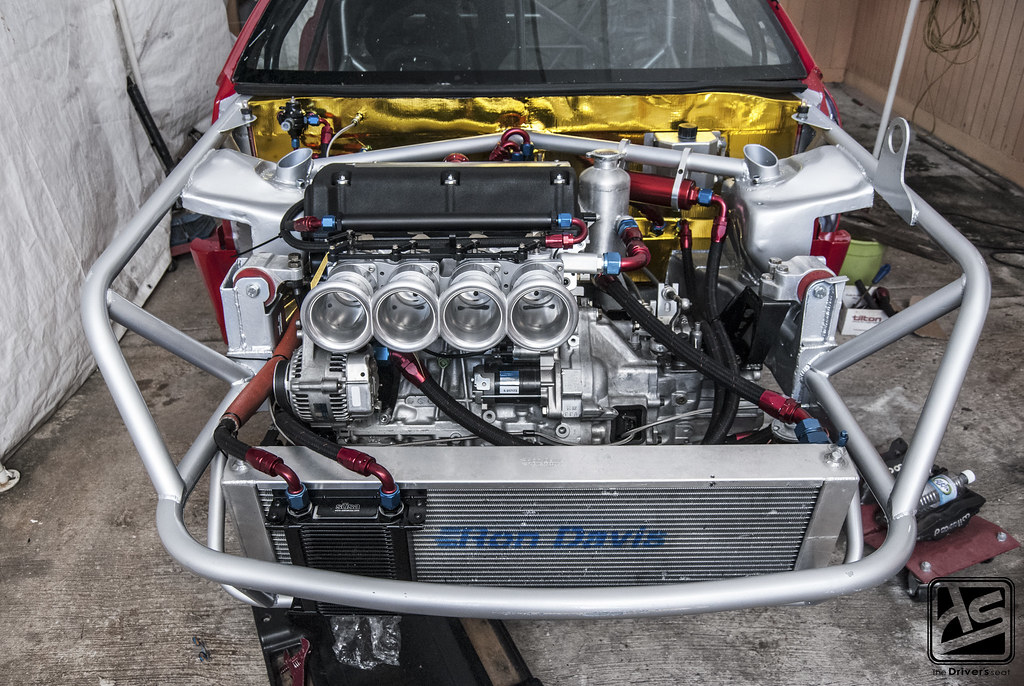
ASP header…
The ASP header is responsible for exhaust gases leaving the motor but on the intake side…
Jerry once again managed to find another solution to help extract the maximum midrange power and torque from the motor while still maintaing hood clearance…
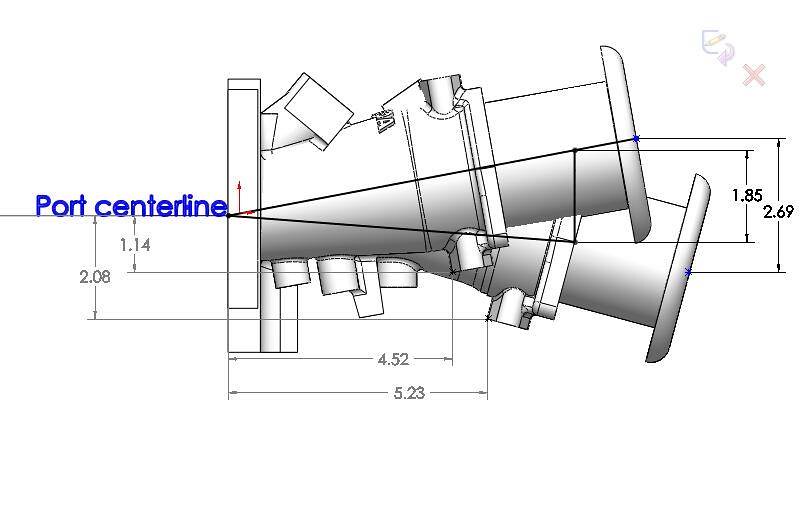
This was the result…
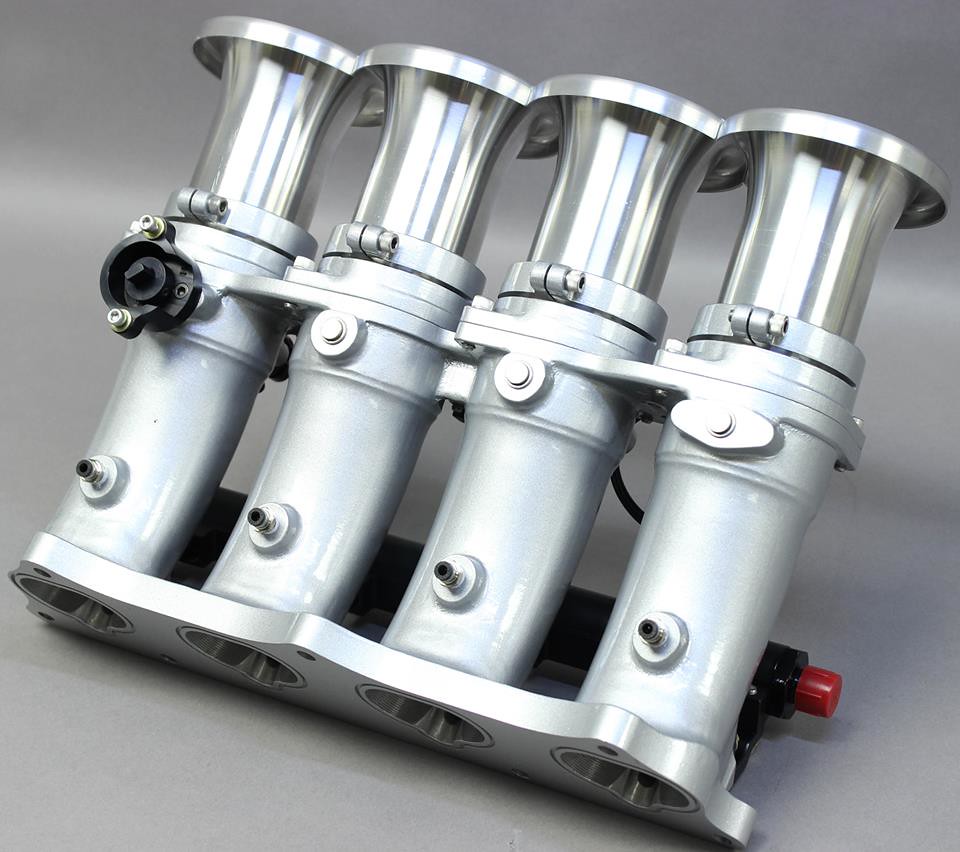
Unlike the conventional ITB setup which stick through the hood, Kinsler managed to come up with a design in which the runners are longer and set at an angle that would allow for hood clearance.
With Jerry always looking for new ways to improve on his build trust that he would be the one to not only find these specially designed ITBs but also to quickly place an order.

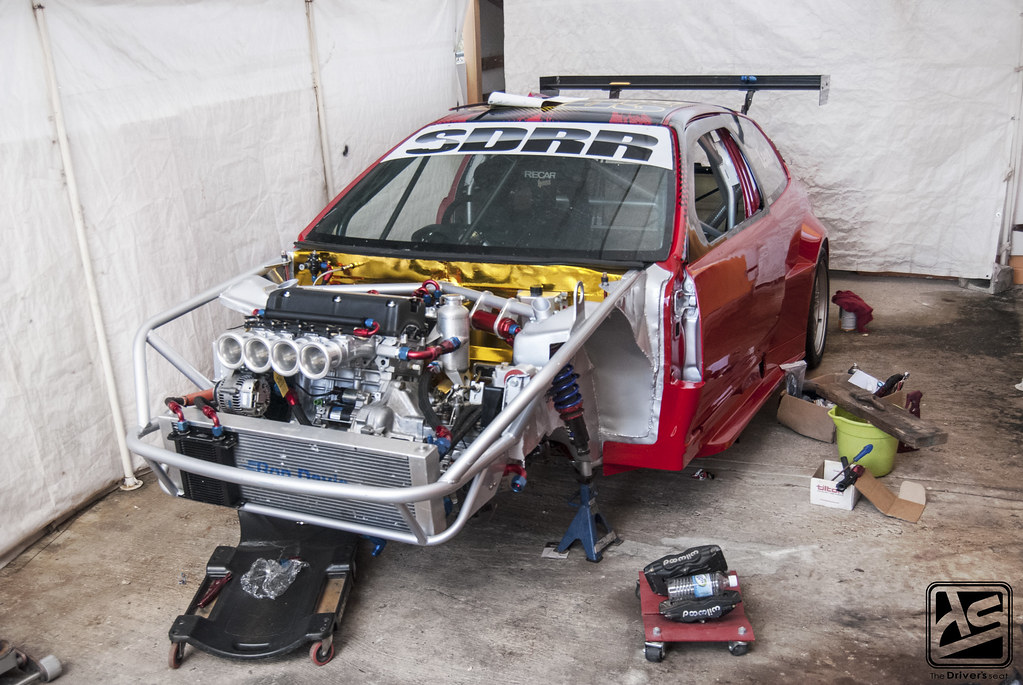
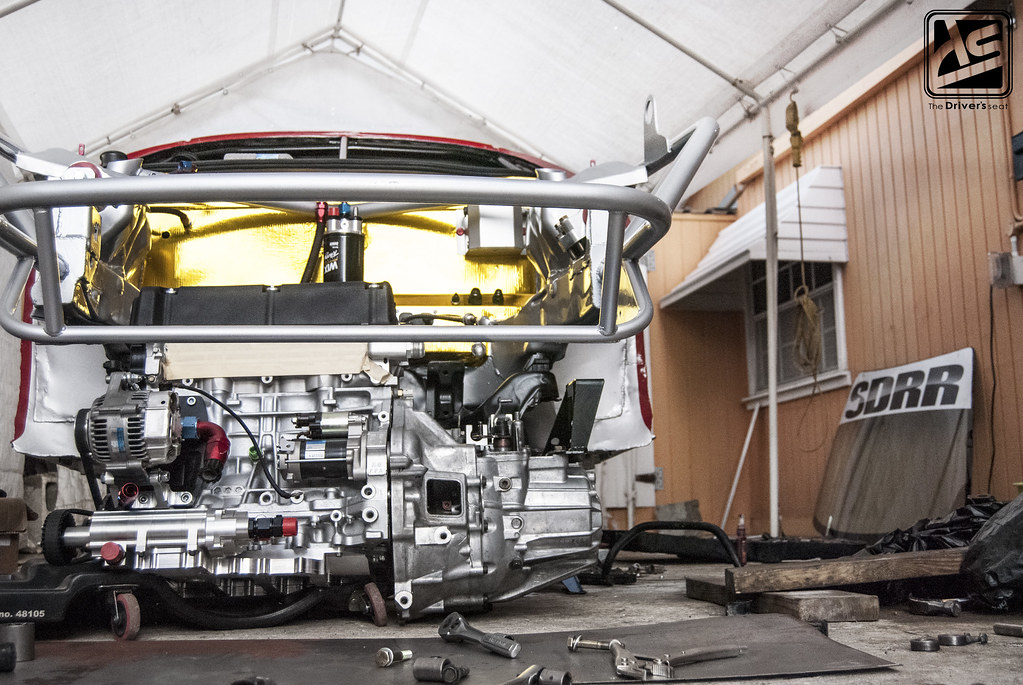
Piece by piece it’s starting to look like a car again. Something to note, when it was time to reassemble, Jerry opted to go with the old oil cooler setup based on space and how efficient it worked.
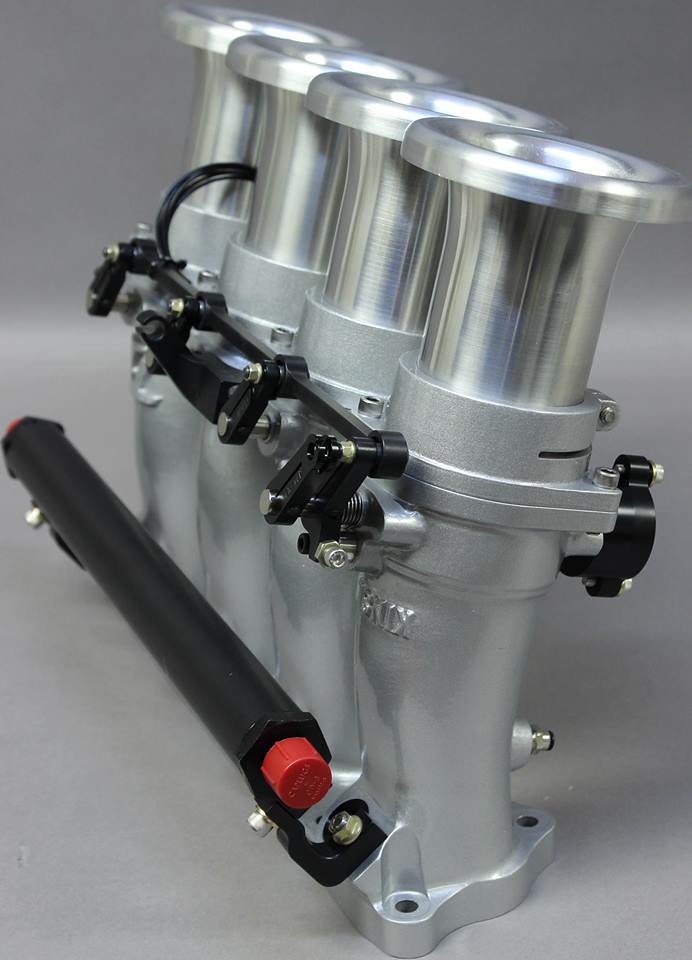
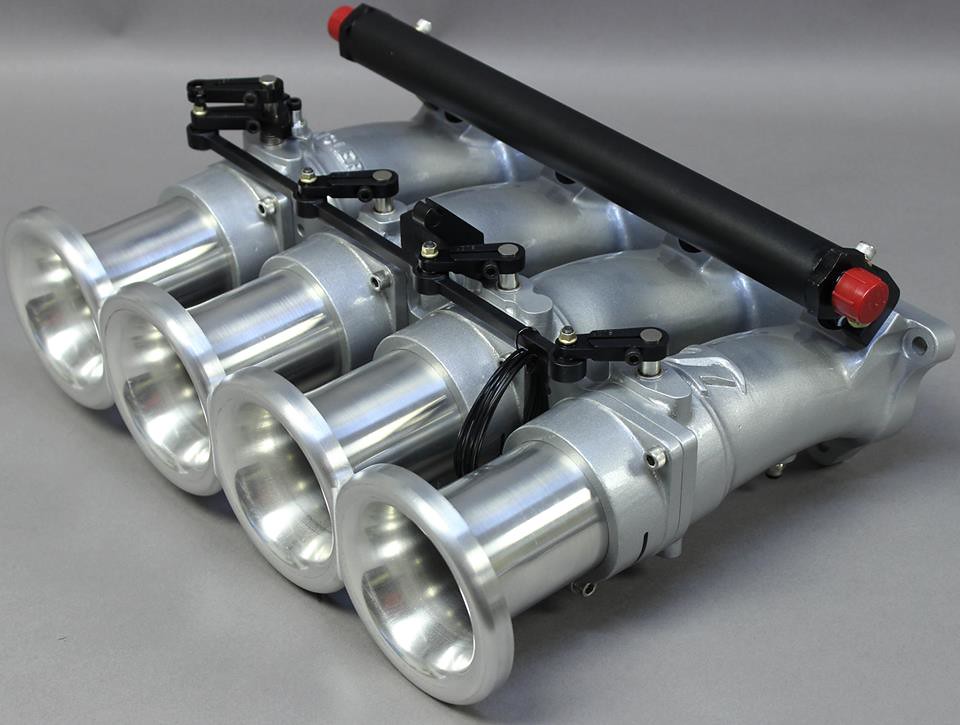
As you can see the new 62mm Kinsler ITBs have not only arrived but also have been fitted…

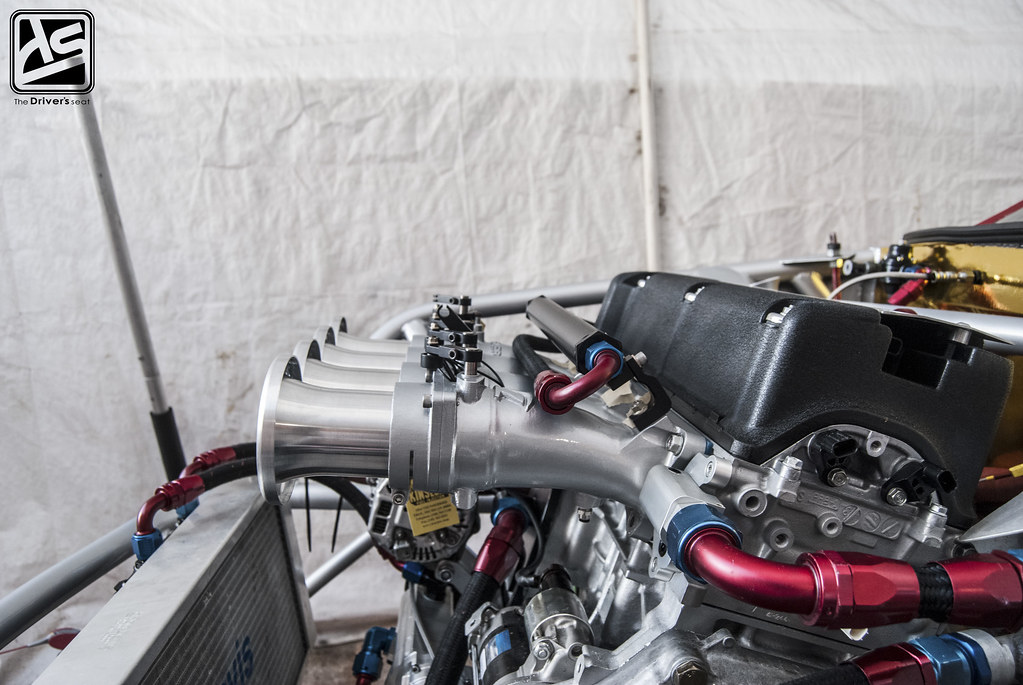
A closer look so you guys can get a better idea of the angle on new ITBs…
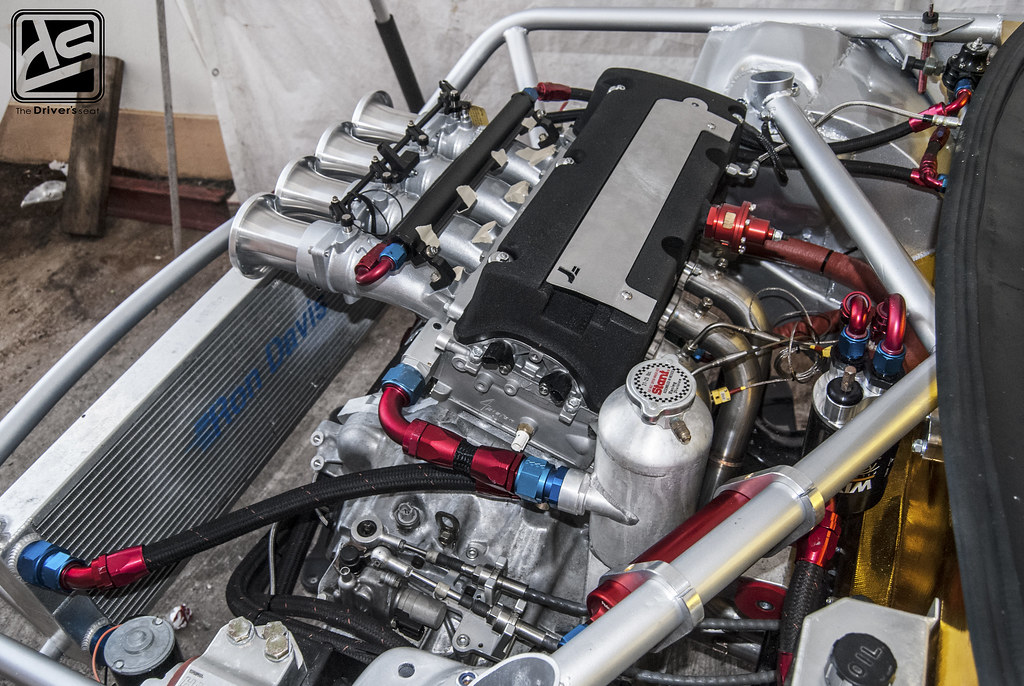
One last shot with most of the plumbing complete…
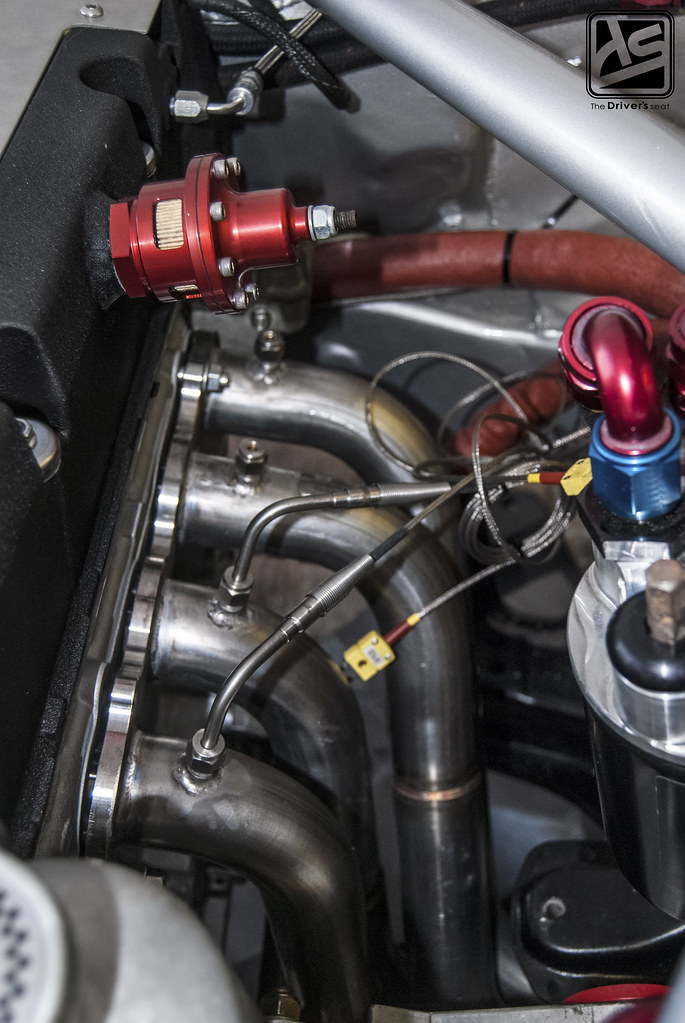
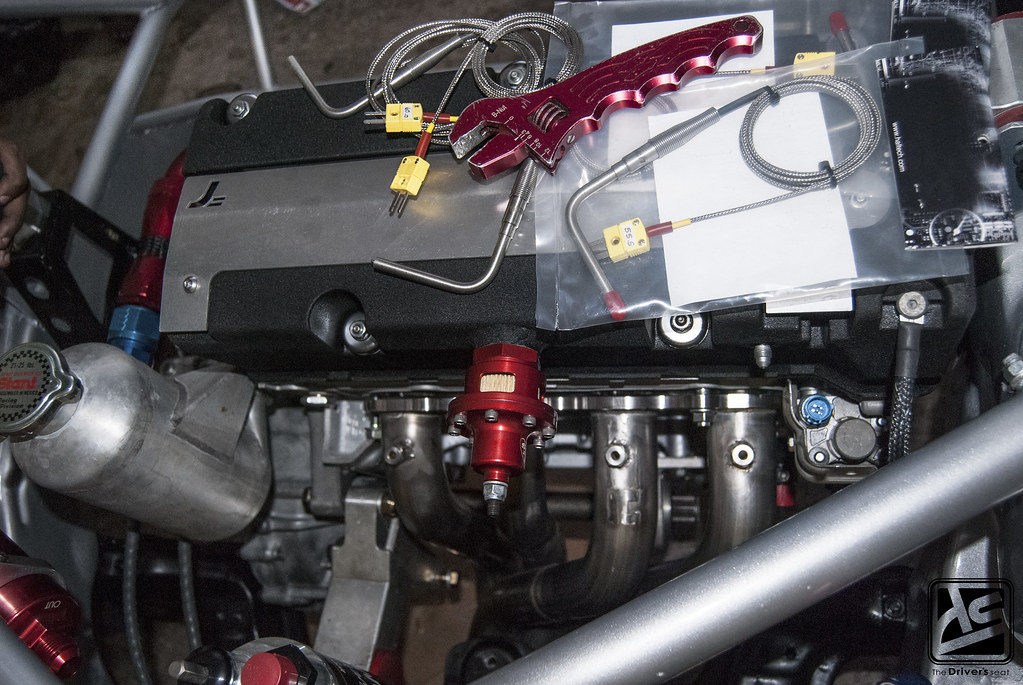
ASP header being fitted with the thermocouples…
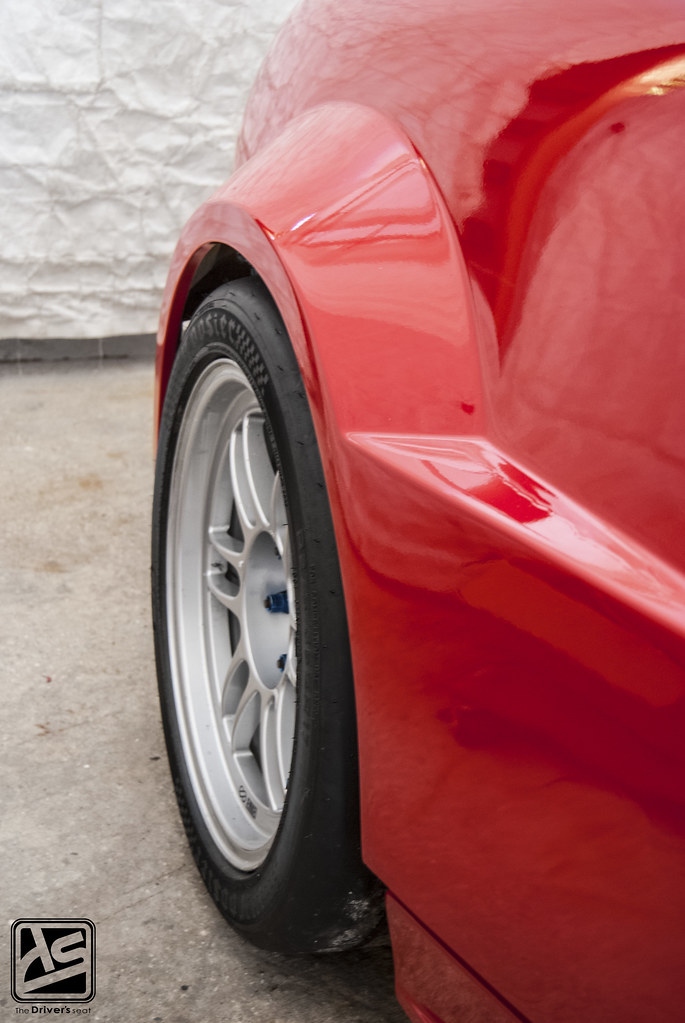
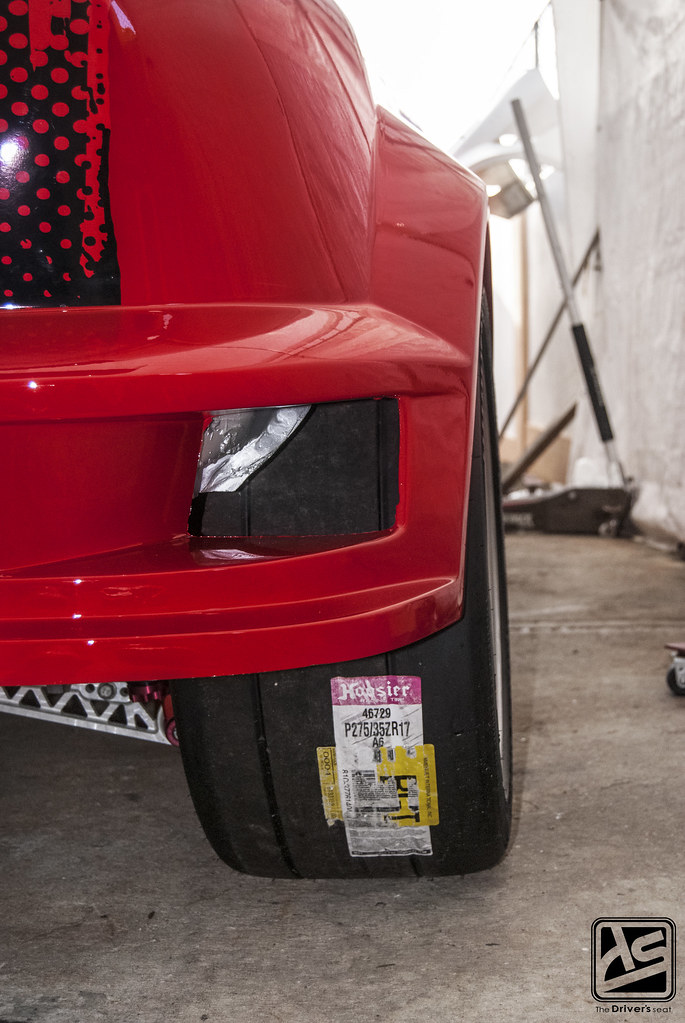
A look at the wheel and fender fitment with 275 rubber fitted at the rear…
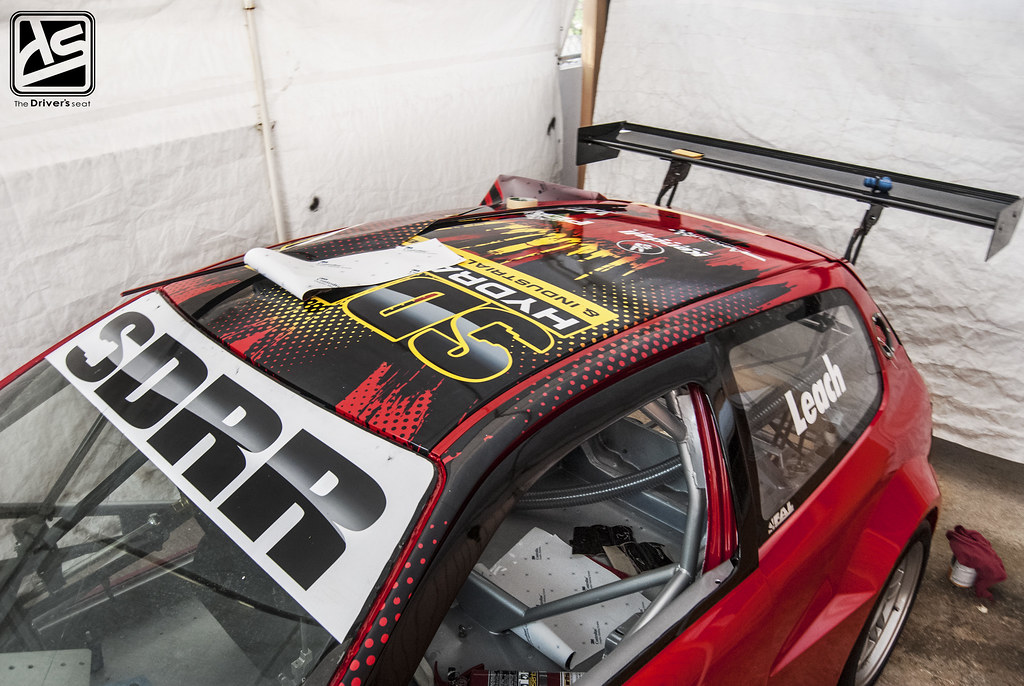
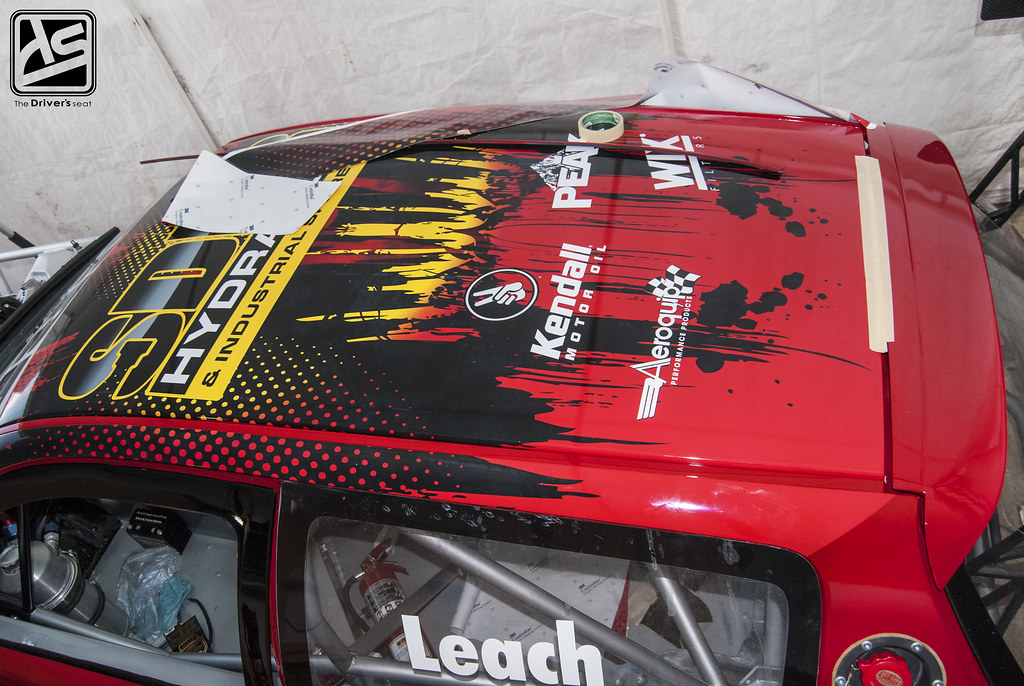
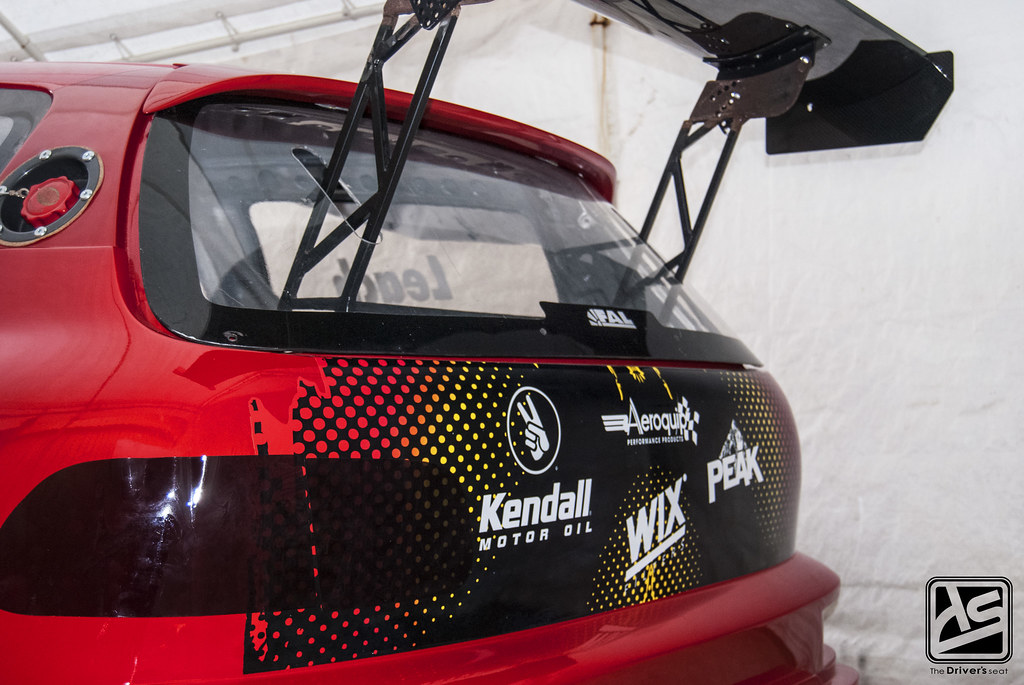
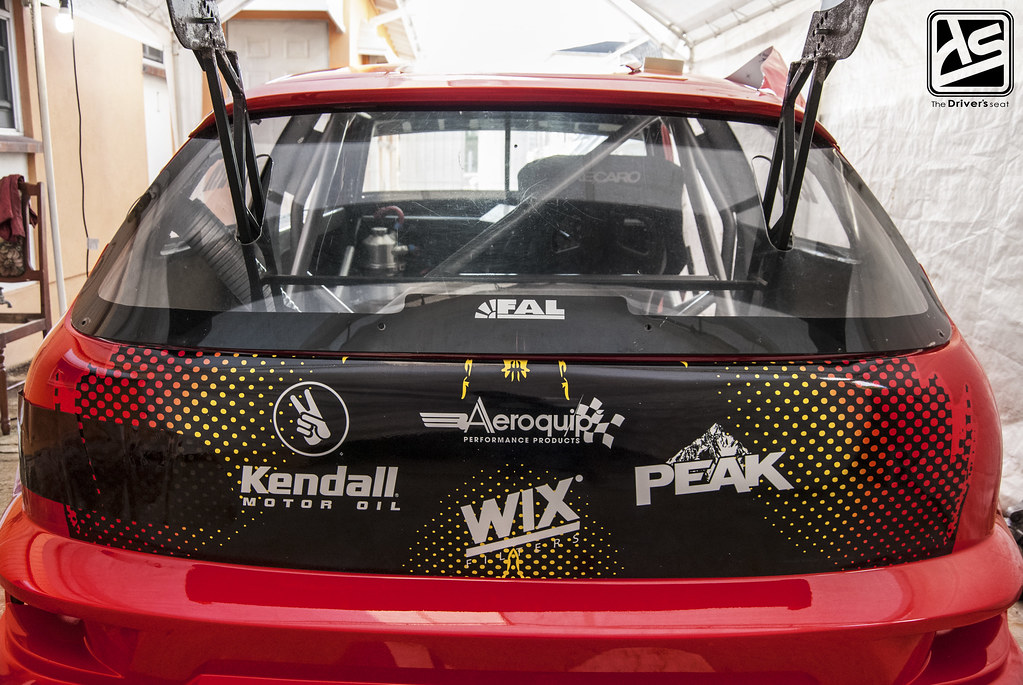
While the car was away from home, Jerry was busy working on a new livery for the upcoming race season. And now with the car back he was able to start the install.

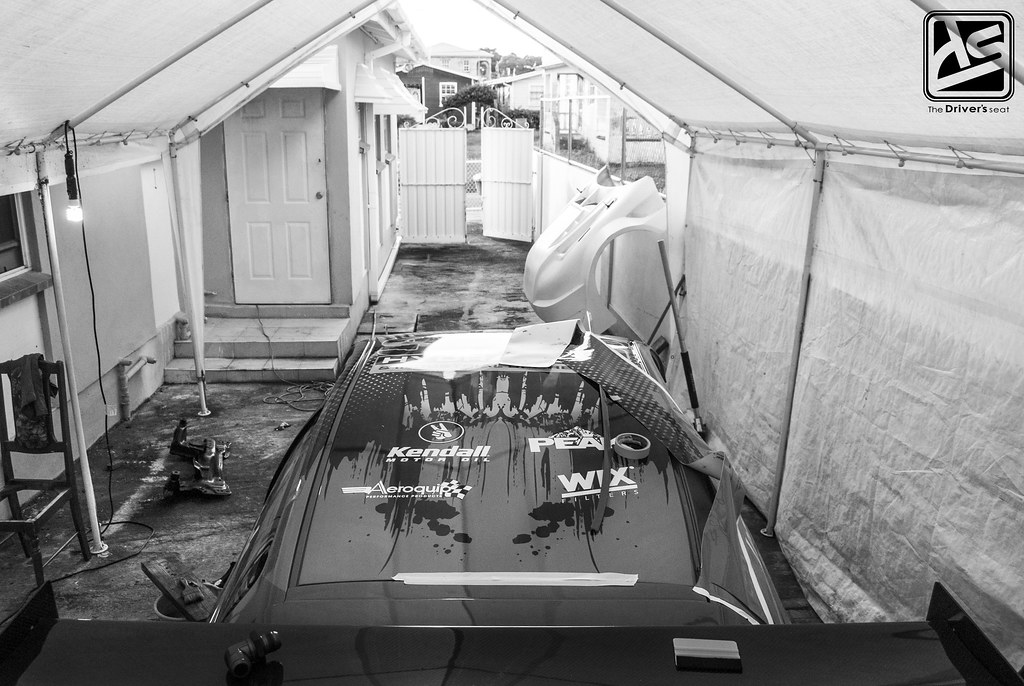
After having to wait for such a long time to have the shell painted combined with the poor quality of work done, Jerry resorted to the previous painter to have all the body panels painted. The results were familiar and completed in not only a timely manner but was of the high quality that Jerry is accustomed to. Eager to install the new livery, Jerry fitted the panels as soon as he received them.
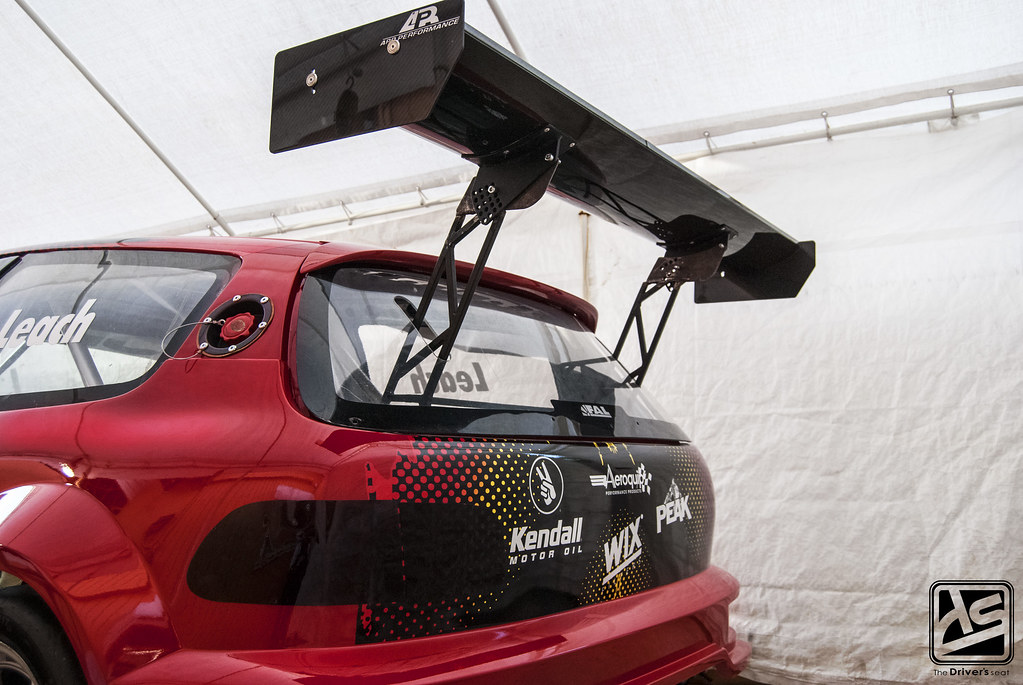
I can’t get enough of that wing…
Currently the plan is to install the other misc parts needed to get the motor fired up and leave it in storage until a final decision is made on the next steps to be taken.
That brings us to the end of today’s post, I hope you guys enjoyed it and will stay tuned for more to come on this build.
