Kevin’s EP3 Build… Introduction
We’re back with some new content, in the form of a Honda Civic Type R. Kevin has been involved with the automotive world for roughly the last 20 years. Both from an ownership standpoint & also being a mechanic on a number of builds throughout this time. Kevin came through the ranks from having performance based carburetor projects to working his way up to owning an Accord Euro R just shy of 10 years ago.
Following ownership of the Euro R, Kevin directed more of his focus towards his business. Although he was deeply interested in getting back into a K Series car, specifically an EP3 Type R. He really wanted to be able to take charge & modify it to his likings. Given the cost associated with doing such in the early times, he opted to kick the idea down the road until the right opportunity presented itself.
Throughout this time he started to venture over to the off road scene. It was here he developed another passion aside from performance cars & it wasn’t long before an off road project was on the rise. He purchased a Mitsubishi Pajero, a vehicle which isn’t often used within the community locally. However, over the course of a few years he transformed it into something special. While this was happening; at the back of his mind the push to undertake an EP3 project was working its way to the forefront. It wasn’t until the Pajero project came to a close, which provided Kevin the opportunity to dive head first into his dream build.
Today we take a look at the Pajero build in a nutshell & begin to take a look at his newly acquired Civic Type R…
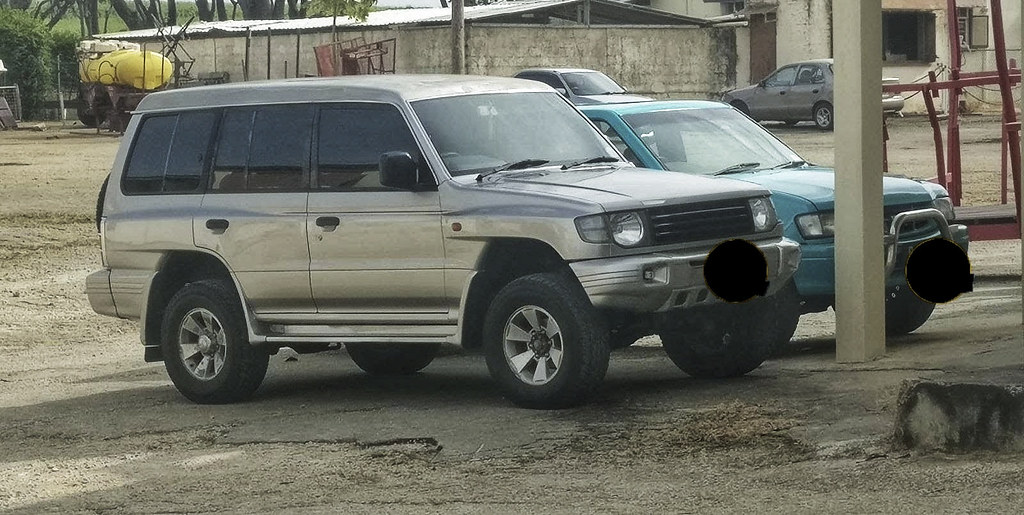
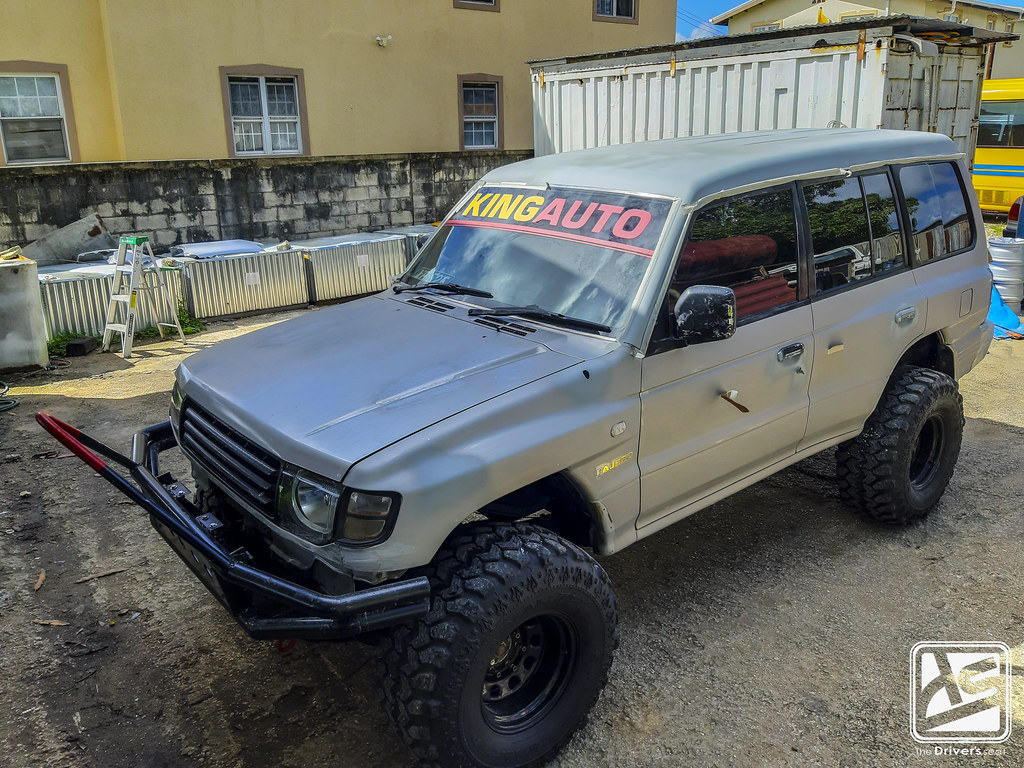
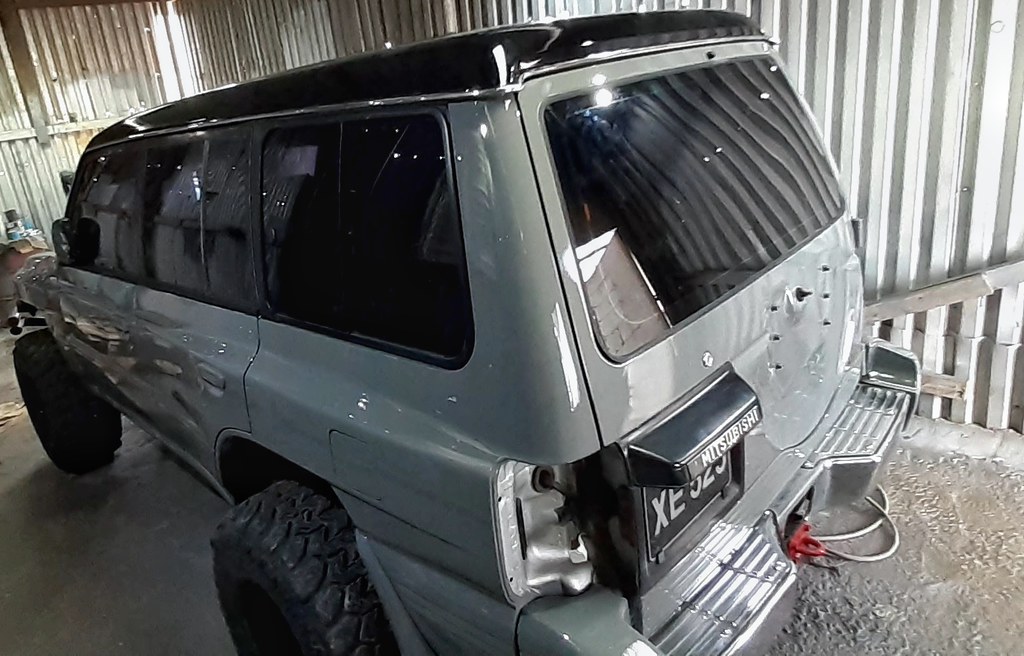
A first look at the Pajero V20 shortly after Kevin took ownership & got it running…
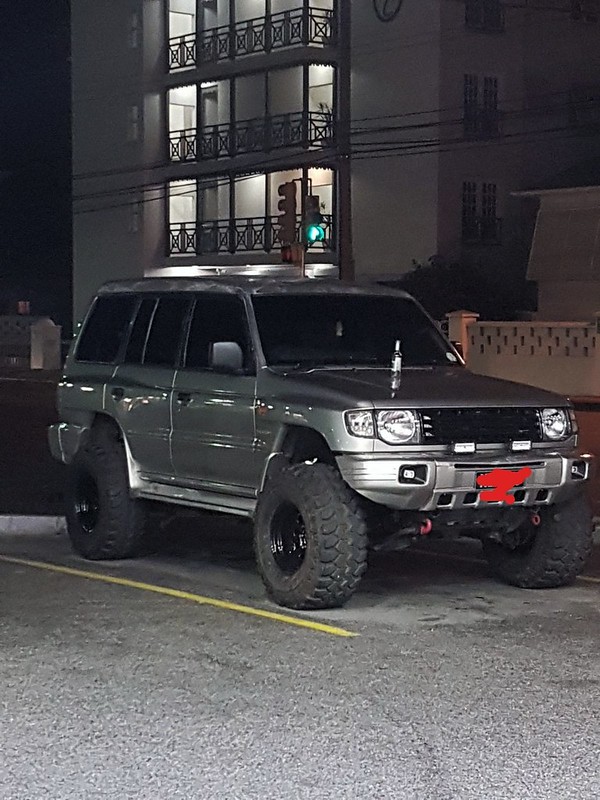
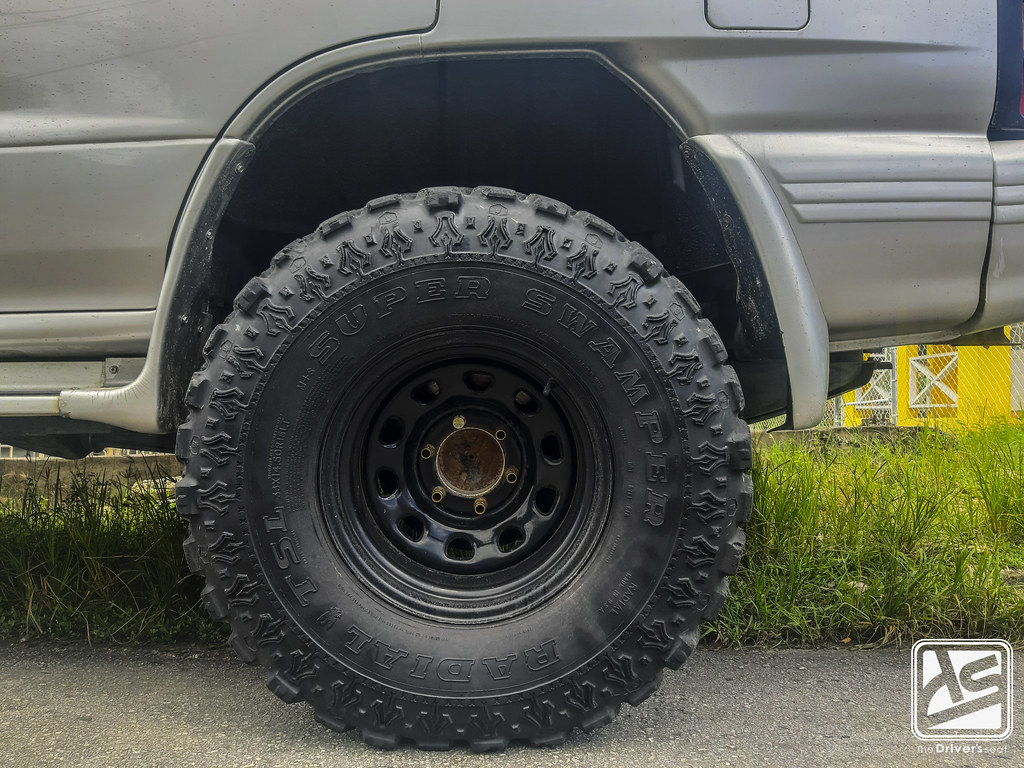
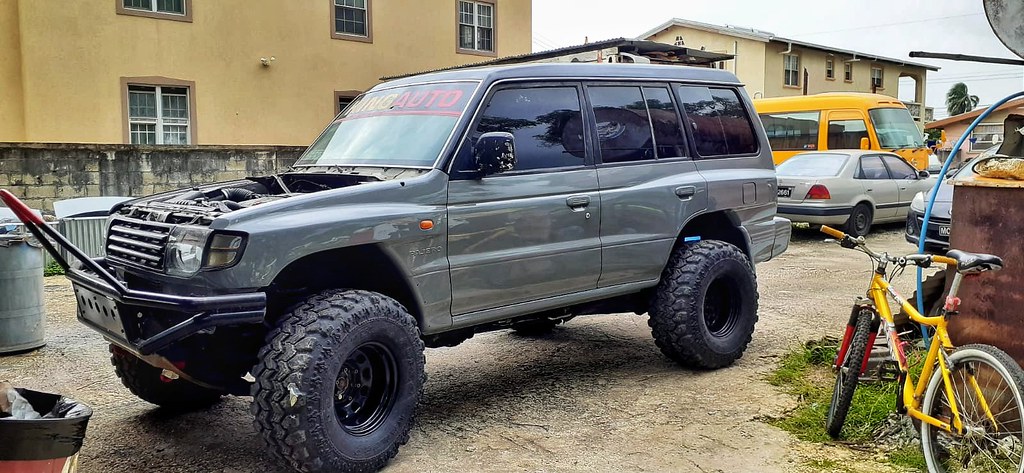
Following that, Kevin went ahead & gave the Pajero a 2.5″ body lift & added a set of 33″ Super Swampers…

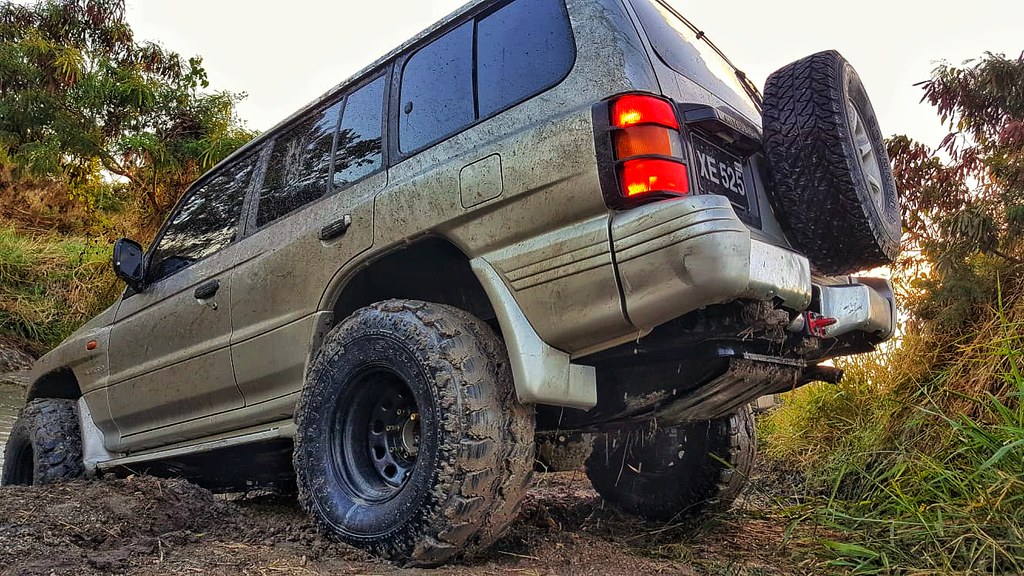

With the jeep lifted, Kevin made sure to test out the setup on a regular basis pushing the limits each time…

In the final stages of the build the jeep saw a 3.8L bottom end with ported heads & oversized valves. As for the exterior, Kevin had a custom made front bumper fitted…

On the interior, the addition of a gold NRG wheel with red stitching fit perfectly with the gold theme…
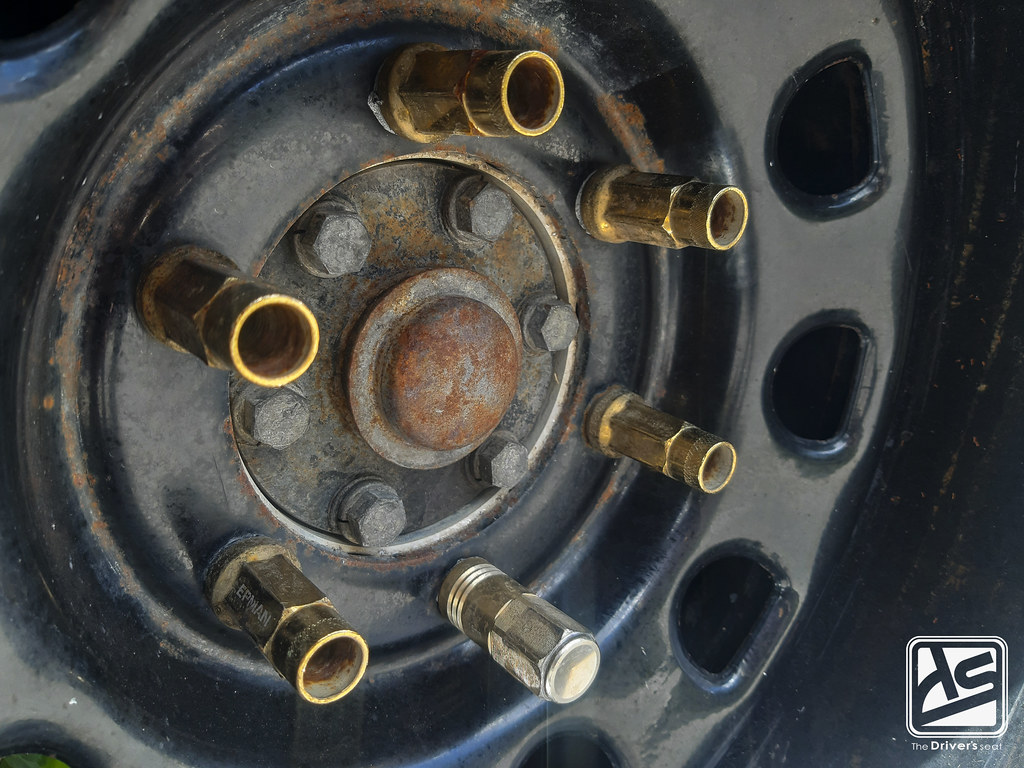
A view of the massive 33″ x 12″ wheels with some gold wheel nuts…
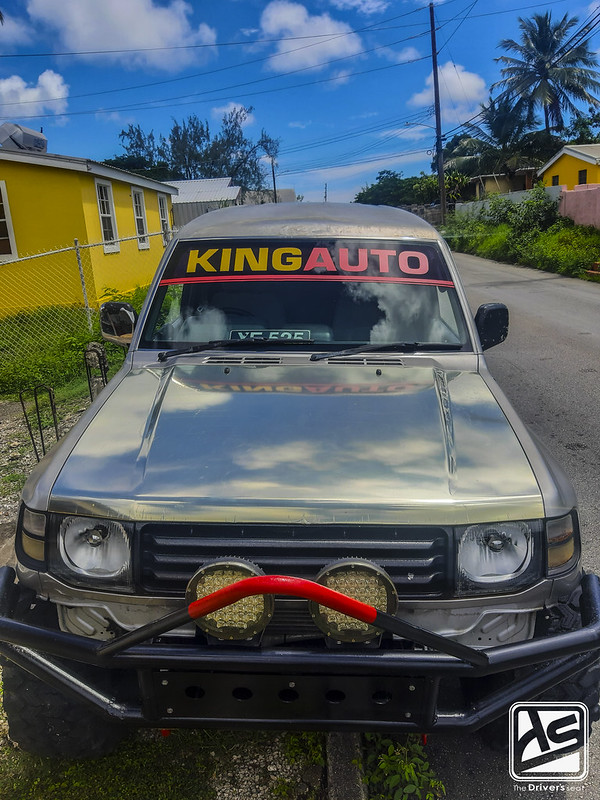
In its prime, the hood was wrapped in a gold vinyl but since then the elements started to take a toll on it…


Having the jeep in this trim for a while Kevin thought it was time to make some changes…

Kevin decided to take it over to S.W Auto Refinishing & let Shane work his magic to bring back some life to the Pajero…

Let the progress begin…

Fortunately for Kevin, the jeep didn’t require much body work & Shane was able to push through to the paint stage in no time…
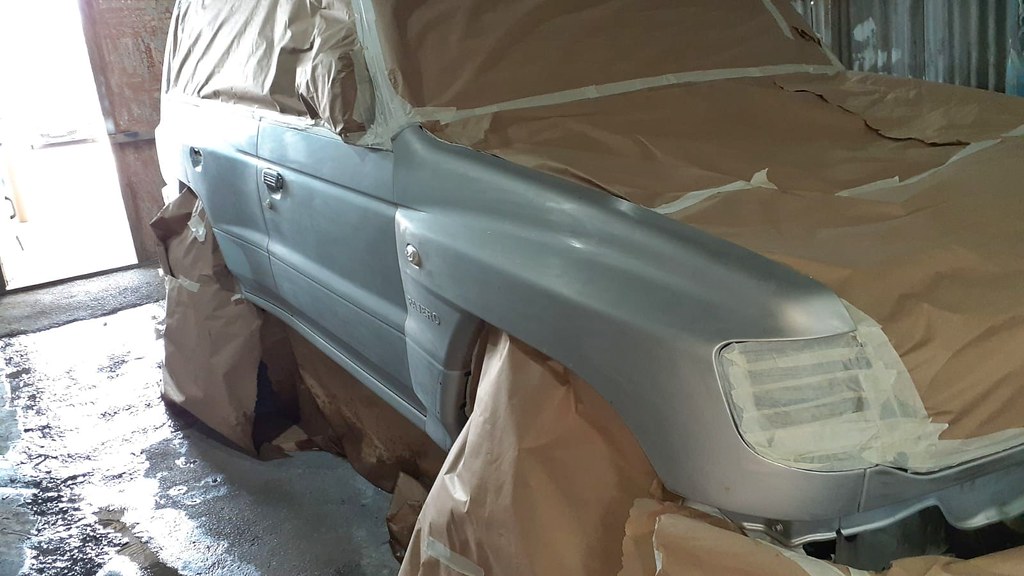
With all the prep work completed, the jeep was fully masked up & ready for Shane to began the paint phase…
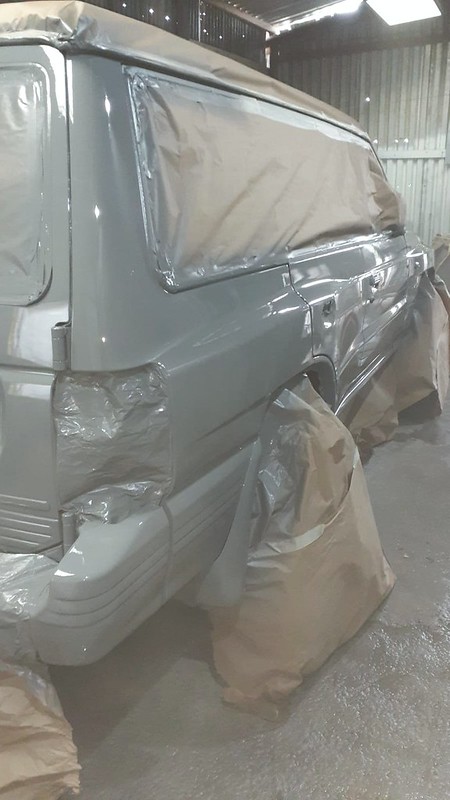
A shot taken after laying down a few coats…
Working to button up the finishing touches…
Outside taking some sun while the hood is prepared to be fitted…
Out the booth & flexing heavy, Shane did an amazing job at transforming this thing…

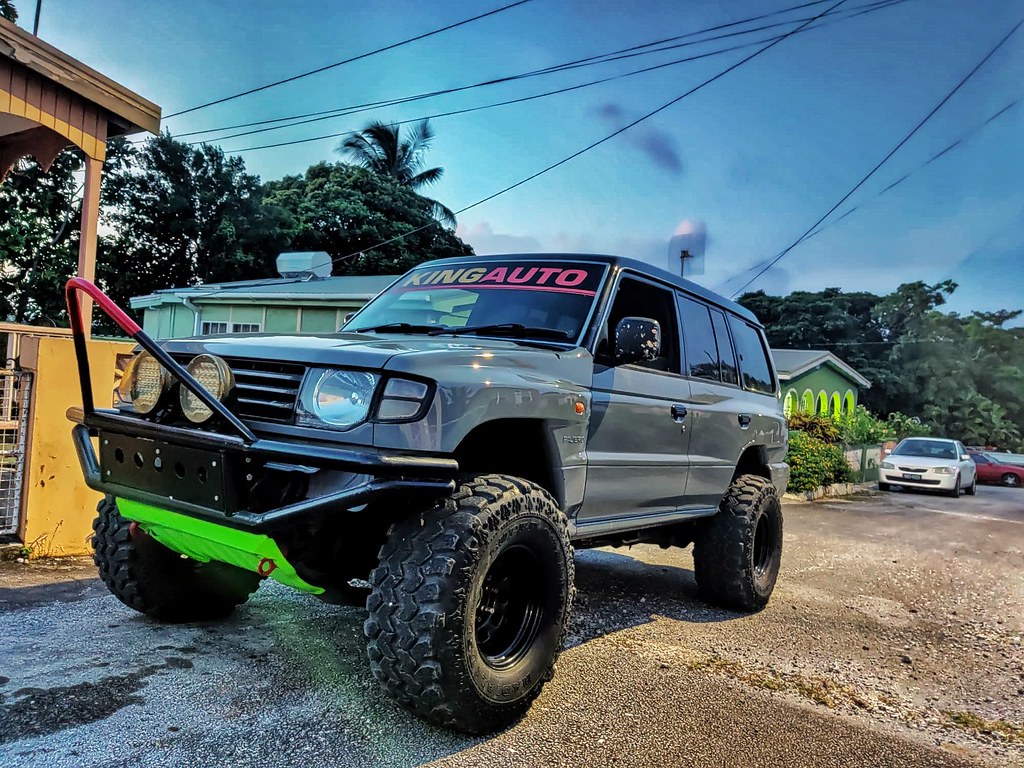
Kevin opted to go with a nardo gray with green accents. With the Pajero freshly painted, the only left to do was to put it through the paces…

To further compliment the accents, Kevin had a set of green LEDs fitted…
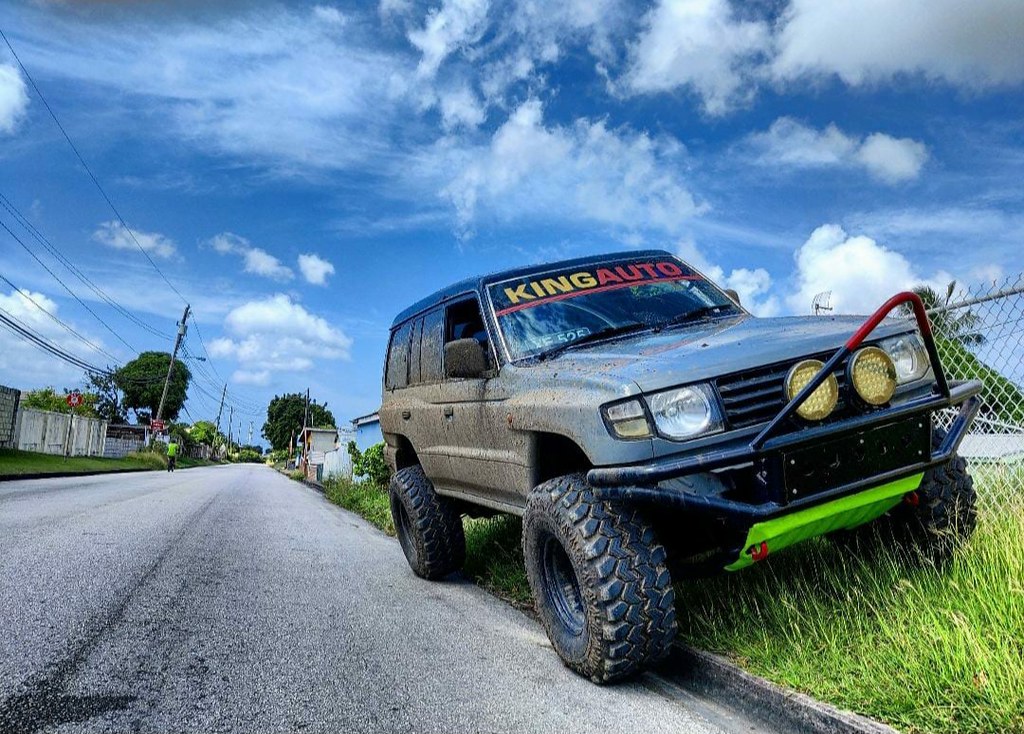
It wasn’t long before Kevin was over the pretty paint & finally took the jeep to hit the trails…
Having completed the build on the Pajero, there wasn’t much left to do. Finding the time to take it out & enjoy it to its full capabilities was becoming quite a challenge for Kevin. As a result, most of its time would be spent in storage where on the odd occasion, it was taken for a casual drive. Although these were still enjoyable moments, they led to the revival of Kevin’s desire to own an EP3. Especially with the increasing numbers of them entering the island, it was even harder to ignore. Needless to say, it wasn’t long before Kevin made the decision to finally take the plunge & chase after his EP3 dream. The Pajero was put up for sale in search of a suitable candidate & having viewed a few EP3s, Kevin finally landed on a UK spec facelift model…
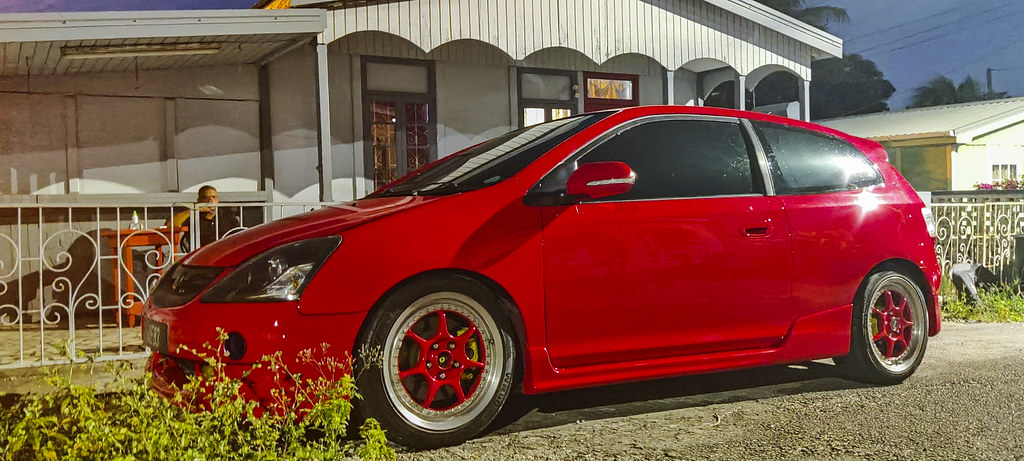
Red on red…

A few shots of the EP3 shortly after he received it. If u guys are wondering, this isn’t the Type R red, the previous owner had the car resprayed in a much brighter red…
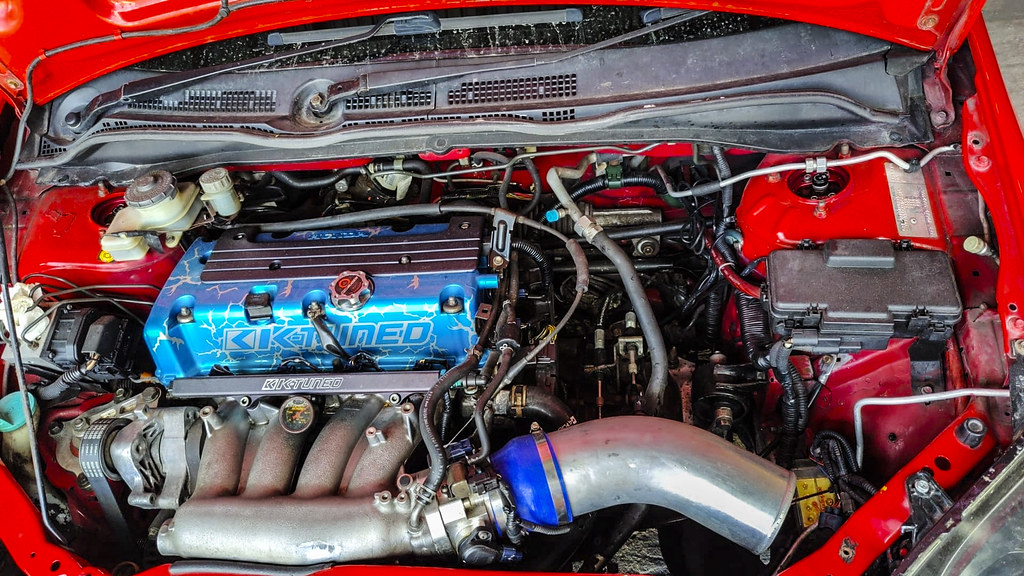
Under the hood still sat the K20A Type R motor; with the addition of a RBC intake manifold along with a much larger 70mm throttle body accompanied by a 4″ intake pipe….

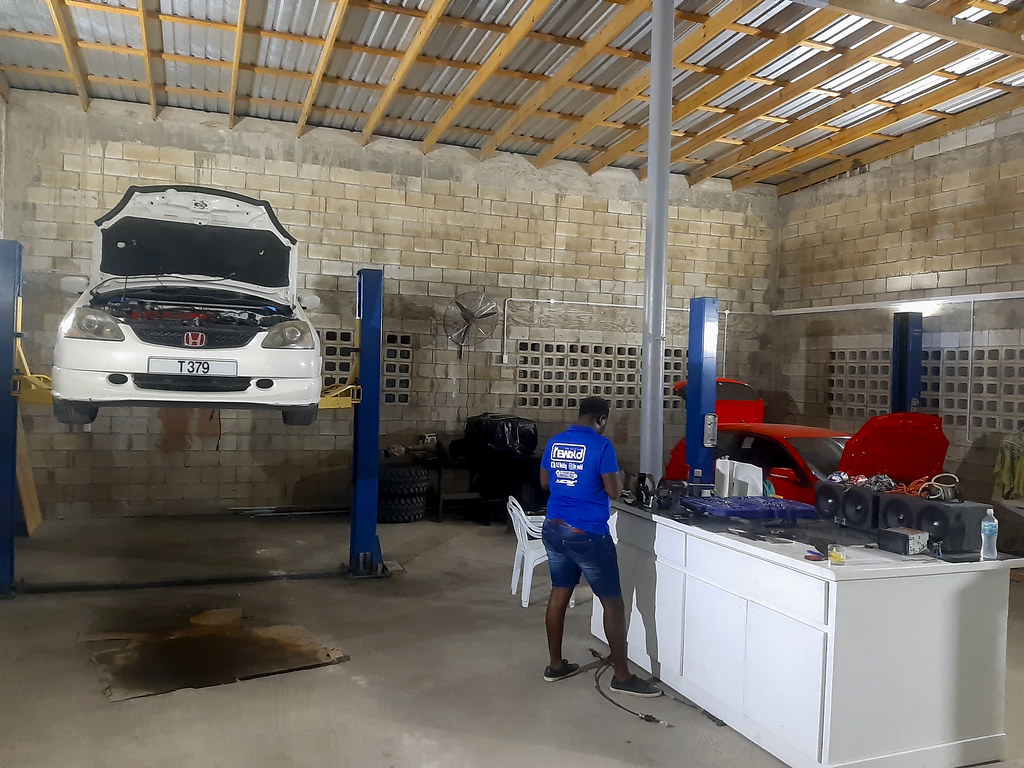
Along with these goodies, it also came with a few electrical issues that Kevin wasted no time in trying to rectify…
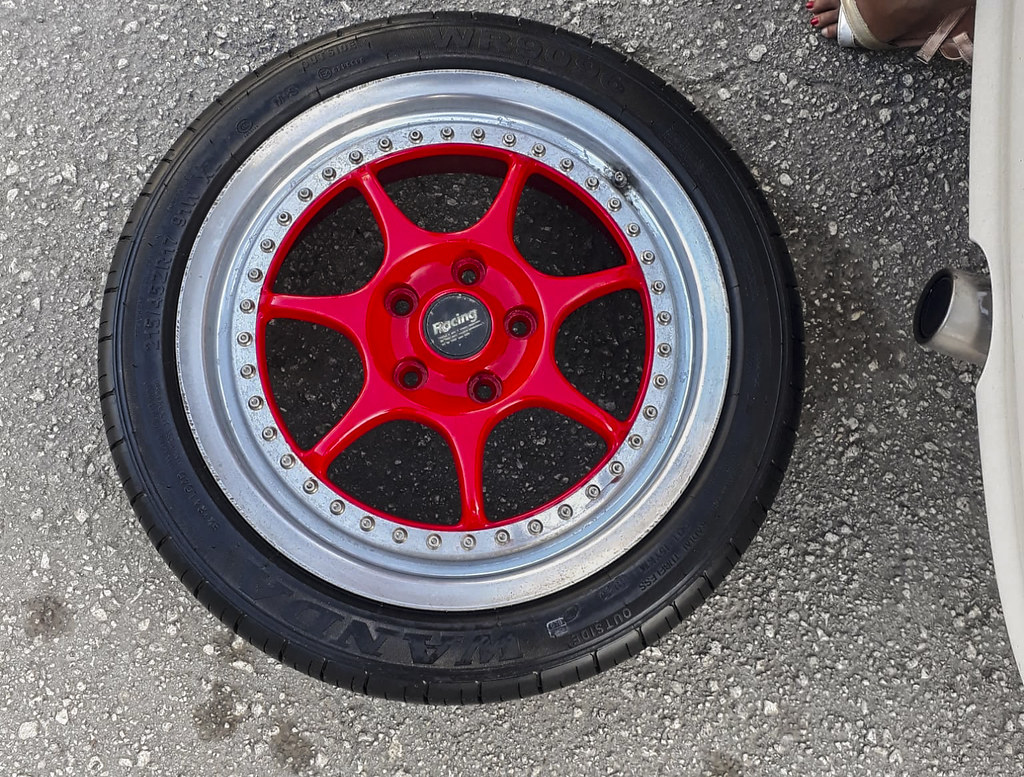
The car came on a staggered set of Enkei Racing S wheels in a 17×7 & 17×7.5 sizing…

Luck would be on his side & he was able to work out a deal with Reudon for the Hybrid Racing shifter & cables…

A look a the Hybrid Racing cables fully installed…
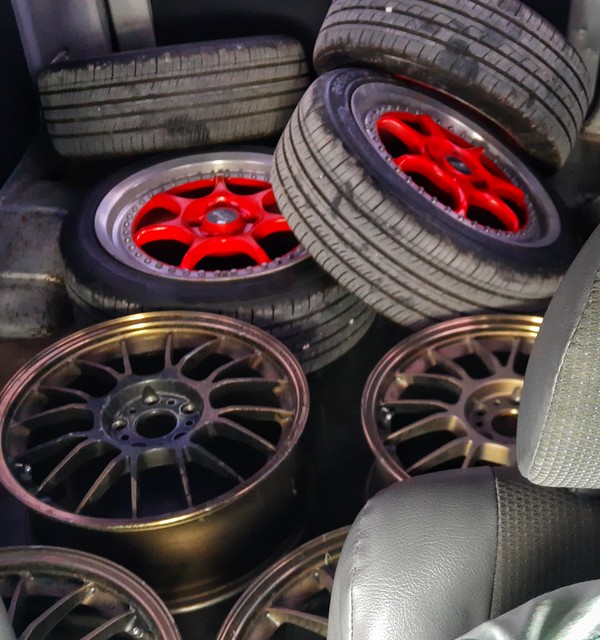
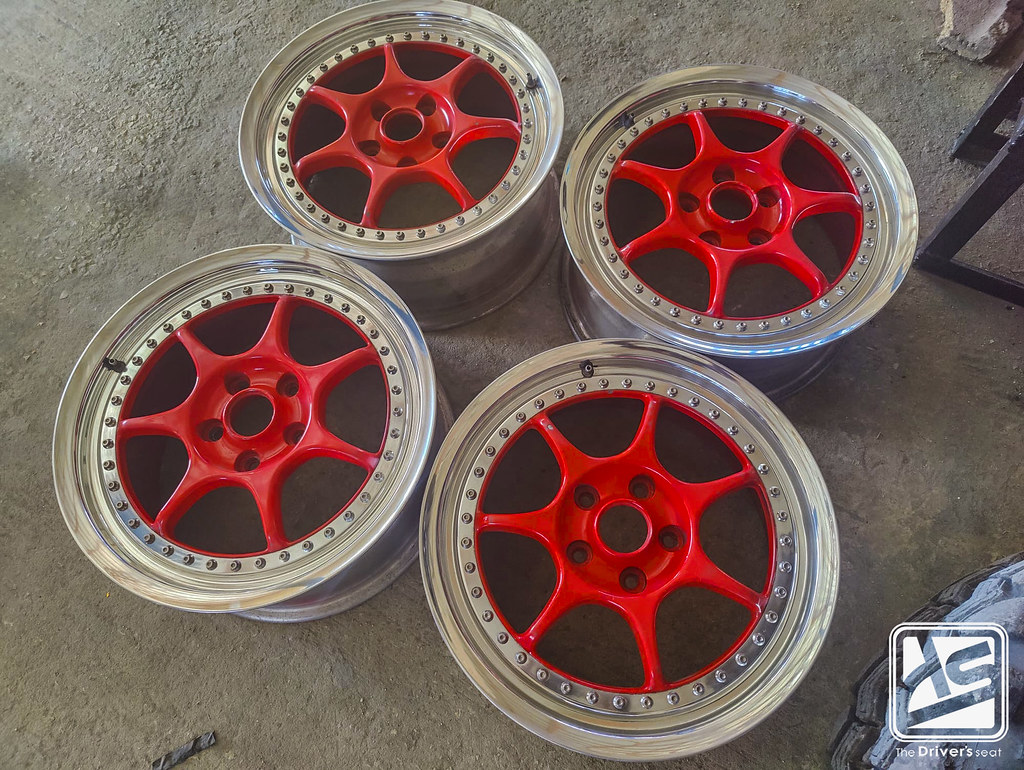
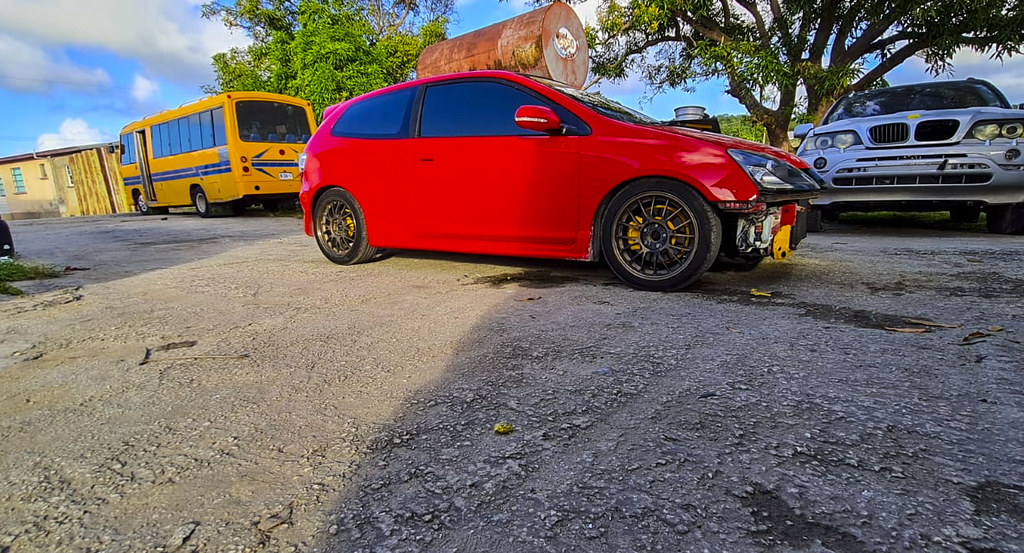
Not being a fan of the red on red, it wasn’t long before Kevin ditched them for something more favorable. A set of Volk Racing SE37 wheels in bronze…

With the tyres removed to be used with the Volk Racing wheels, the Enkei’s were put in storage until a later date…

Around this time Kevin thought it would be a good idea to perform a quick service as he hadn’t gotten a chance to do so as yet…
This is where he discovered he also needed to replace the drain bolt…

Next on Kevin’s list was to head over to the paint shop to make some adjustments. First up was to get the radiator & condenser resprayed in a more subtle colour…

A first view of the car on the Volk Racing SE37 wheels….
With that also came the windshield banner…

After some thinking, the car returned to S.W Auto Refinishing to add a few personal touches. Beginning with the addition of some colour to the radiator support…

A look at the finished product…
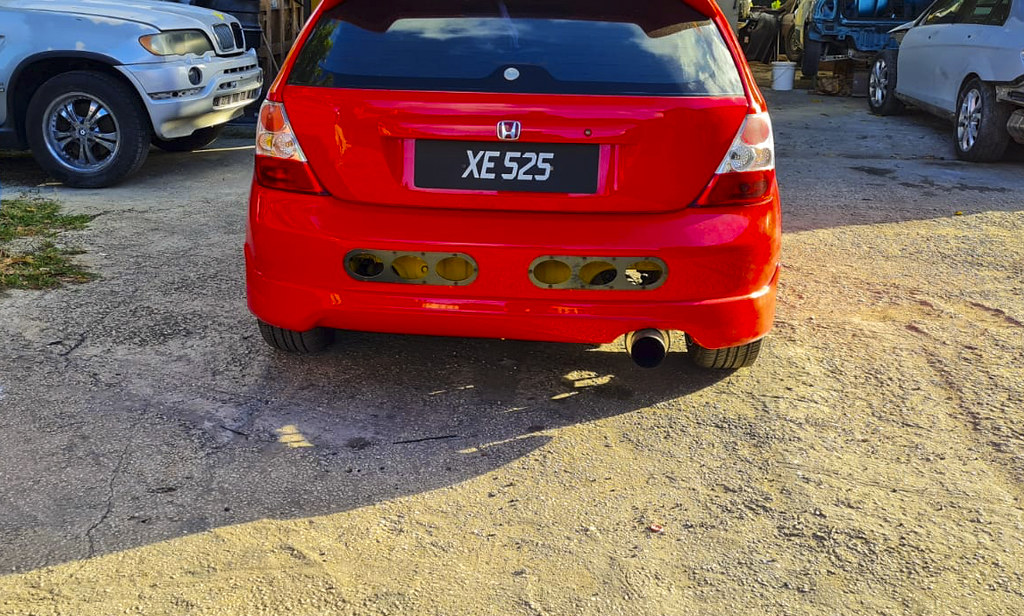
Kevin also got Shane to paint behind the rear bumper in the same colour as it will be on display through the diffuser…
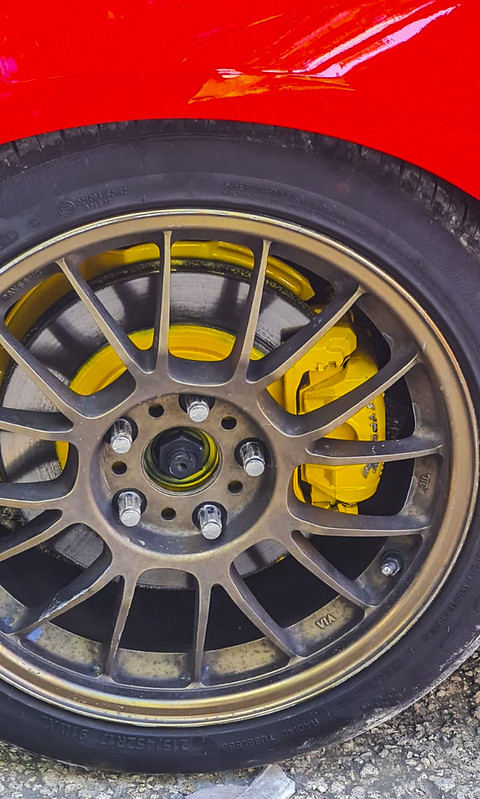
Shane went ahead & colour matched the front & rear calipers…

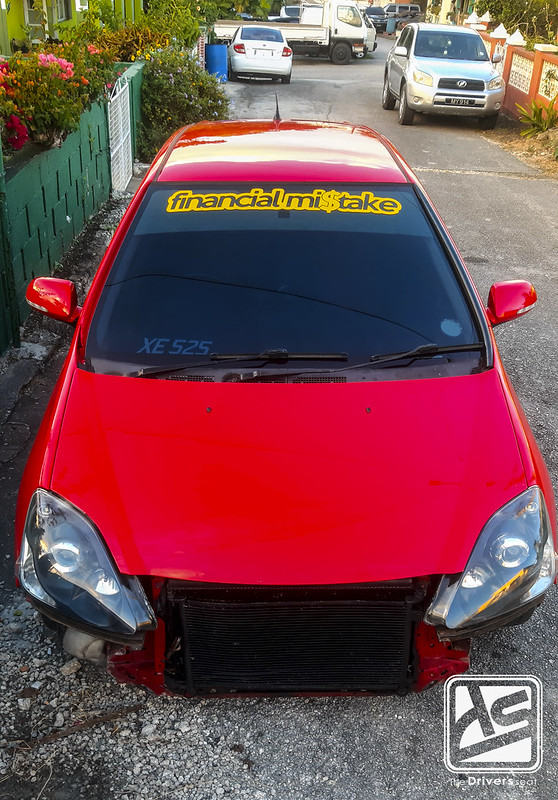
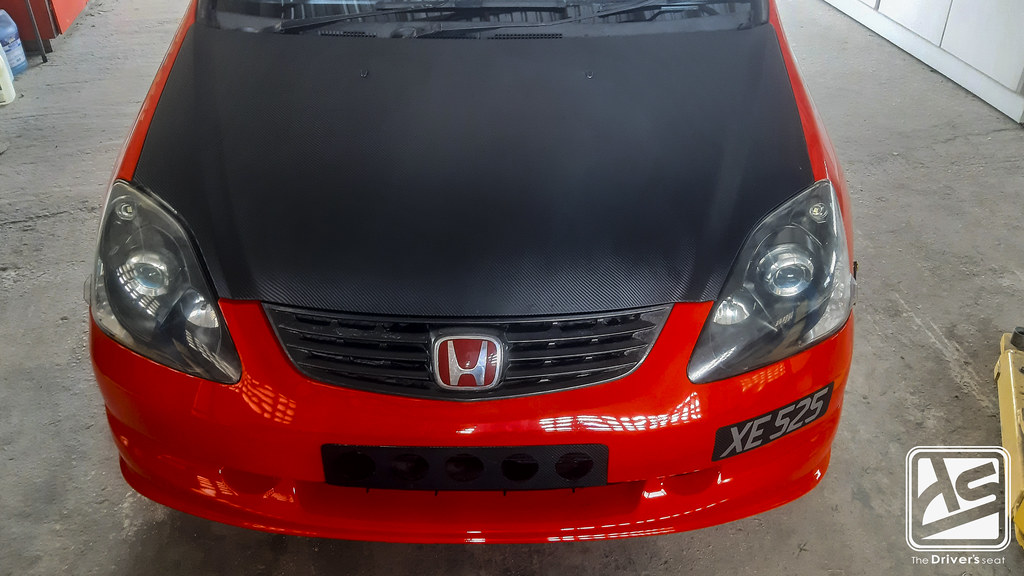
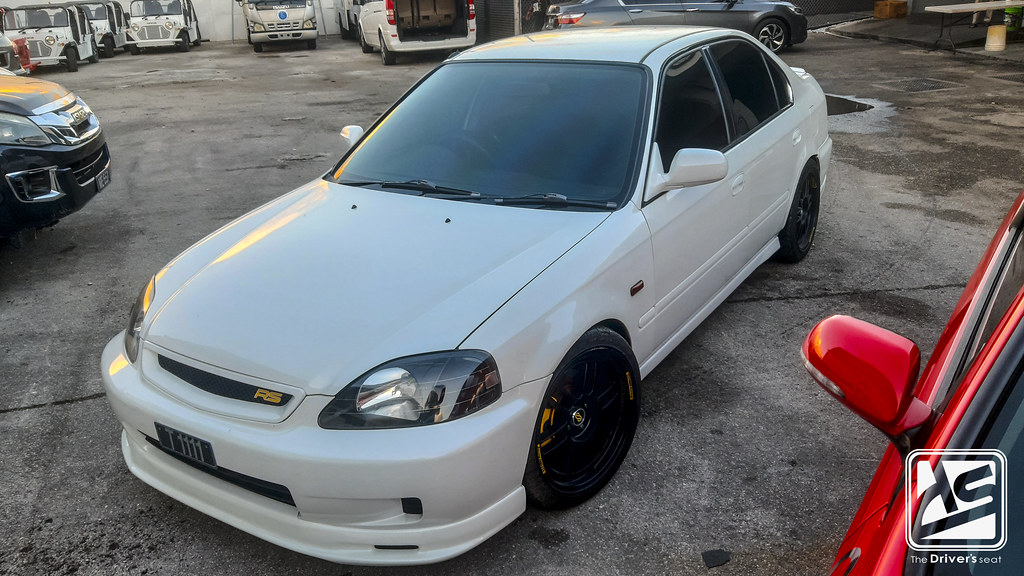
You guys may have noticed the car has been missing a front bumper from the first visit to Shane. The previous owner drilled a hole to fit a 3″ velocity stack, not being a fan of this style, Kevin opted to have it filled & resprayed in a fresh coat of red…


A few shots of the car when Kevin arrived to collect it…

Following the collection of the car, Kevin still had a few things he wanted to do on the exterior…
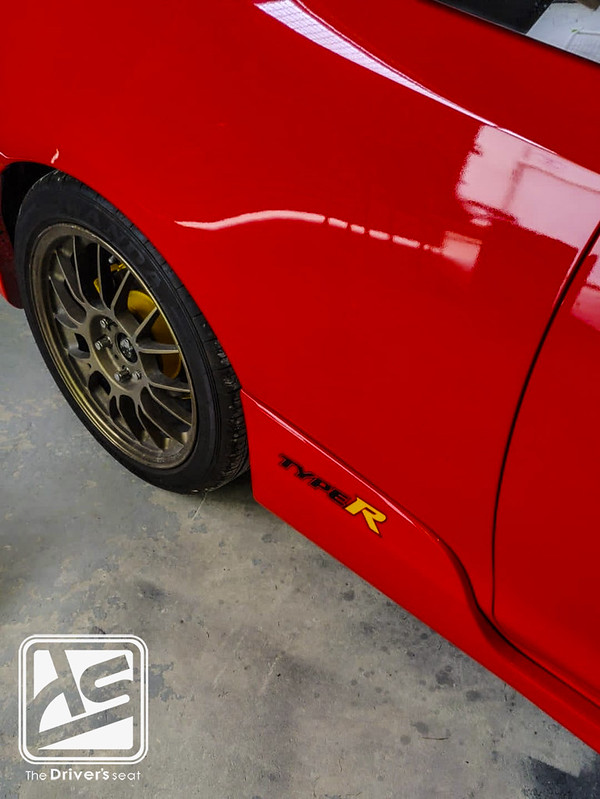
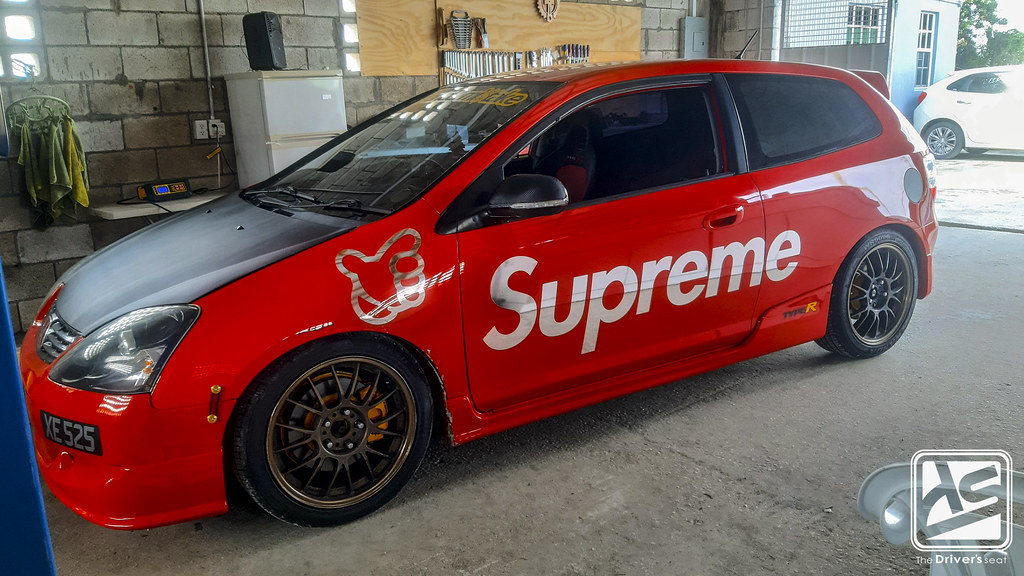
It was time to head over to the graphics shop to have the Type R stickers fitted with a slight twist to flow with the colour theme…

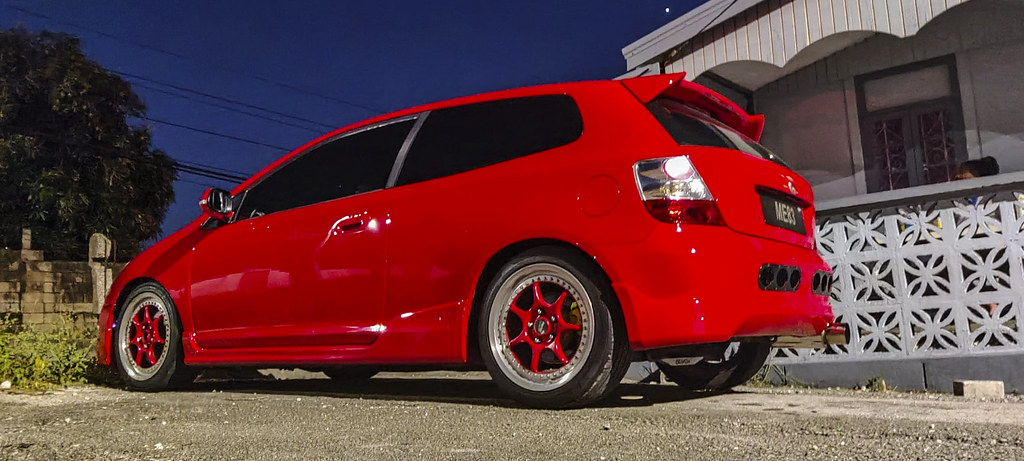
While there he also had the hood wrapped in a carbon vinyl to break up some of the red…
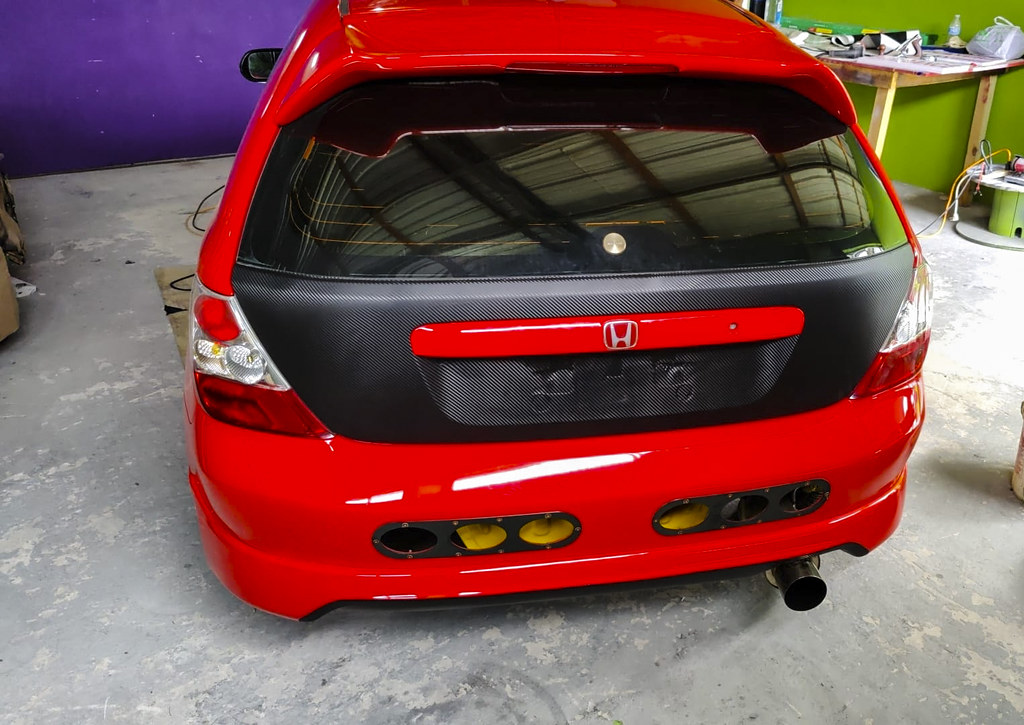
At the rear he wrapped the tailgate along with the centre section of the rear lip…

Unfortunately, the car had been in an accident prior to Kevin owning it & was poorly repaired. The entire front end was barely together & missing a series of necessary brackets to properly secure it. As a temporary fix, the paint shop was able to make some adjustments & added some bumper fasteners…


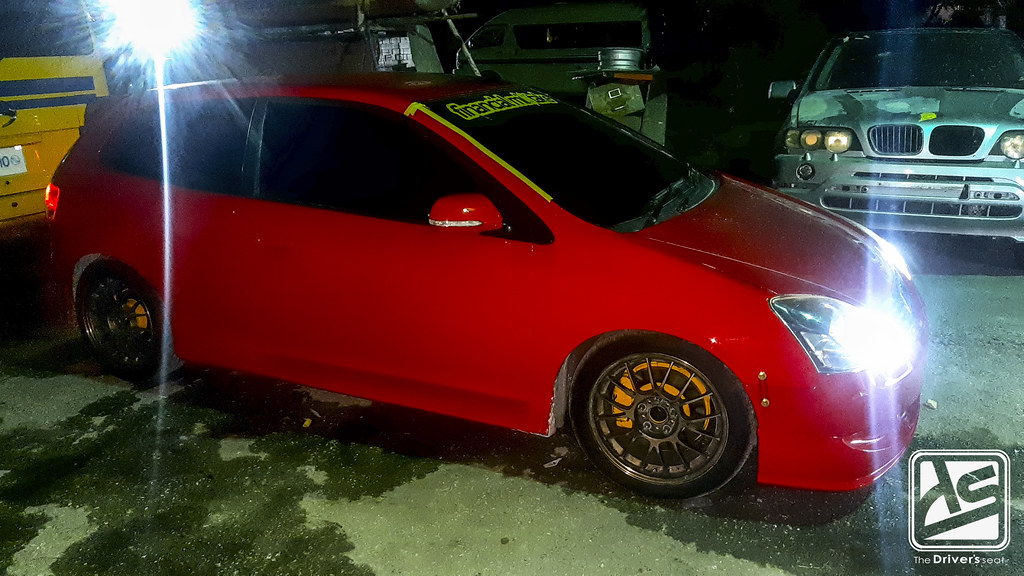
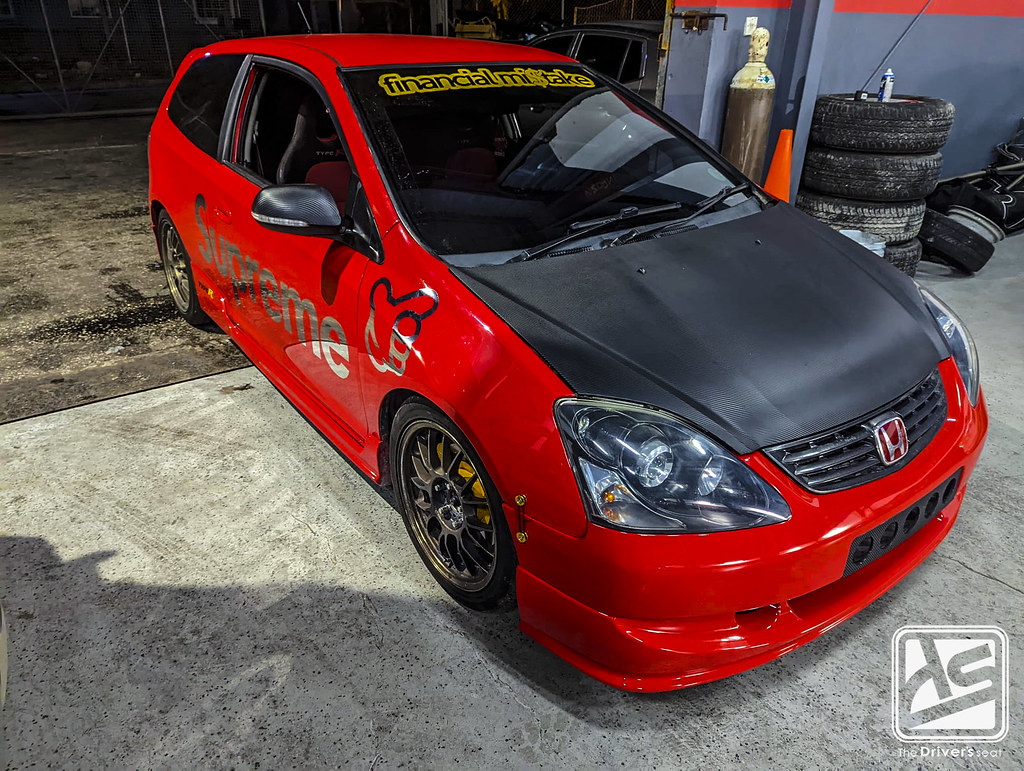
Being an avid fan of Japanese car culture & the kanjo movement, Kevin made another drastic change by adding a livery down the side of the car…
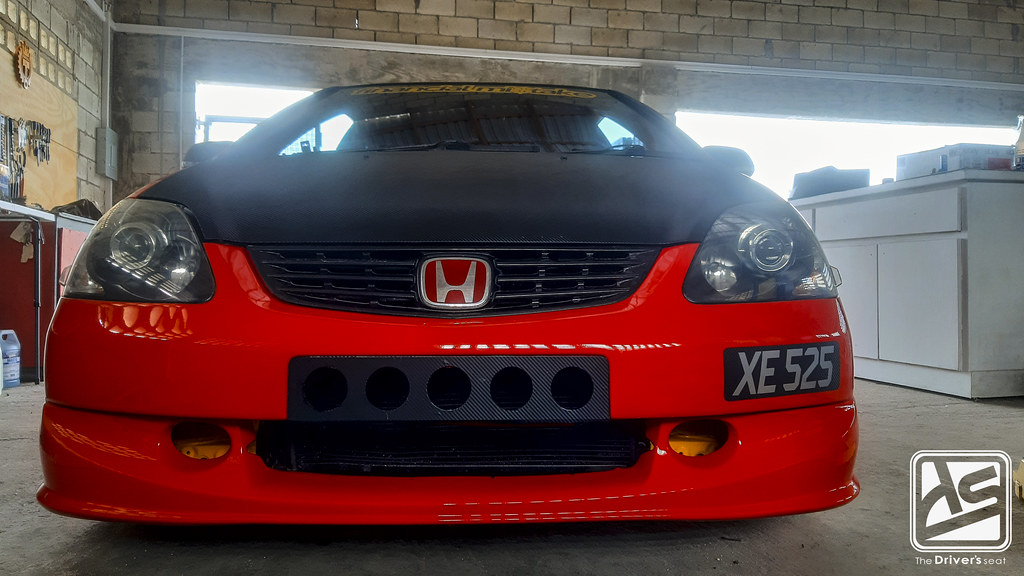
A closer look at the refreshed front end…

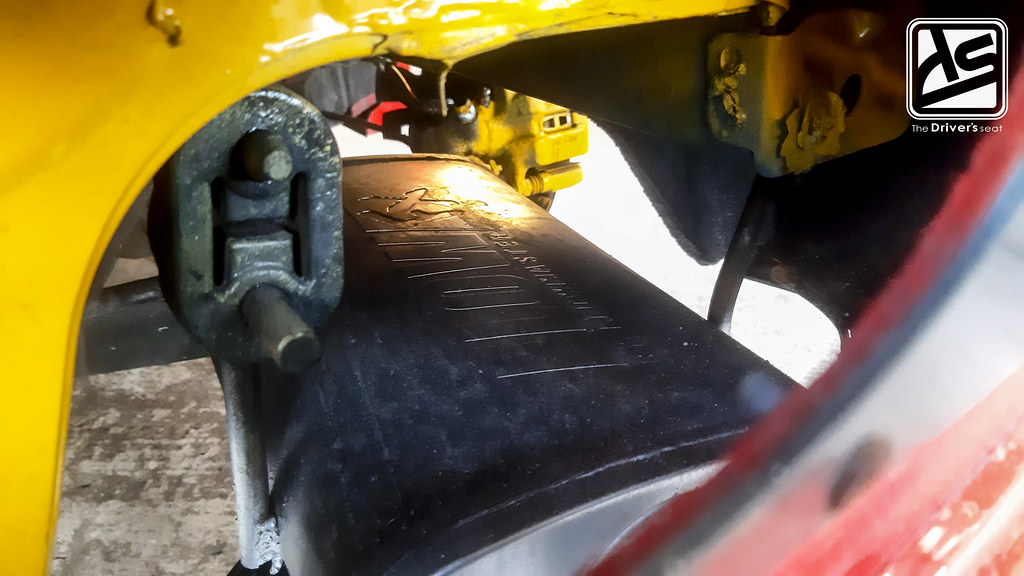
A better view of the rear revealing a Beaks lower tie bar…

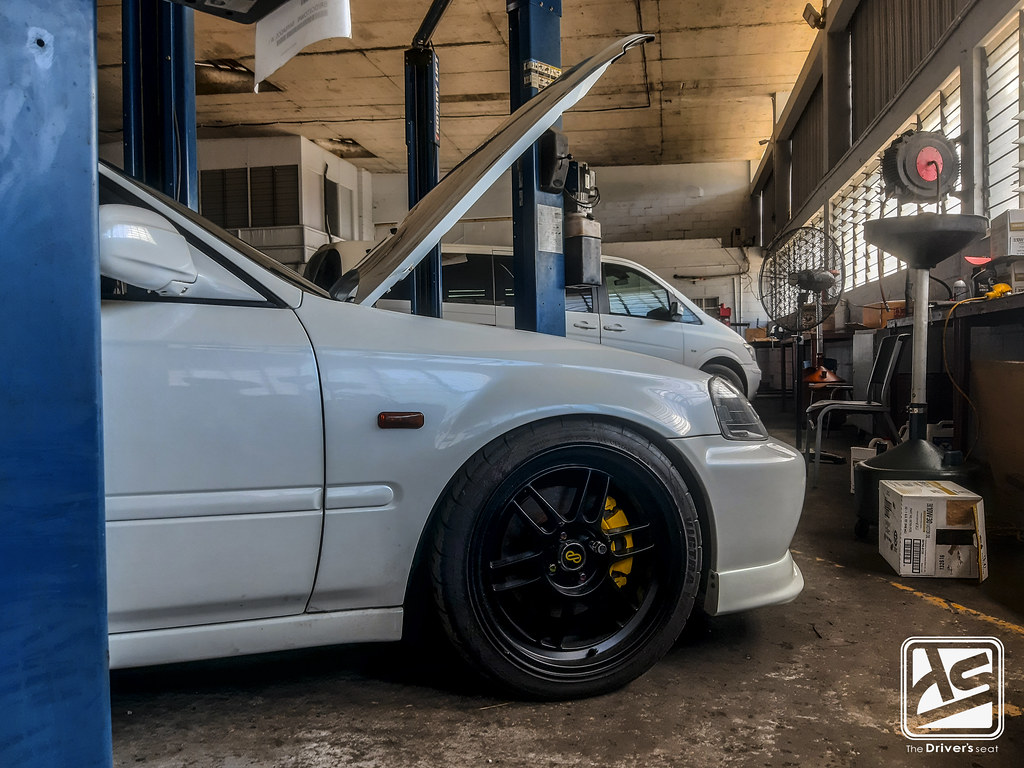
Having fully refreshed the exterior of the EP3 to his likings, Kevin decided to head over to ReWeld to make a few changes within the engine bay…

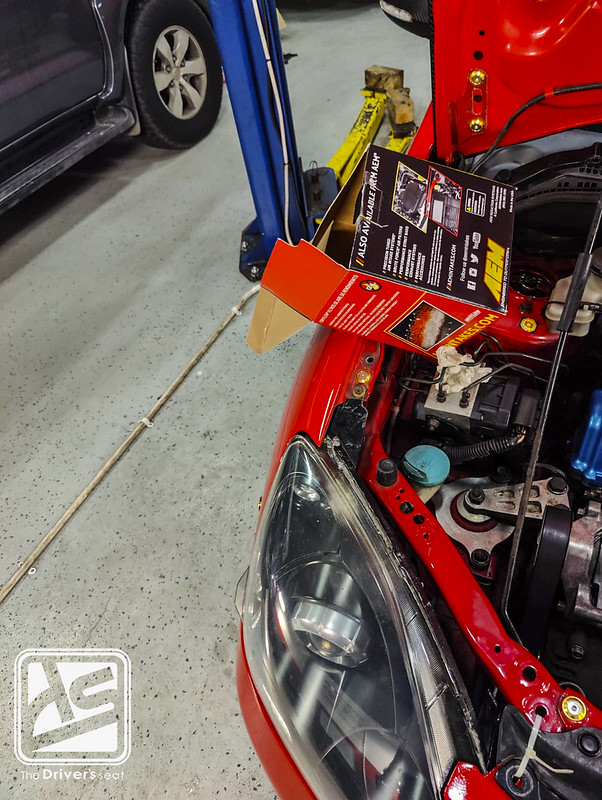
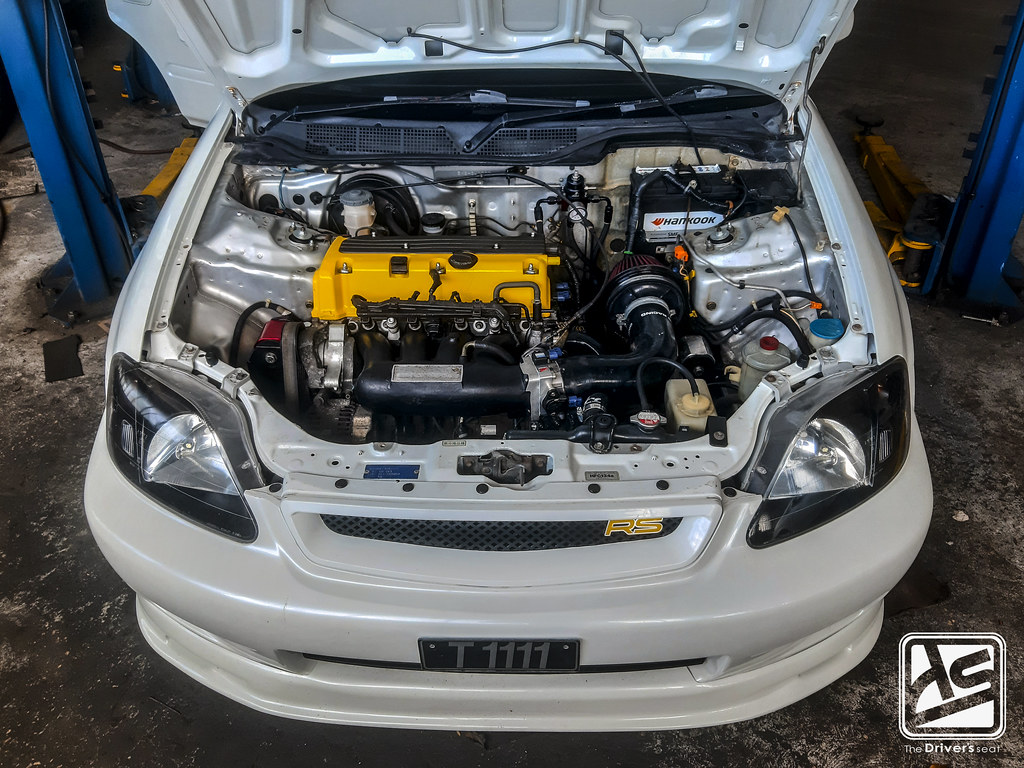
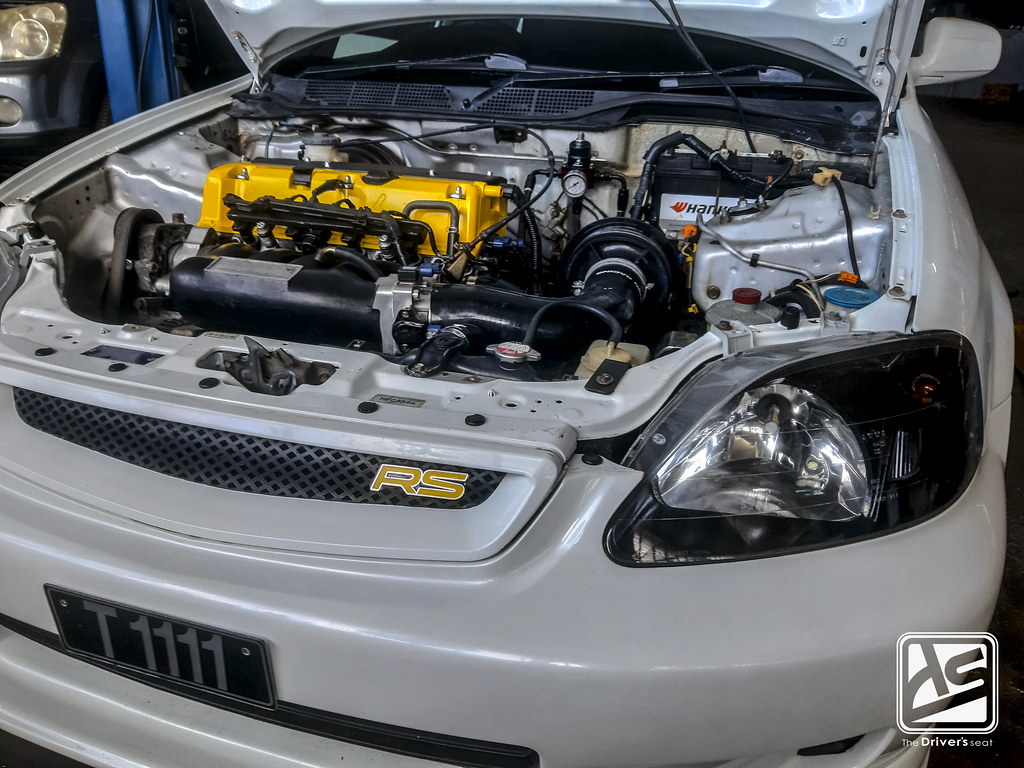
Wanting to switch things up from the current short ram setup, Kevin decided to try a cold air system…
Testing the fitment on the new system…

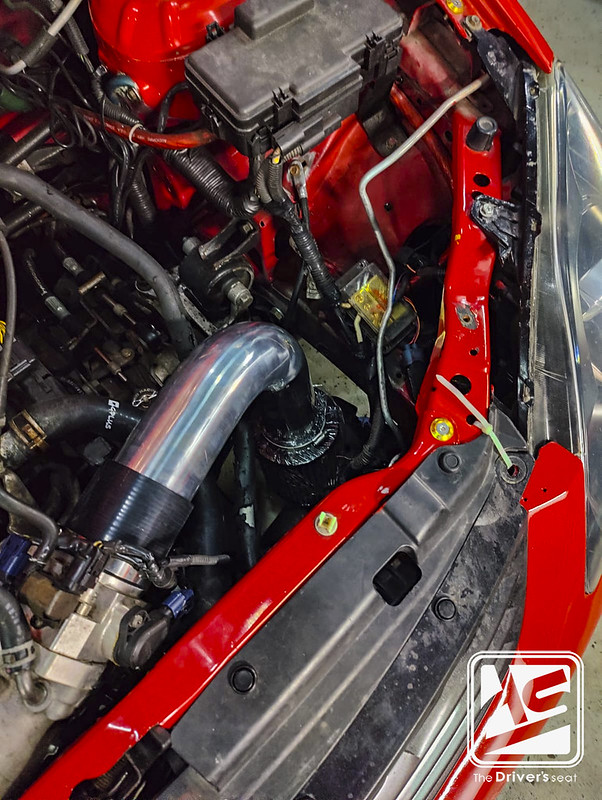
With everything heading in the right direction, it was time for Reudon to fabricate a bracket…


A look at the completed cold air setup…

Moving forward with his dream project, Kevin began to turn his focus to the interior…
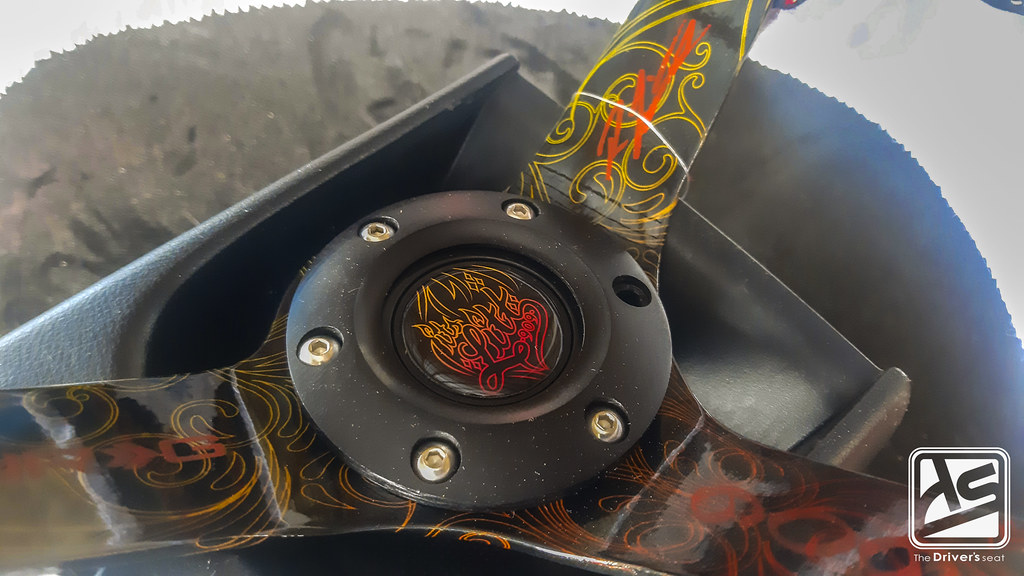
He went out & picked up a Ryan Litteral signature series alcantara wheel…

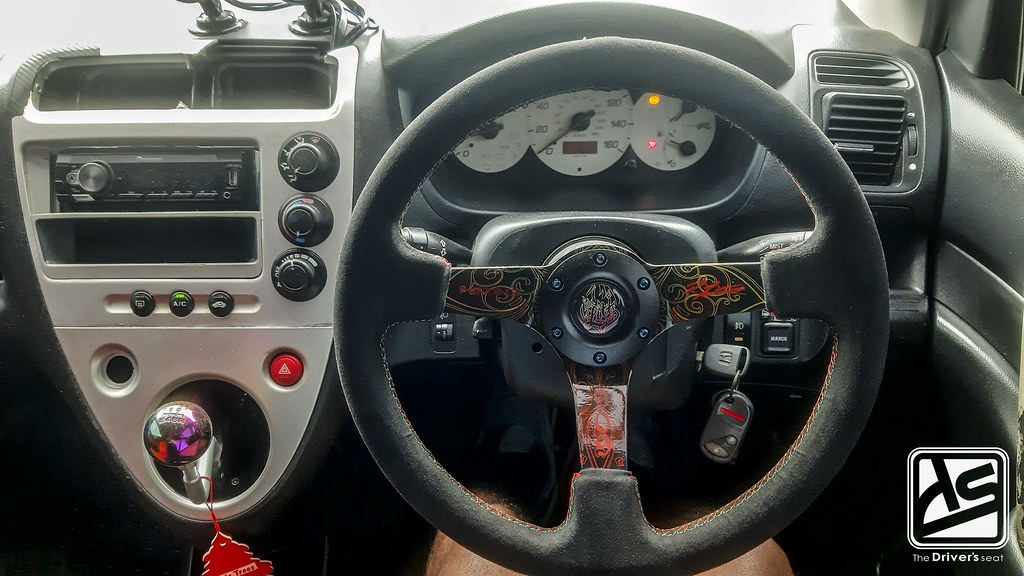
The interior as it starts to take some shape with the addition of the new wheel…
As I would have mentioned earlier, Kevin had his eyes set on this project for quite some time & has been busy doing research on the direction in which he wants to take the build. With this in mind, he went ahead & placed a few orders for some upgrades…
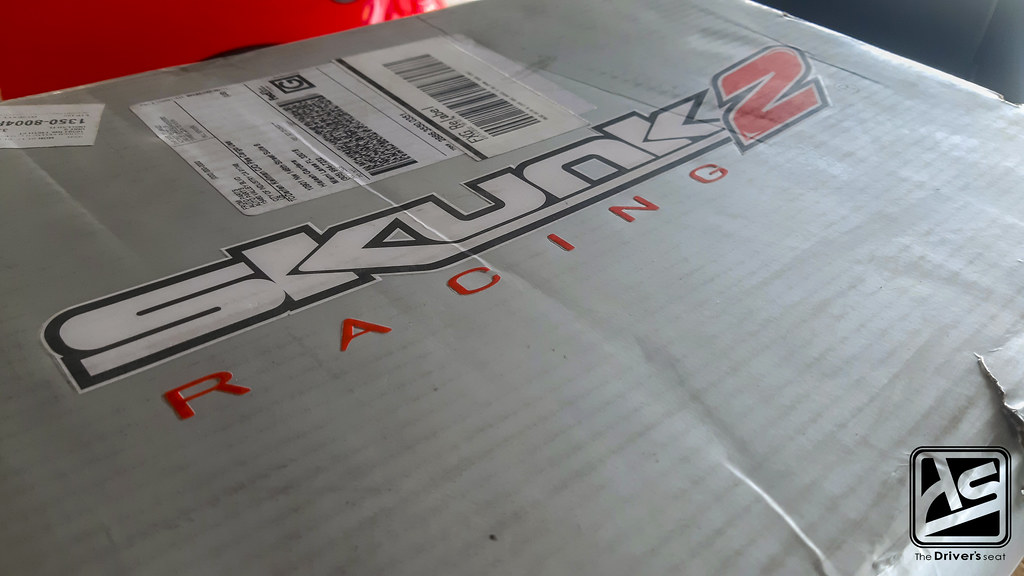


First on the list was an intake manifold, Kevin went with a Skunk2 Ultra Street unit…


He also picked up a rear camber kit to swap out the worn factory unit…
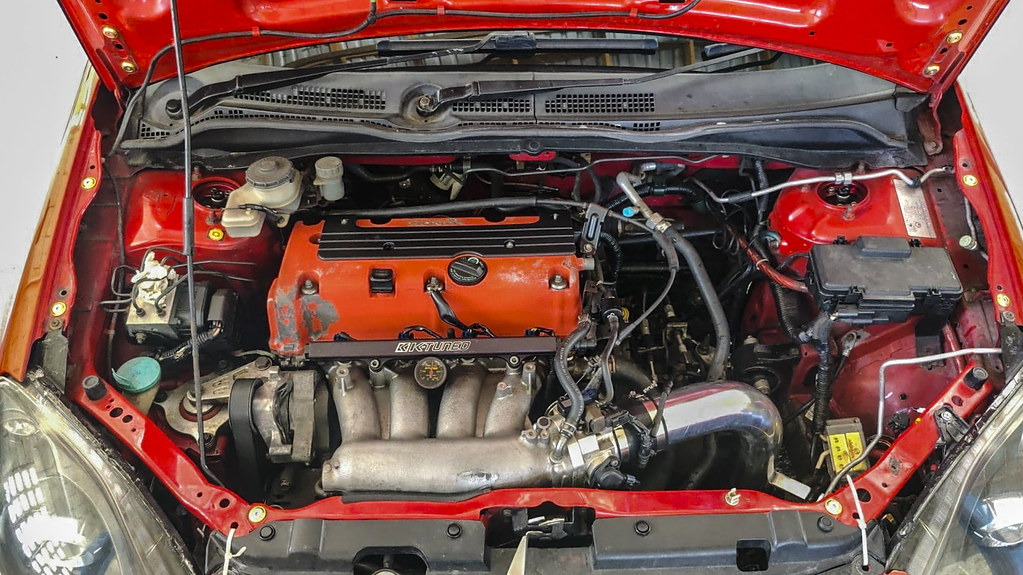
Another change Kevin made was to ditch the brightly painted valve cover for a factory coated Type R one….


Next on the list for Kevin was to swap out the muffler. When he purchased the car, it came with 3″ exhaust to the rear axle. Kevin made sure to fully complete the remainder of the exhaust in 3″ & also swapped out the N1 style muffler for an oval unit…


On that note, it brings us to the end of a first look at Kevin’s EP3 build. Thanks for taking look & stay tuned for more to come as this build progresses…
Kerry-Dan’s EK3 Build… Part 2
Welcome back guys, today we have an update on Kerry Dan’s EK3 build. When we last left off Kerry had completed the swap & was busy spending some time getting himself acquainted with the car. As it won’t be a dedicated daily driver, it meant that Kerry had to apply some effort to dive back into the swing of performance car life. Once he created a rhythm, it wasn’t long before the tuning bug hit him & he saw the need to make a few adjustments.
Upon regaining focus, Kerry knew it was time to take the car for its first official shakedown. This would serve as a benchmark to determine where the car currently is before moving forwards with his plans. We’ll be taking a look at the journey transitioning from an average swap car to the beginning stages of what Kerry envisioned when he initially choose to build the car.
For those who may want to view this build from the start I’ve provided the links below:
With you guys all caught up, let’s begin today’s post…


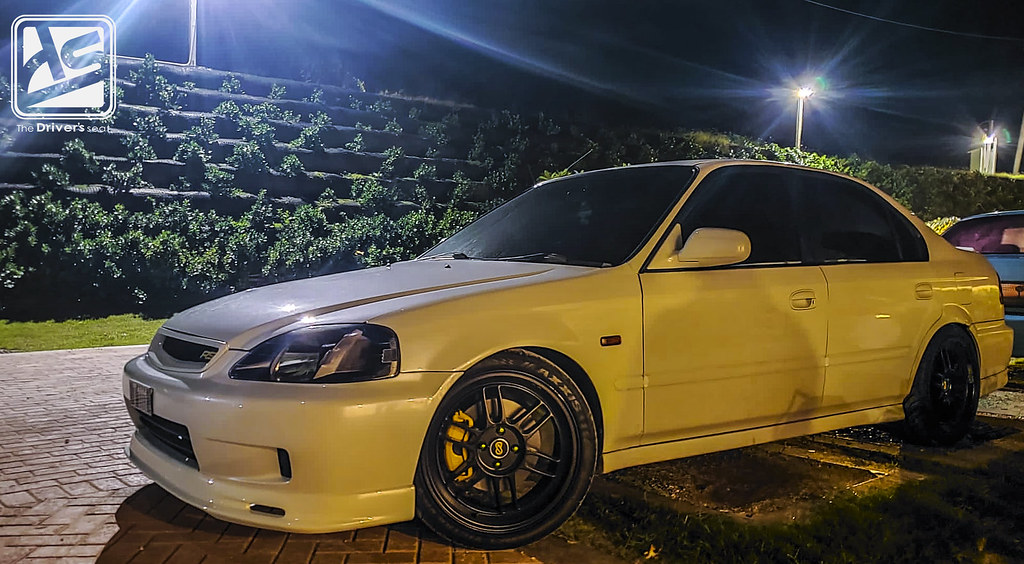
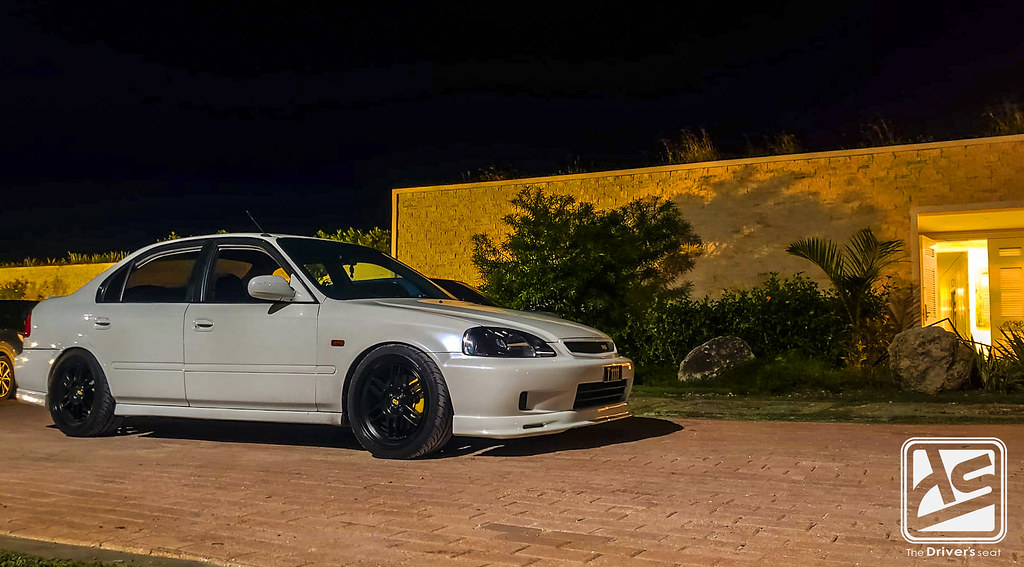
A few shots taken just before Kerry took the car out for his usual weekend drive…
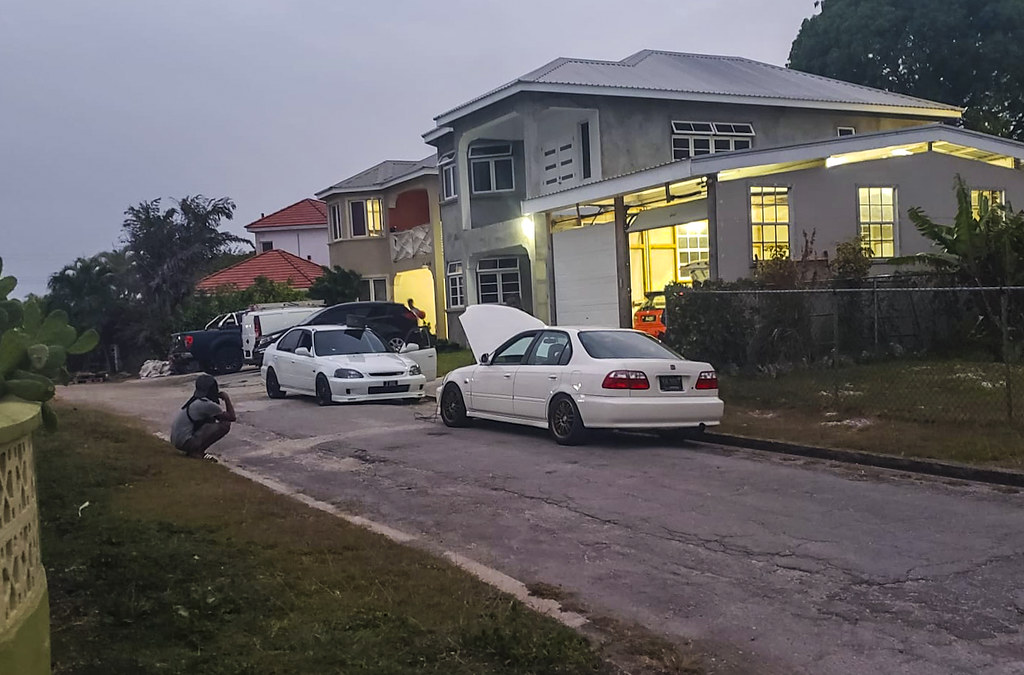
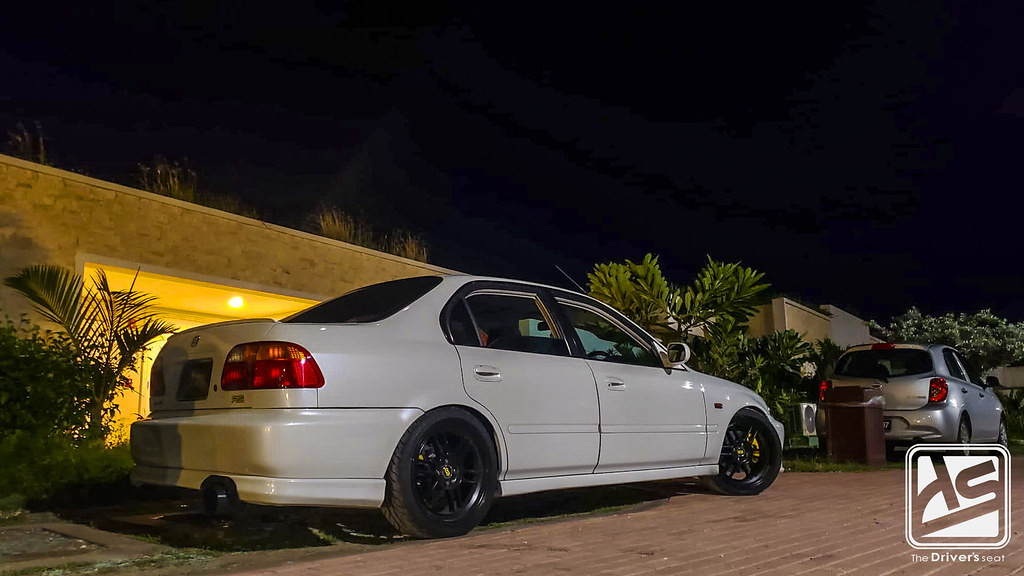
Sedan meets sedan, both white, both K swapped…
Old project meets new, while Kerry was cruising around he ran into his old DC5…
During the shakedown phase, Kerry started to notice some unusual play within the steering rack. Upon further investigation proved it would need to be replaced…

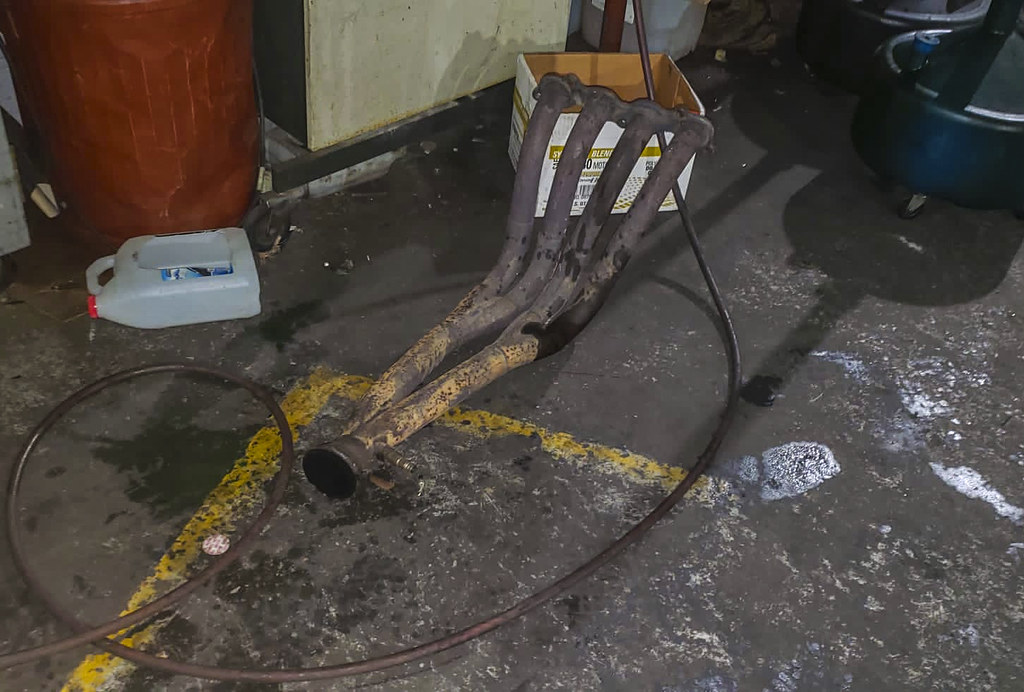

And so the teardown began! Off with the header…


Old steering rack removed in favor of the refurbished unit…

With the rack changed & tested the car was safely back on the ground & ready to hit the street again…
Following the rack change, Kerry has been putting the car through the paces & it was time to officially give it a proper test to see how this setup performs in the 1/8 mile…

Kerry would be sure to acquire some 15″ rubber to ensure traction loss would be at a minimal…

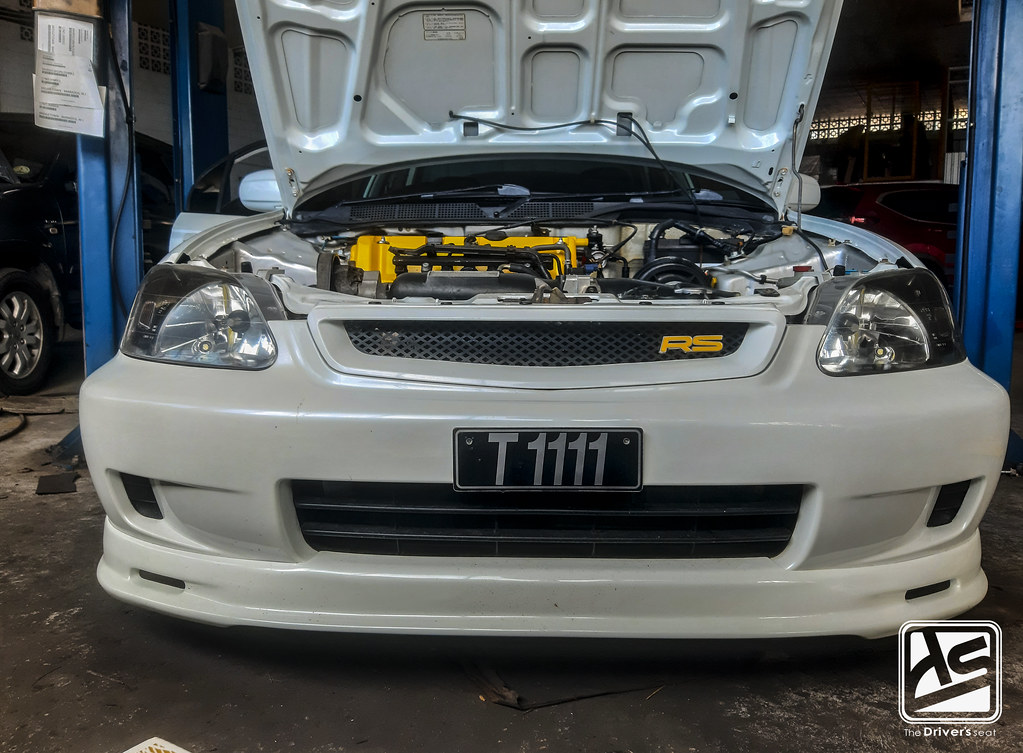
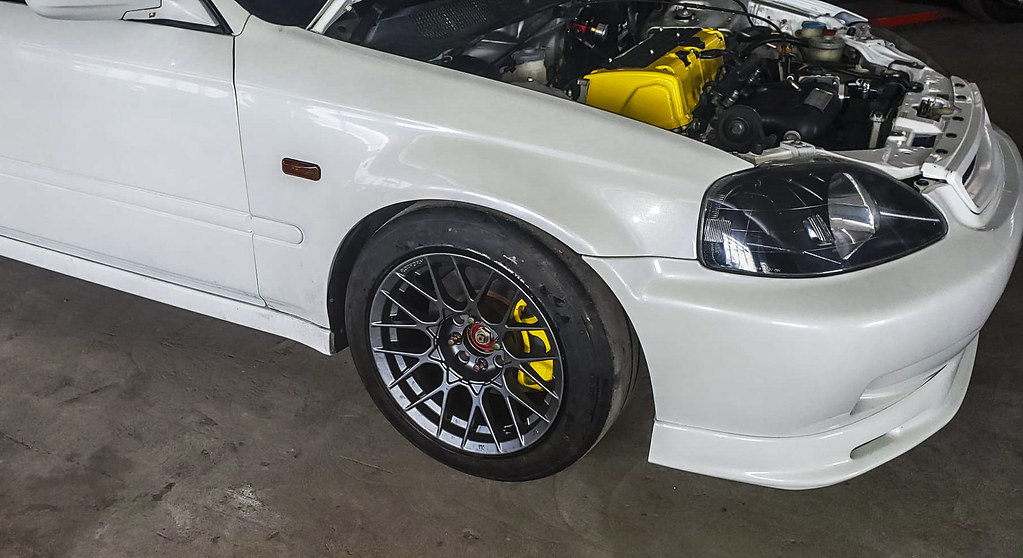
Cant get enough of the bay where the black & yellow theme is carried over from the exterior…
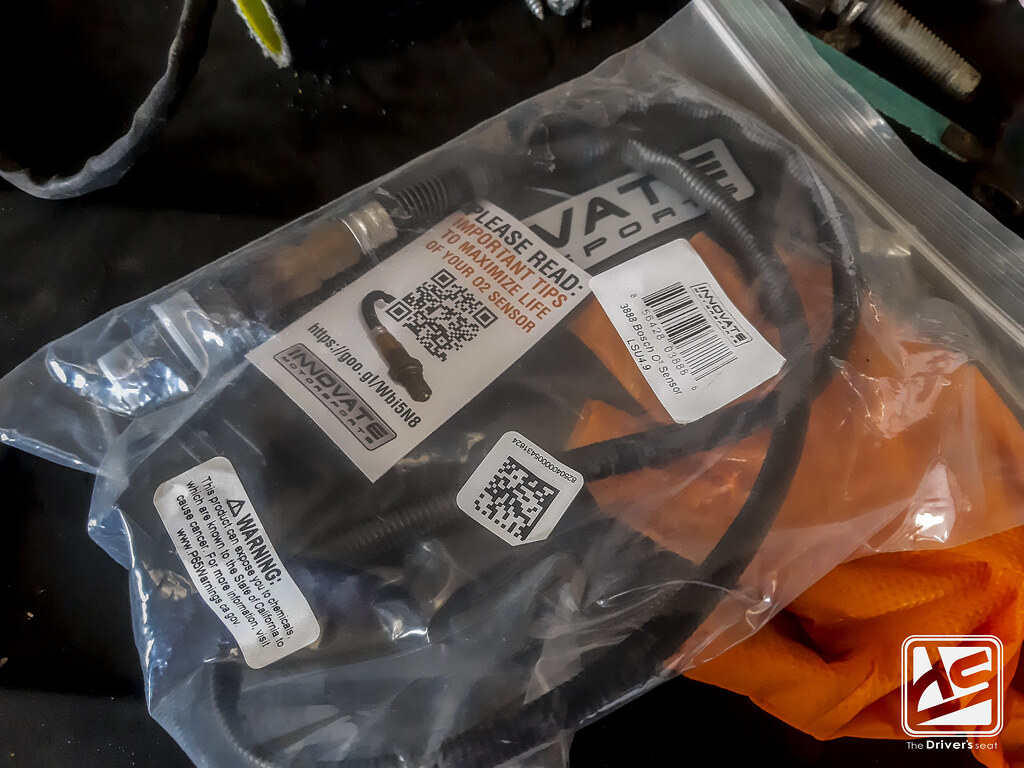
Unfortunately, the wideband sensor died & needed to be replaced, Kerry picked up an Innovate replacement…

The joys of working on a hoist, in no time the sensor was able to be replaced….

A farewell shot of the 17″ Maxxis VR-1 rubber before Kerry transforms the car to war mode…


Kerry as he prepares to fit the new wheels to the car…


Following the race day prep, the car was fully cleaned & ready to go…


Kerry made the necessary suspension adjustments to ensure the fitment was spot on when switching over to the race setup…
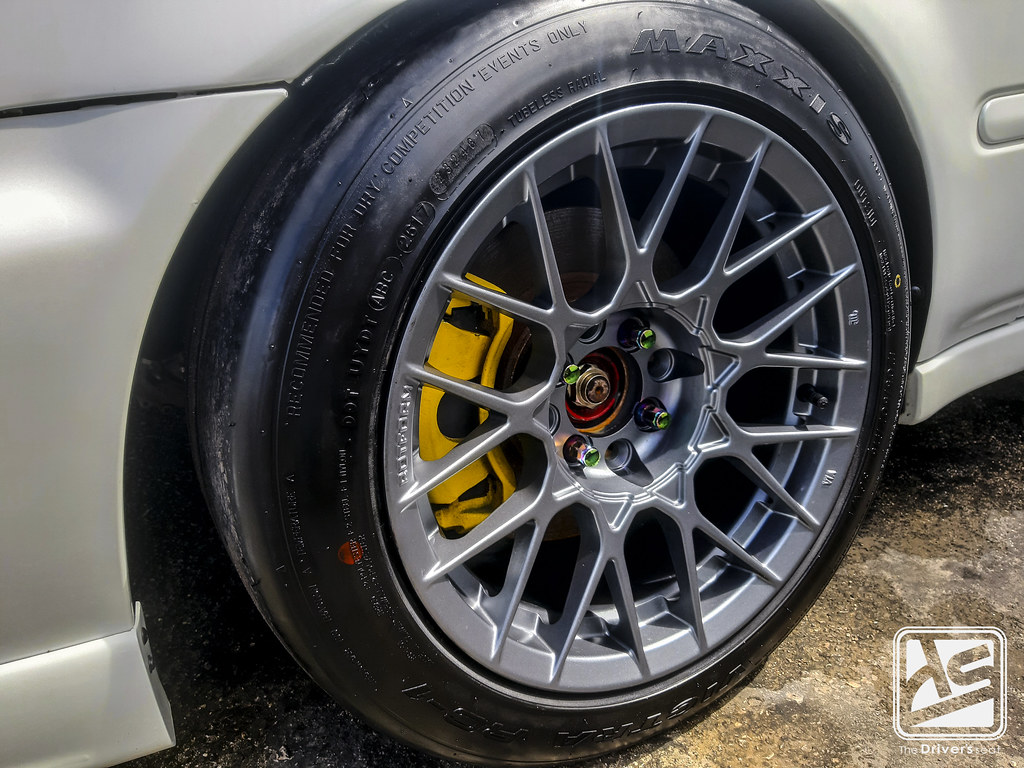
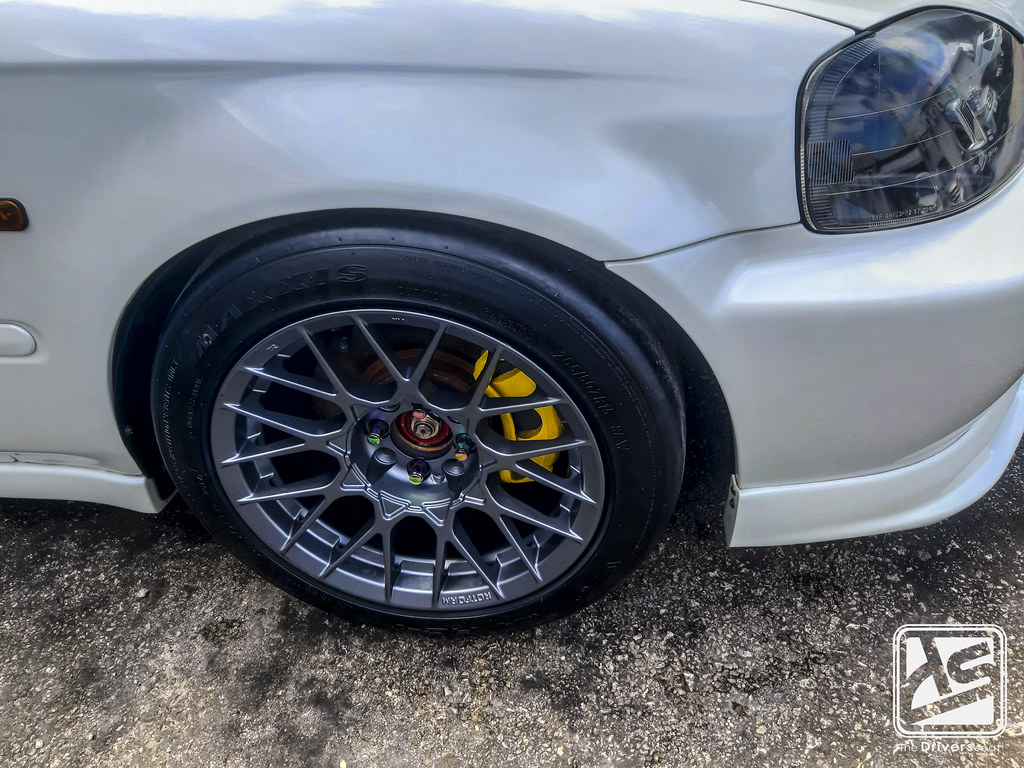
He picked up a new set of wheels for the recently acquired Maxxis RC-1 tyres. The neochrome wheel nuts really stand out against this colour…

BADD specifies that drivers must wear a helmet while on the track, Kerry went ahead & purchased a RaceQuip open face helmet for the event…
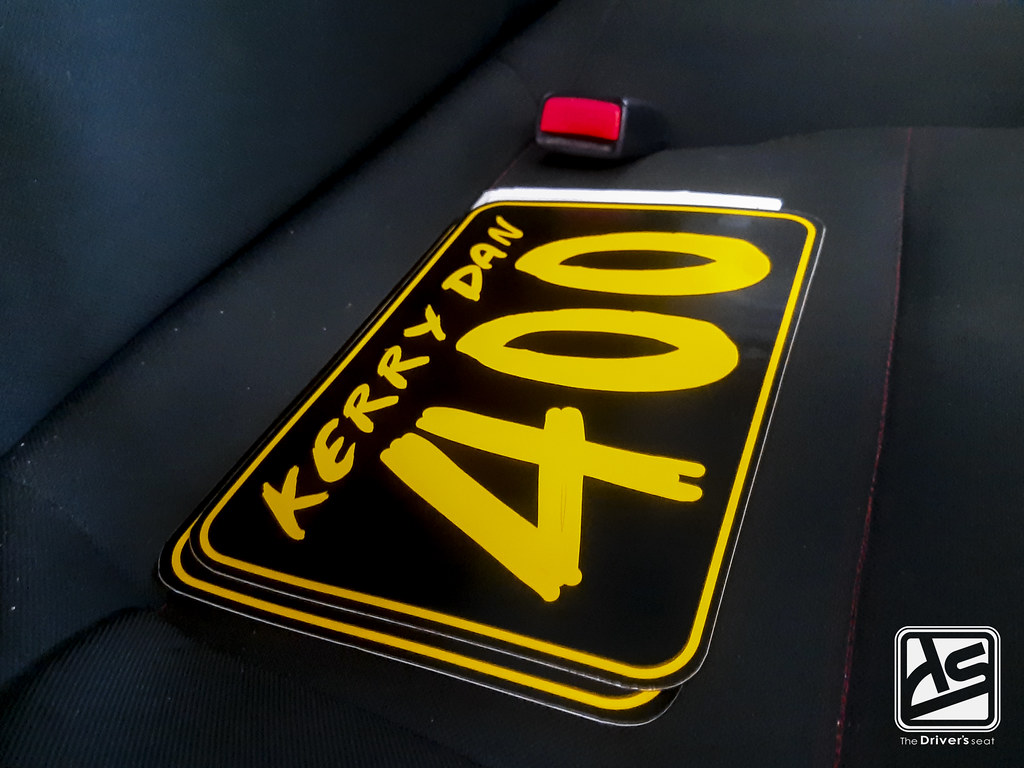
Making sure to carry the theme throughout, his race numbers were also done in black & yellow…

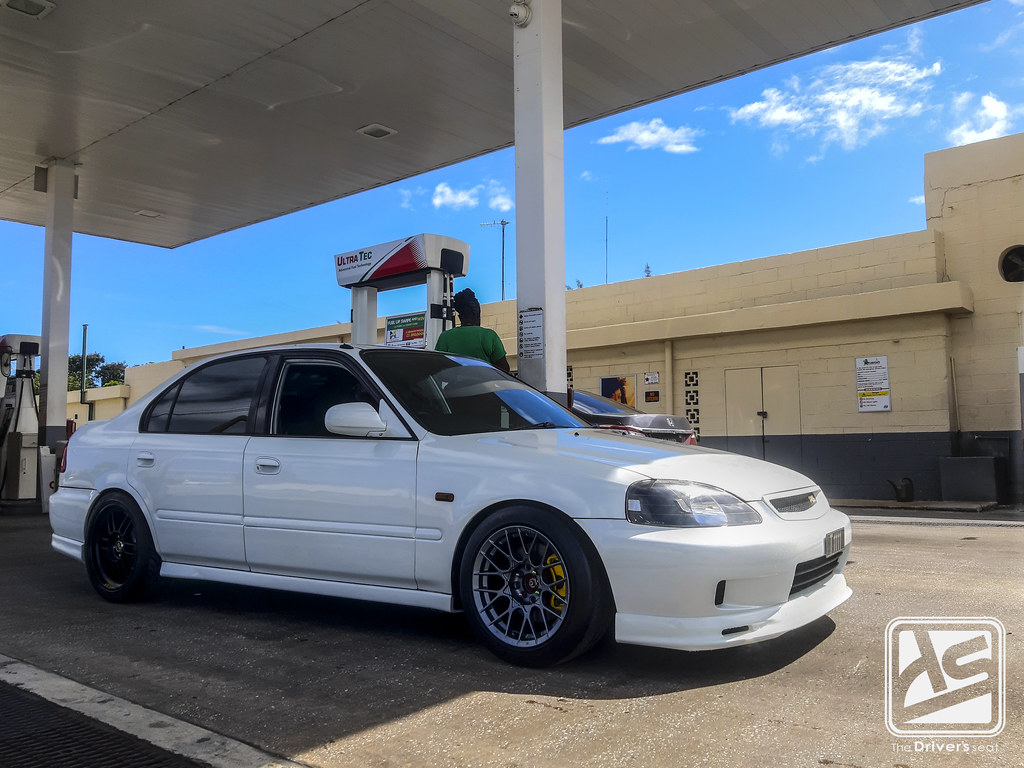
Quick pit stop for some fuel before heading out…


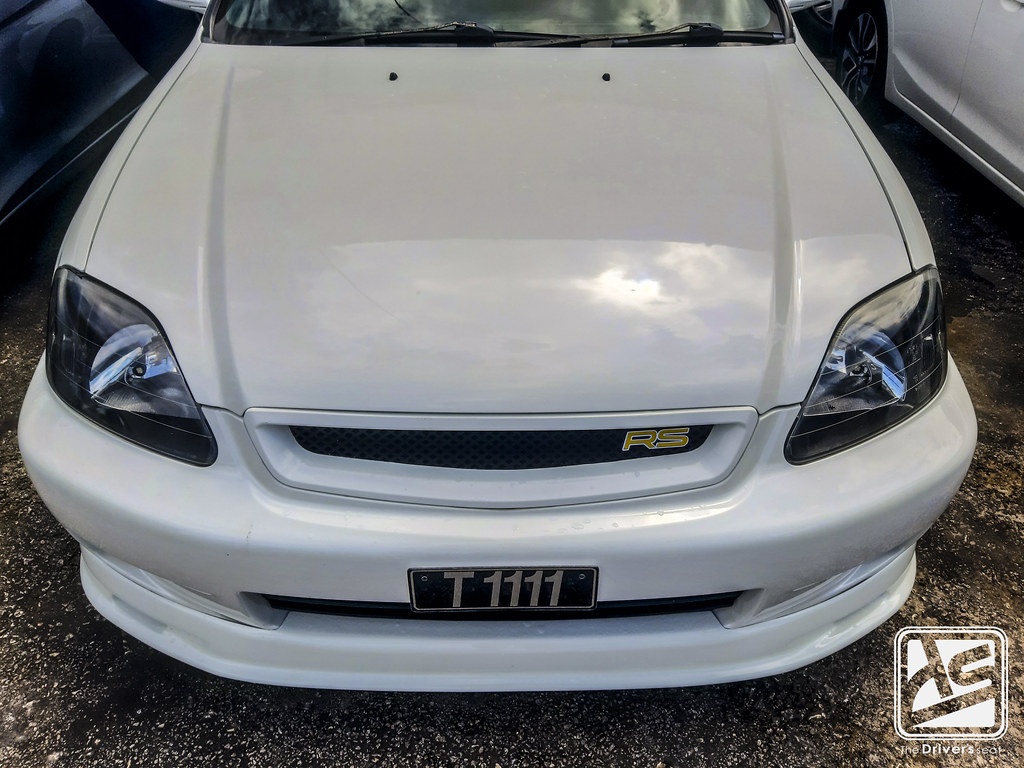
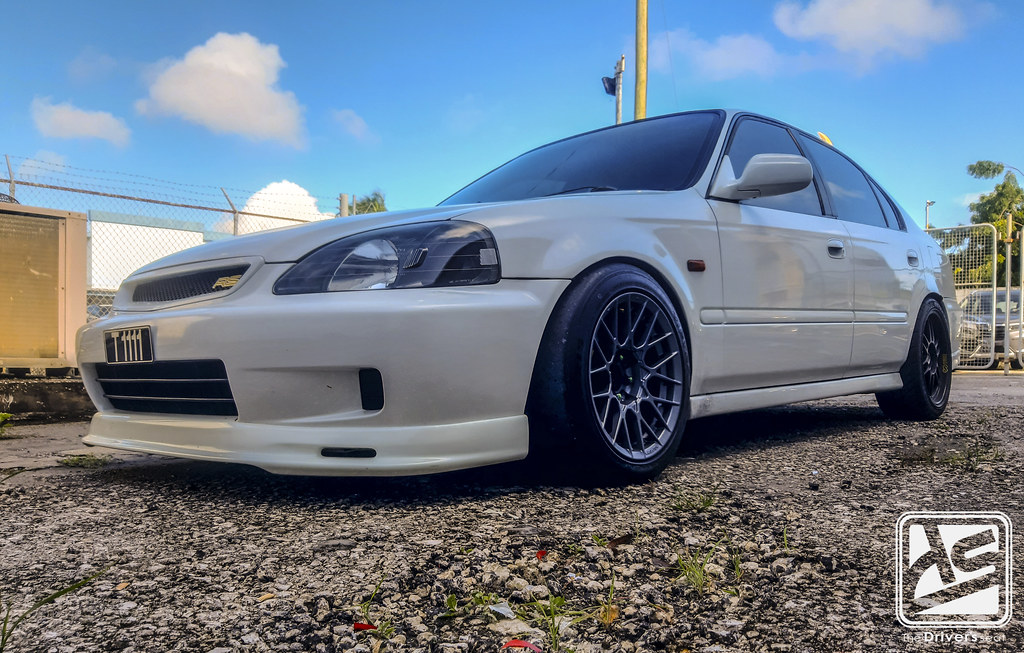
Diablo Blanco is the name coined for the EK3…

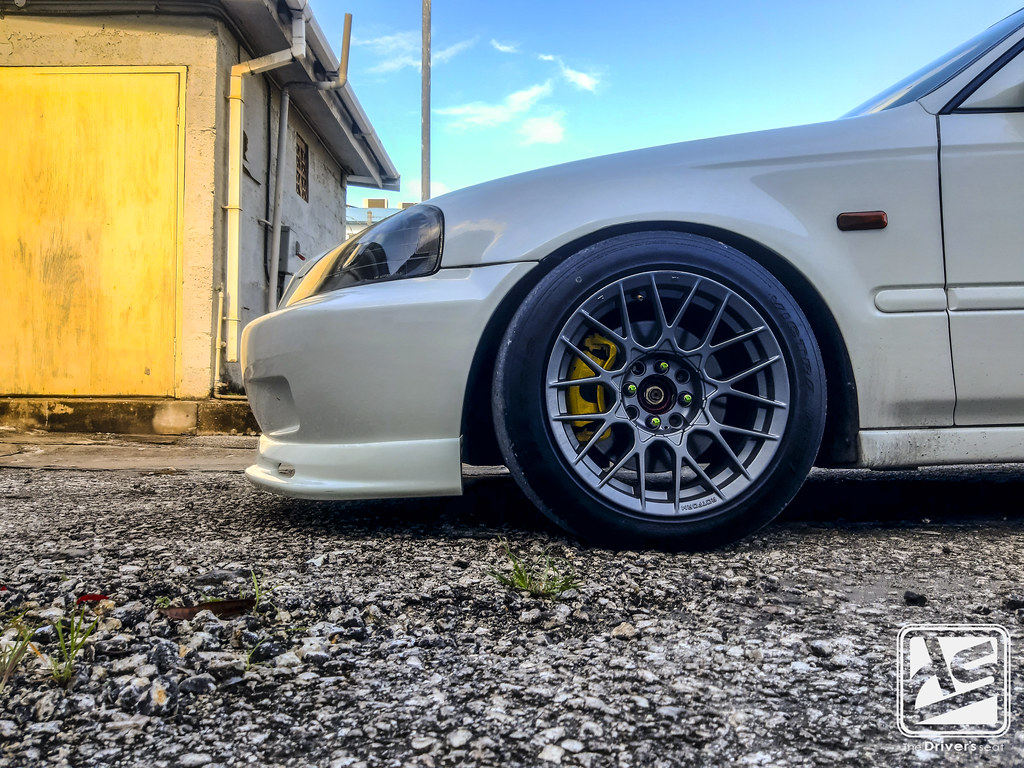
Another glimpse at the fitment on the race wheels….
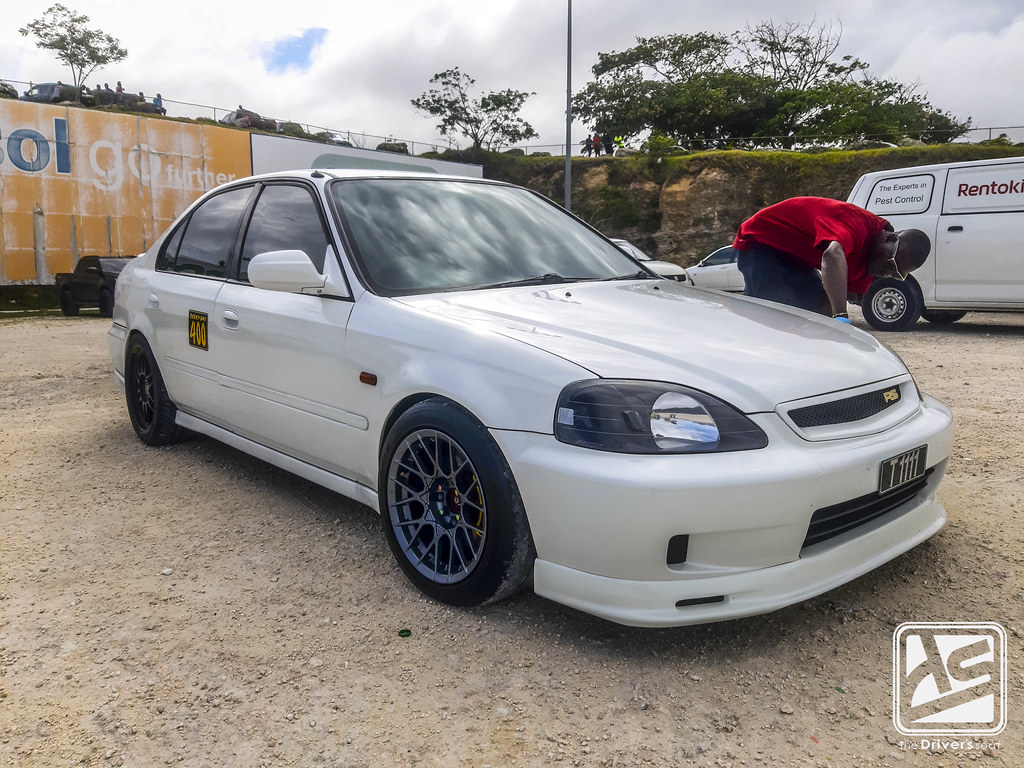
Upon arrival at the track, the next task was to check & set the tyre pressures…

A shot of Kerry in the staging lane before making a pass…
It was quite eventful day, Kerry got to see where the car stood in the current state & considering all things he was satisfied with the performance. He began the day with a 10.19 secs @ 78 mph in the 1/8 mile & by the end of the event he was able to lower the time to a 9.26 secs @ 74 mph…
After getting a baseline on where the car is, Kerry was even more motivated to dive in & make the changes he has been holding onto for some time…
When Kerry purchased the swap, it came with a clutch setup & being eager to get the car up & driving he didn’t bother to change it. He always had plans on swapping it out for a new one but was awaiting a few additional parts…
With the swap being from a UK spec EP3 Type R meant it didn’t have a LSD & based on Kerry’s goals, this would be vital. He went on the hunt for a LSD along with a few other key components before attempting to carry out the drivetrain work…


Another big change Kerry was itching to have fitted was the Gear-X 6.3 final drive…
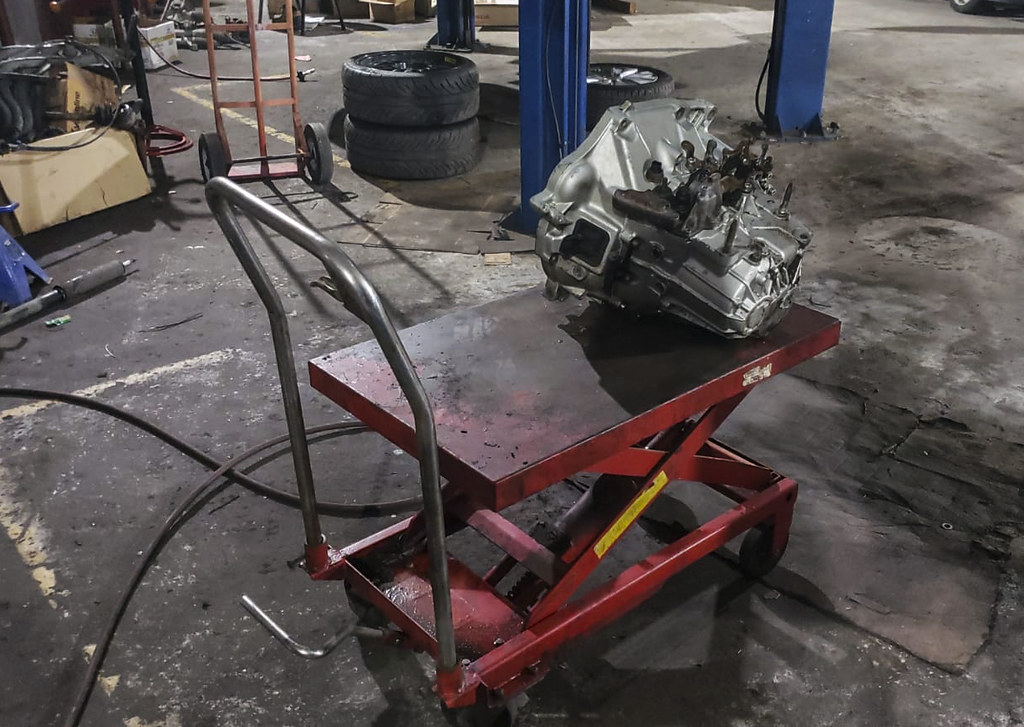
Not wasting any time, the gearbox was removed to be sent off to have the final drive & LSD fitted…


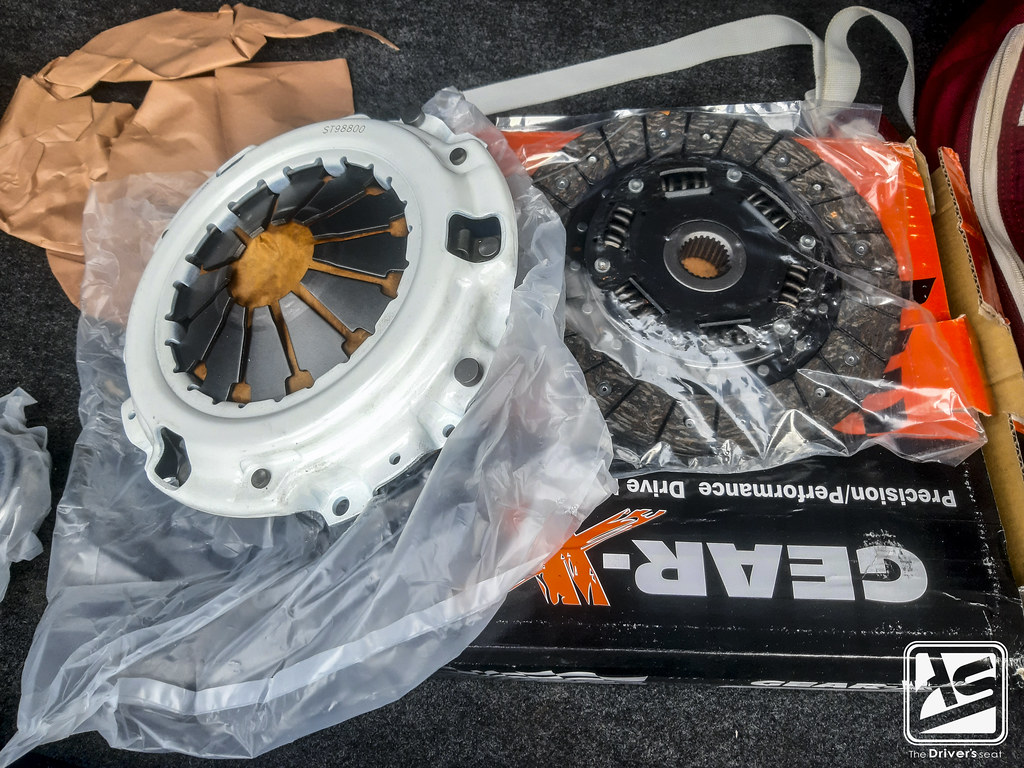
While that was happening, Kerry replaced the clutch & pressure plate…

The gearbox back & ready to be bolted up with the new goodies installed…

Having refreshed the key drivetrain components, the car was back on the ground & ready for testing…

Kerry was able to finish the car just in time for another drag session, the plan is to return to see how the changes he made would impact his results…
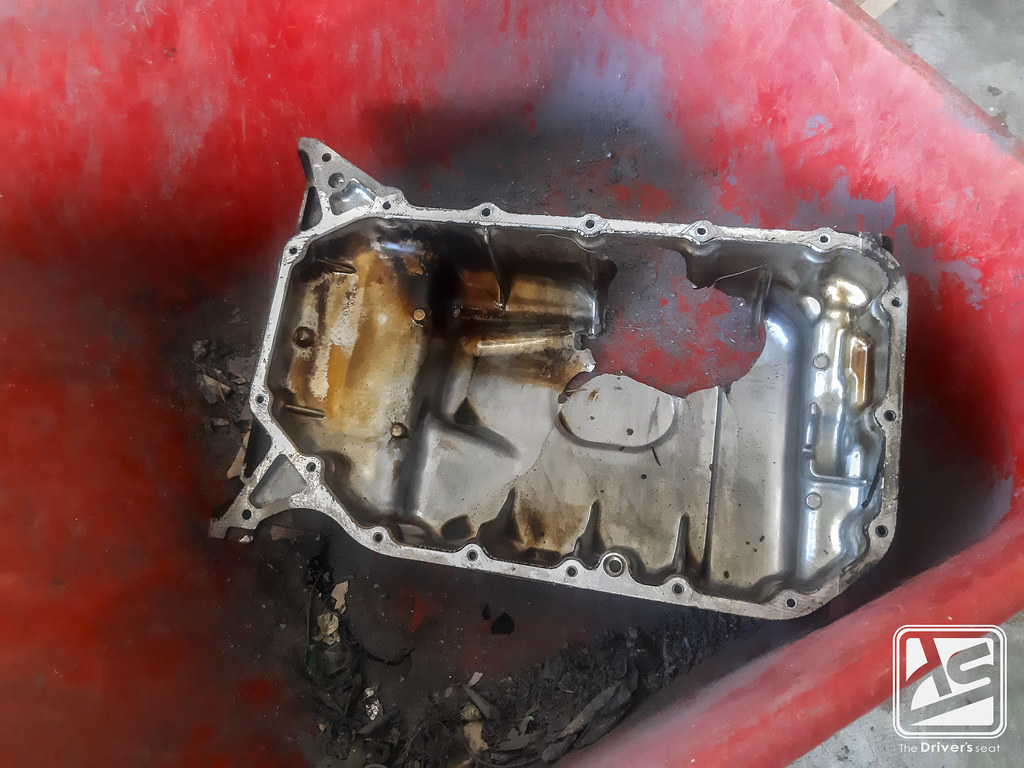
Unfortunately the plans came to an abrupt halt; while on the way to the track, Kerry hit a manhole cover & damaged the sump…

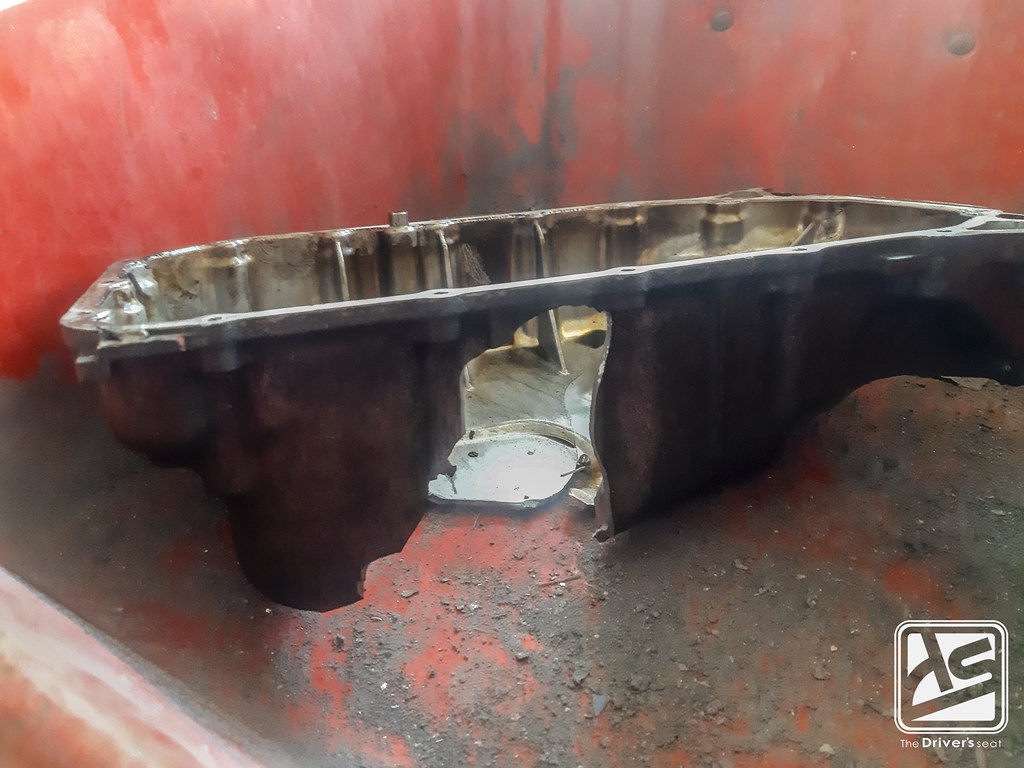
A few shots of the huge window left in the aluminum sump…
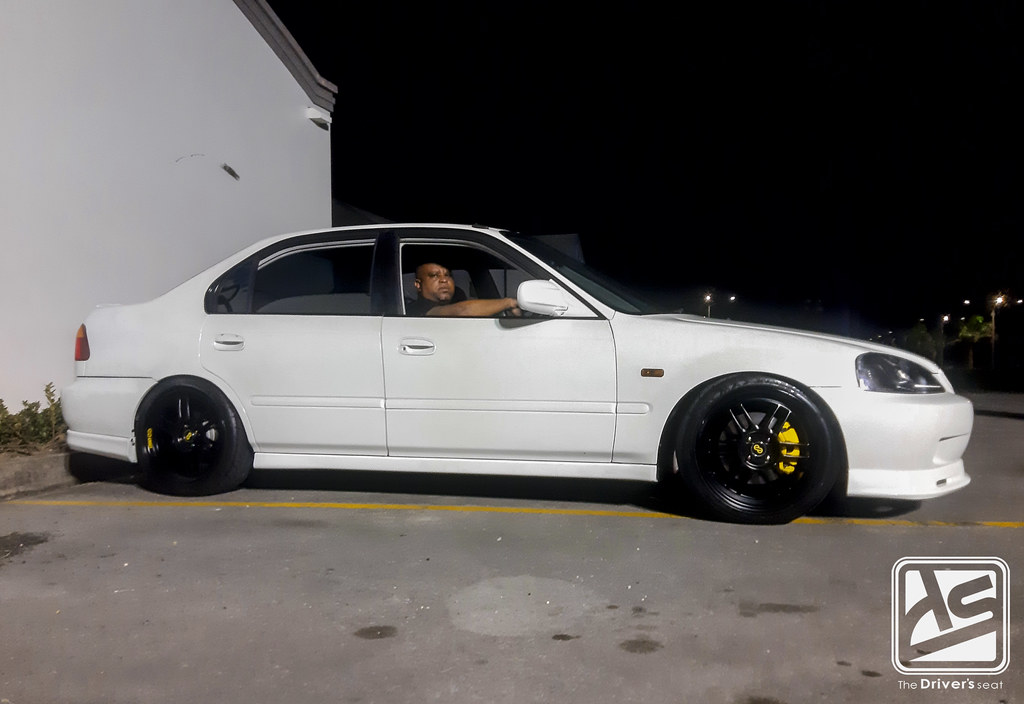
Kerry was able to shut down the car just in time, so it was only a matter of finding a replacement sump. He quickly sourced one & was back out on the streets…


In high spirits that nothing major was damaged, Kerry went out & picked up a EK9 cluster to compliment the interior’s appearance…
That brings us to the end of today’s update, thanks for taking a look at Kerry’s EK3 build. I’ll close out today with a few shots of the Civic under some night lights. Stay tuned for more to come on this build…