
Track Bred EG6 Build… Part 36
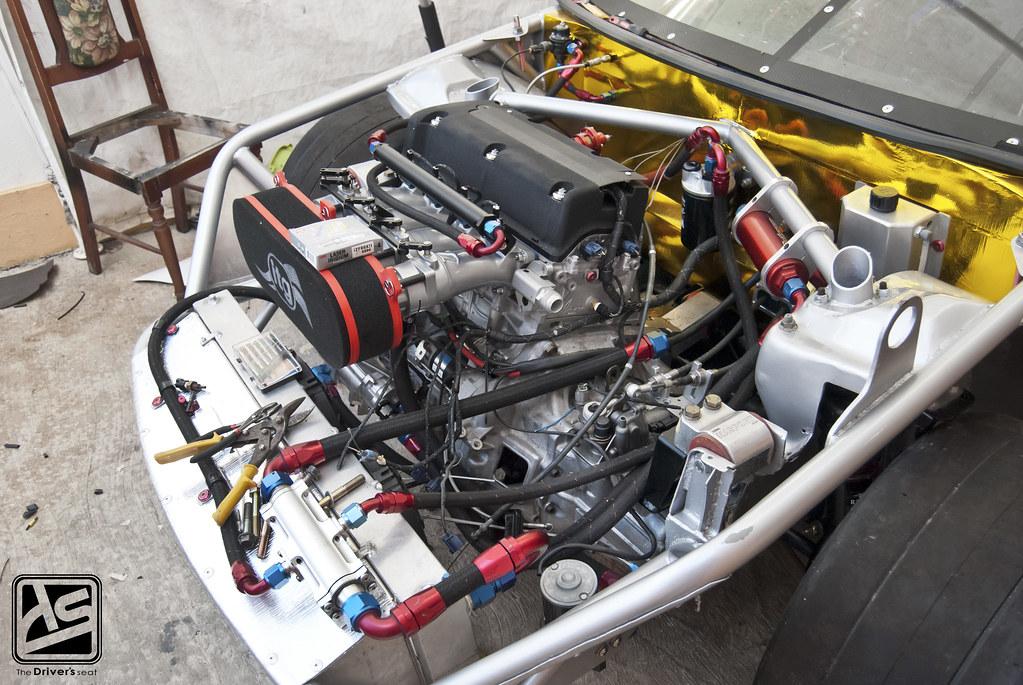
Even though you guys have not seen an update on this build in a while, work has been moving at a steady pace. However, not so much visual stuff has been going on; the guys are in the process of trying to finish up the custom built harness that will work with the new Racepak Smartwire system. Being the meticulous guy Jerry is, everything needed to be executed at the highest quality. Along with the Electronics side of things, some additional pieces have made it onto the car and I also have a small update on the redesign in progress of the one piece front.
For those who would like a full recap of this build, I’ve provided the link below…
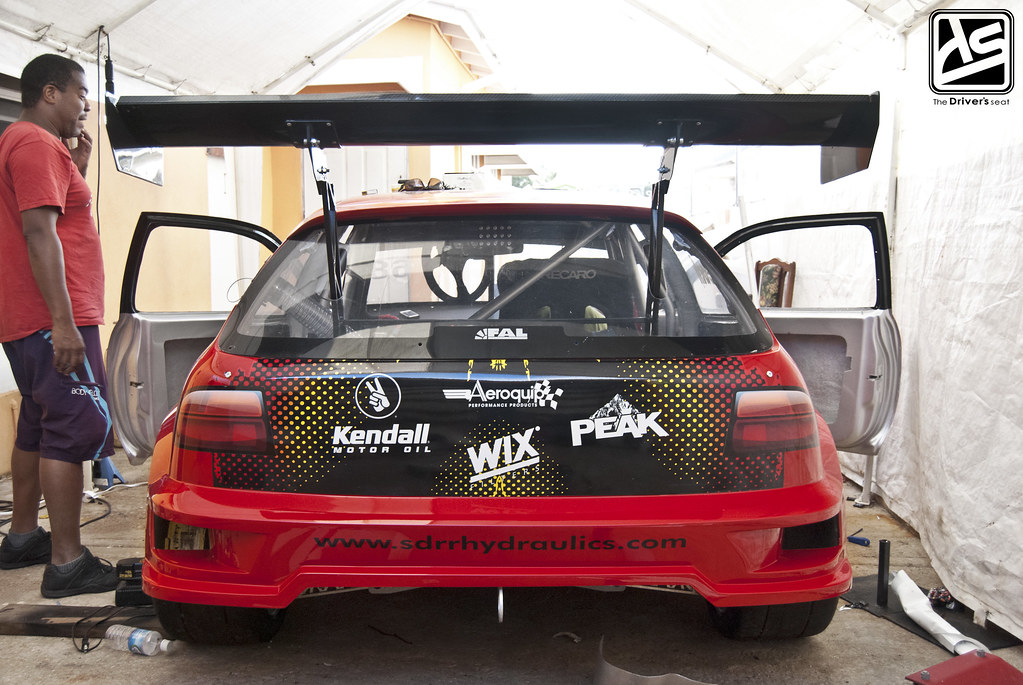
Jerry removed the APR Performance wing to have some adjustments made to the brackets which will then receive a fresh coat of paint…
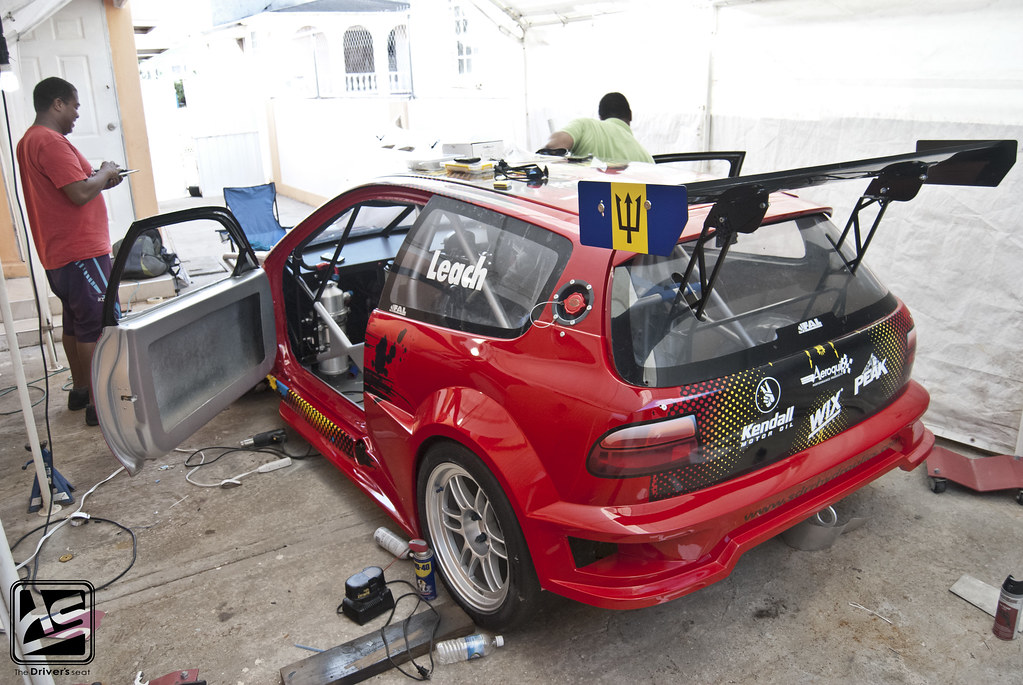
Chilling in the yard…
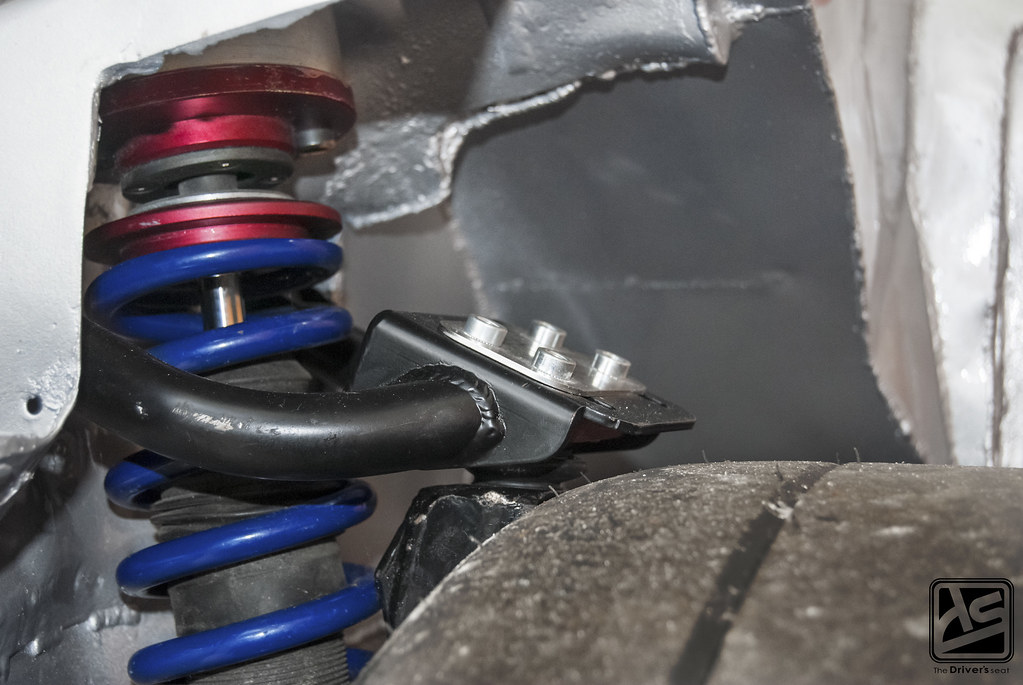
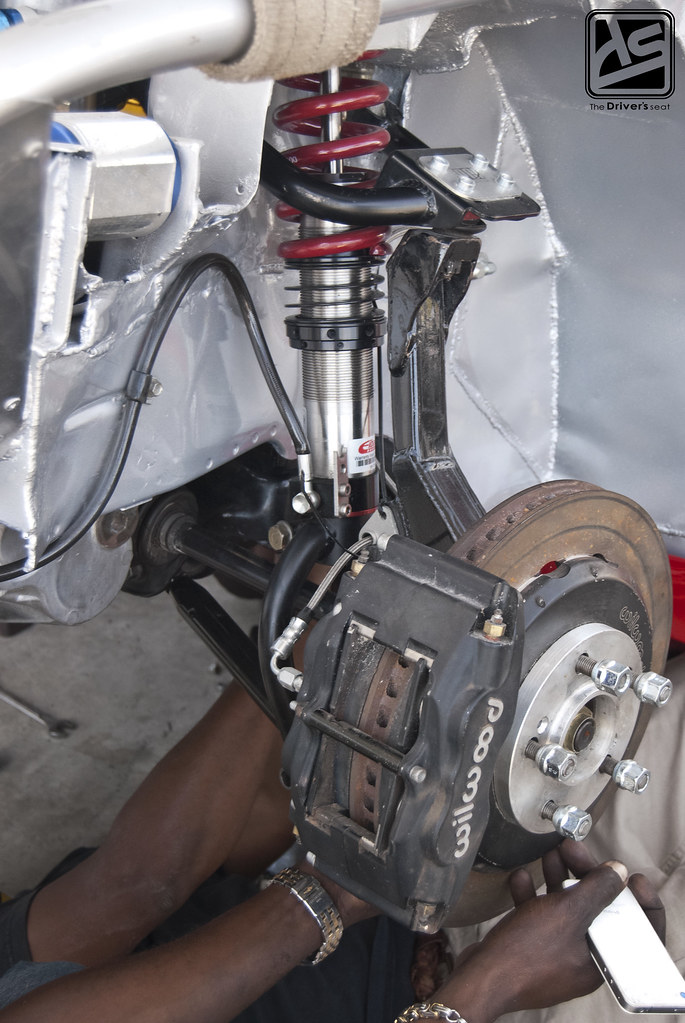
I’m not sure if I wold have mentioned it in a previous post; The Eibach coilovers were sent to be serviced and revalved. If you pay close attention you will notice that Jerry’s old Buddy Club coilovers are currently installed. The main purposes are to test fit the remainder of the suspension pieces to ensure there are no clearance issues and to easily move the car around.

Currently Jerry has installed the Pro Car Innovations upper control arms…
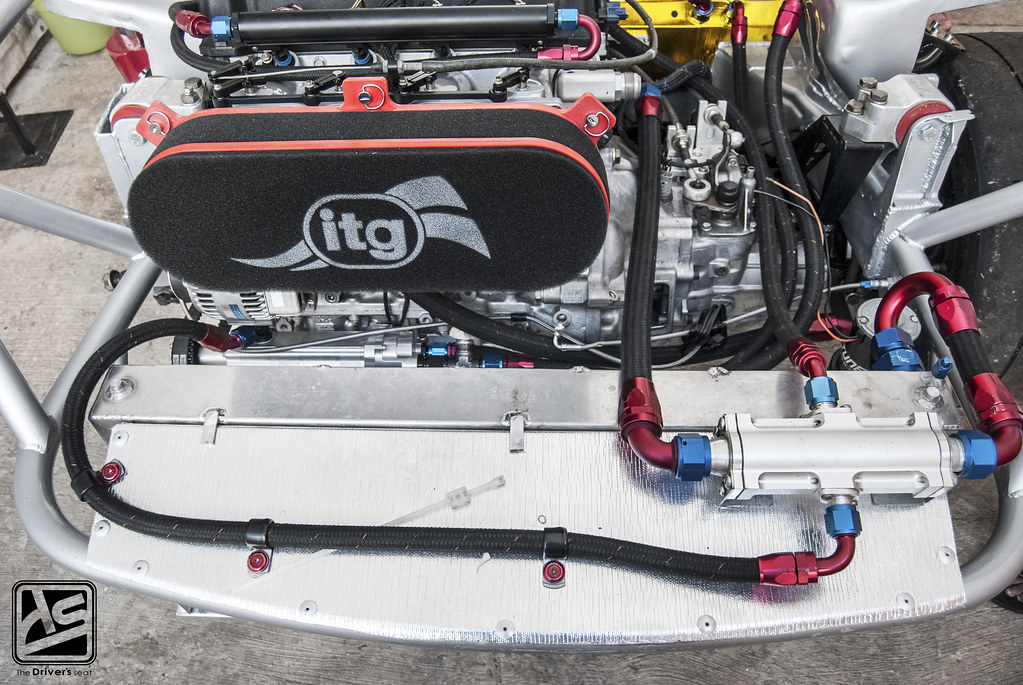
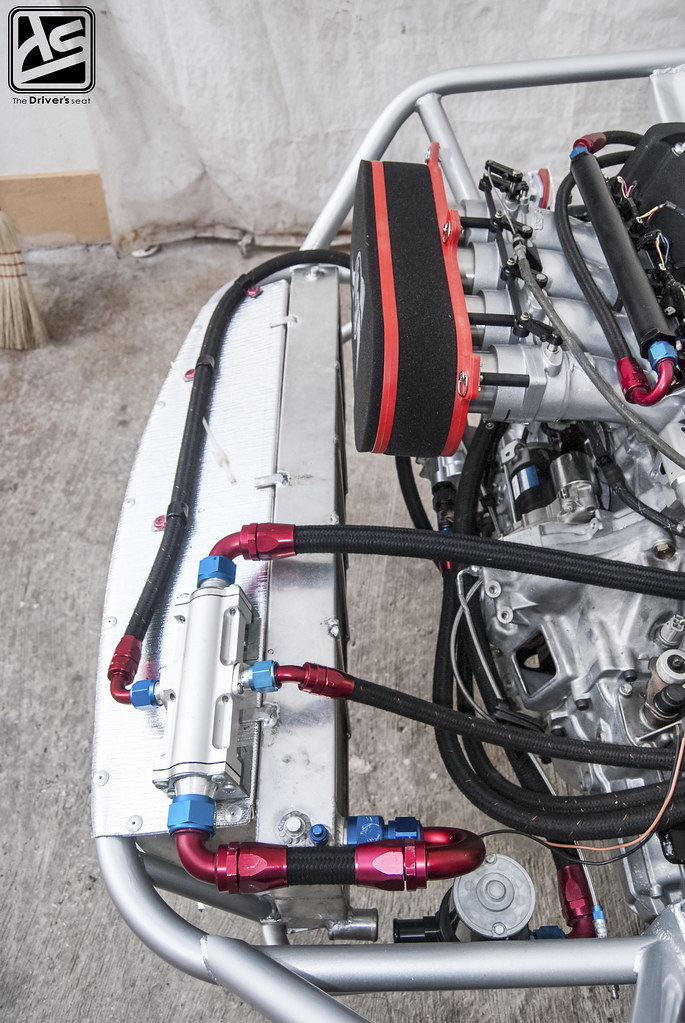
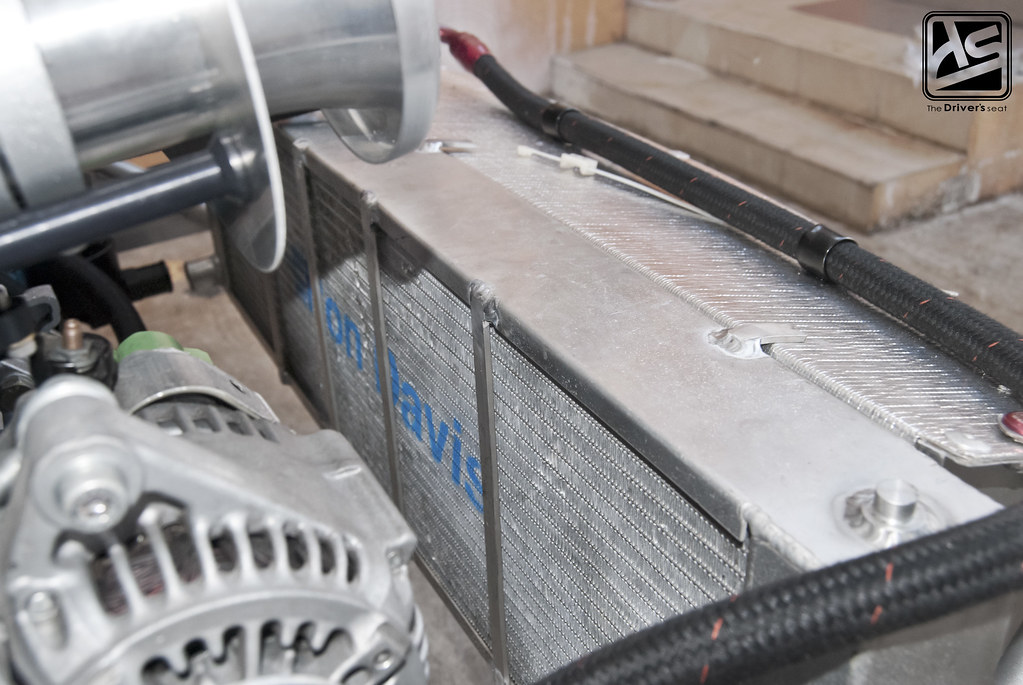
Another piece of information I left out in a previous post is that Jerry will be going back to one of his previous setups in terms of an oil cooler. In the initial stages of this build, Jerry used a Laminova Heat Exchanger but as the build evolved he opted for a more conventional air-to-oil cooler. Since the front end has been redesigned, coupled with the dry sump setup it is significantly easier to use the Laminova unit once again.
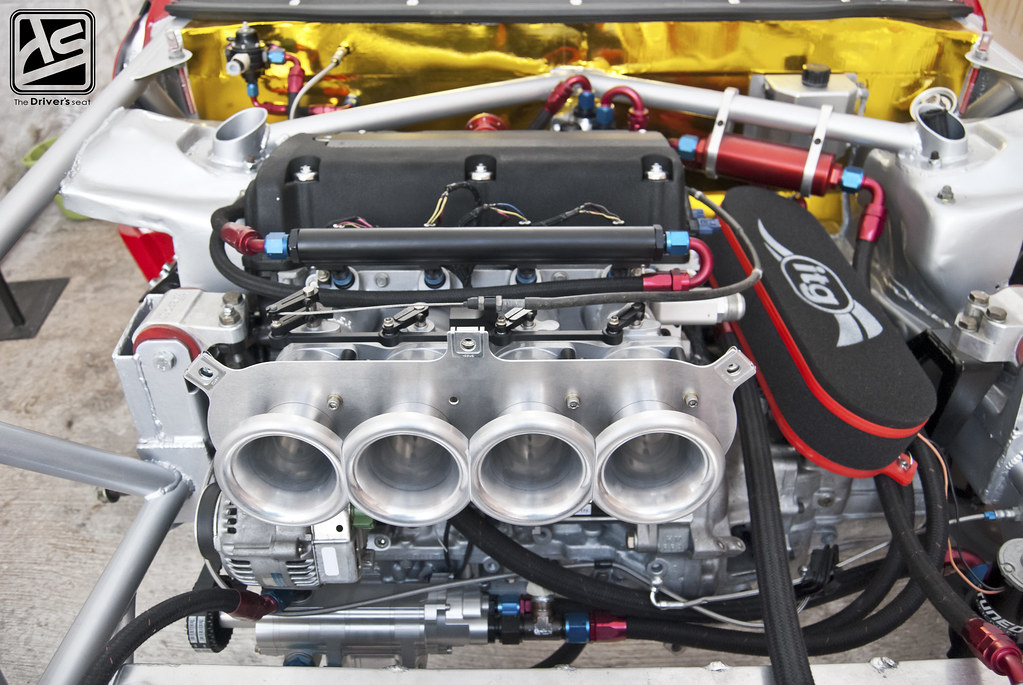
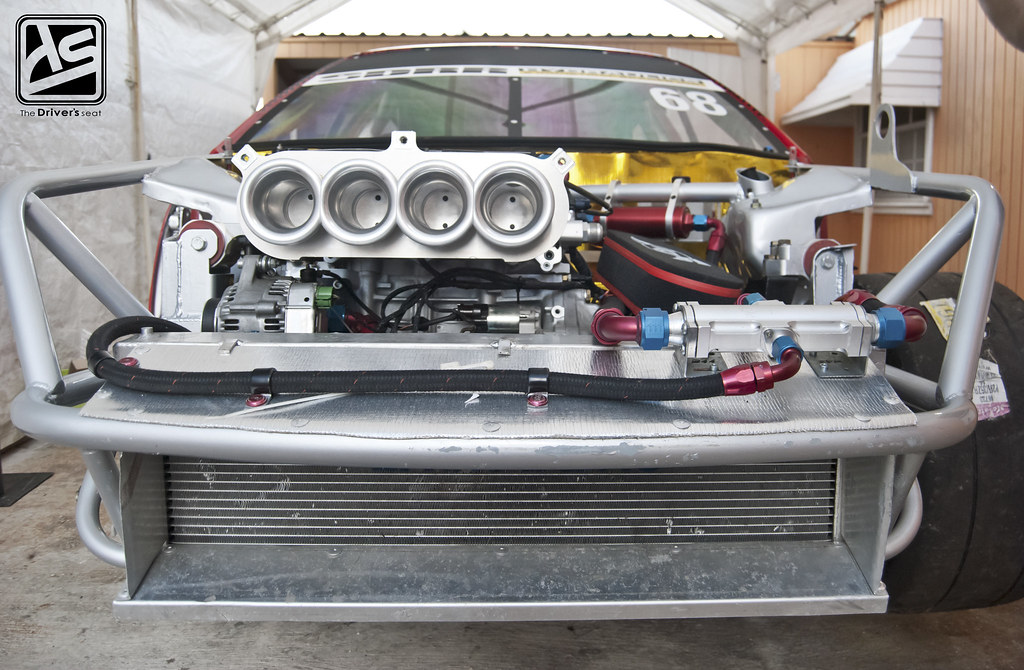
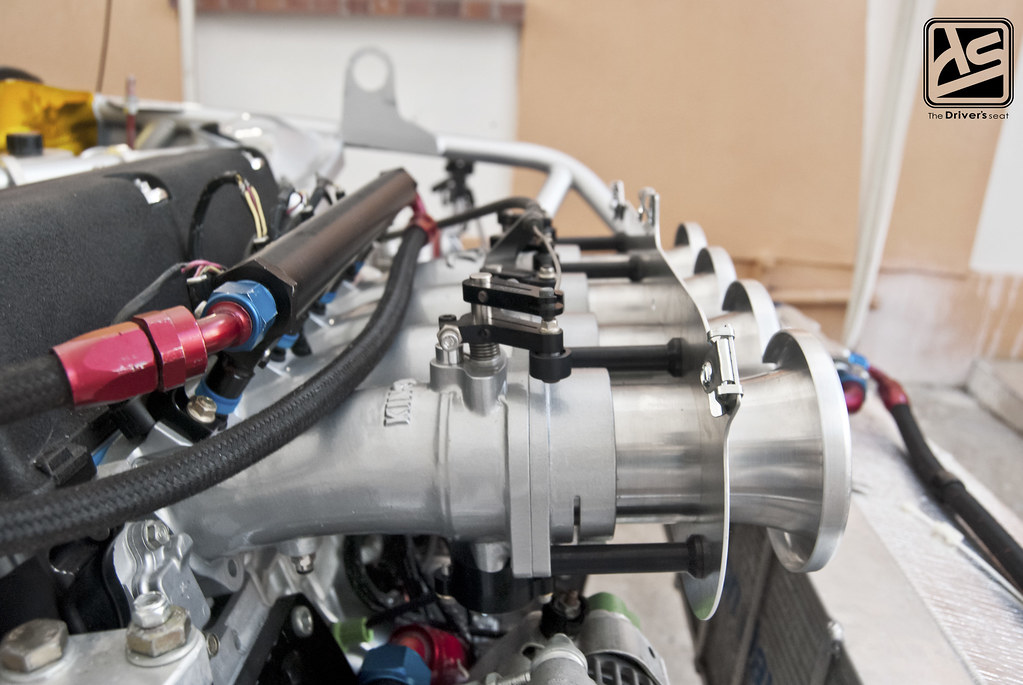
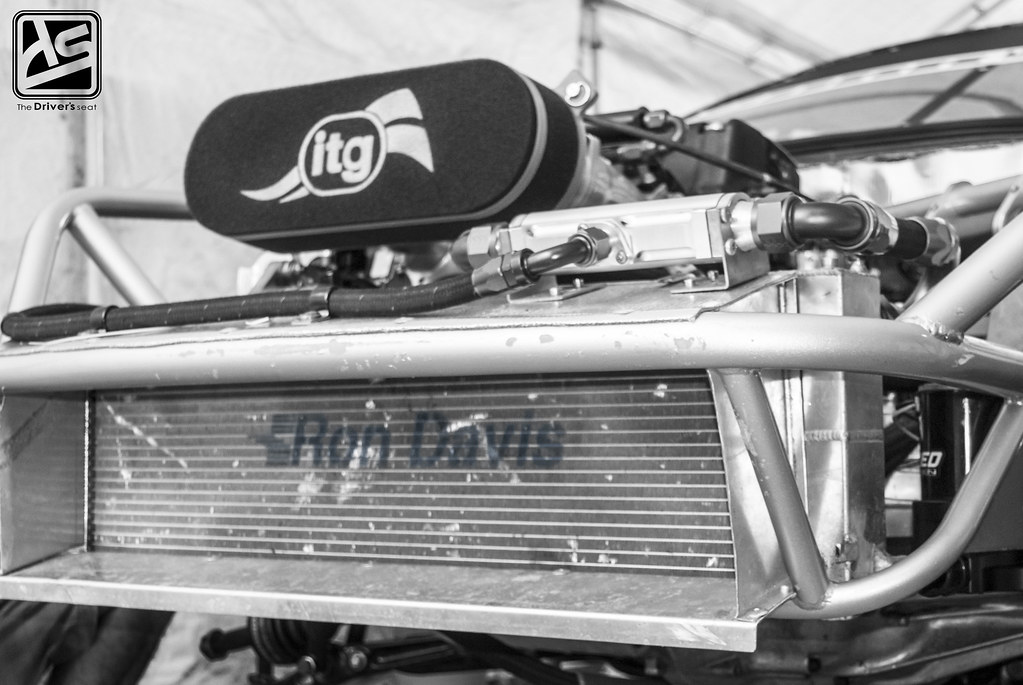
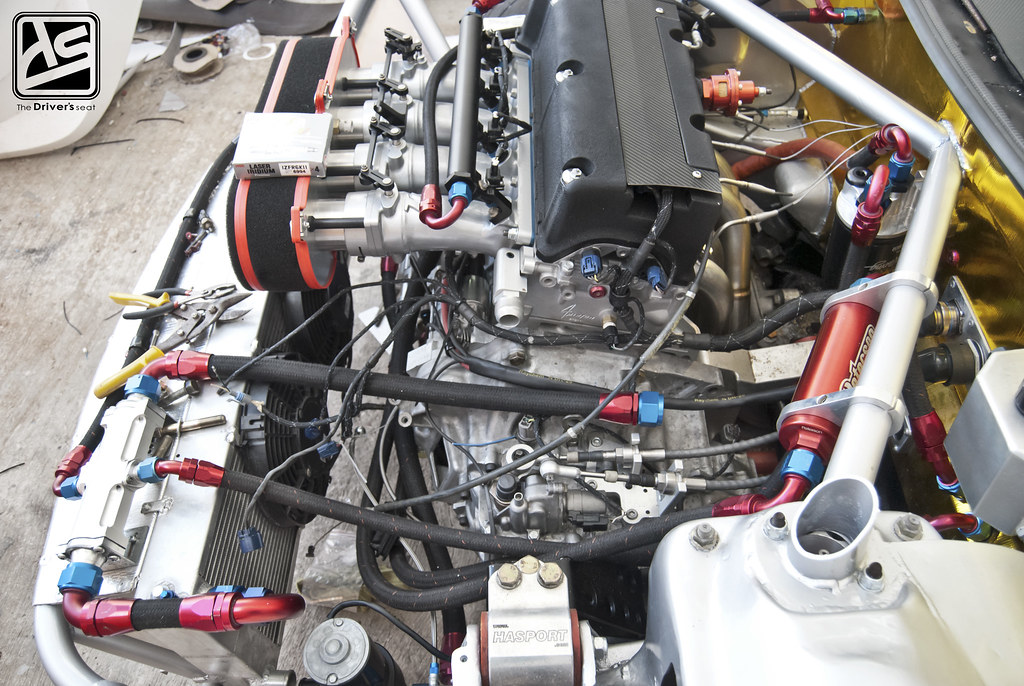
A few shots with the ITG filter removed, leaving the 62mm Kinsler throttles exposed…
Previously, being hard pressed for time the radiator fans were cable tied to the radiator. However, this time around Jerry made a few alterations to the radiator and the fans will now be bolted directly to it.
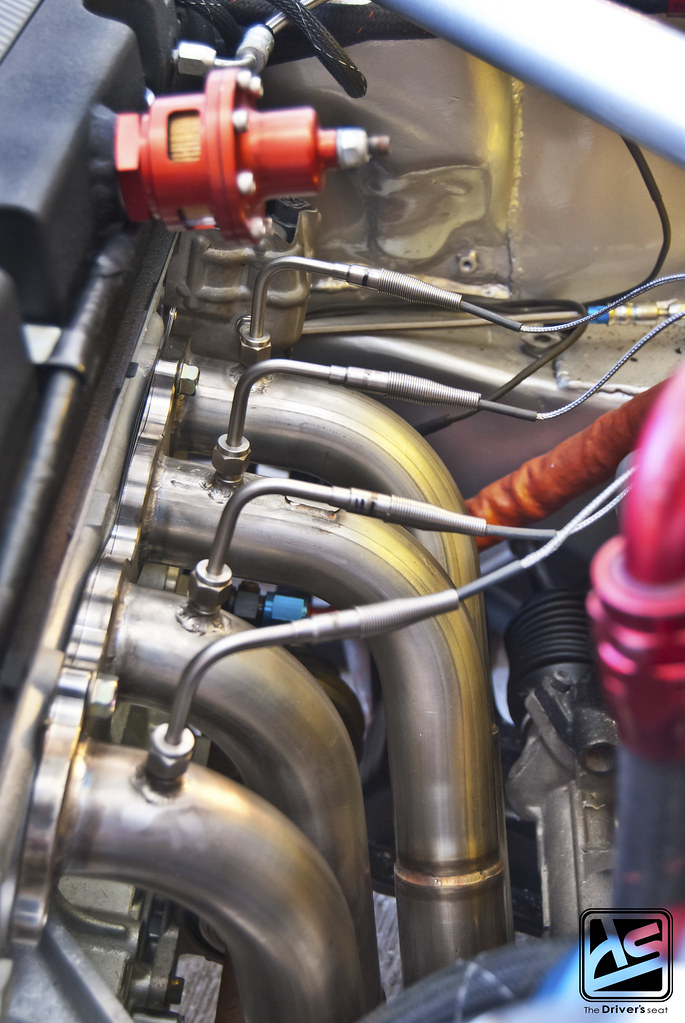
With the wiring almost complete, all four thermocouples have been fitted in place…
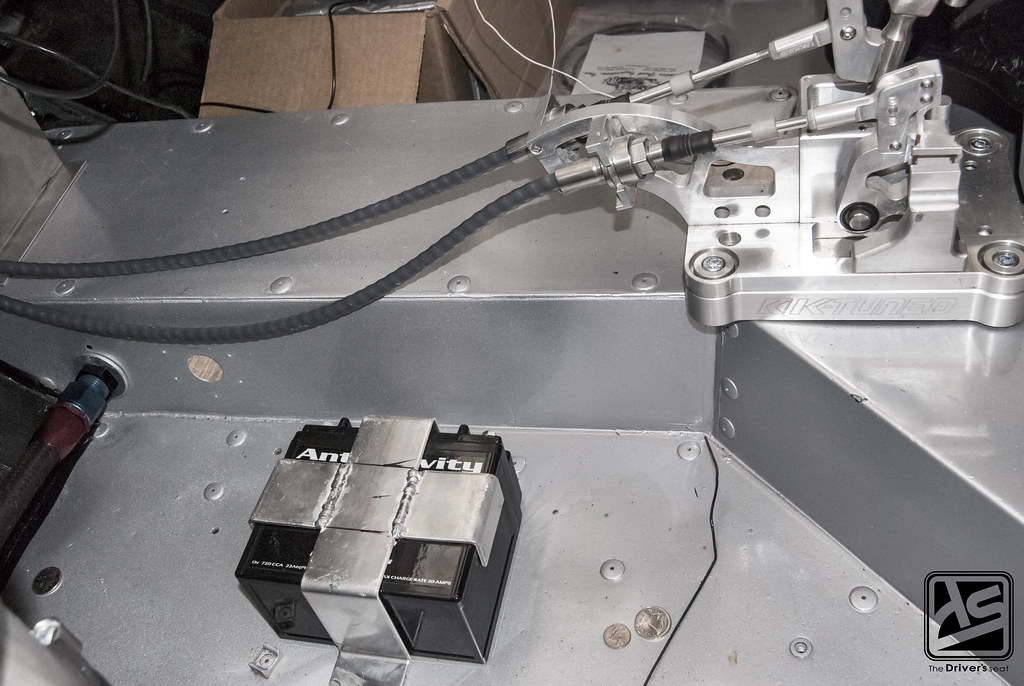
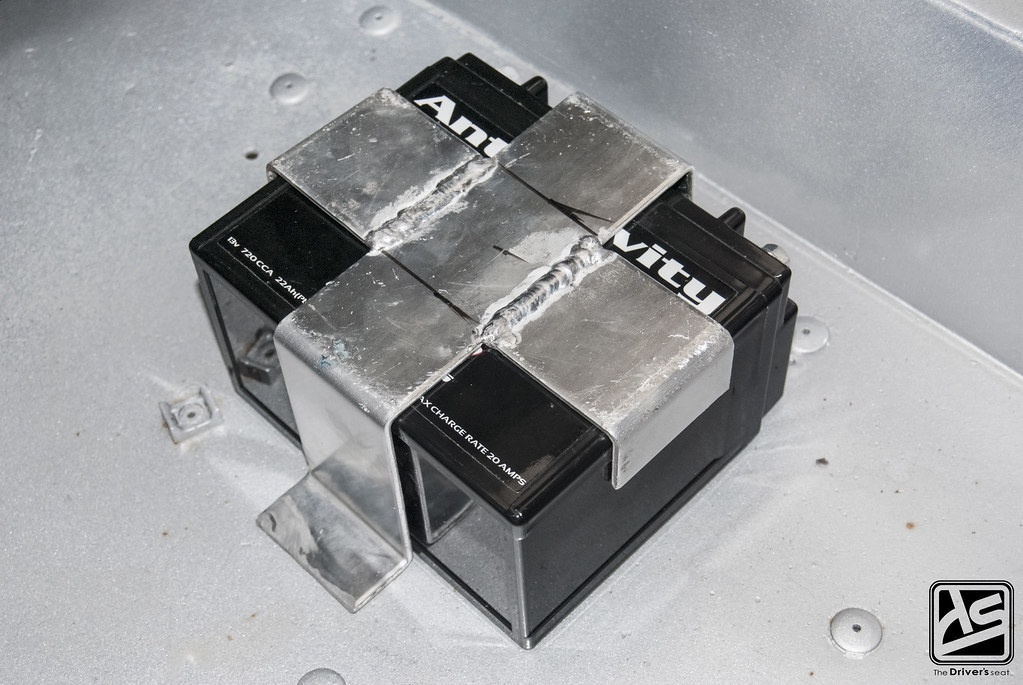
Custom made battery tie down for the new Antigravity unit, that is mounted on what was the passenger side…
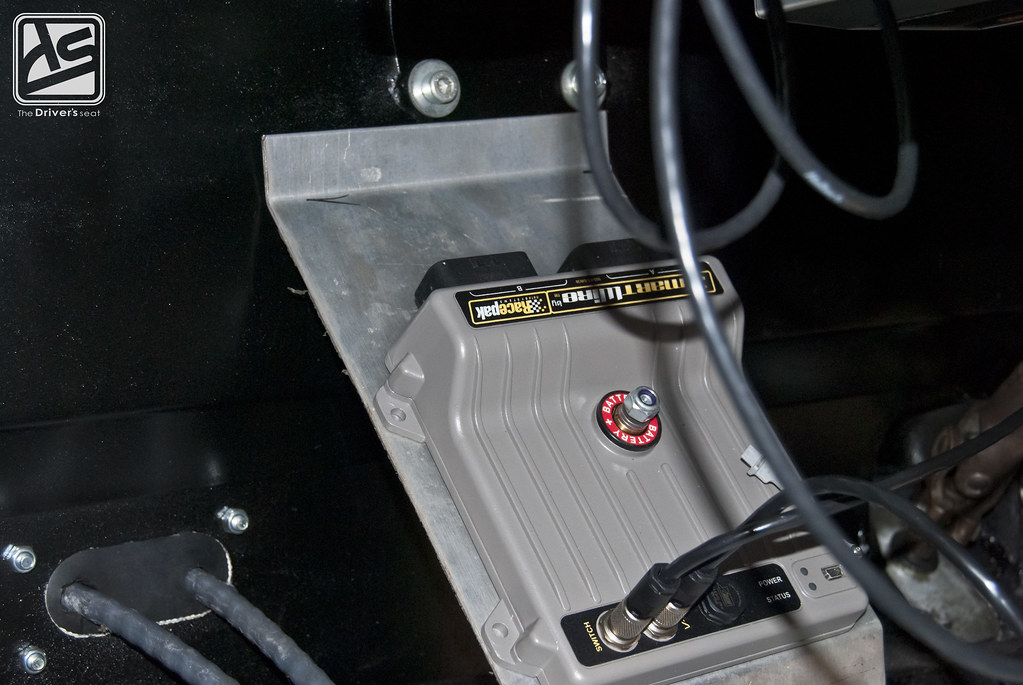
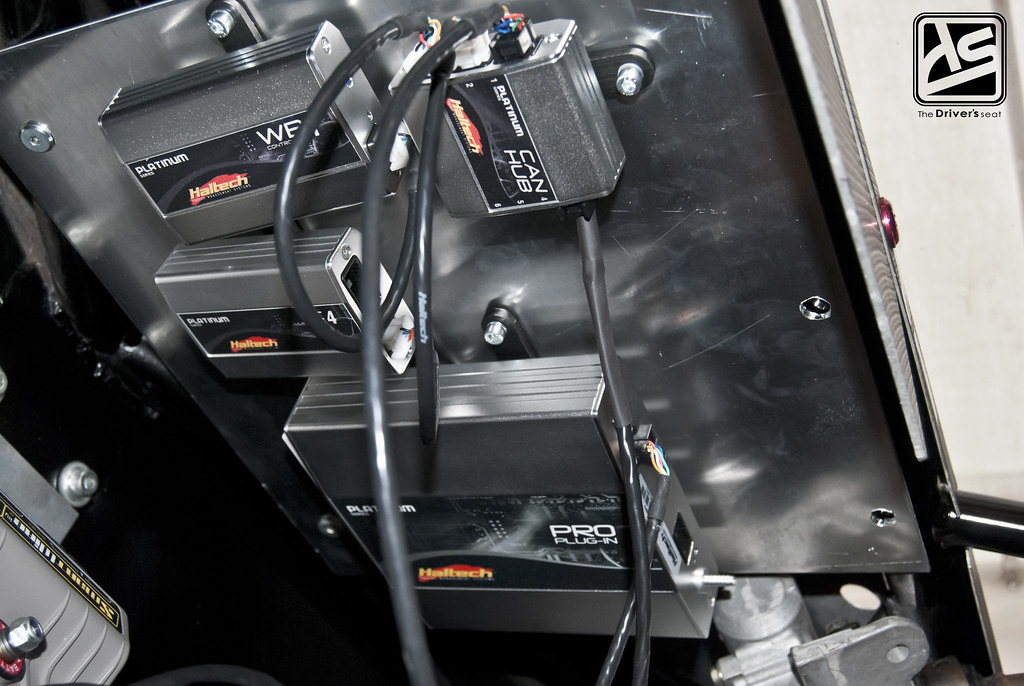
When we last left off Jerry was in the process of rewiring the car which also included installing the Haltech ECU. Being by there are significantly more pieces in comparison to the Hondata K-Pro, Jerry needed somewhere to safely place them. A final decision was made to have them mounted on a panel and placed out of sight on the underside of the dashboard.
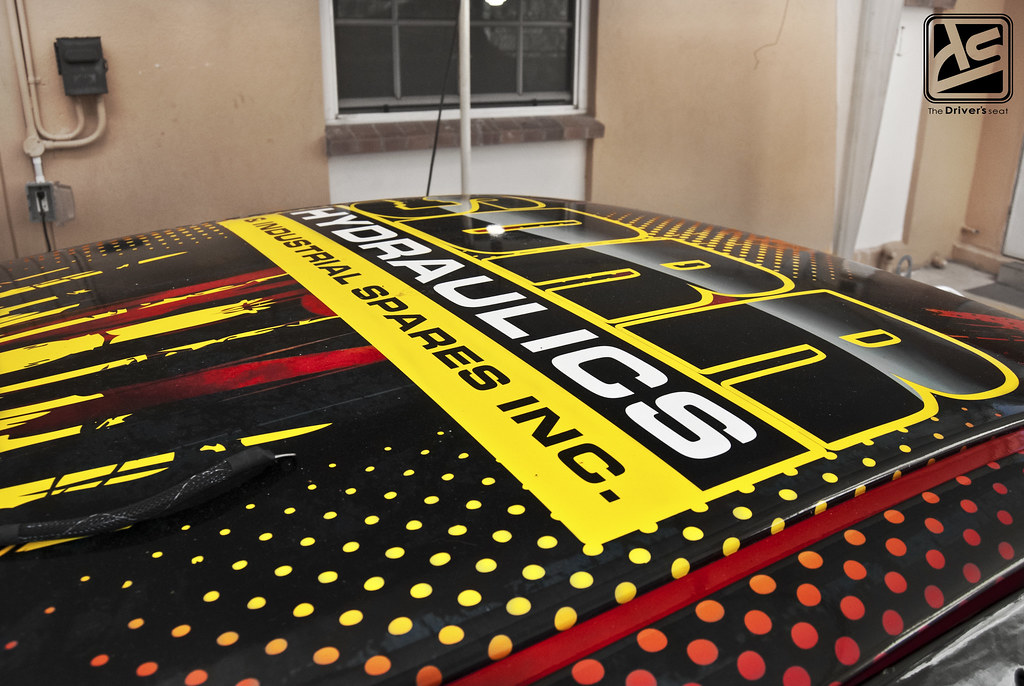
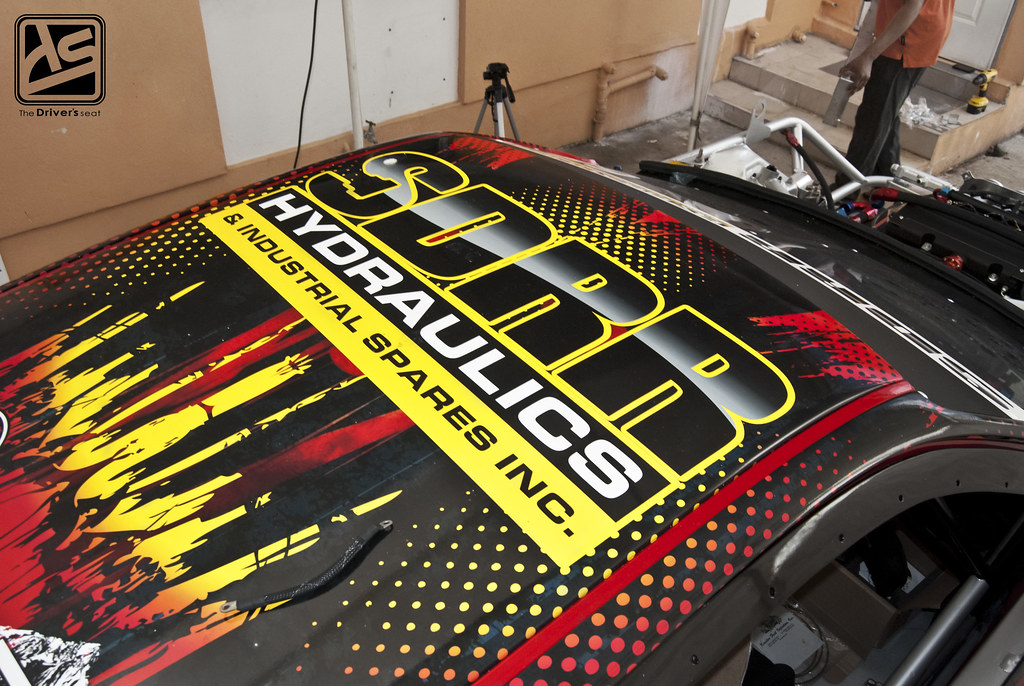
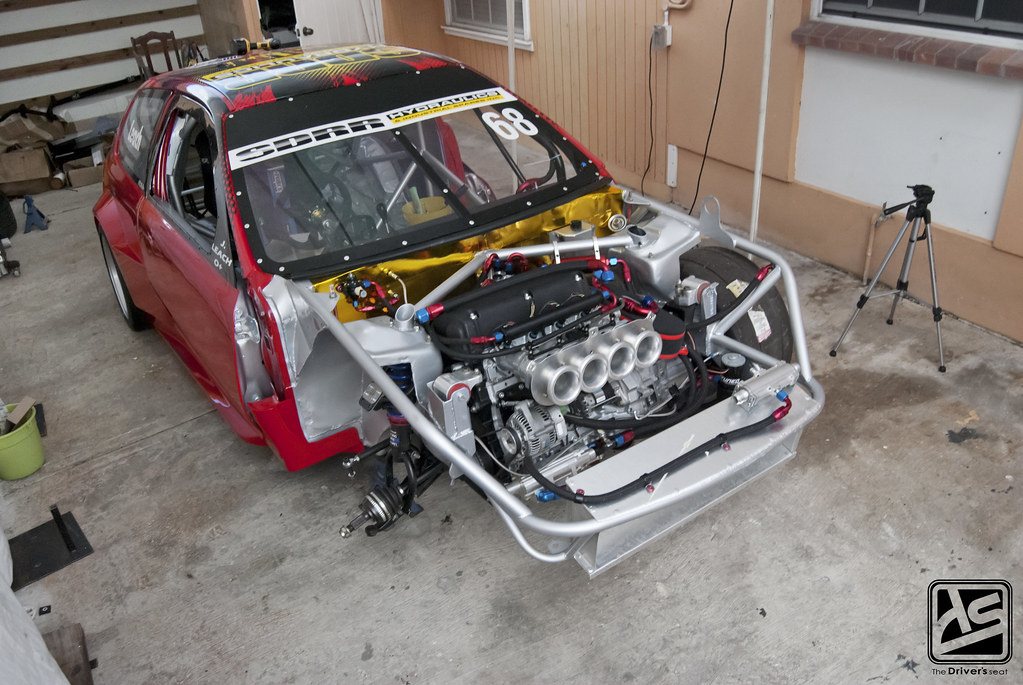
While work was being done on the inside of the car, Jerry was busy putting some finishing touches on the livery…
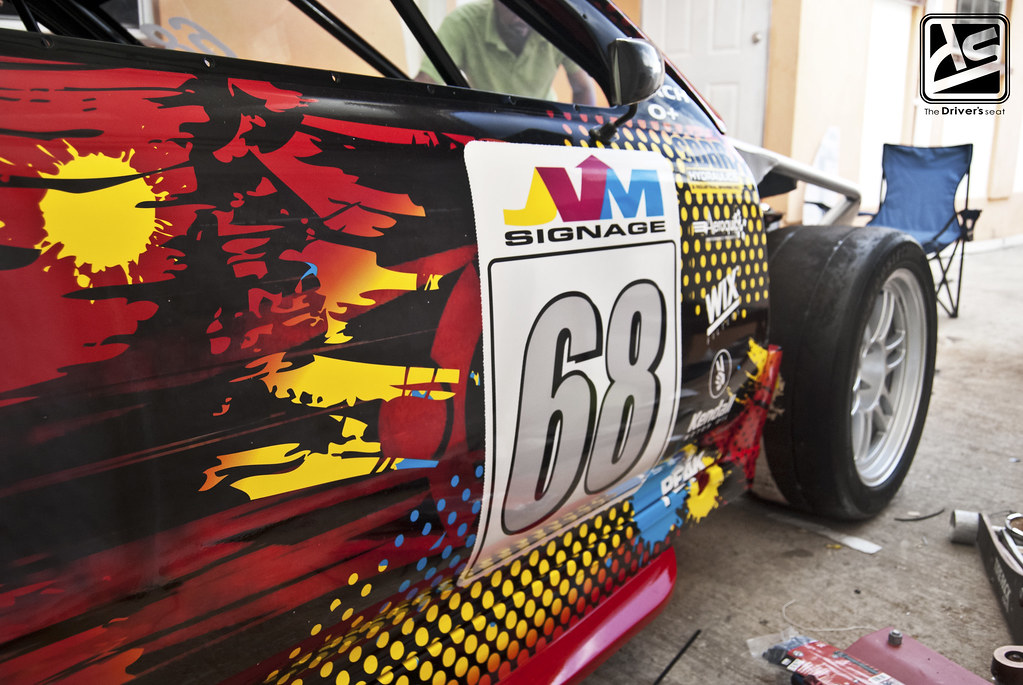
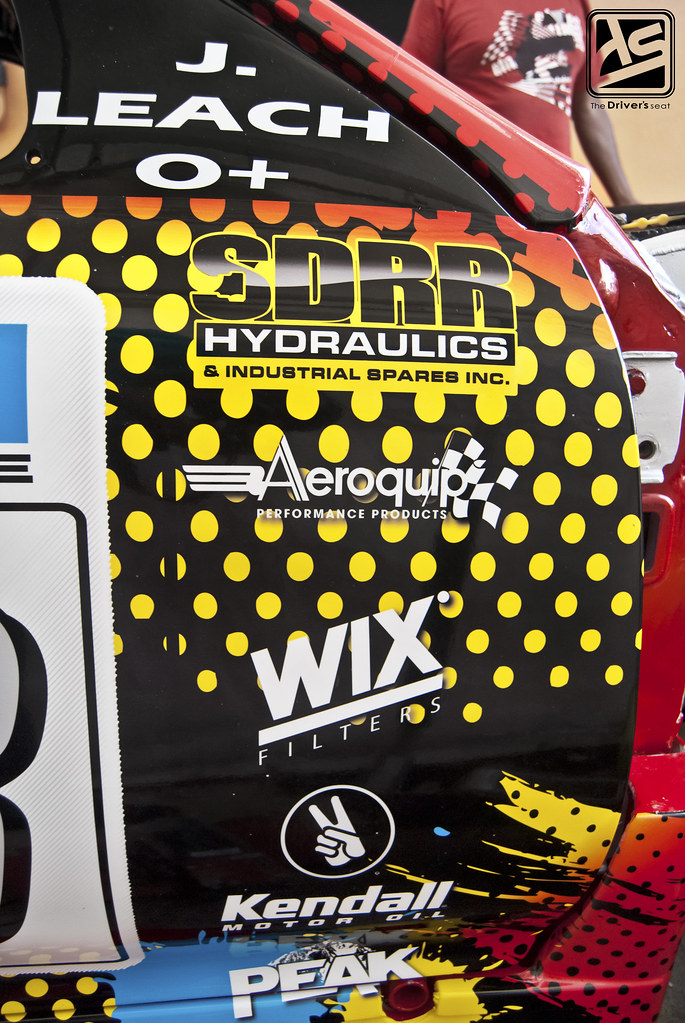
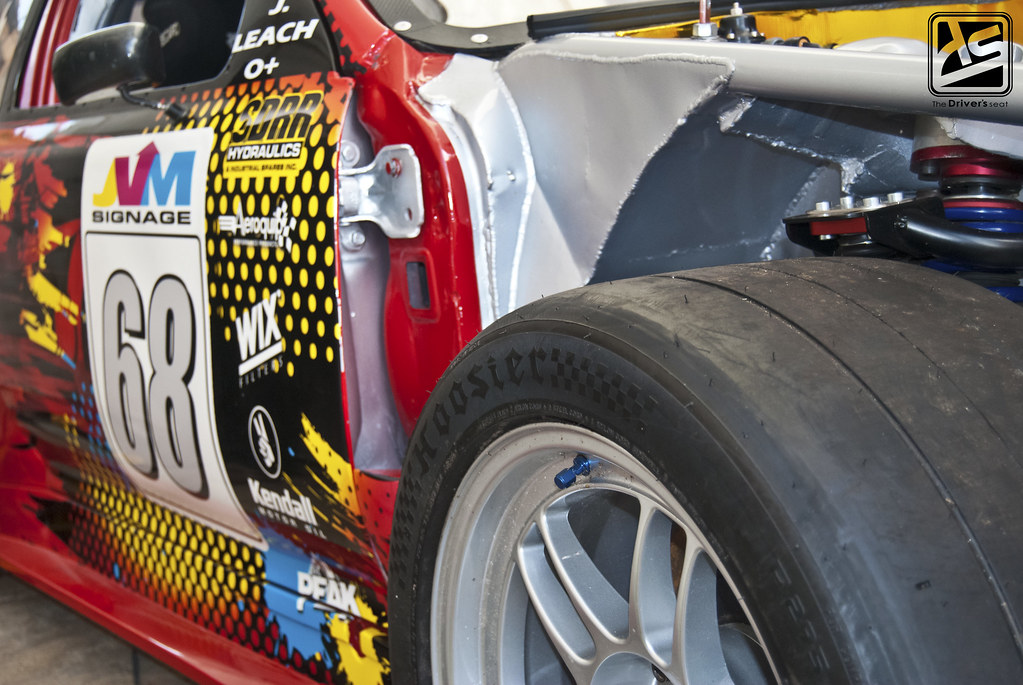
Jerry carried a similiar theme from the roof along the side of the car with the list of sponsors on the front door…
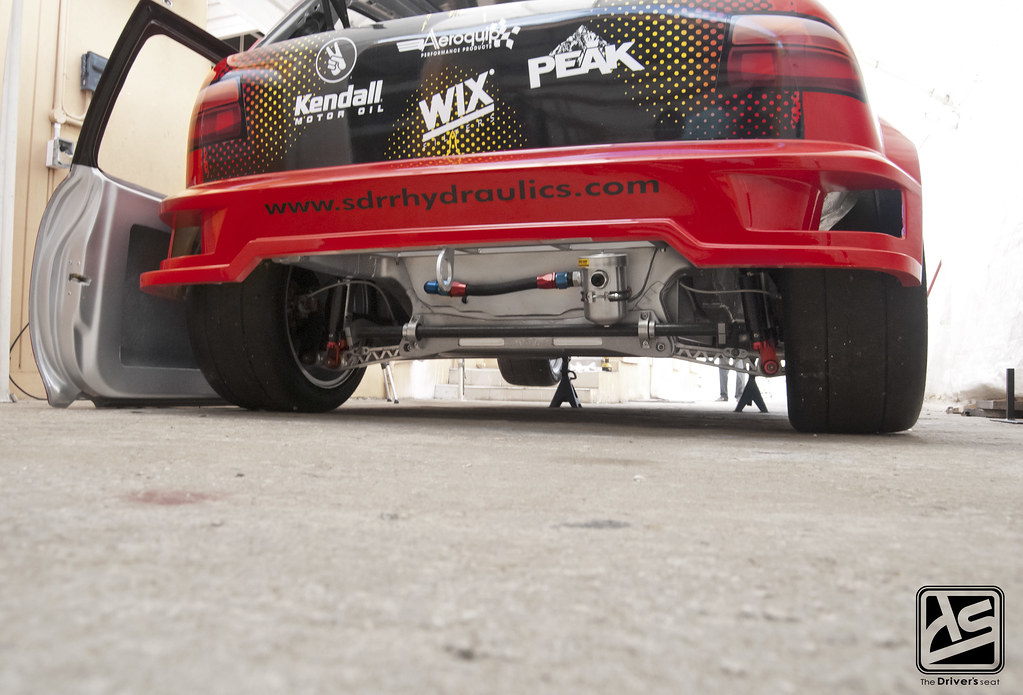
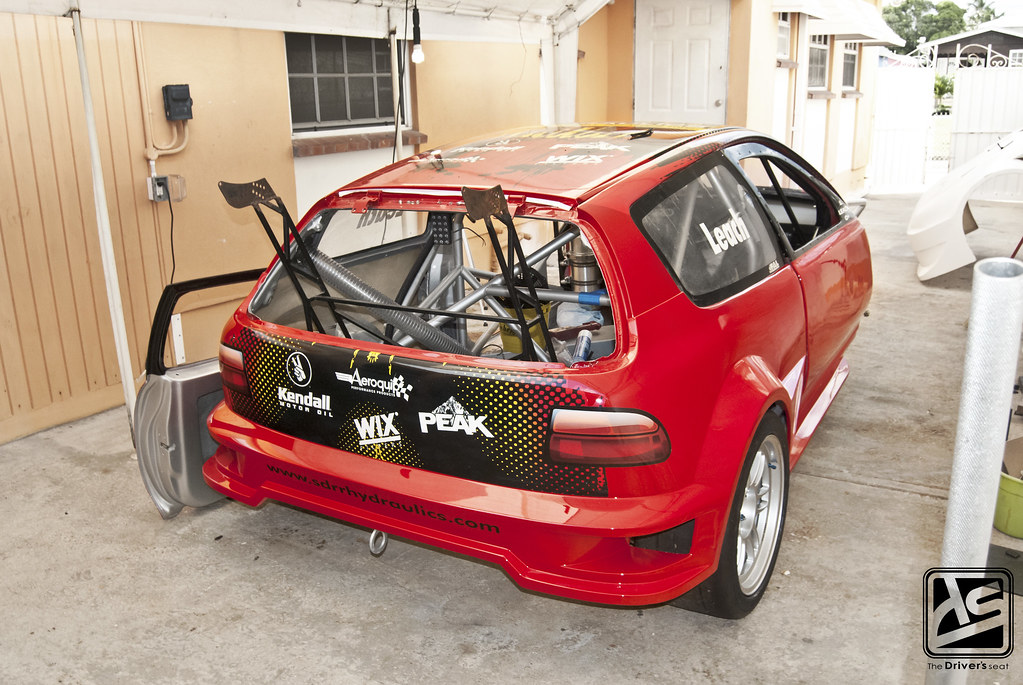
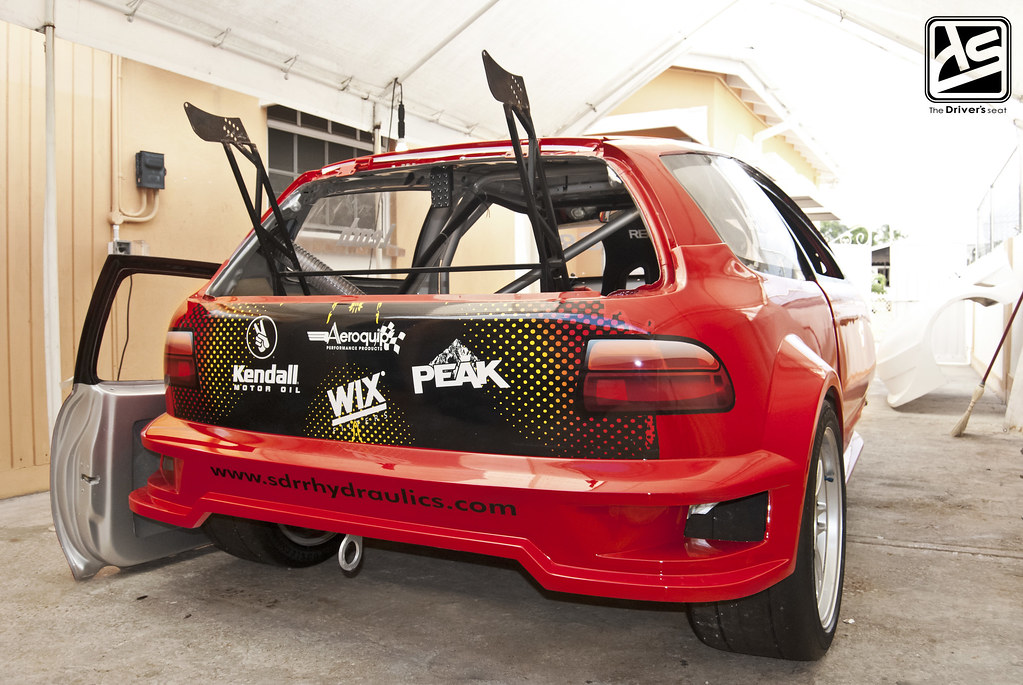
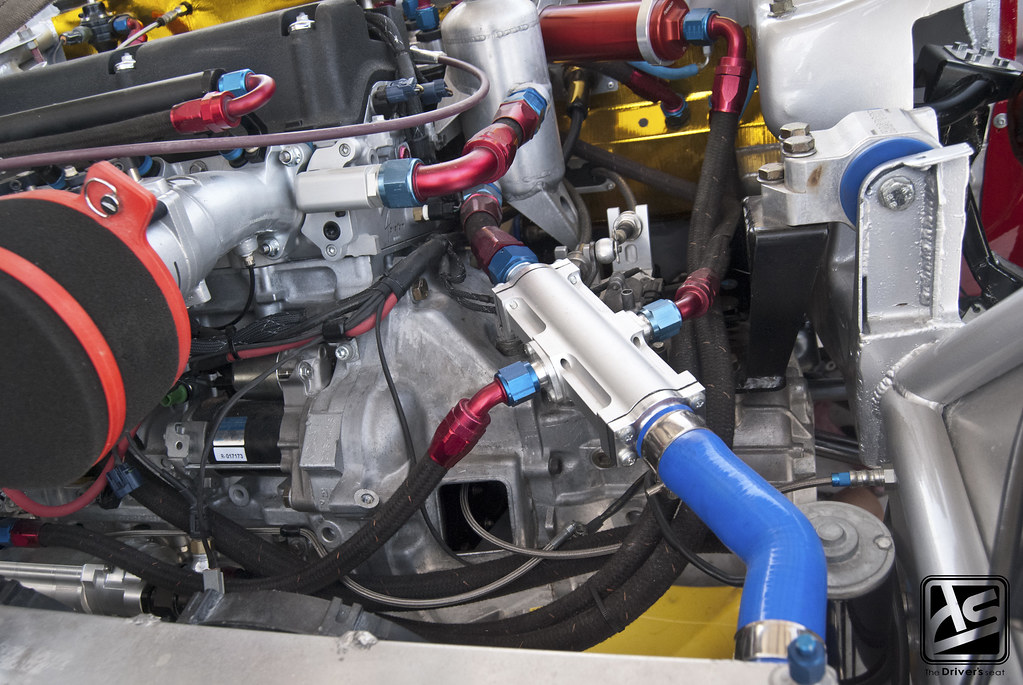
A view of the rear, where you can see the Function 7 LCAs and ASR subframe brace with a 32mm hollow sway bar. Just above those is the Peterson Fluid Systems breather tank for the dry sump…
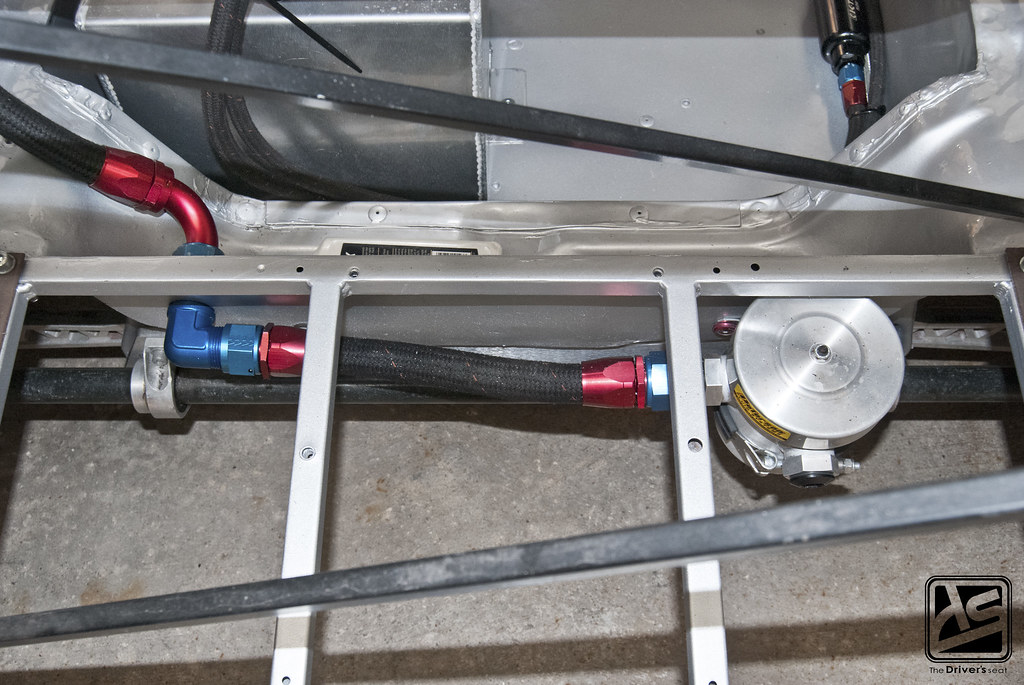
A closer look at the Peterson Fluid Systems breather tank with the -16 hose running to the oil tank inside the car.
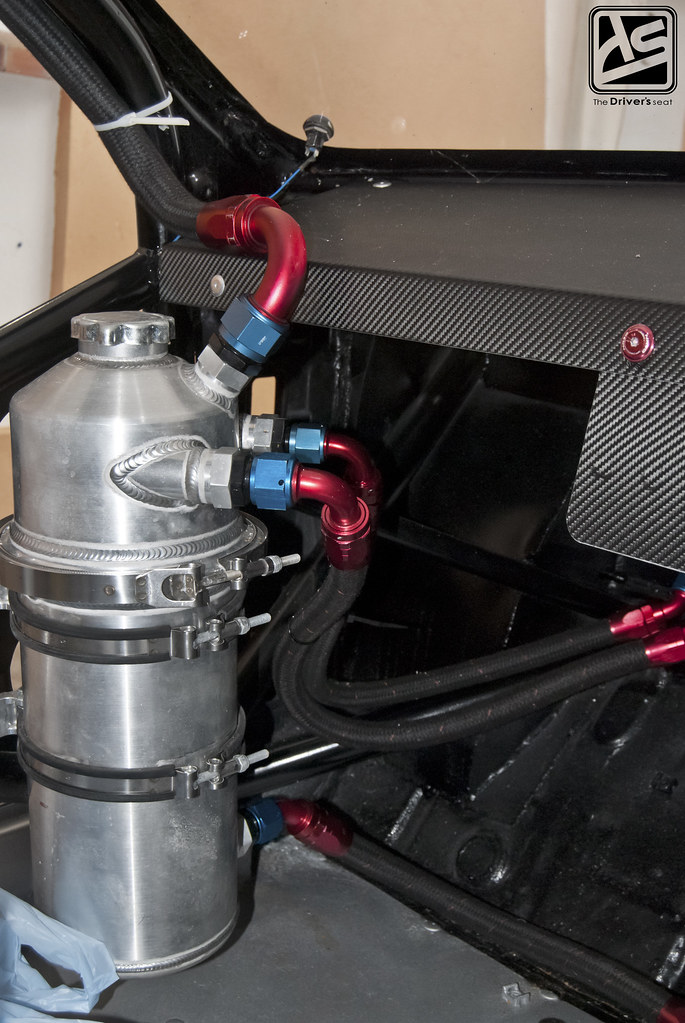
The Peterson Fluid Systems oil tank with all of the necessary AN lines fitted in their correct locations…
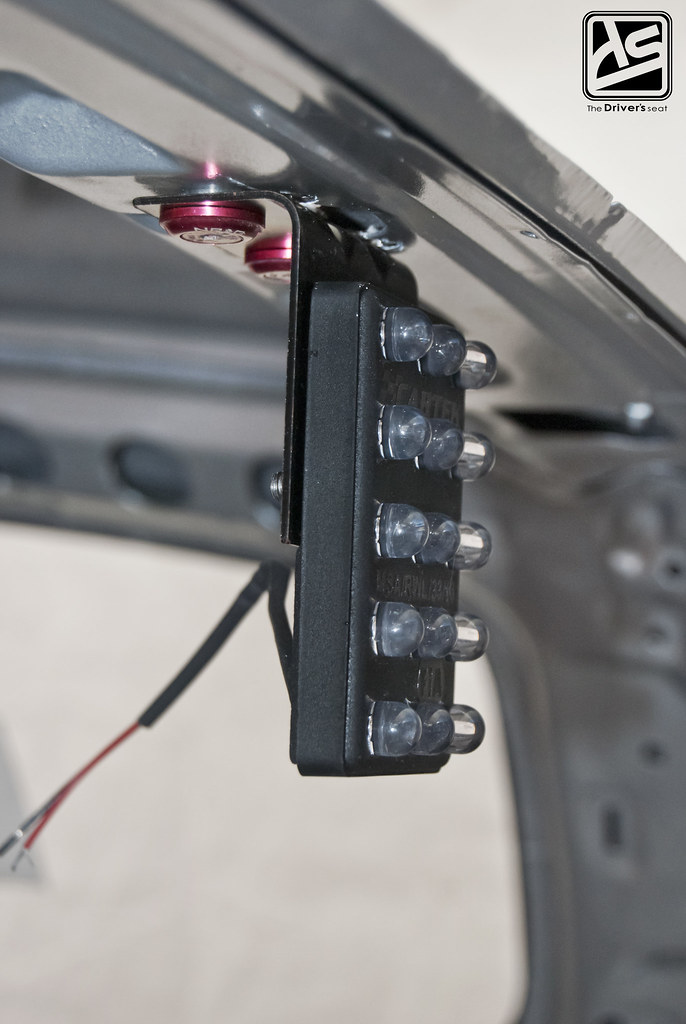
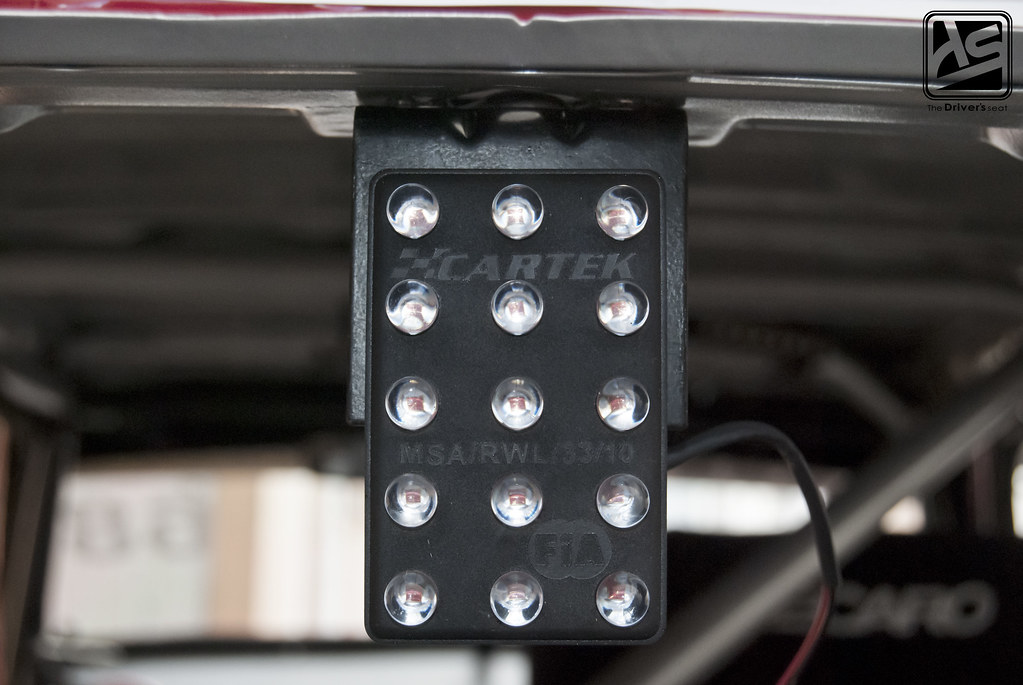
Cartek LED FiA approved rain light mounted but awaiting the necessary wiring to make it functional.
With the current engine harness being a mil-spec piece, Jerry figured it would make sense to have the harness for the Racepak system mil-spec as well…

A quick look at the progress that was made thus far with the harness…
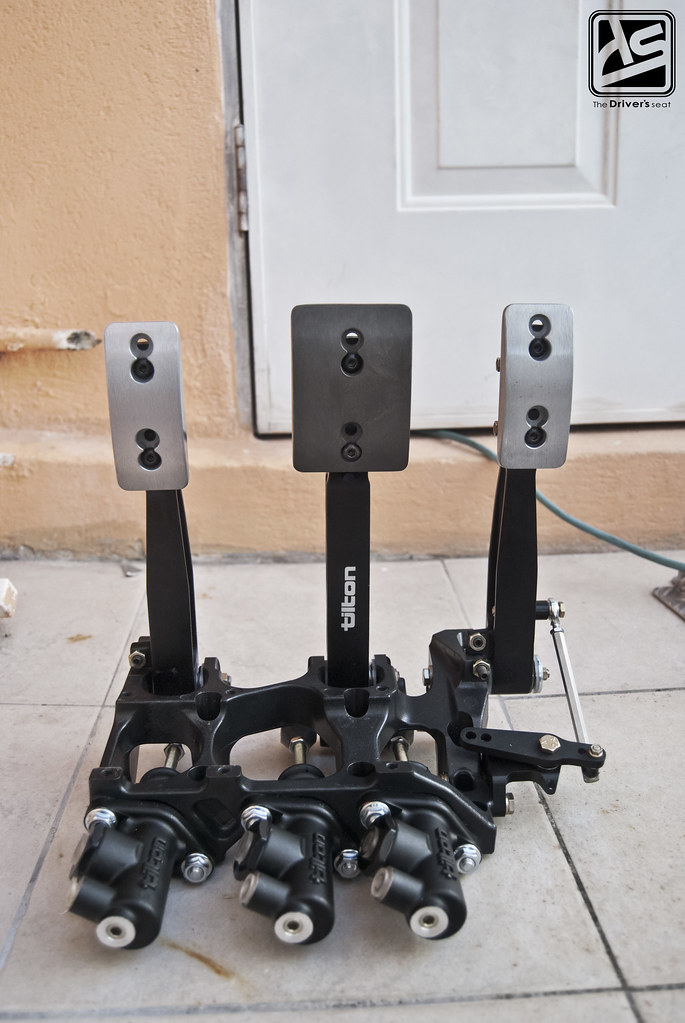
Jerry has been wanting to change the pedal assembly in the car for quite some time, actually from the very first time he drove the car. At the time the budget wouldn’t allow for it, but in moving forward with this new build Jerry made sure it wasn’t left out.
A Tilton pedal assembly was purchased to take on the duty. The unit is made of billet aluminum and guarantees no flex which is one of the many problems Jerry exhibited with his old setup. Another problem that will be addressed with this new assembly is the pedal feedback, previously Jerry exhibited poor feedback which limited him at how hard he was able to drive the car being unsure about his brakes. It’s safe to stay that for the first time ever Jerry will have brakes the way he intended them to be with a proper pedal assembly.

Tilton adjustment knob, which regulates the brake bias between the front and rear…
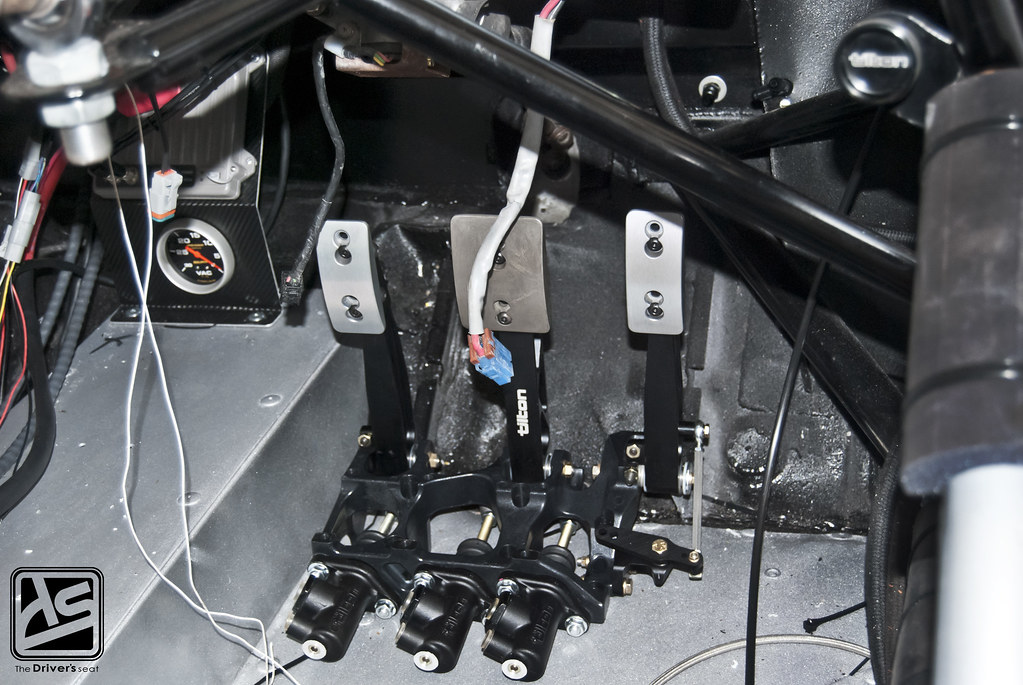
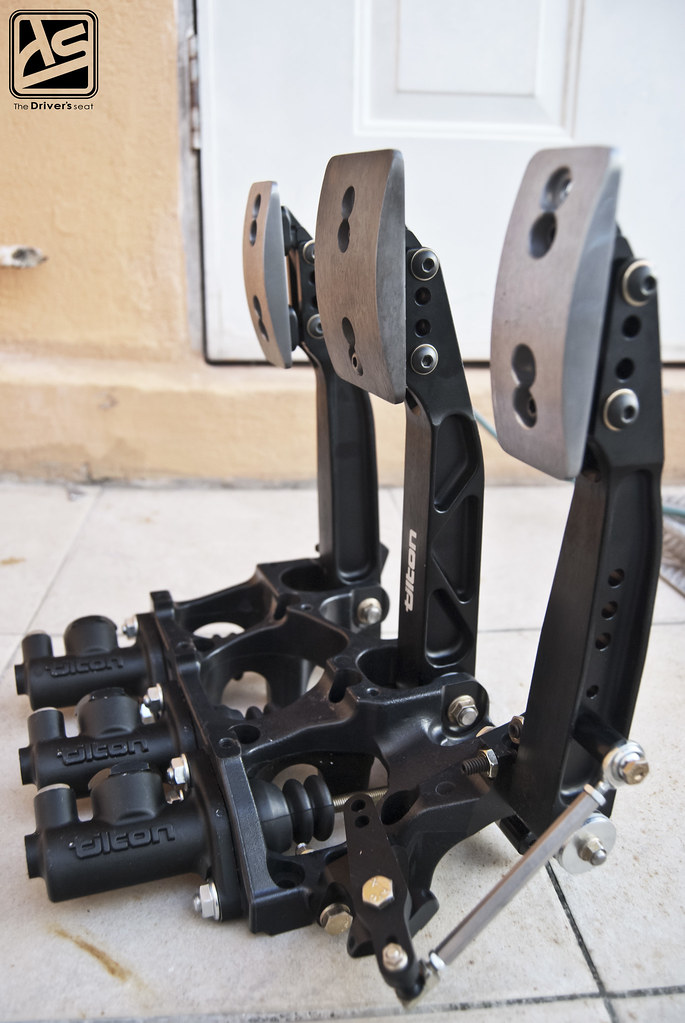
Tilton pedals assembly mounted in place…
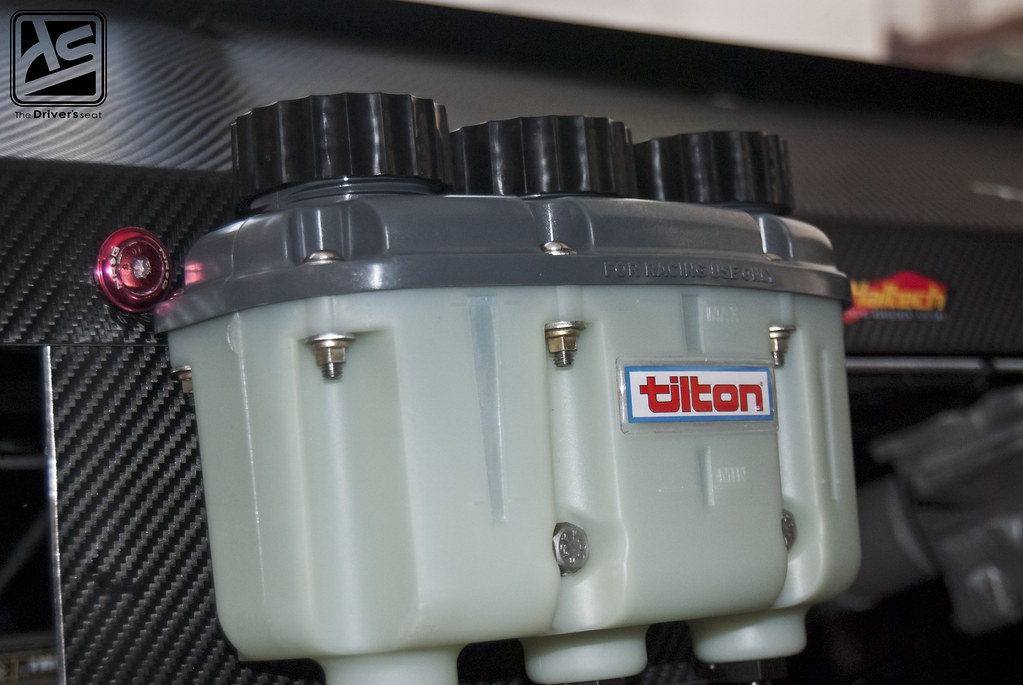
Tilton reservoir tank…
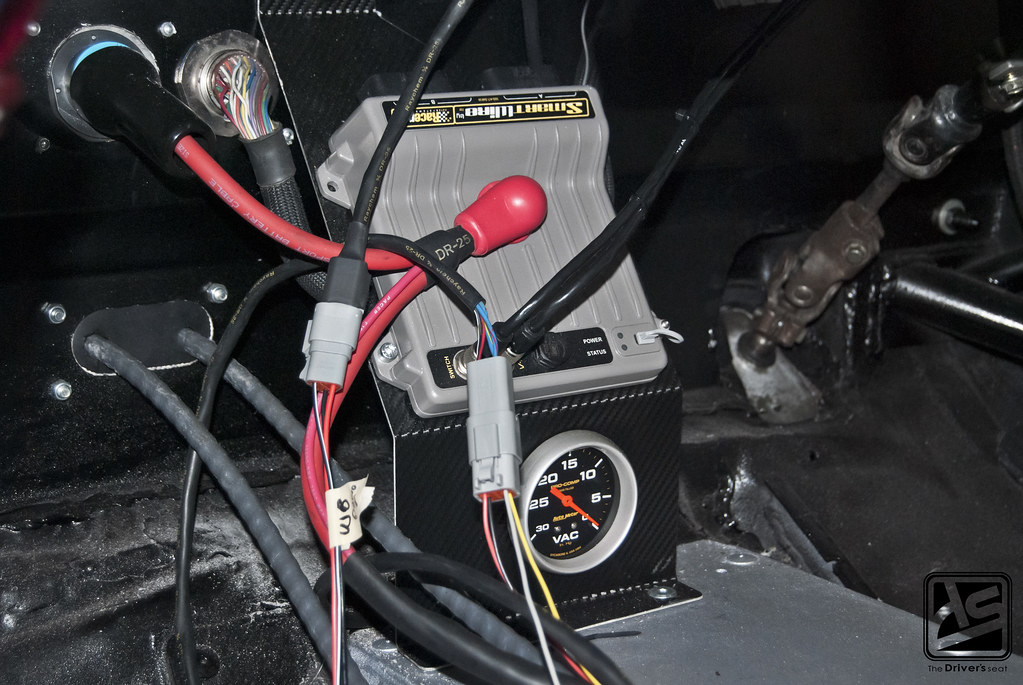
The wiring as it nears completion…
The APR Performance wing back into place…


Taking a few steps back to soak in what Jerry has created…
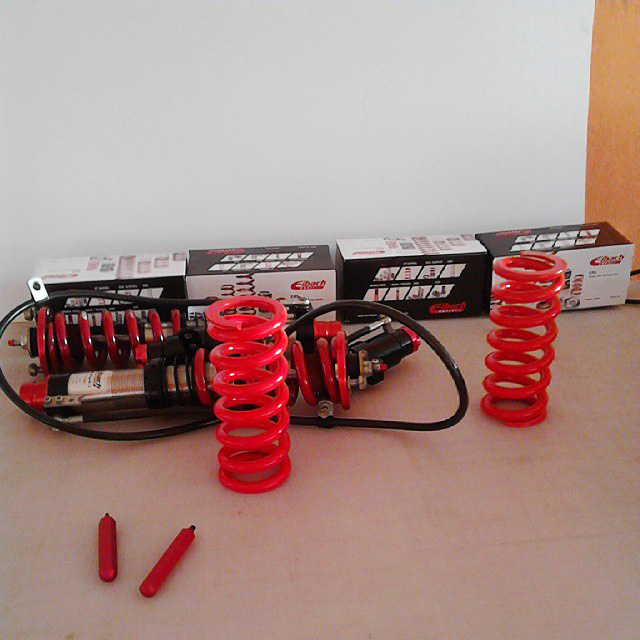
A package arrived from Eibach, the front coilovers have returned and with various spring rates. Previously Jerry ran 750 at the front and 550 at the rear. The new lower control arm layout does not come with provisions to use an anti roll bar, primarily to help shed weight. To counteract this, Jerry opted to stiffen up the spring rates which will now be 1100 at the front and 850 at the rear.
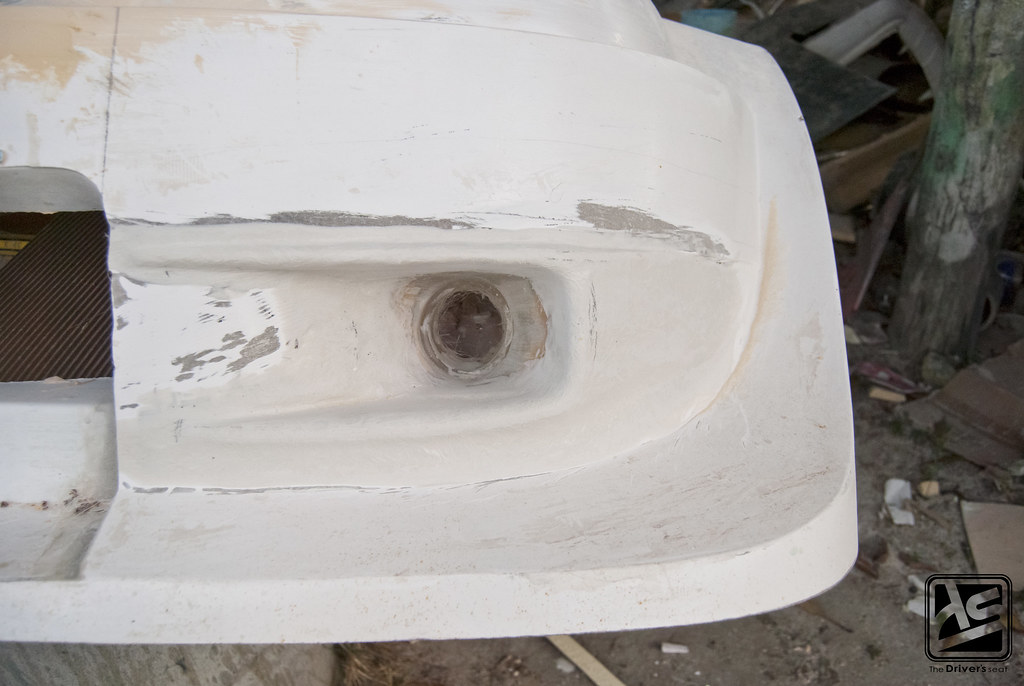
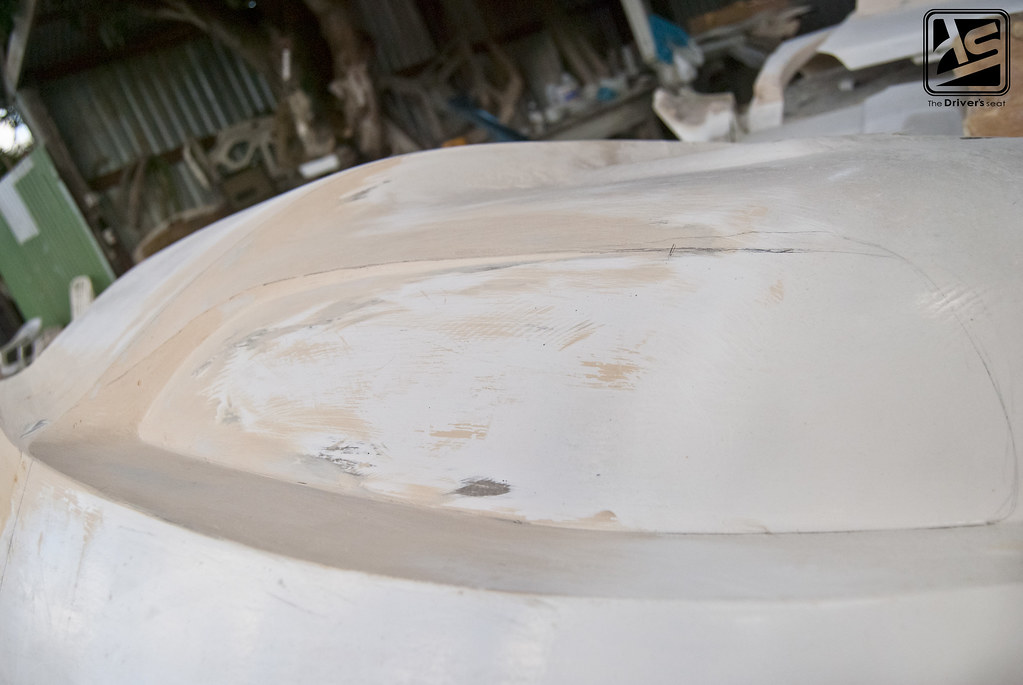
Not fully satisfied with the design of the one piece front, Jerry went back to the drawing board to change a few things as to add more function while making visually appealing at the same time…

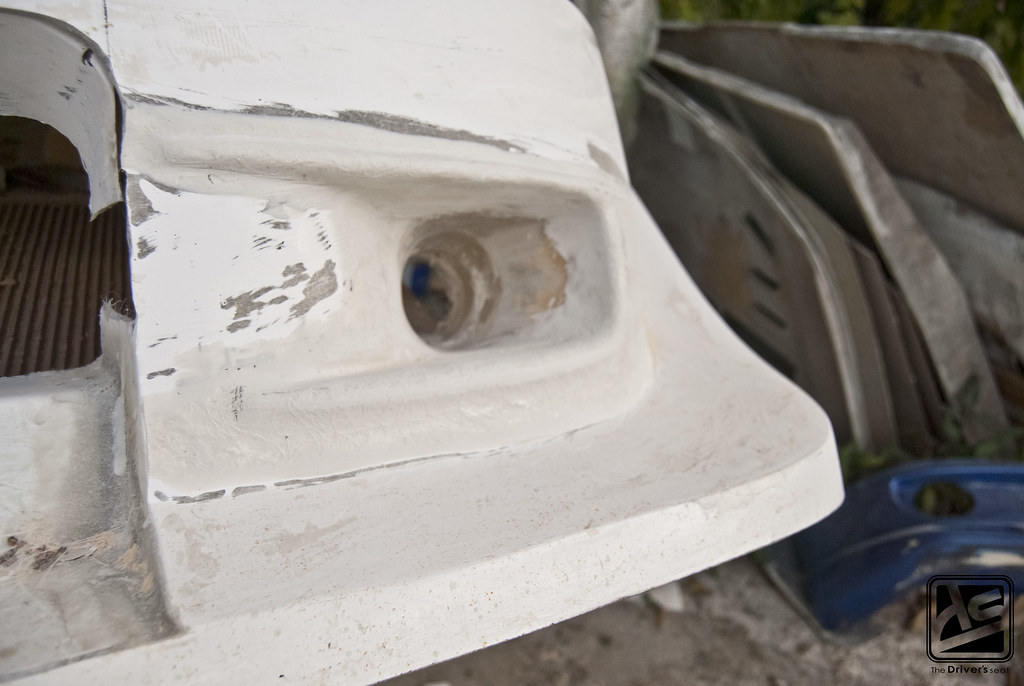
The beginning of what will eventually be an air duct…
The other side as it begins to take shape…
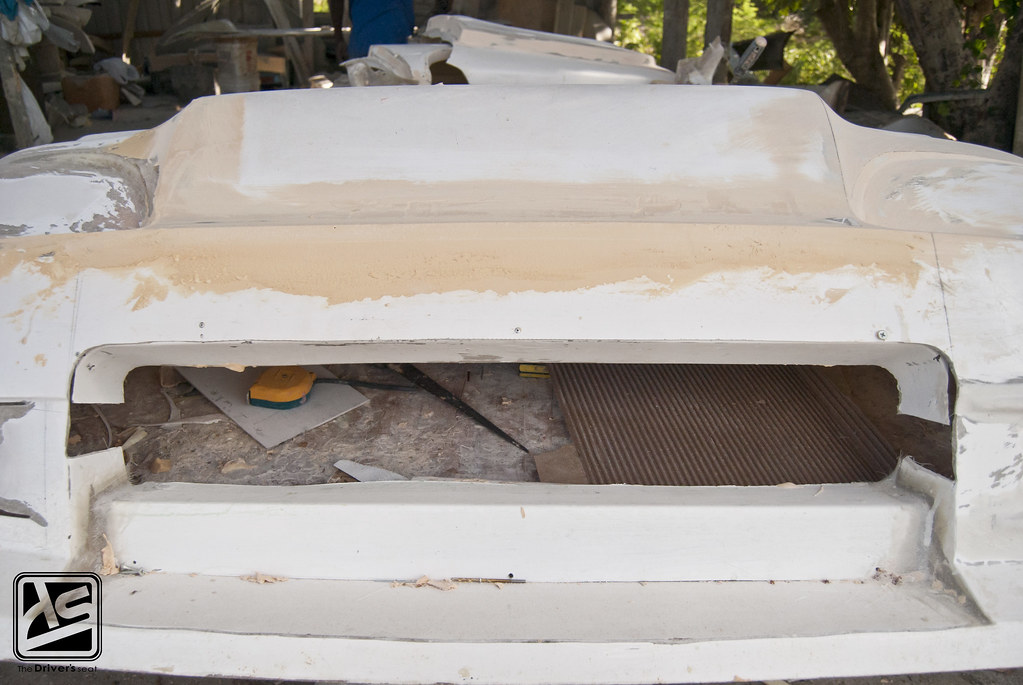
The opening at the center of the bumper portion where the radiator will be has been adjusted…
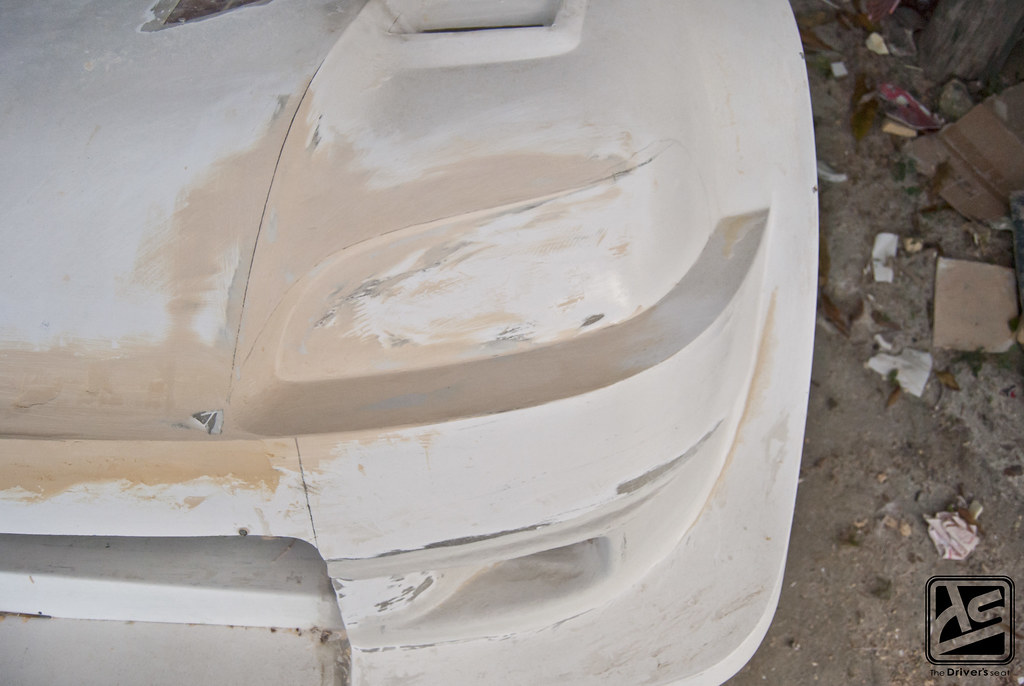
On the upper portion, the lines will be sharpened to give the illusion of having headlights…


On the hood, some additional vents will be added to aid with the extraction of unwanted heat within the engine bay…
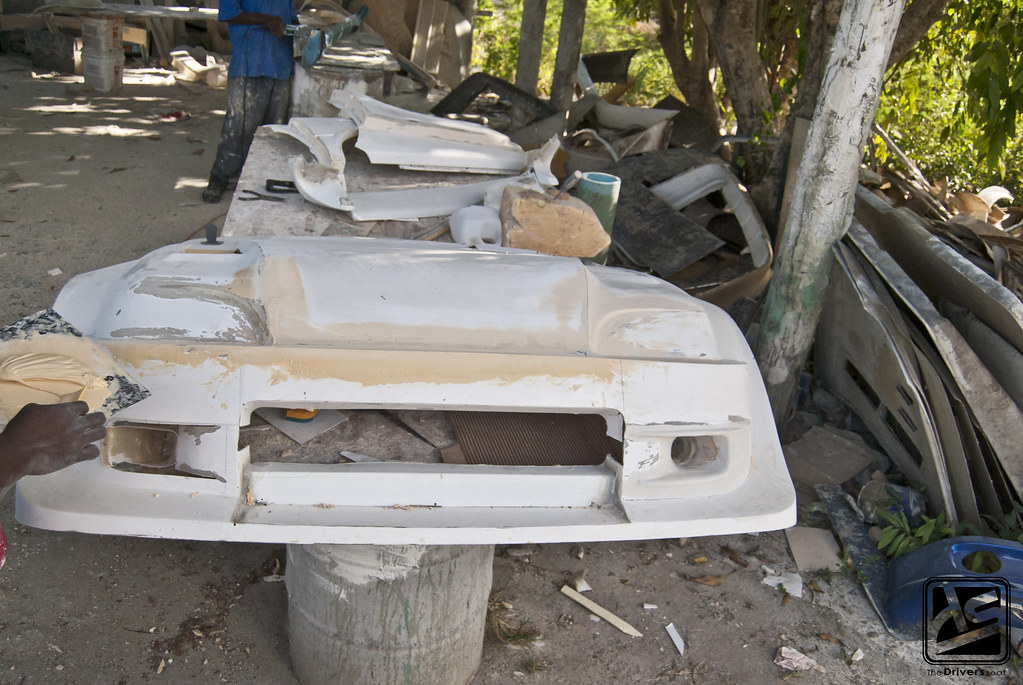
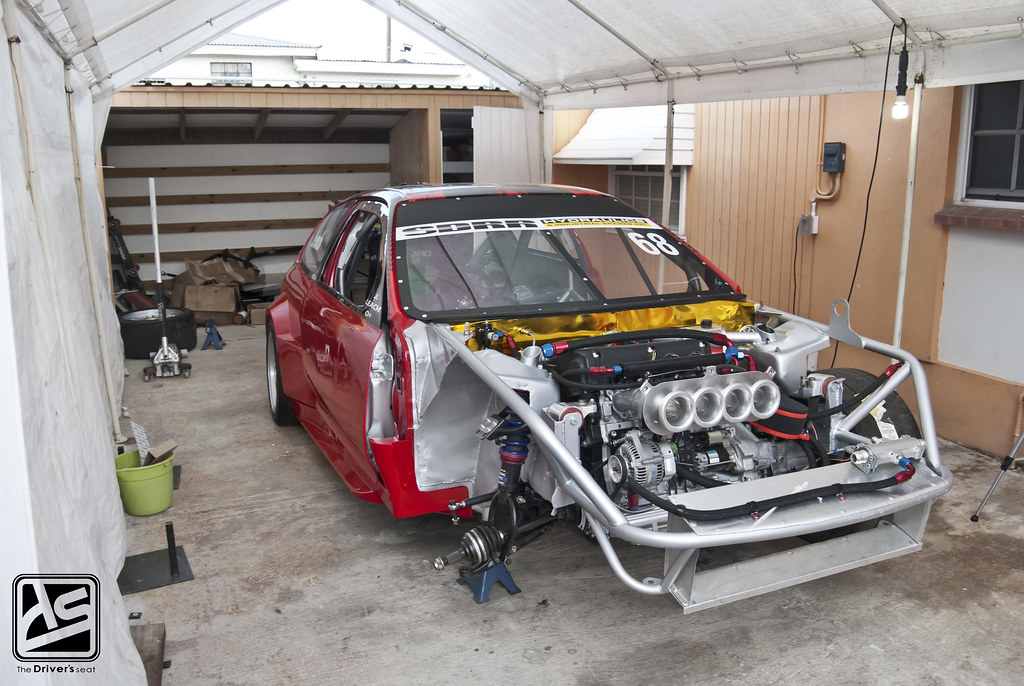
An overall look to give you guys an idea of how the front is coming together…
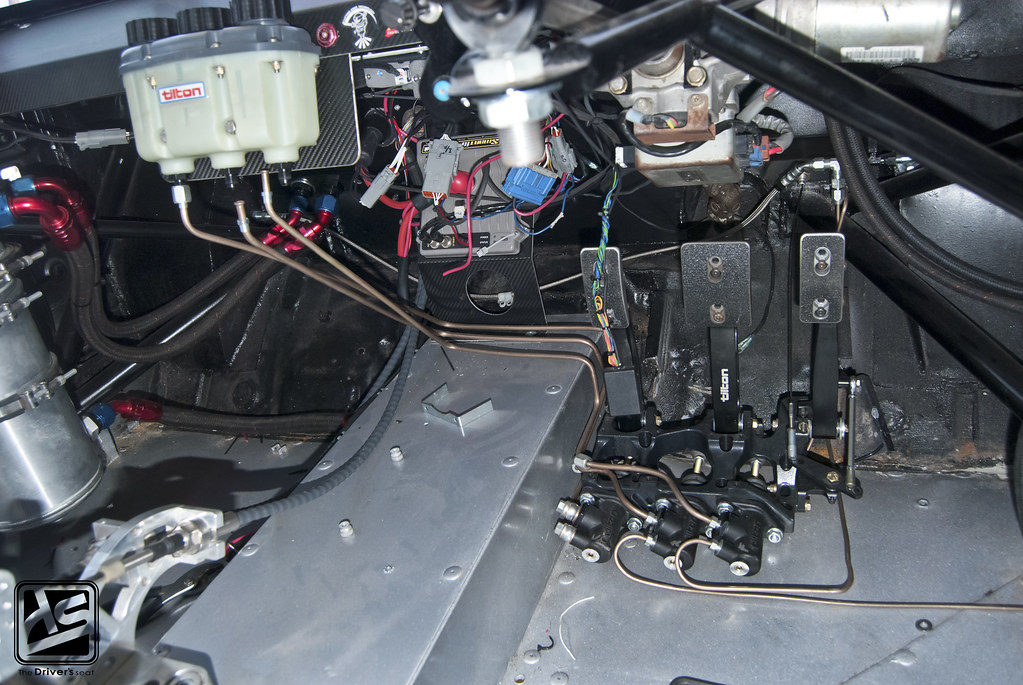
Things on the inside are coming along with the lines already ran to the Tilton pedal assembly and reservoir tank thanks to the guys over at S.D.R.R Hydraulics.
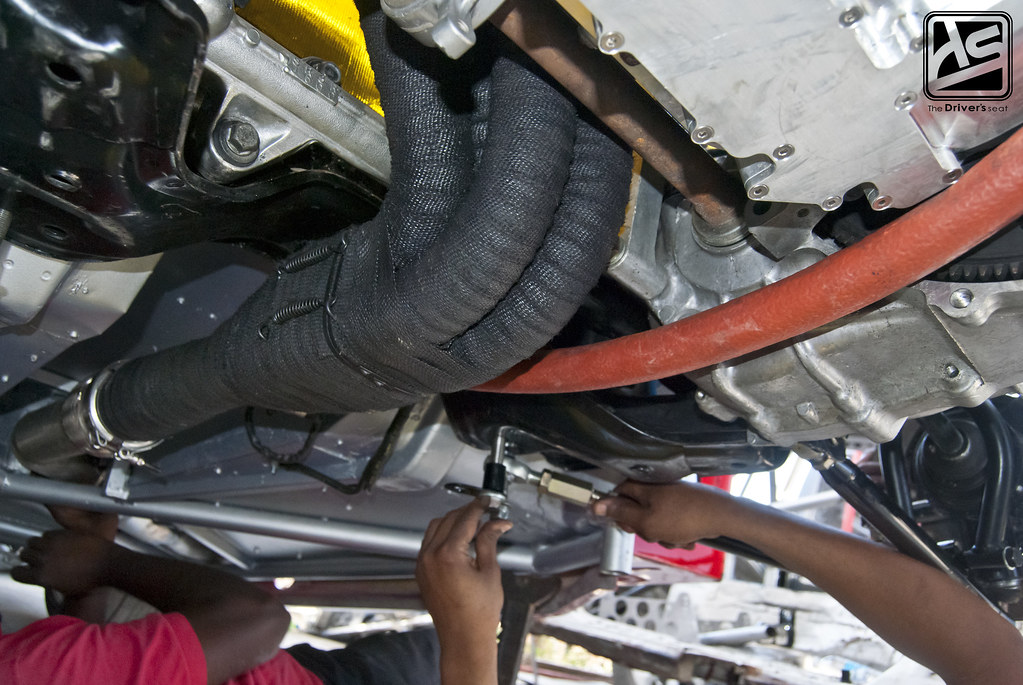
To cut down on as much heat within the cabin as possible and to aid with the efficiency of the ASP header, Jerry went a little further to have it heat wrapped…
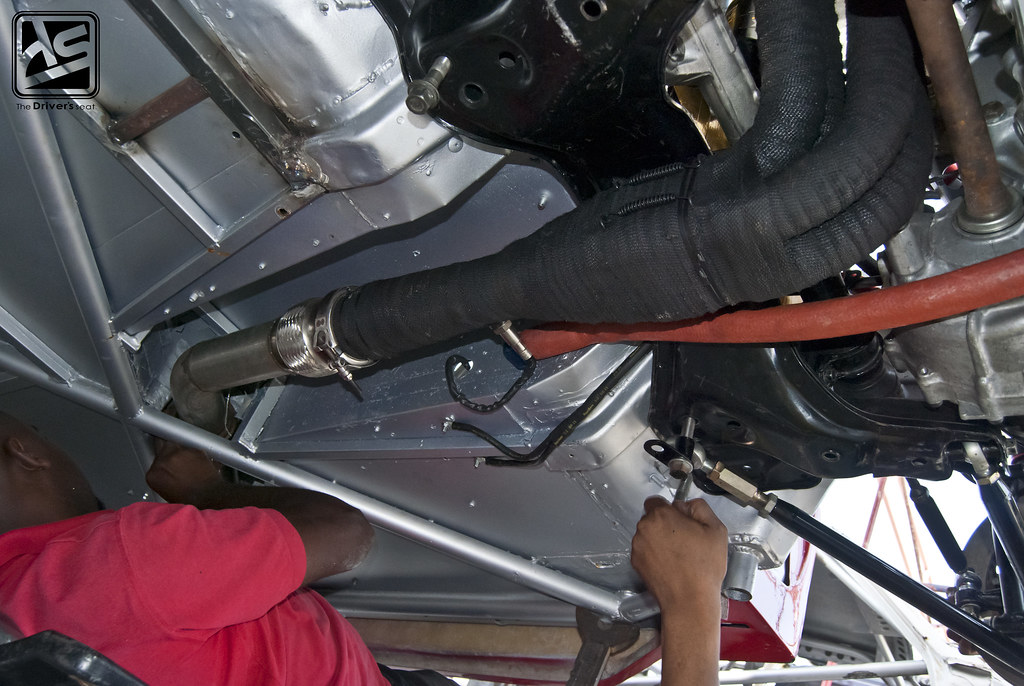
Joel as he works to get the side exit exhaust to line up correctly…

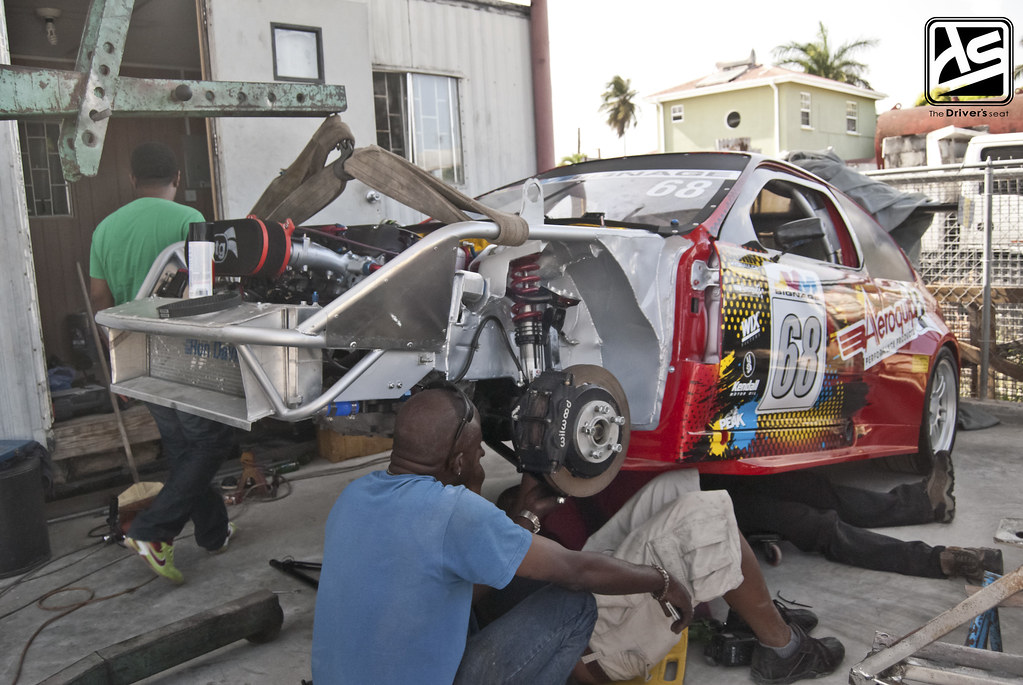
Jerry as he installs the new lower control arms that I would have mentioned earlier…
Having a slight change of heart of its placement, Jerry relocated the Laminova Heat Exchanger to a more effecient location…
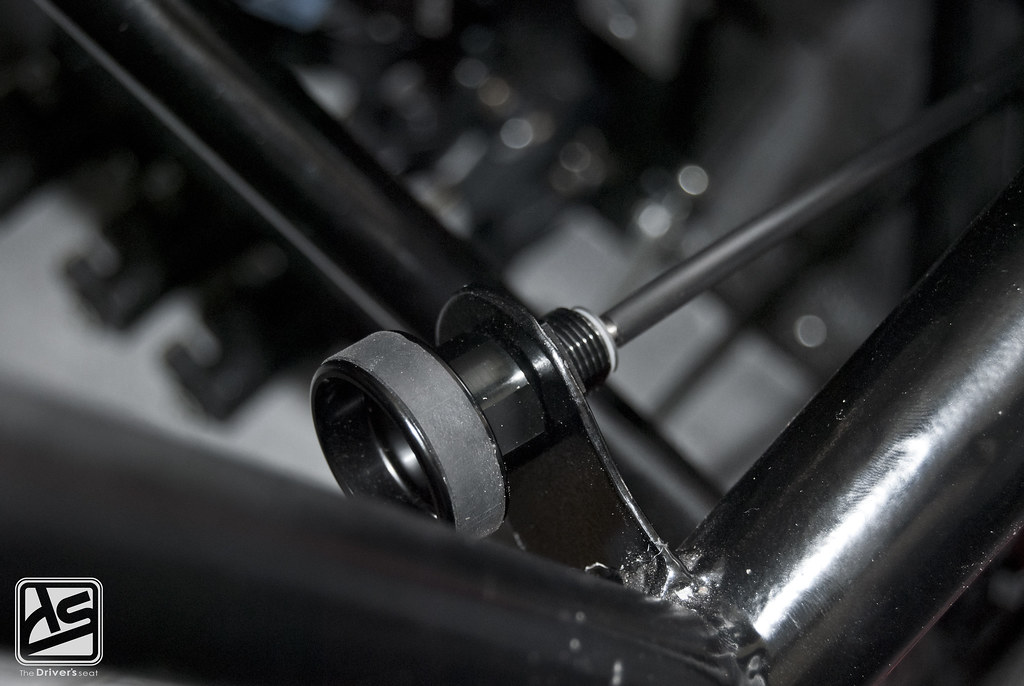
Eibach Multi-Pro coilovers finally made their way back onto the car…
We’ve finally made it to the end of another post, I’m going to leave you with one final shot as the finishing touches are put on this build. Stay tuned for the next post where Jerry should be ready to fire up the motor…
