
CT9A Drag Build… Part 3
It has been a while since I gave you guys an update on this build, so I’ll just dive right in where I left off. As key components started to arrive, the guys raised the bar and put in some late nights to get the car finished. We’ll be taking a look at the parts list and the progress made.
For those of you who have missed the previous posts, I have provided the links below:-
Having competed at Bushy Park prior to this build, Robert knew of the lack of traction the surface provides and decided to go with a set of 26″ Hoosiers. Hopefully these will get him off the line and down the straight to set his targeted time…
Close up of the wheel and tyre combo…
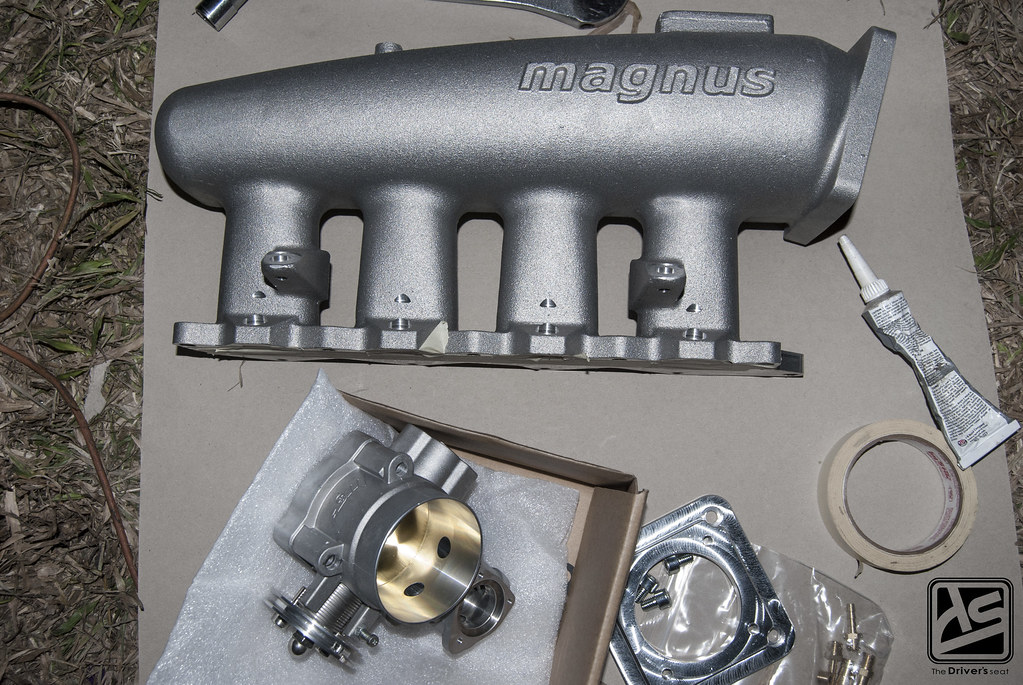
A Magnus V5 intake manifold is what Robert chose to deliver the top end performance he is chasing after…
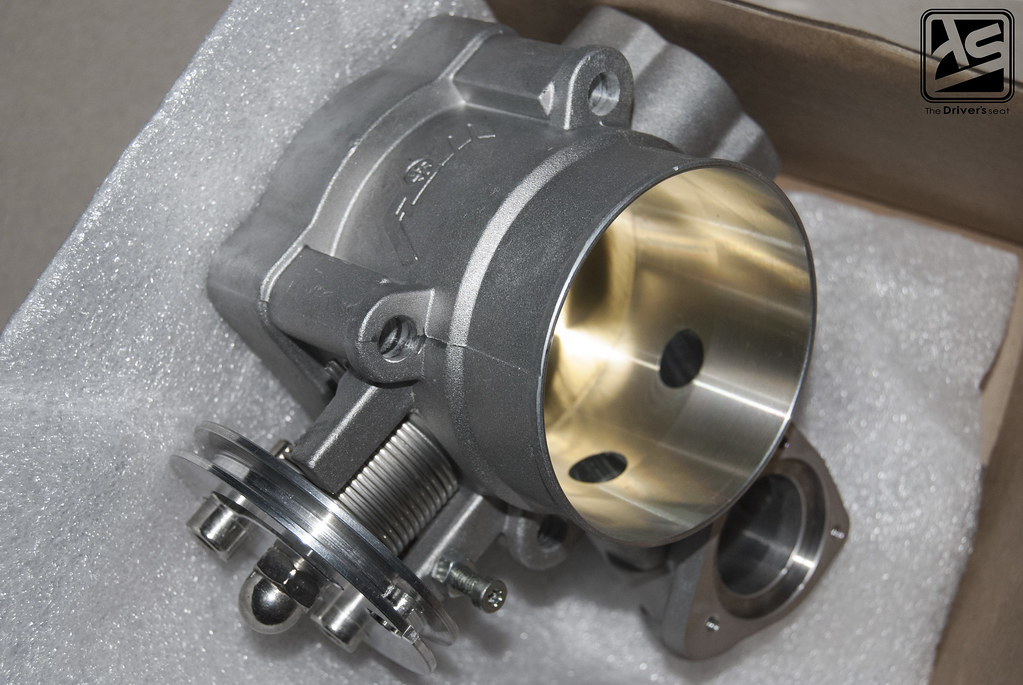
Full Blown 70mm throttle body is an upgrade from the stock 60mm unit…
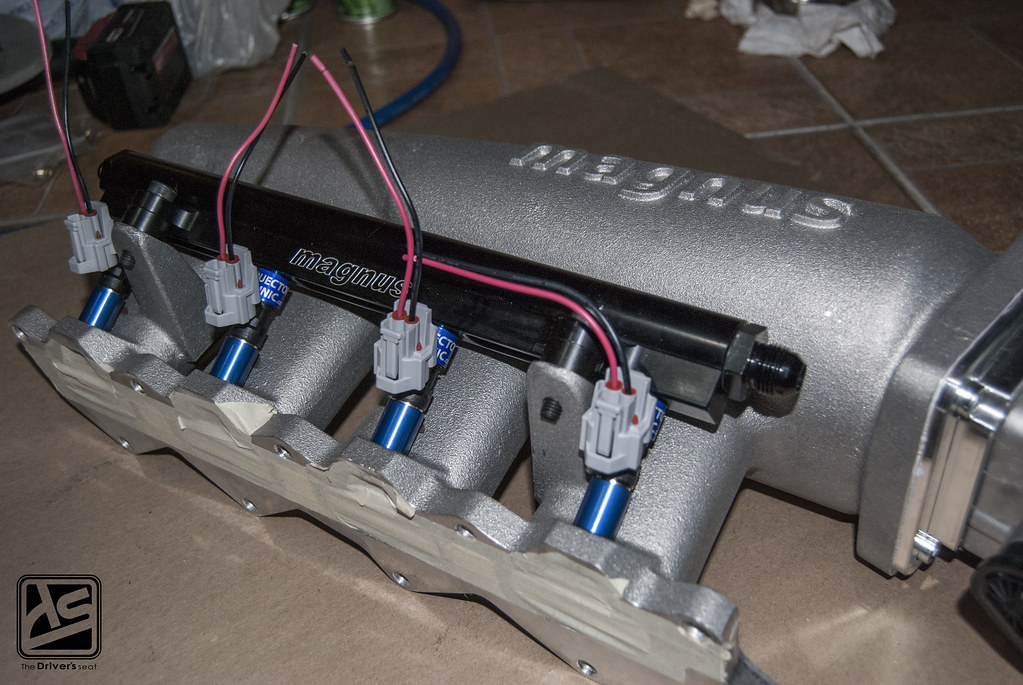
Magnus fuel rail and Fuel Injector Clinic 2150cc injectors fitted to the manifold…
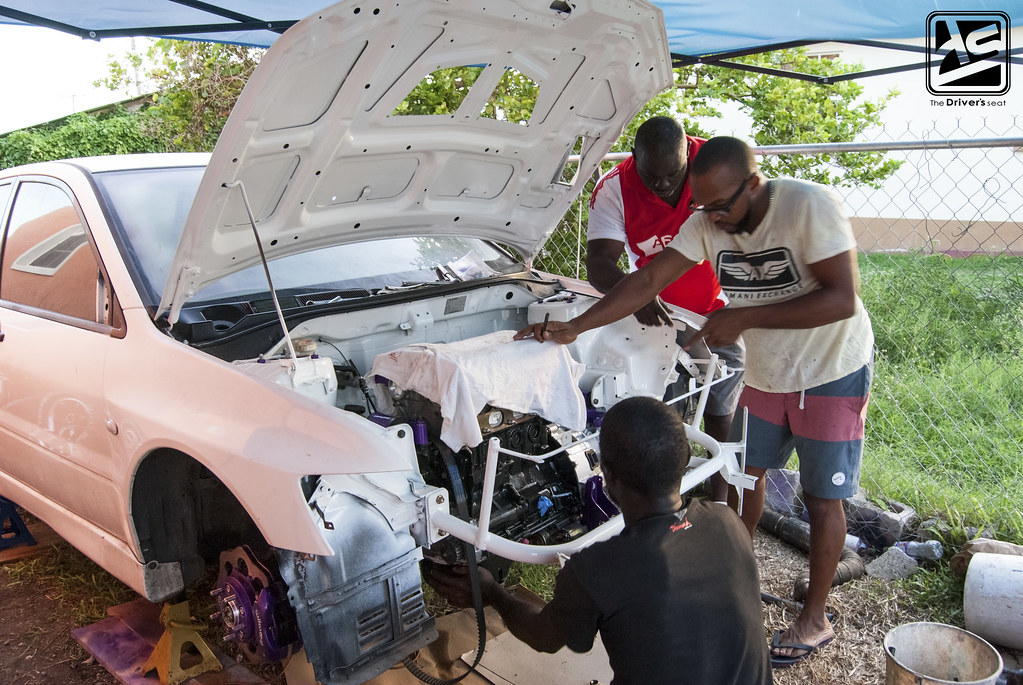
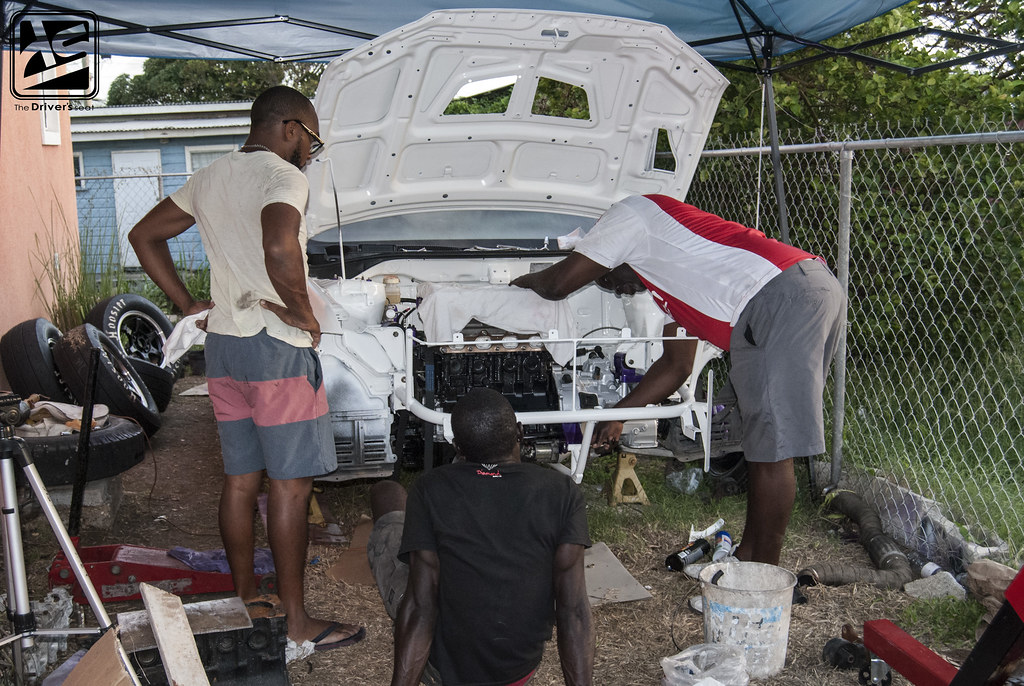
The team at work trying to get the Stanford Industries custom subframe mounted to the gearbox…
Once that was completed Jimmy tightened up the front end…
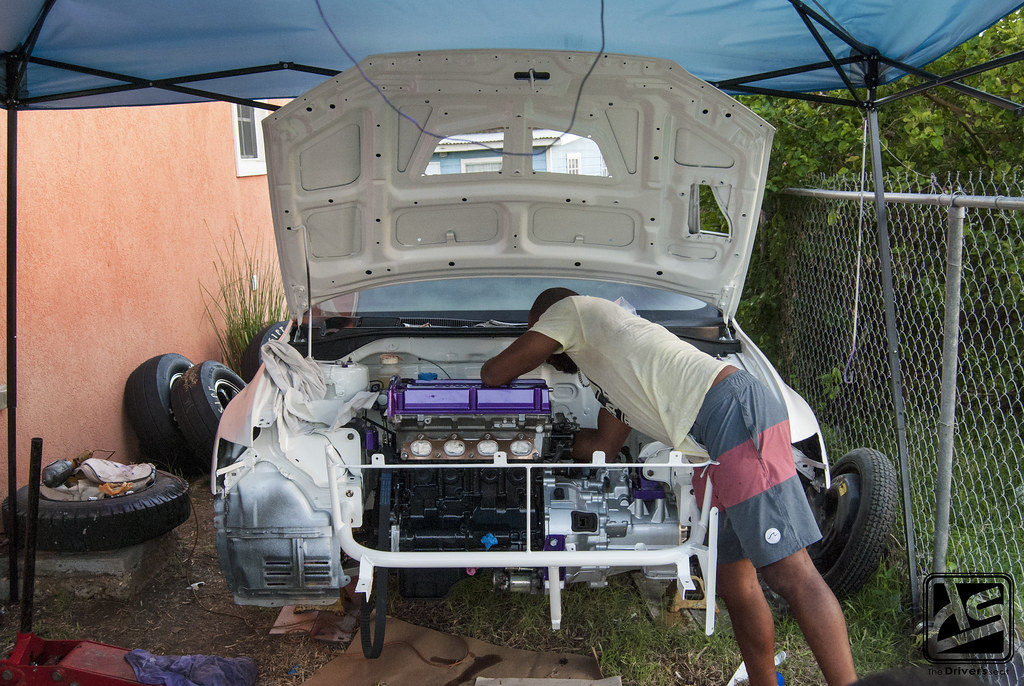
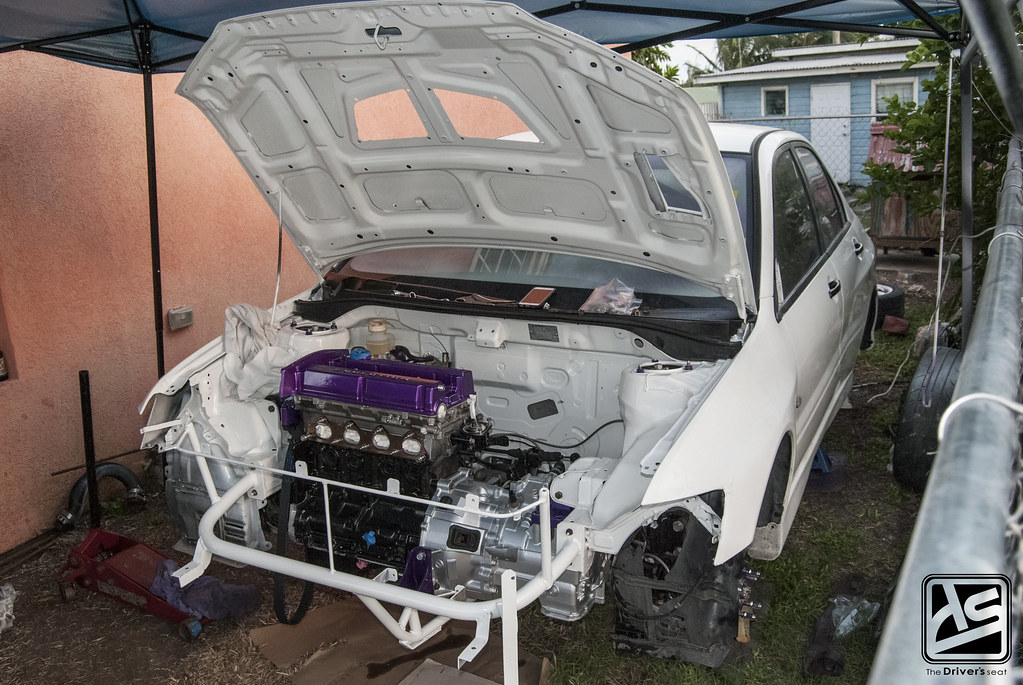
Front end and subframe securely bolted in place…
Side profile where you get a better look at the framing that makes up the front end…
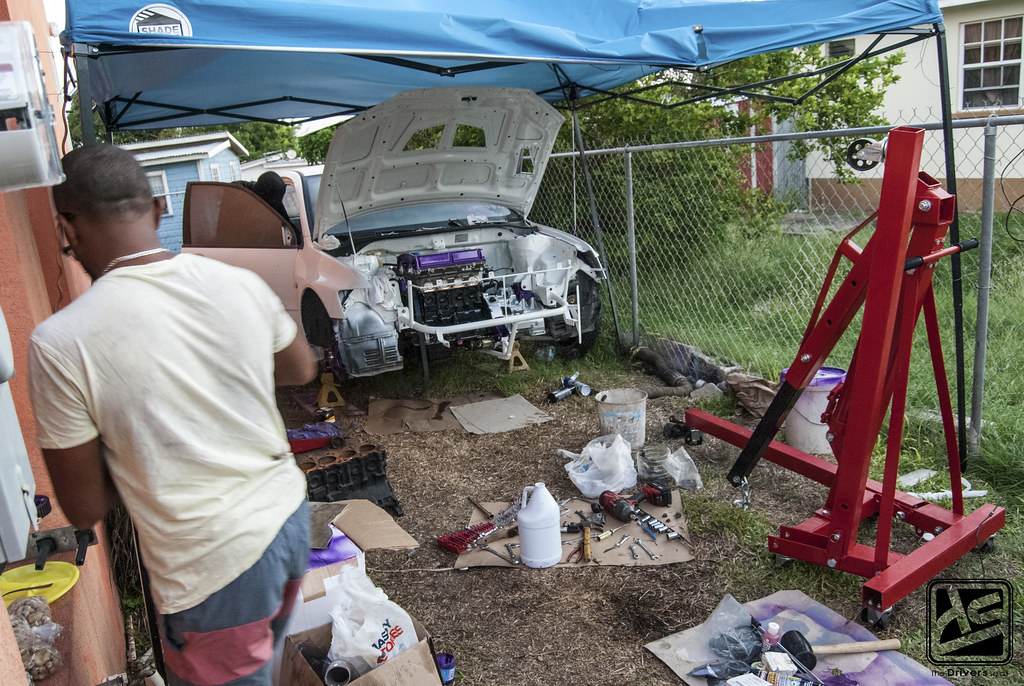
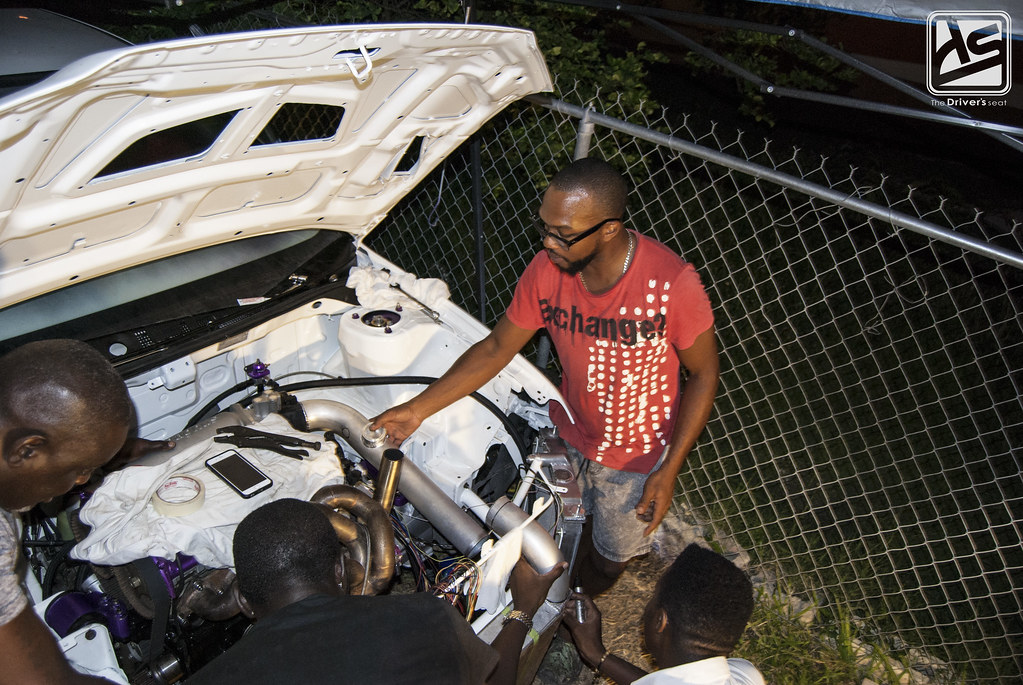
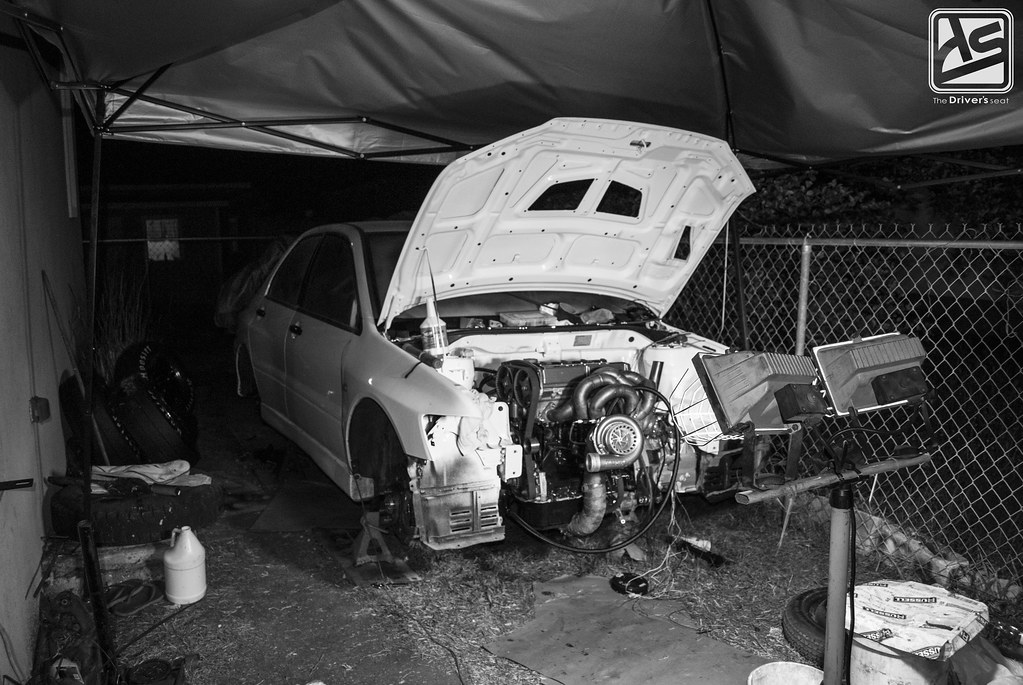
A full view of the work space, where there was much going on…
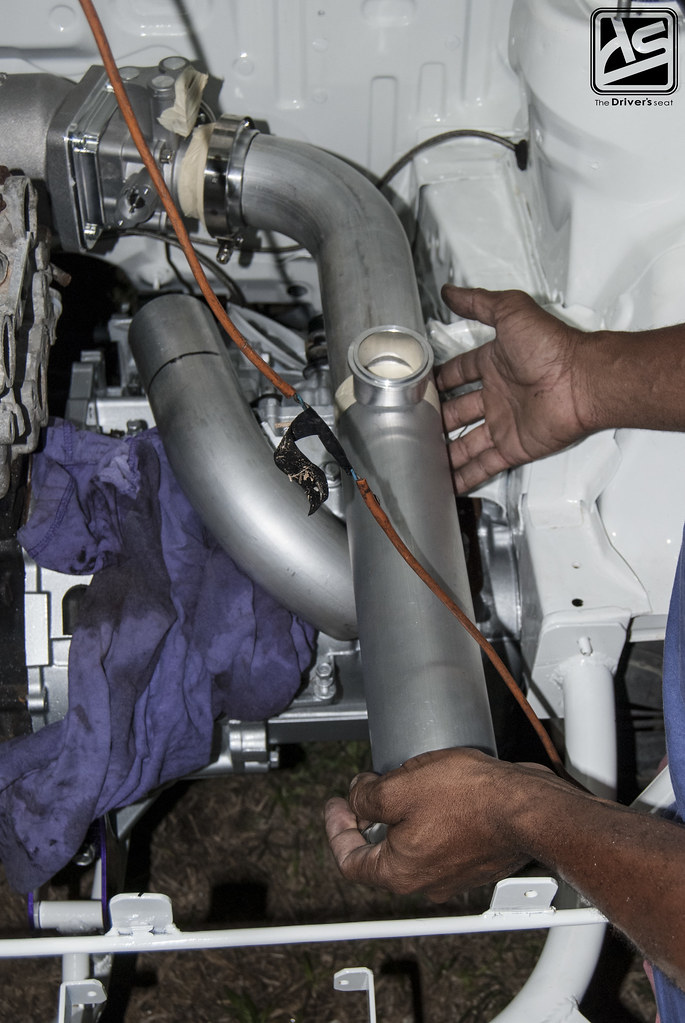
Mocking up the intercooler piping while determining the exact location for the blowoff valve flange…
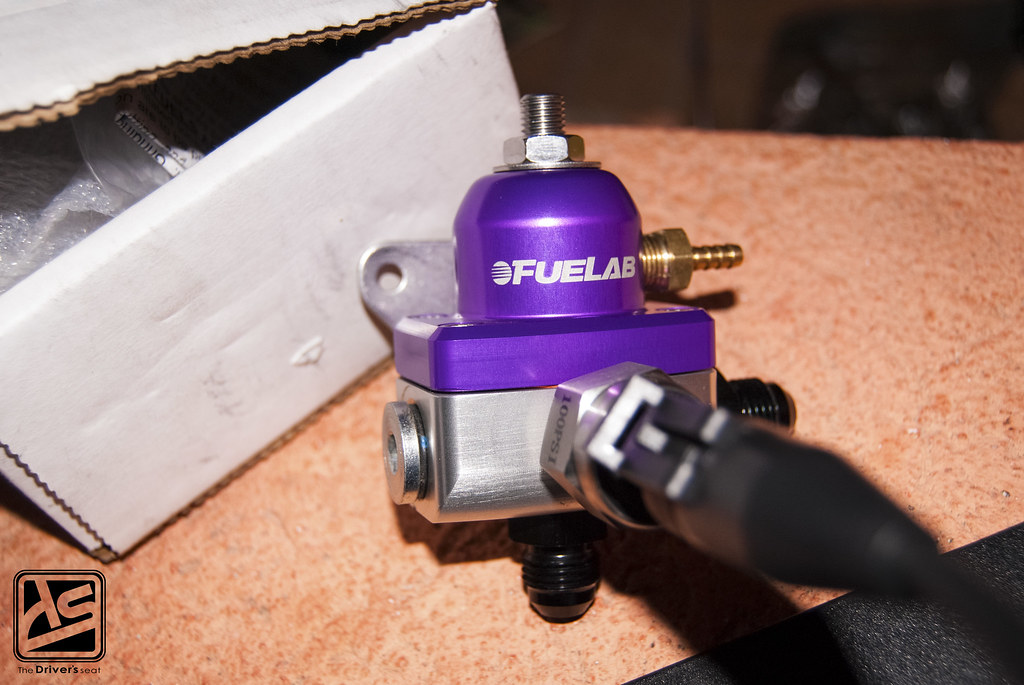
It’s clear to see why a Fuelab fuel pressure regulator was chosen…
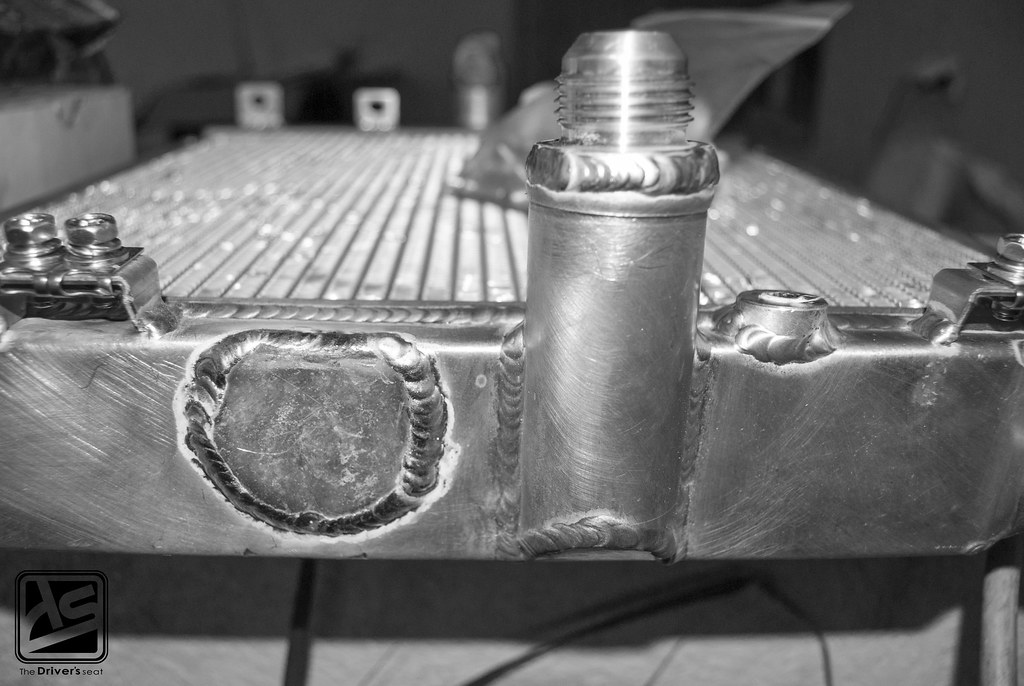
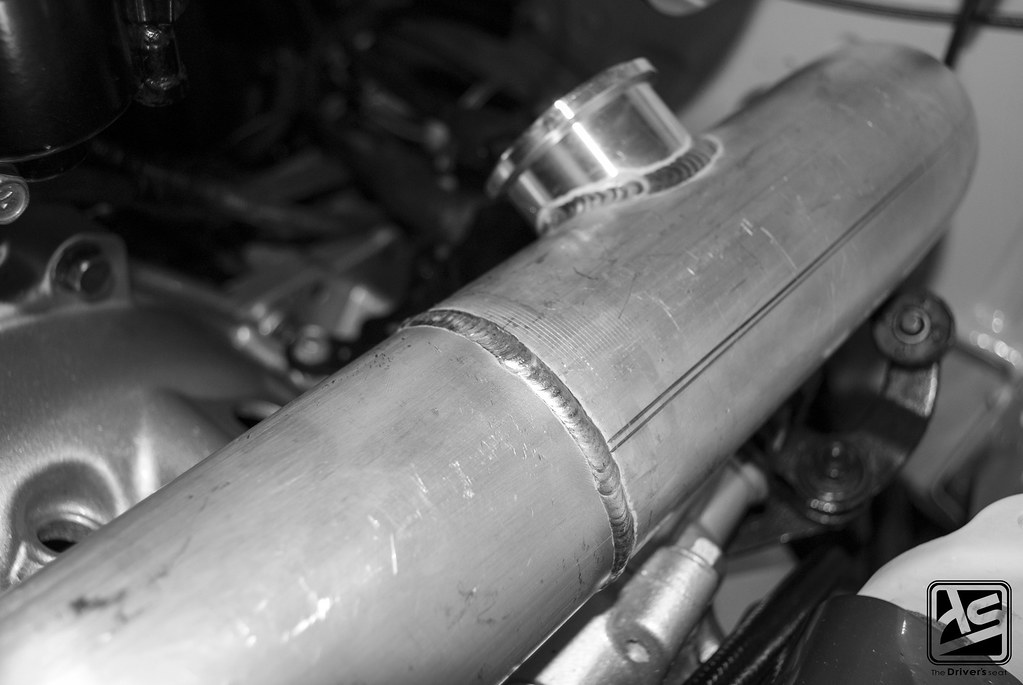
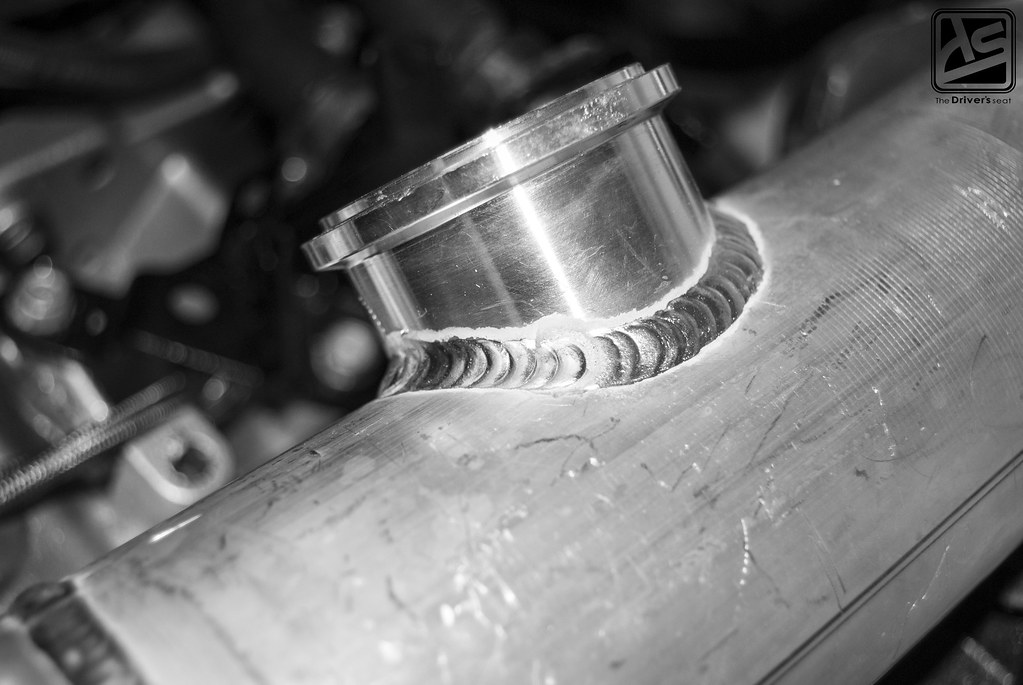
I don’t believe I mentioned this in a previous post; however, the radiator was modified from a hose fitting to AN and Robert had the filler location blanked…
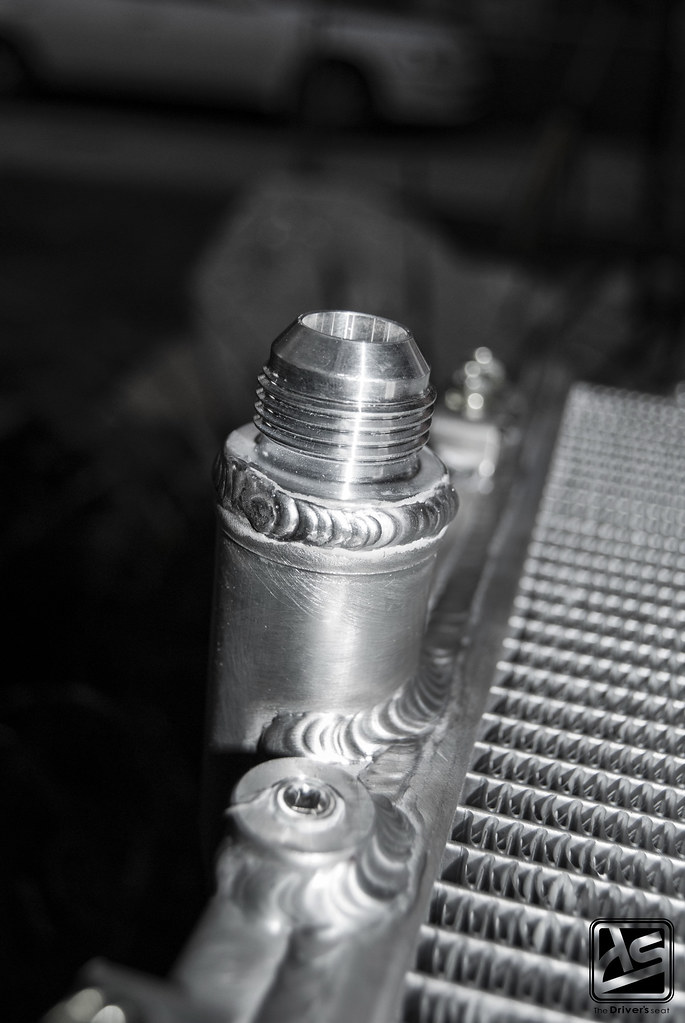
Close up of the work ReWeld put down…
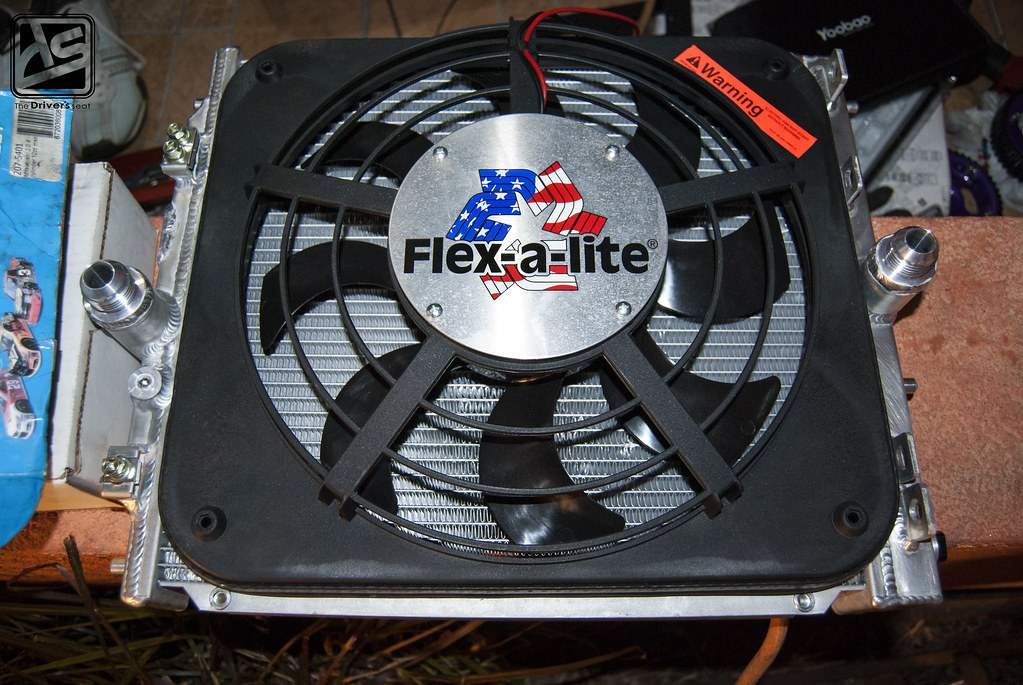
12″ Flex-a-lite high CFM fan mocked up against the half sized Koyo radiator…

An assortment of Russell AN fittings in black and purple to go with the theme of this build…
ReWeld finished up a portion of the intercooler piping so the guys can test fit and finalize everything where that is concerned…
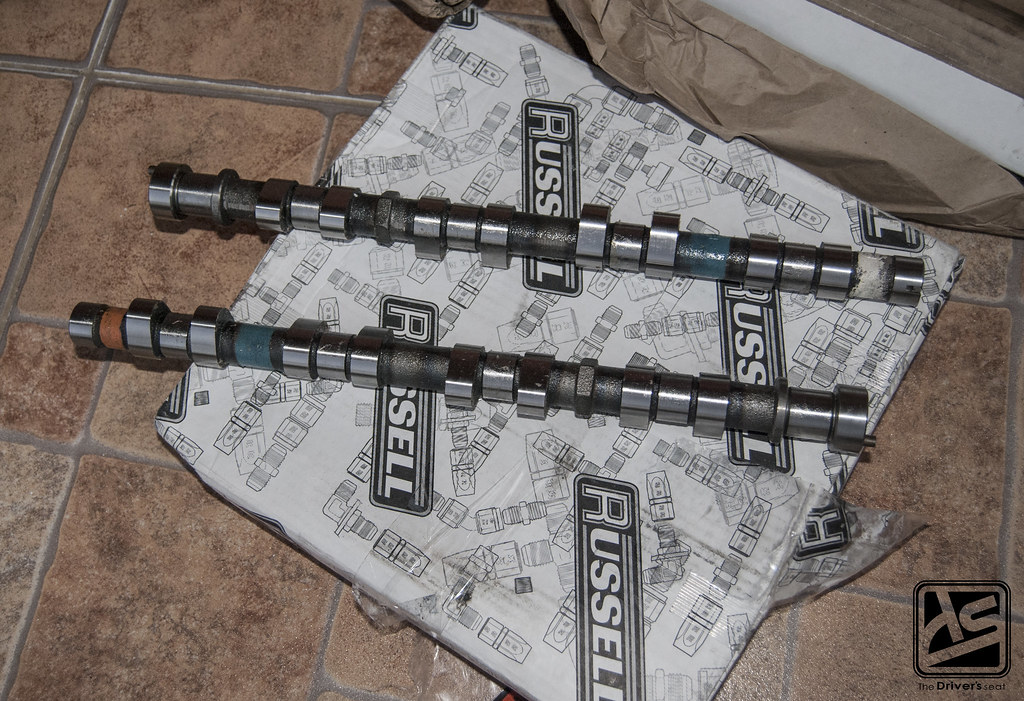
When the time came to choosing a camshaft for the build, a custom grind cam was selected…
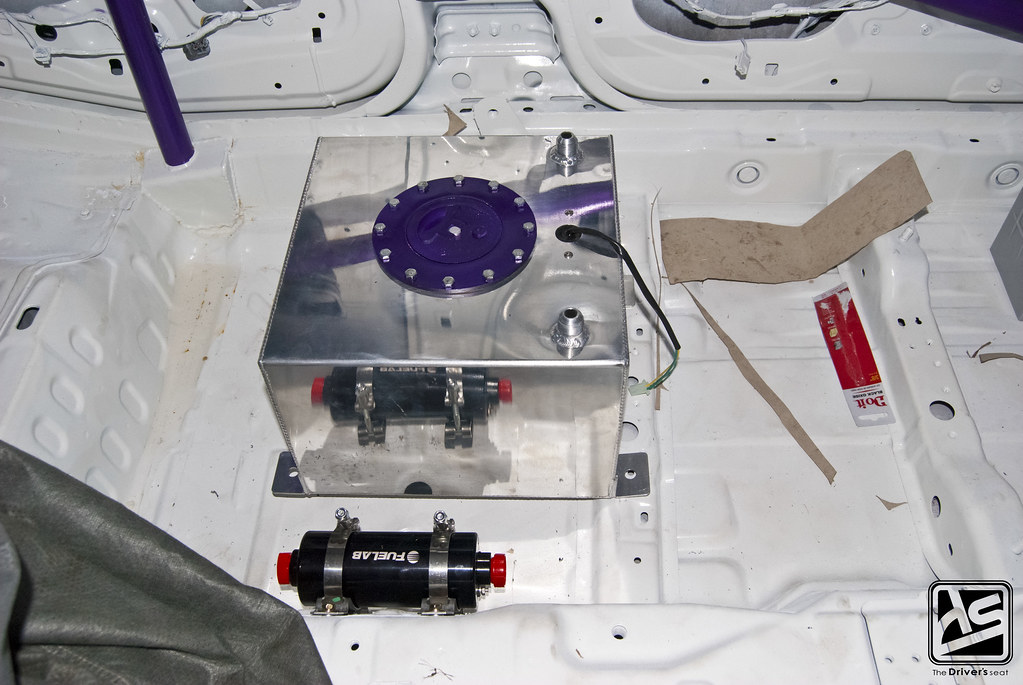
The painstaking attention to detail even was showed when it came the the lid on the fuel cell. On the topic of fuel, the car will be running a Fuelab inline pump and filter.
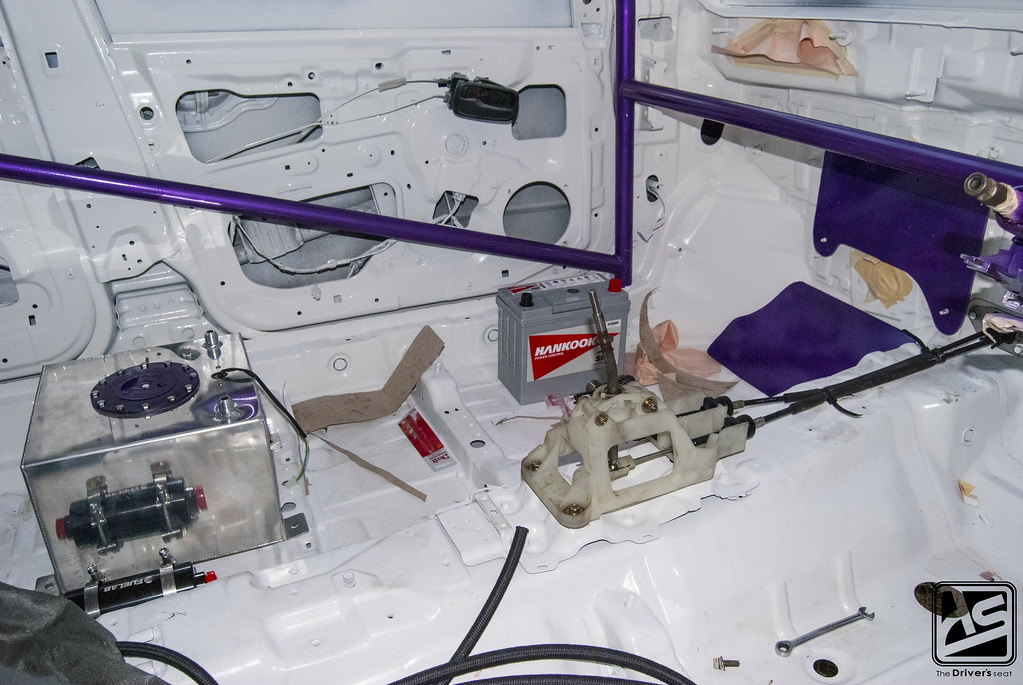
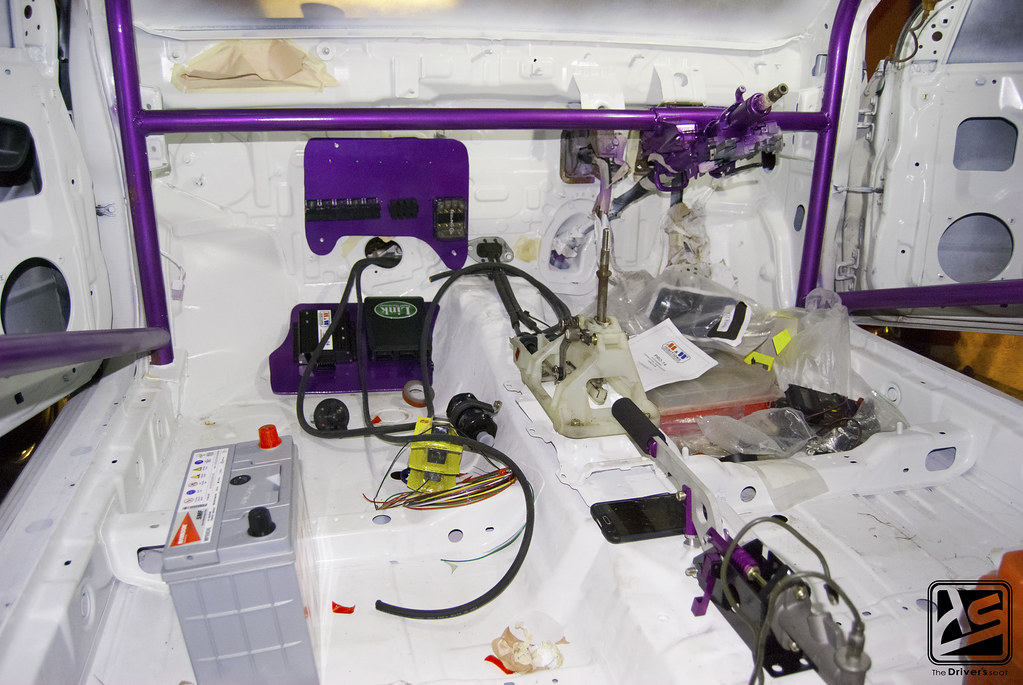
The OEM shifter and cables remained in their stock locations…
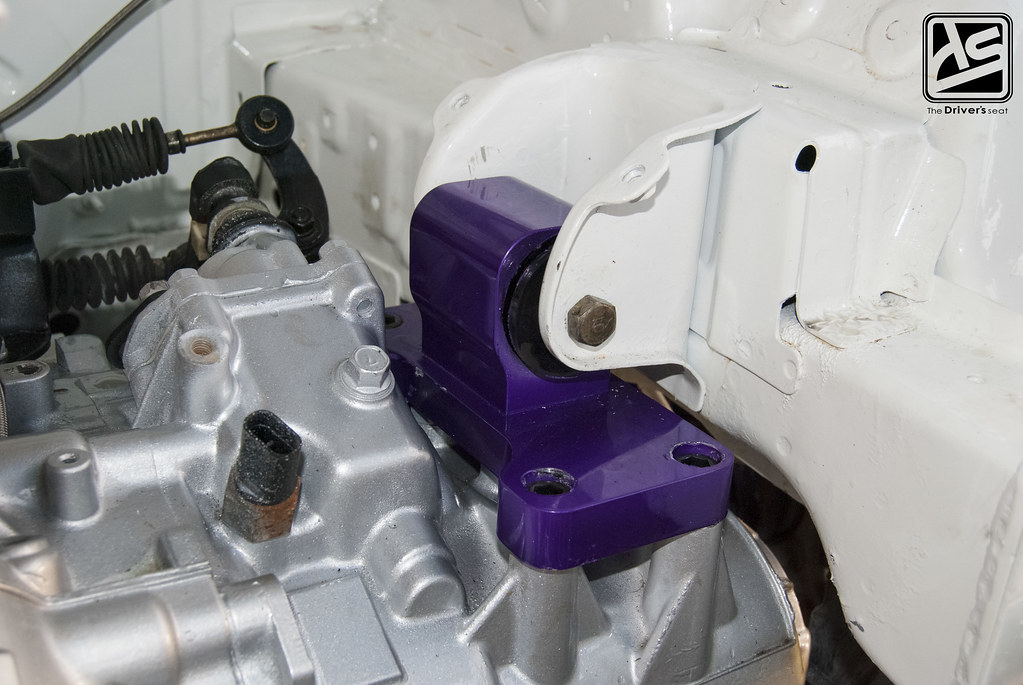
Torque Solutions gearbox mount in a fresh coat of the signature purple…
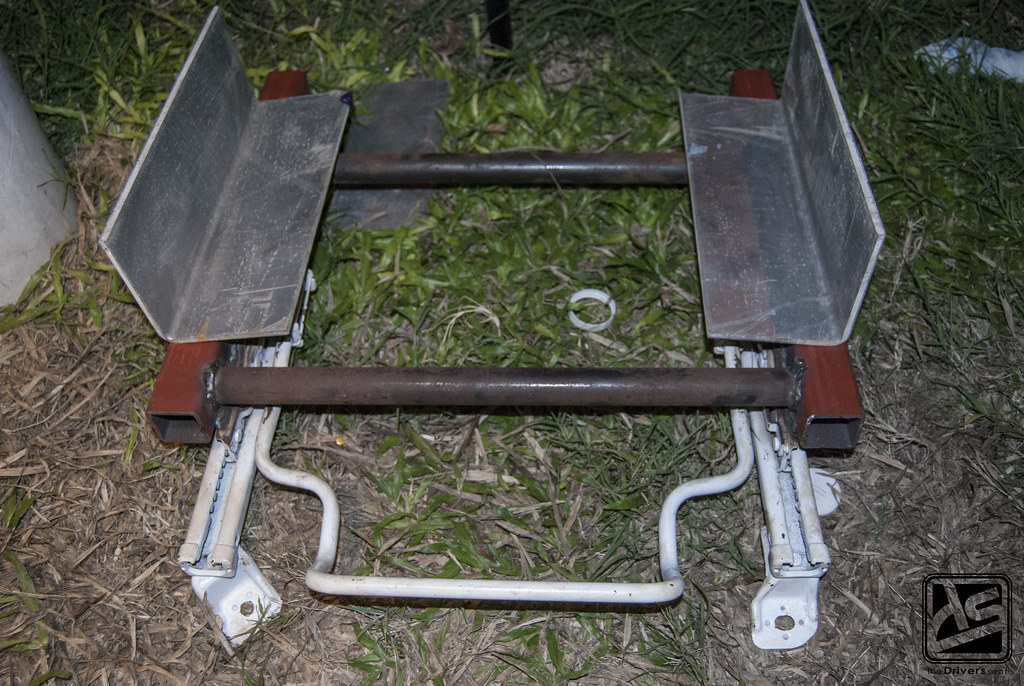
Seat bracket with slider for the Kirkey drag seat being fabricated…
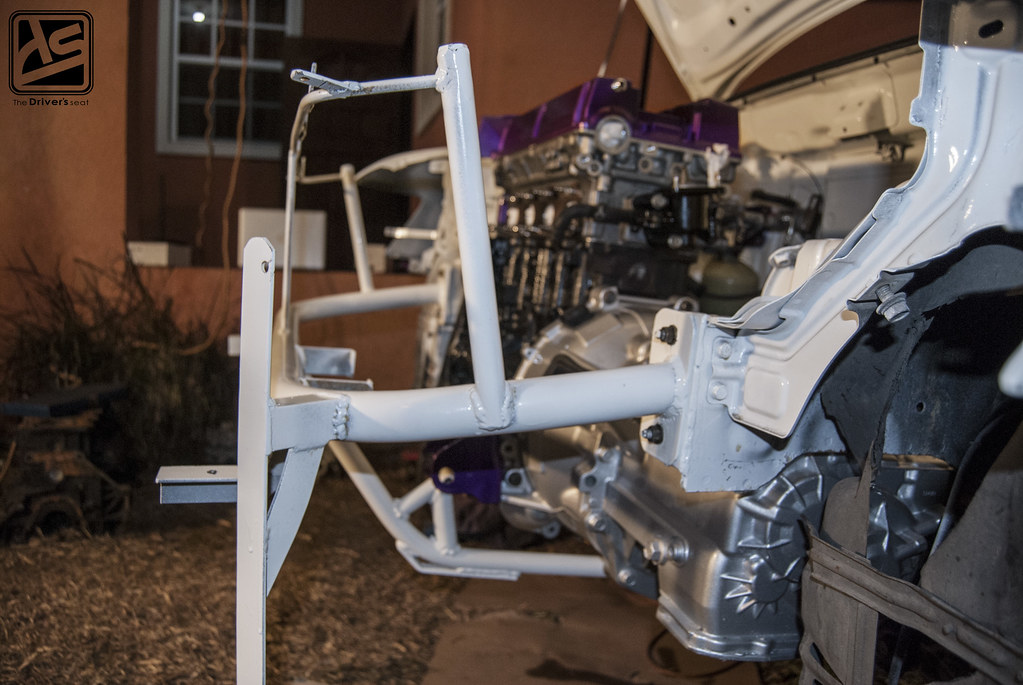
Another angle of the Stanford Industries custom made front end…
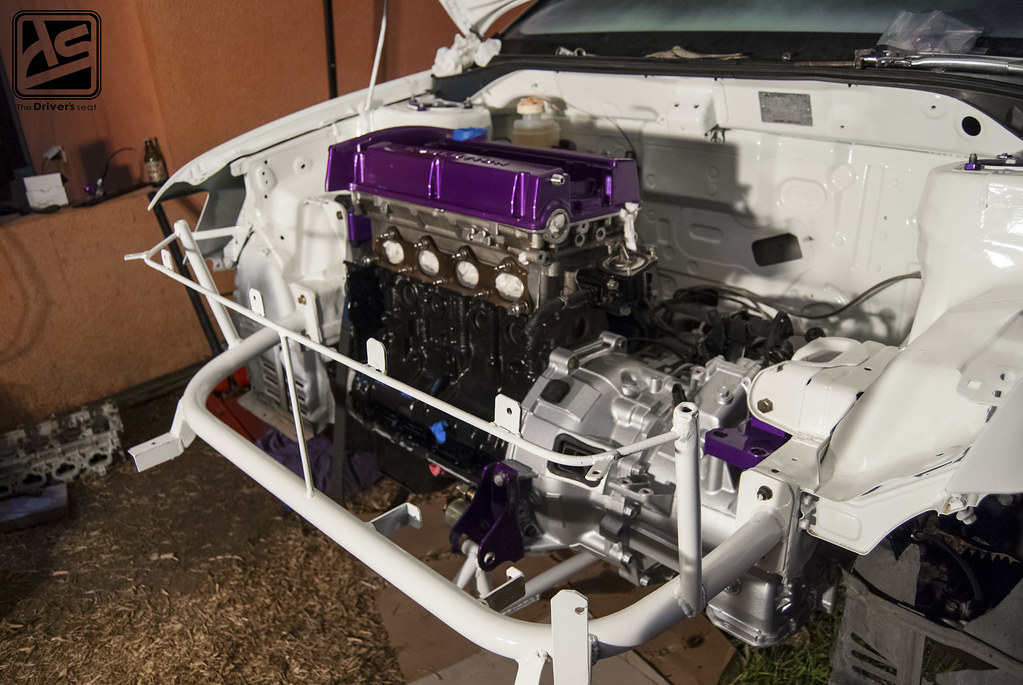
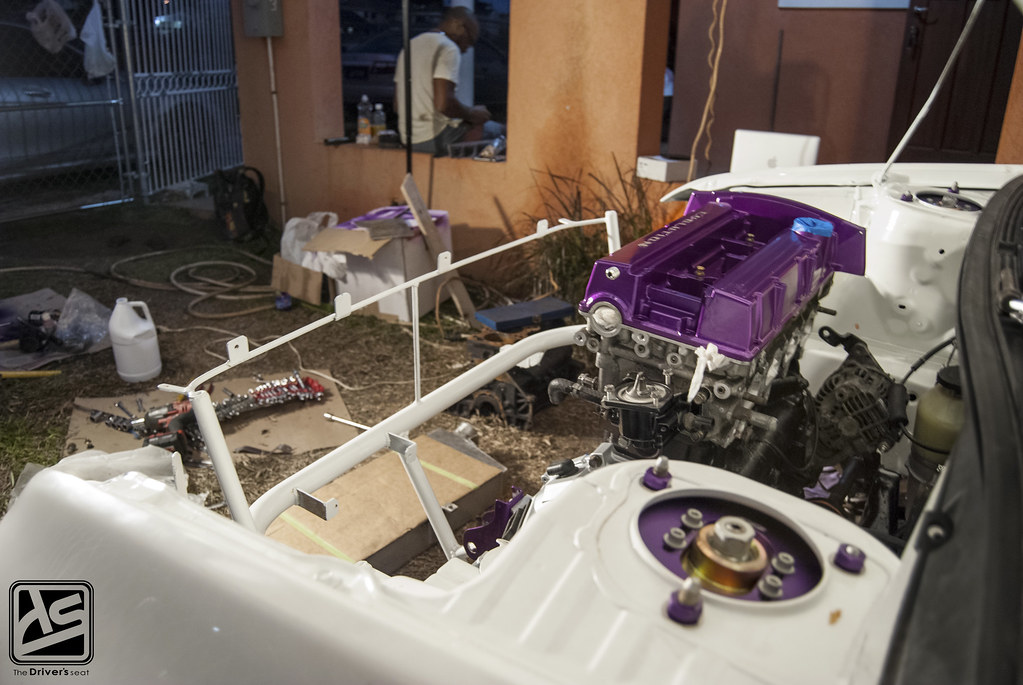
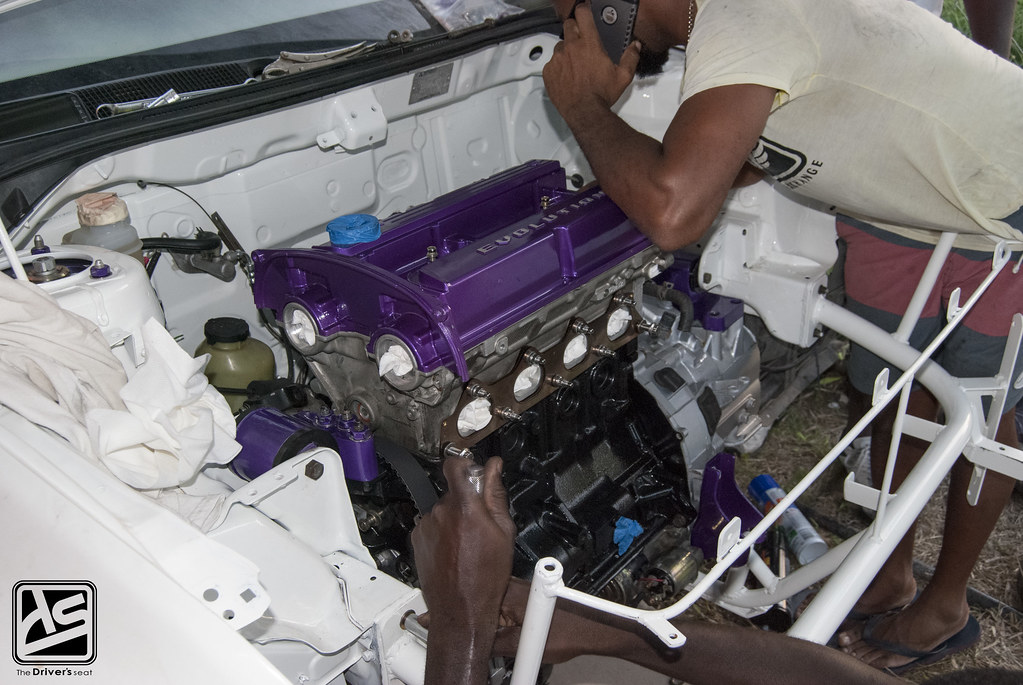
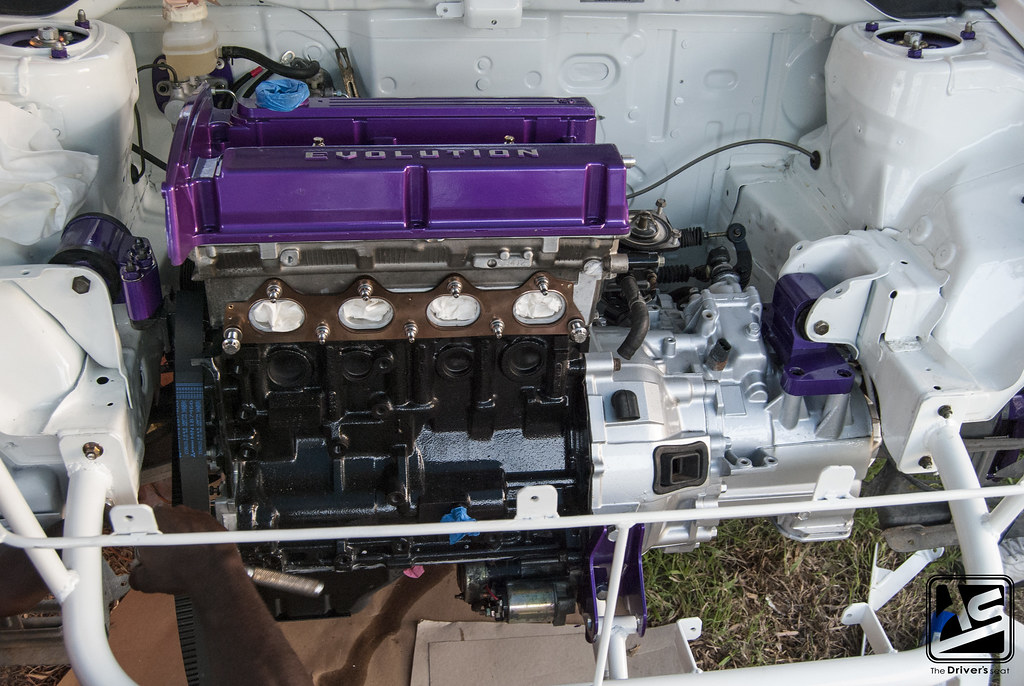
The motor as it sat in the bay awaiting the addition of the necessary auxiliaries… Note the colour matched strut tower nuts…

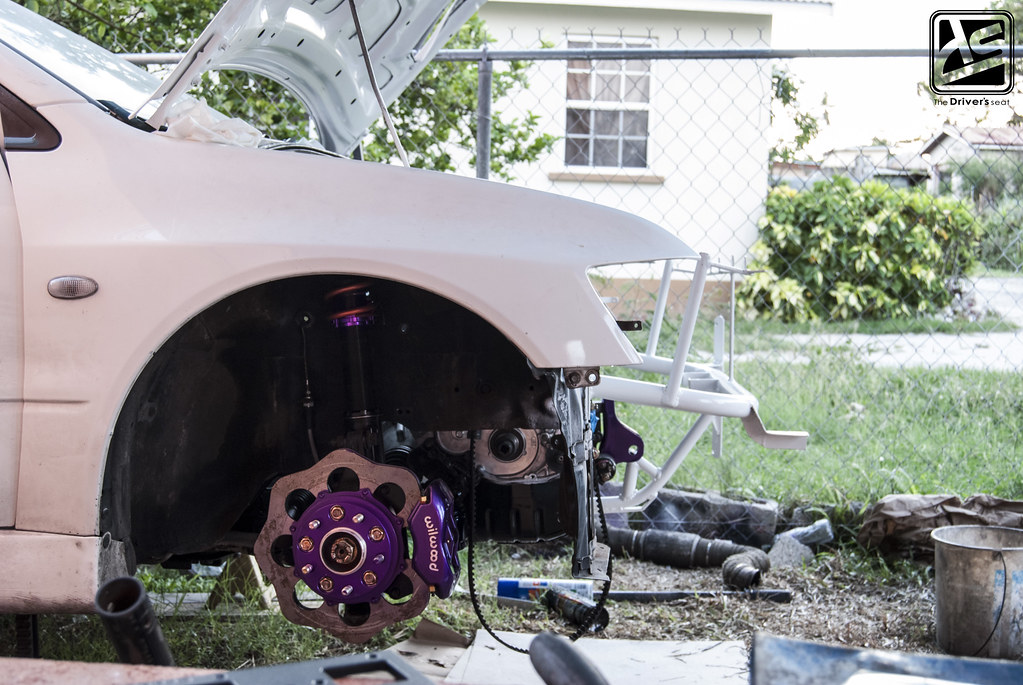
Checking the clearance between the wheels and STM Wilwood brake kit…


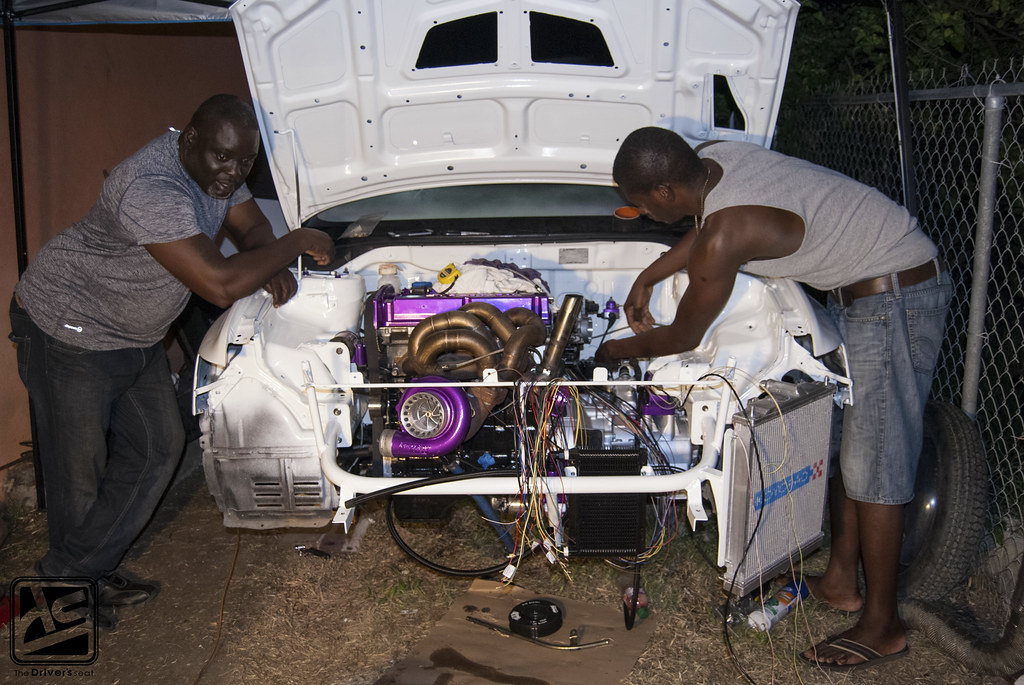
A view from either side showing the forward facing turbo setup and the Magnus intake manifold installed…
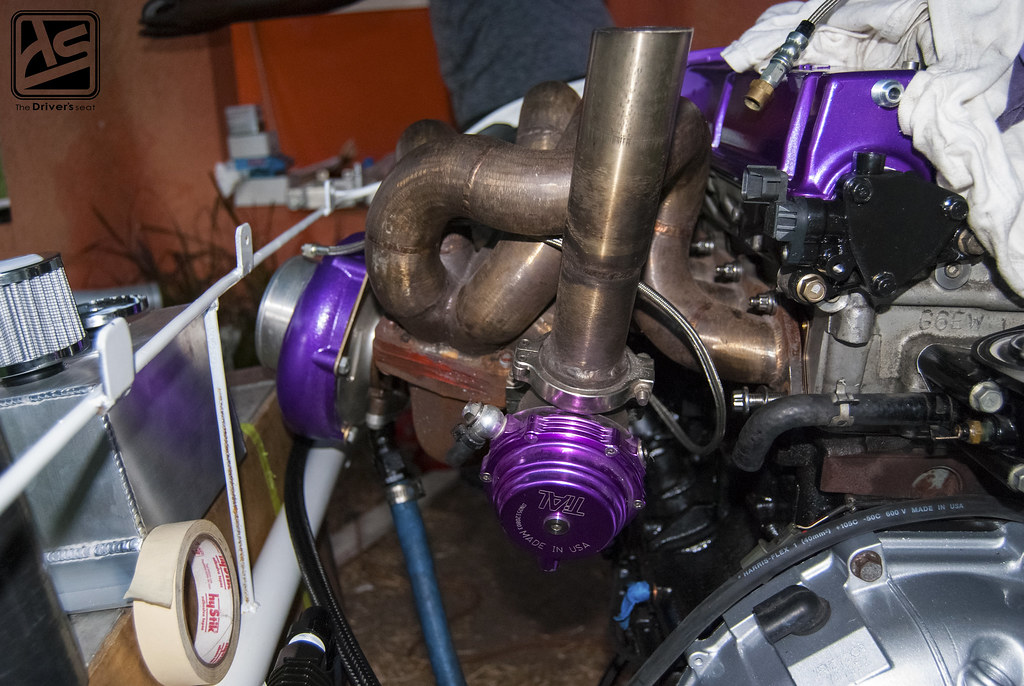
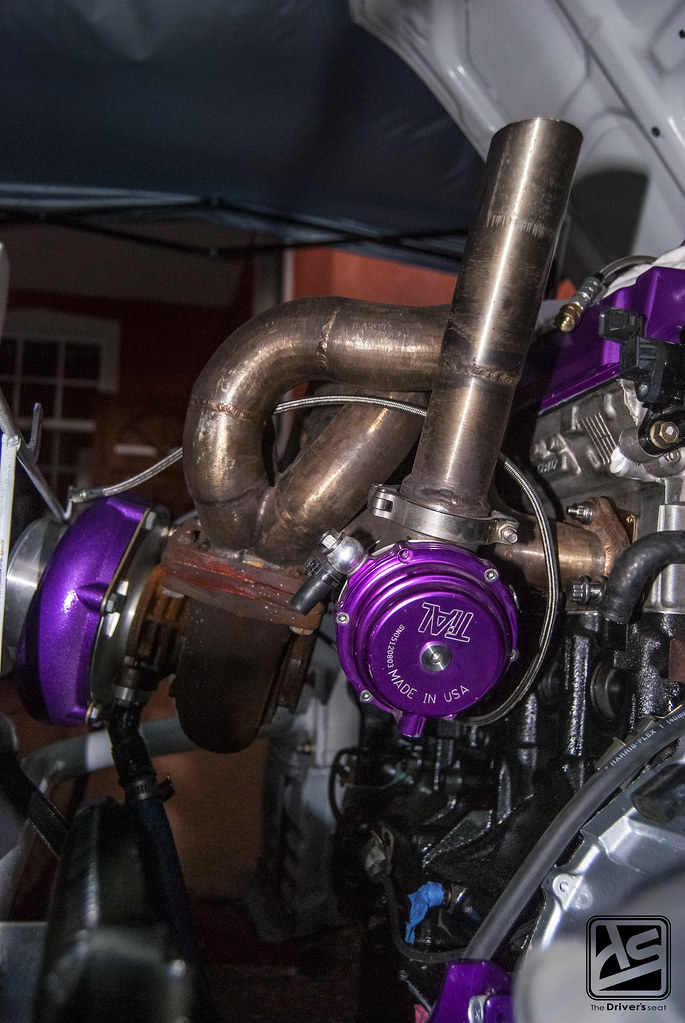
Tial 44mm wastegate in a very similar hue to the signature purple…
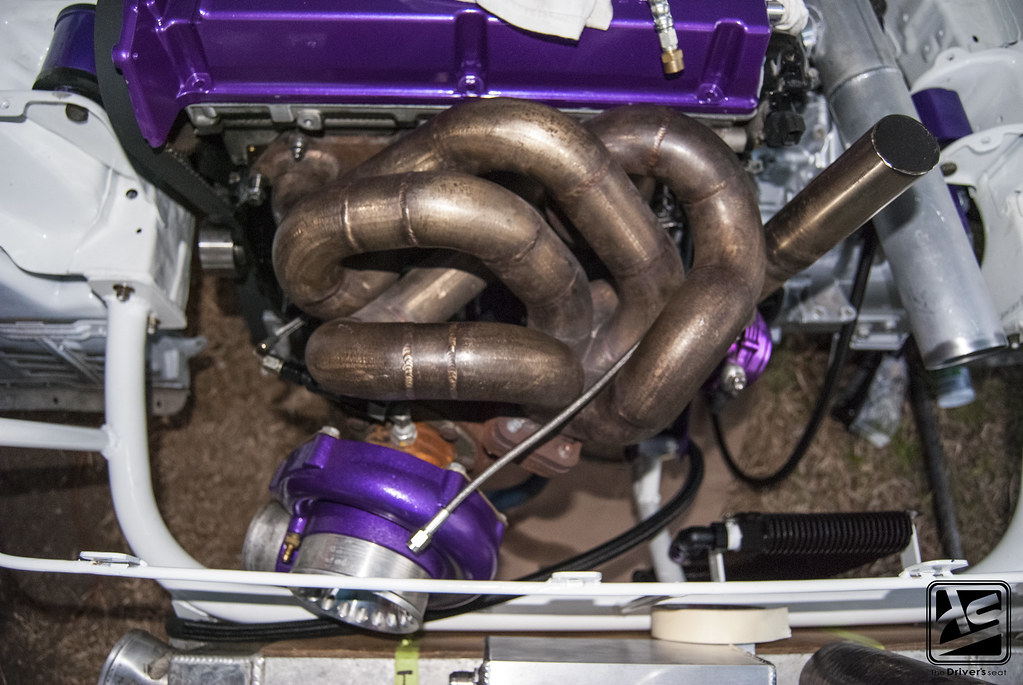
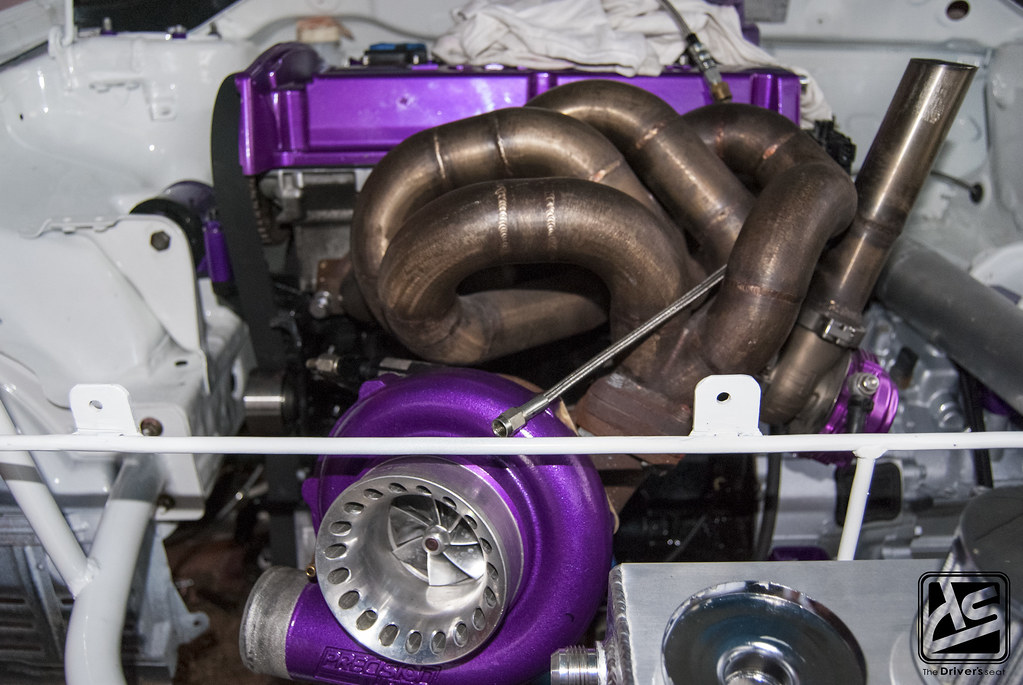
I just cant get enough of this forward facing turbo setup…
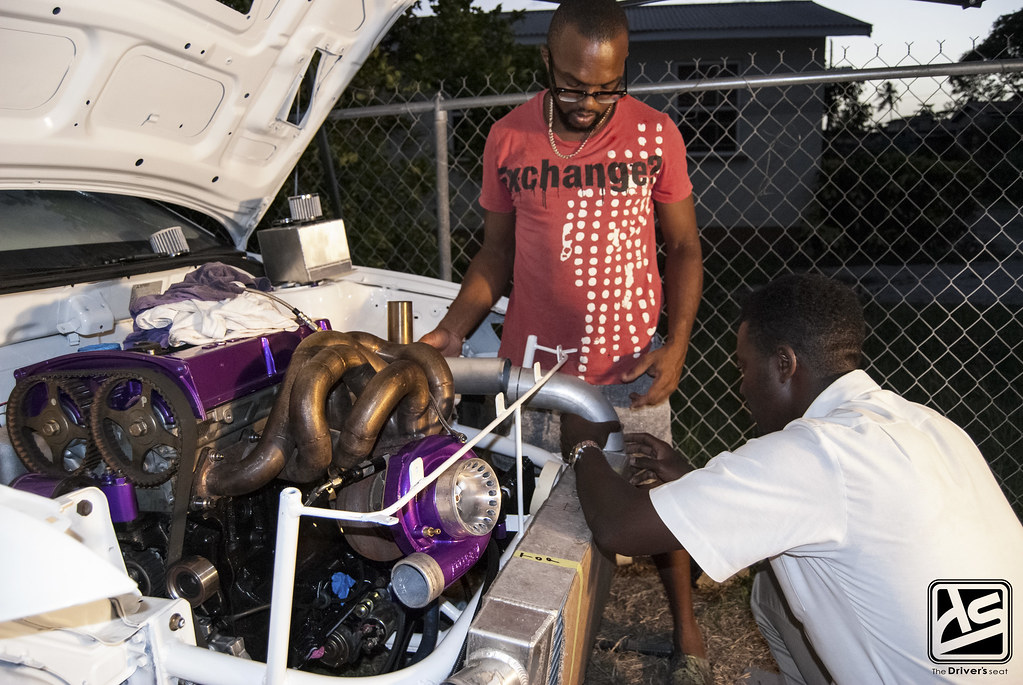
Reudon from ReWeld taking some final measurements to complete the intercooler piping…
As Robert lends a hand to help determine exactly how much pipe needs to be cut…

With the necessary measurements and markings acquired, Reudon will get to work on making the adjustments needed to both the intercooler and piping…
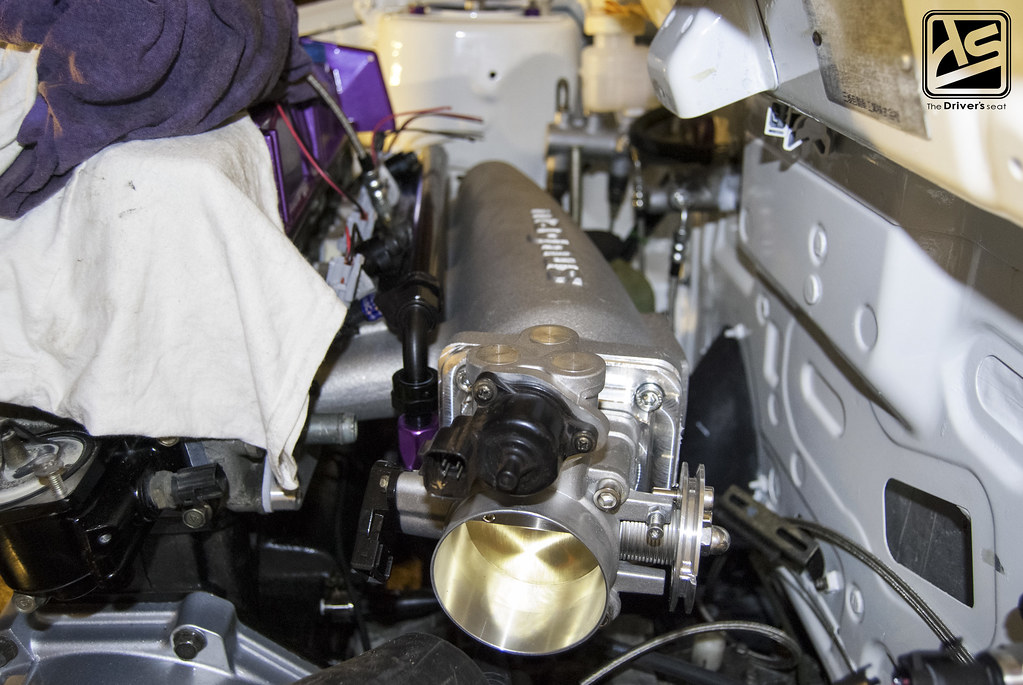
Magnus intake with Full Blown TB and fuel rail. The next step is to run the fuel lines and get the injectors clip wiring completed…
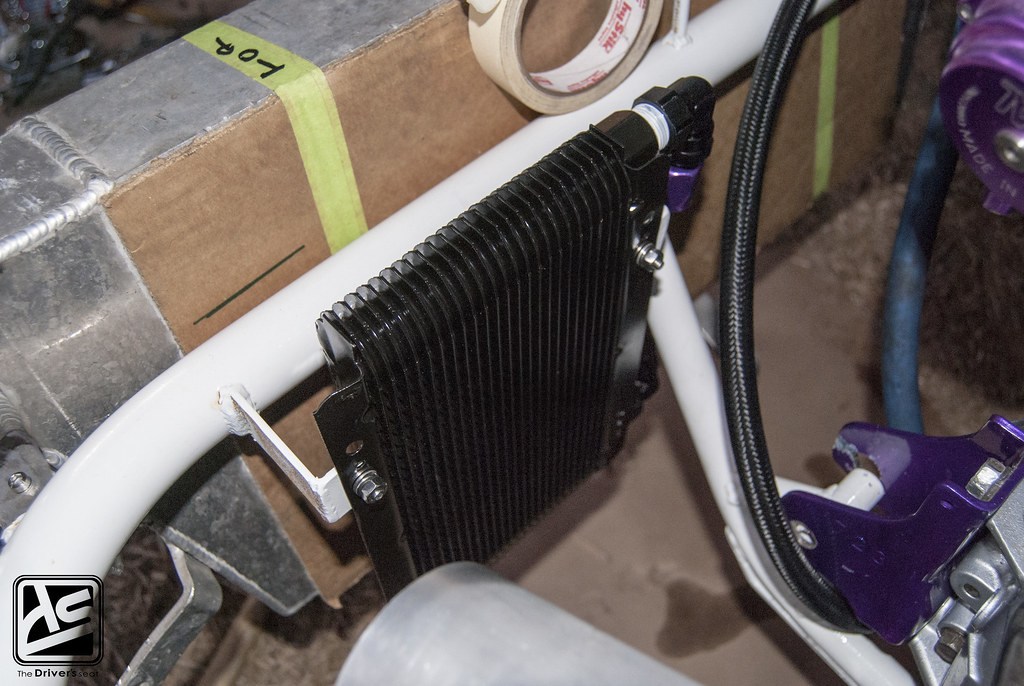
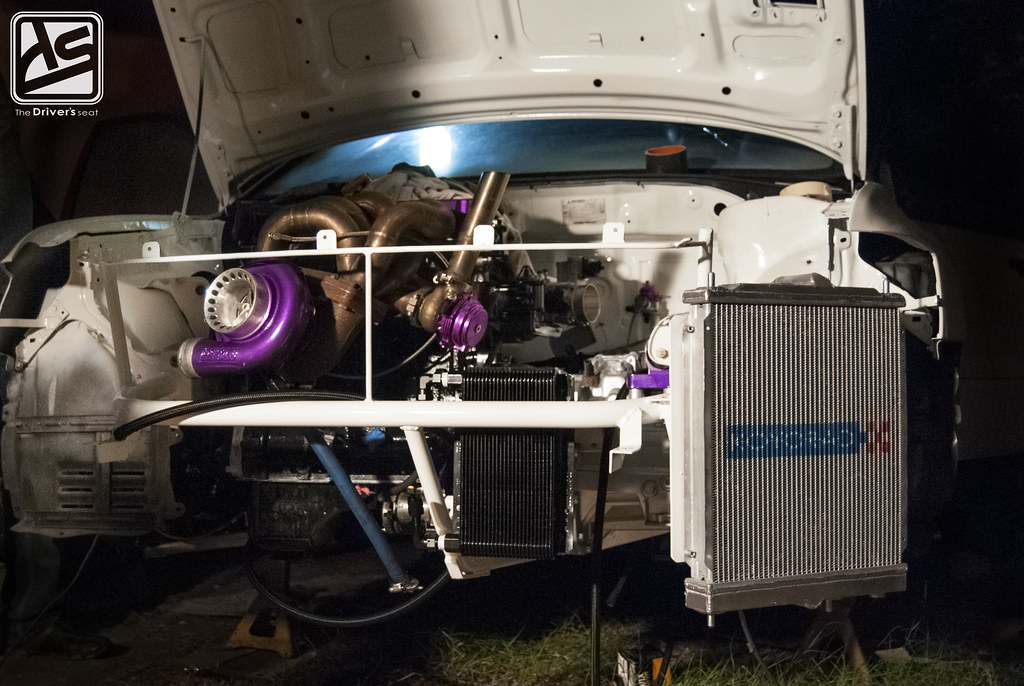
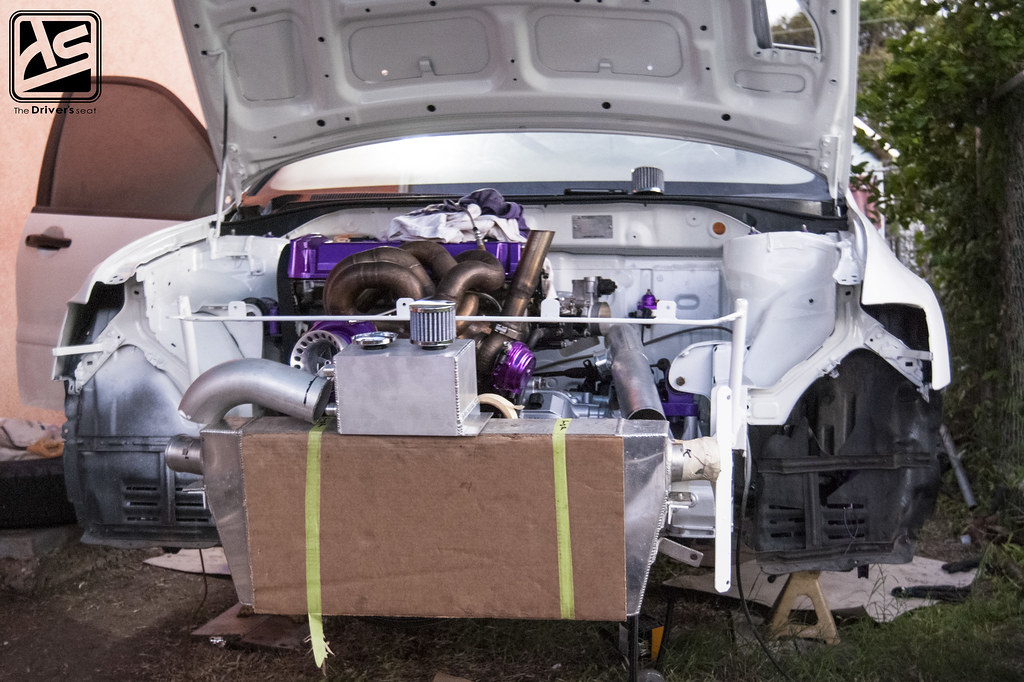
A preview of the front end as it begins to takes shape, with the oil cooler and Koyo radiator mounted…
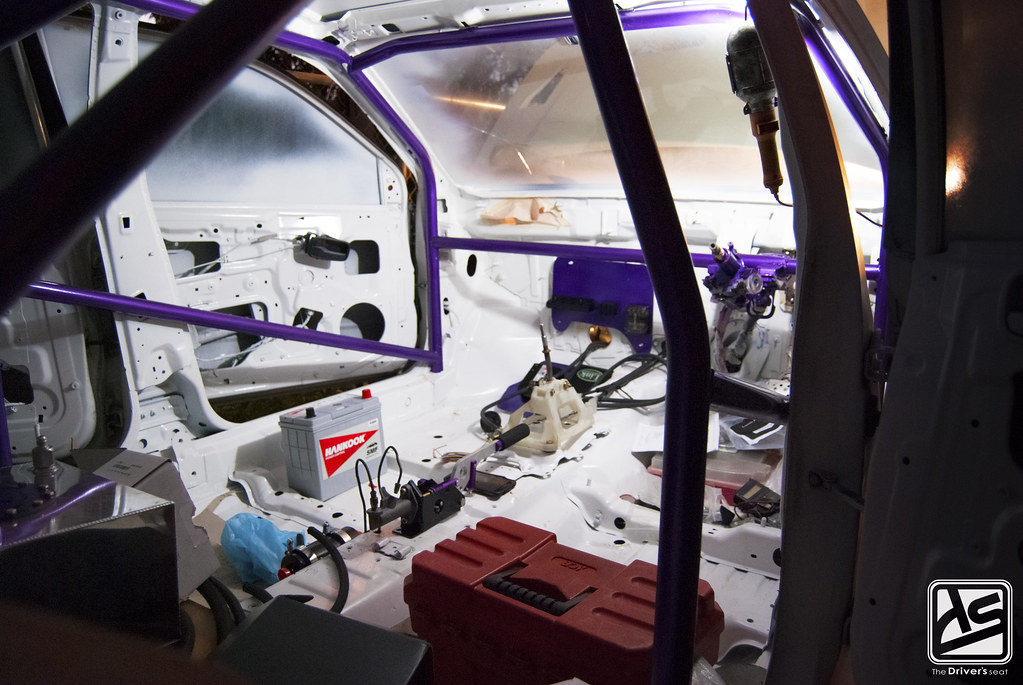
Meanwhile, the interior starts to come together…
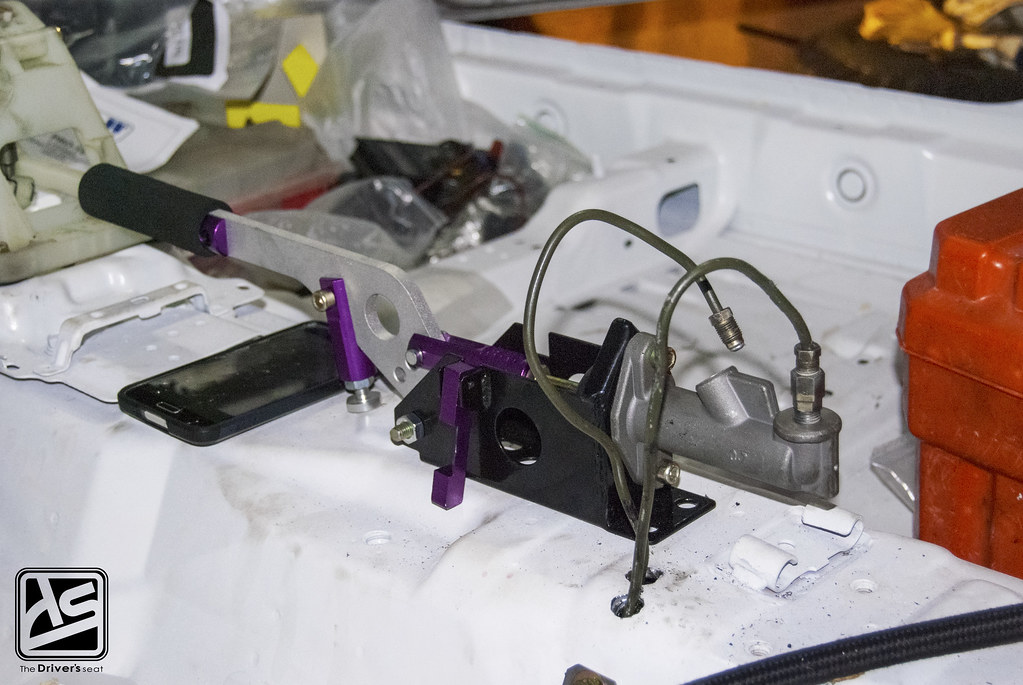
Hydraulic handbrake mounted with the lines ready to be connected…
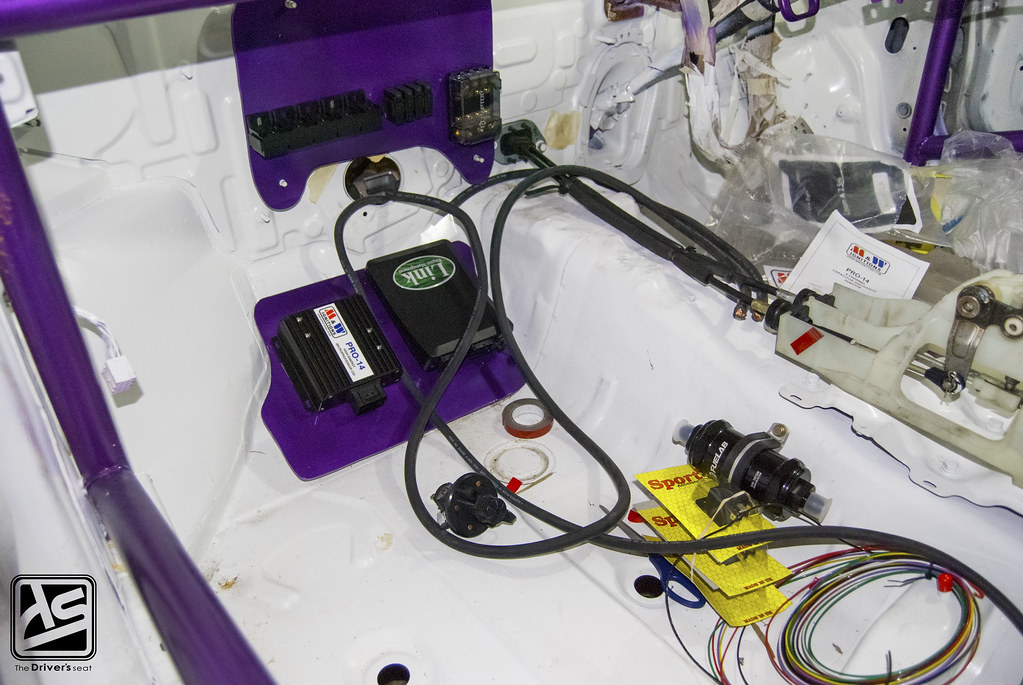
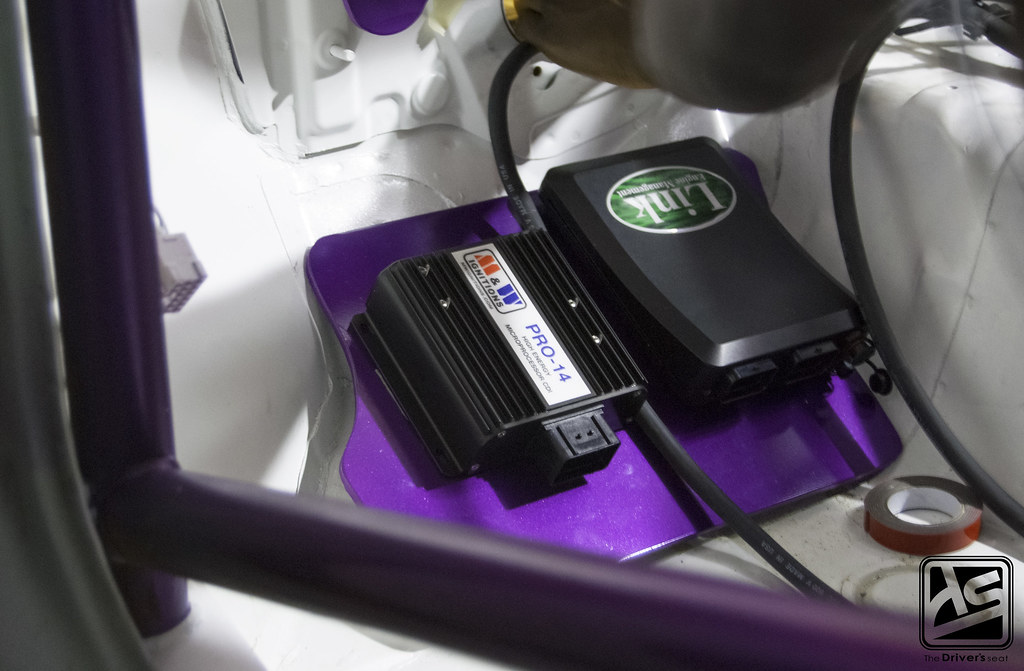
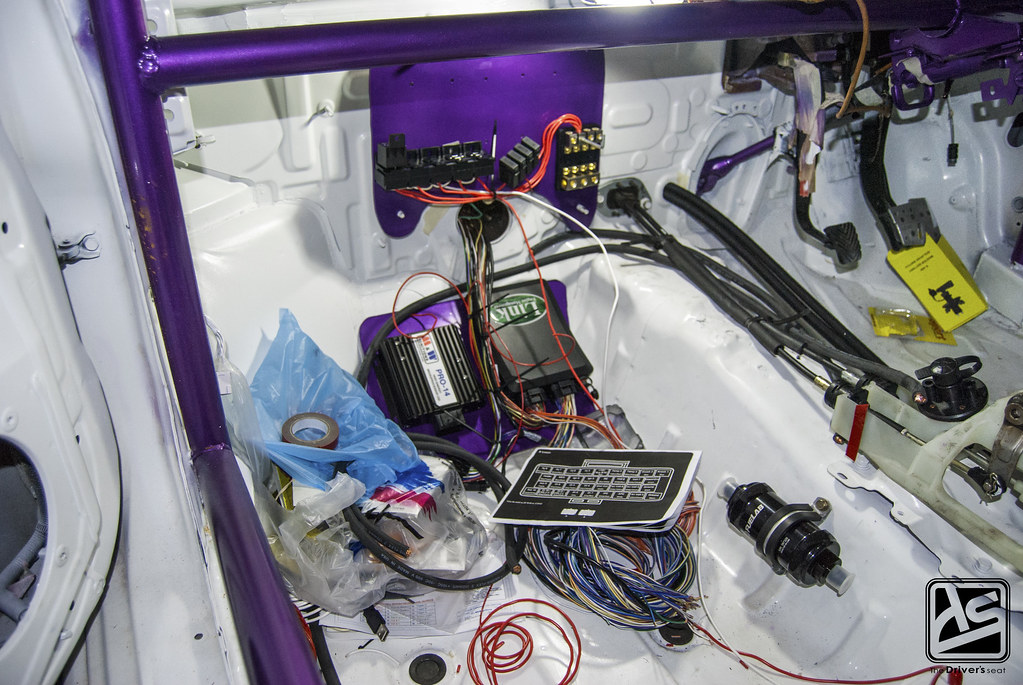
A Link + Fury ECU will be the brains behind this build; after working with a Link ECU on a Mark IV Supra Robert previously owned, it was an easy decision to make especially since they are powerful, have a wide range of controls and are very user friendly. Due to the power goals and type of fuel that will be used, a M&W ignition system was necessary.
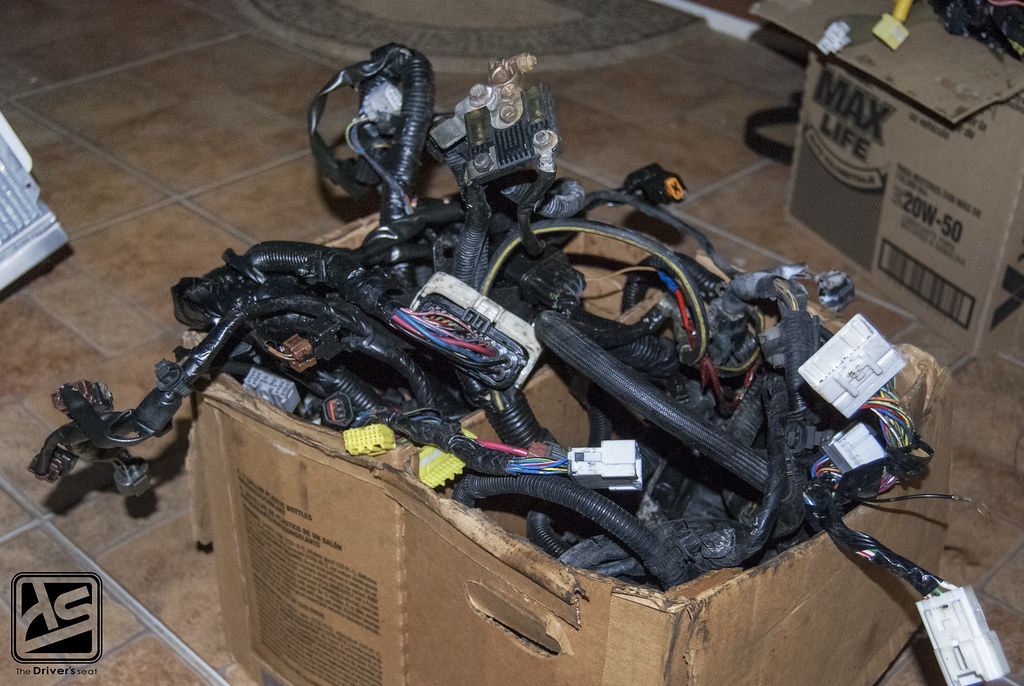
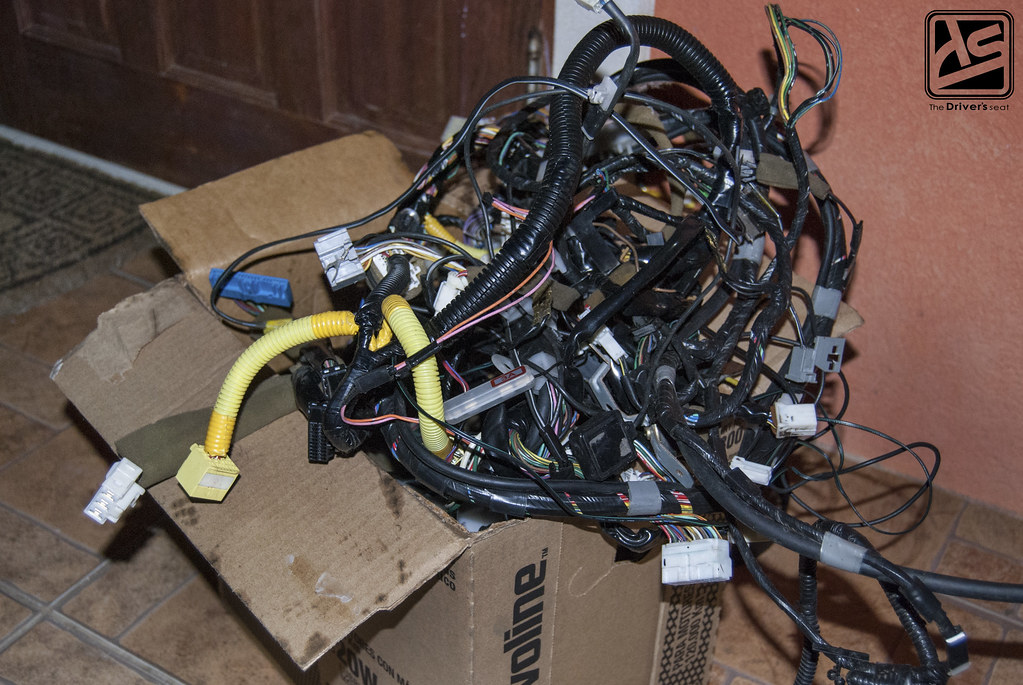
Several wiring harnesses that were removed from the CT9A chassis…
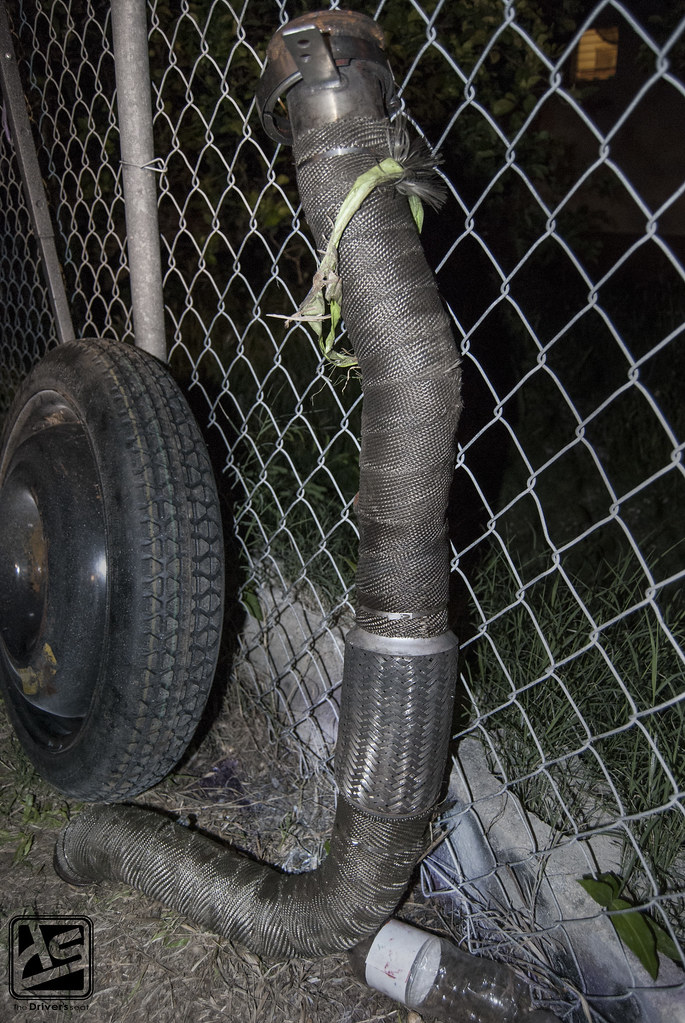
3″ downpipe with flex pipe heat wrapped; for the moment, the guys have no intentions to run a full exhaust on the car…
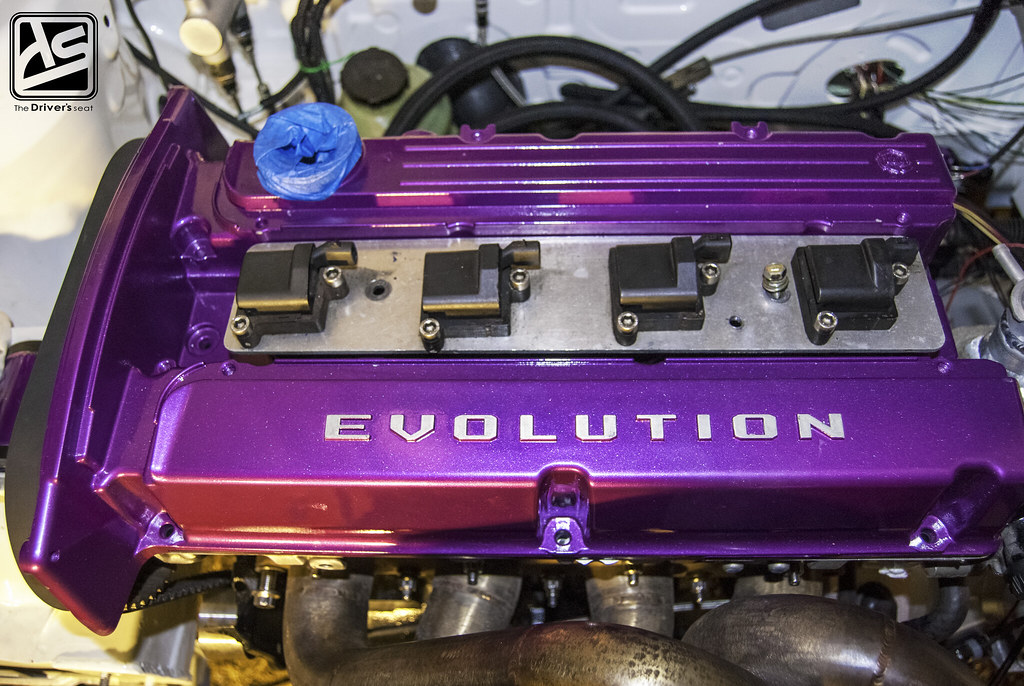
300M coil on plug setup with a custom plate…
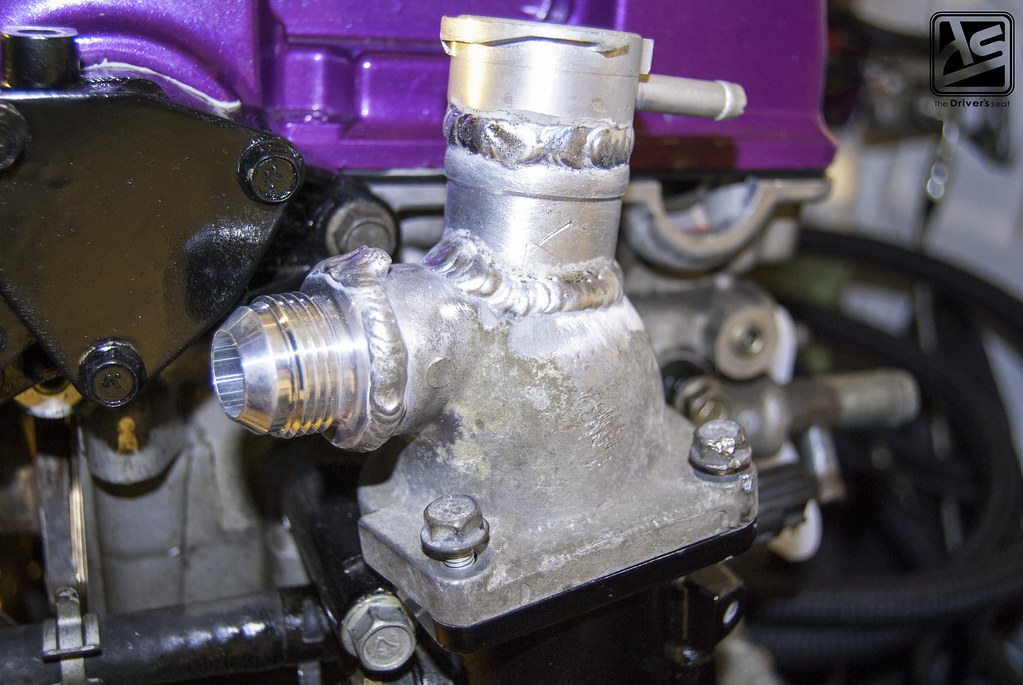
Previously I mentioned the filler location on the radiator had to be blanked; due to the re-positioning of the radiator, this was necessary as it won’t be possible to fill from its new position. To solve this issue, ReWeld made some modifications to the thermostat housing to accommodate the filler neck.
Given that all of the OEM harnesses were removed, the guys had to build an entire chassis and engine harness from scratch…
This task was left at the hands of Fabian to execute…
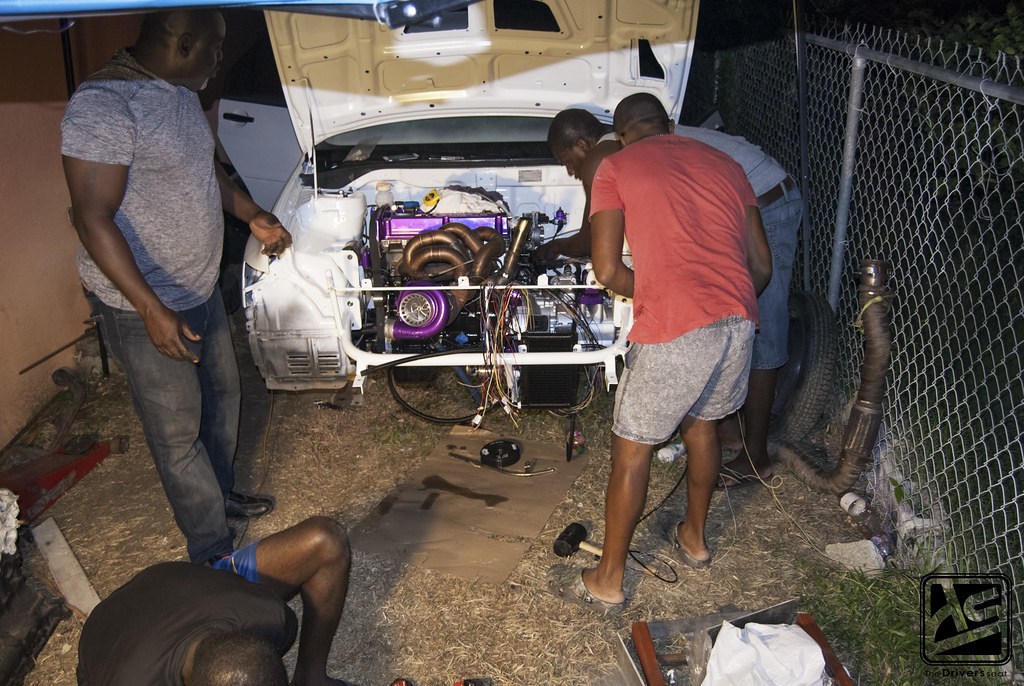
Robert as he lends Fabian a hand…
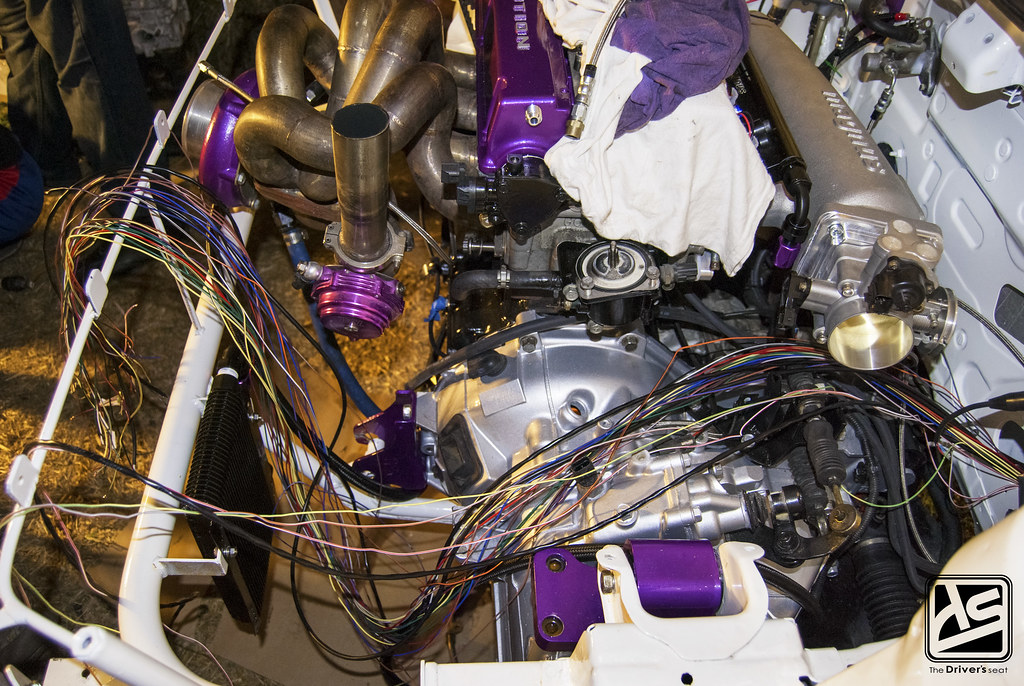
This was the sight while he ran the necessary wires through the bay…
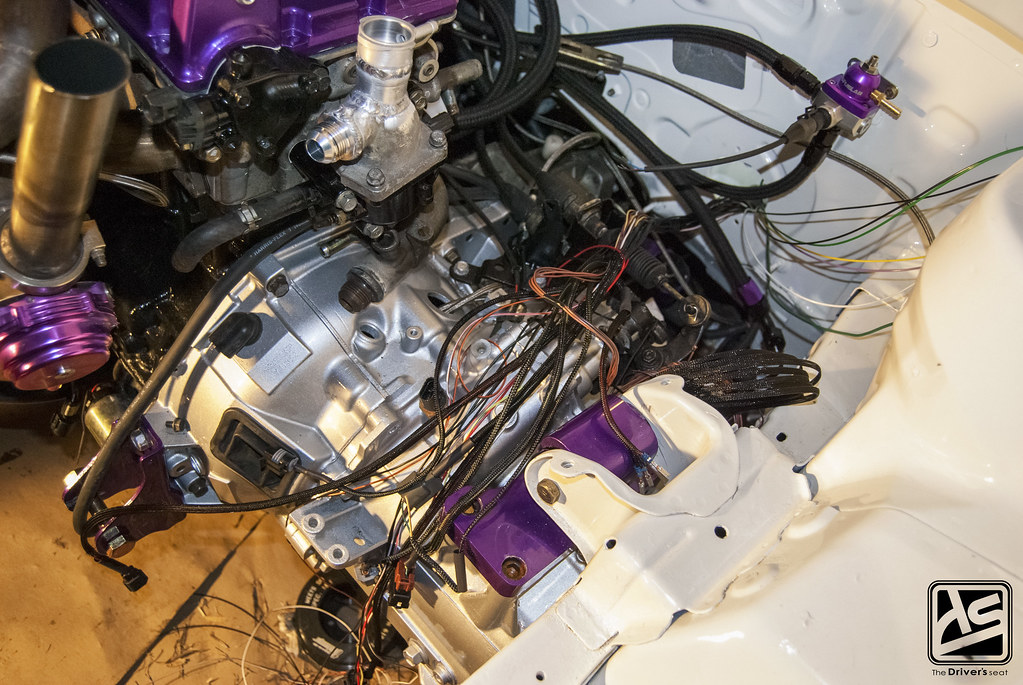
Where he quickly made some headway in completing the engine harness; some of the wires have been wrapped with fire resistant sheathing and the appropriate connectors attached…
That’s a wrap for today’s post on the Jostech / RB Performance build, I hope you guys enjoyed.

👏🏾