
Sol’s AE86 Build… Part 1
In the previous post I gave you guys a quick look at how the car sat for what felt like eternity, today I’m happy to report that the car has finally been relocated.
The AE86 has been accepted amongst car enthusiasts as a world renowned classic; with that in mind Sol took his time to conceive a plan to pay homage to the legend status often associated with the AE86. A full restoration of the chassis was necessary after sitting for such a long time. Having dealt with Corbin’s Garage in the past while building his Mark IV Supra, Sol thought, who better to undertake the process for the re-imagination of his most prized car. With his mind made up, the car along with all associated pieces were loaded up and sent off to Corbin’s Garage.
We’ll be taking a look at the disassembly of the AE86 and the progress the guys made since it arrived at the shop.
For those of you who are interested in the background story behind this build I’ve provided the link below:-
Sol’s AE86 Build… Introduction
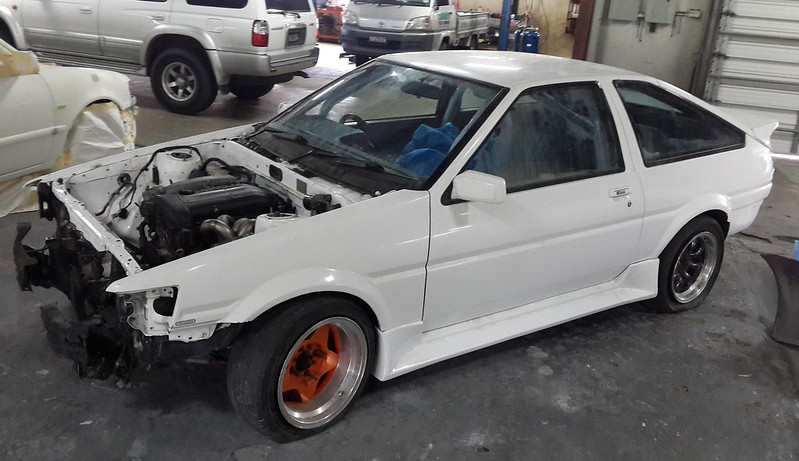
A look at the car upon arrival at Corbin’s Garage…
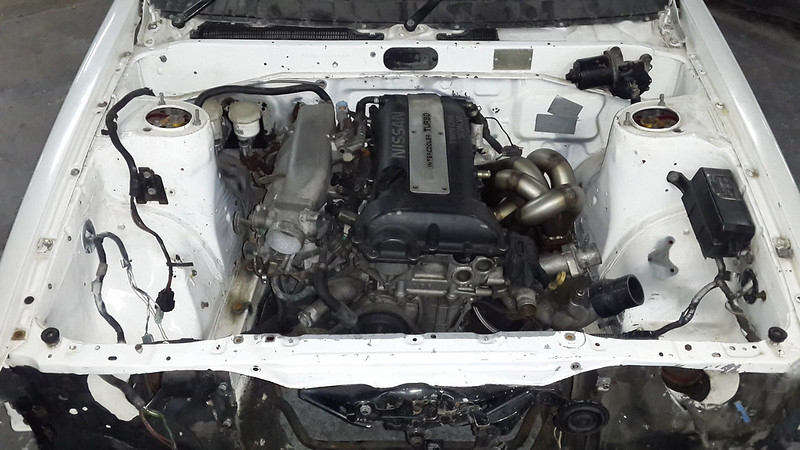
A final look at the S15 swapped SR20 motor before the guys began the teardown…
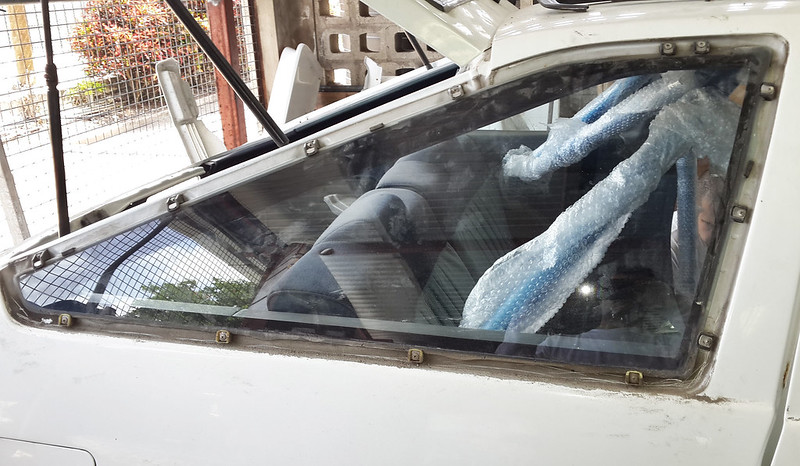
Rear quarter glass rubbers removed…

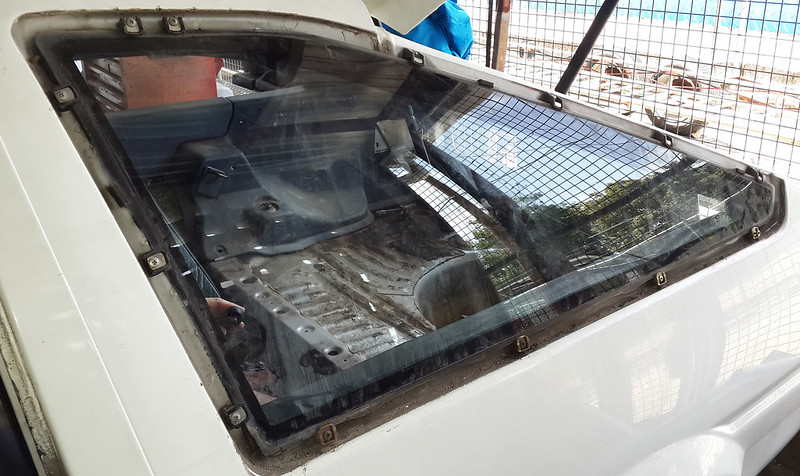
The car stood up surprisingly well for its age, with no signs of rust shown on either side after the quarter glass rubbers were removed…

With the quarter glasses removed, the guys got to work at stripping the fenders down to bare metal…
A shot of the partially stripped door…
Working our way to the back of the car, where the lights, bumper and spoiler have been removed…
Over on the left, there is much work to be done…
Some insulation to be removed after the headliner was taken down…
A few shots of the gutted shell, the next phase for the interior is to remove the sound deadening from the floor throughout the car…
Time to start stripping the engine bay of all brackets and harnesses along with the SR20 motor…
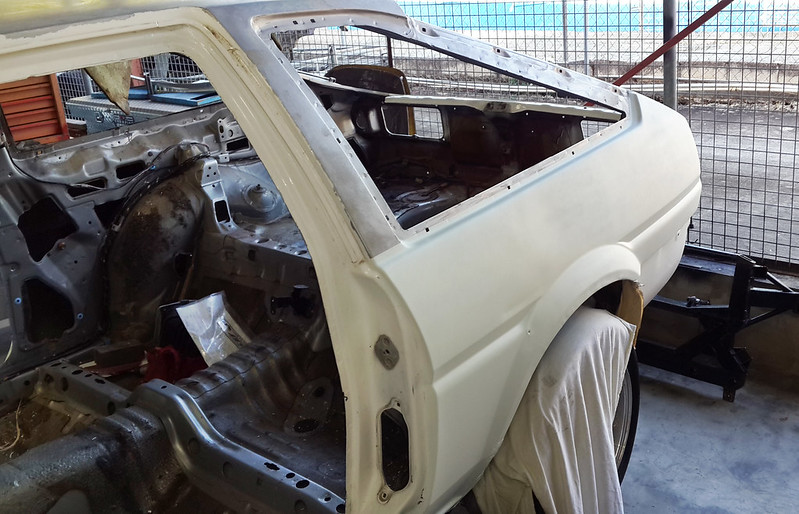
Right rear quarter panel after being stripped and primed, if you look closely you would see a line marked out on the fender indicating where it will be cut…
Meanwhile on the left side, the rear quarter has been sanded and smoothed out…
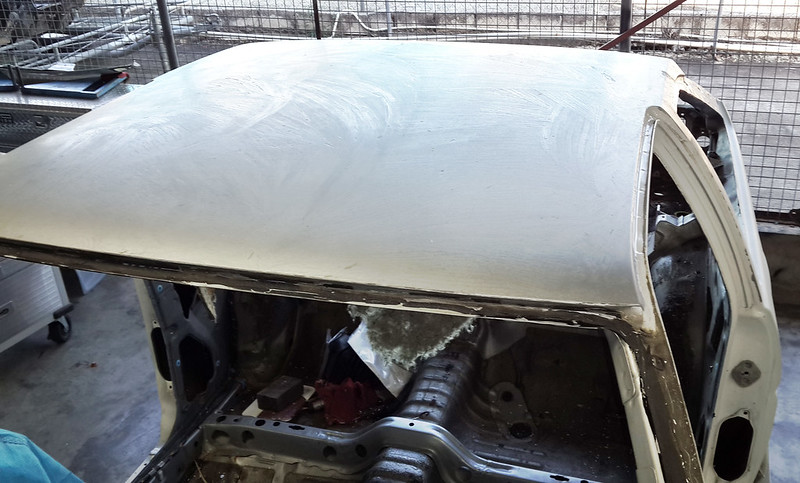
Front windshield removed and the roof stripped and sanded…
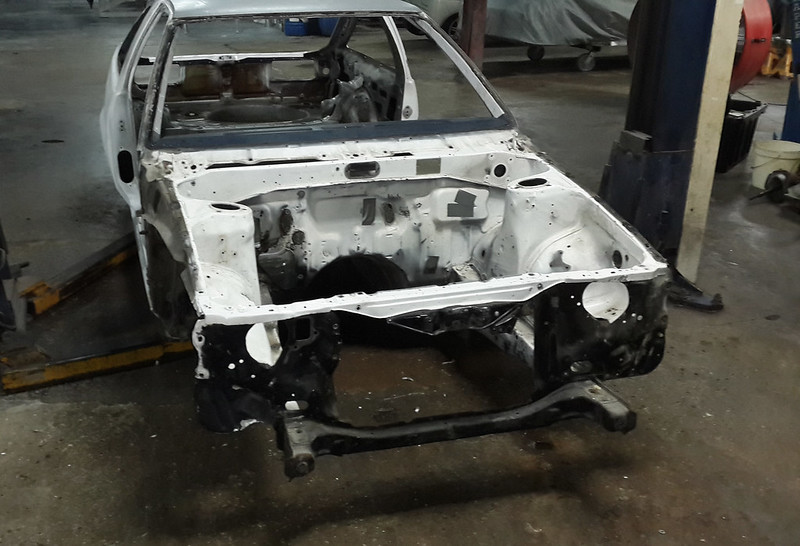
A look at the engine bay after the suspension and steering components have been removed…
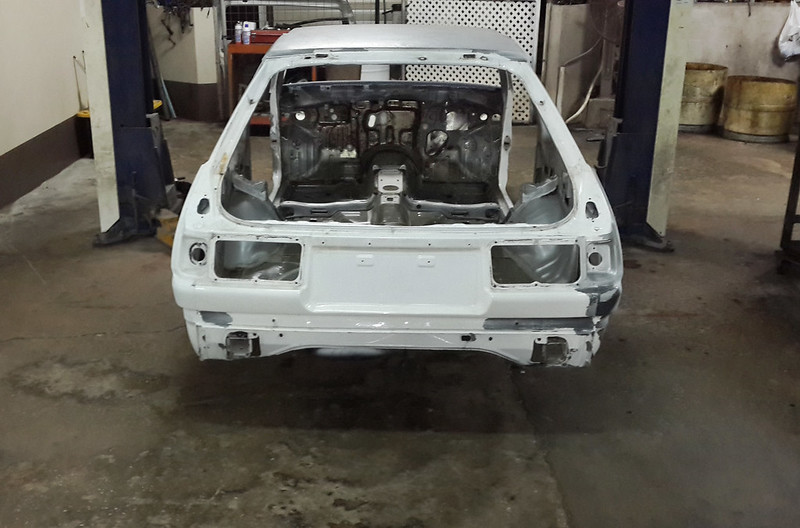
The tailgate has been removed along with all suspension and drivetrain components…

On the rotisserie being prepped for the removal of all sound deadening and seam sealant…
After the sound deadening was removed and the interior washed down…
Both left and right side fenders fully stripped of all undercoating and seam sealant…
The shell was then placed in the booth on the rotisserie and primed from top to bottom…
A few more photos of the work done by the guys at Corbin’s Garage…

Fresh seam sealant was then applied to the necessary areas…
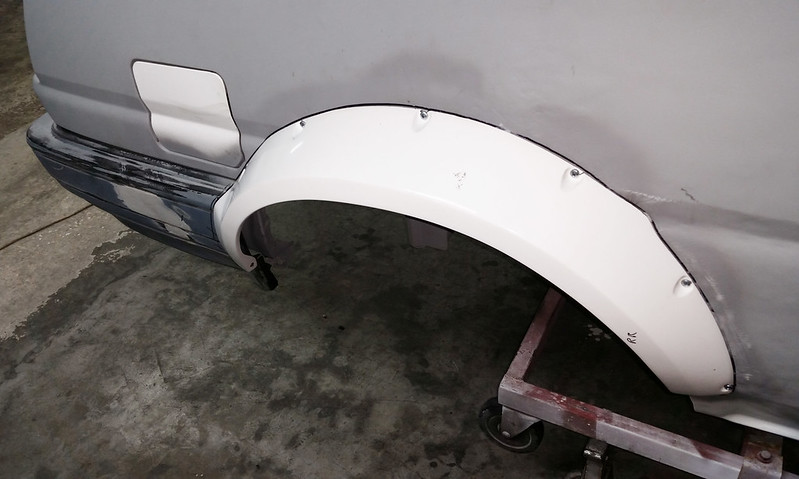
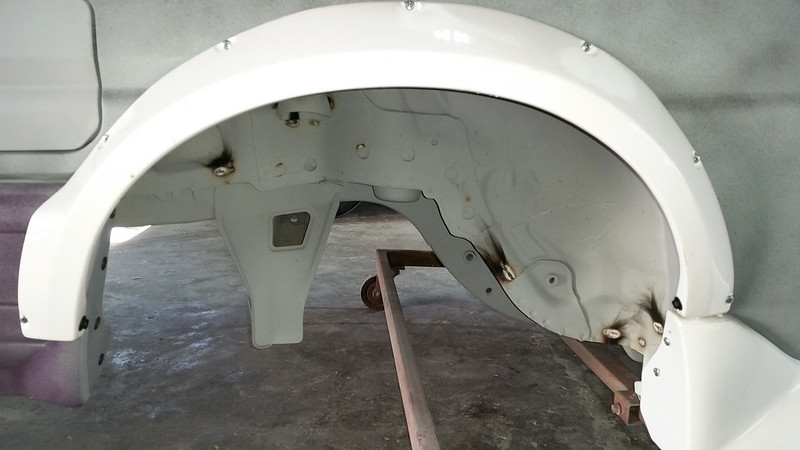
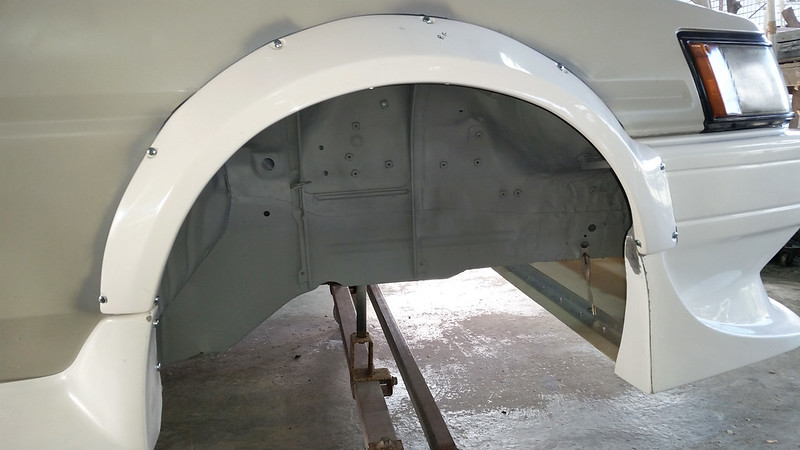
Rear fender flares installed…
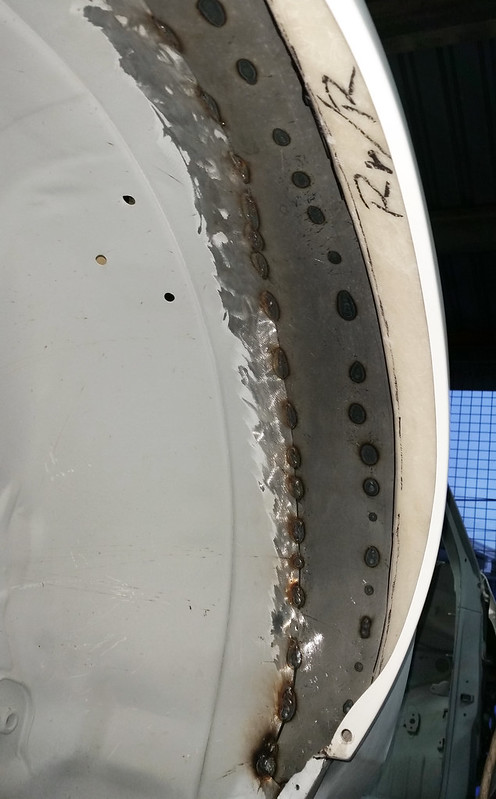
A look at the underside where a portion of the fender was cut and replaced with metal to form a wider arch to meet the fender flares added…
Due to the popularity of the Origin kit plus the fact the car wore it for quite some time, Sol decided to change things up a bit and went with a CBY kit. The kit includes front and rear flares, side skirts along with a front bumper and utilizes the OEM rear bumper.

A view of the car as it came together, also note the Cusco bolt in cage test fitted…
Close up of how the front and rear flares meet the side skirts and respected bumpers…
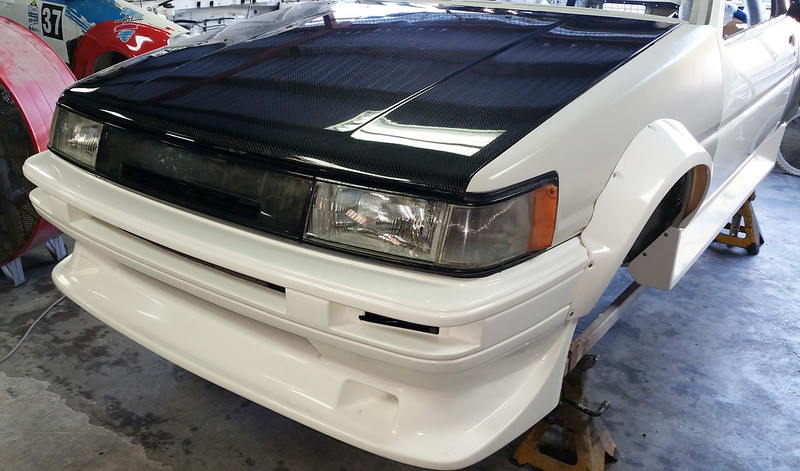
A full test fitting of the front end, features a carbon fibre OEM style Seibon hood, new headlights and corner lights with Kouki centre grille. We finally get to take a look at how the CBY flares flow with the front bumper…
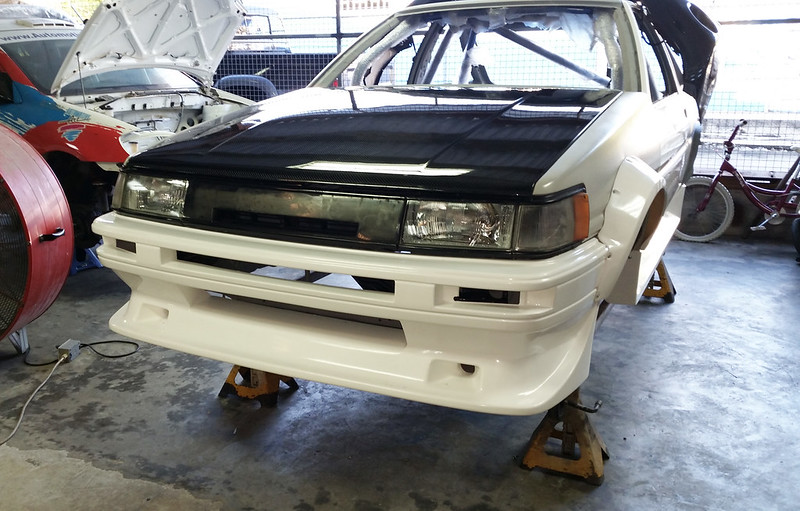
Closing out today with one last shot of the front end…
I want to thank Wayne for providing me with some very vital photos which made this post possible. Thanks for taking a look and stay tuned for our next post where the plans for the motor are revealed…
