
CT9A Drag Build… Part 2

Over the years the level of car building has improved not only in terms of performance but also when it comes to the little stuff. The attention to detail throughout this particular build has proven so far to be exceptional. Today we’re back with another update on the Jostech/RB Performance CT9A build. We’ll be taking a closer look at some of the parts that arrived along with some of the progress made with the build.
For those of you who have missed the previous post, I have provided the link below:-
Before moving forward, the guys mocked up the manifold and turbo to make sure everything lined up the way it should with the new front…
The final piece to be fitted was the bumper; with everything fitting the way it should, the next step will be to tear it apart and have the necessary pieces painted…
An indication of how serious the guys were taking this build was this Kirkey full race aluminum drag seat…
When it was time to choose a wheel the guys went with a set of WKS Eng. wheels in a 15×8 spec…
Which were a great fit for the 26″ Hoosier slicks…

The exterior of the car was in good condition and the guys didnt see it necessary to have it resprayed at the time…
On the interior the roll cage made a bold statement painted in the signature purple that is seen throughout the build…
In being a purpose built drag car the interior will remain gutted with just the single Kirkey seat…
The factory fuel tank has been removed and will be replaced with a fuel cell, to be mounted on what was previously the passenger side of the car…
The Evo VII dash was another interior piece that will not be reused…
Close up of the freshly painted steering column…

Typically on a Evo, the weight of a rotor isn’t a big deal but when it comes to drag racing every lb counts. The OEM Evo VII rotors weighed in at 21.6 lbs each compared to the STM scalloped rotors which are a mere 6.55 lbs…
Close up of the light weight drag spec front STM brake kit…

And the rear STM brake kit where you get a glimpse of the STM spec D2 Racing drag coilovers also installed…
The front end was removed to give ease of access when working…
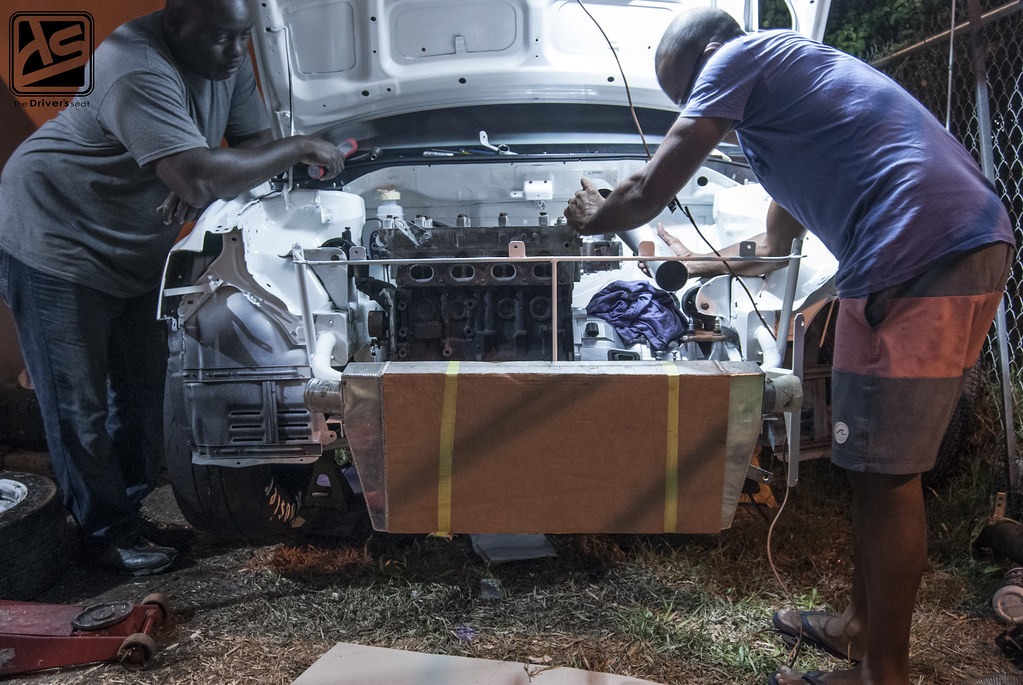
Jimmy and Robert busy doing some test fitting…
The intercooler mounted in place to determine exactly where the necessary modifications needed to be…
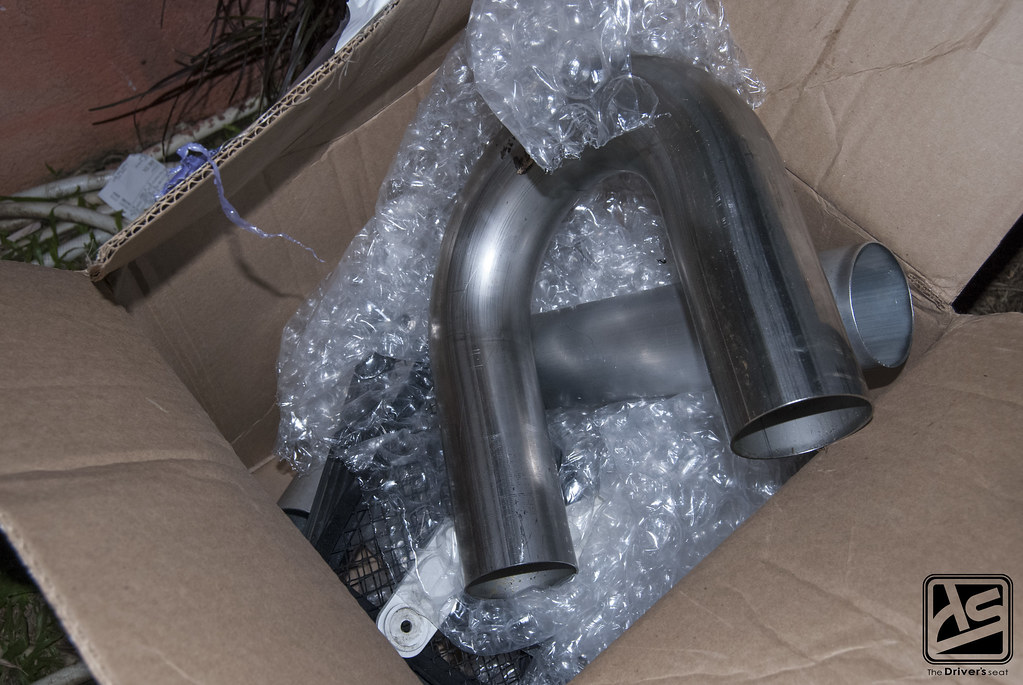
Various pieces of 3″ pipe that will make up the intercooler piping kit…
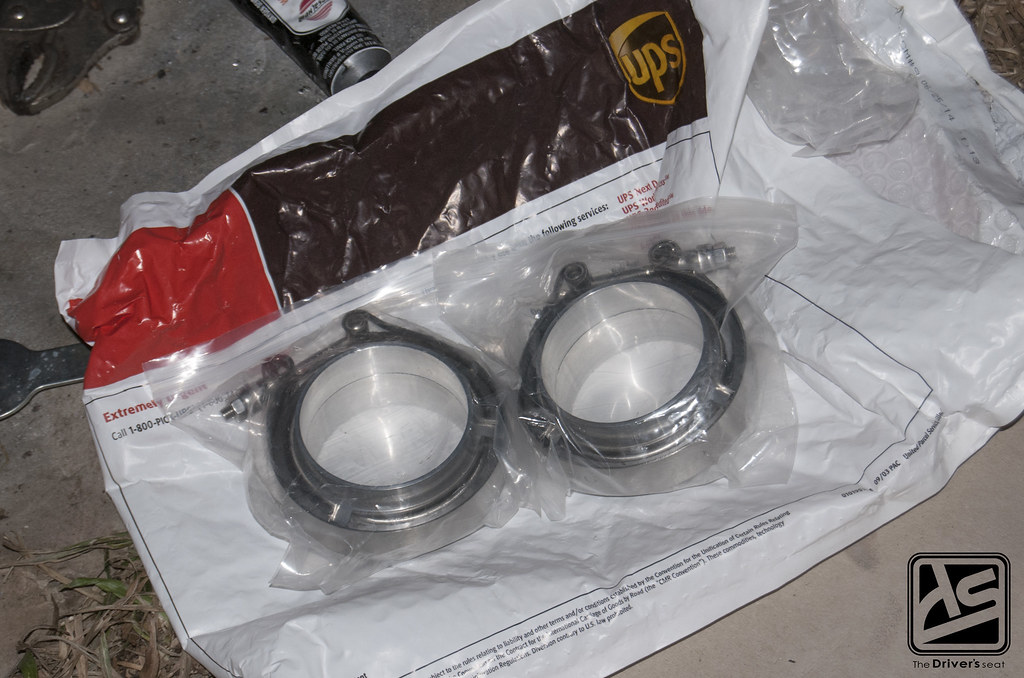
V-band clamps that will be used…
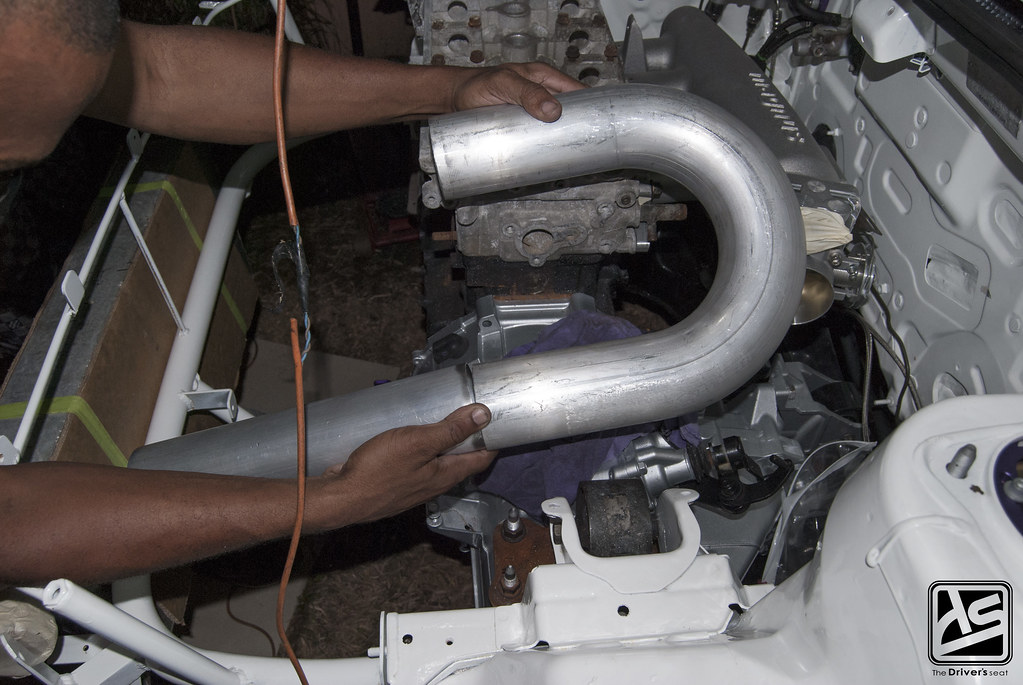
Robert at work on the intercooler piping…
Making some necessary adjustments…
After a route for the intercooler piping was determined, the mock up head was removed…
View of the mock up block mated to the freshly painted gearbox…
Robert working on pulling out the block…
With the mock up motor and gearbox removed you guys may notice that the subframe has seen better days…
Jimmy made sure that was quickly addressed with a fresh coat of paint…
The guys opted to eliminate the hydraulic power steering and went with a compact electric power steering setup…
Here is that attention to detail that I mentioned earlier; the cam gears were specially painted to further extend the colour scheme…
The use of a hydraulic handbrake was necessary and even that was chosen based off the colour scheme throughout the build…
The long block assembled and on the stand…
Motor and gearbox finally made it into the bay along with the help of a Torque Solutions mount kit which was custom coated…
Forward facing manifold with the Precision 6466 turbo mounted in place…

Closer look at the turbo setup and the 3″ downpipe…
Full front view of the forward facing turbo setup with the wastegate hood dump…
That brings us to the end of another post, thanks for taking a look and stay tuned for more to come on this build.
