
Street Kingz: DC2-K Build… Part 2
It has been a while since any content was posted on the site. A considerable amount has happened during that time both in the car scene and with me working on a strategy to consistently deliver content for you guys. With that plan in mind, I’ll be giving you guys weekly content on current builds and some fresh new content on builds under construction, in addition to some special features from time to time.
Starting with an update on the rebuild of Meagus’ famed DC2 Integra; in the last post we dived into the swap setup along with some chassis upgrades. Moving forward, we’ll be taking a look at how it all comes together and a few subtle changes Meagus made to the appearance of the car.
For those who may want to view this build from the start I’ve provided the links below:
Street Kingz: DC2-K Build… Introduction
Street Kingz: DC2-K Build… Part 1
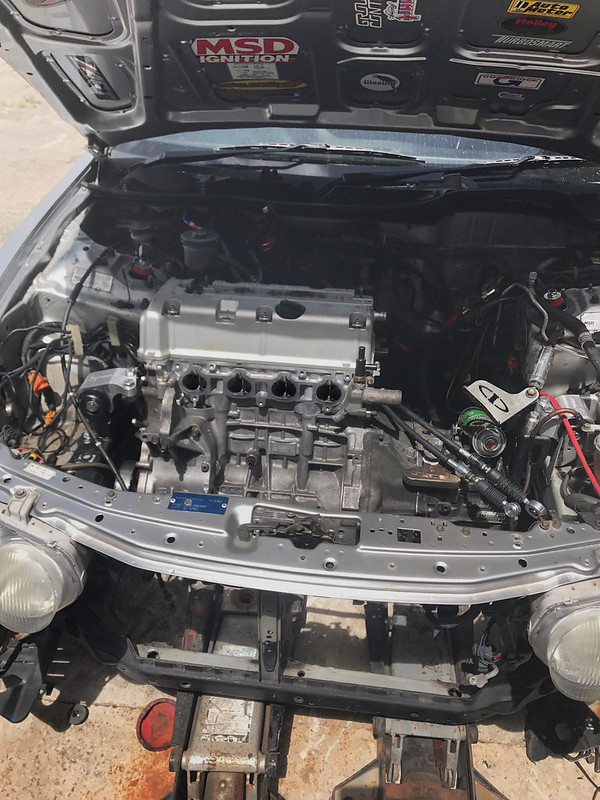
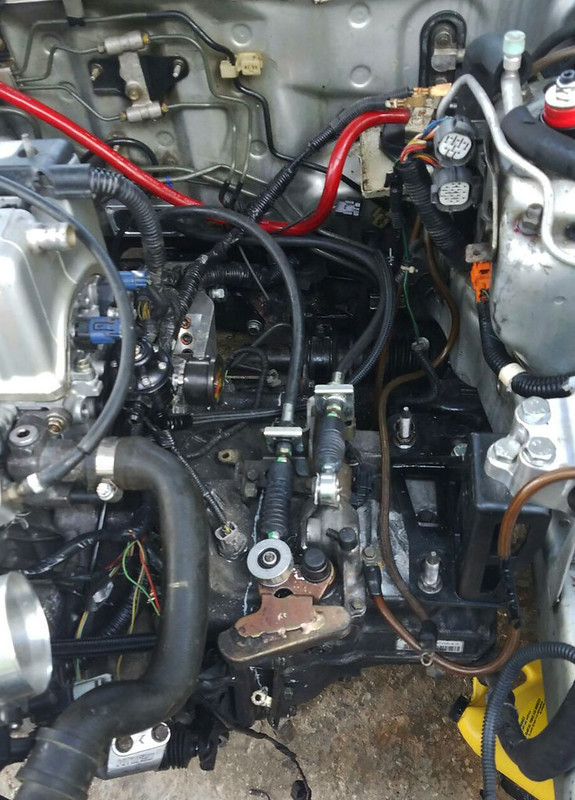
K24 motor and gearbox assembly bolted into the DC2 chassis…
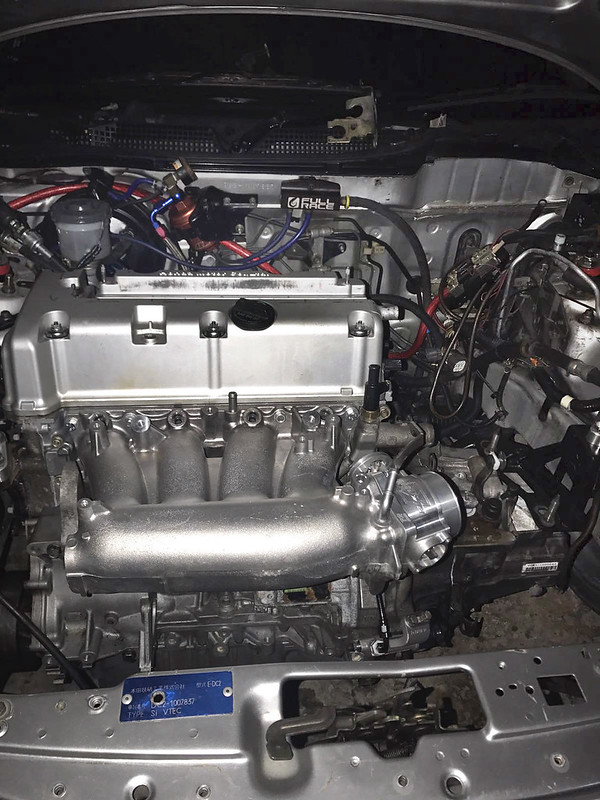
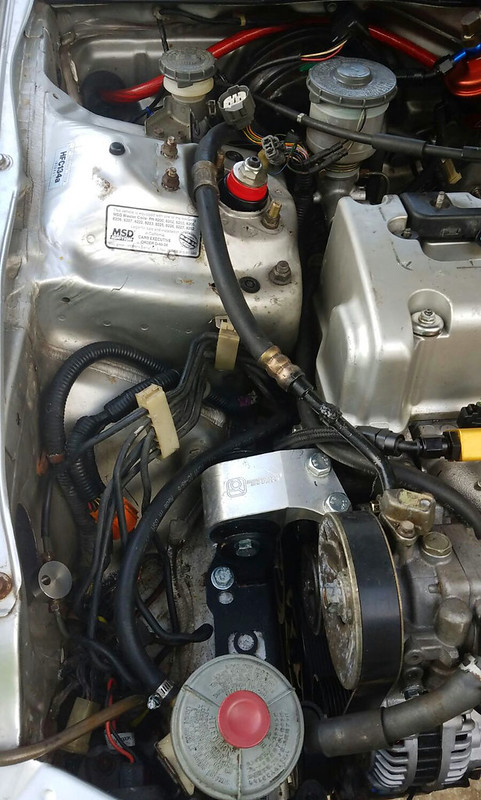
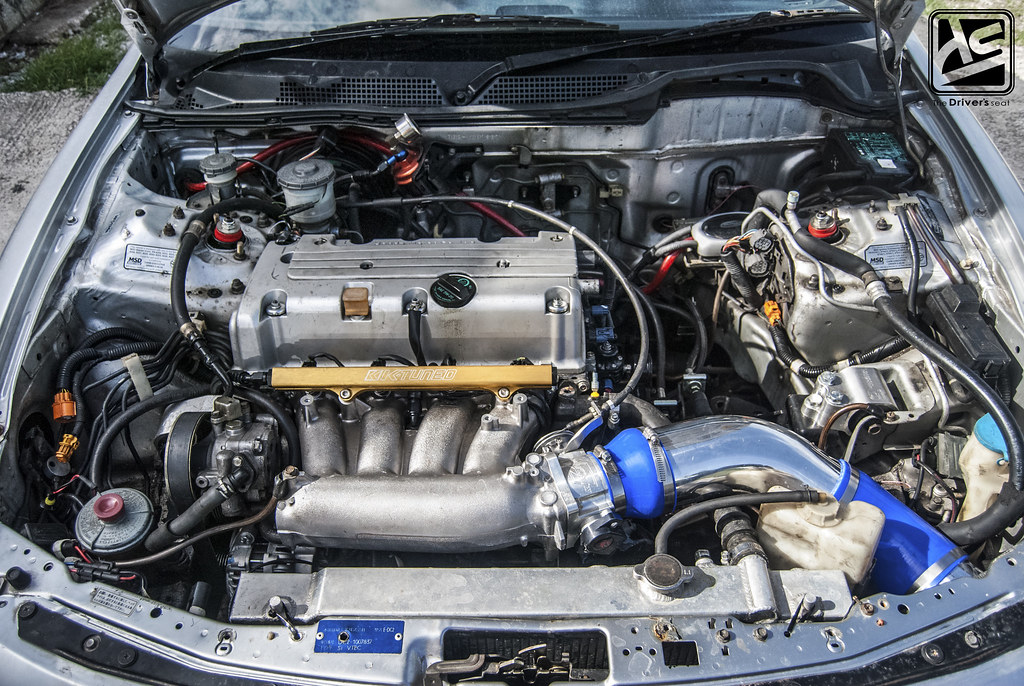
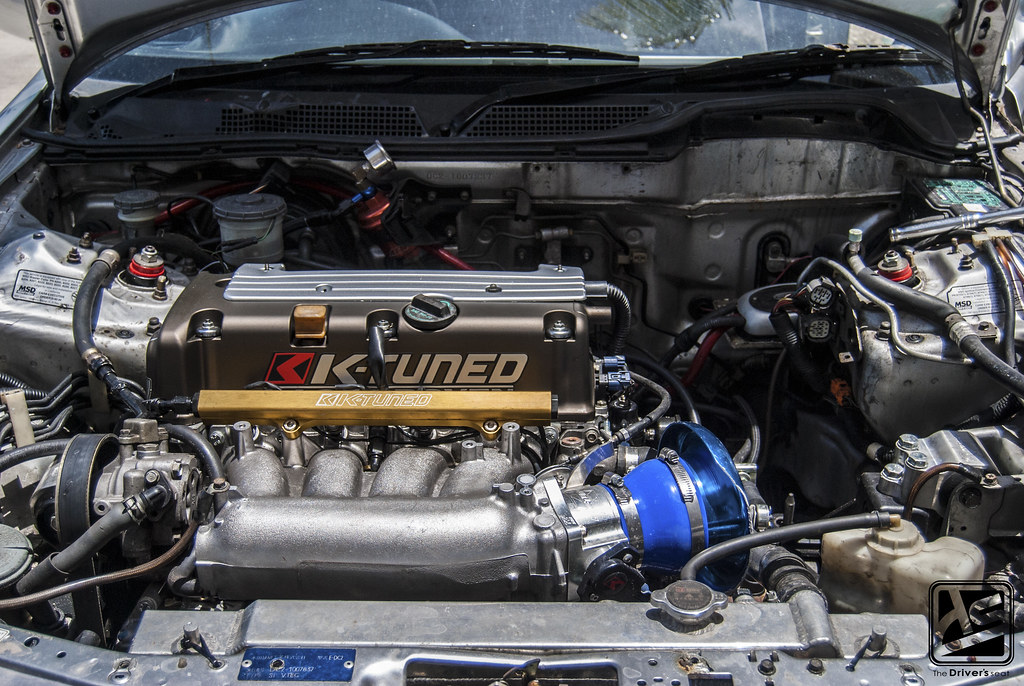
The best OEM upgrade for the K series is the RRC intake manifold from the FD2 Type R; Meagus went a step further by adding K-Tuned’s 72mm throttle body which is a direct fit onto the RRC manifold…
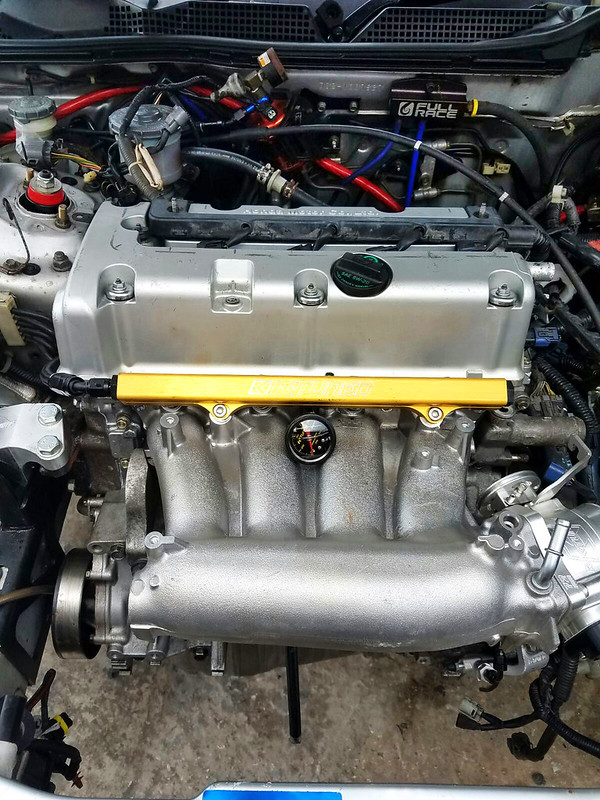
Meagus also went with a K-Tuned fuel rail and their liquid filled fuel pressure gauge…

Working what appears to be his way through their catalog, a K-Tuned slave cylinder kit inclusive of a braided clutch line was installed and bled…
Those paying close attention would notice the power steering pump and lines installed; one of the objectives for this build was the ability to remain a street car being capable of daily duties…
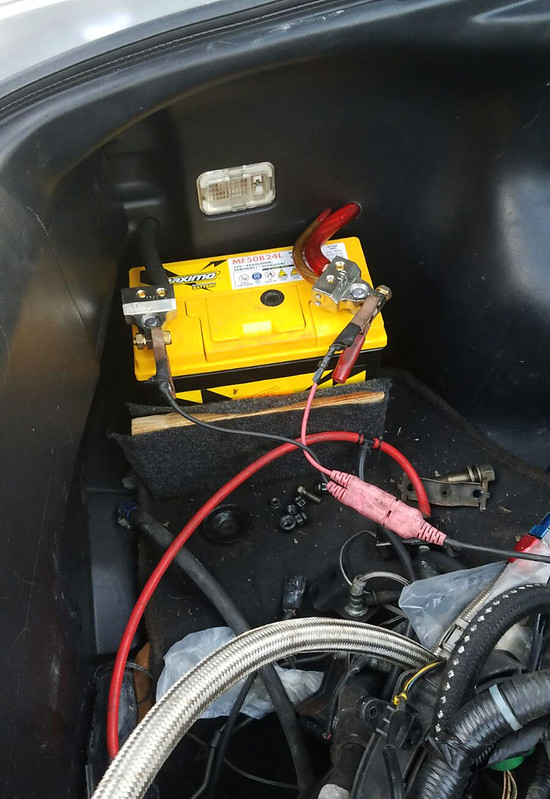
Prior to this rebuild the battery was neatly relocated to the trunk…
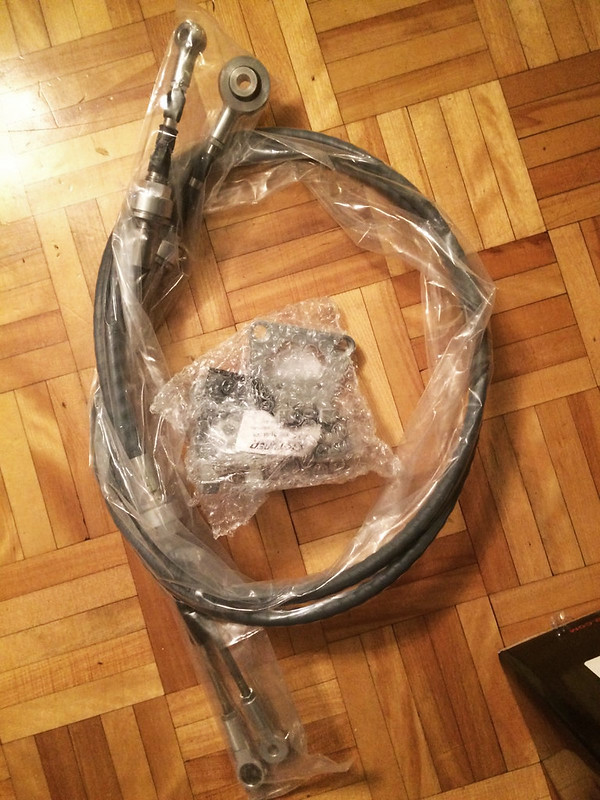
At this point it should be no surprise to see more K-Tuned goodies; a shot of their race spec shifter cables and bracket…
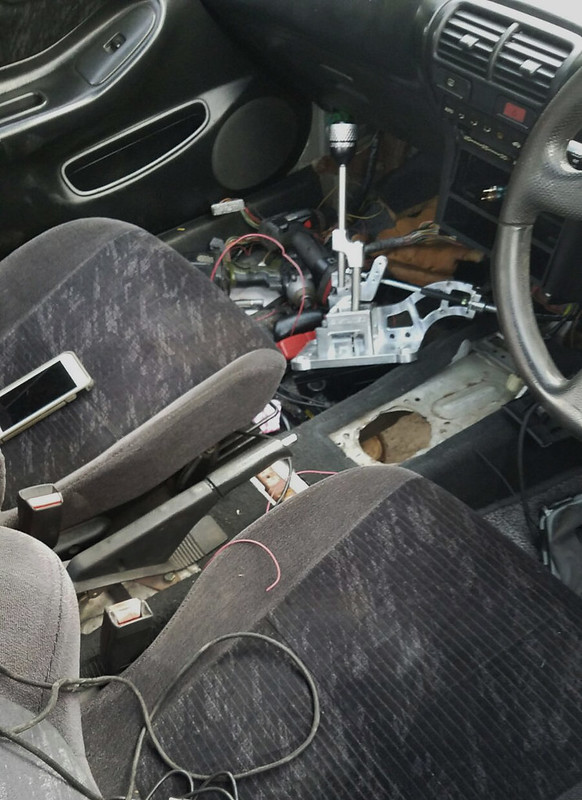
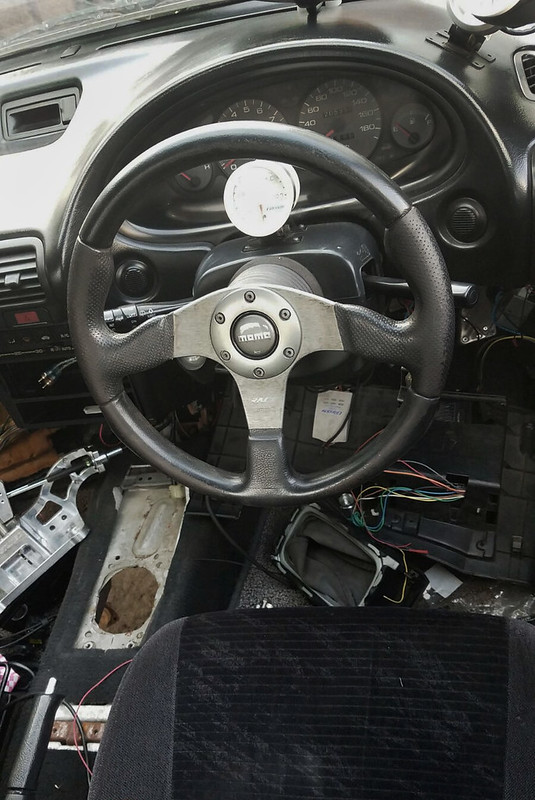
It was time to move to the interior and start the preparation for the K-Tuned billet shifter…
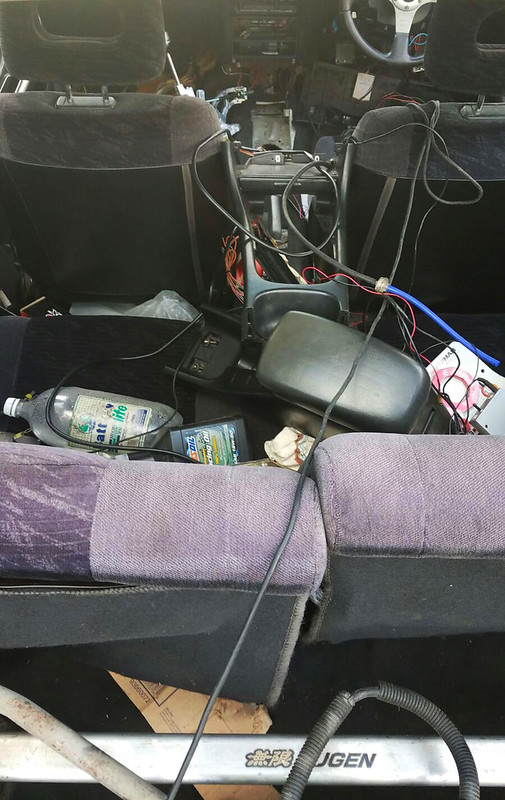
Amongst the chaos of the interior, there is slight glimpse of the Mugen rear strut brace…
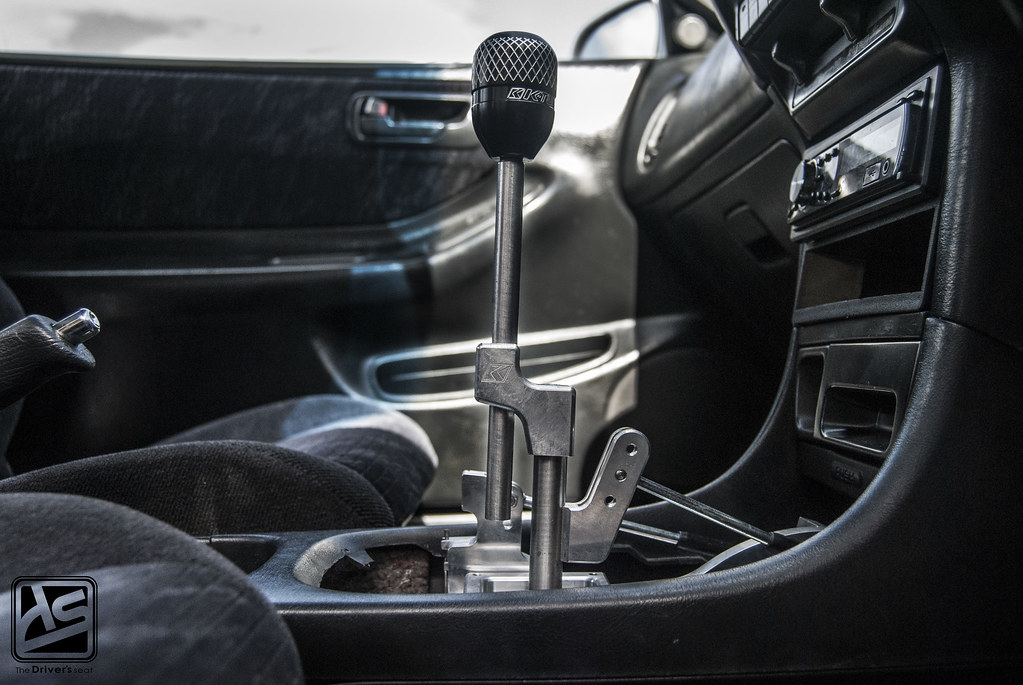
Those of you familiar with Hondas would know the D & B series shifters run under the car and up through the tunnel. Even though it is possible to maintain this look, Meagus decided to go with the billet RSX shifter which needs to be mounted above the tunnel….
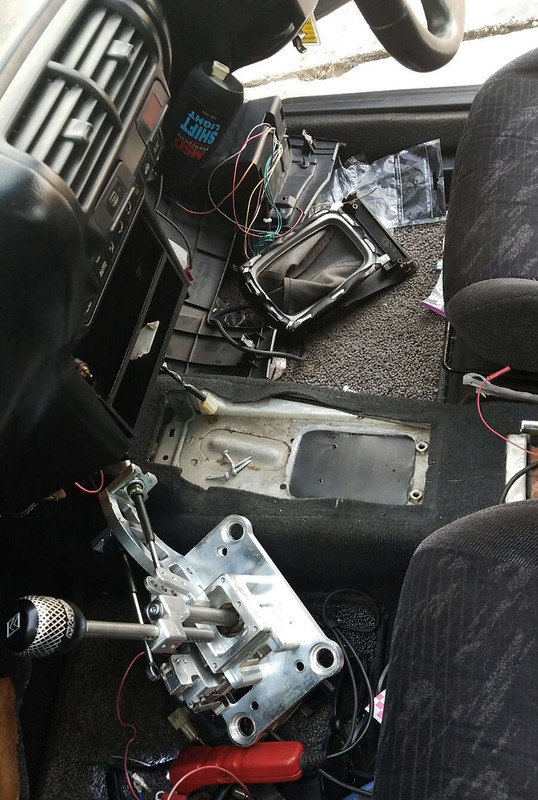
To accommodate the use of the RSX shifter, the tunnel was cut, plated…
And then drilled to accommodate the bolts to keep the shifter securely in place…
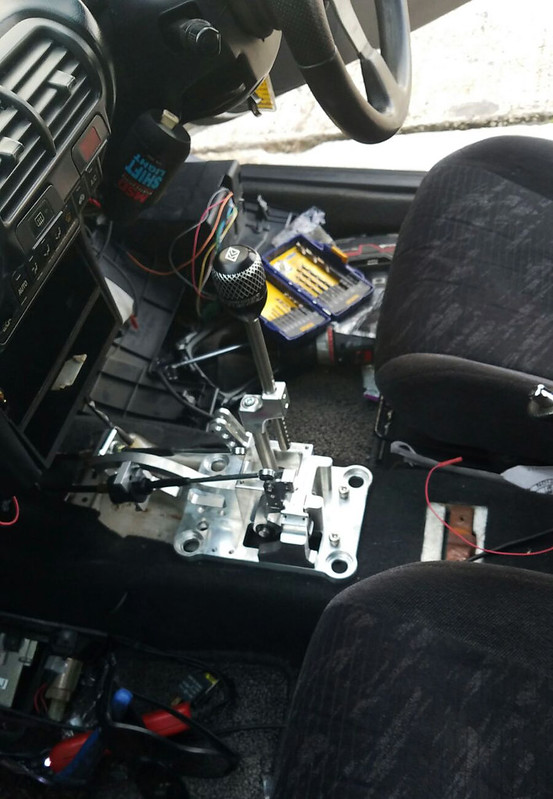
To retain the use of the power steering a custom high pressure line needed to be fabricated…
With the shifter in place it was time to secure the K-Tuned shifter cables…
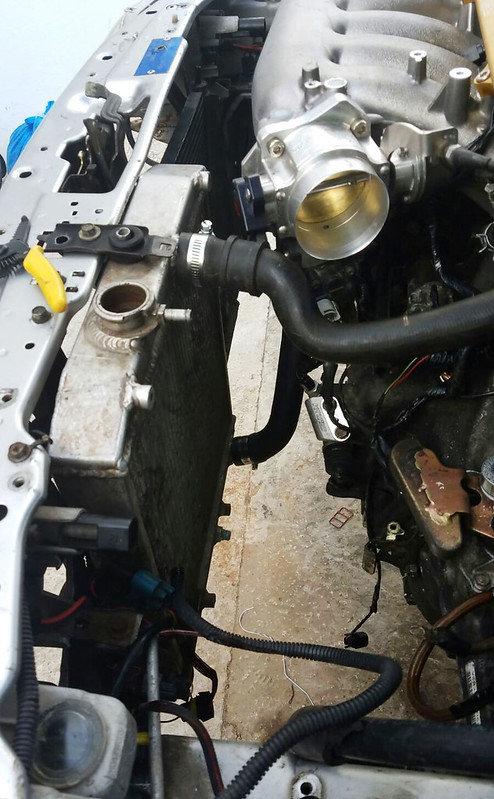
Meagus decided to use a dual core aluminum half sized radiator…
An intake pipe and air filter that have seen better days were temporarily used to get the car running…
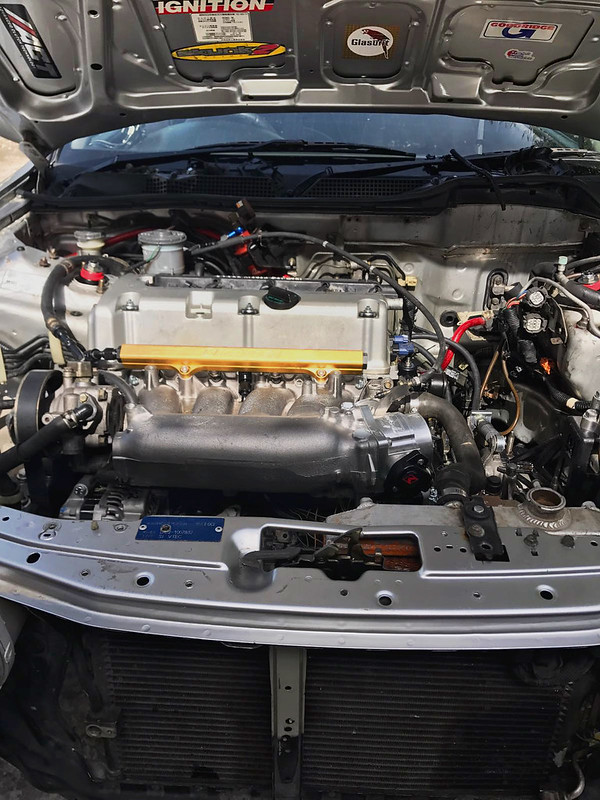
A quick glance at the completed engine bay…
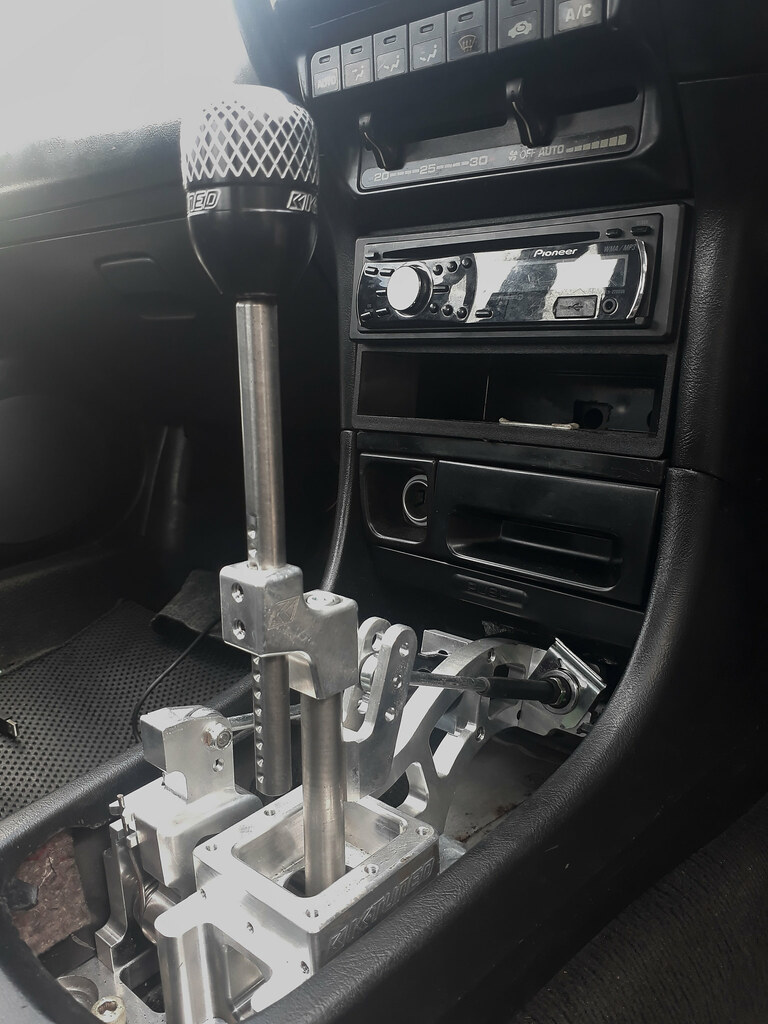
Here is a first look at the mounted K-Tuned billet shifter…
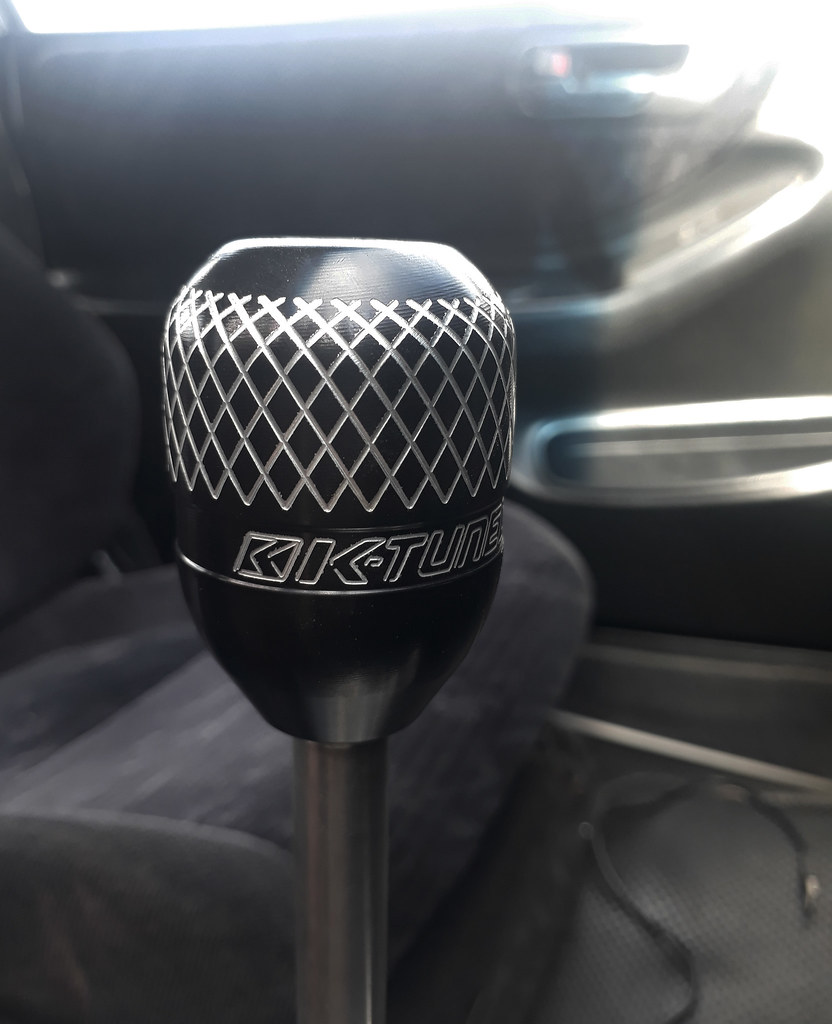
And it goes without saying that Meagus extended his love for K-Tuned products and added a shift knob…
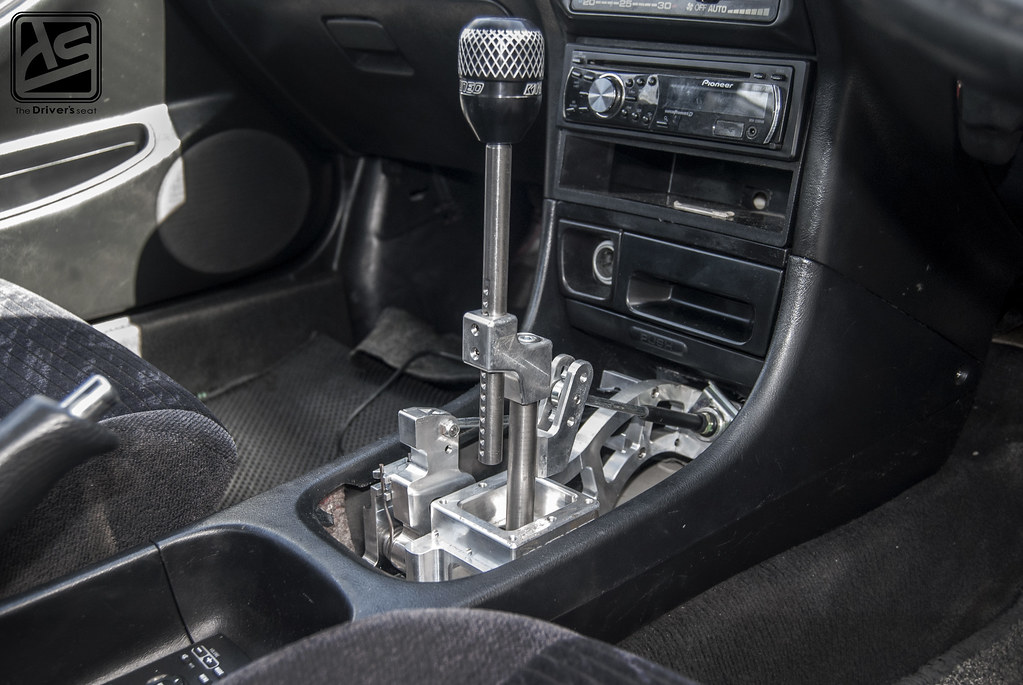
A few angles in all its billet glory with the centre console fitted in place…

In true street car fashion, the factory GSR seats remained along with the full interior…
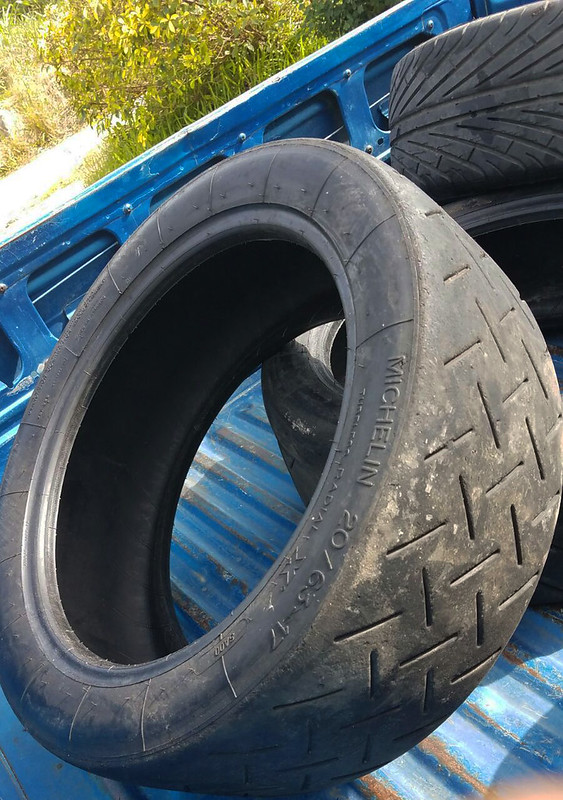
The Michelin tyres Meagus will be using to hopefully get the power to the ground while in daily mode…

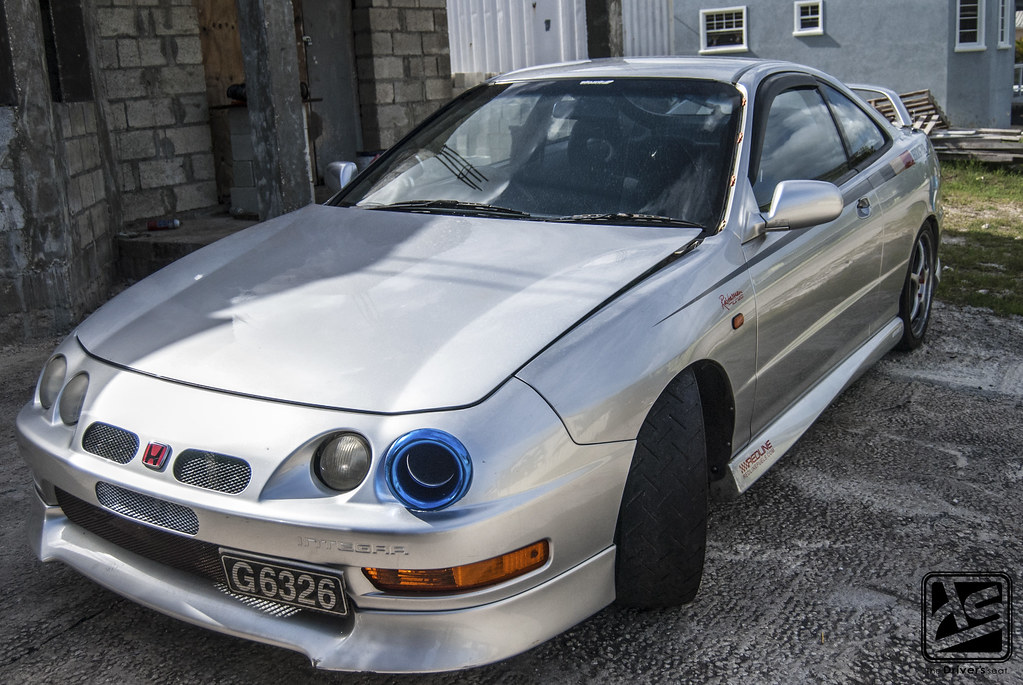
With the tyres mounted it gives the car somewhat of an aggressive appearance in comparison to the low profile street tyres Meagus previously ran on the car…
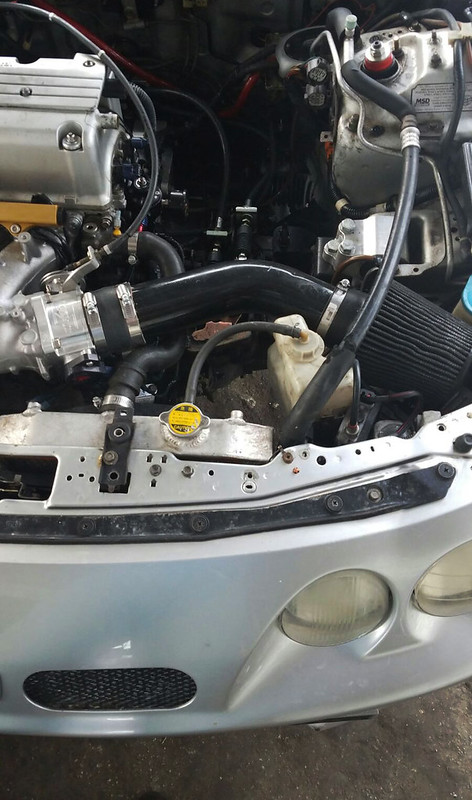
Since the completion of the car, Meagus has been driving around and getting used to the new setup. It didn’t take long before the guys thought they would make an adjustment to the intake setup…
A look at the custom intake now routed through the headlight along with an upgraded full size radiator…

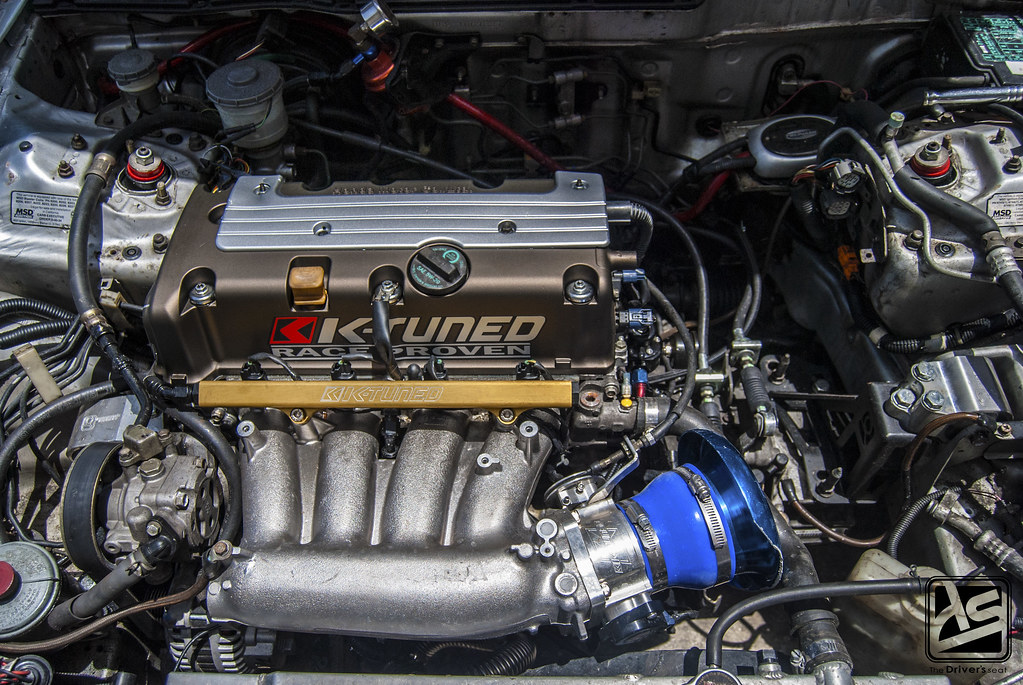
With the car in full working order, lets take a look at some of the highlighted K-Tuned goodies littered throughout the bay…
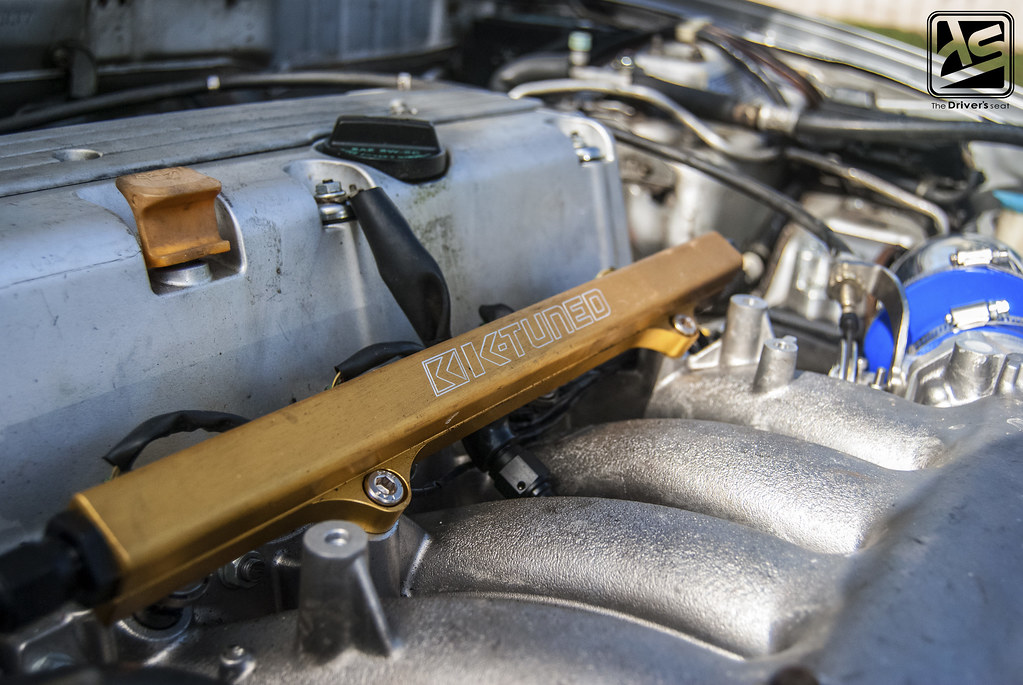
A close up of the fuel rail…
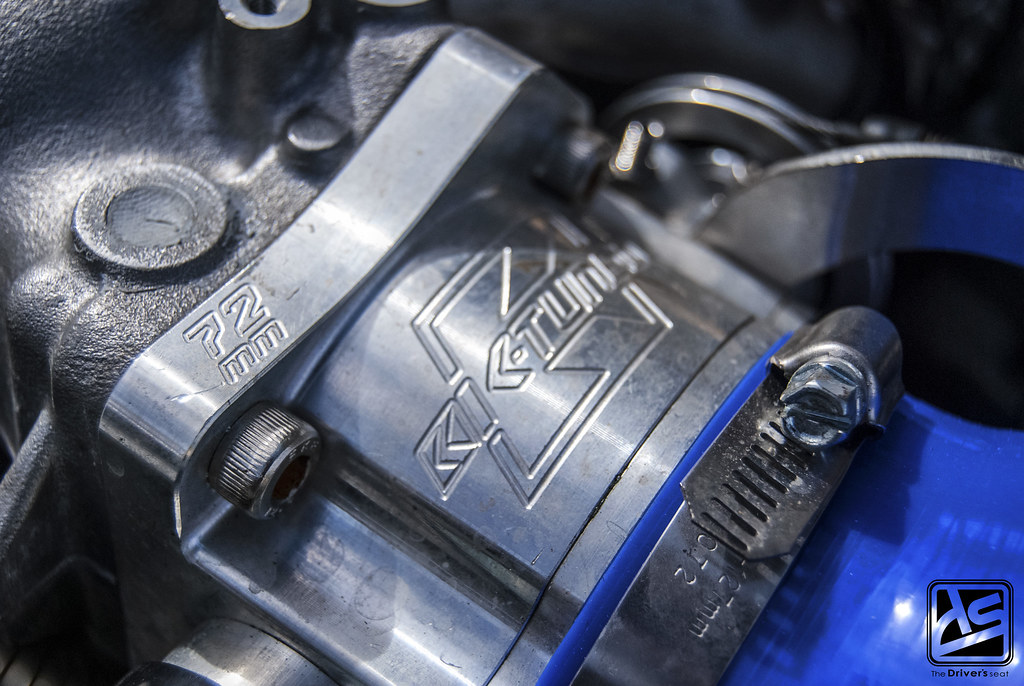
Billet throttle body…
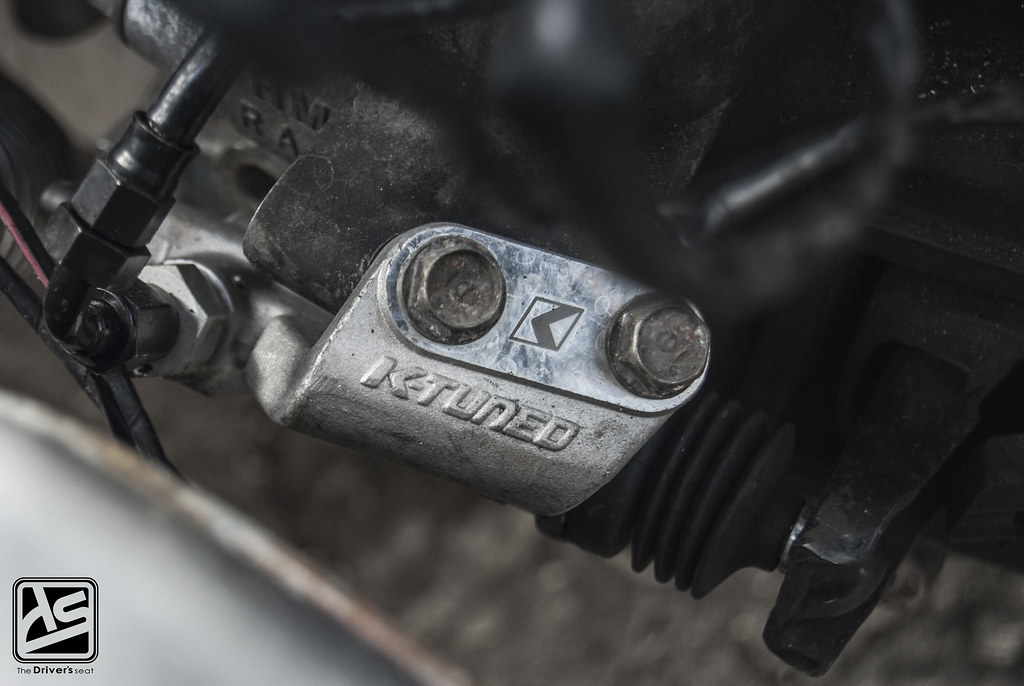
Slave cylinder…
Shifter cables…
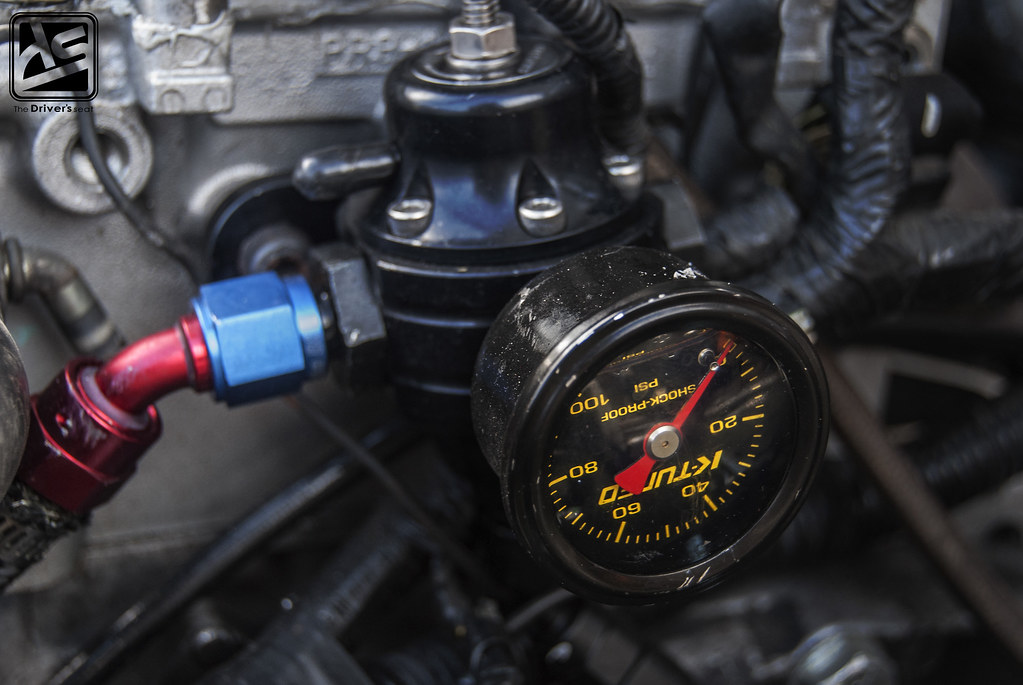
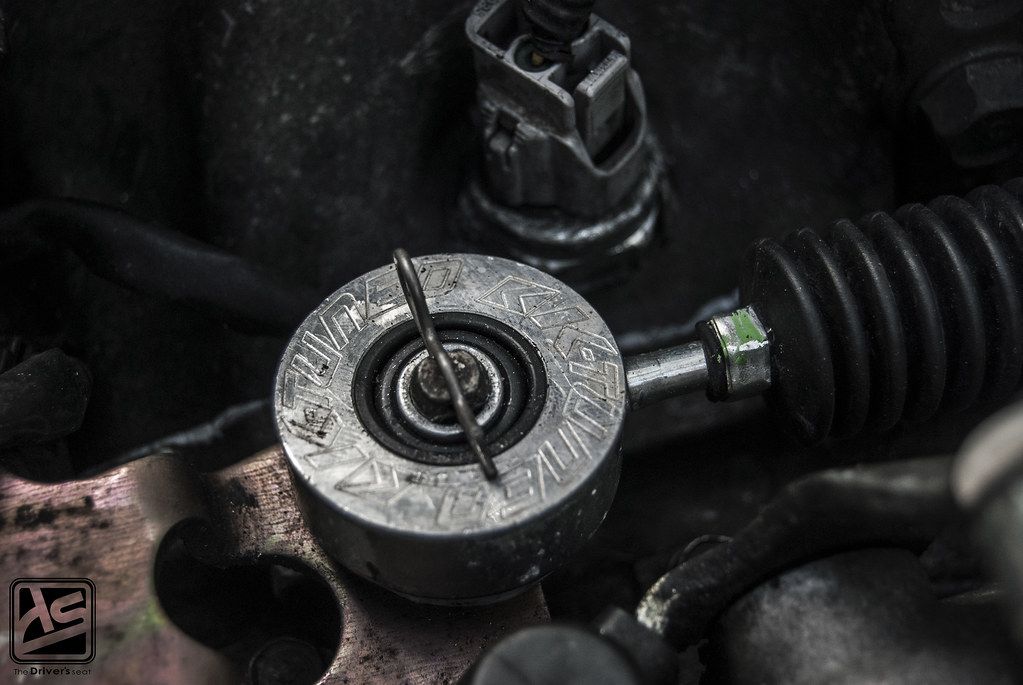
Fuel pressure regulator and gauge…

As it sits with the newly routed intake setup…
After working on getting the car mechanically sound and having the swap performing as it should, Meagus decided it was time to refresh the exterior…
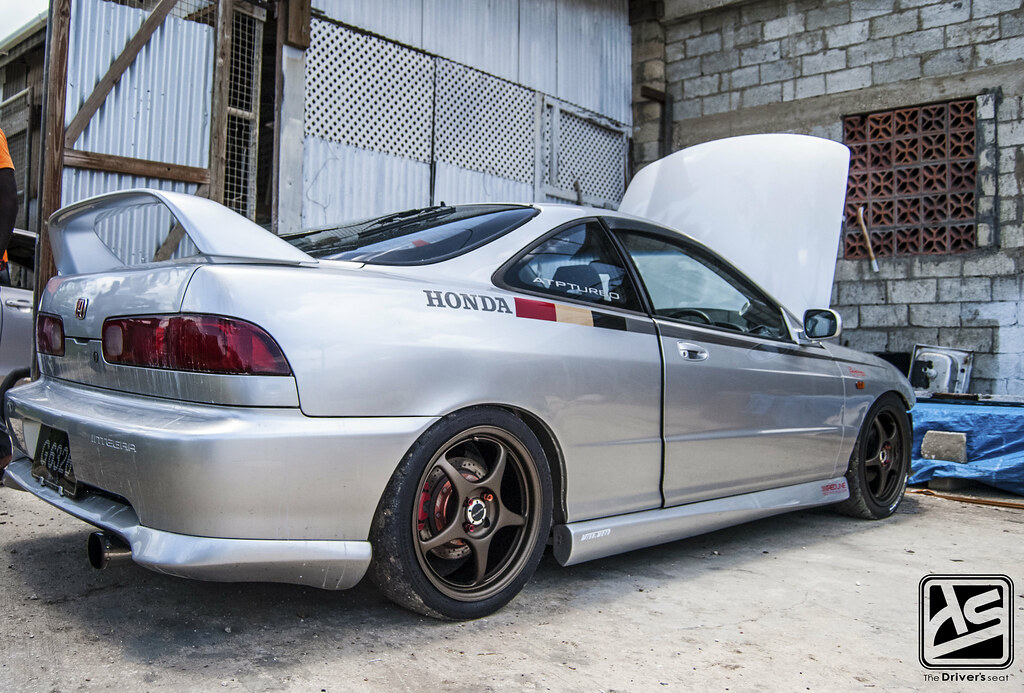
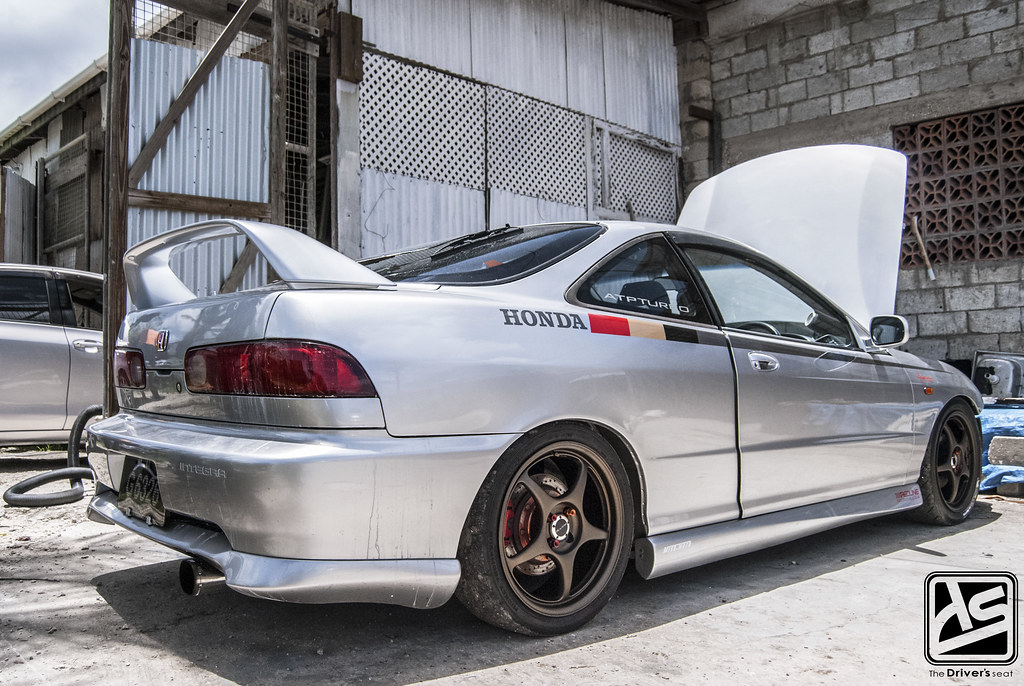
The car was sent to Chris Auto Paint to have a few things resprayed in the metallic silver hue…

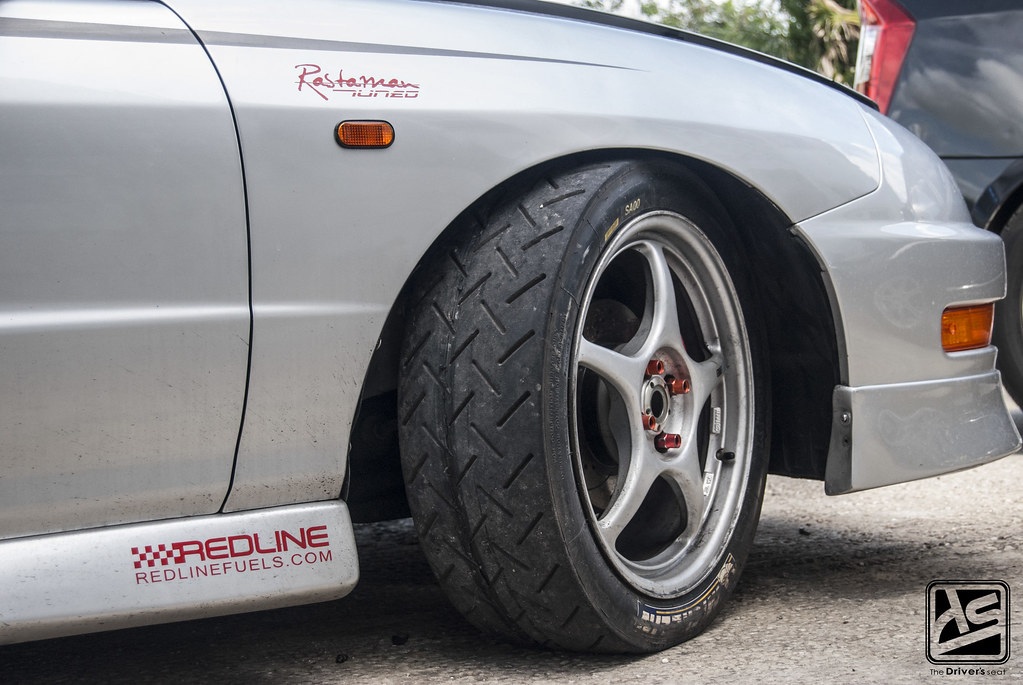
While he was at it he also had the Enkei wheels sprayed in a matte bronze which worked well in contrast with the bright red from the Wilwood calipers…
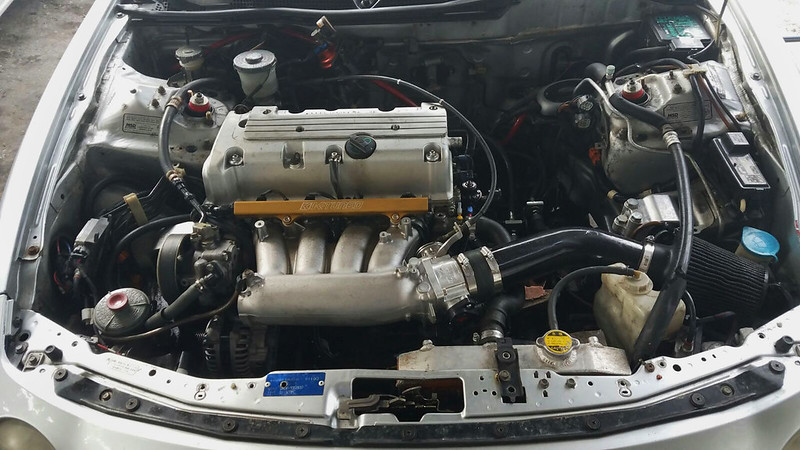
A look at the bay where the valve cover also received a coat of the matte bronze…
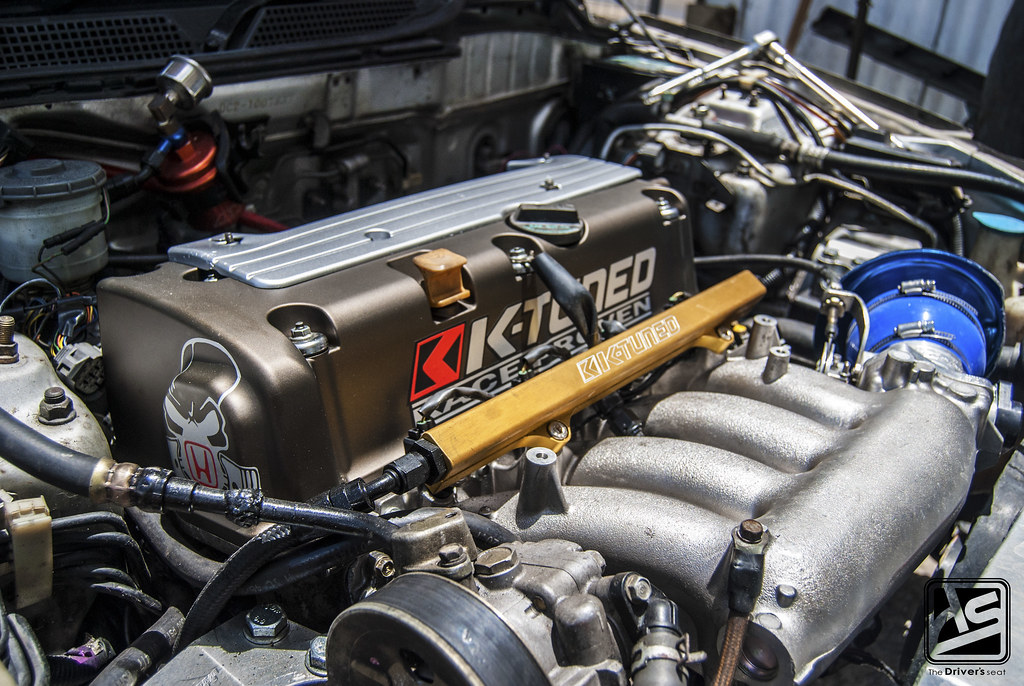
The contrast between the valve cover and fuel rail works so well together, topped off with a K-Tuned sticker…
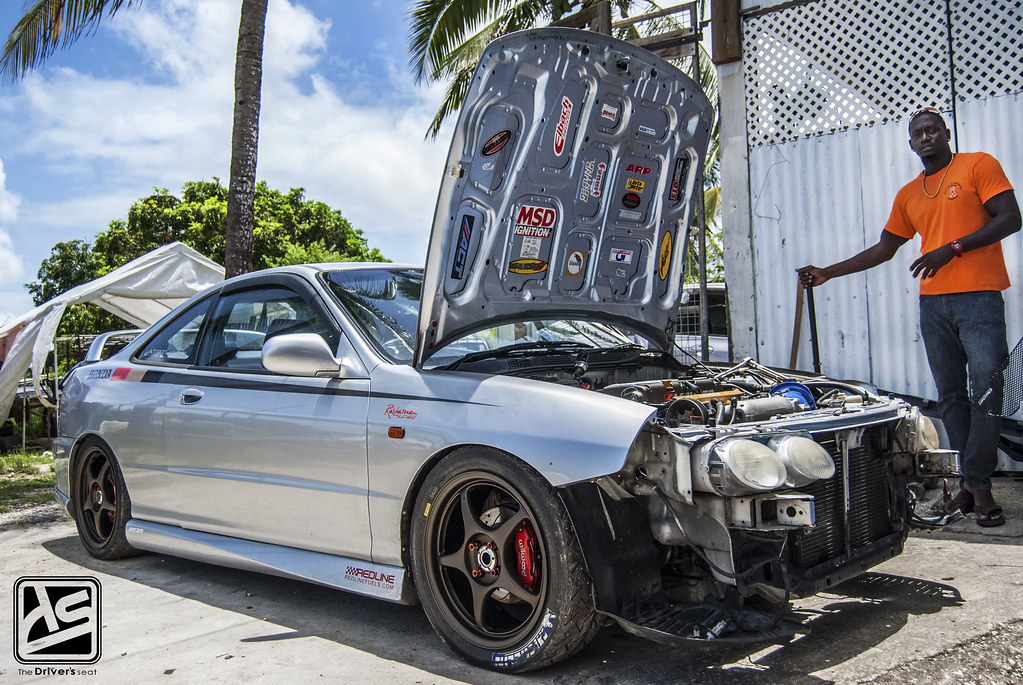
Closing out today’s post with a shot of both man and machine. Thanks for taking a look and stay tuned for more on this build series.
