
Sol’s A80 Build… Part 4

Quality is often overlooked when it comes to the budget available and rightfully so, it is understandable. However, with a build of this caliber the sacrifice to ensure quality wasn’t overlooked was made.
Today we’ll be picking up where we left off with this build. With the motor removed and time being a major factor, the guys at Corbin’s Garage went to work immediately and in a few days the car was ready to head home. Once the car made its way home, Scott didn’t miss a beat and went to work on the reassembly. We’ll be taking a look at this process along with checking out some new goodies that recently arrived for the build.
For those of you who have missed the previous post, I have provided the link below:-
Sol’s A80 Build…. Introduction

Over at Corbin’s Garage the guys went to work on the engine bay to have it ready for paint…

A few shots of the bay just before the car made its way into the booth…

While the bay was being prepared, the final touches were made to the rear quarters…
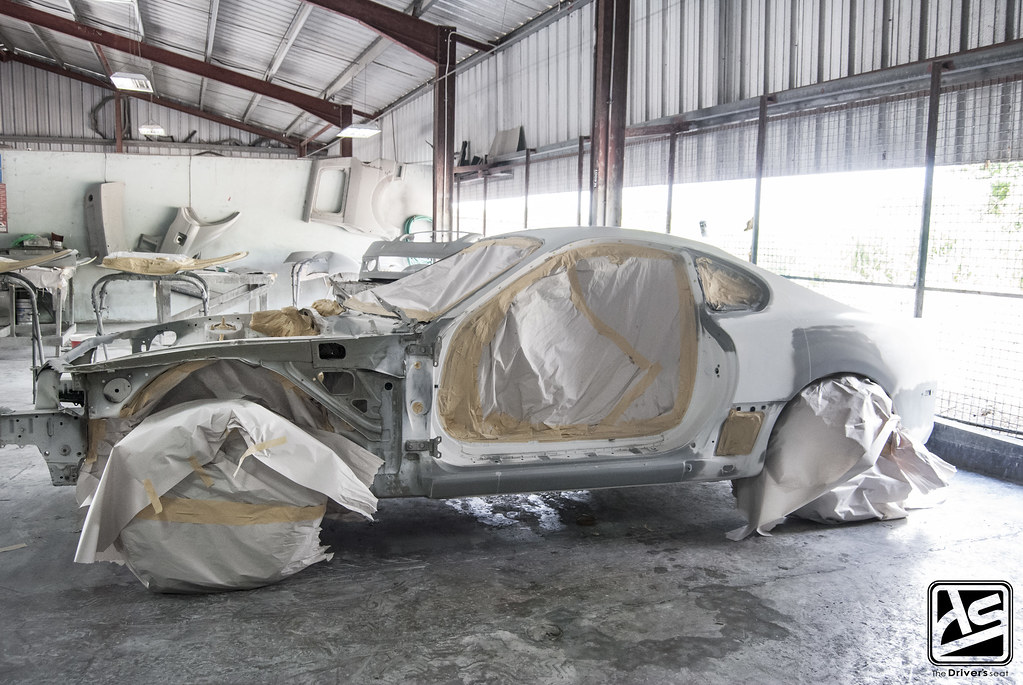
One final shot before the shell makes its way into the booth…
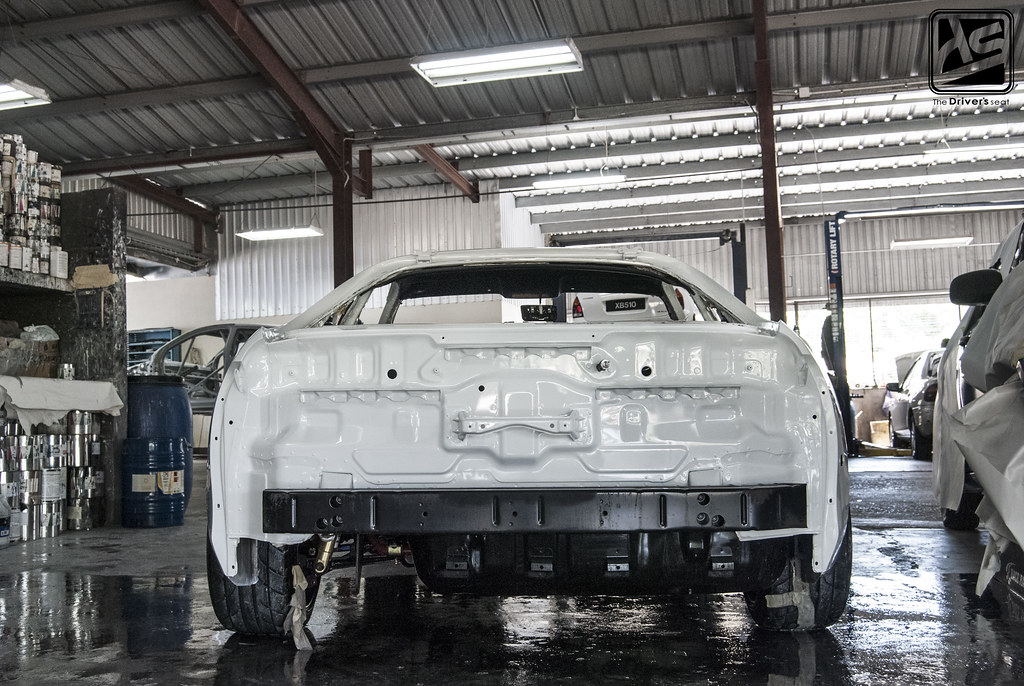
After the transformation…
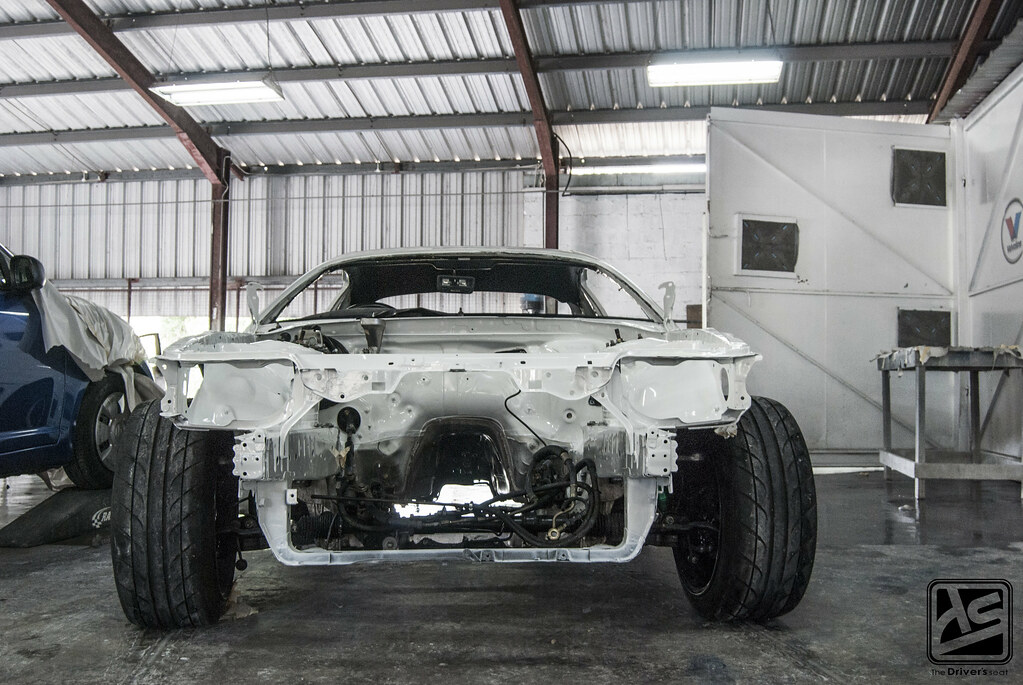
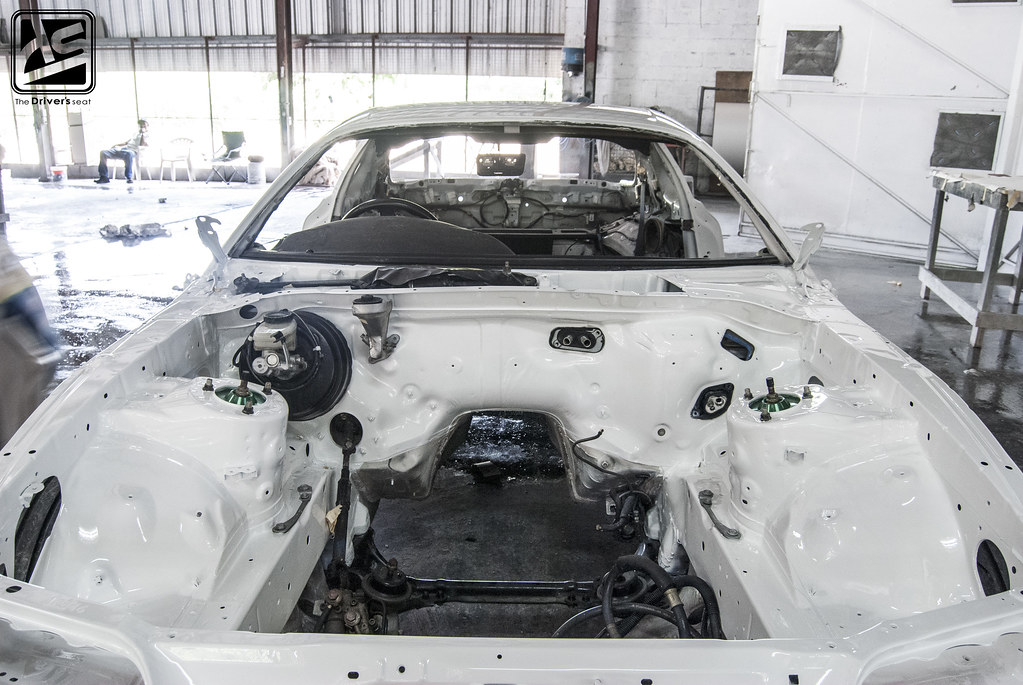
Naked front and rear end freshly painted and awaiting reassembly…

A glance at the rear quarter…
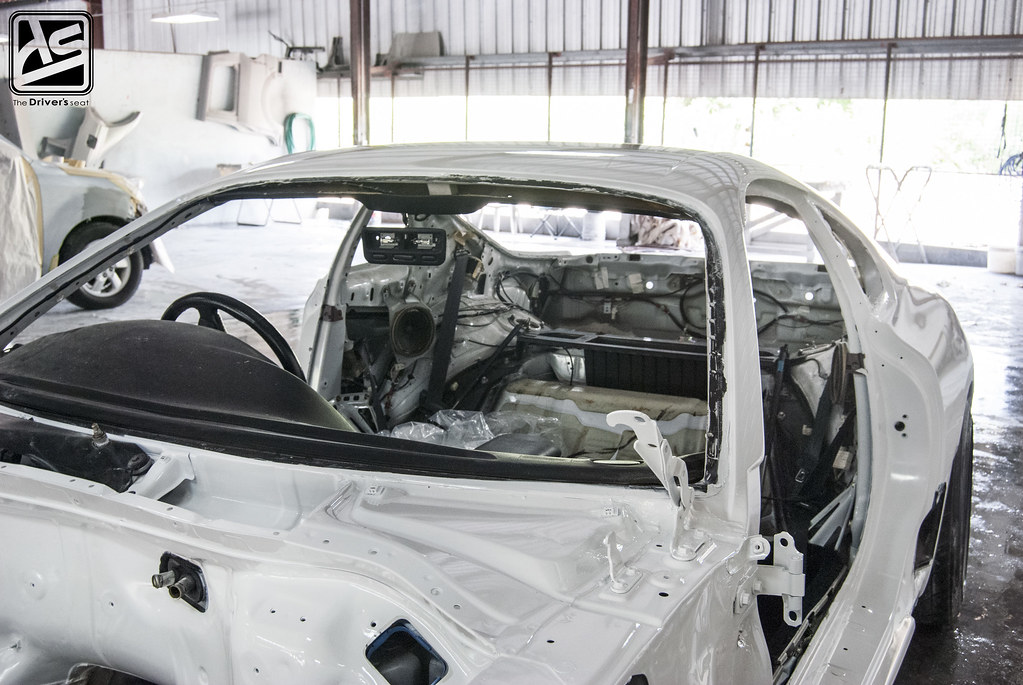

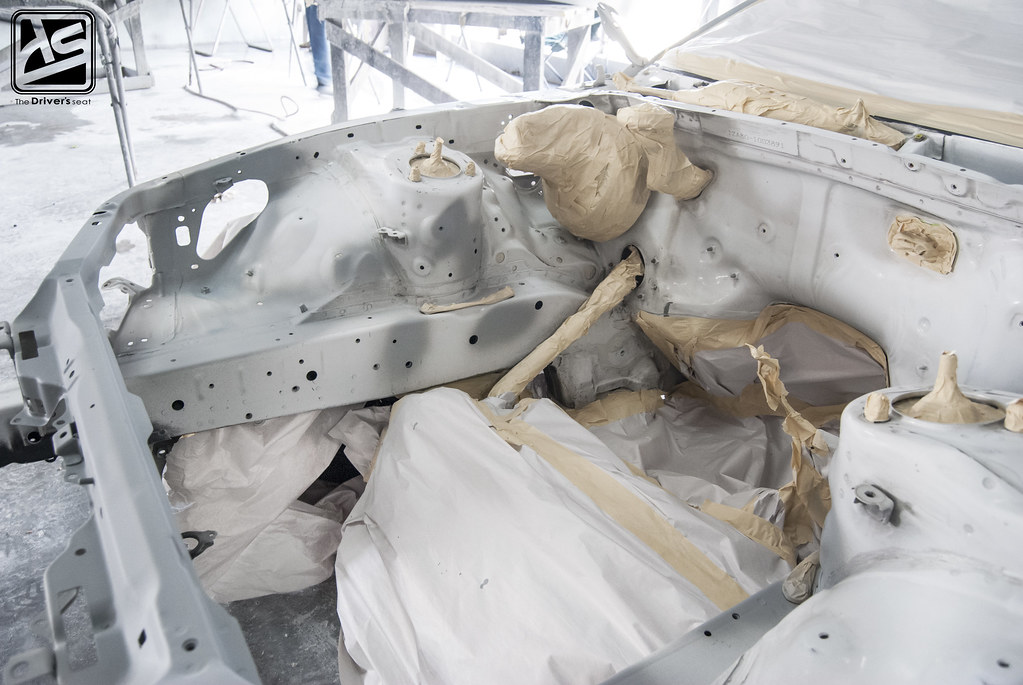
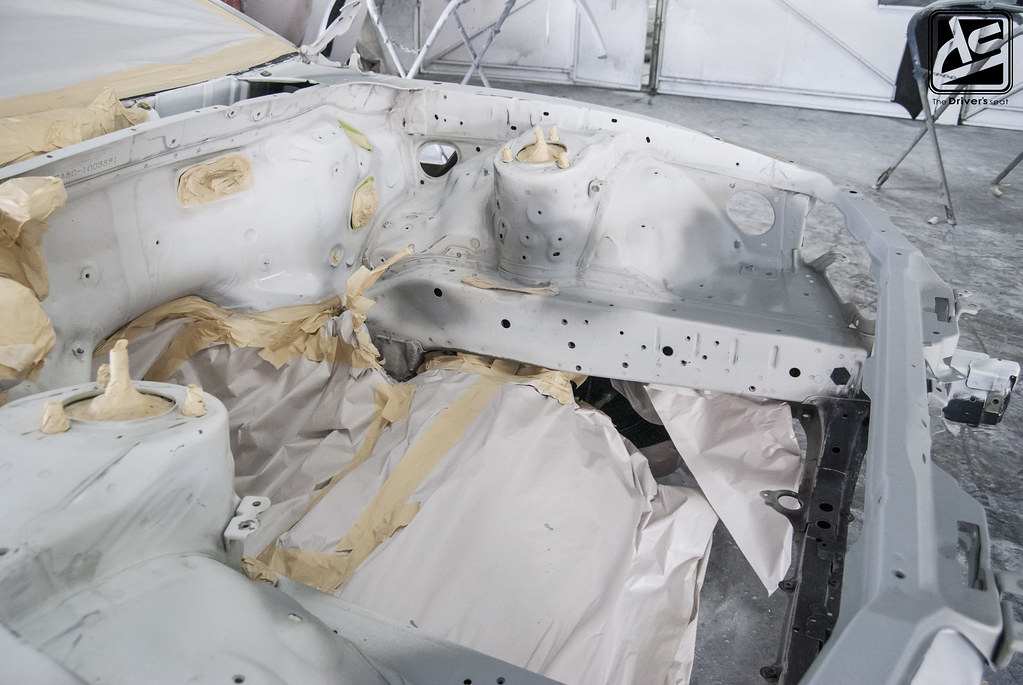
The gutted interior that will soon be reassembled…
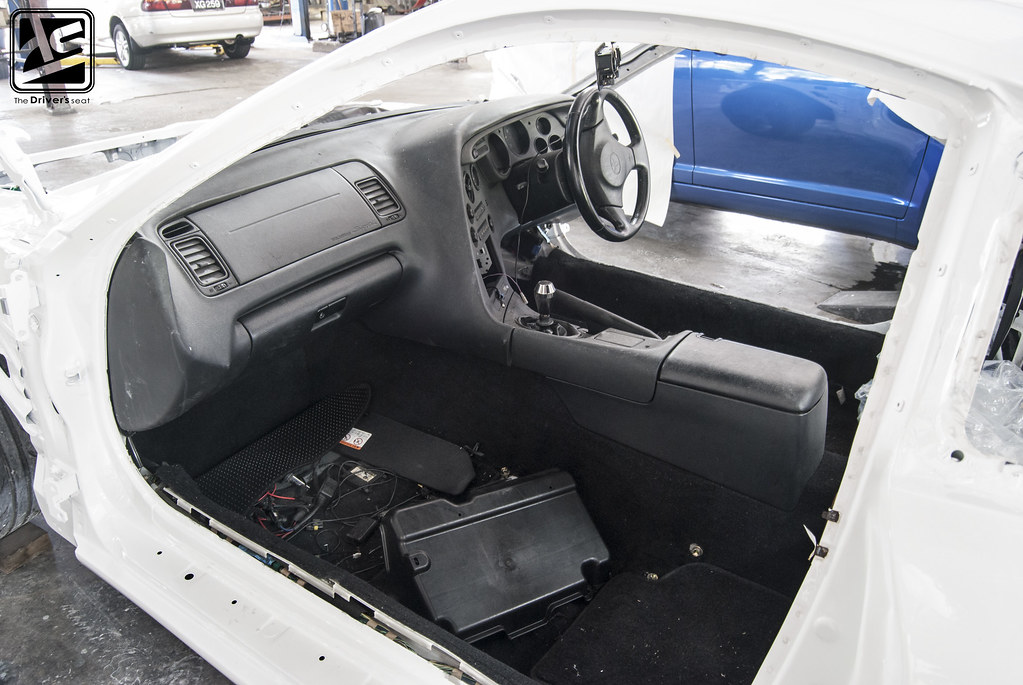
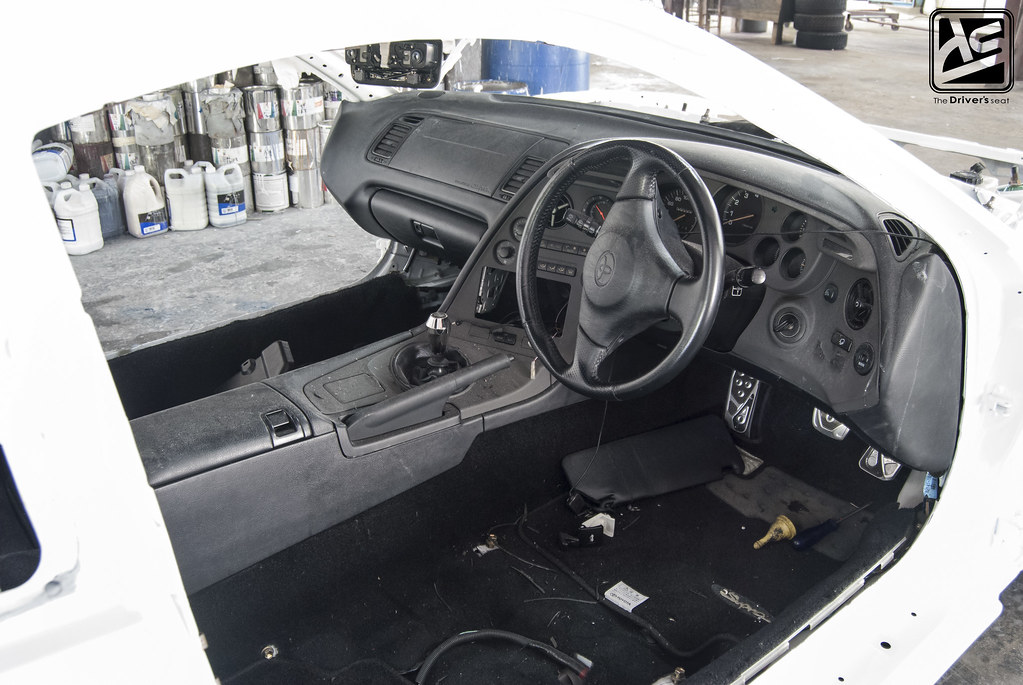
The current state of the interior which is in need of a good cleaning…
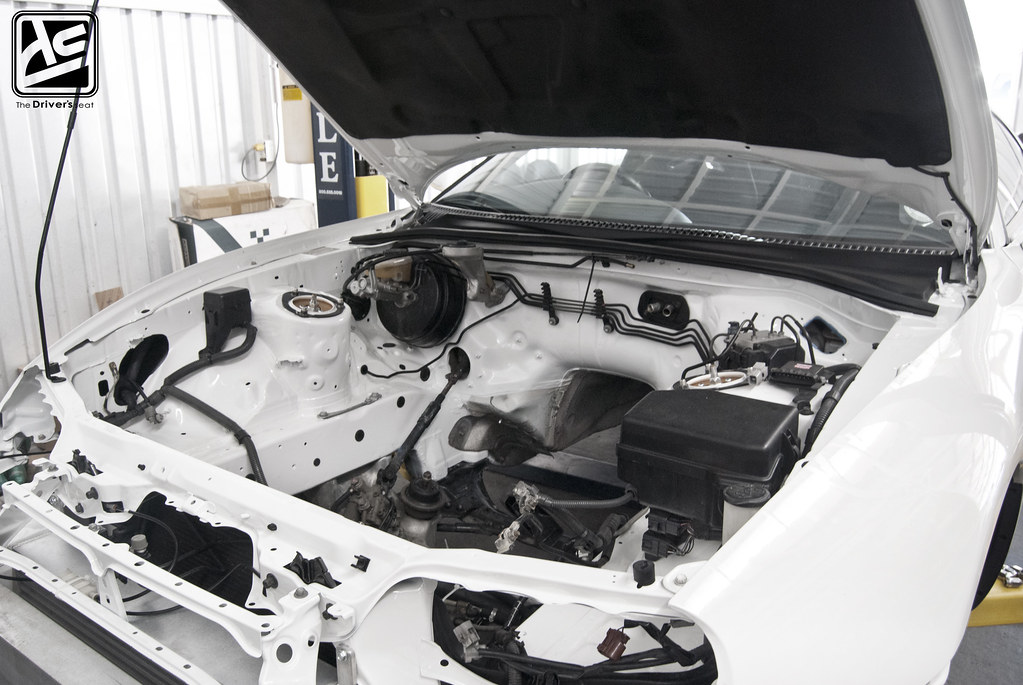
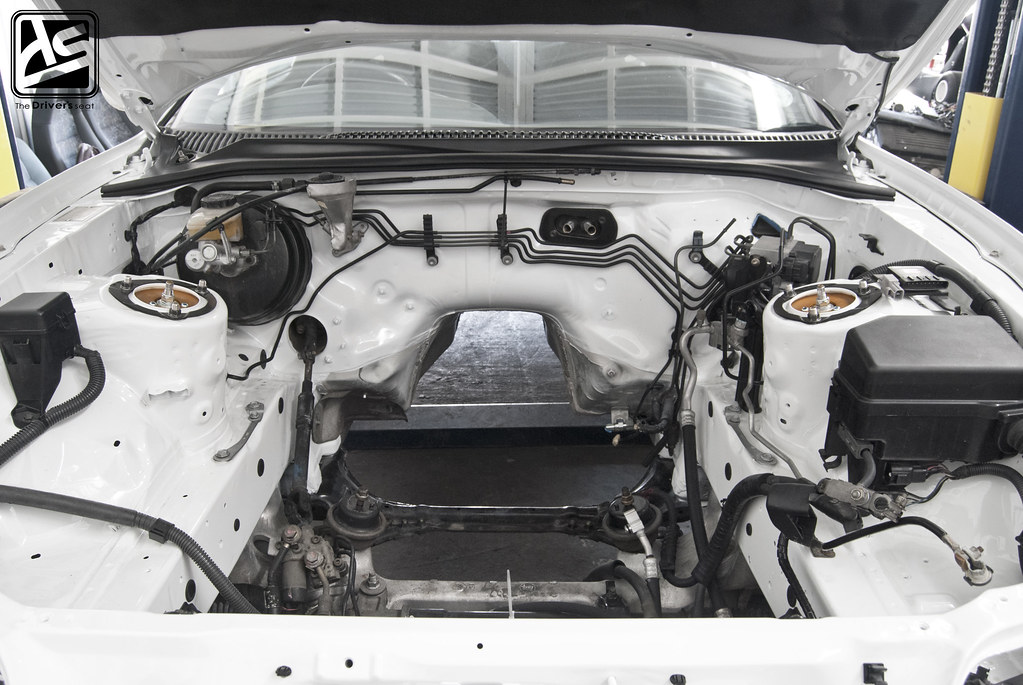
A first look at the freshly painted bay…
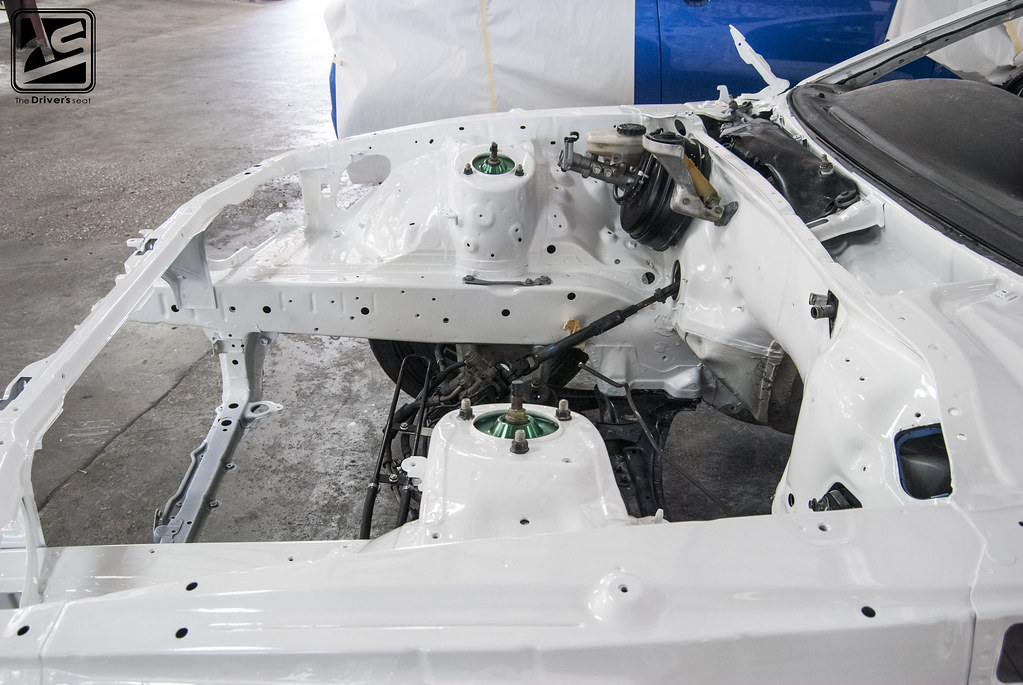
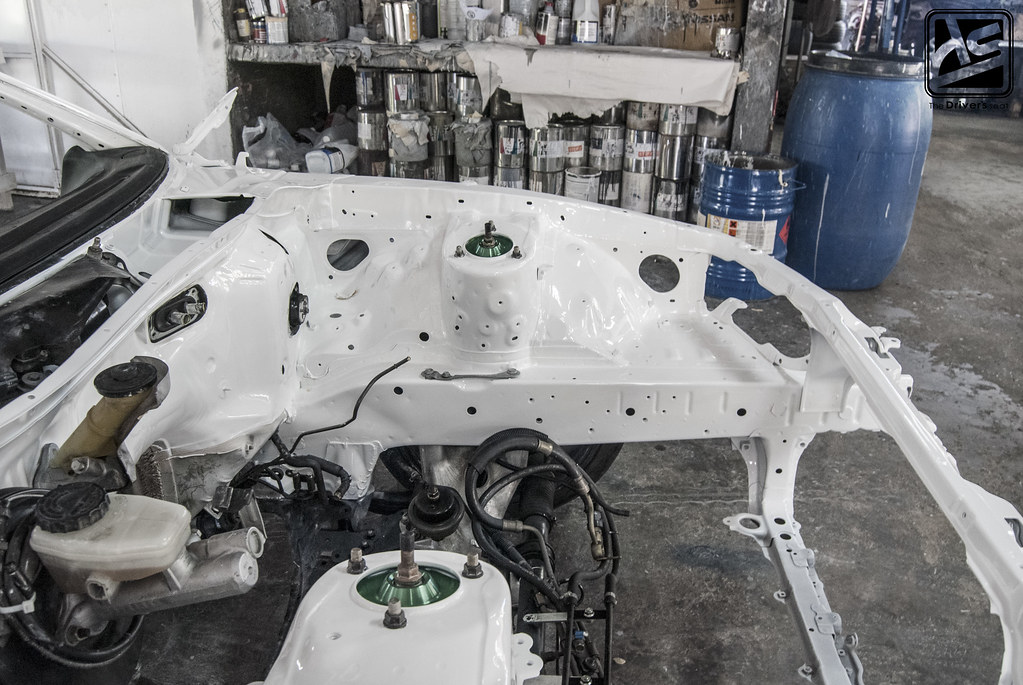
A closeup of the left and right side…
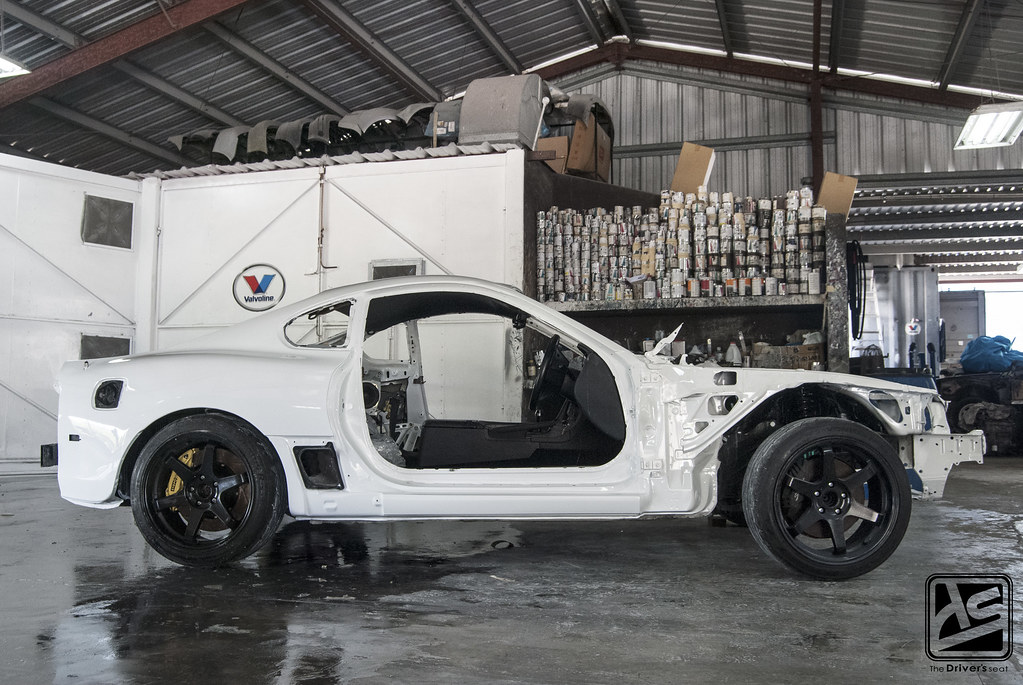
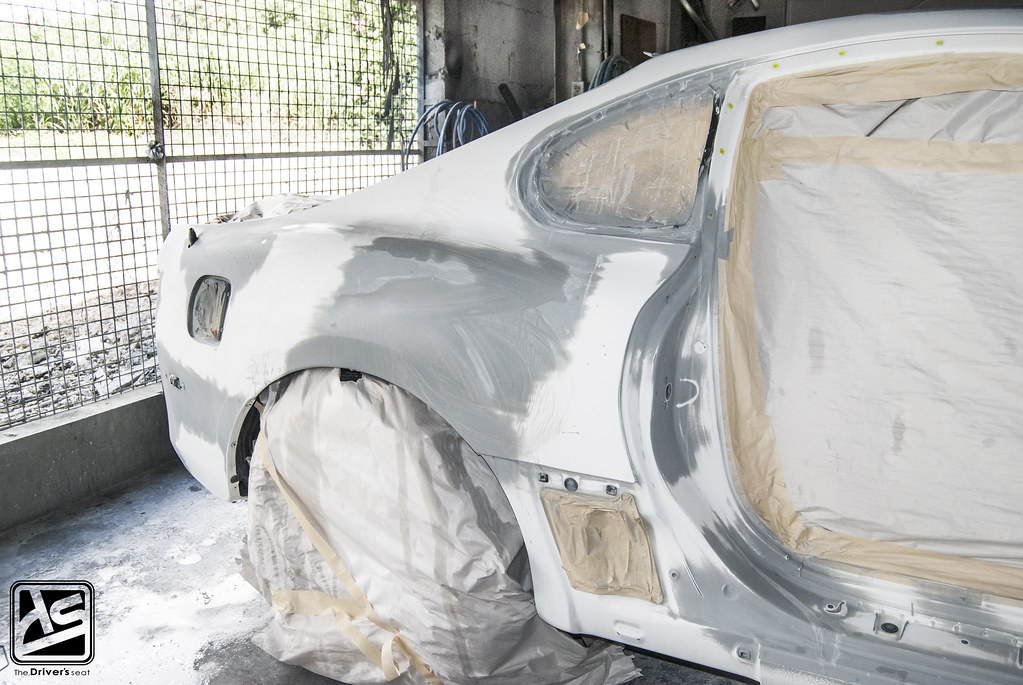
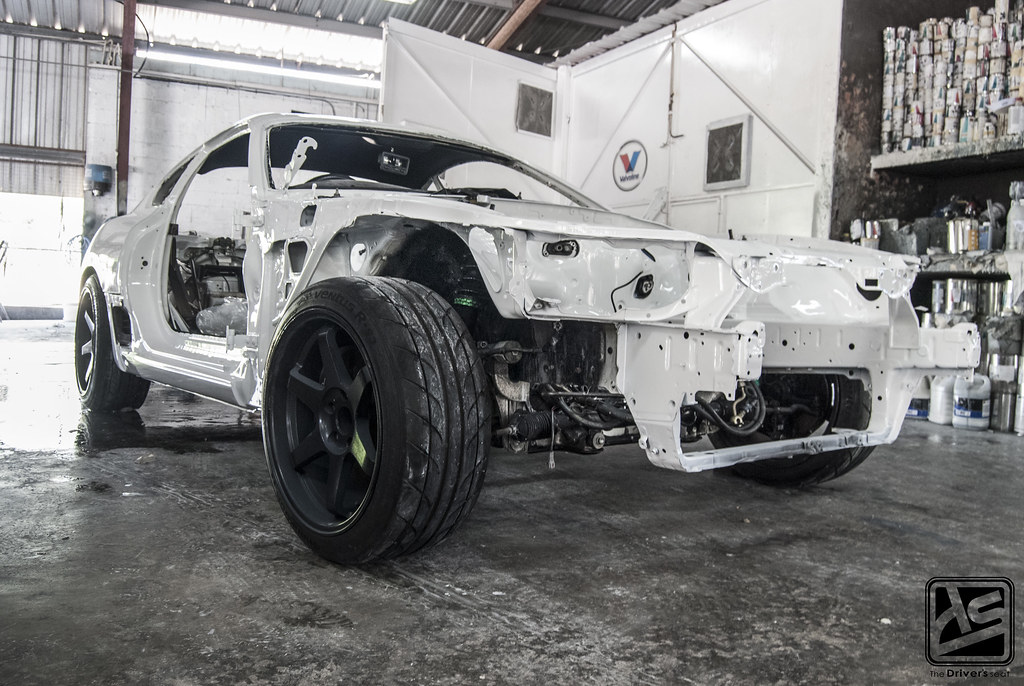
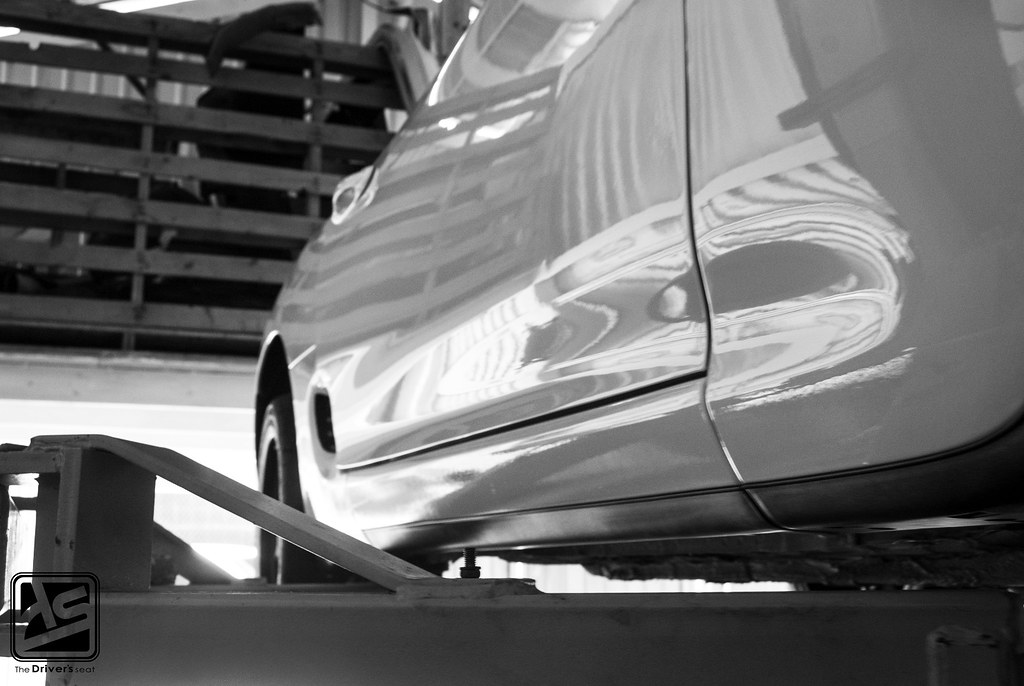
Full side view, still missing the doors and fenders…
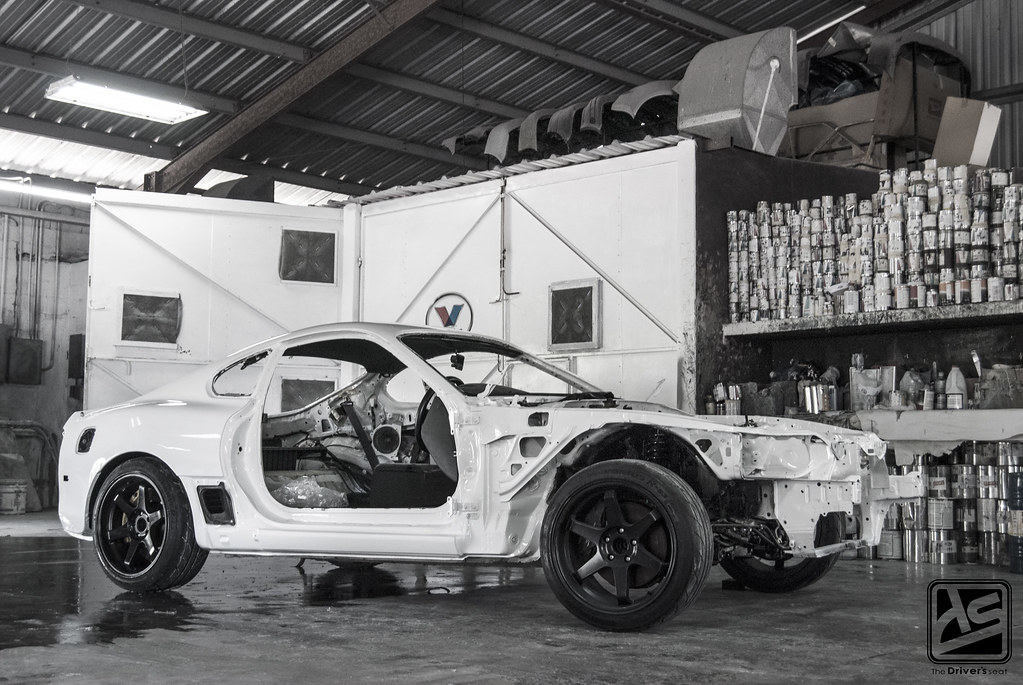
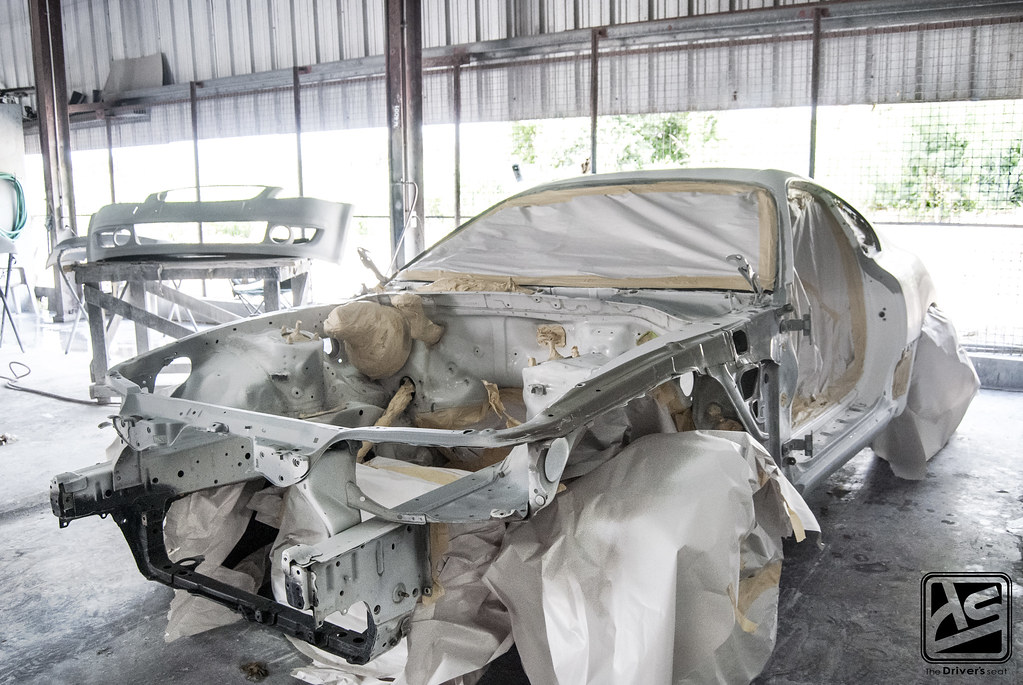
One final shot before I left Corbin’s Garage, exposing the bare shell as it sat…
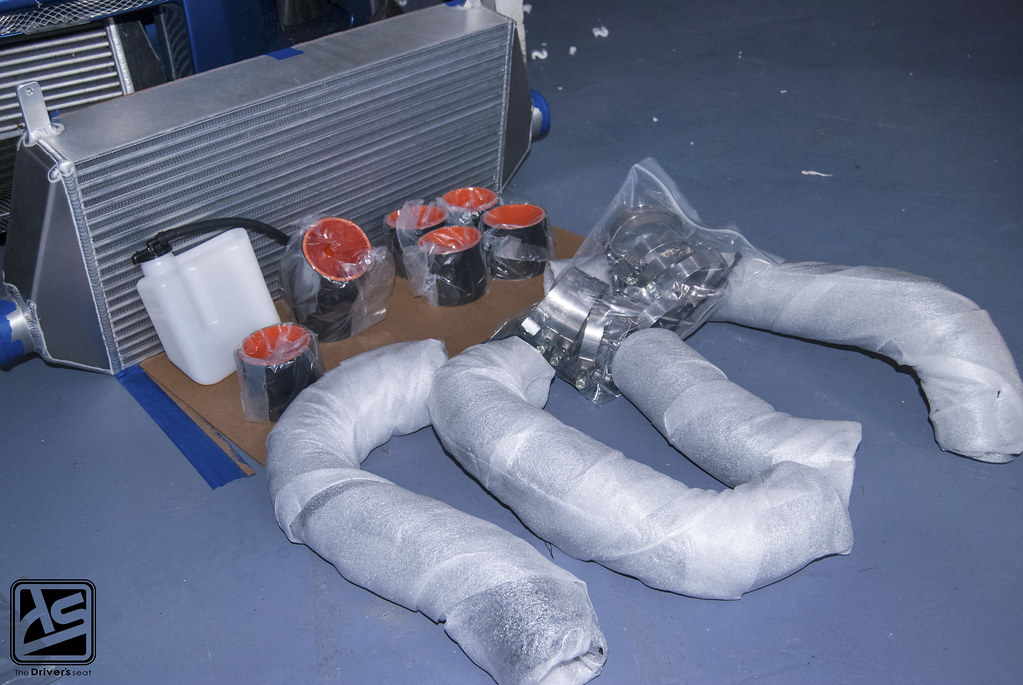
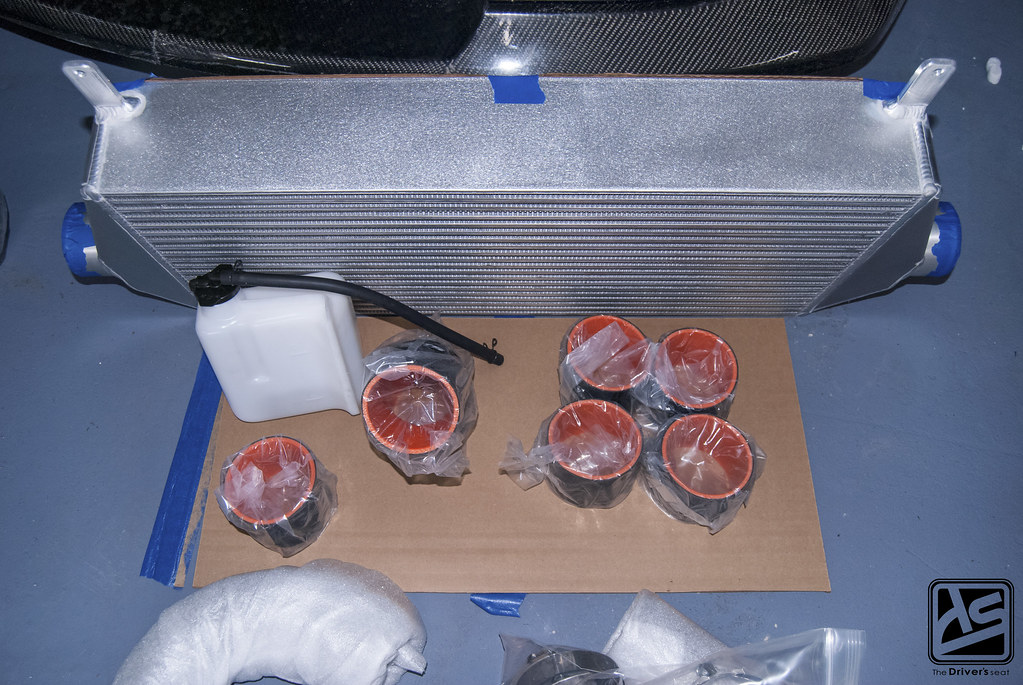
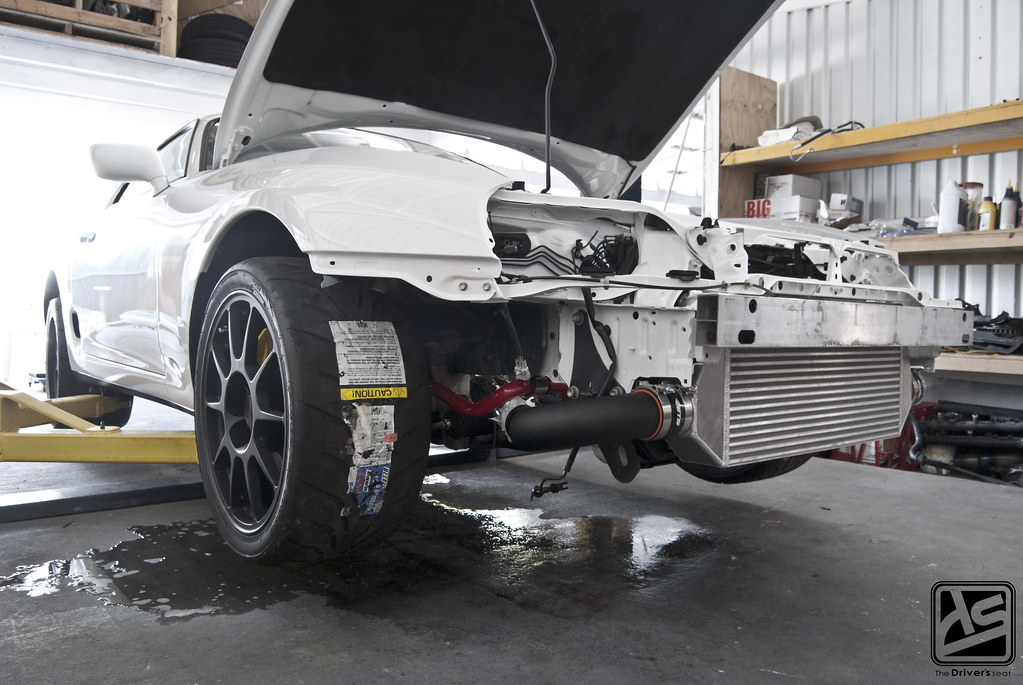
Not wanting to cut any corners on this build, Sol decided to ditch the Blitz intercooler kit and opted to go with a ETS intercooler and piping kit designed specifically for the A80 Supra, equipped with coolant overflow tank. This kit is rated up to 1000whp which will be well within the efficiency range for the goals Sol has in mind.
After my last visit, the guys at Corbin’s Garage told me I could pass by in a few days to check the progress of the shell…
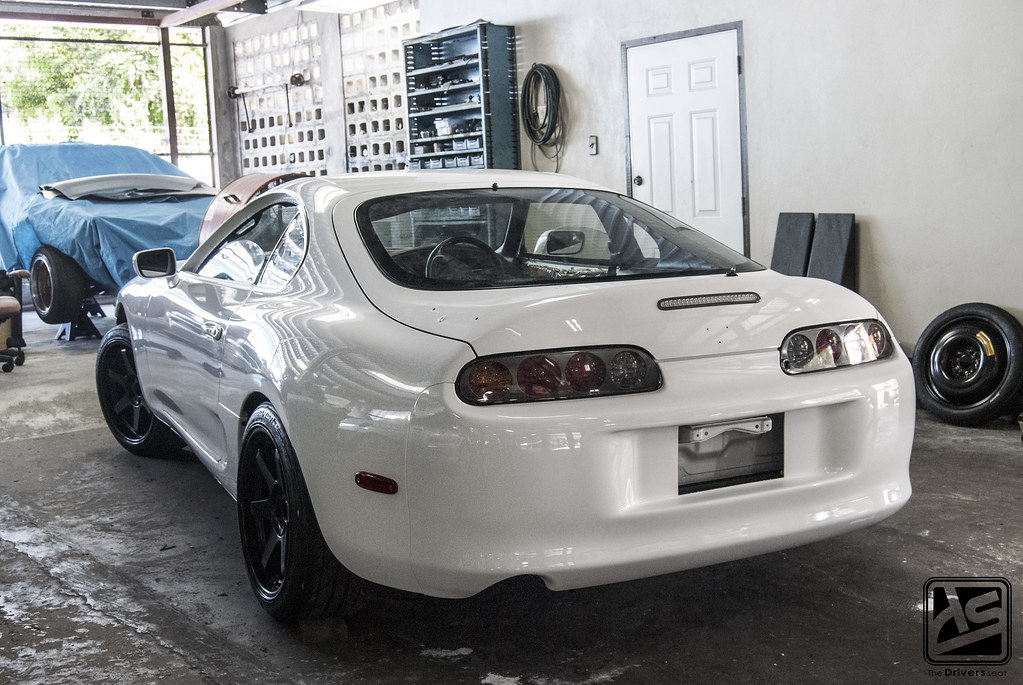
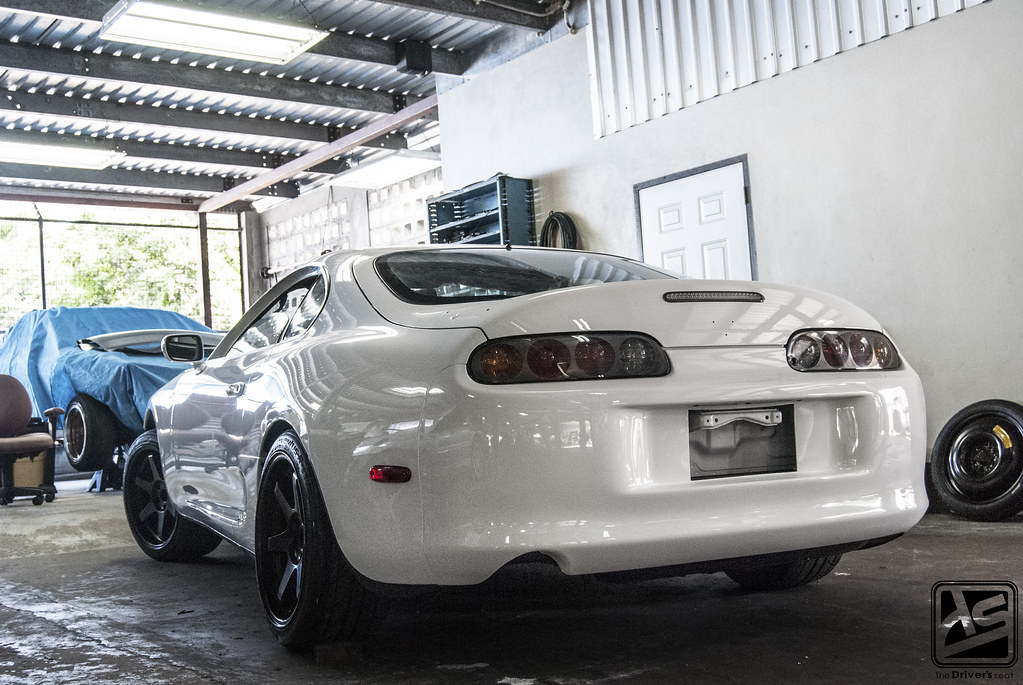
To no surprise they had all the body pieces fitted and basically only awaiting collection…
Without a doubt everything fitted and lined back up just the way it should.
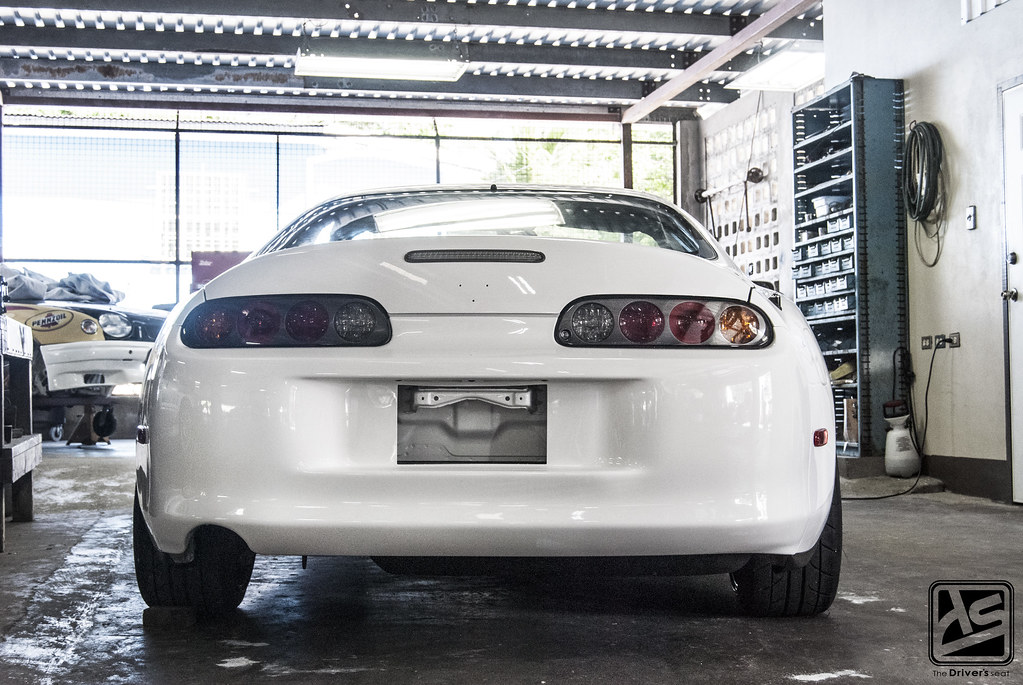
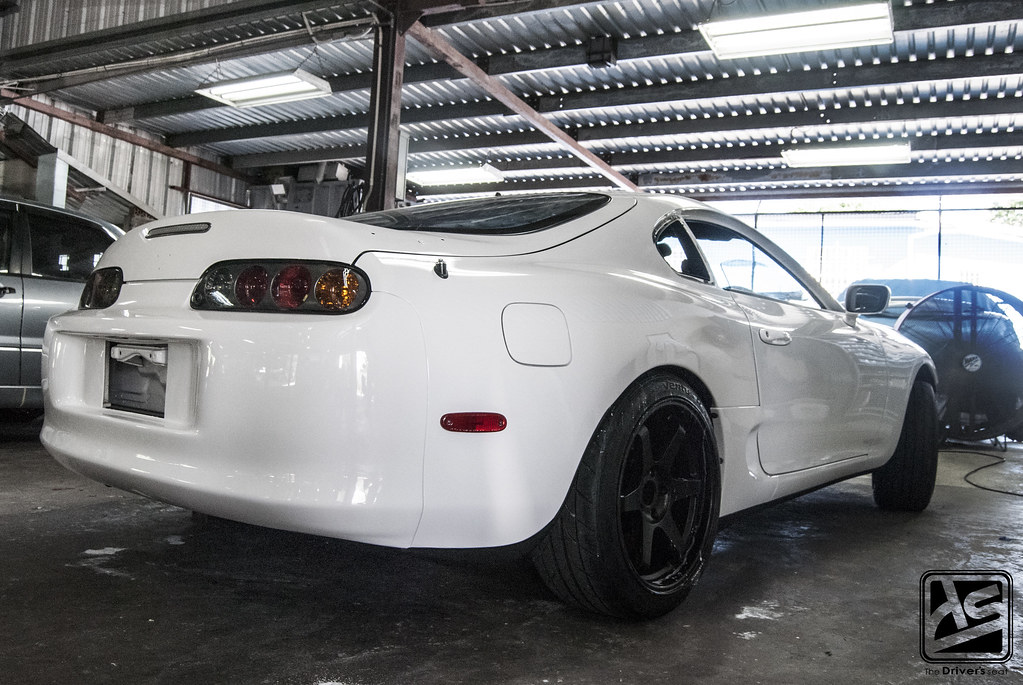
Rear end looking correct…
A few more shots…
Closeup of the rear fender…
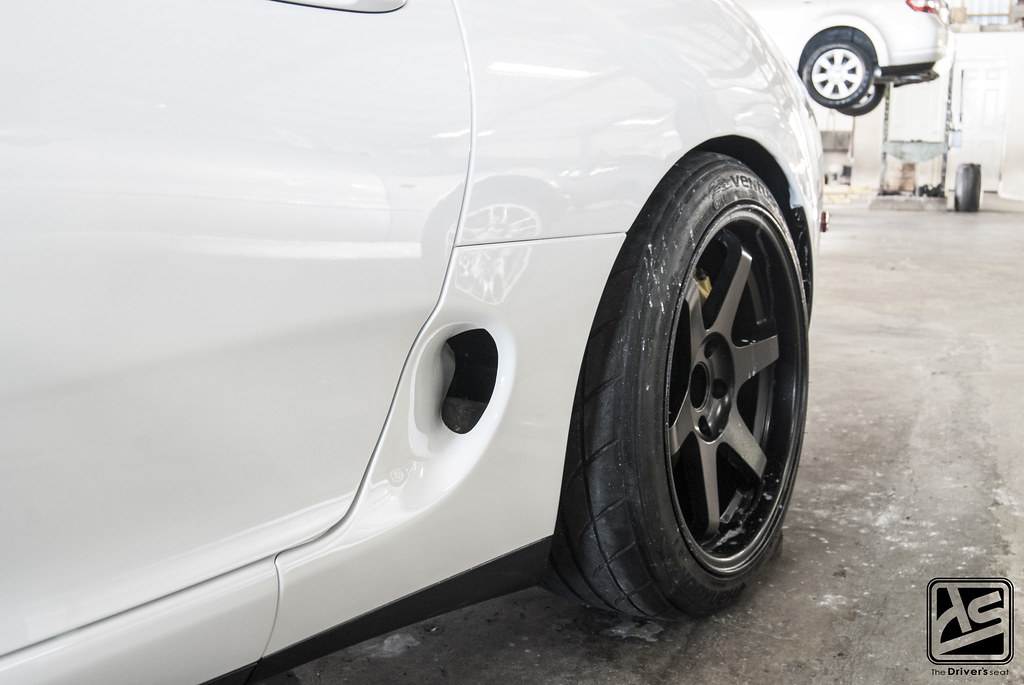
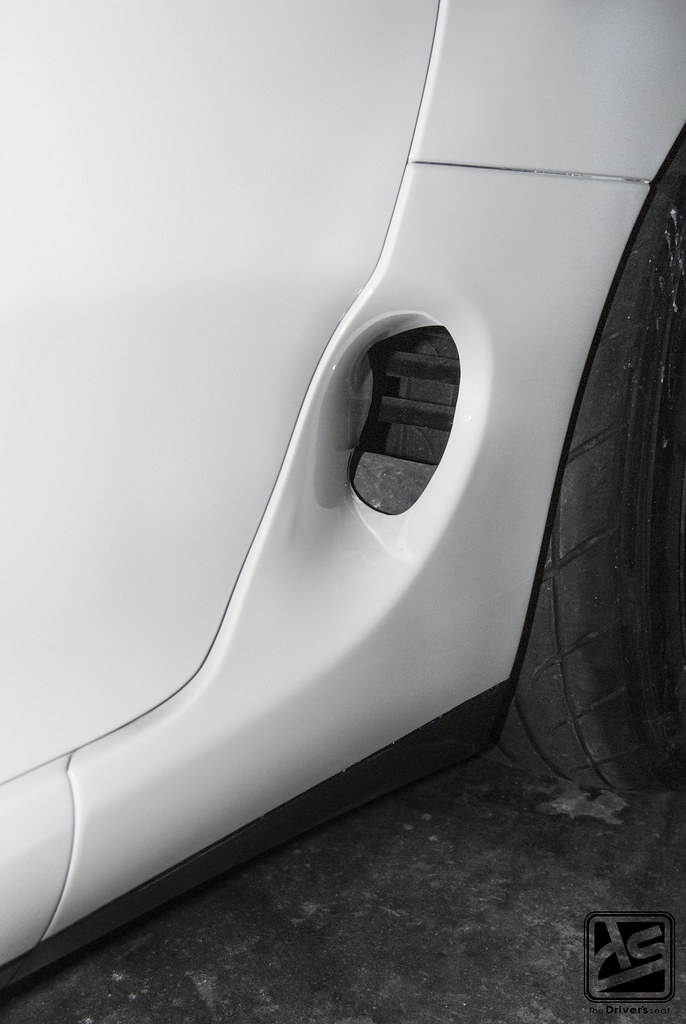
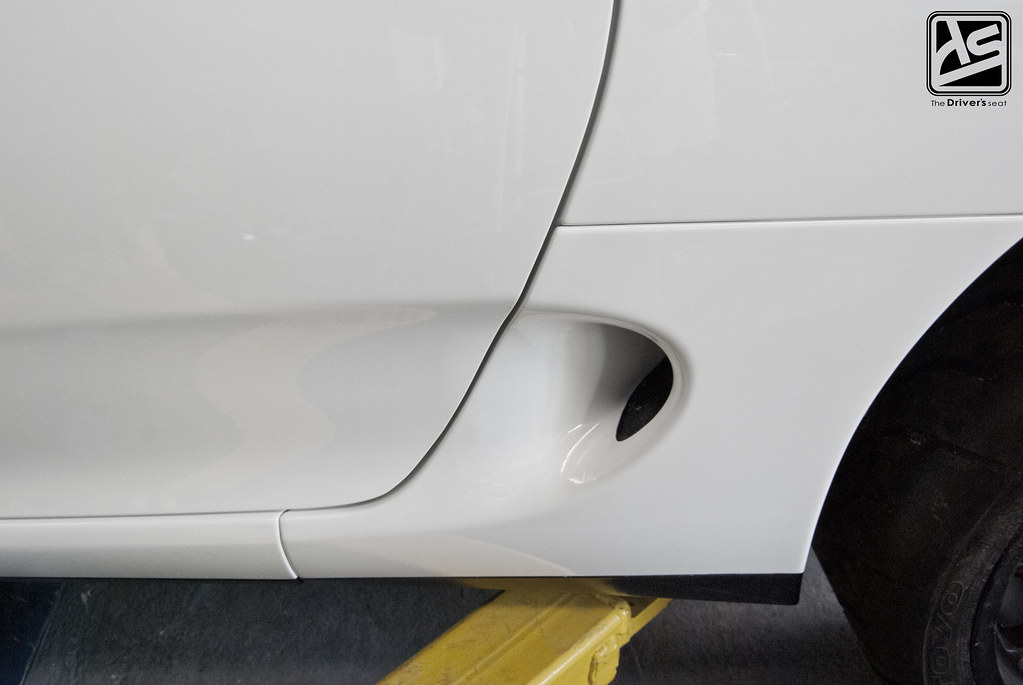
As you guys would have seen in a previous post, Sol wasn’t a big fan of the side skirts that came on the car, so he opted to swap them out for the more subtle factory pieces…
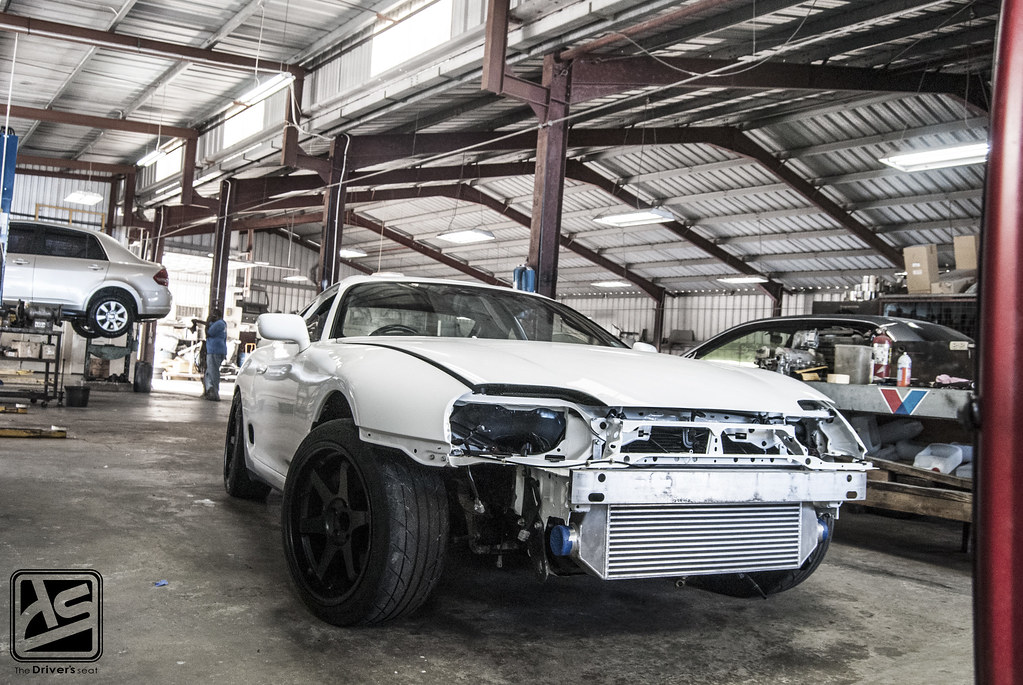
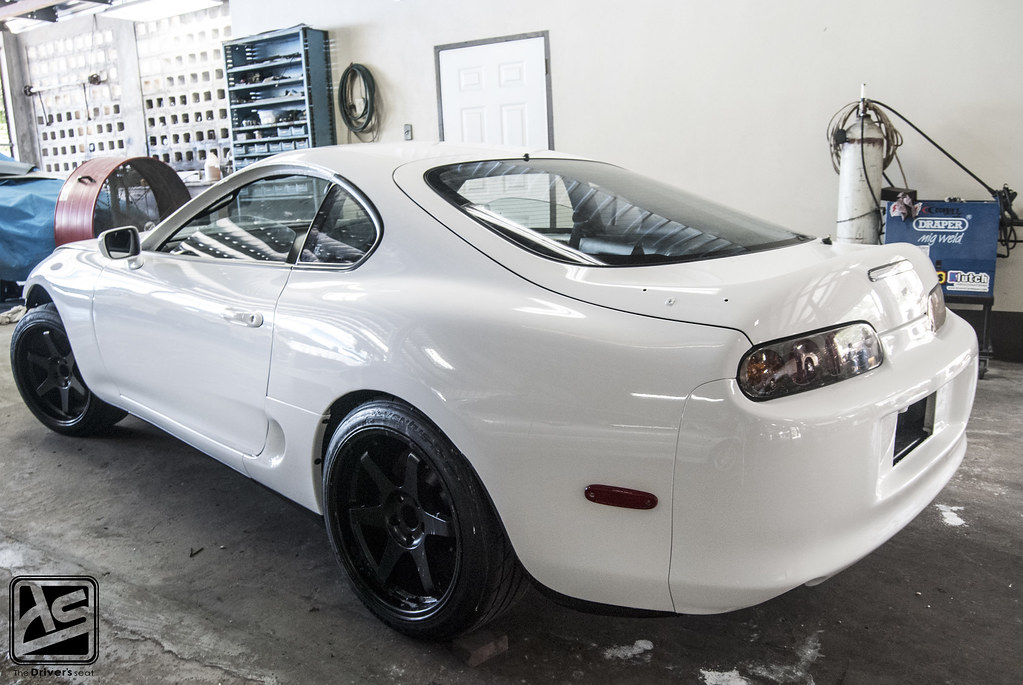
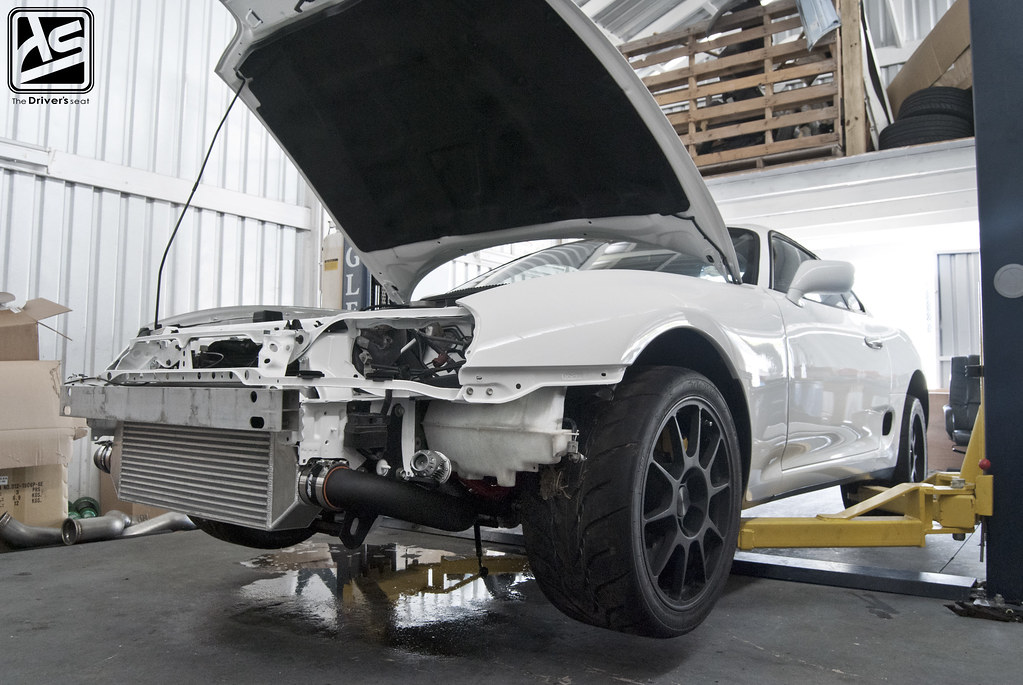
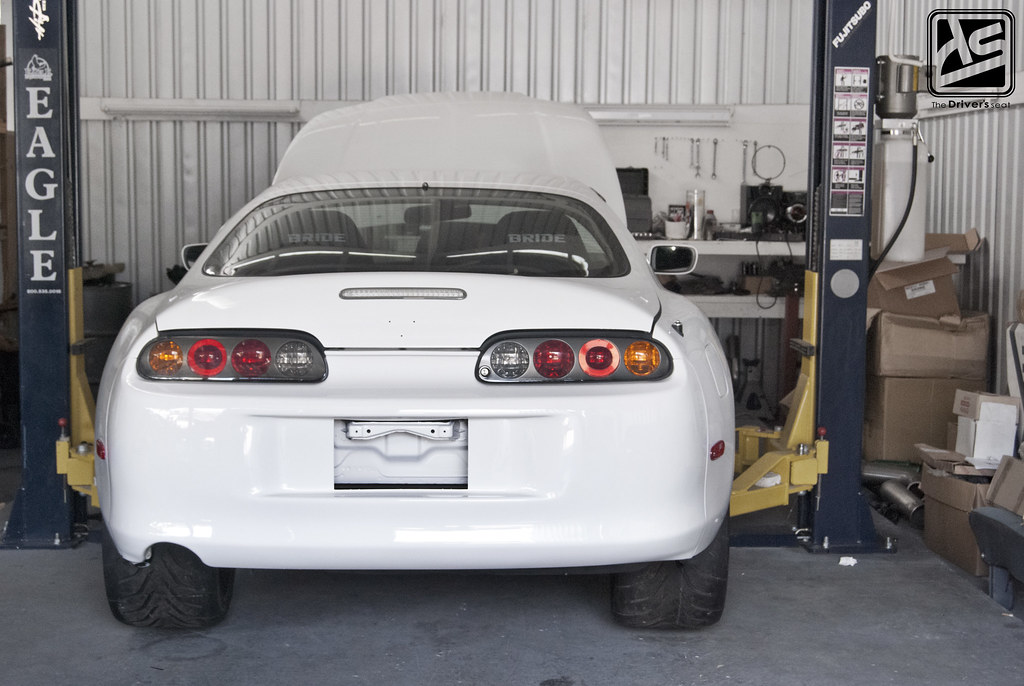
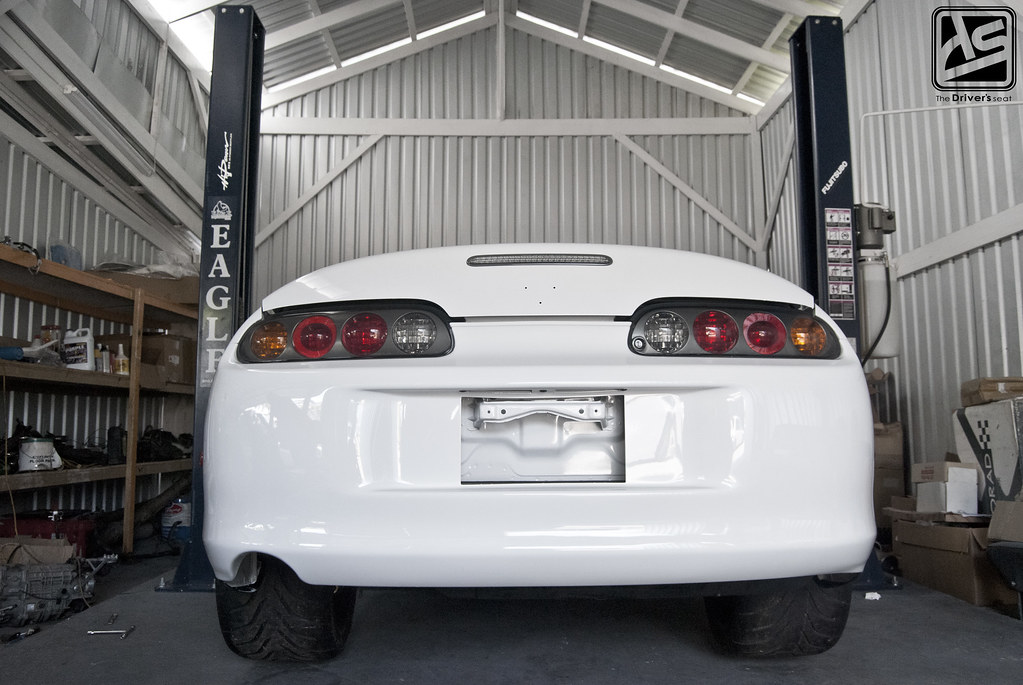
The Supra made its way home and immediately was rolled onto the hoist…

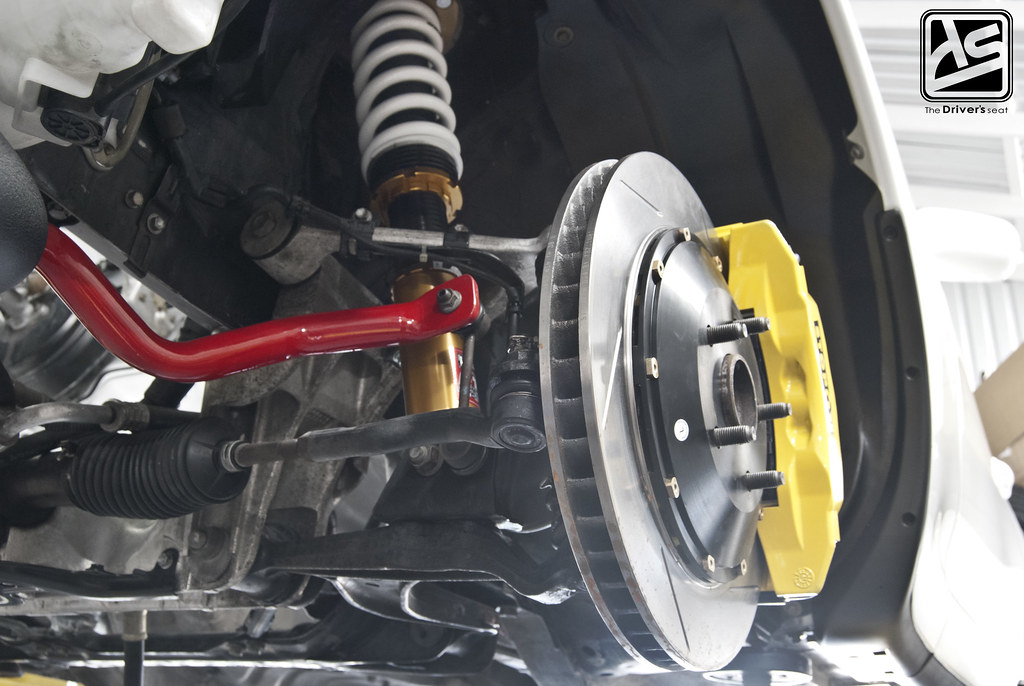
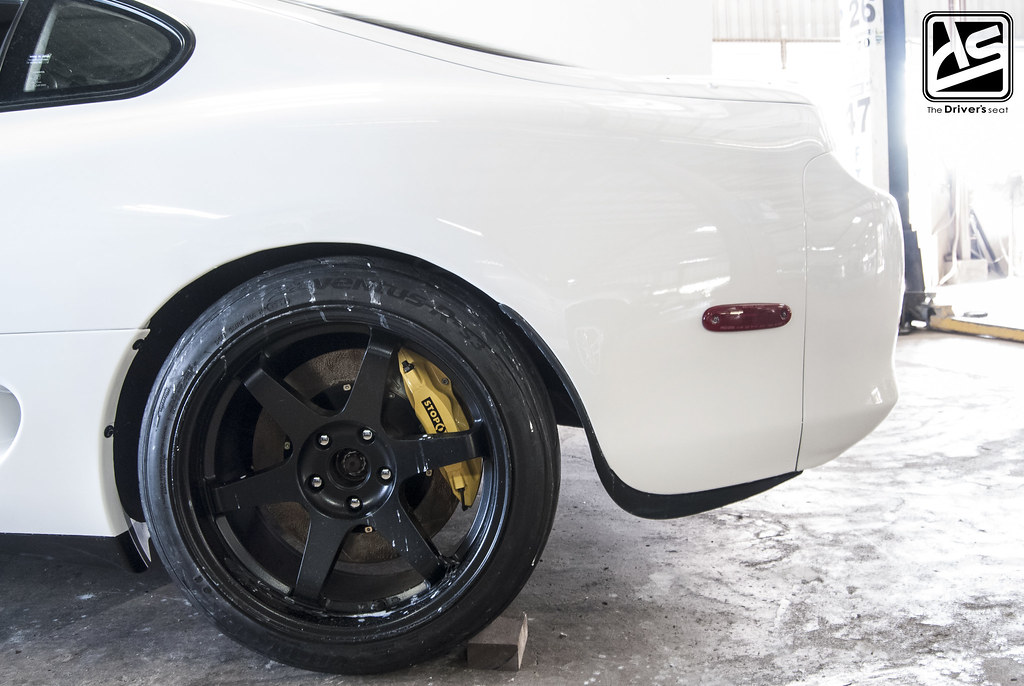
First on the to do list was to install the Apexi Hipermax coilovers followed by the huge 355mm Stop-Tech brakes and TRD swaybar to complete the suspension and brake setup at the front end…
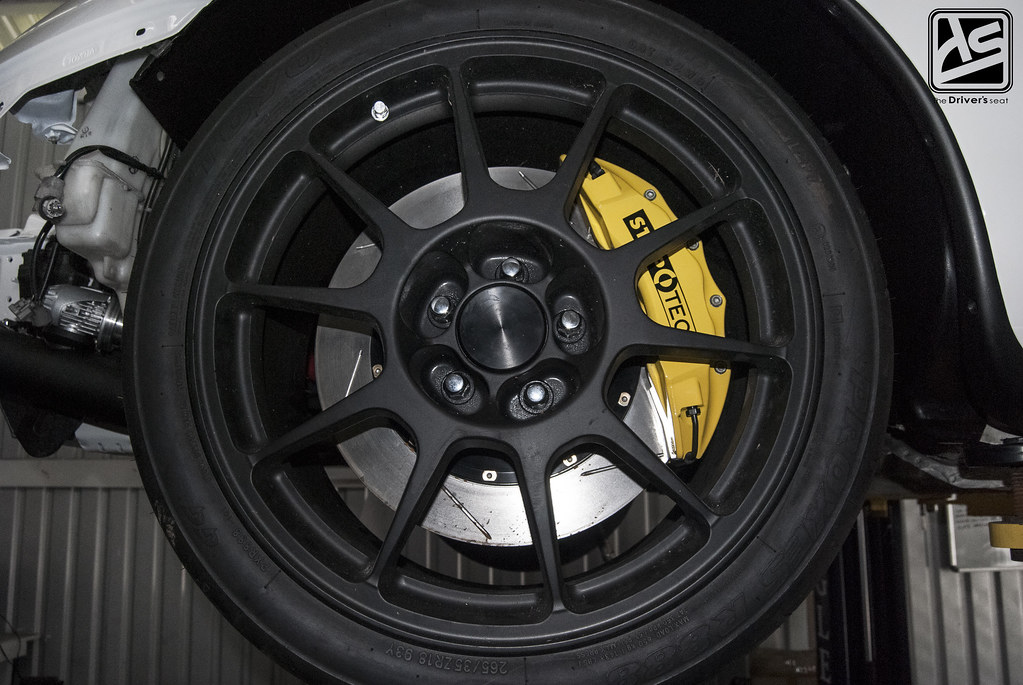
With the paint stage over, it was time for the CCW C10 wheels wrapped in 265/35/R18 Toyo Proxes R888 rubber to take their place at the front.

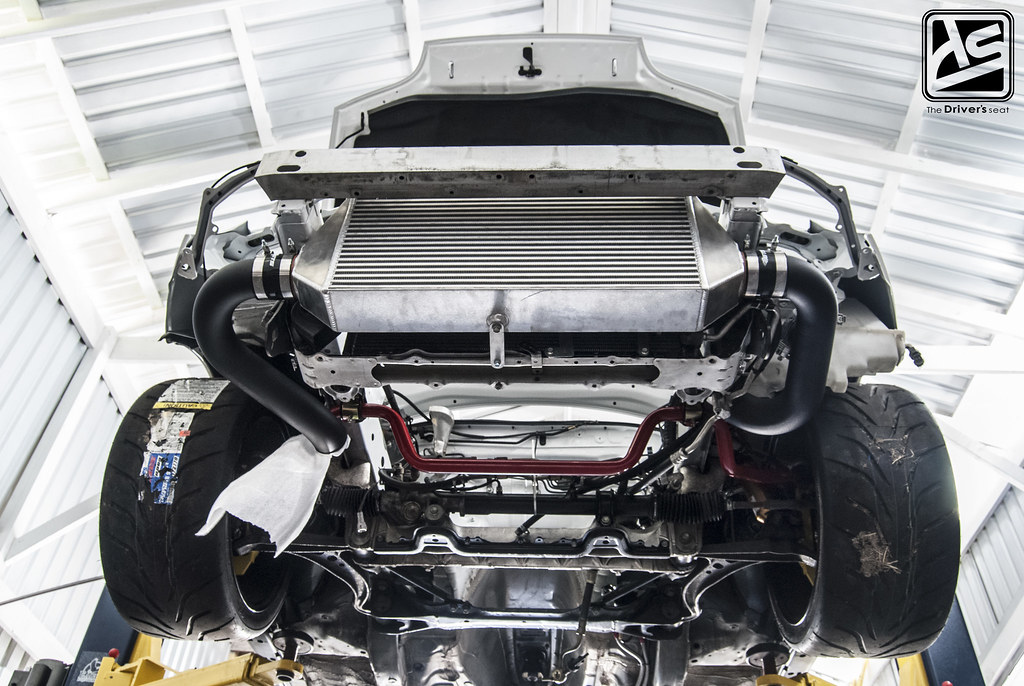
A view of the front end from below, where you get a good look at the ETS intercooler and powder coated charge pipes…
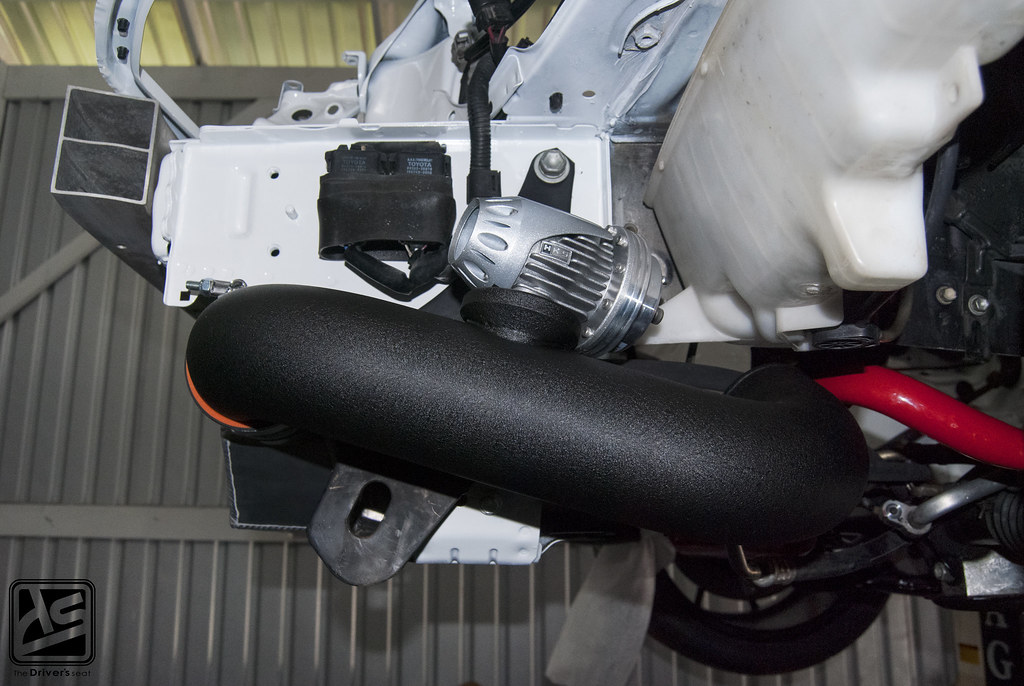
HKS super sequential blowoff valve mounted onto the ETS piping…
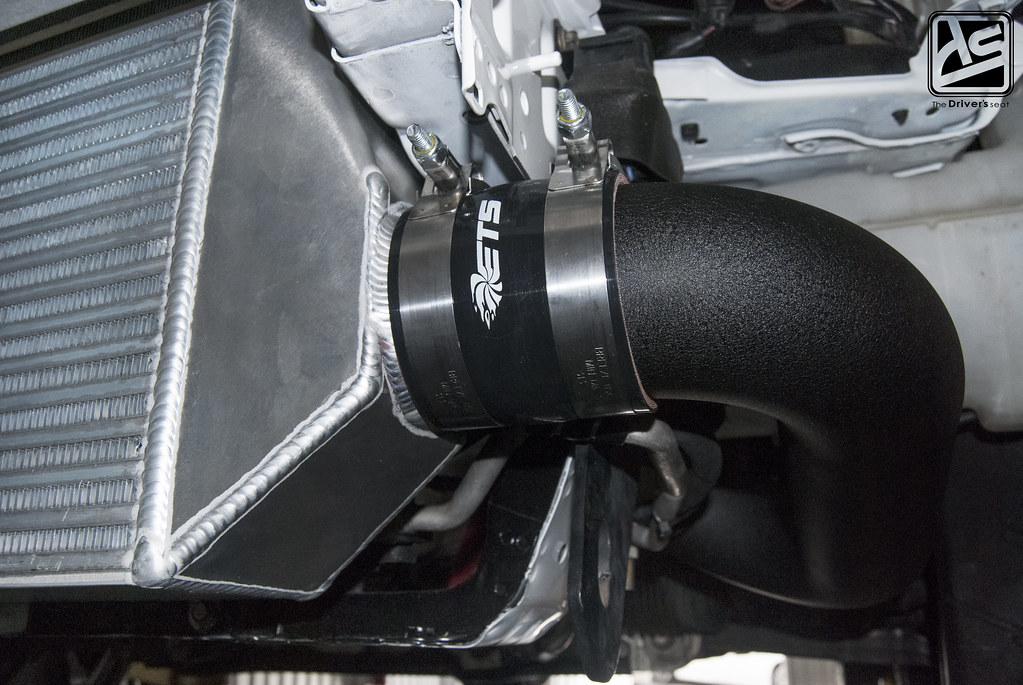
Closeup of ETS intercooler…

In the spirit of changing up stuff, Sol thought it would be best to upgrade the downpipe and a portion of the exhaust piping from 3″ to 4″ as to allow the car to breathe a bit more freely. The rear section of the exhaust through to the muffler will remain as 3″ to cut down on some of the noise.
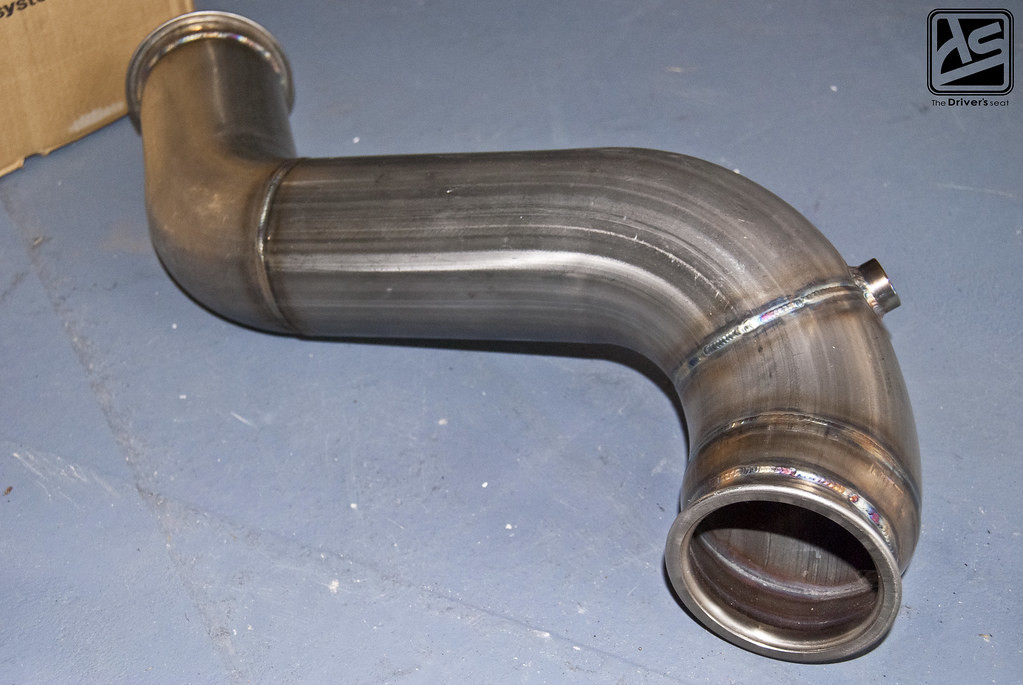
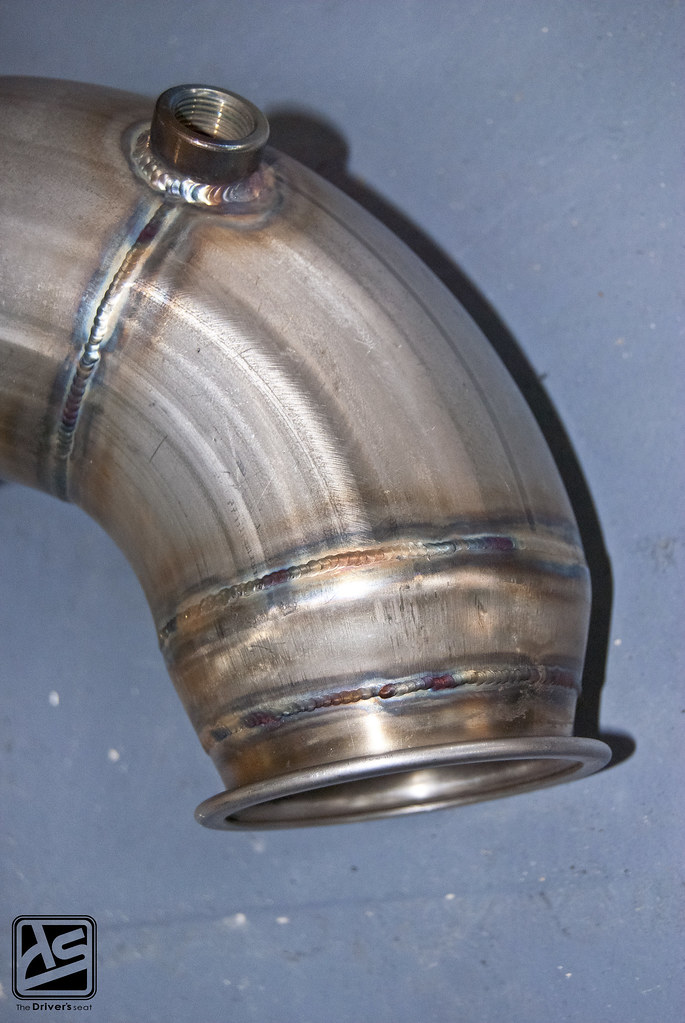
Closeup of the welds on the downpipe…
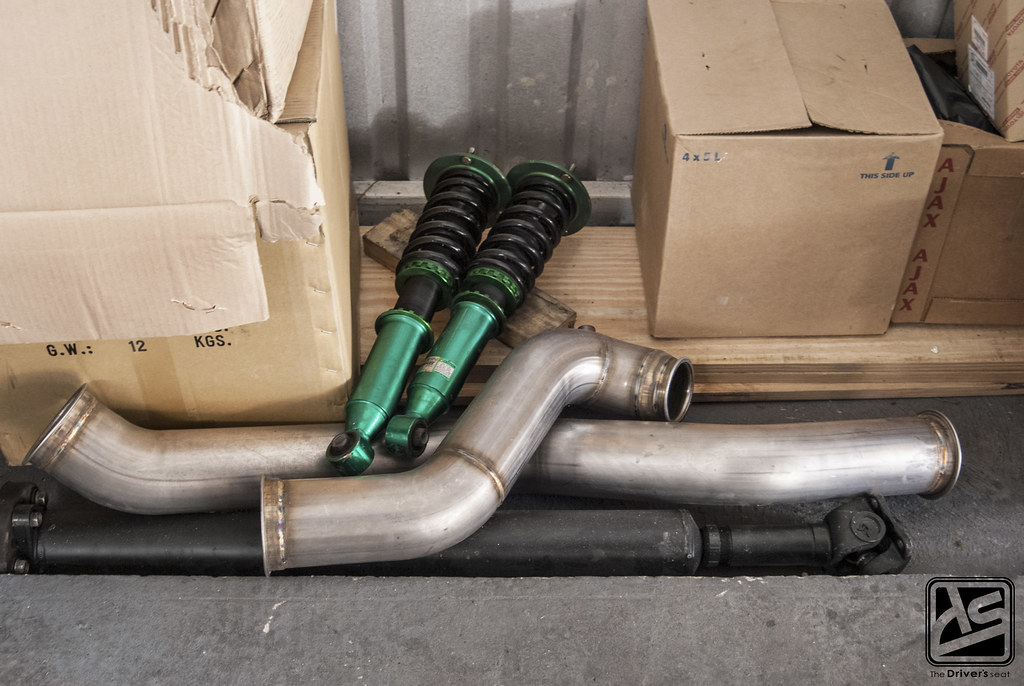
Tein suspension removed and soon will make its way into storage…

Moving forward with the upgrades, the standard fuel system needed a bit of work. The standard lines will be replaced with steel braided lines…
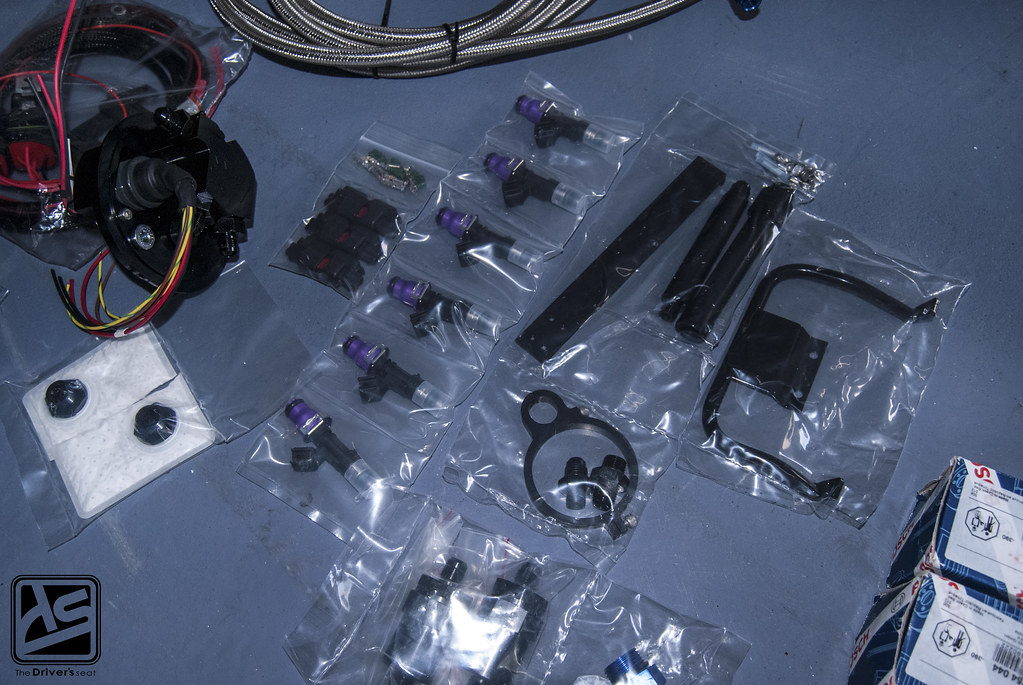
Next were Injector Dynamics 1000cc injectors with powerhouse racing inline fuel filters…
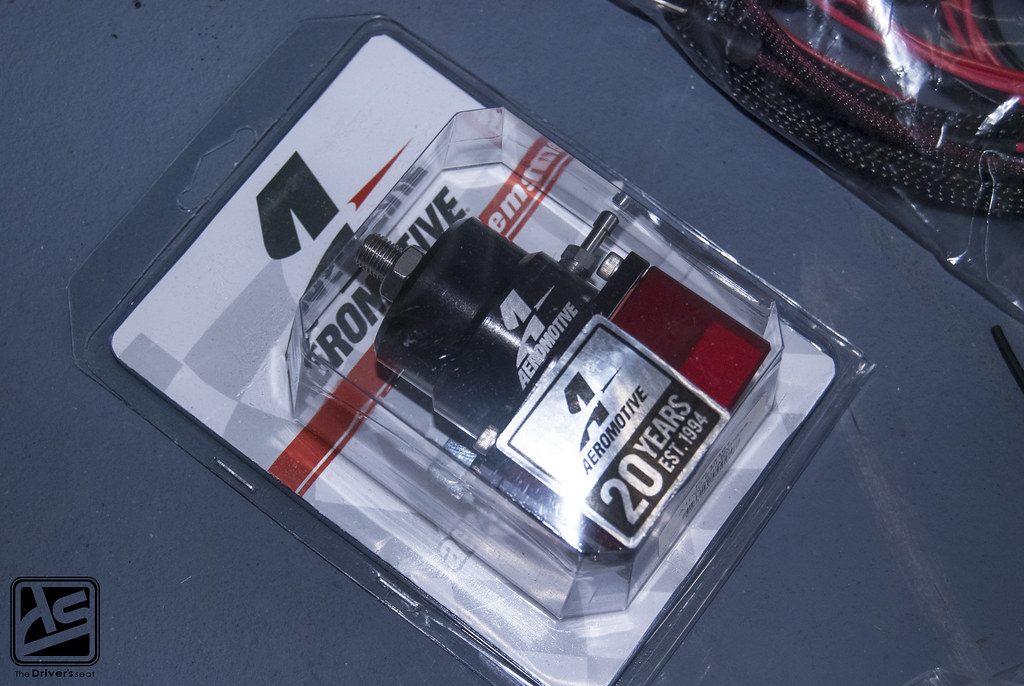
To help control the fuel delivery, an Aeromotive rising rate fuel pressure regulator was added to the mix of things…
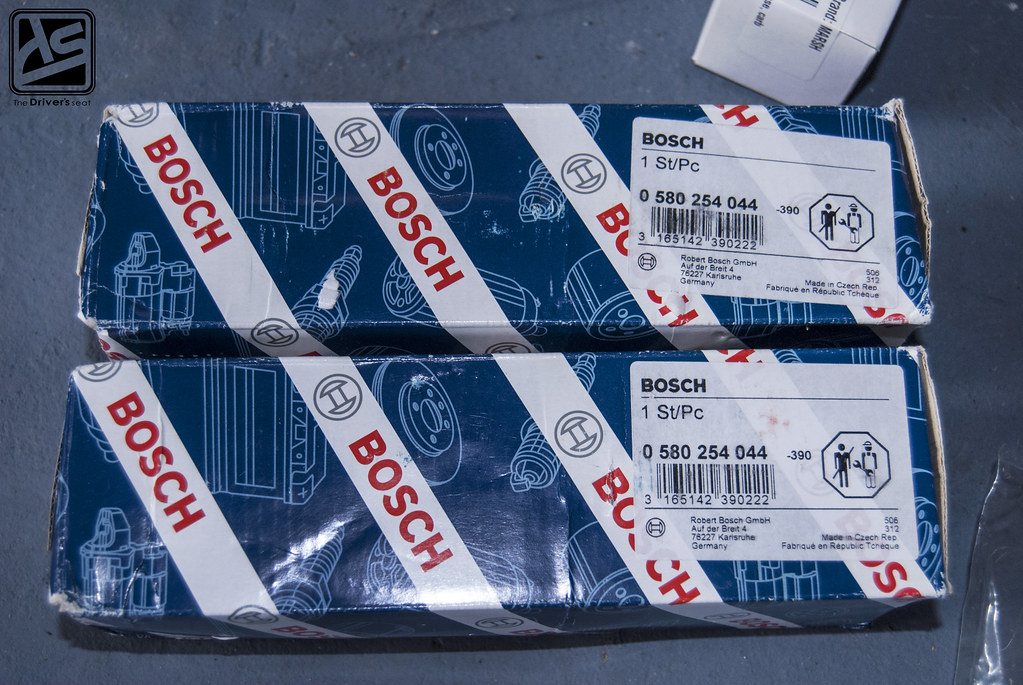
And to finish up the setup, in came two Bosch Motorsport 044 pumps.
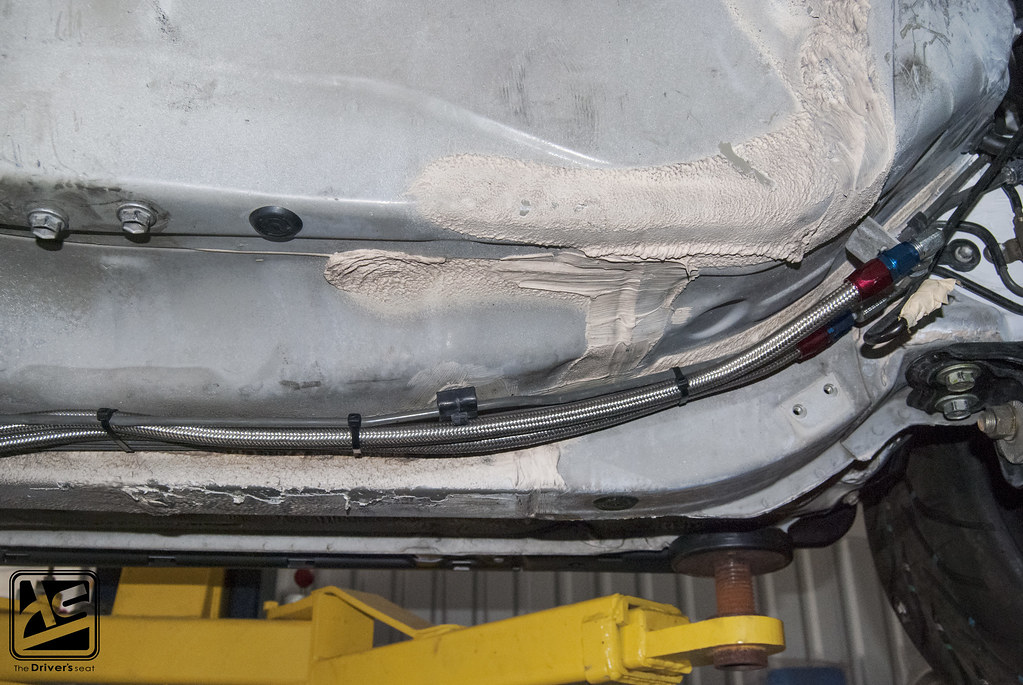
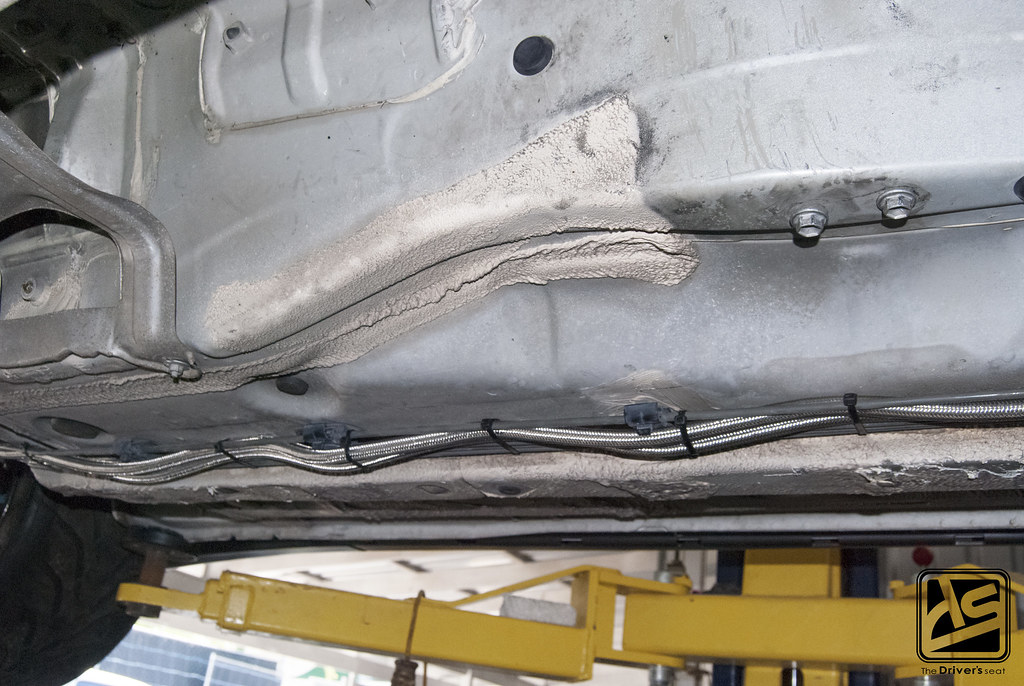
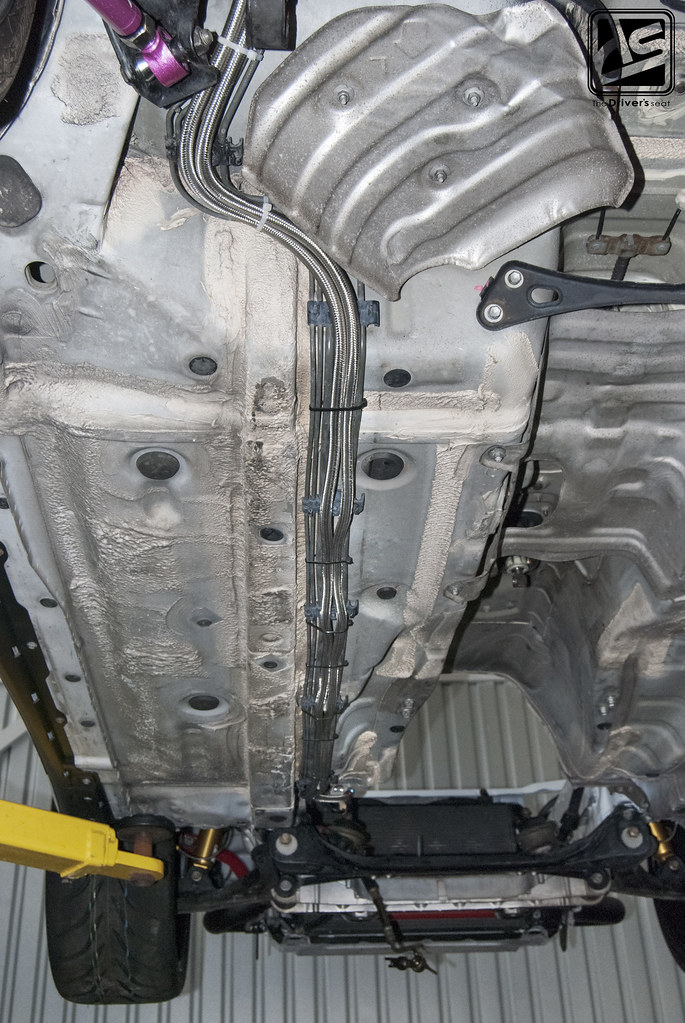
Not missing a beat, Scott had the lines neatly ran in no time…
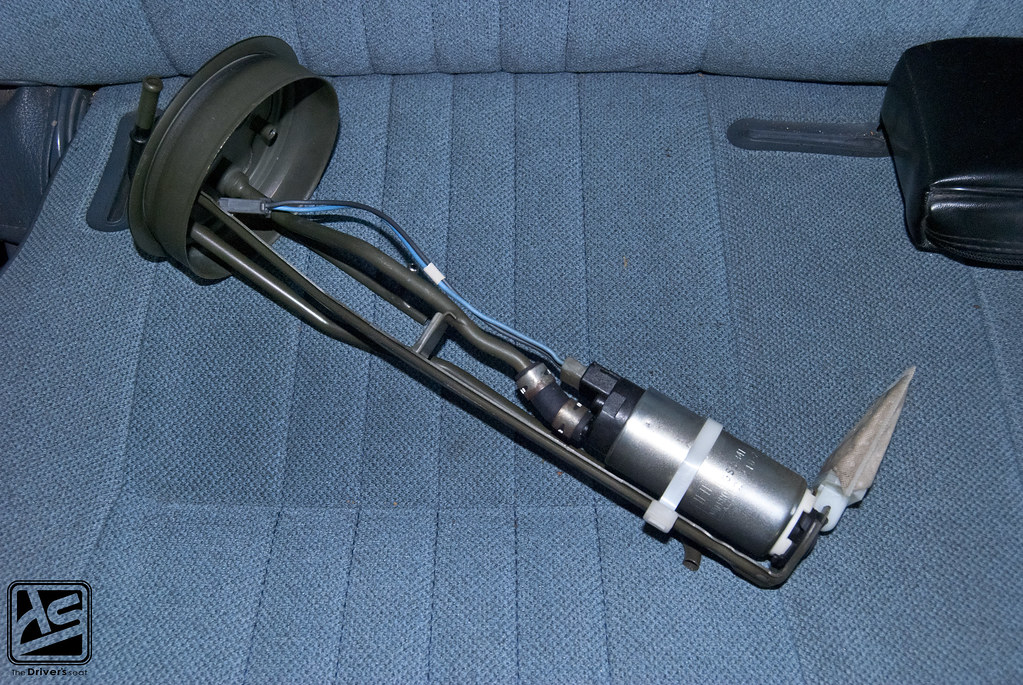
Currently the car has a single in tank fuel pump and is using the standard fuel pump hanger…

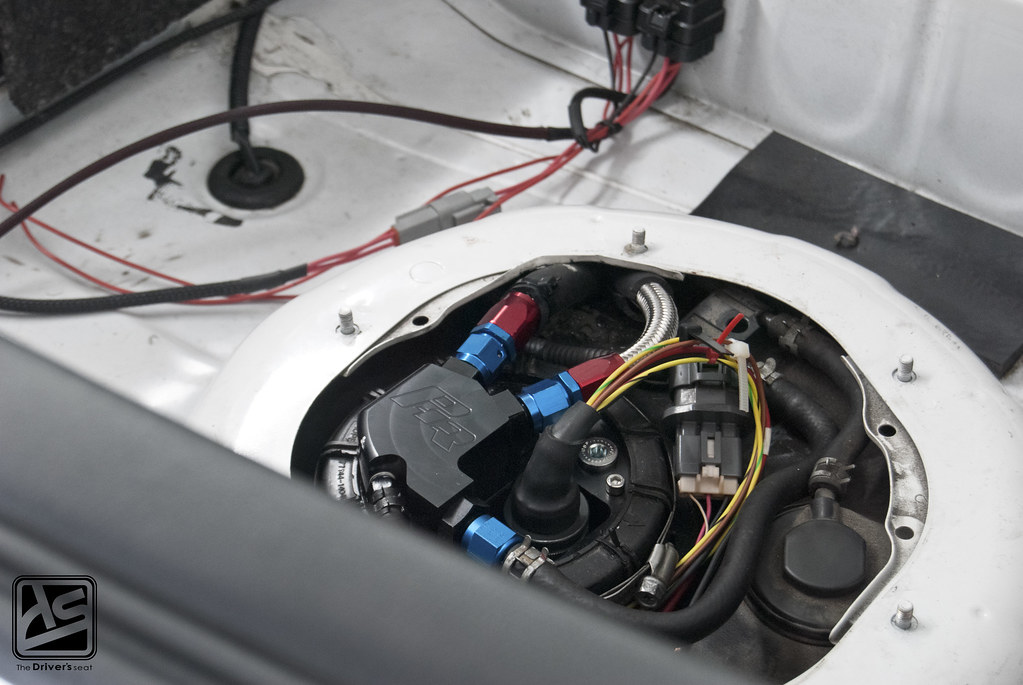
This will all be replaced with a dual pump setup with the use of a Powerhouse Racing fuel pump hanger…
With that out of the way…
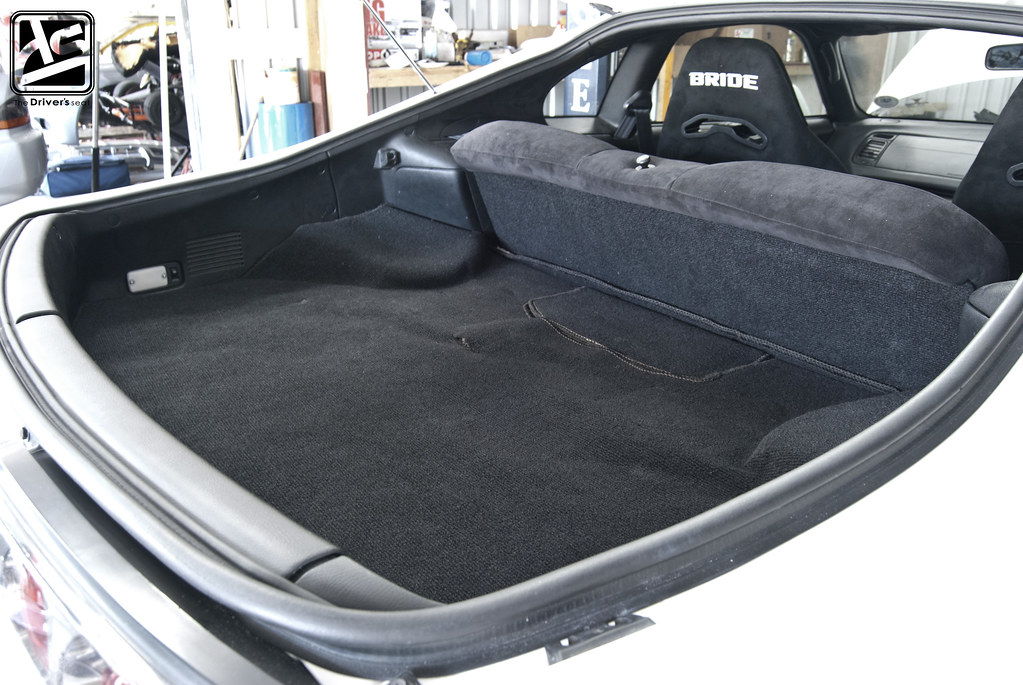
The carpet was neatly put back into place…
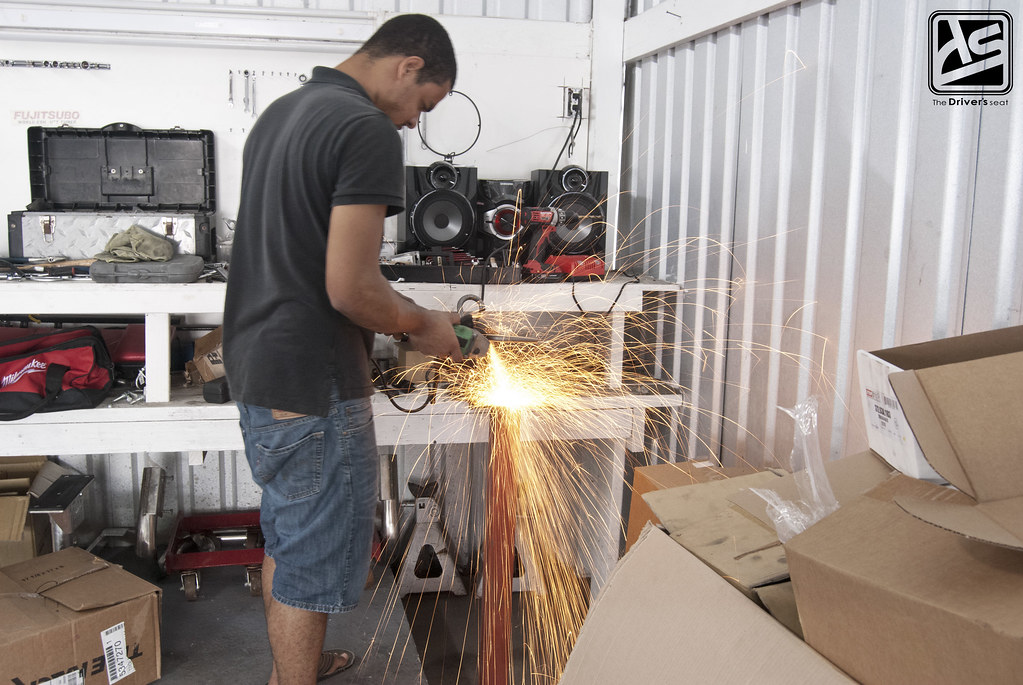
A shot of Scott altering a few components before the motor is installed…
Progress made on the bay thus far…
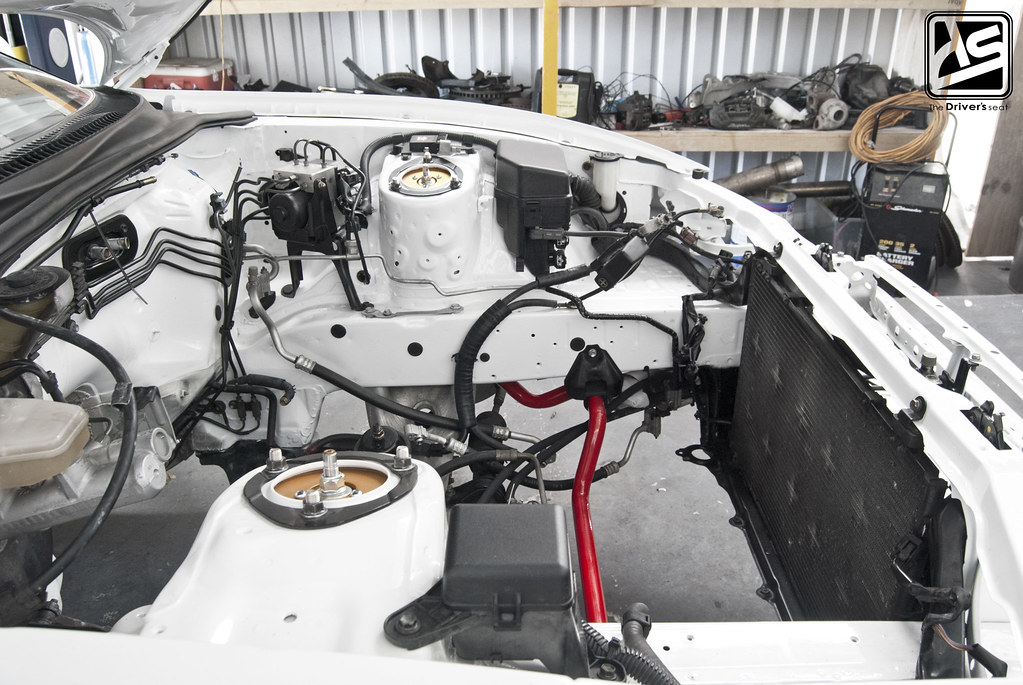
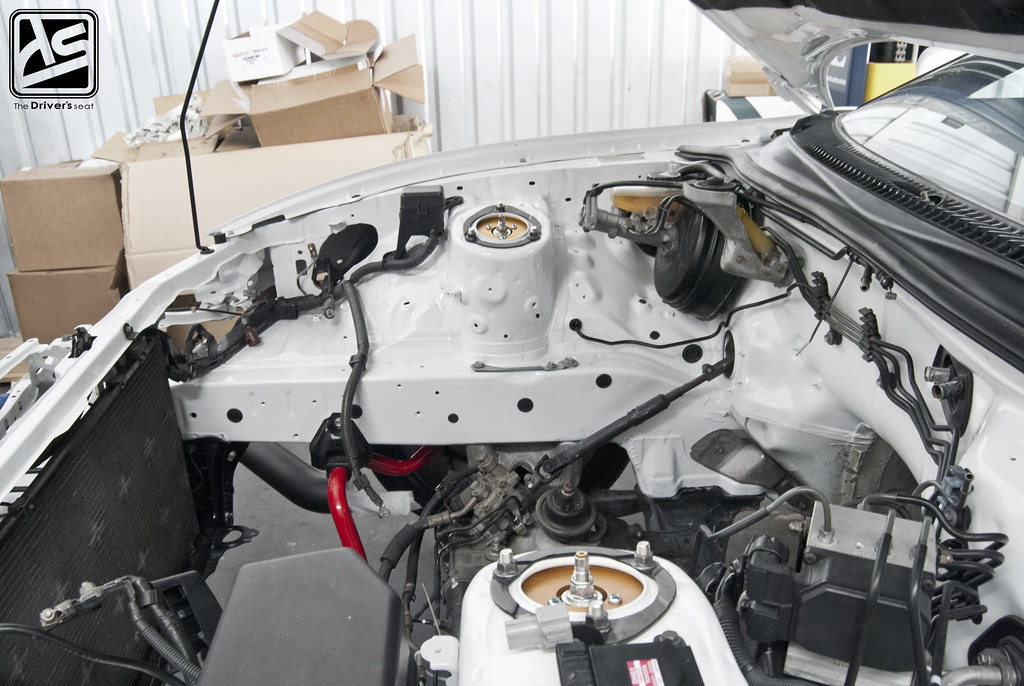
Basically just being patient until the motor makes it return…
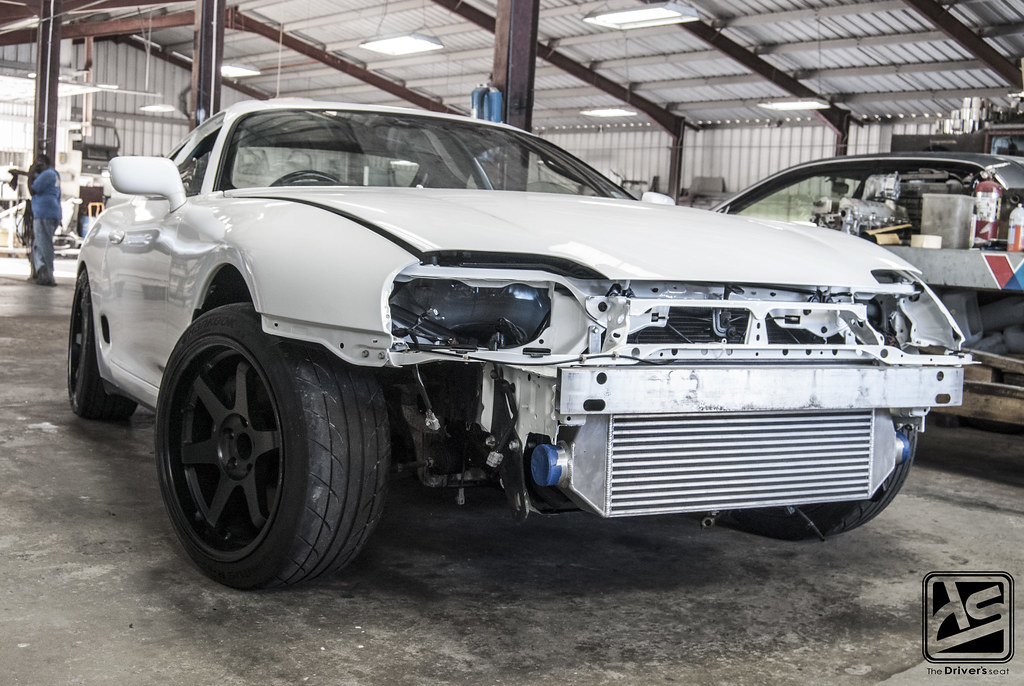
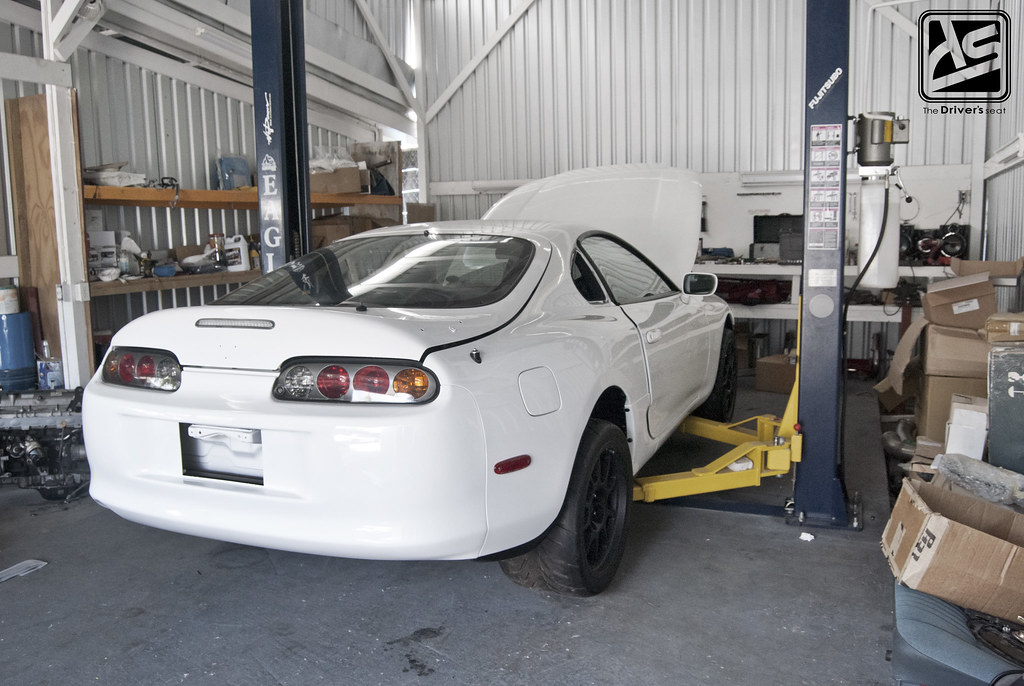
A few more shots of the car with the front end close to completion…
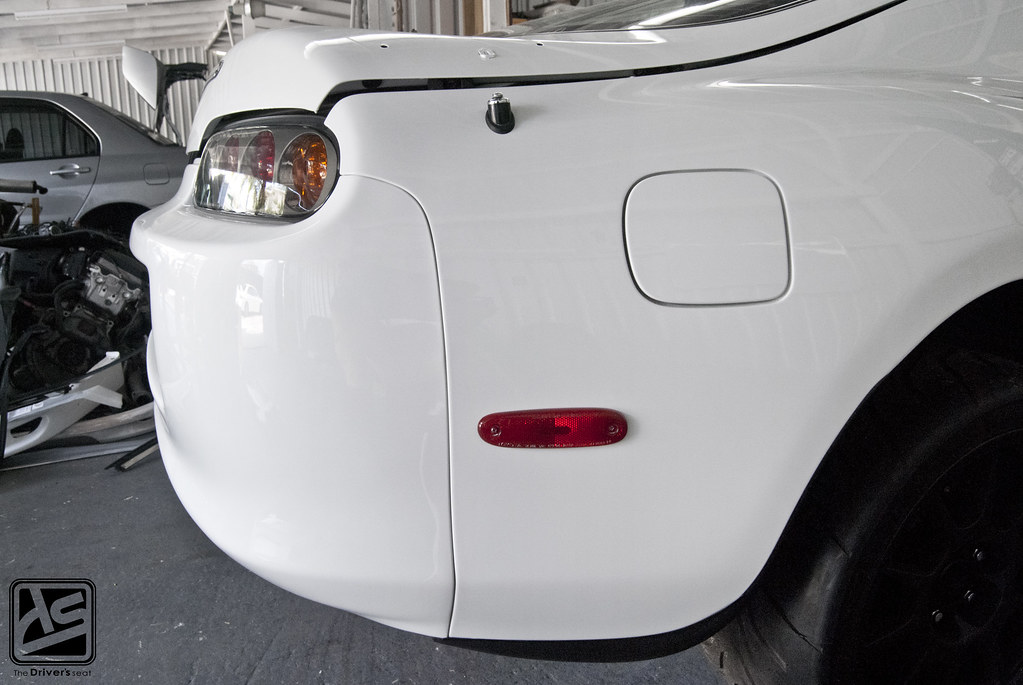
I’m going to leave you guys with a few parting shots…

That’s it for today’s update, thanks for taking a look and stay tuned for much more to come on this build.
