
Boosted B-Series Build… Part 5
Corey has been putting in some steady work on the hatch. The motor has finally made its way into the bay and in doing so, Corey made a few changes to the setup.
Those who may need a recap on what’s going on so far, I’ve provided the links to the previous posts below…
Boosted B-Series Build… Introduction
Boosted B-Series Build… Part 1
Boosted B-Series Build… Part 2
Boosted B-Series Build… Part 3
Boosted B-Series Build… Part 4
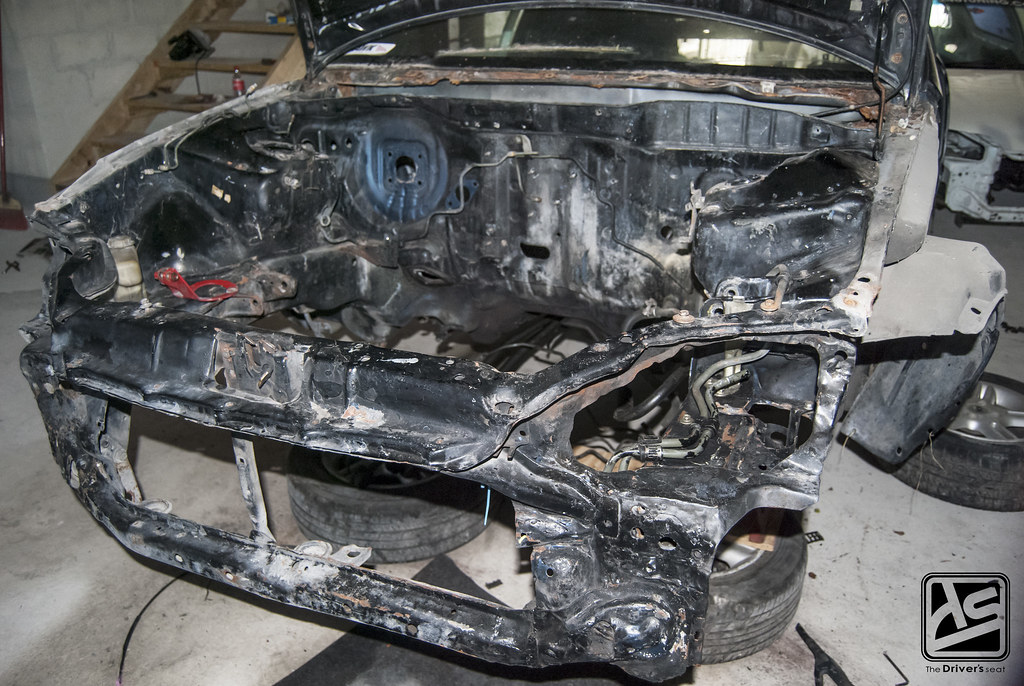
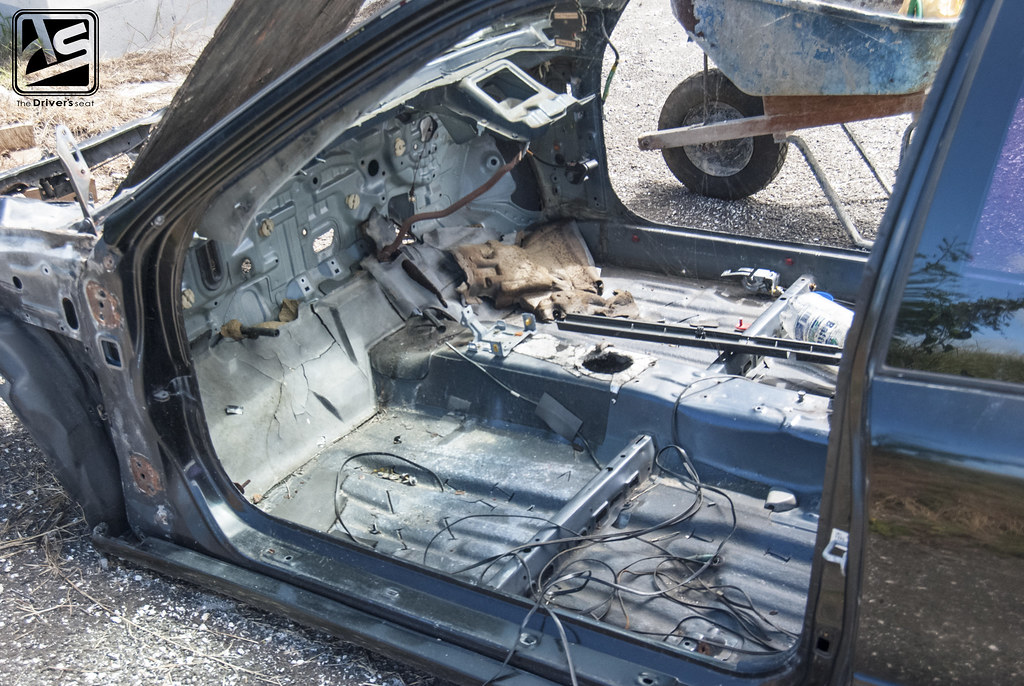
While I was at the shop I decided to take a few photos of the shell Corey was previously using to give you guys a look at the condition it was in. With the shell fully stripped you really get a better look at the damage to the front end.

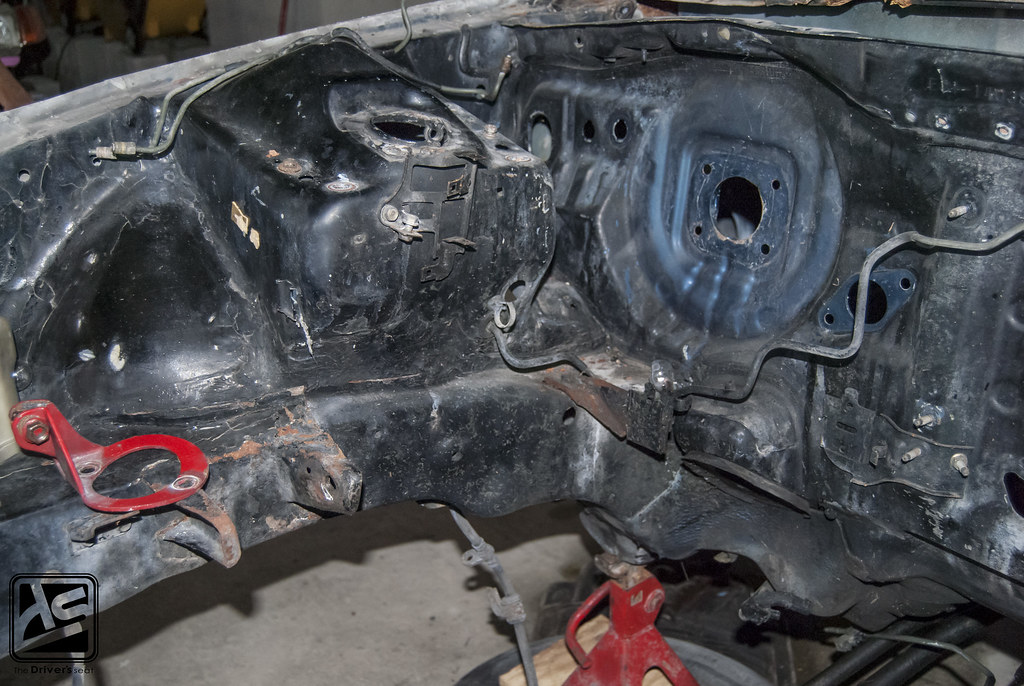
Both left and right side shots of the bay…
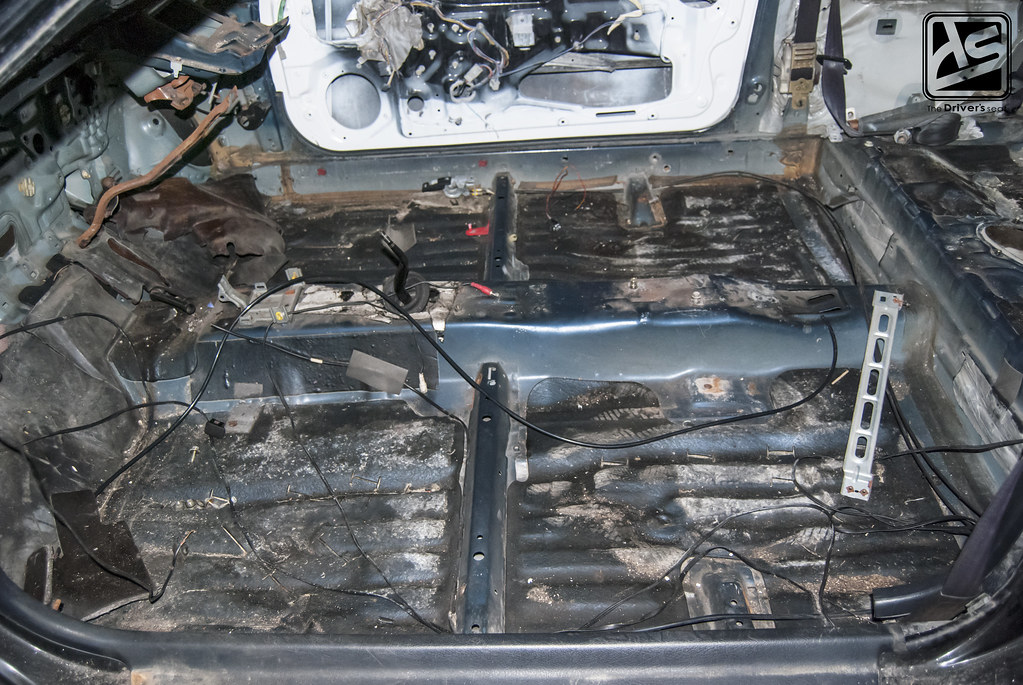
Quick glimpse of the interior now that it has been stripped to practically nothing…
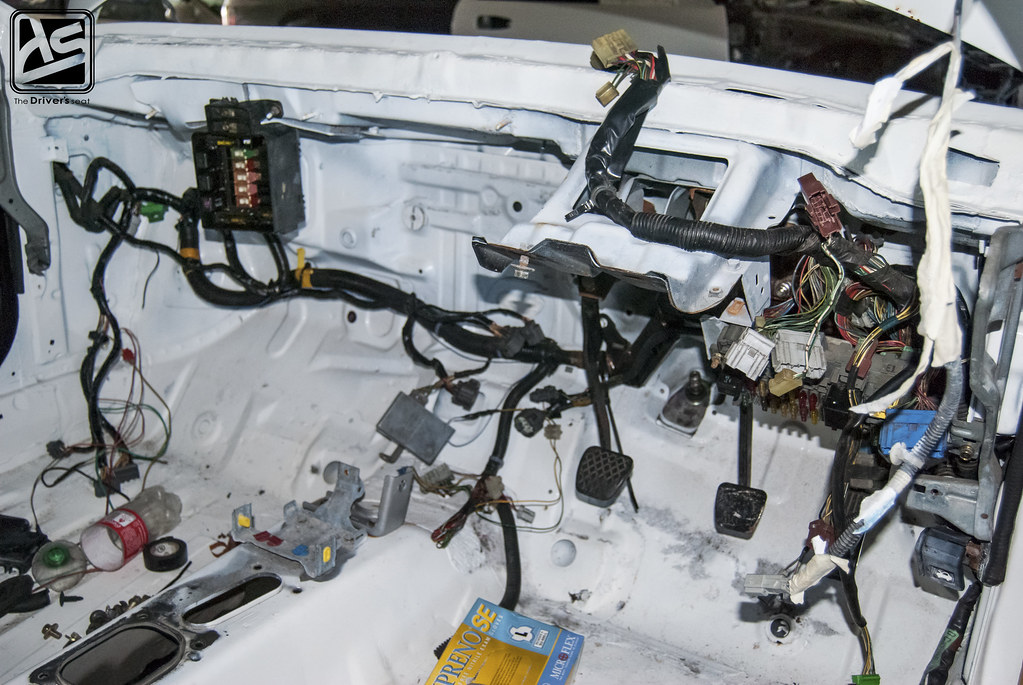
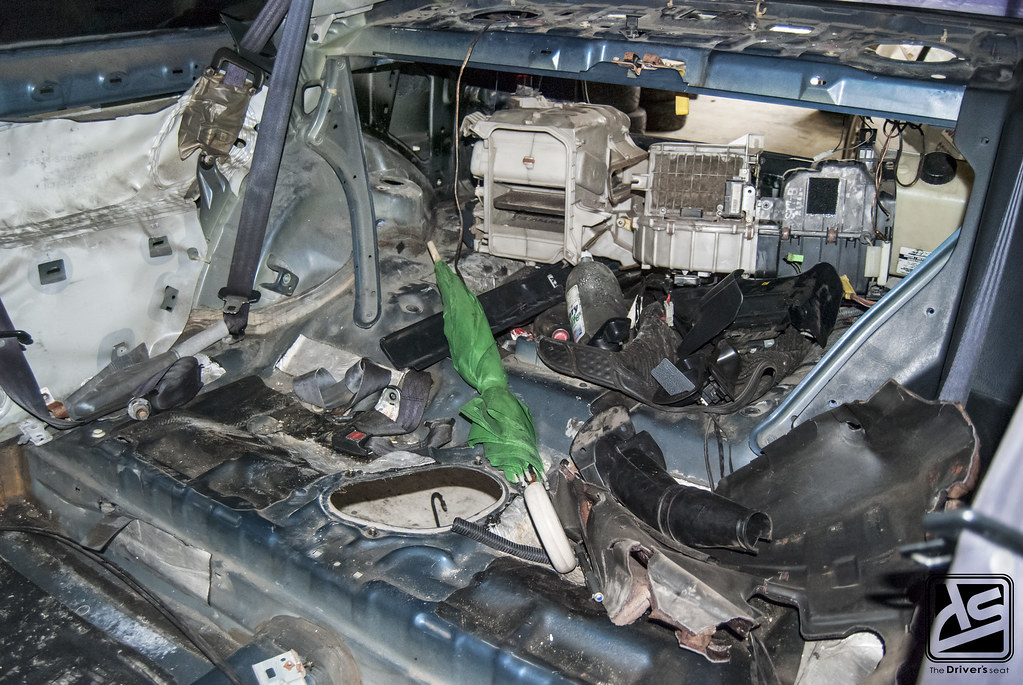
In contrast, here is a look at the inside of the hatch, where Corey started to install the pedals and wire harnesses…
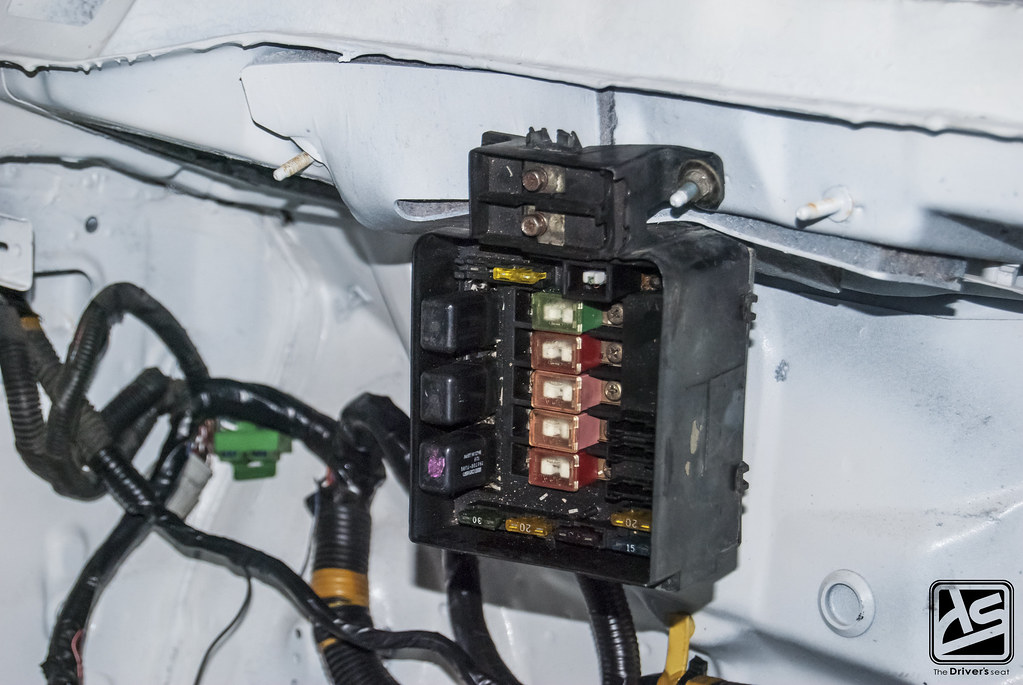
Having to reassemble the entire car, Corey decided to change up a few things and relocated the fusebox behind the dashboard…

Corey putting in some work while listening to Ryan talk about driving something with an oversized steering wheel with lots of angle…
Piece by piece Corey is getting closer…

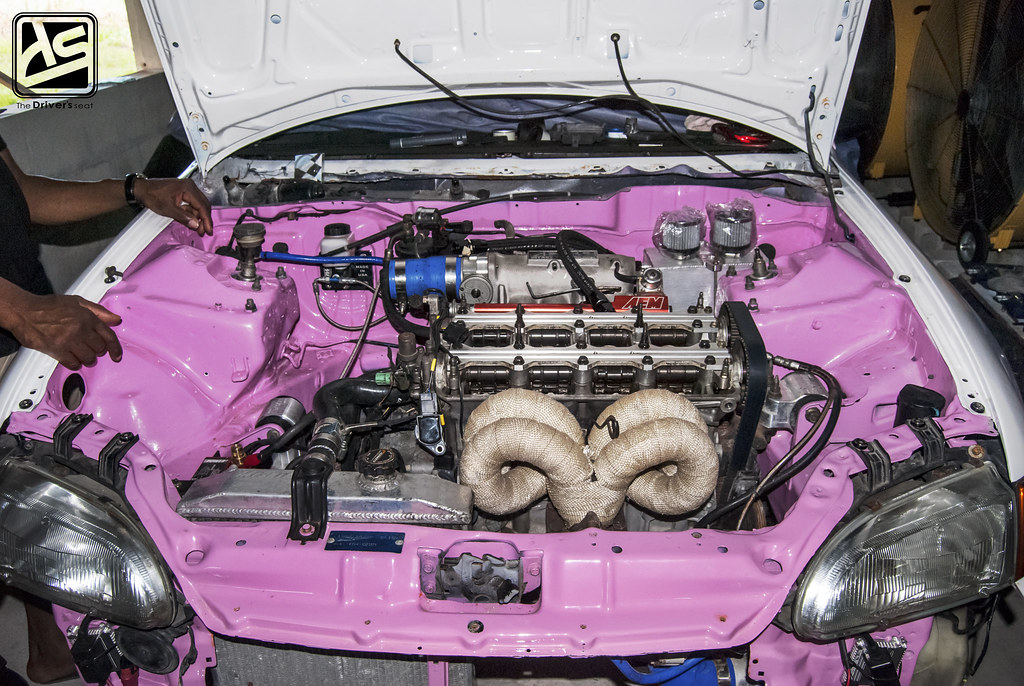
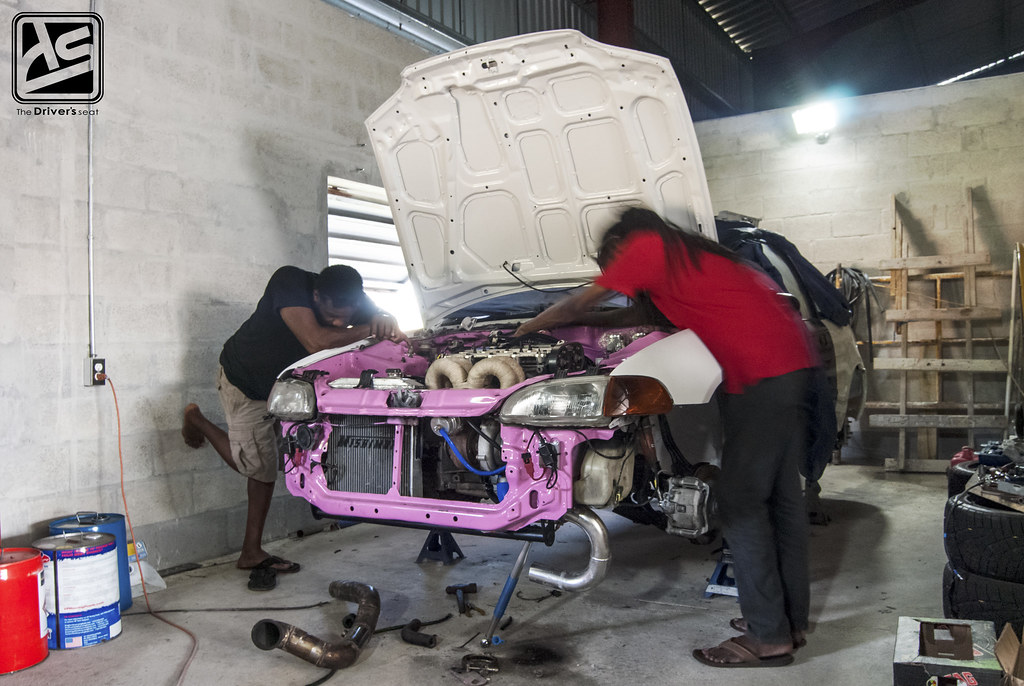
A quick look at how the bay sits with the motor finally in place…

Corey in the process of swapping out the RC 1000cc injectors for a set of Injector Dynamics 1000cc. This change will eliminate the use of a resistor box and also deliver a better spray pattern and pulse width, which will allow for a smoother idle.
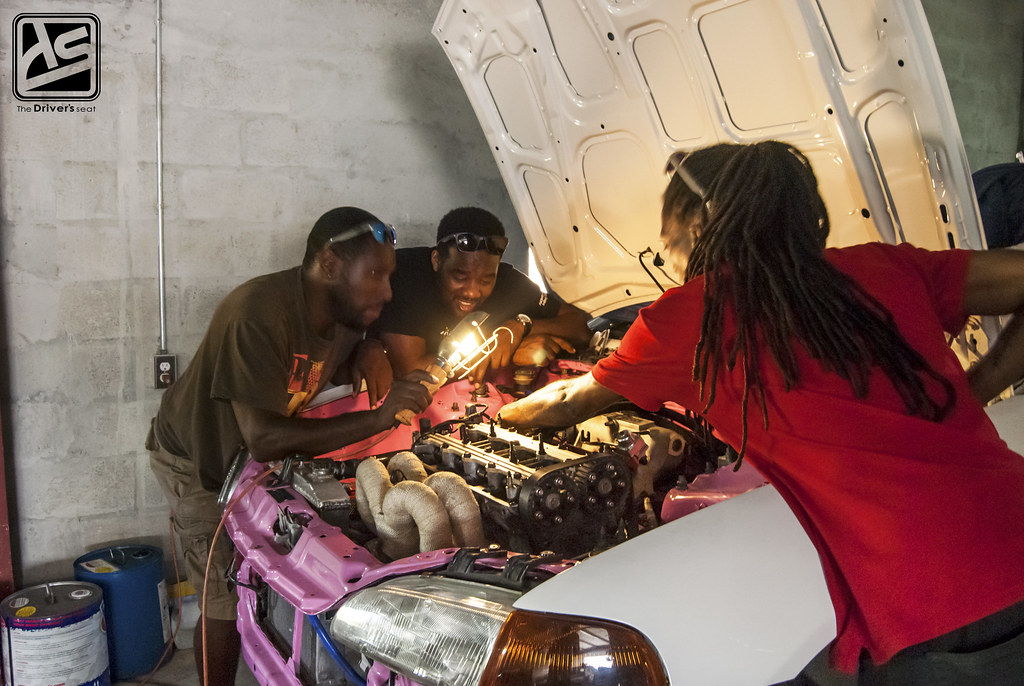
Ryan helping Corey out with some additional lighting…
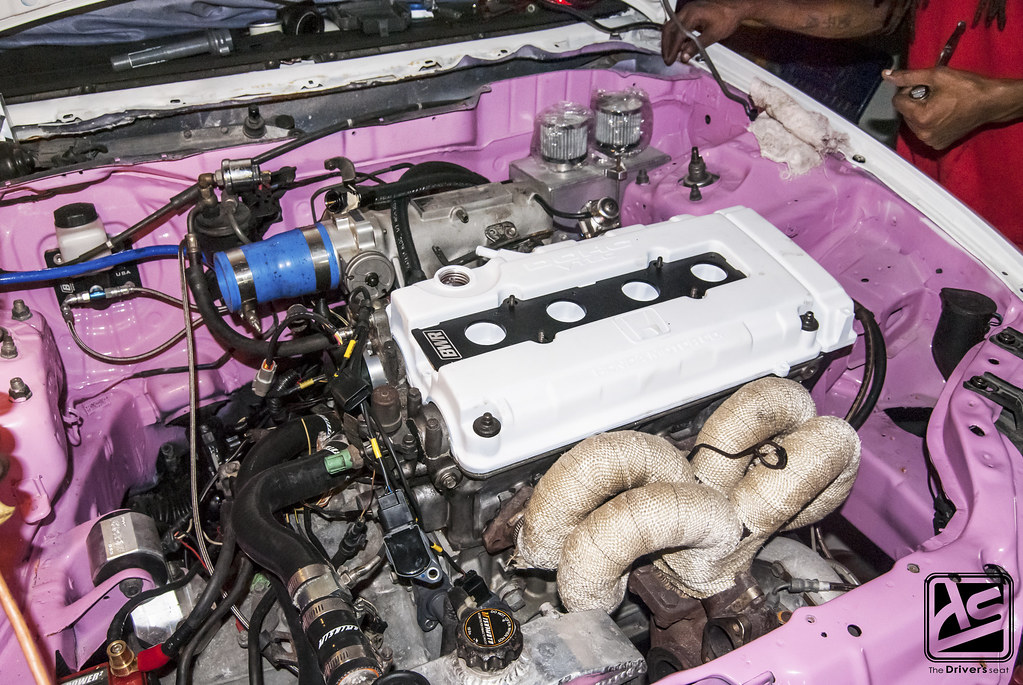
Corey made some additional changes and opted to plastidip the valve cover in white and also purchased a BWR coil plug cover…

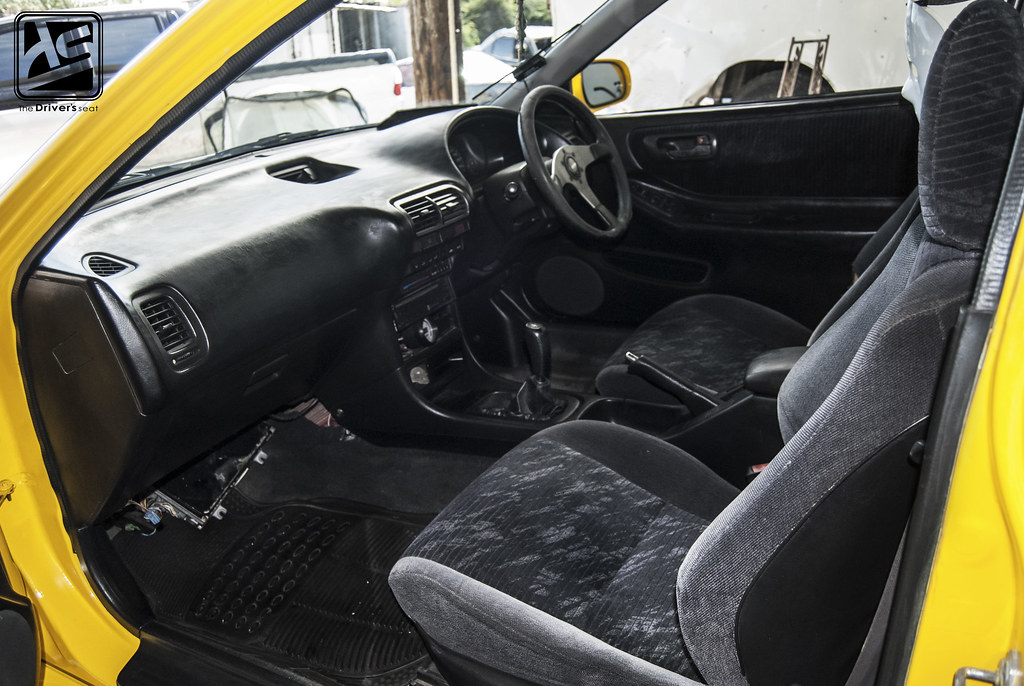
The interior as it starts to come together… The steering column, shifter and dashboard fitted in place along with several gauges and the AEM engine management wired-in. Even with these things in place there is still a fair amount of work needed to be done.
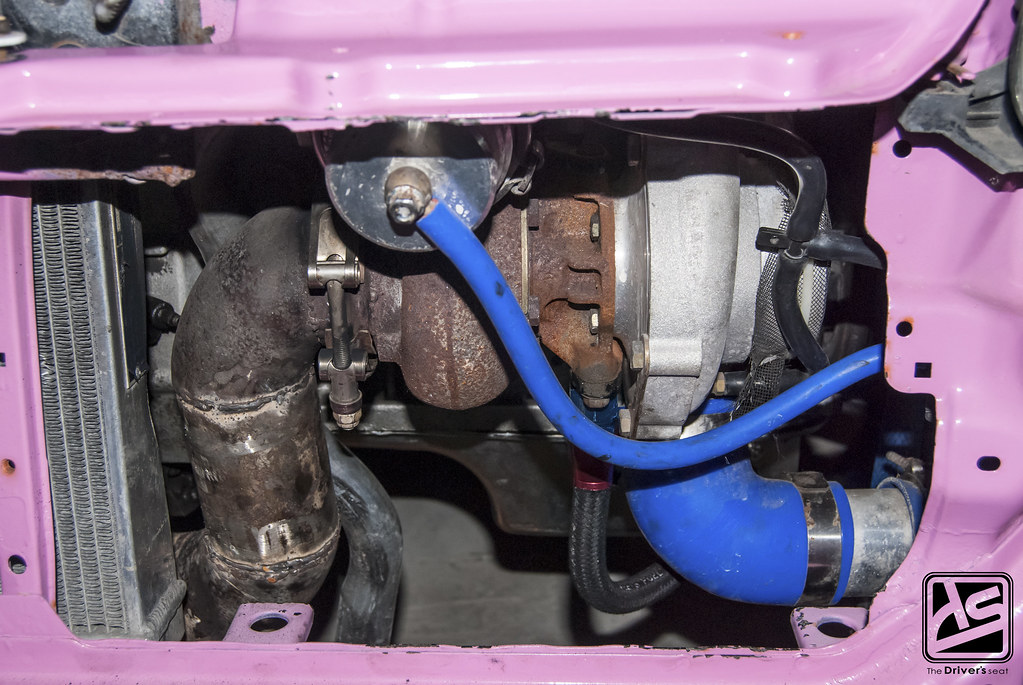
The Precision 6262 turbo and 3″ down pipe…
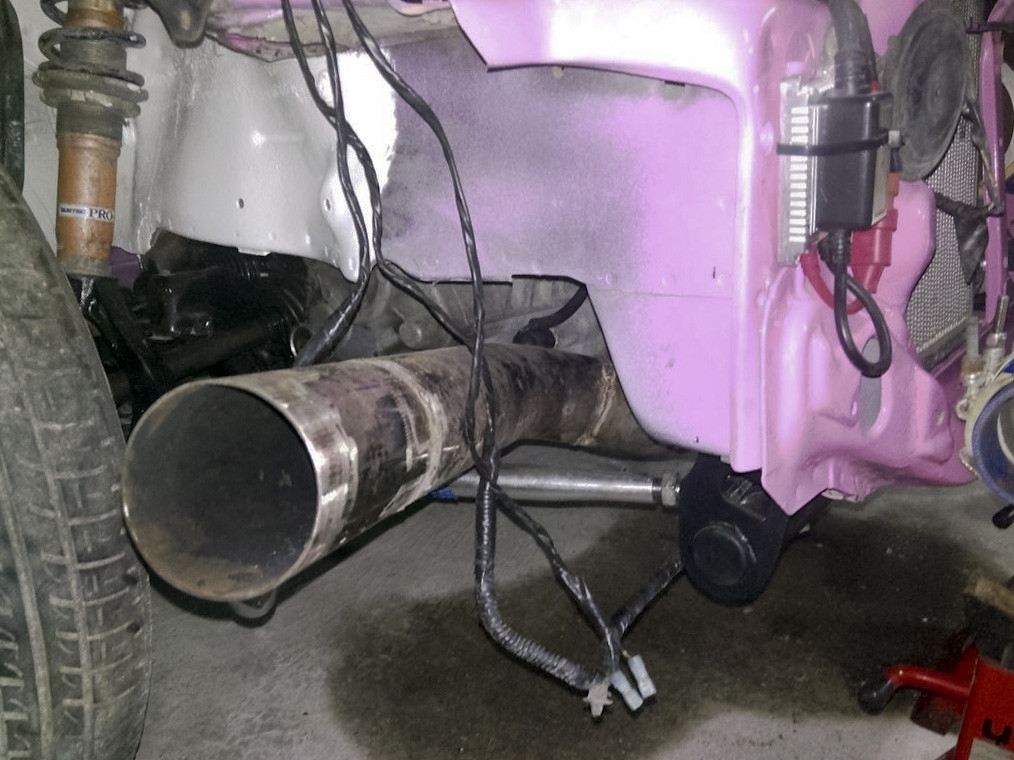
Into a straight pipe that will exit on the right side of the car through the front bumper…
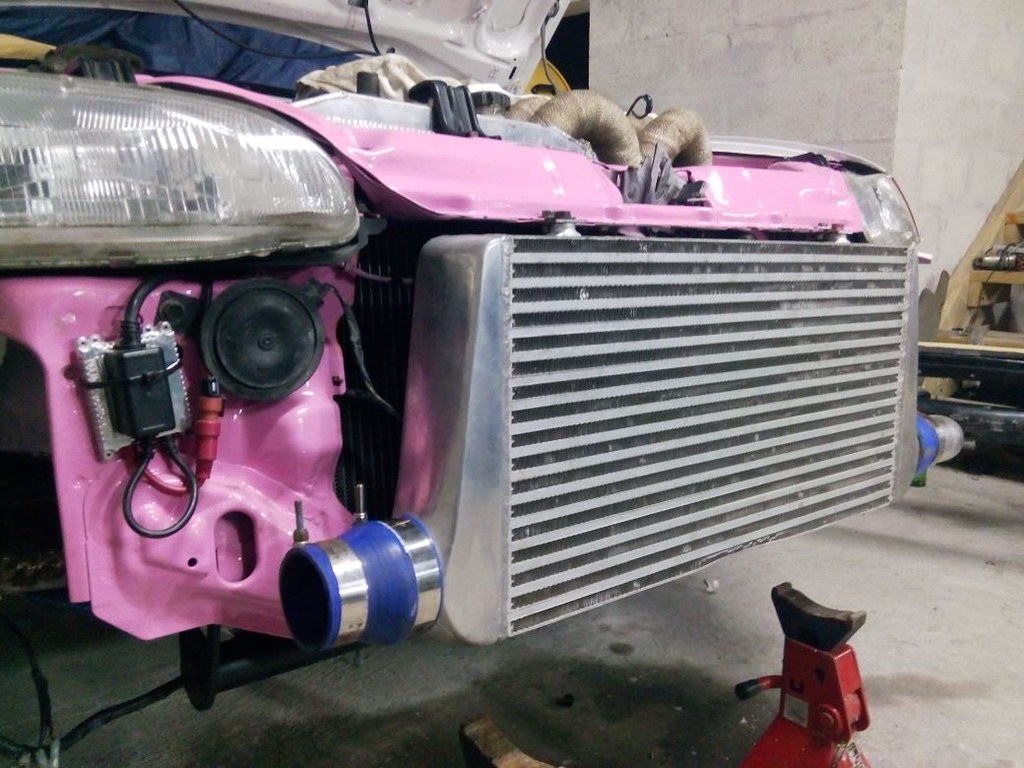
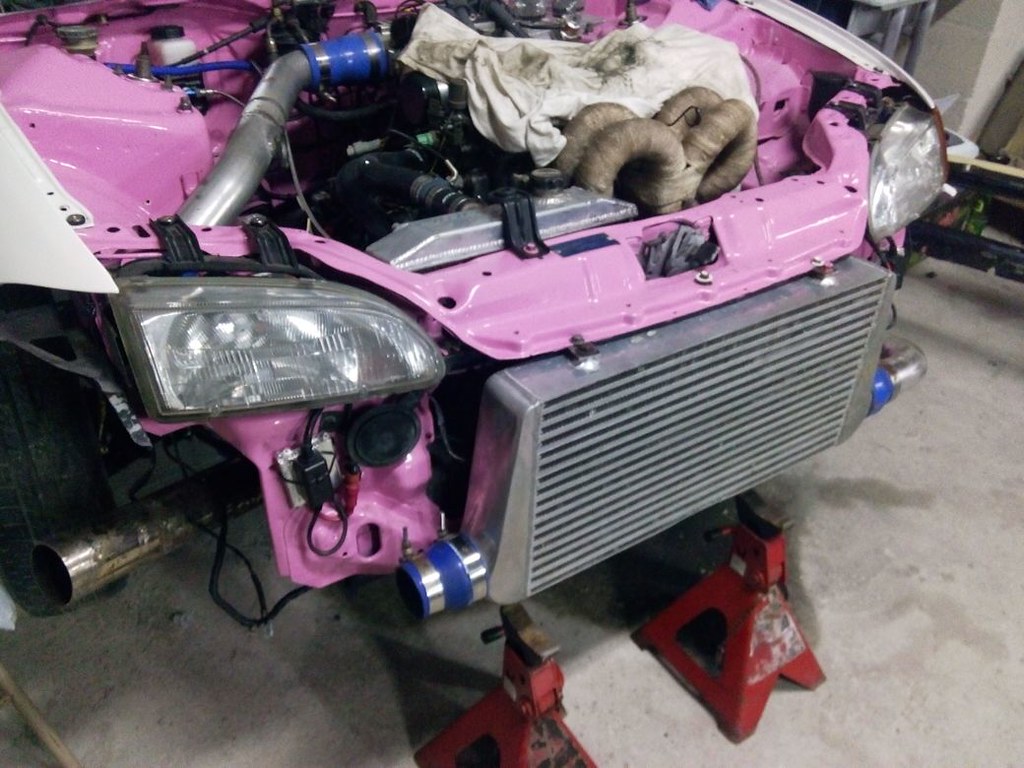
Intercooler mounted in place…
Front view of the intercooler and the piping test fitted…
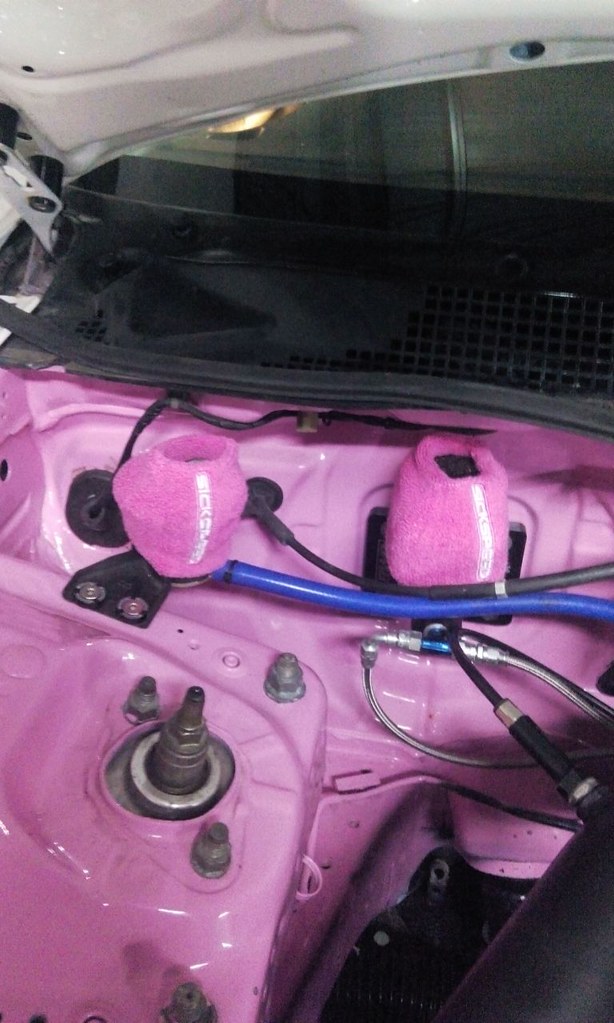
Sickspeed reservoir socks…
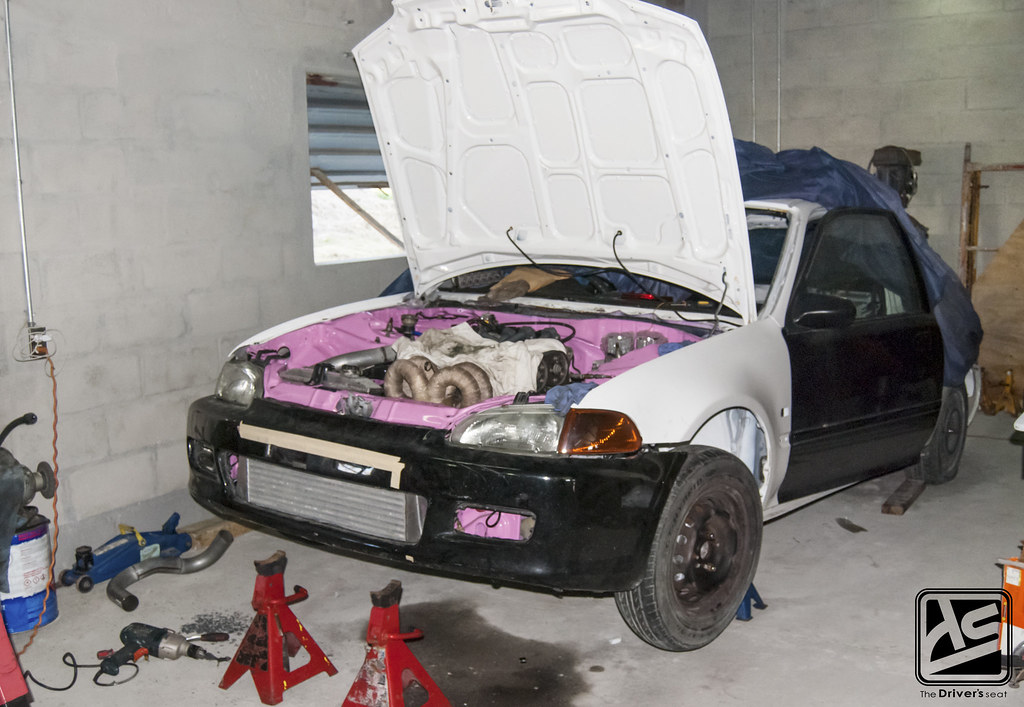
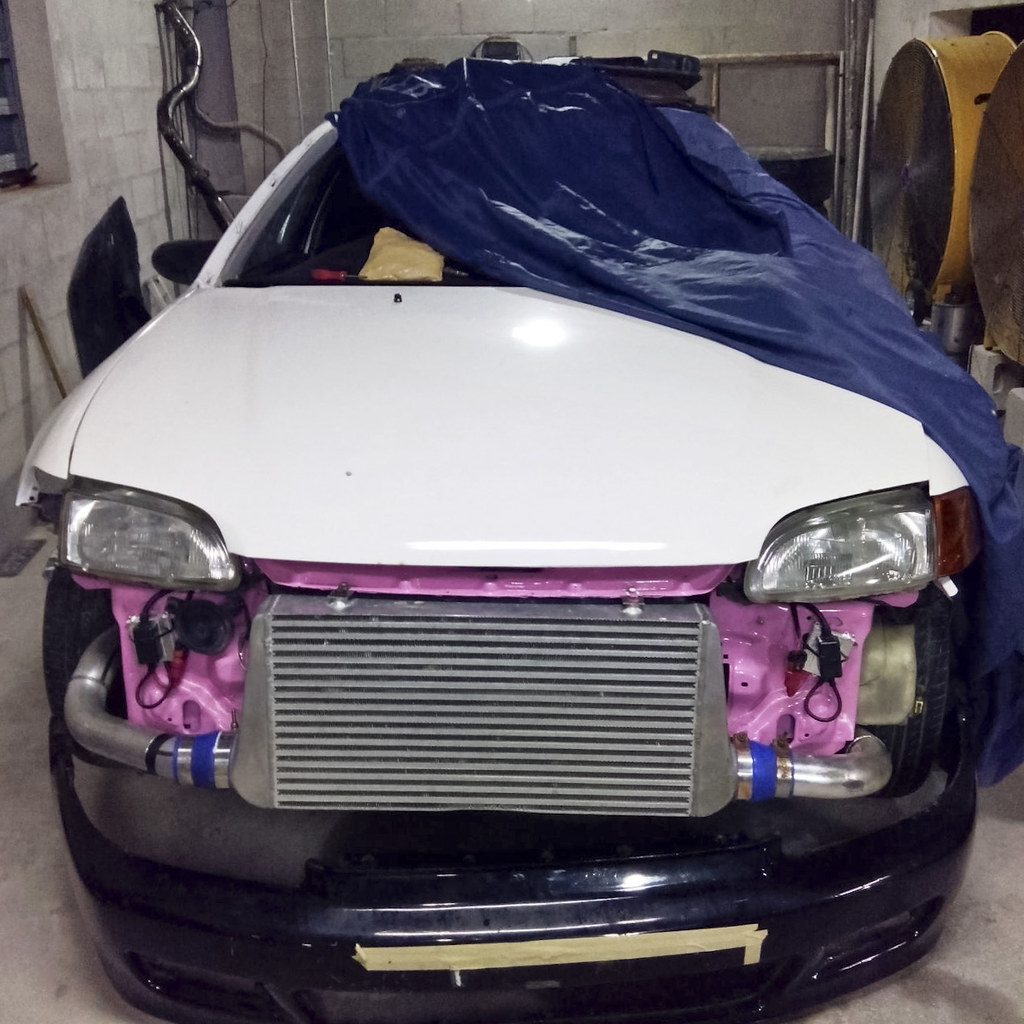
Test fitting the front bumper… If you guys pay close attention you will realize that Corey also swapped over the doors from the coupe to the hatch. After inspecting all the doors, the ones from the coupe proved to be the better out of the 4…
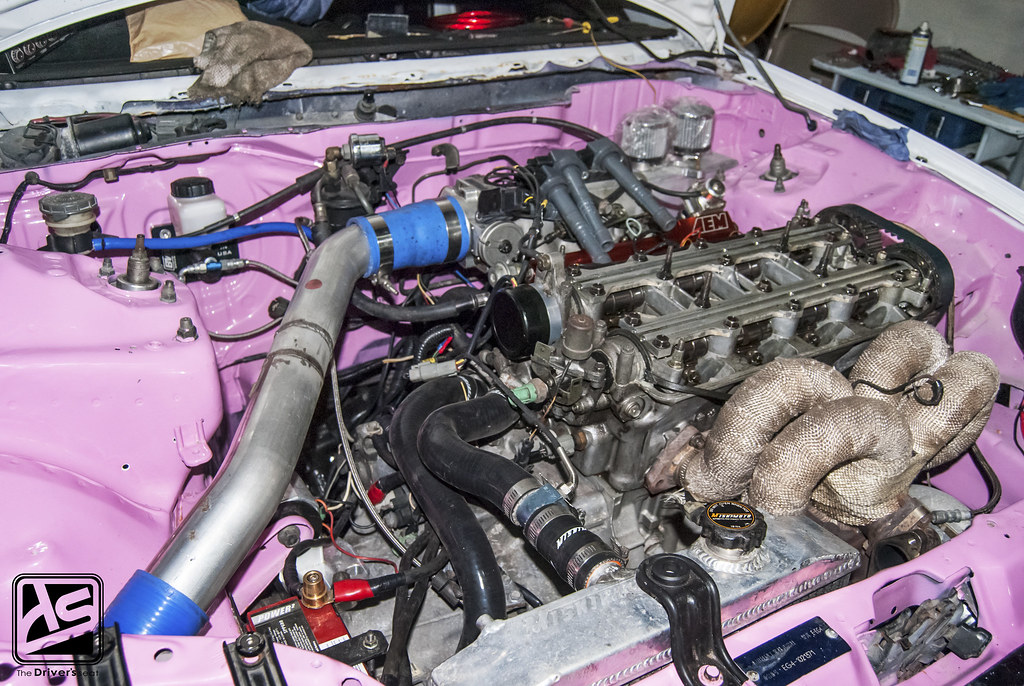
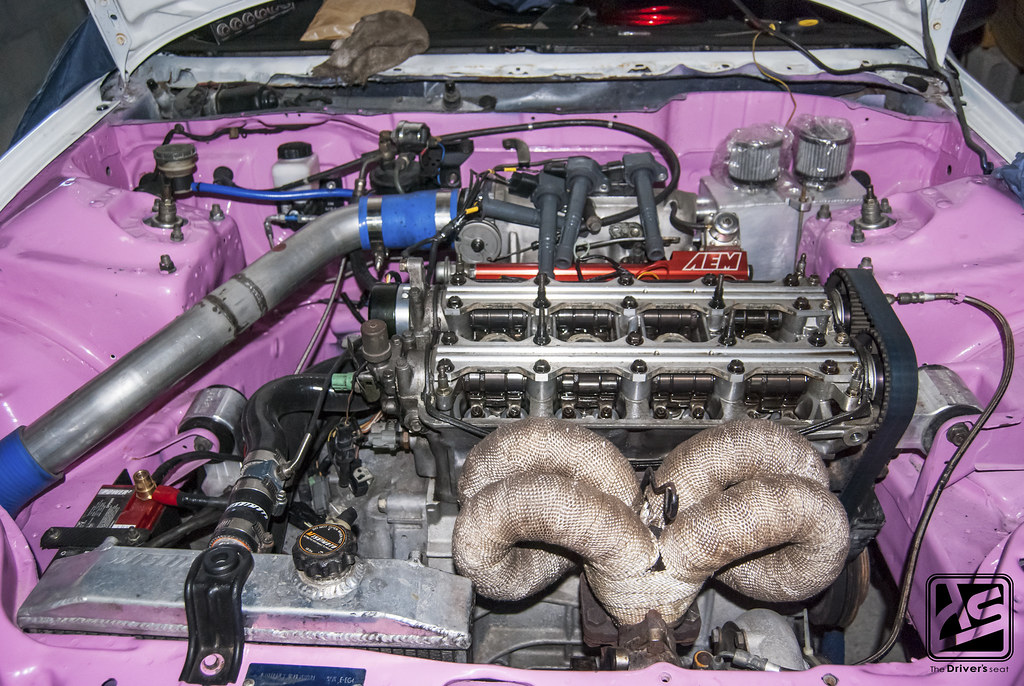
A few shots of the intercooler piping welded and installed. A few other things to note would be the breather tank setup up now in the previous location of the battery. And the battery is now relocated behind the radiator and bolted to the chassis. Corey went a step further eliminating the use of a distributor and going with a AEM EPM (Engine Position Module), that will allow Corey to use a coil on plug setup. To ensure everything runs smoothly in the electrical department, a Rywire coil on plug harness was purchased.
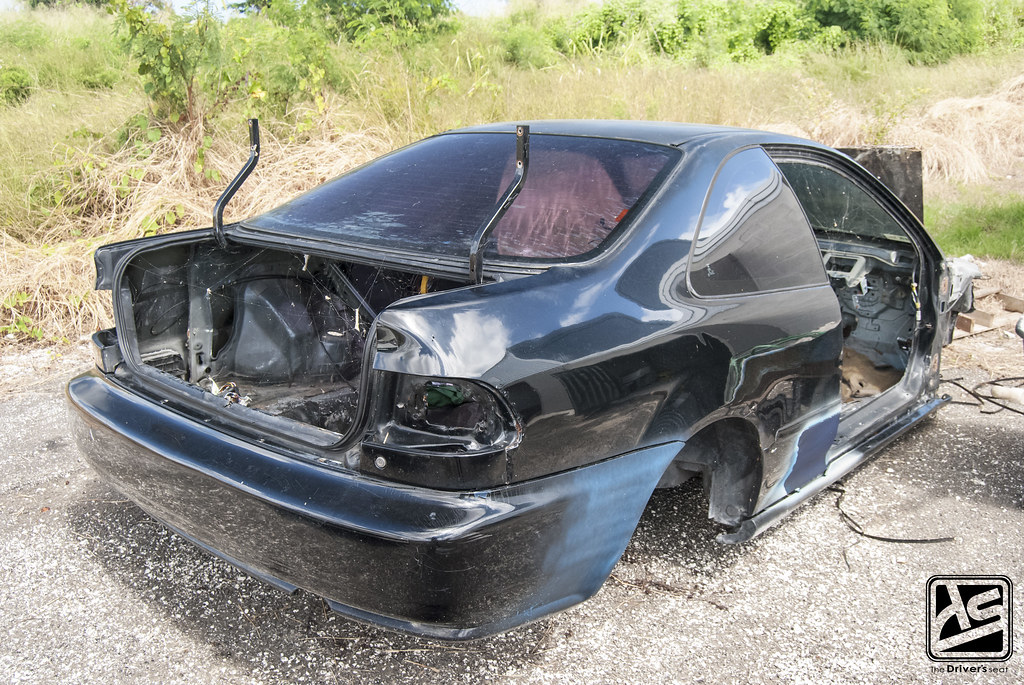

Now that Corey got everything that he needed off the coupe, he moved it to the outside of the shop, which brings us to the end of today’s post. Thanks for taking a look and stay tuned for more to come on this build.
Street Kingz: The Empire… Part 2
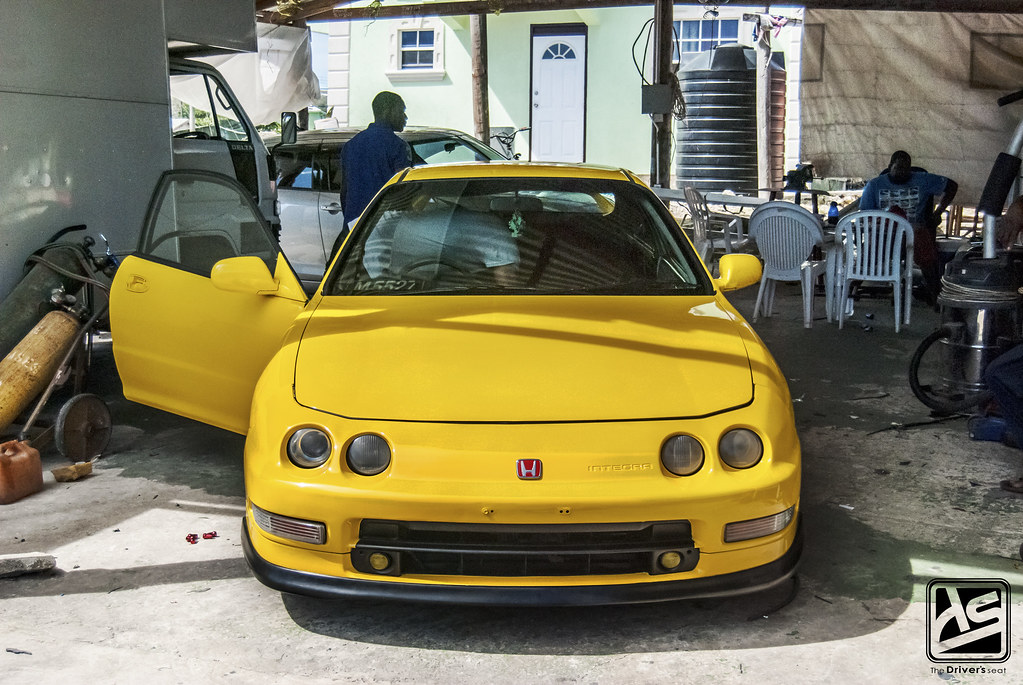
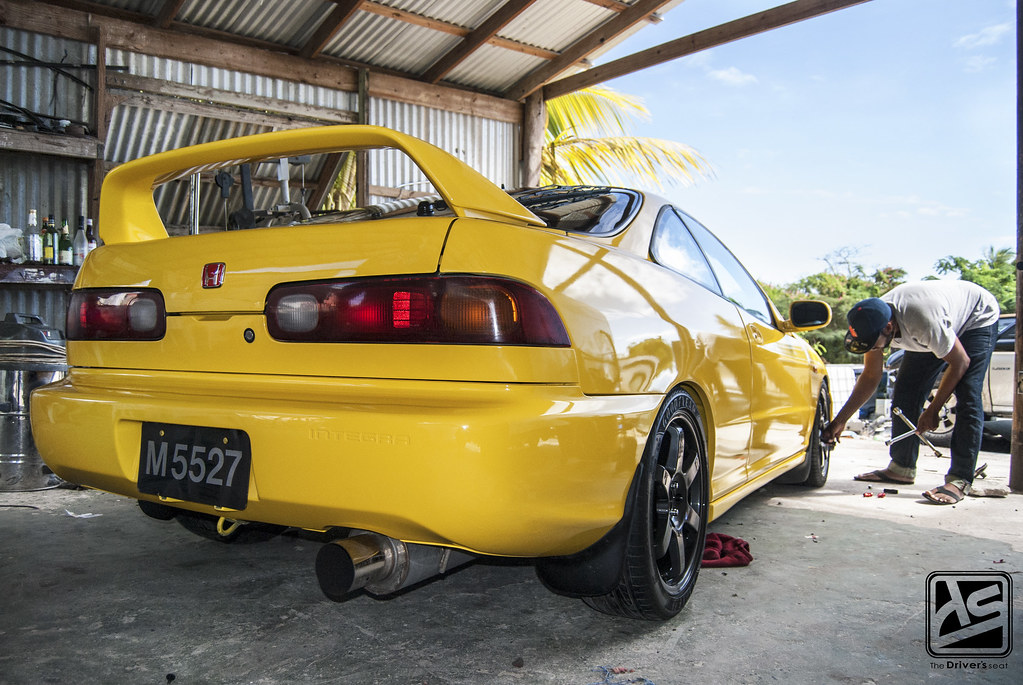
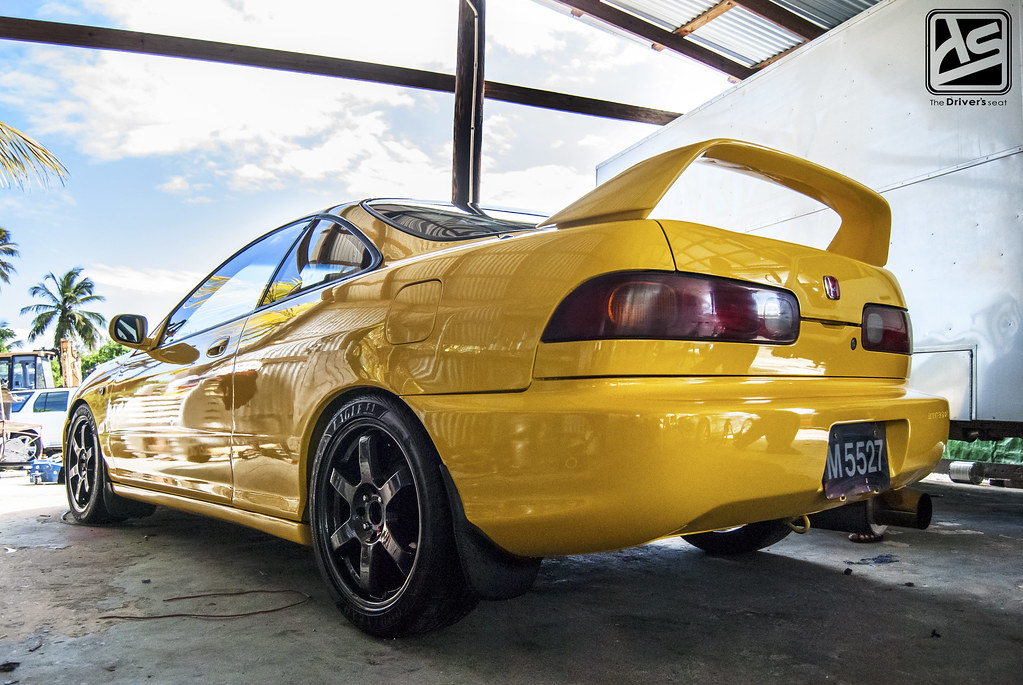
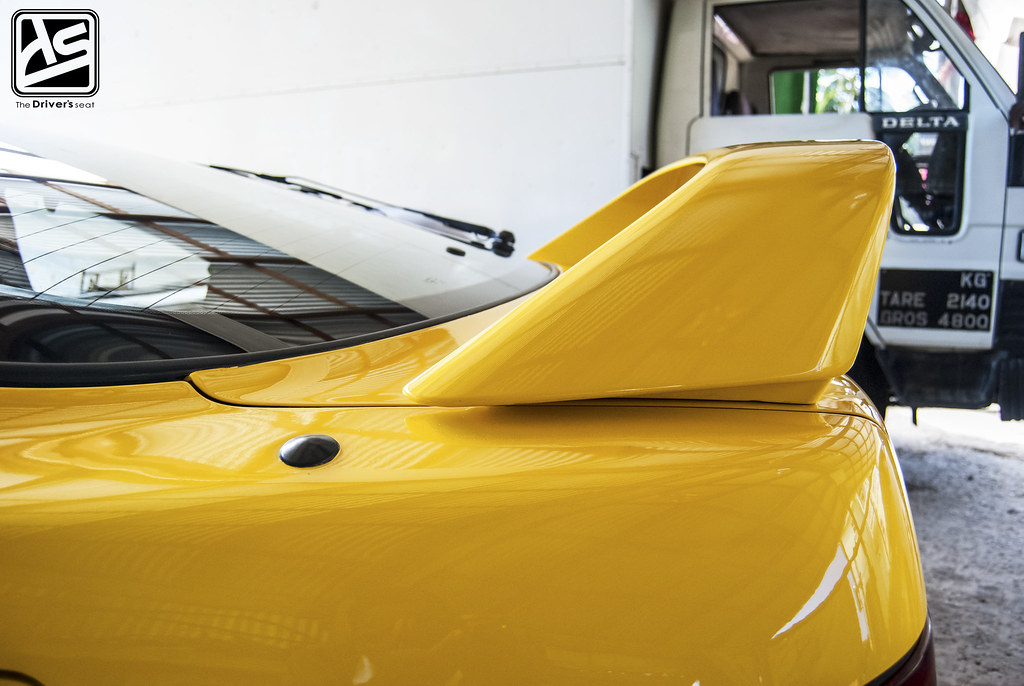
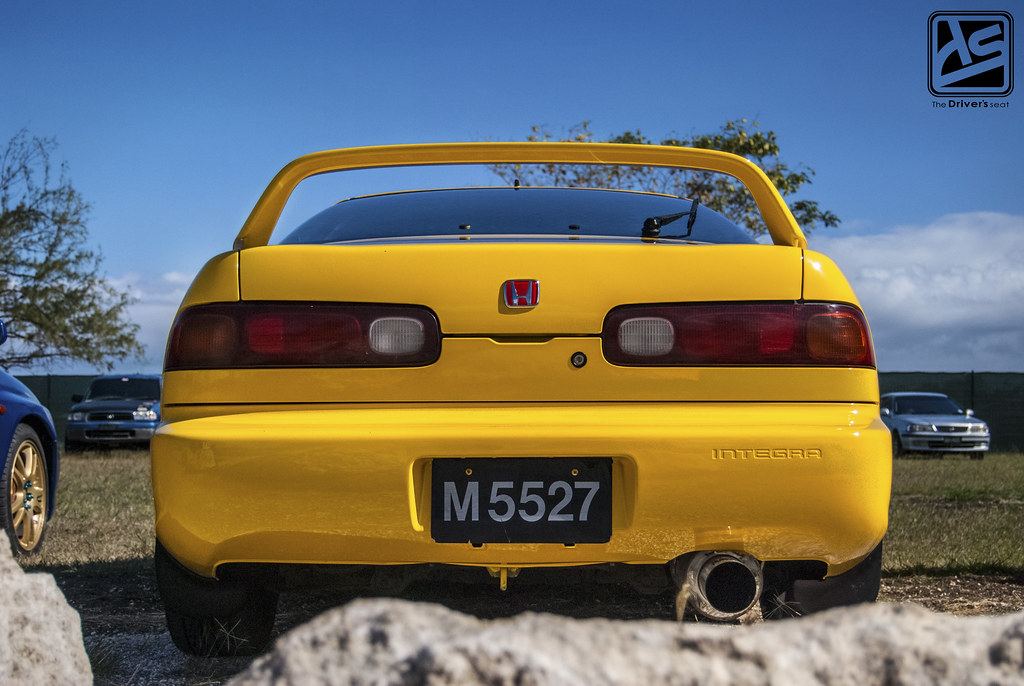
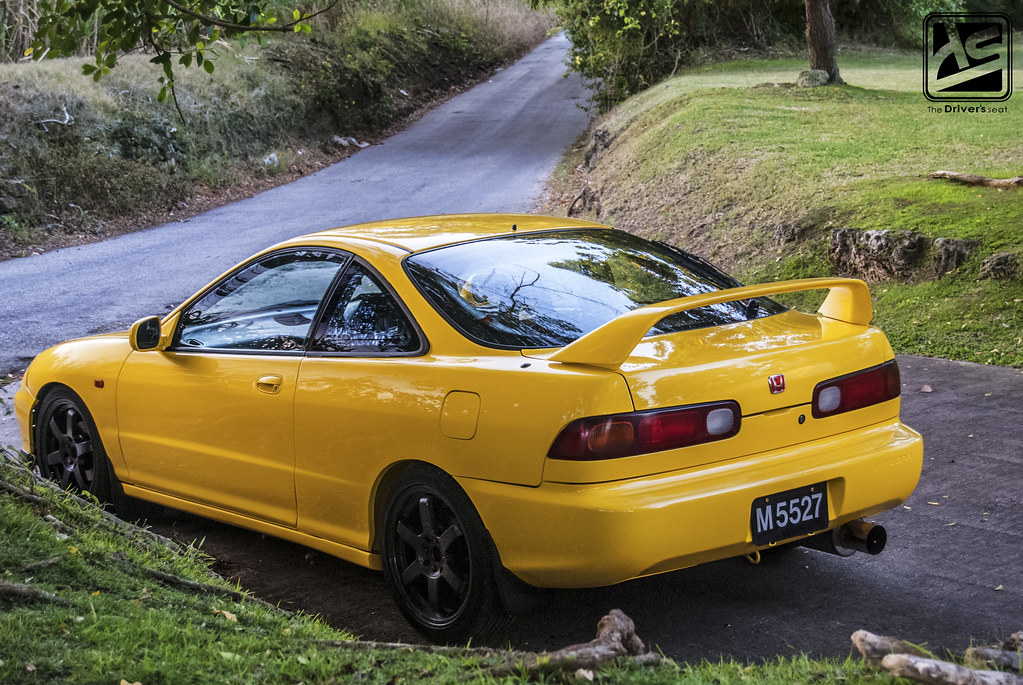
I’m back with another post on Clement’s DC2 Integra GSR. After a few minor delays, Clement got the call saying the car was ready to be collected. Wanting to grab some shots and also get a first look at the finished product, I went with Clement to collect the car. The transformation was simply amazing, we both were in shock at the way things came out in the end. There are still a few things which need to be dealt with but the majority of work has been completed.
For those who would like a follow this build from the beginning, I’ve provided the link below…
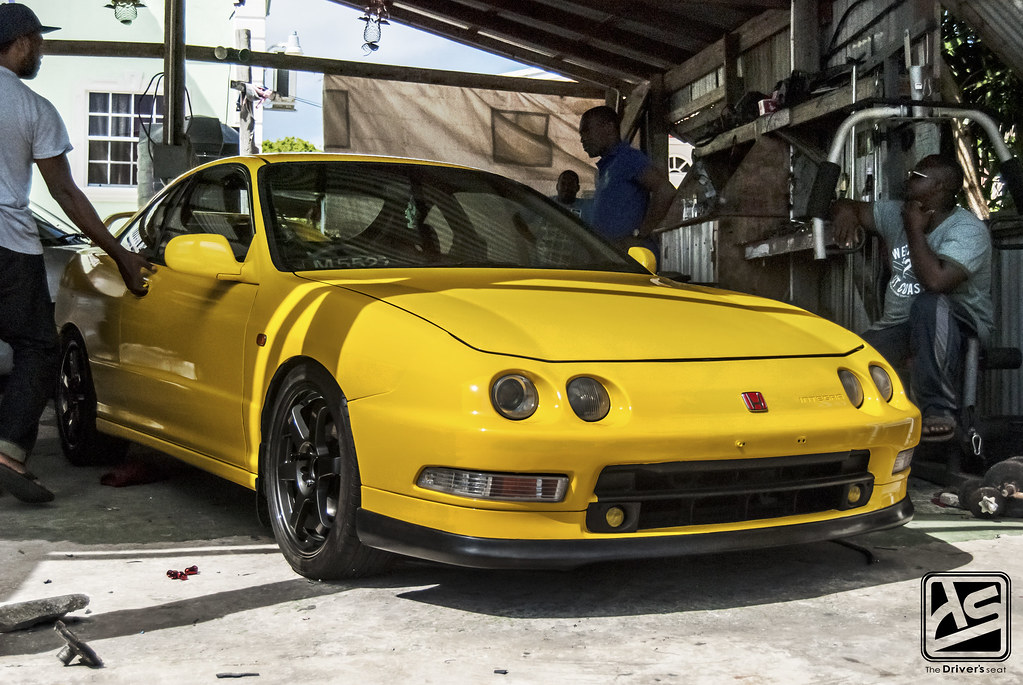
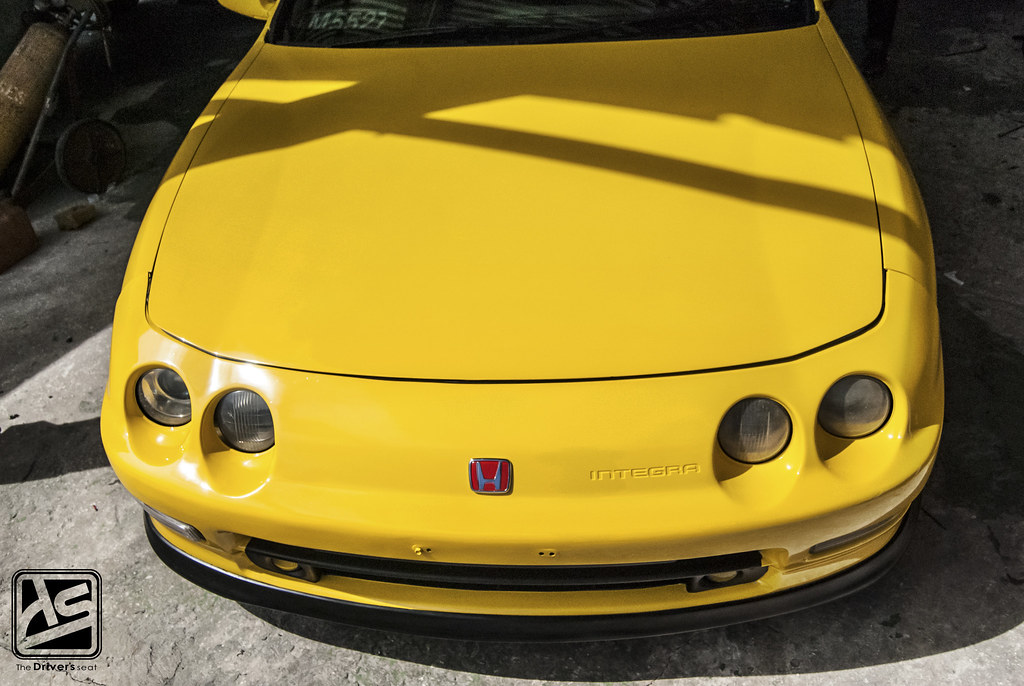
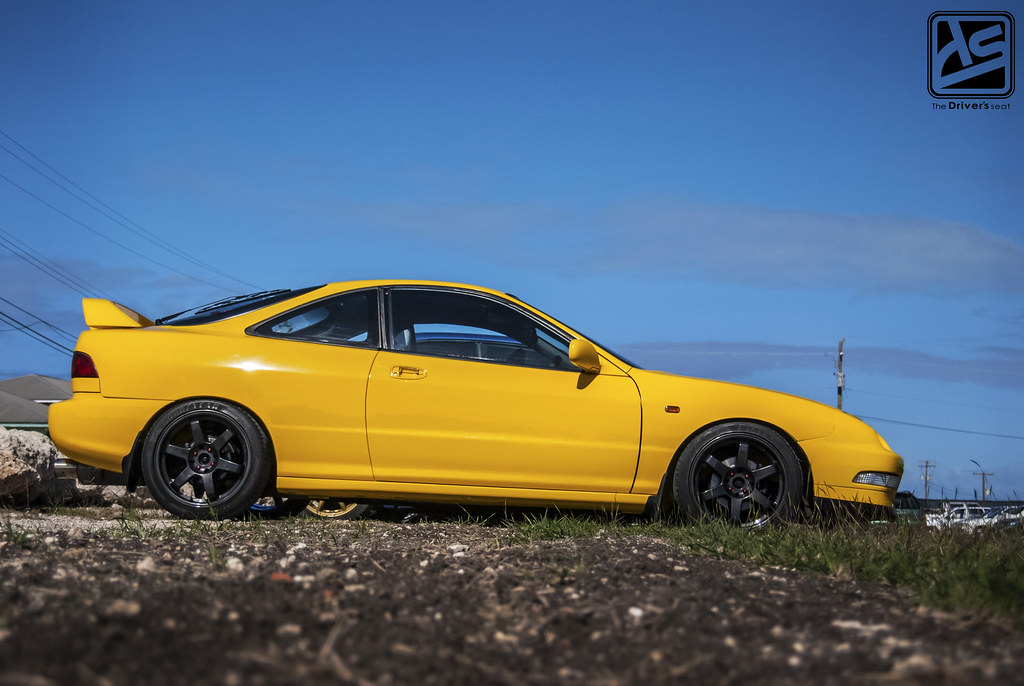
In an attempt to add his own personal touch, and having a few colours to choose from, Phoenix Yellow was Clement’s final decision.
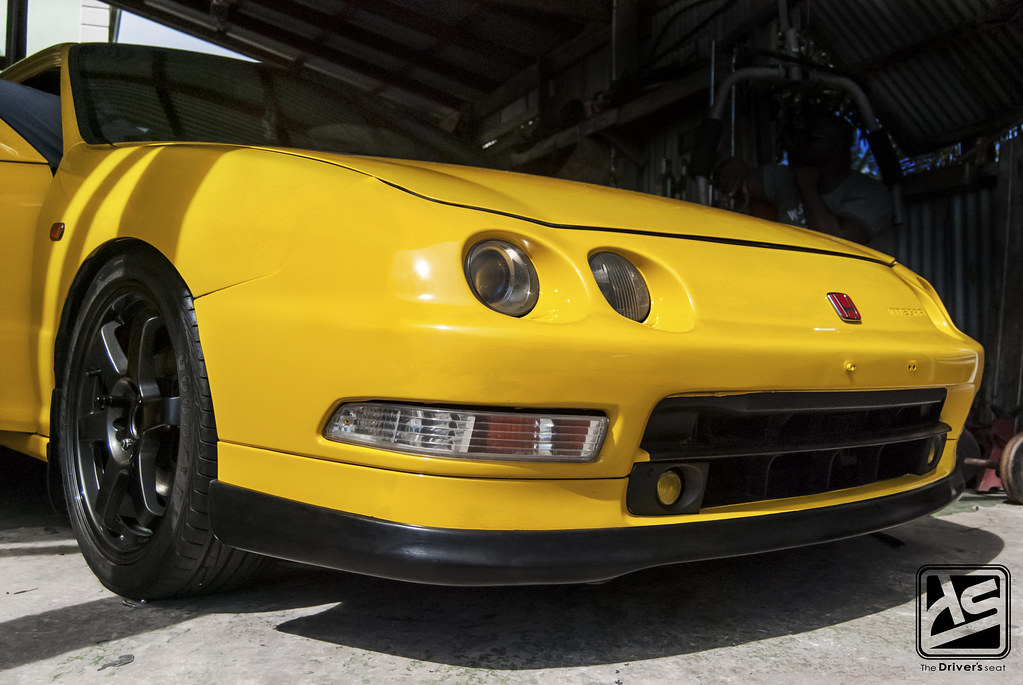
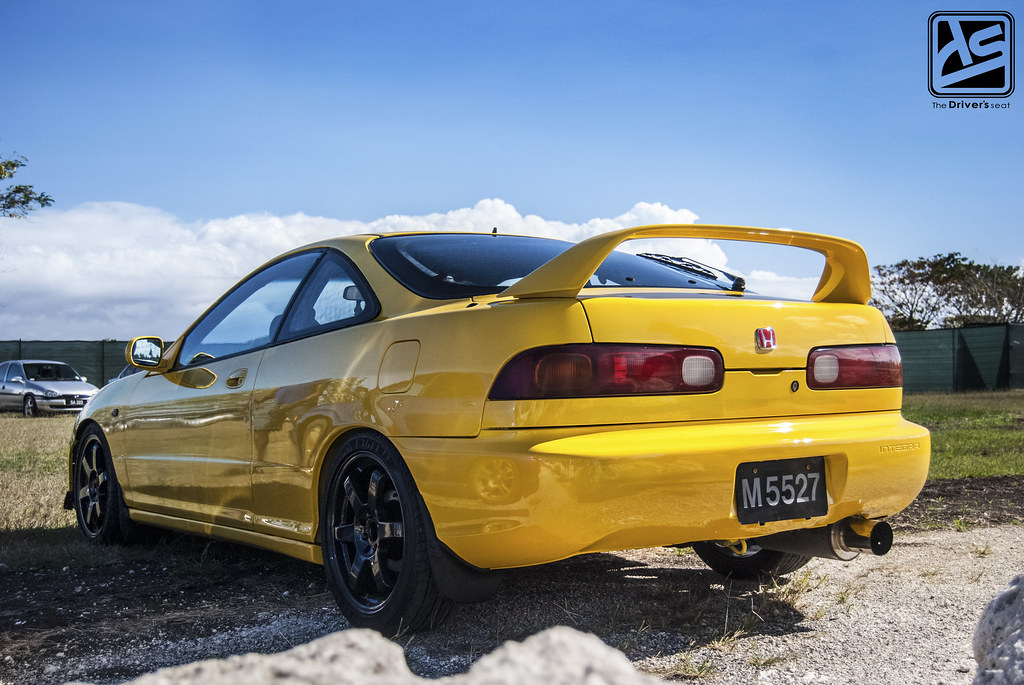
As you guys can tell the front end isn’t quite fitting as it should. The bumper support brackets were damaged and unfortunately Clement wasn’t able to receive them in time for the reassembly. With this being his daily driver, time was of the essence so he temporarily reused the old ones for the moment until their replacements arrive.
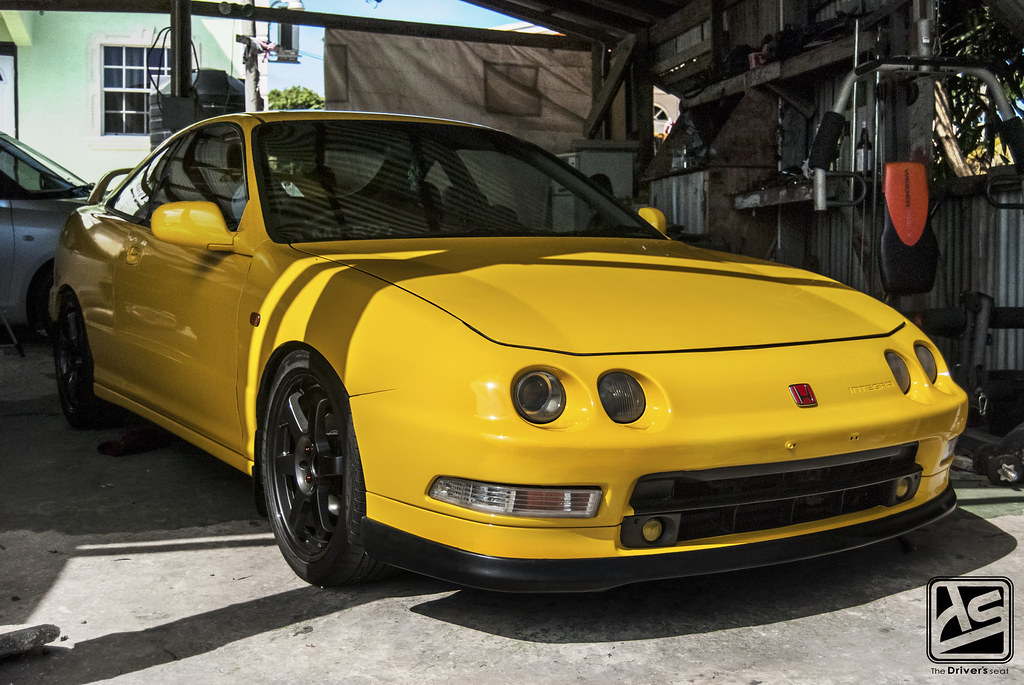
So the front end wouldn’t be completely overpowered by yellow, Clement opted to have the front lip painted black…
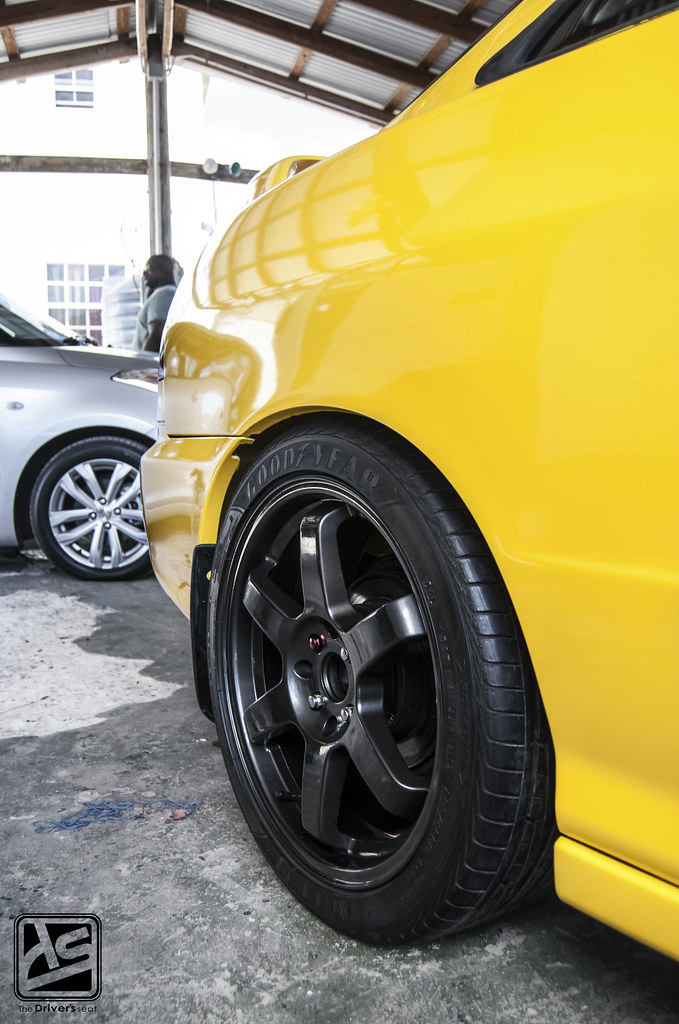
Wheels finished and wrapped in Good Year Eagle F1 rubber…

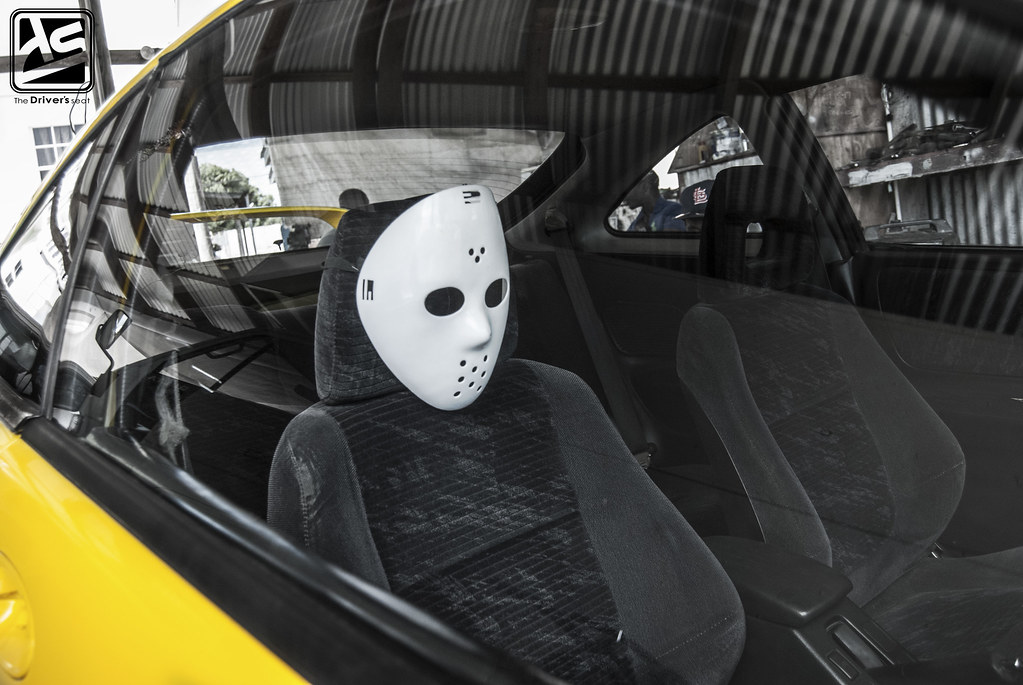
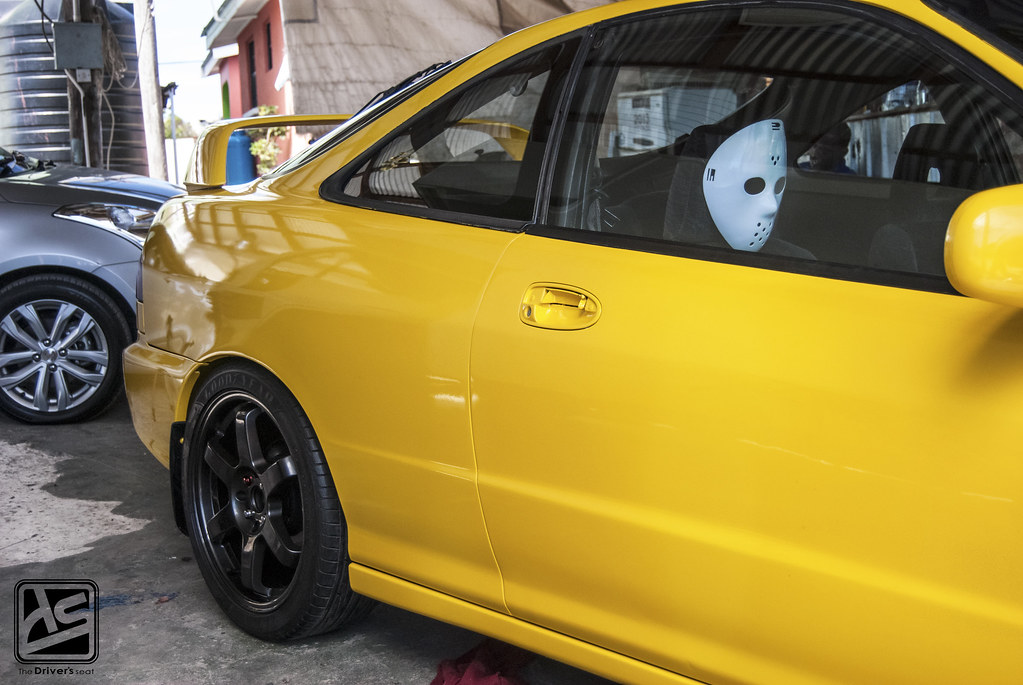
Being a big fan of the Kanjo lifestyle, Clement paid tribute with the signature Jason mask…
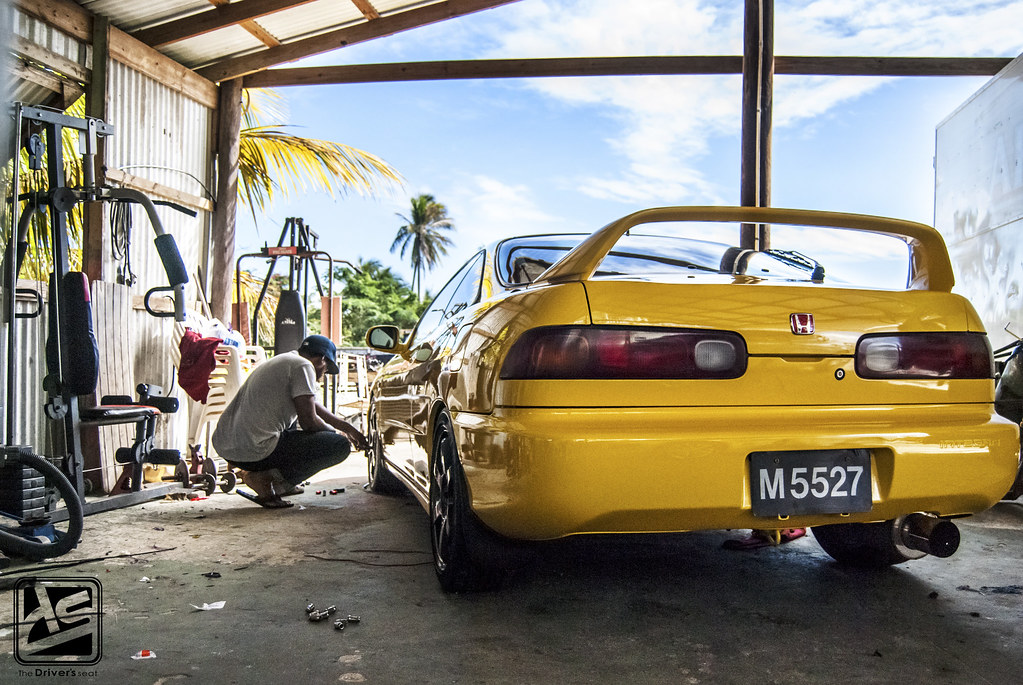
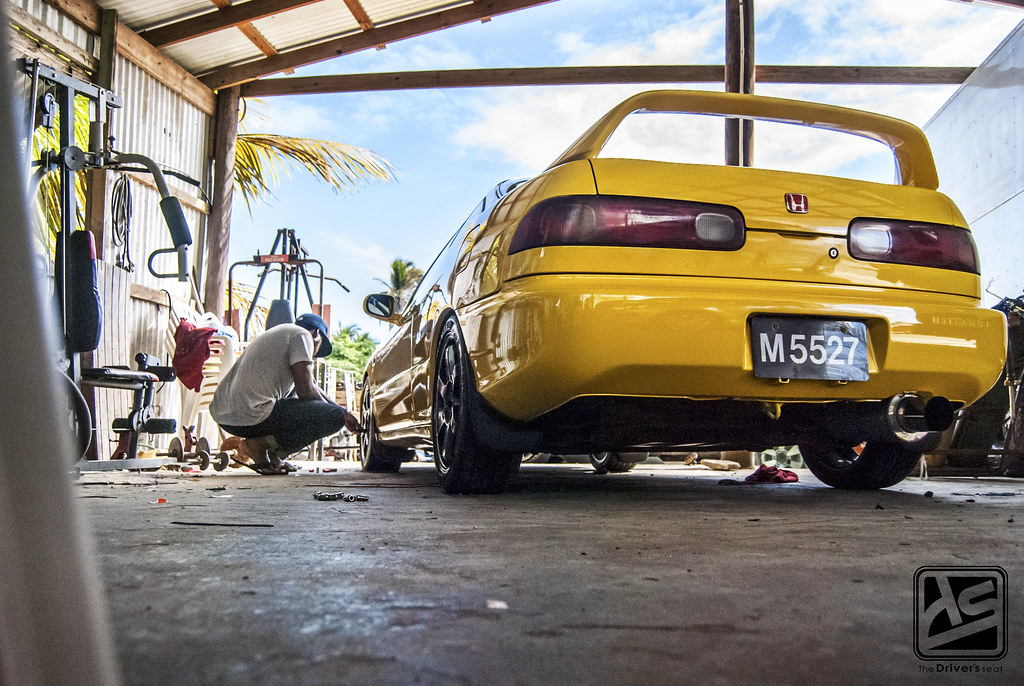
A few shots as Clement was busy installing the new wheel nuts…

After he was finished, we then headed over to Bushy Park Circuit to take in some of the track day action. I took this chance to get a few more photos of the car…


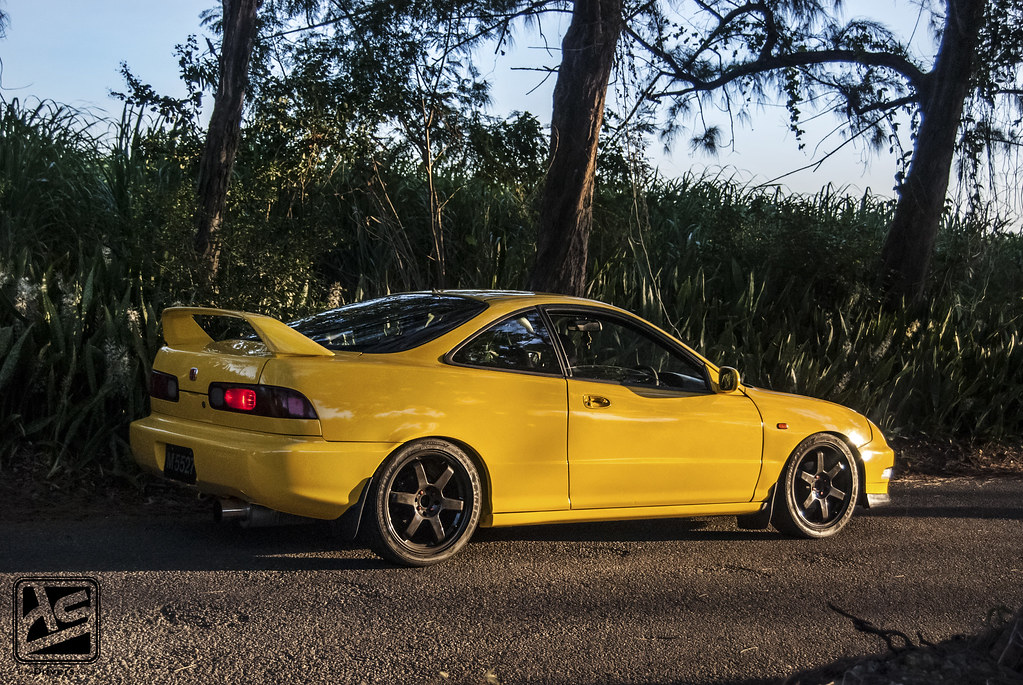
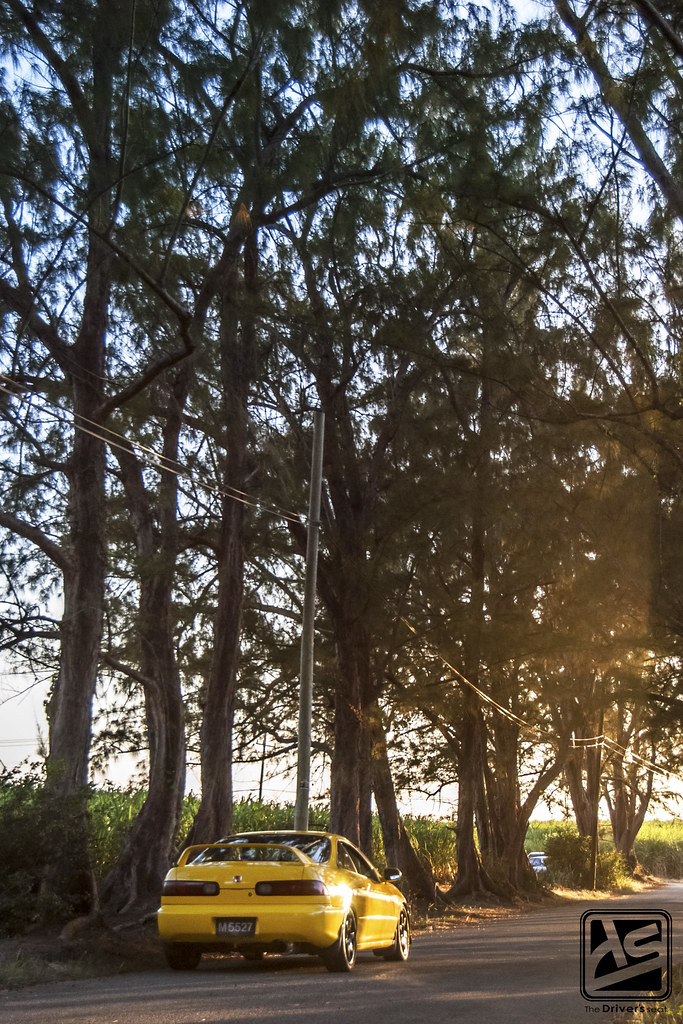
While making our way home, we stopped to snap a few more photos…

That’s it for today’s post, stay tuned to see some more on this build and also a look at another members of Street Kingz…
