
Track Bred EG6 Build… Part 30
Welcome back to what has become more than just an average car build. Jerry has taken this to a whole other level, making it so much more. From the conceptualization of the idea, gathering all the necessary information and moving this build beyond just the paper stage – countless hours have been dedicated to getting it to this point. Even though not completed as yet it’s still interesting to see this limits Jerry will push this chassis to.
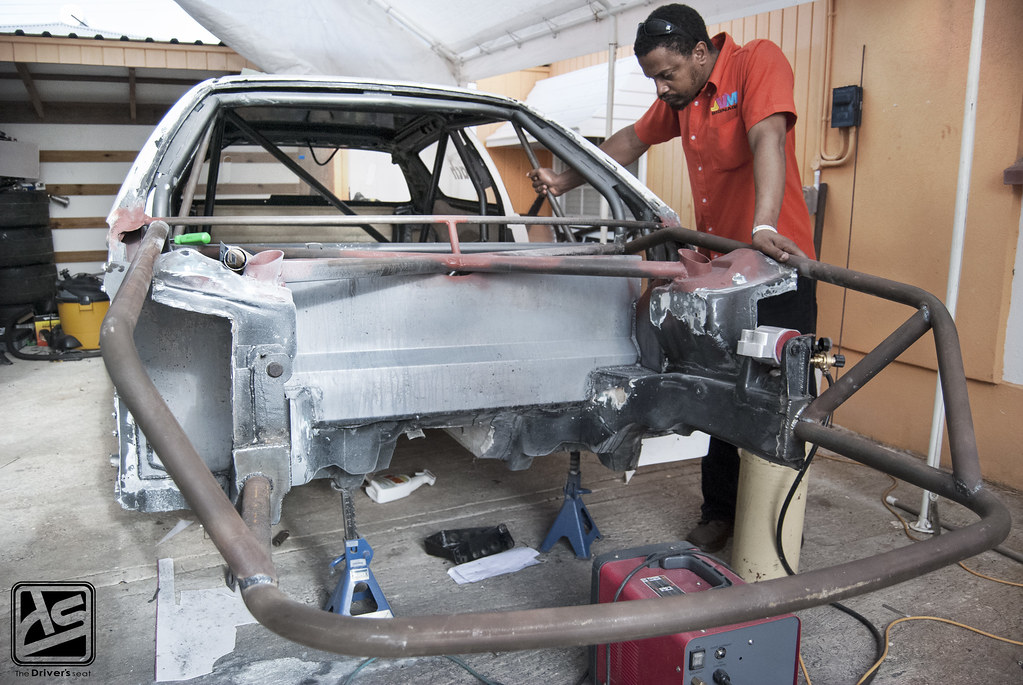
In today’s post, we’ll take a look at the progress made since the last update and a closer look at some of the welding work done by Delarc Fabrications.
For those who would like a full recap of this build, I’ve provided the link below…
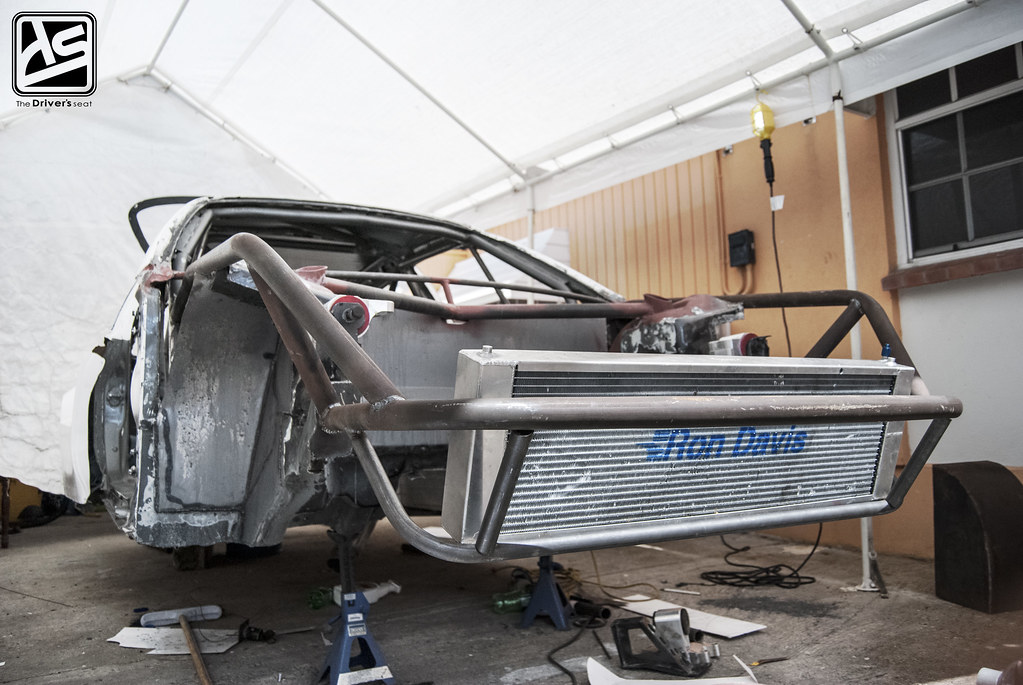
A look at the front end now taking some shape and giving you guys a better idea of where this is going…


Left and right views of the front end which is now partially tube-framed…

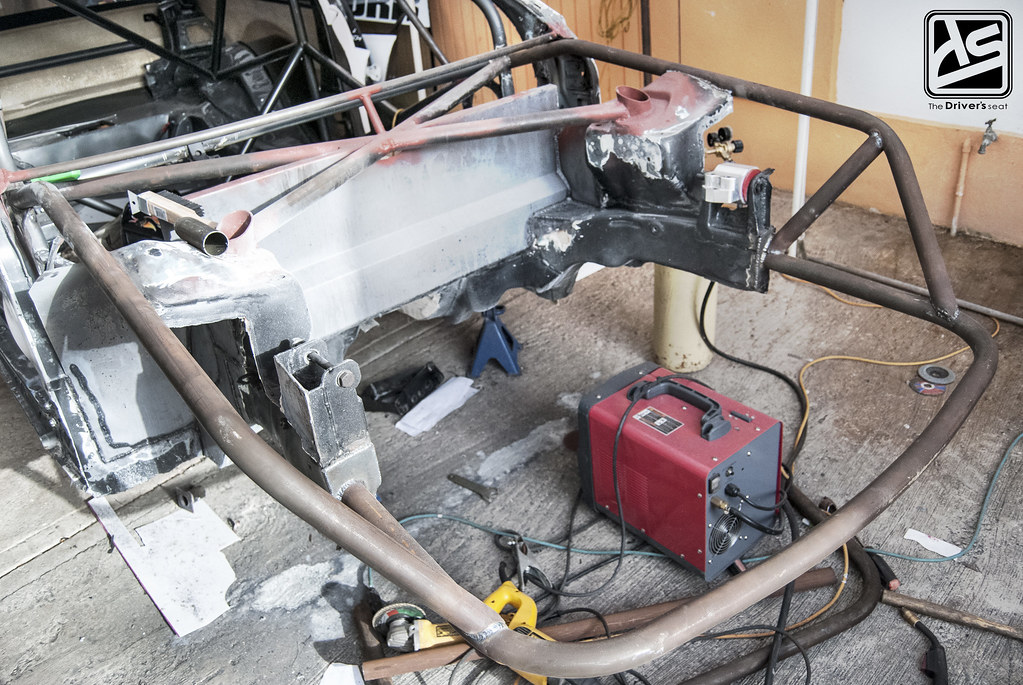
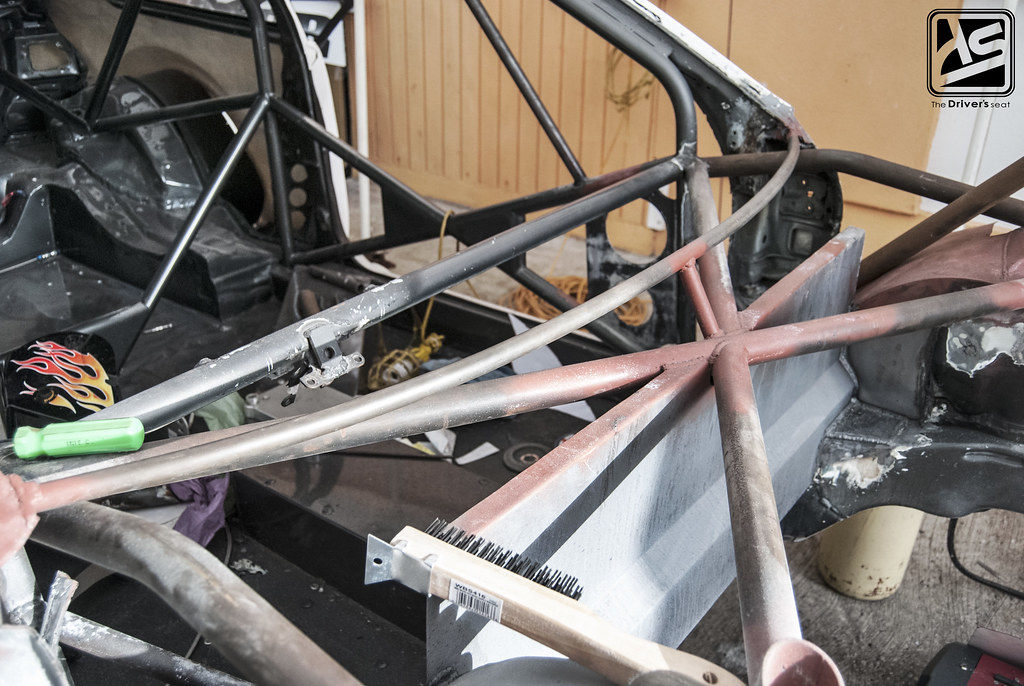
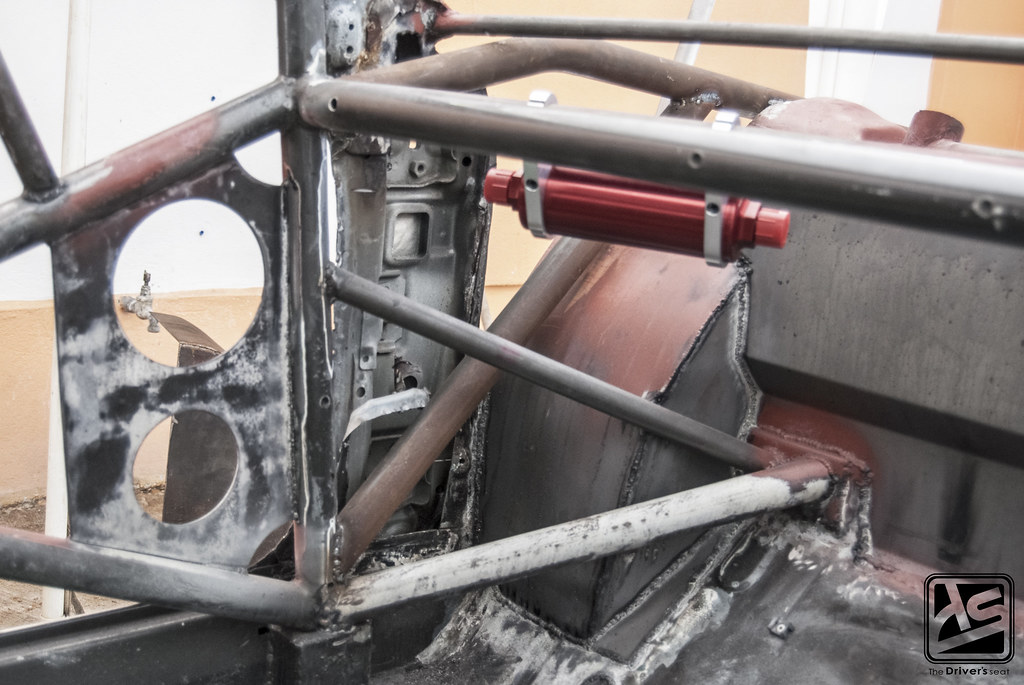
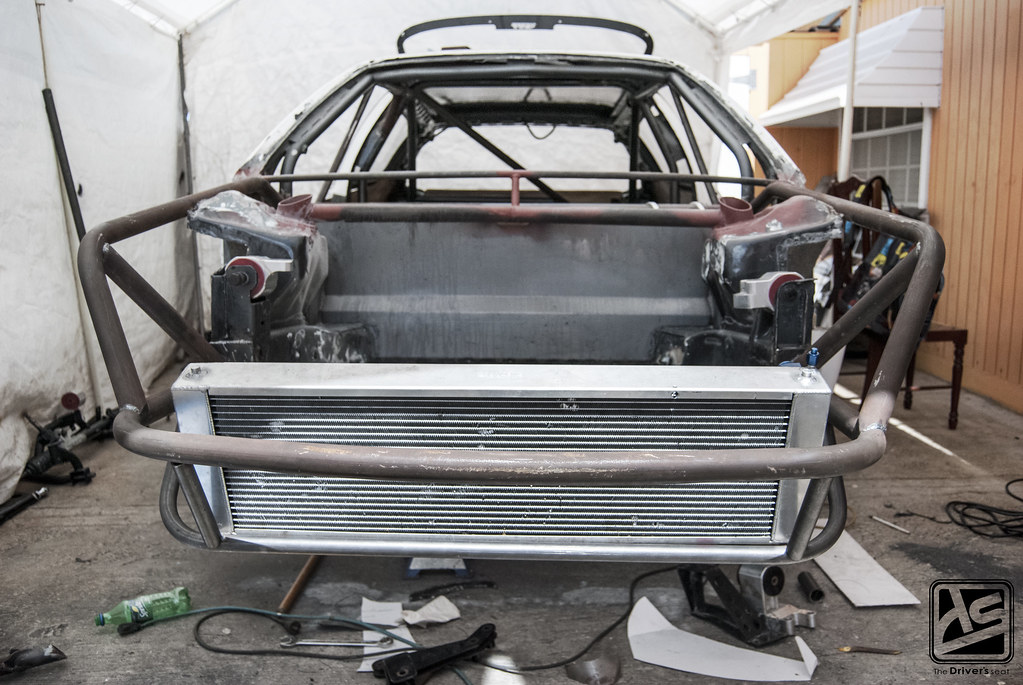
A closer view of the engine bay where the pipe was ran and tied into the chassis…
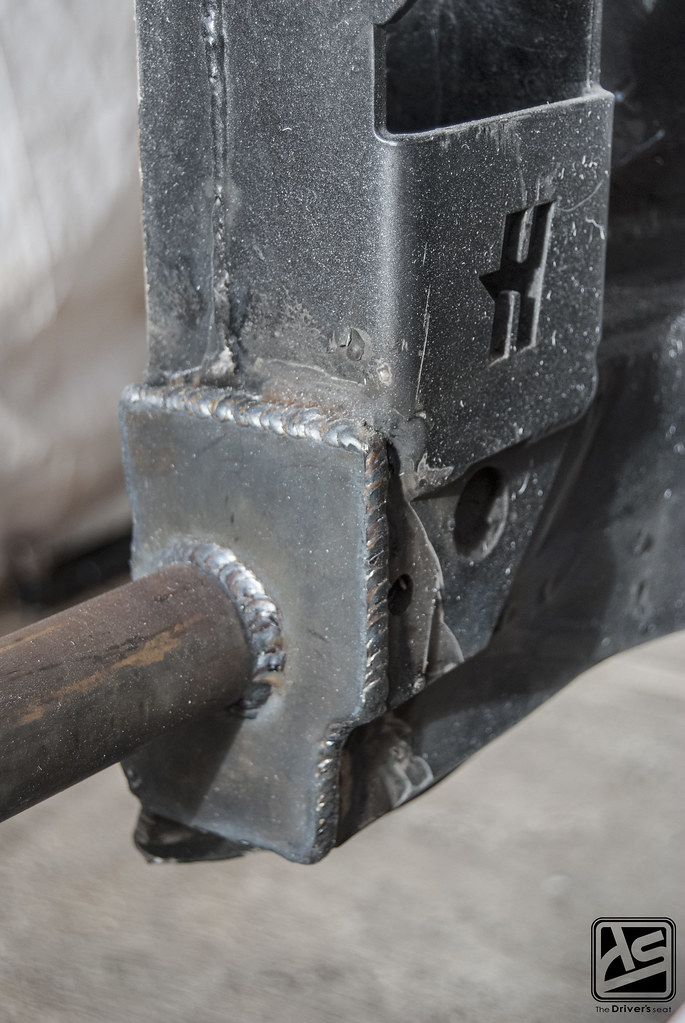
A better look at the welds on the left and right side of the engine bay…
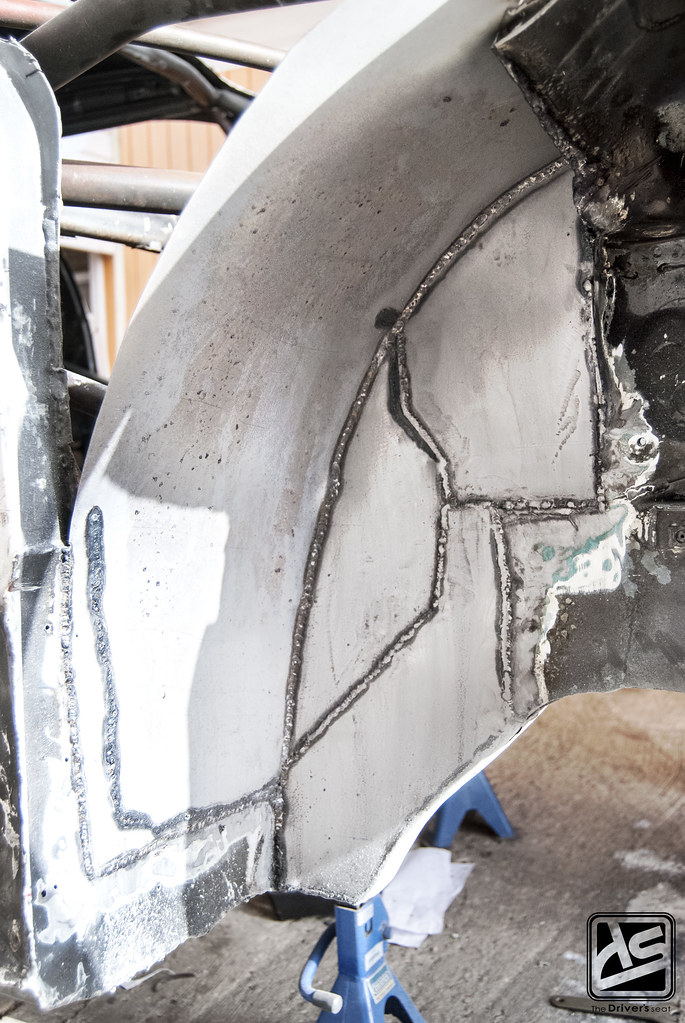
A look at what is now the new reconstructed wheel arch, which is still a work in progress…
A glance at the separation between the firewall and the dashboard and how it is also tied together…

From the inside looking towards the firewall where you can see the huge wheel arches being formed…
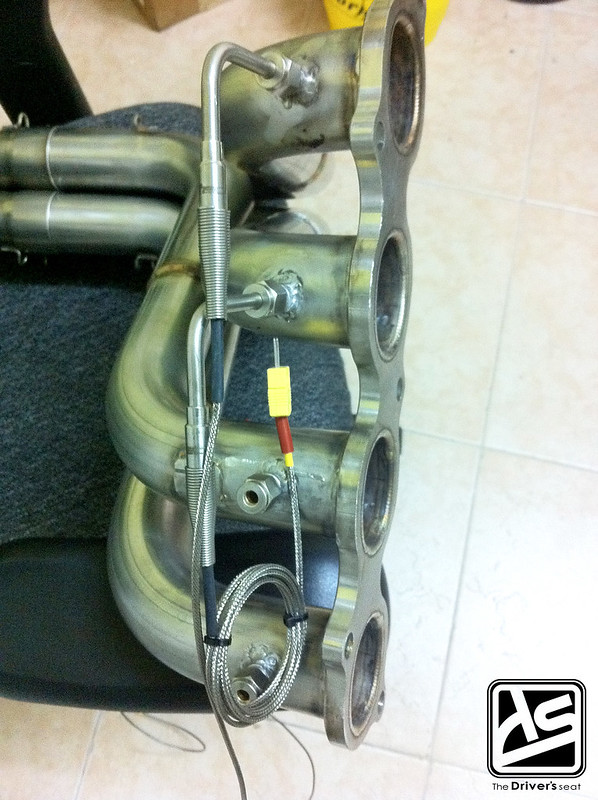
A mock up of how the thermocouples will fit into the header…

Along with that came a new piece of the puzzle… Jerry swapped out his AiM digital unit for a more up to date Haltech replacement…

Additional pipe that was added to the upper pillar that ties into the pipe running along the roof…
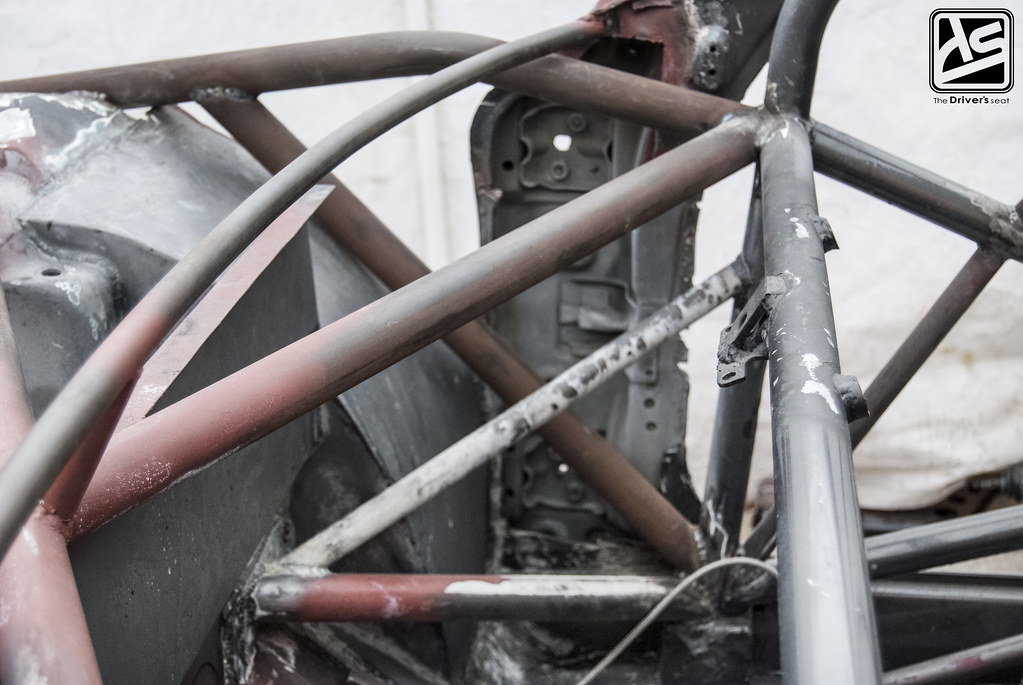
Rigidity couldn’t be stressed enough throughout this rebuild…
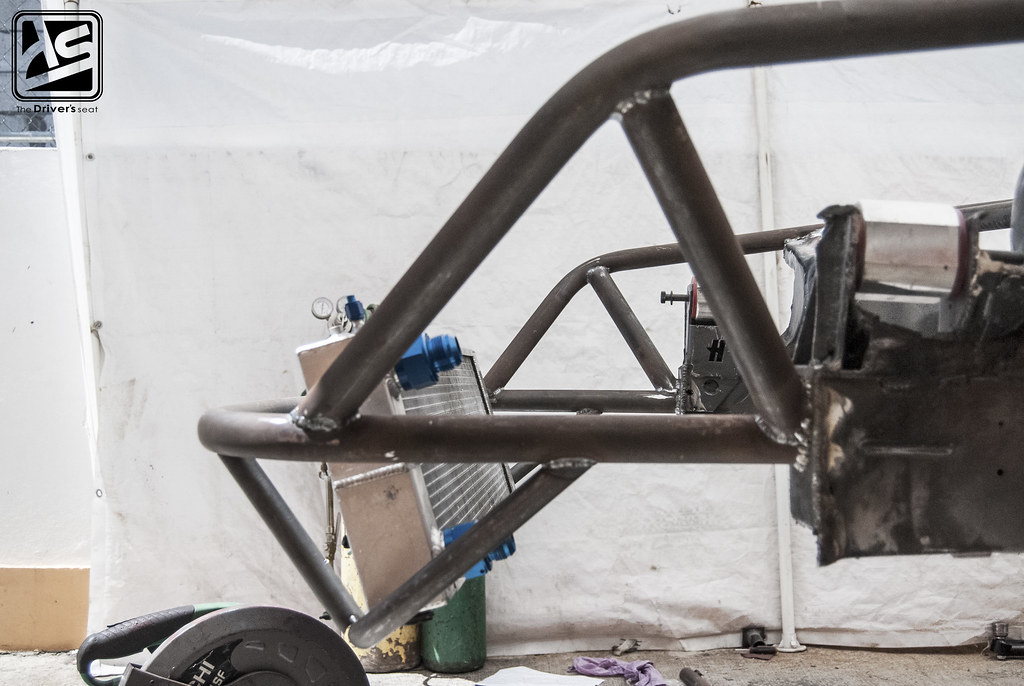
Varying angles of additional pipe that was added and tied directly into the chassis…

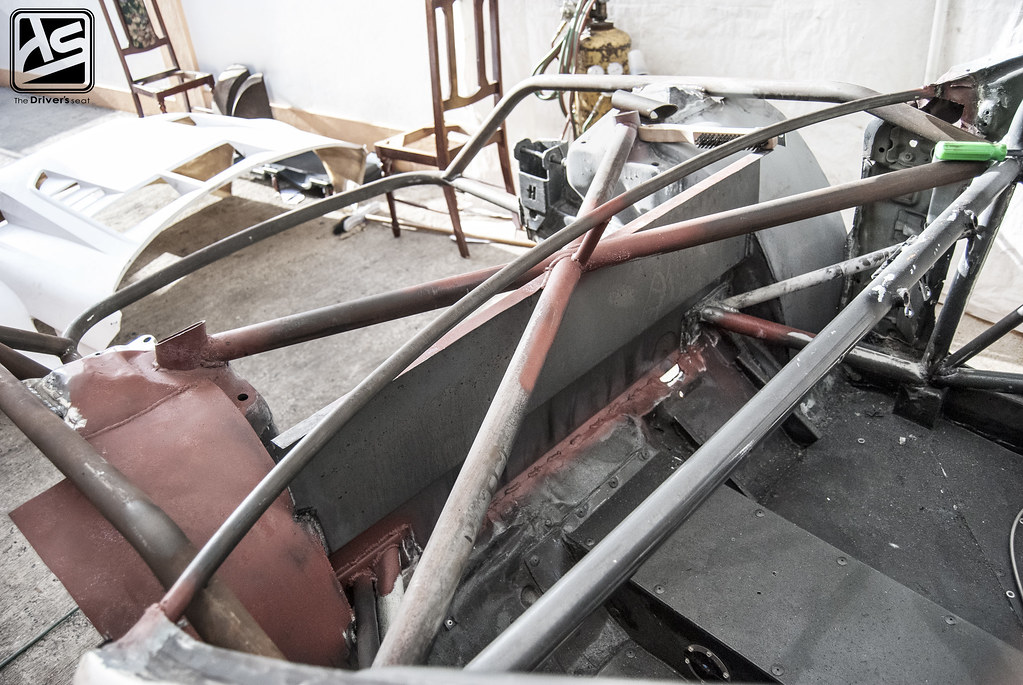
Engine bay starting to take shape…
A few more shots…
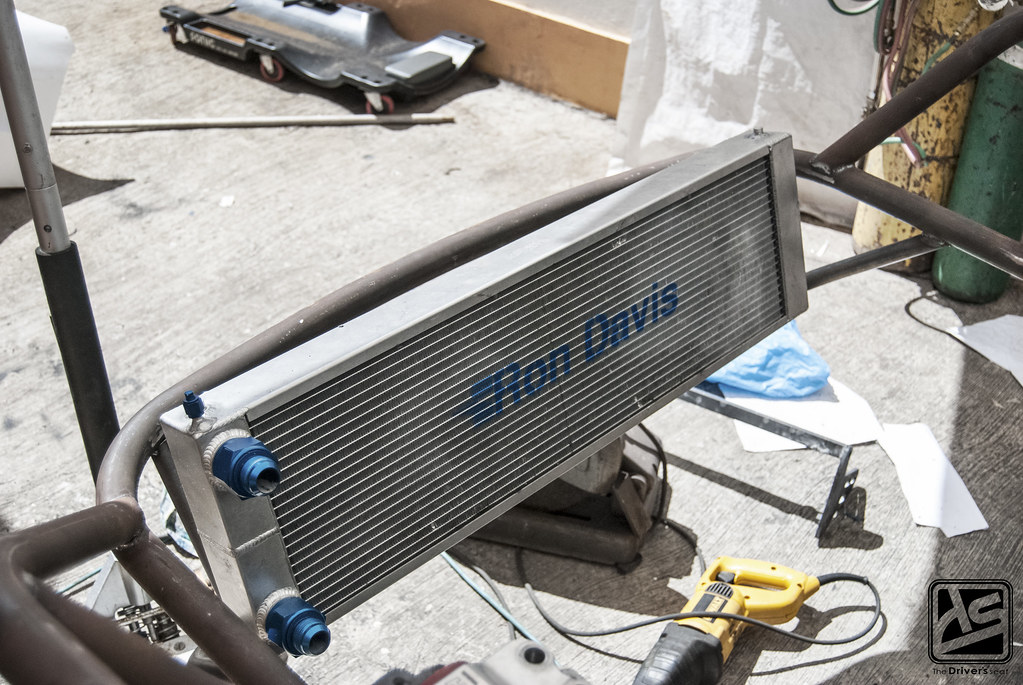
Radiator temporarily mounted to allow for any necessary adjustments to be made…

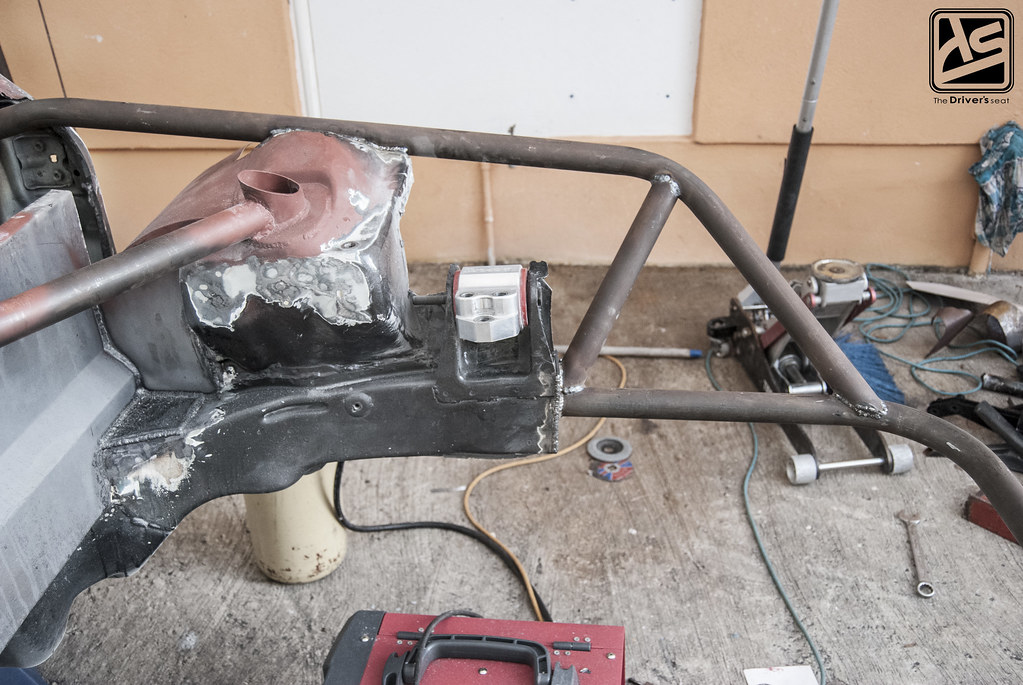
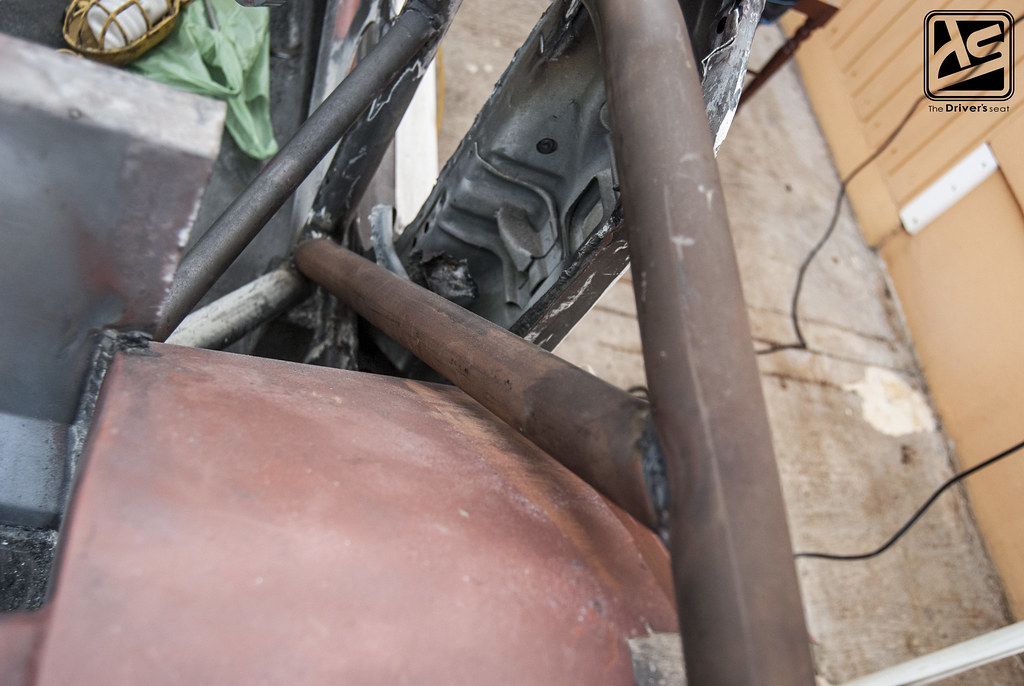
For additional strength in the front, another pipe was added to tie into the chassis…
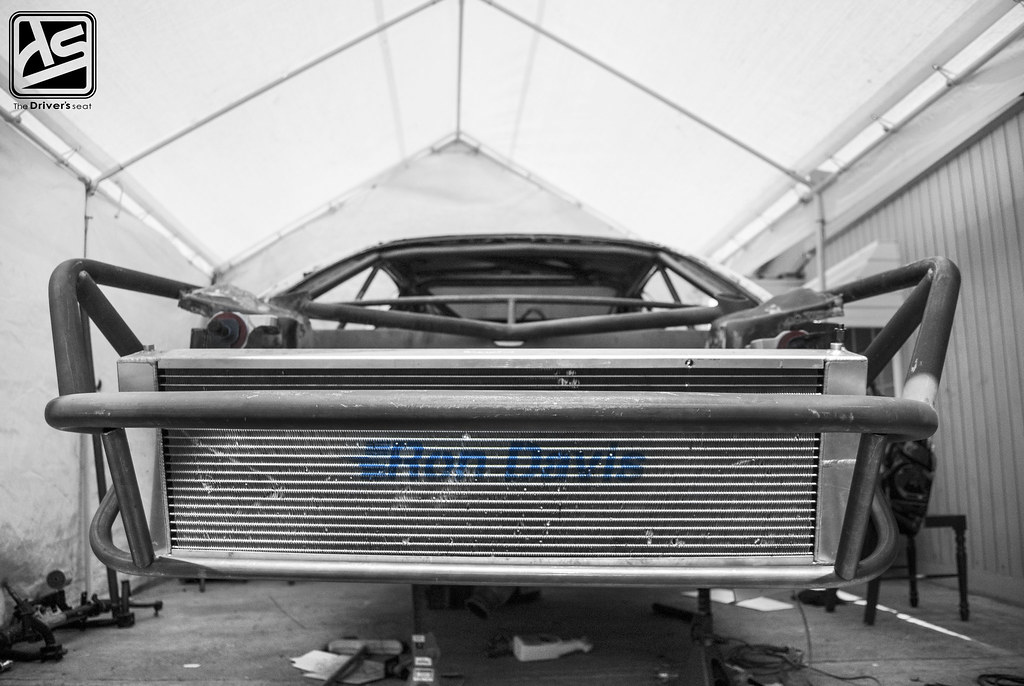
A side view, giving you an idea of how many pieces of pipe it took to make up the front end that will house the essentials…
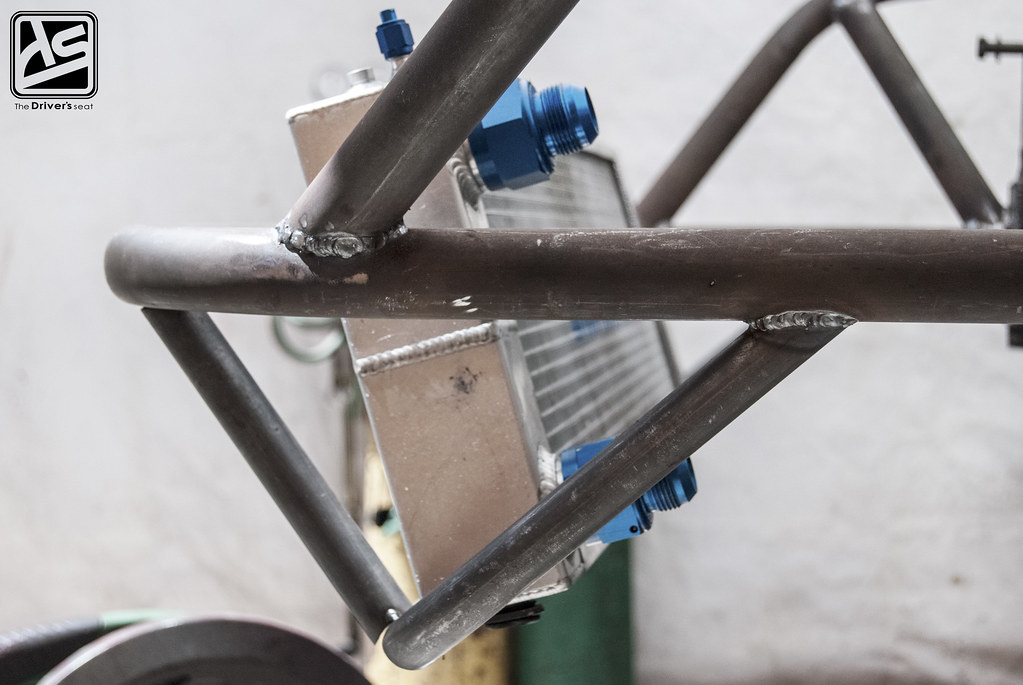
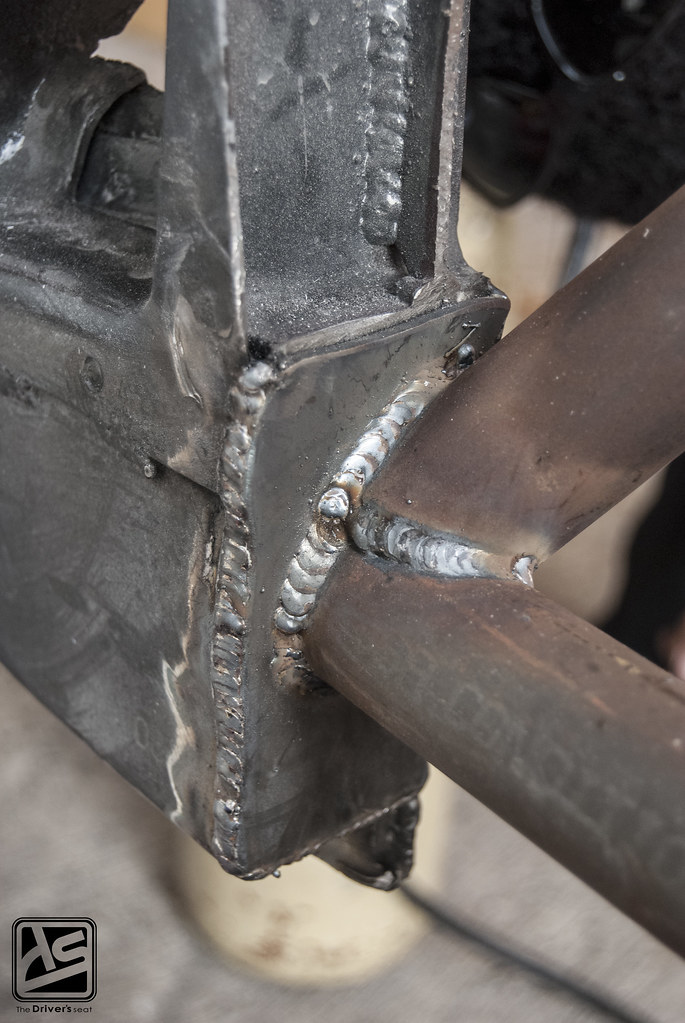
A closer look at some of the welds…
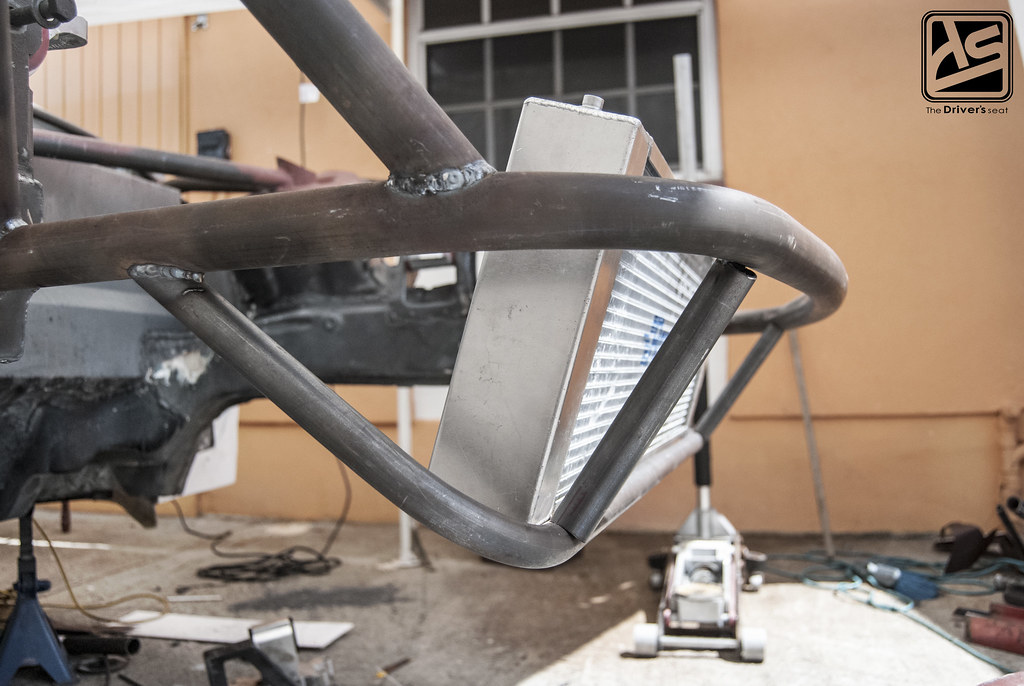
A rough idea of the angle the radiator will be mounted once everything is completed…
Well that’s a wrap for today, thanks for taking a look and stay tuned for much more to come…
Boosted B-Series Build… Part 4
It has been a little while since the last update, Corey has been quite busy but was still able to take some time out and make some progress with the build. Not having a set finish date in mind, the car just sat there but as of recent he has been pushing a little harder.
With that said today we’ll be taking a look at how far he has gotten with the build and I also have a few goodies that he picked up along the way.
Those who may need a recap on what’s going on so far, I’ve provided the link to the previous post below…
Boosted B-Series Build… Introduction
Boosted B-Series Build… Part 1
Boosted B-Series Build… Part 2
Boosted B-Series Build… Part 3
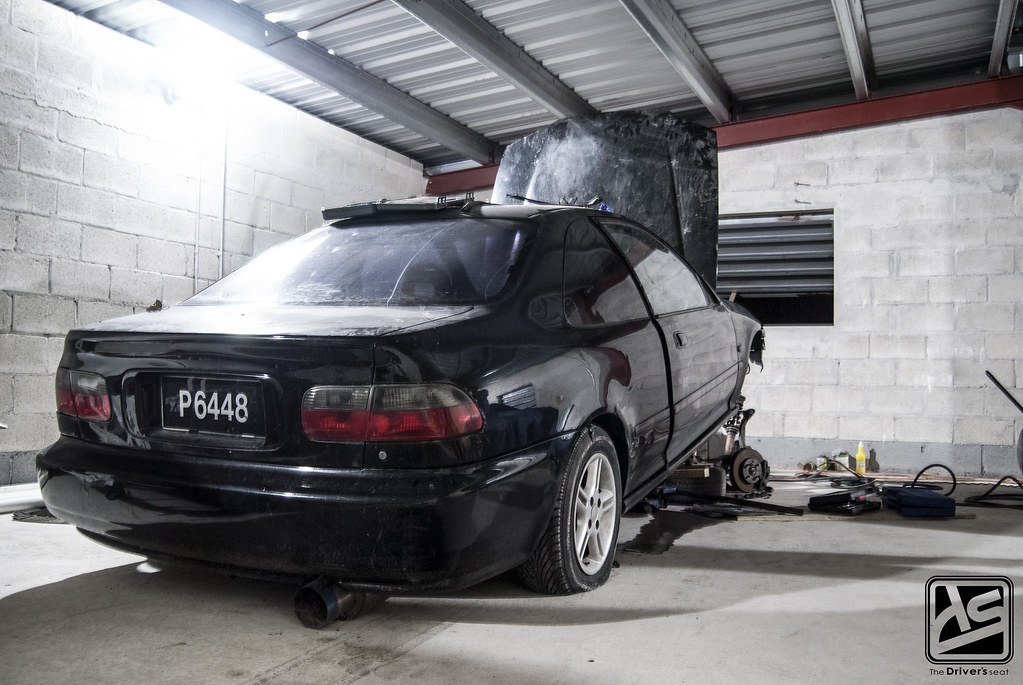
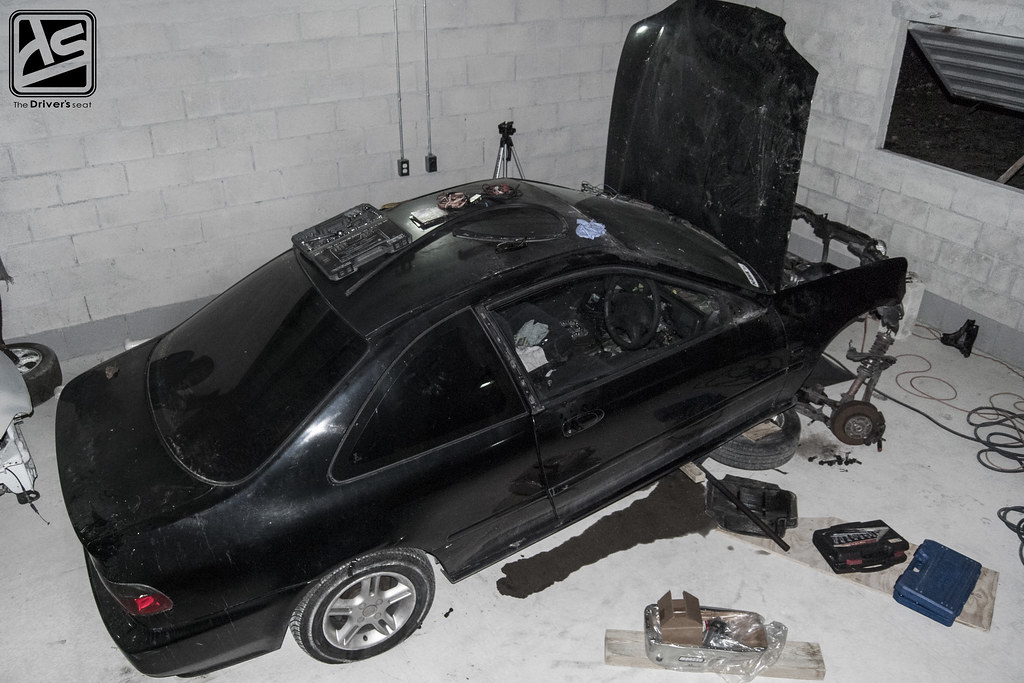
To begin with, the coupe finally made its way out of the bush which in itself seemed like a task and it has made its way to the workshop to begin the tear down…
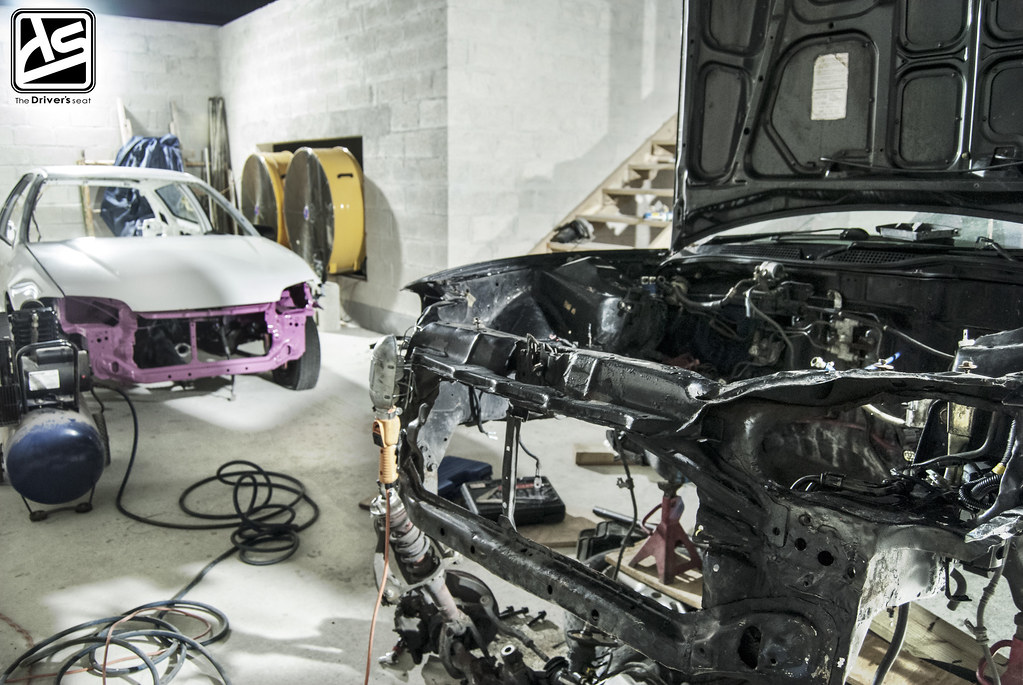
Luckily there is enough room in the shop to house the two cars comfortably so the hatch was brought up as well…
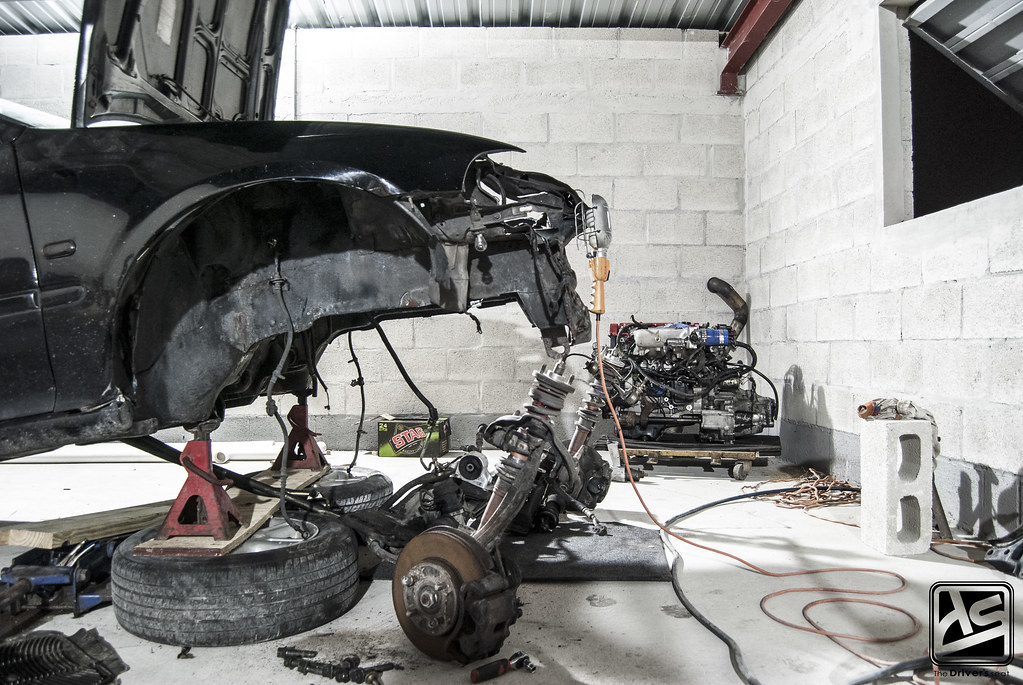
Wasting no time the car was jacked up and work began. The motor was first to drop, then came the suspension and subframe. The plan is basically to transfer everything over to the hatch.
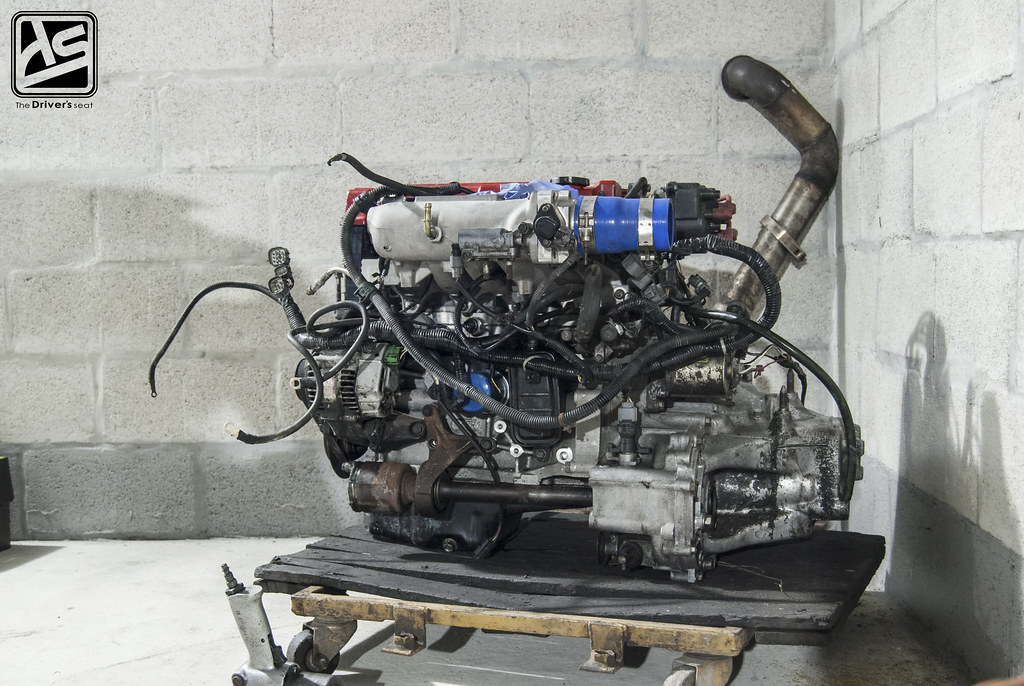
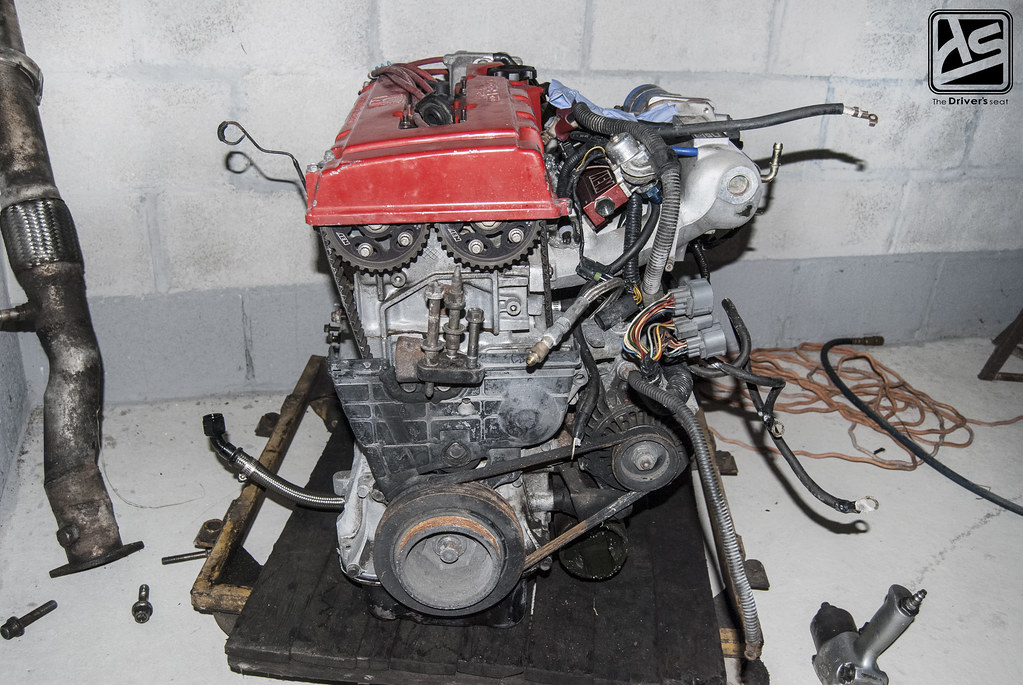
The motor was pushed in the corner for the moment until everything is cleaned up and it is time to perform the swap. Corey has some plans for the motor but is still debating whether to do them now or at a later date but as time progresses I will go further into detail.
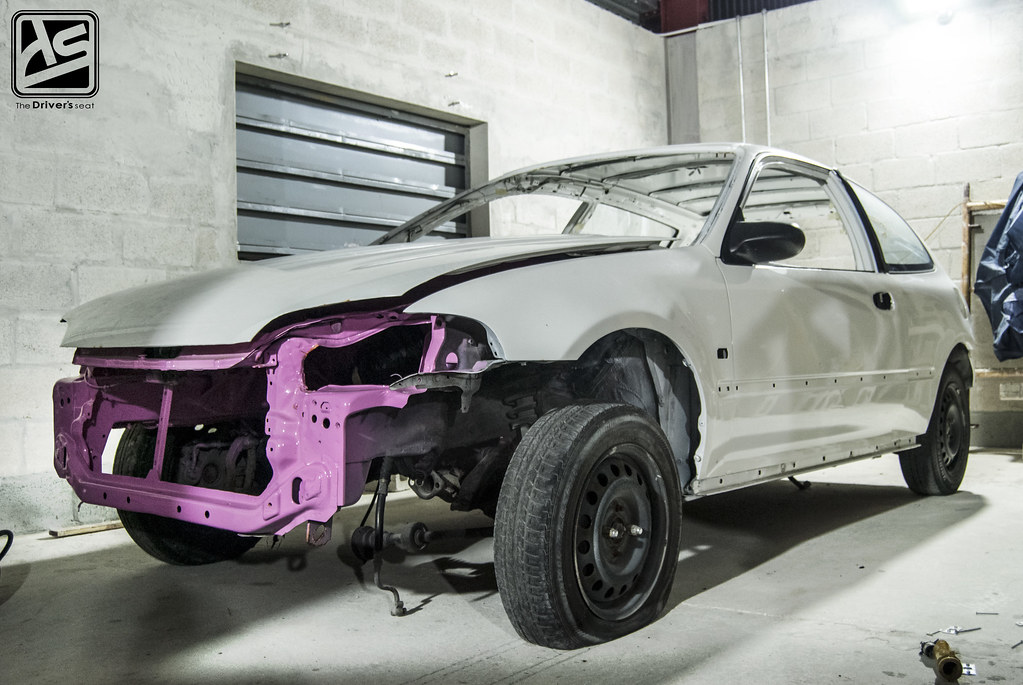

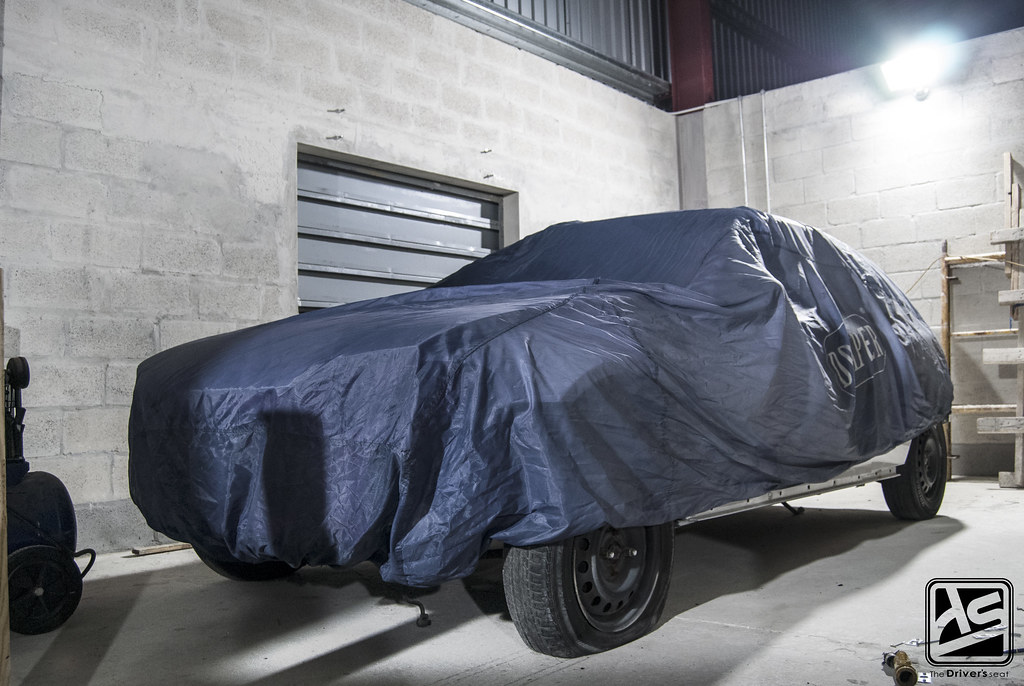
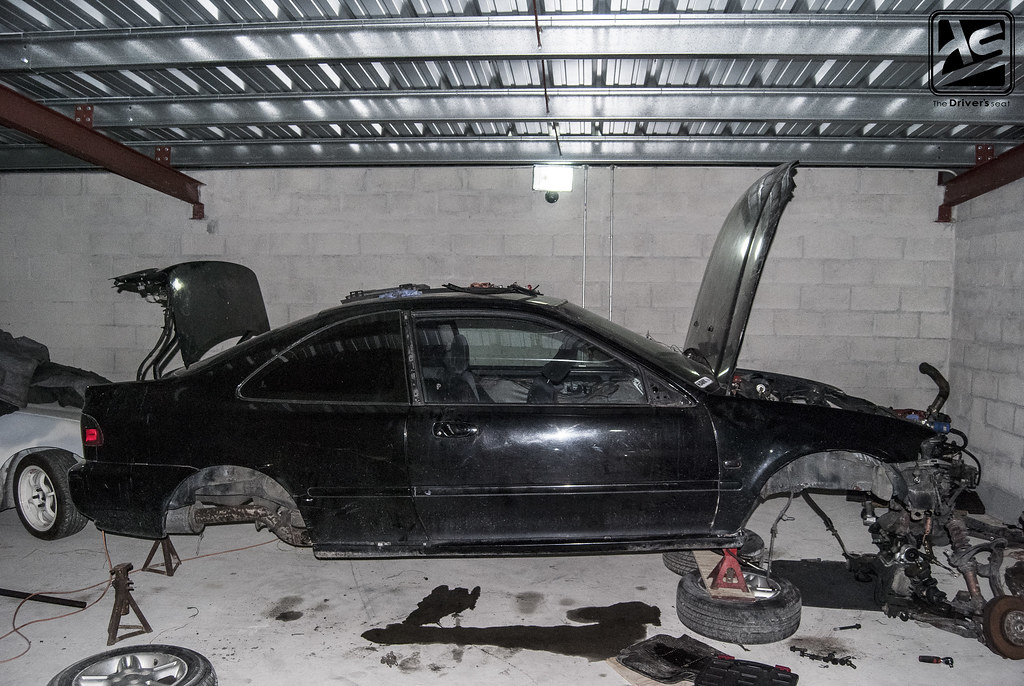
A glimpse of the hatch as it sat…
Out with the old and in with the new… transformation in progress…
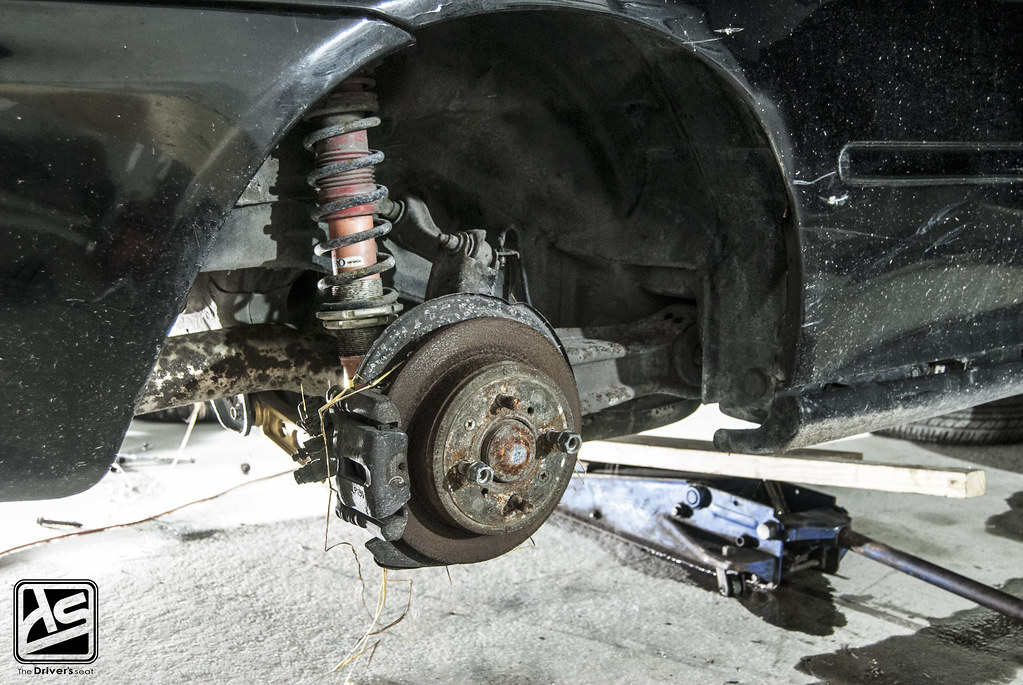
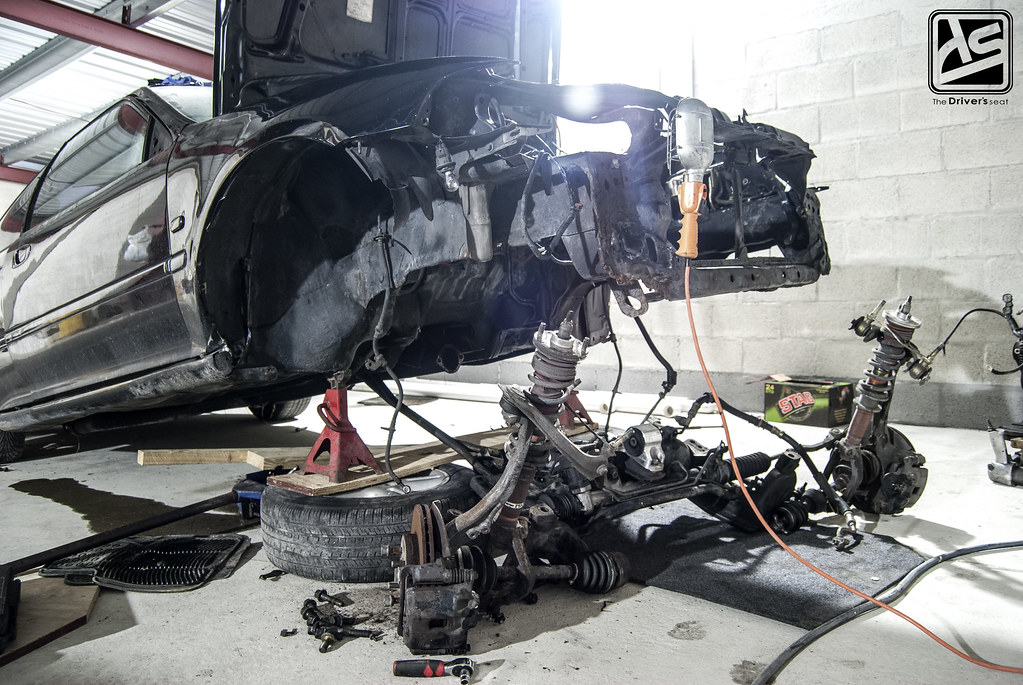
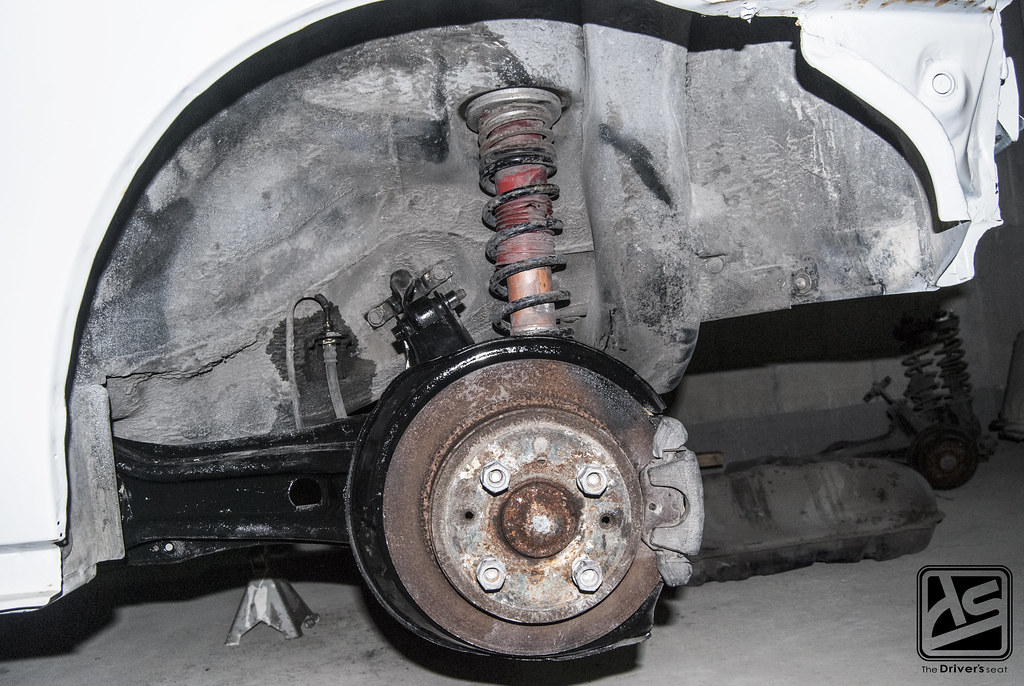
Rear disc conversion along with Tanabe coilovers and Skunk2 LCAs soon to be removed. As you can see everything here could do with some TLC after sitting dormant for such a long time.
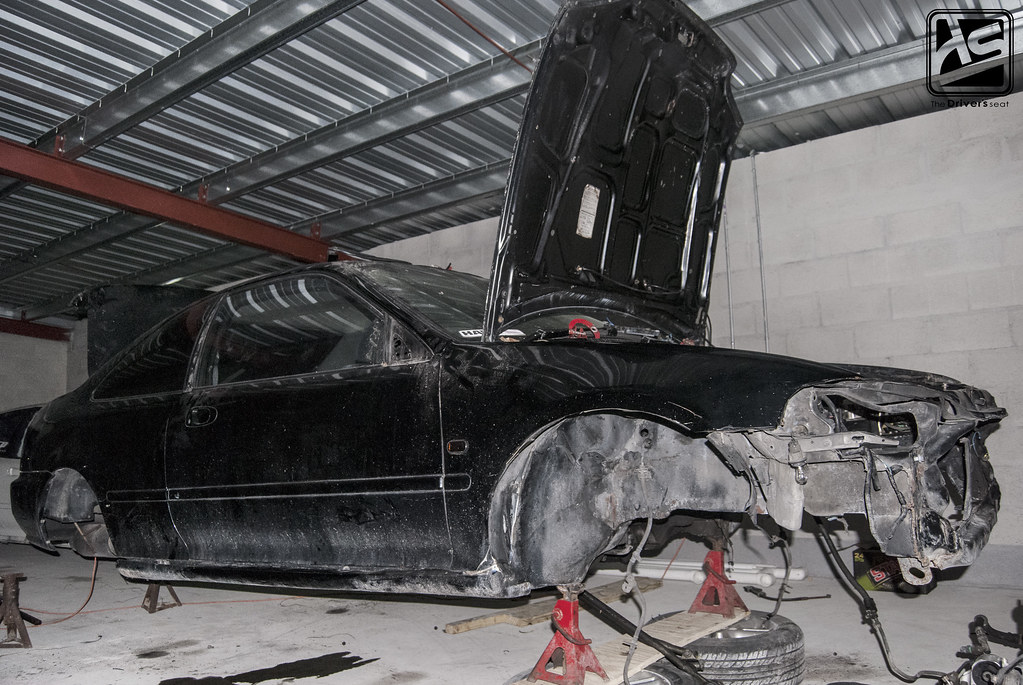
Pretty much gutted at this point with only a few more things left to swap over…

Suspension and trailing arms with rear disc setup removed, all that is left is the 3″ exhaust.

Suspension parts fully removed, the next step from here is to have everything cleaned and prepare for the swap…
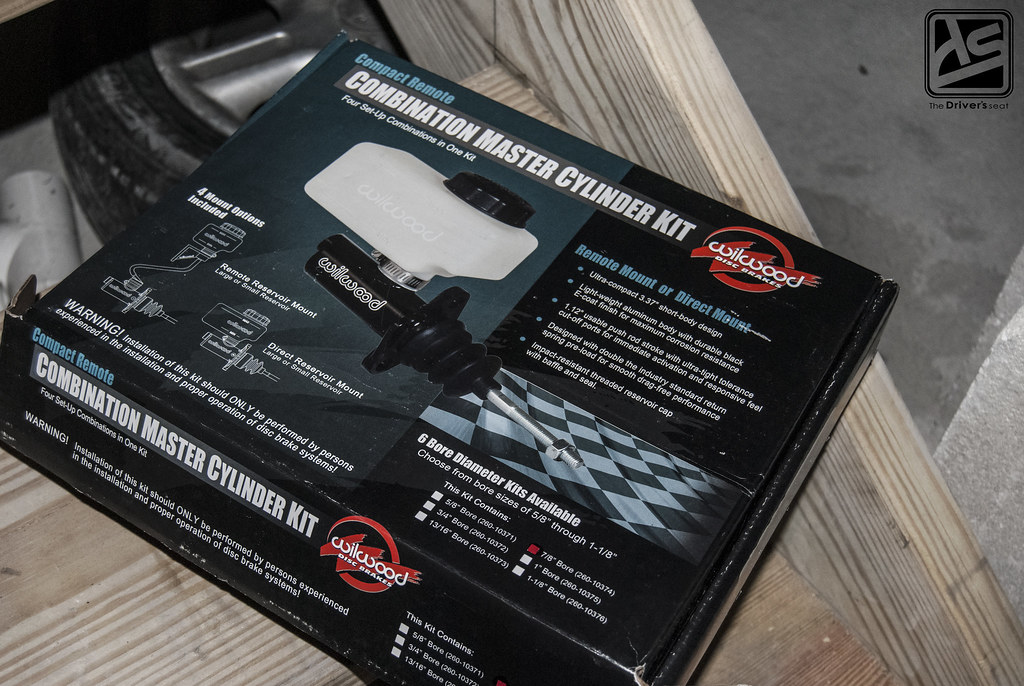
Willwood master cylinder kit…
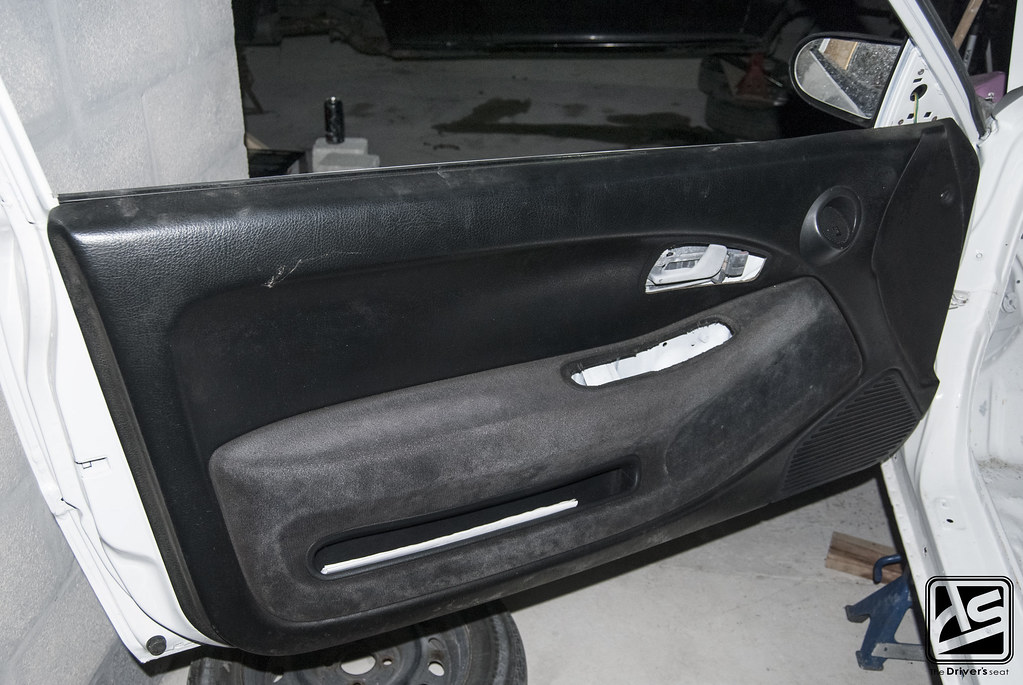
Another piece that was taken from the coupe was the door panels. Corey mounted them to ensure everything fit the way it should.
Trailing arms installed with a fresh coat of paint on them…

Skunk2 LCAs and Tanabe coilovers fitted…
Working our way to the front…
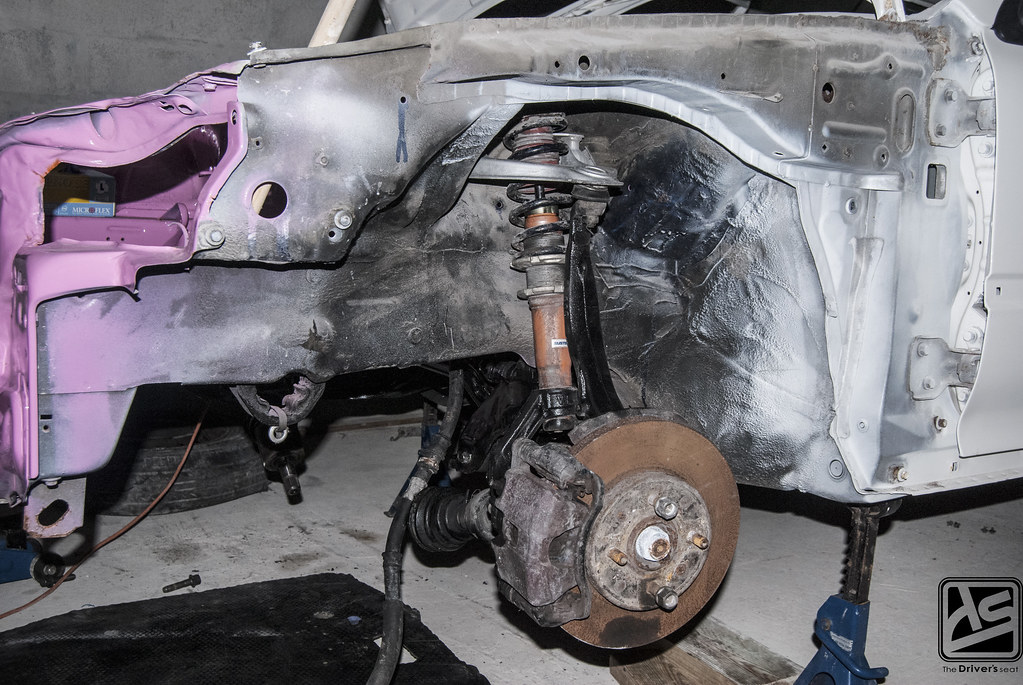
The front suspension has been installed along with the subframe and axles… Patiently awaiting the heart transplant…

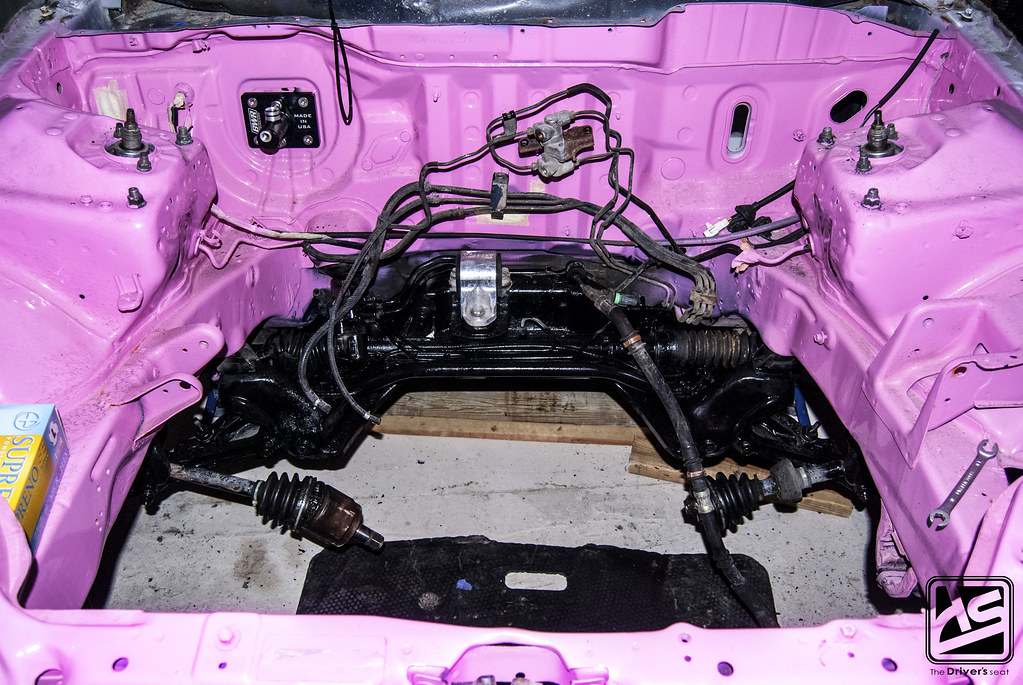
Being a fan of tucked bays, Corey has plans of doing one himself and so far the first piece of the puzzle has made its way into the bay. BWR brake booster delete adapter plate with Wilwood master cylinder.
That brings us to the end of today’s post, thanks for taking a look and stay tuned for more to come on this build.
