
Project EJ8… Part 3

Its been a long long time since the last update on this build, to be honest it kind of slips my mind. I’ve been so caught up in gathering content and getting the other posts together for you guys that I completely forget that I also need to be updating you on Project EJ8. Today I’ll be bringing you guys some info about the motor setup and we’ll take a look at the remaining swap parts as they started to arrive.
For those who may want to view this build from the start I’ve provided the links below:

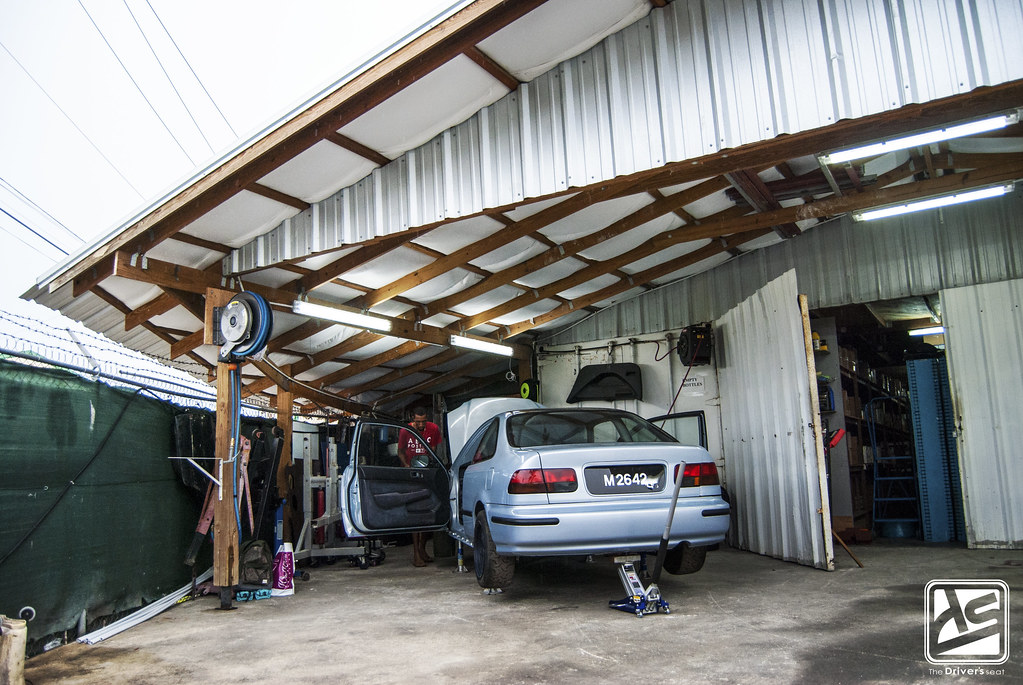
I was on the hunt for a motor locally before I entertained the idea of importing one and I was able to find a K20 motor package. Along with the motor I received a few key components for the swap; Hasport swap mounts, RRC intake manifold with a 70mm throttle body, K20 engine harness, fuel pressure regulator and a radiator. Unfortunately a gearbox wasn’t included in the list of parts, however I was still fortunate enough to get axles, flywheel, clutch and pressure plate with the package…
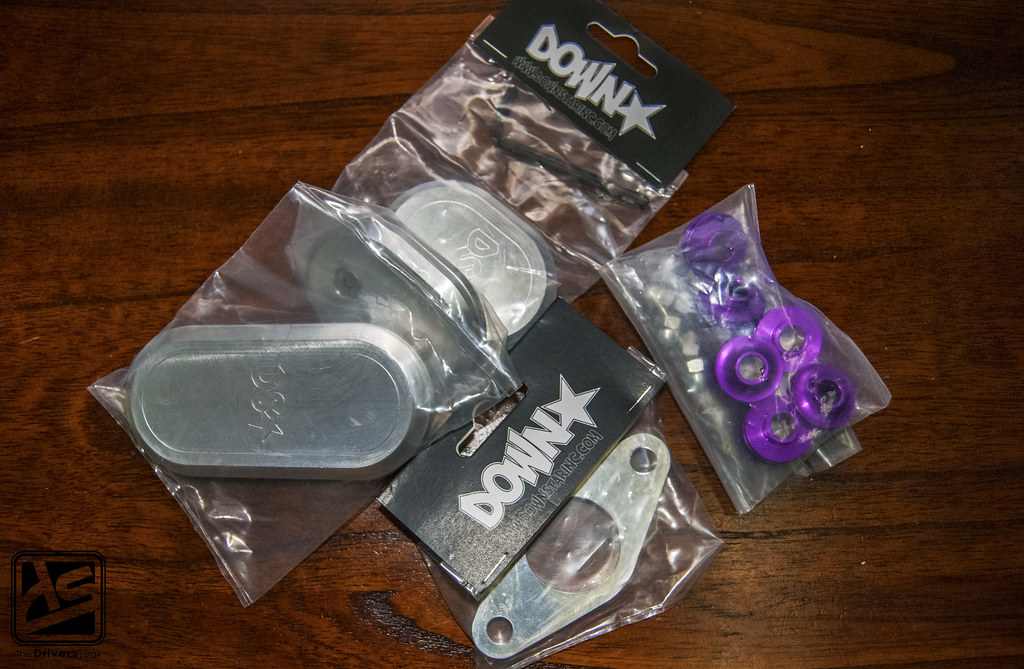
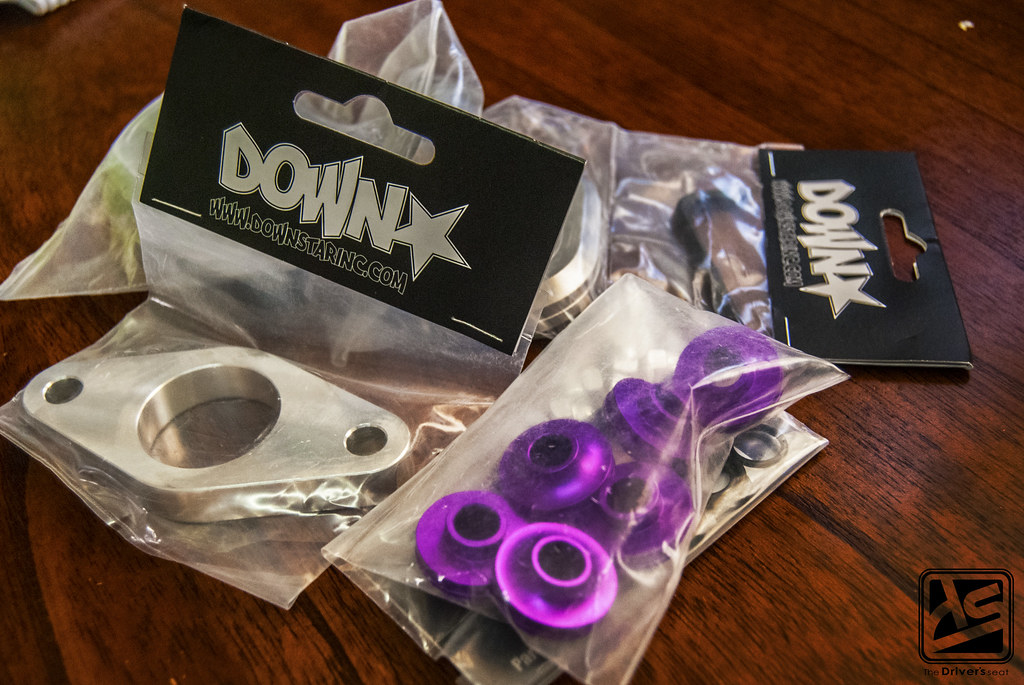
Around that same time I put in an order for some additional Downstar hardware…
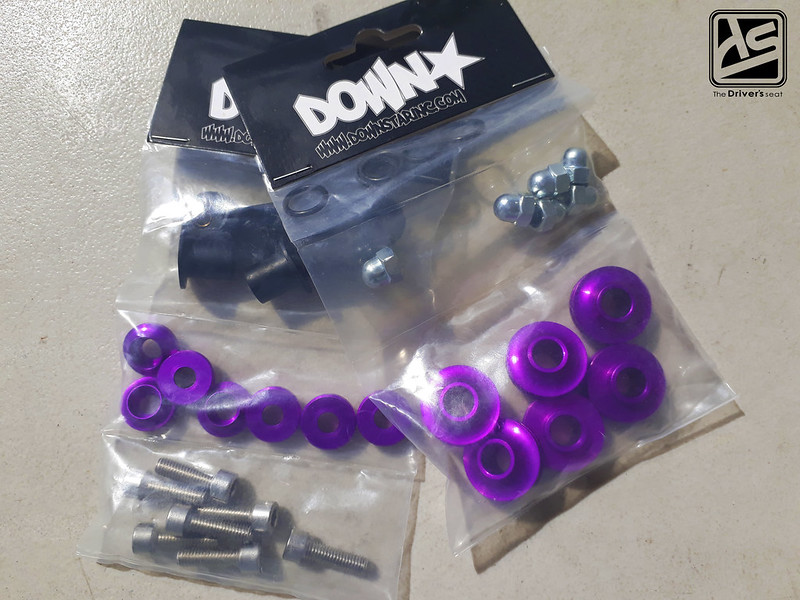
I picked up both grill and valve cover hardware with purple beauty washers to go with the theme…

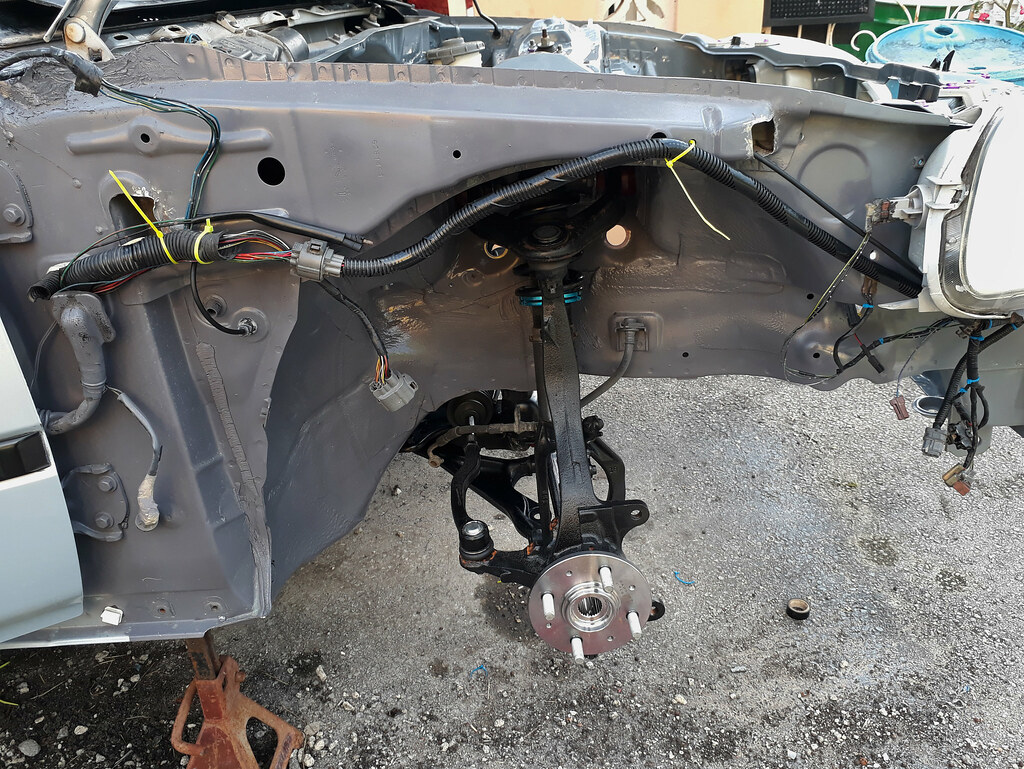
Determined on having a tucked bay I started to layout the route for some of the chassis harness that will remain…


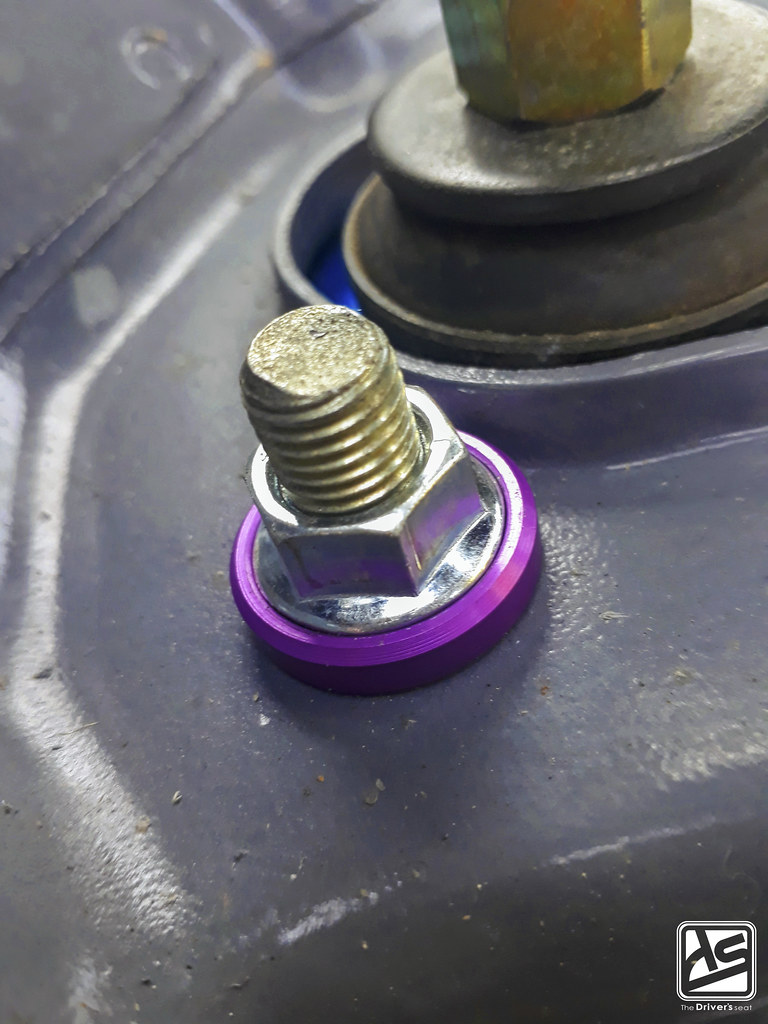
I also went ahead and installed all of the Downstar hardware to naked bay which was just about ready to receive the swap…

A close up of the Downstar grill hardware kit installed…

Back when the car was on the road I had a Recaro SR3 seat along with the factory EJ passenger seat. Fast forward a few years, I parted ways with both of them and I was in the market for some seats. As the build steadily moved forward, I spotted a pair of EK4 SiR seats up for sale and made sure to grab them. With the build underway these would fill a void until I’m able to get my hands on a pair of reclinable bucket seats…
With plans of having a gutted interior, I went ahead and fitted the strut hardware from Downstar…
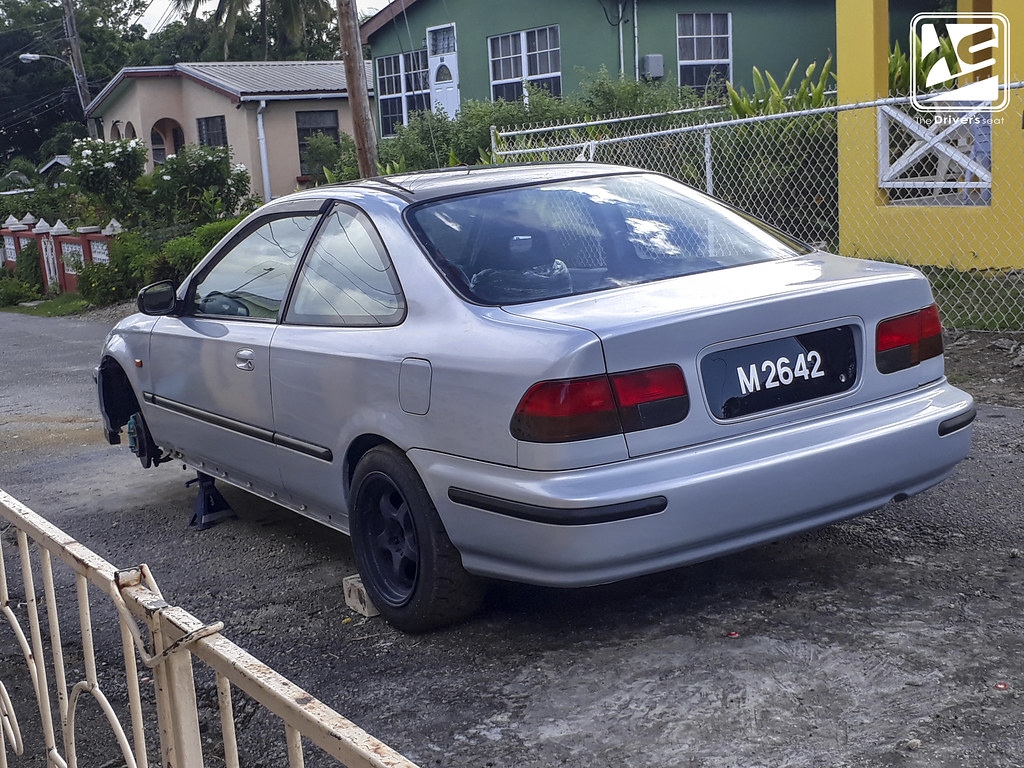
A few shots of the EJ shell as it sat awaiting progress…
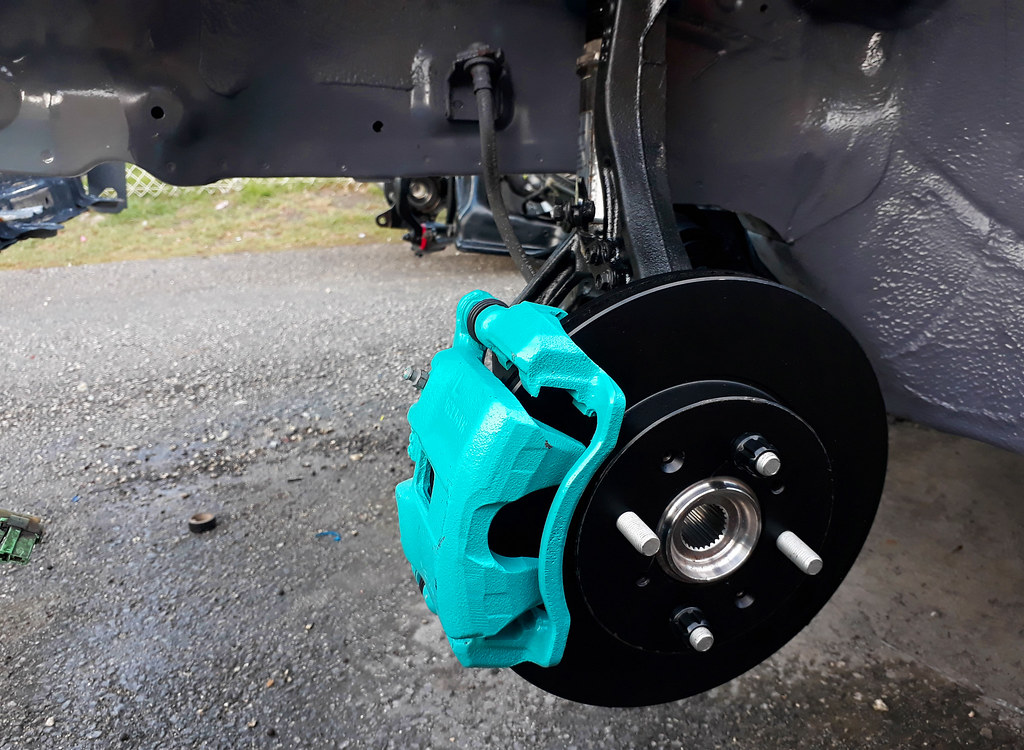

It was time to fit together the brake assembly and finalize the front end so I can get the car on the ground…
At this point I hadn’t installed the brake pads as yet, my plans were to redo the entire braking system…
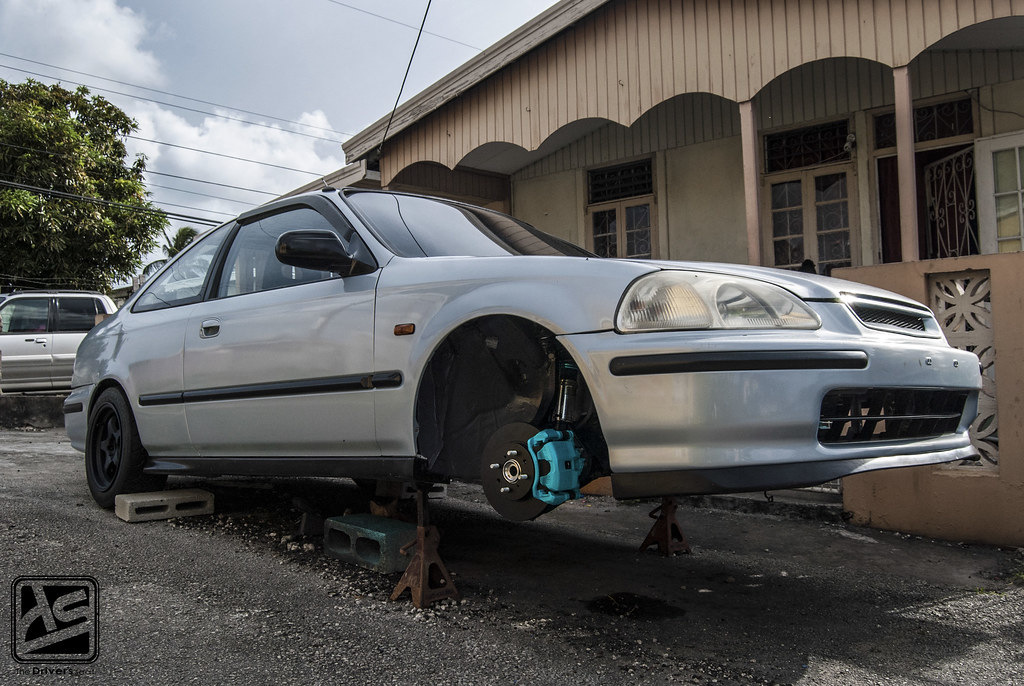
I would have mentioned in the initial post that I do intend on heading to the track at some point with the car. With this in mind and having the car torn apart, I made a decision to make some upgrade to the entire system…
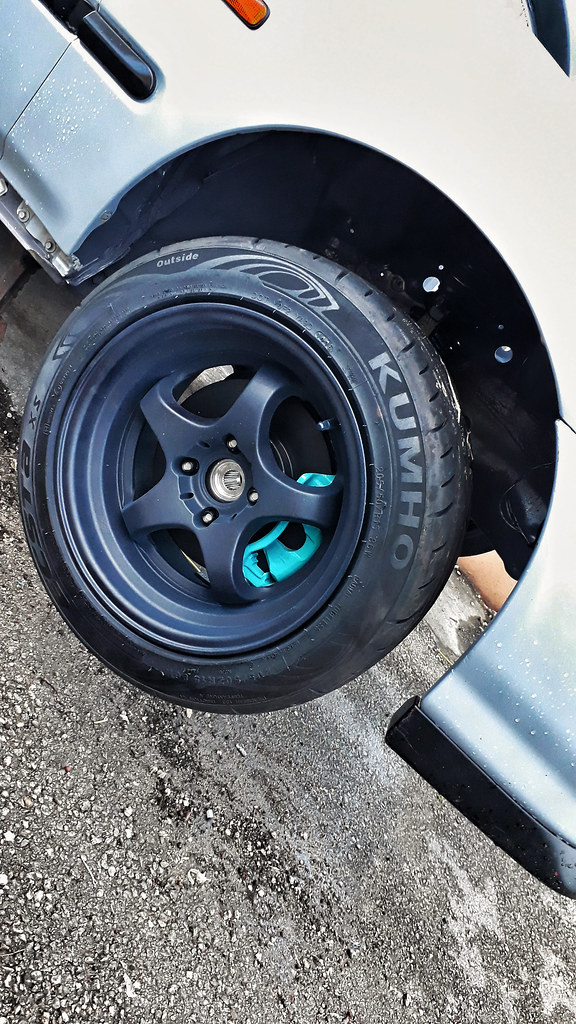
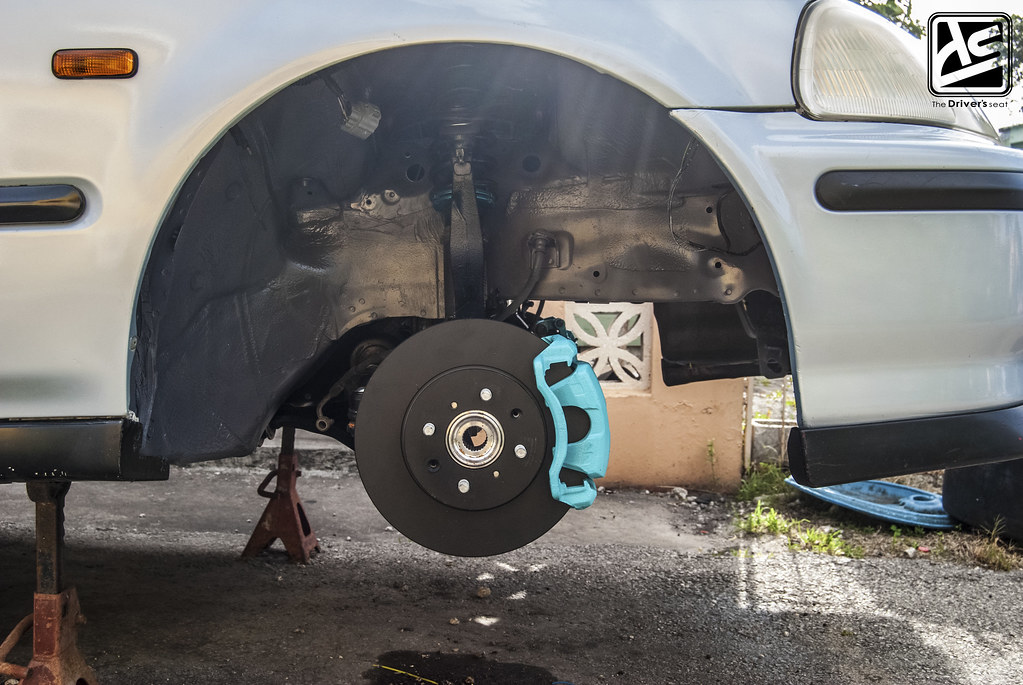
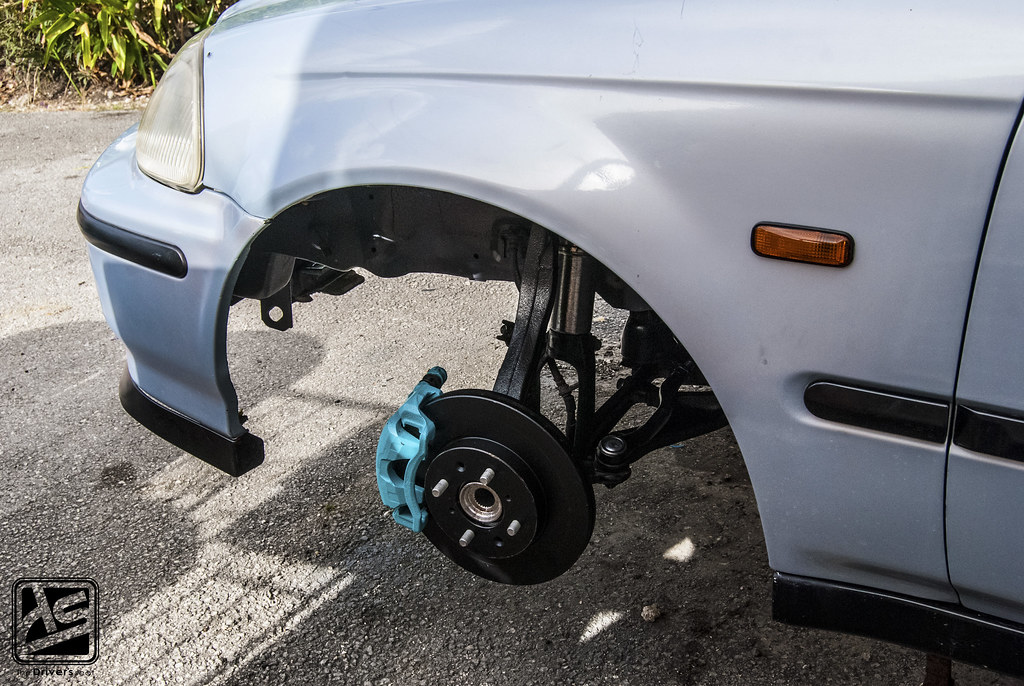
Close up on the wheel and brake combo fitted together…

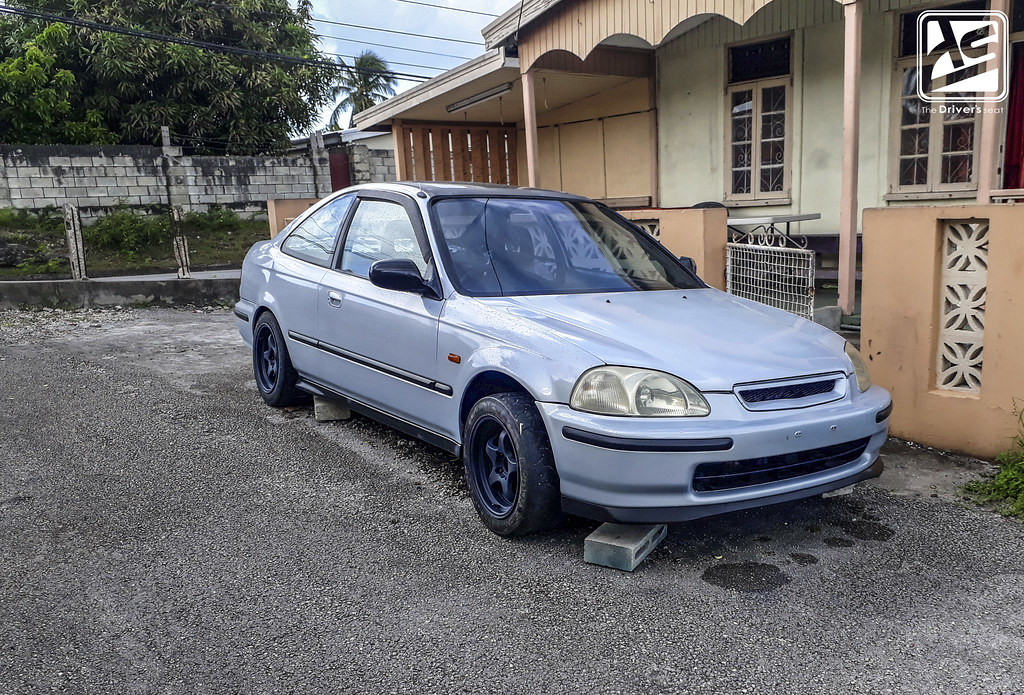
The car finally off jack stands and on the ground…
I have a huge passion for USDM style builds and with having a fresh engine bay, I wanted to take advantage of this. However, having little knowledge where running and bending brake lines was concerned, I reached out to S.D.R.R to have them execute the necessary work…
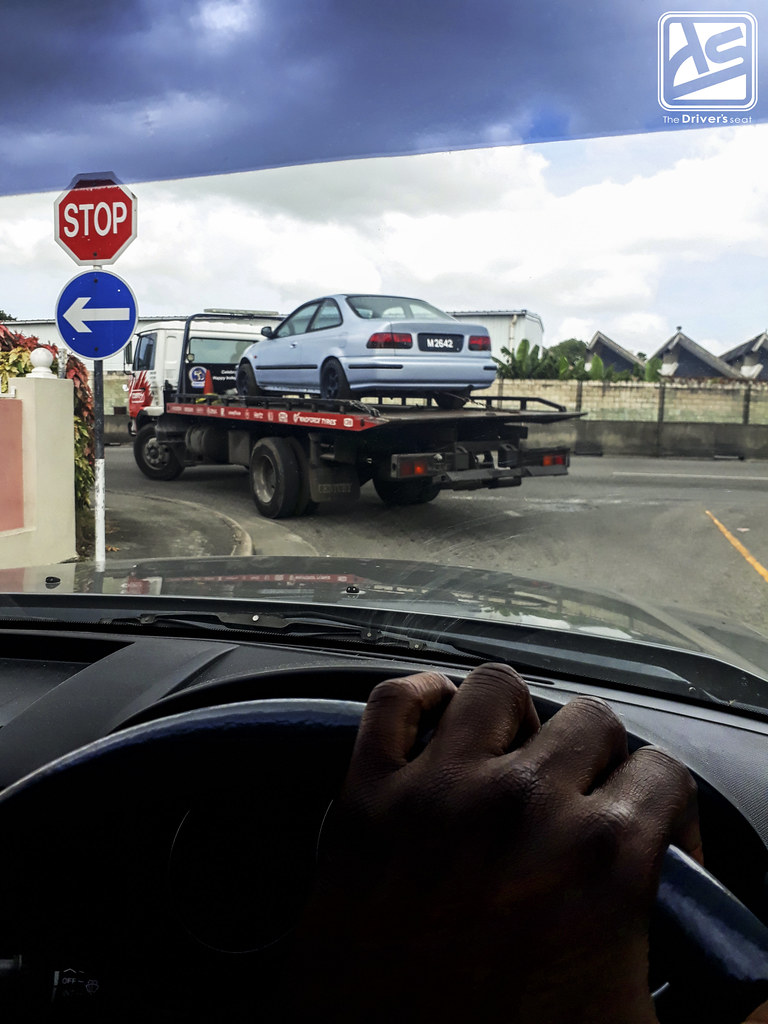
A shot of the car loaded up and its way to their on site workshop…
The car was jacked up upon arrival to begin work…


A few shots of the EJ8 shell before the work started; the plan was to delete the ABS and have them run lines from the master cylinder to the front and rear brakes via a tucked proportioning valve within the cabin…

In addition to this I will be running at set of Russell braided lines to the calipers…
While the car was at S.D.R.R a package arrived…
Fresh in from Downstar was their billet aluminum firewall plugs and S2000 clutch master cylinder spacer…
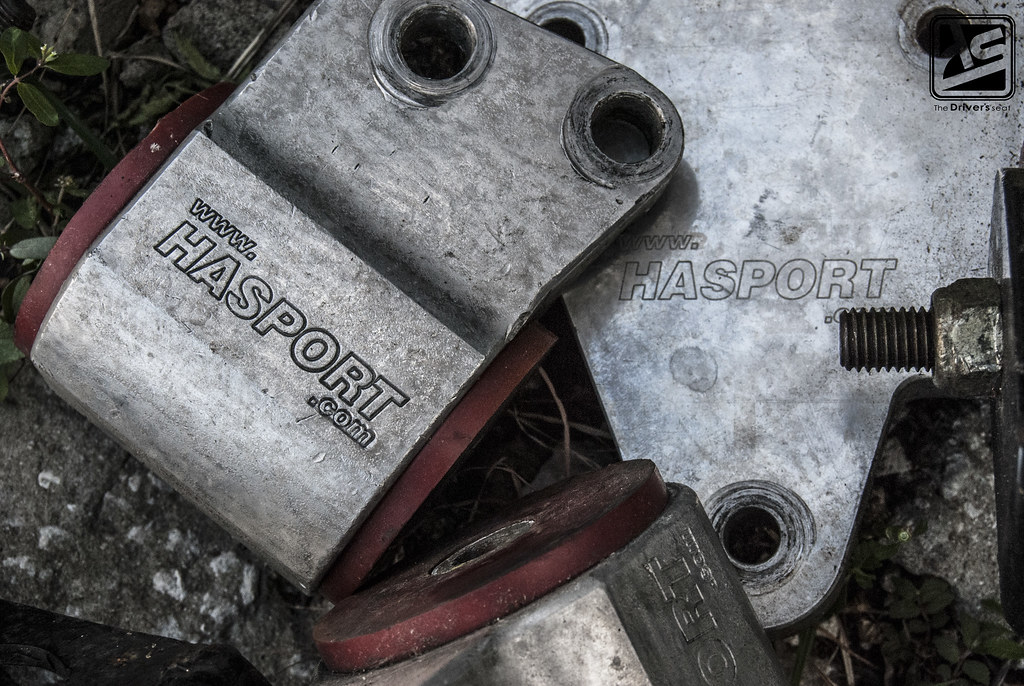

A look at the Hasport Performance engine mounts that were included in the swap package…

As the car will be doing a significant amount of daily duty I thought the 94A inserts would be too aggressive…

A look after I pressed out the bushings and cleaned up the mounts…
Over at S.D.R.R, Pierre reached out to let me know he had completed the lines and the car was ready to be collected…
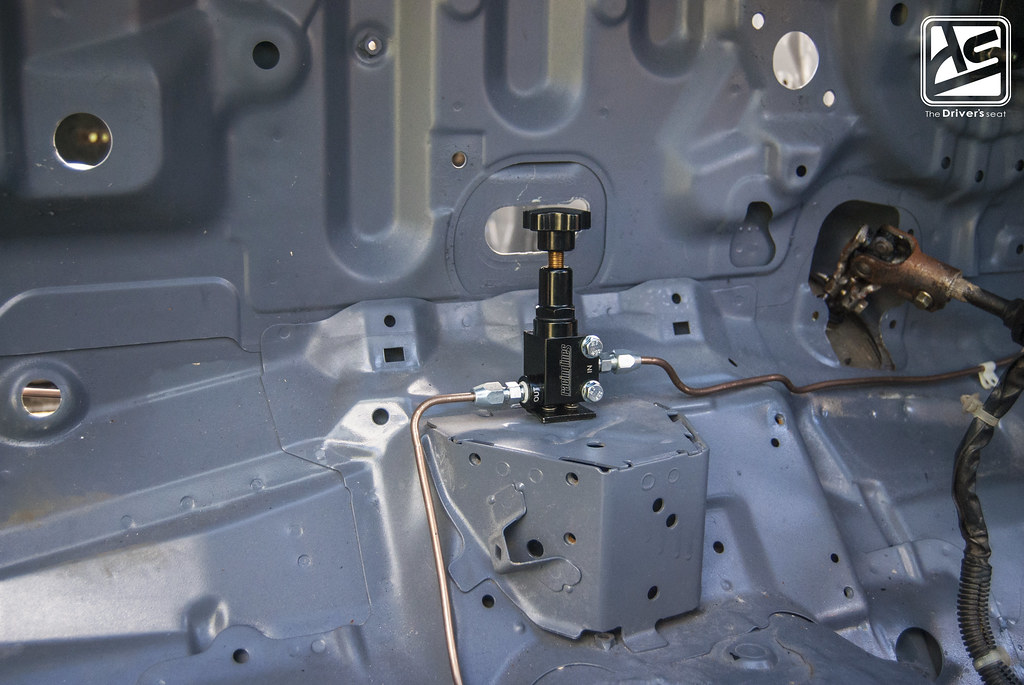
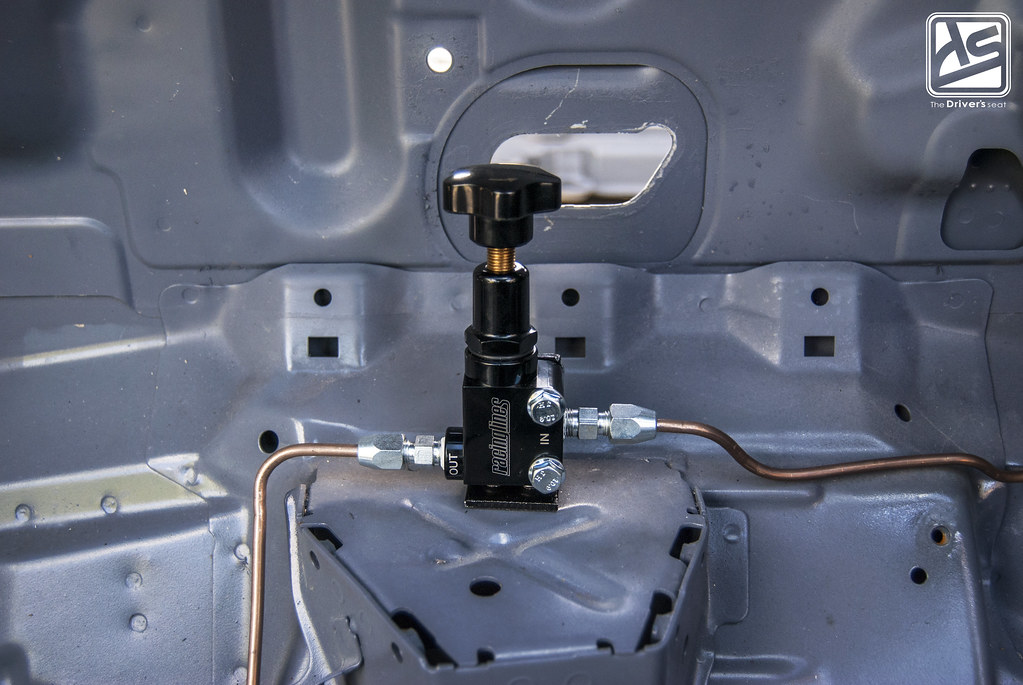
Being a certified dealer for the Racing Lines brand, S.D.R.R had the car fitted with a proportioning valve to control the brake bias between front and rear…

The copper line coming from the Racing Lines unit down through the car…
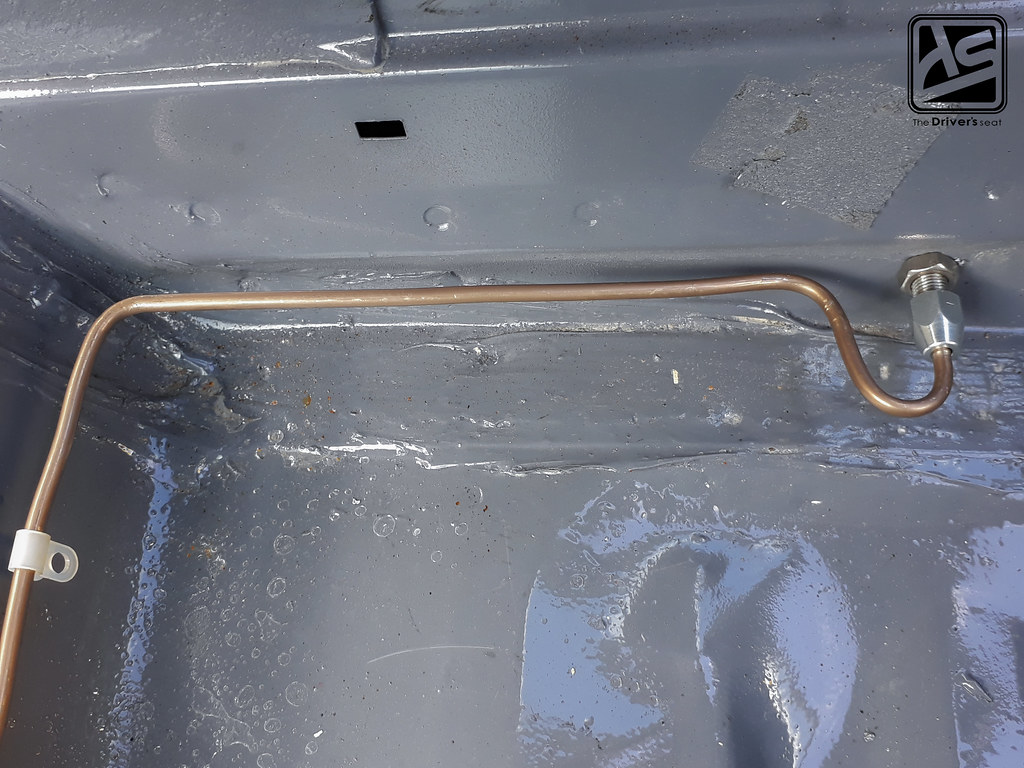
The line as it exits through a bulkhead to the rear brakes…
A random shot of the CTR cluster and Momo Tuner wheel…

Another piece removed was the factory Honda exhaust…
With the plans in motion, an upgrade to the exhaust system was a must…


Having a freshly painted valve cover was a must for me; after some searching I was able to pick up another valve cover to get started…

Fortunately the valve cover still only had the factory paint, which made paint preparation a bit easier…

As I started to to lay a few coats of paint…
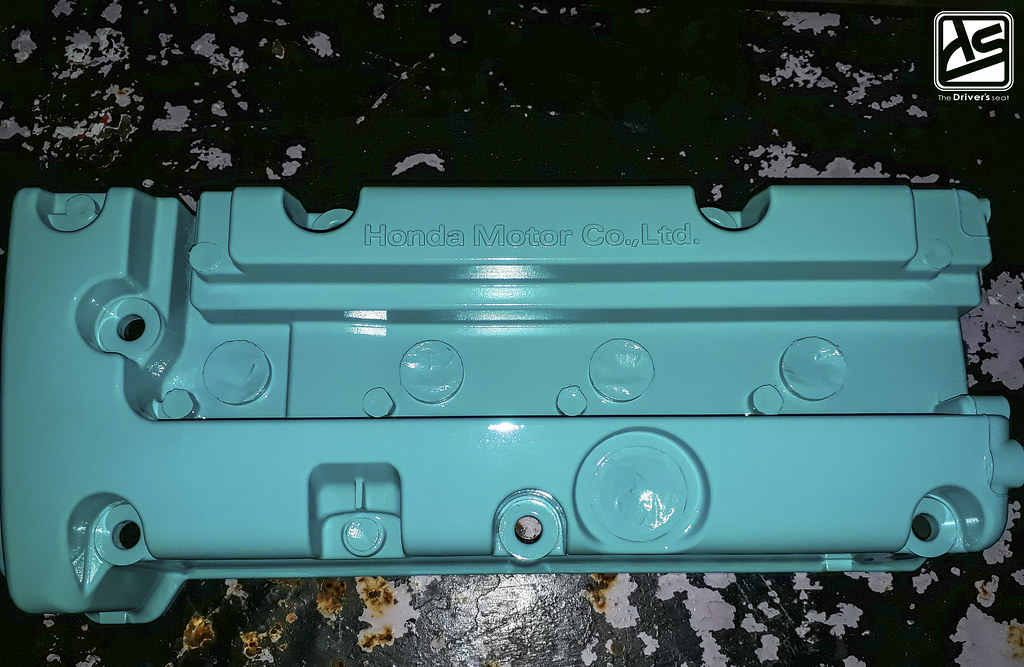


The completed rattle can job on the valve cover…
Along with the purchase of the valve cover, I also was able to secure some key components for the swap…
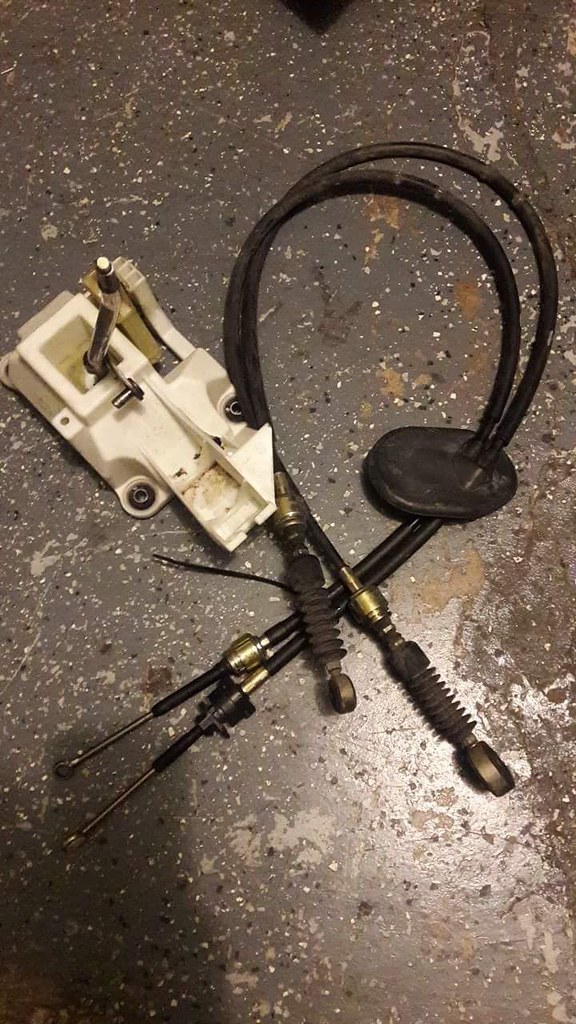
Still very much on a budget I sourced a used DC5 shifter and cables, which were said to be in good condition…

Having only purchased a motor, I still needed to find a gearbox to complete the swap. Gearboxes can be quite expensive so the plan was to try and find one locally. After a few months of searching and having just about given up, a friend was able to make some calls and in a matter days I was able to collect a EP3 Type R gearbox…
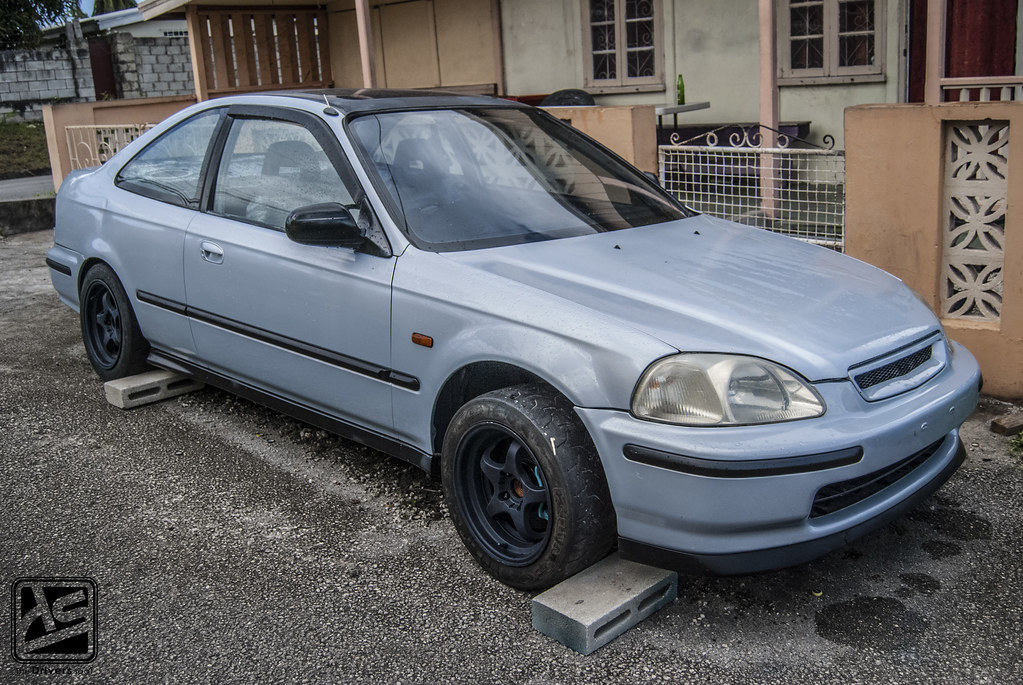

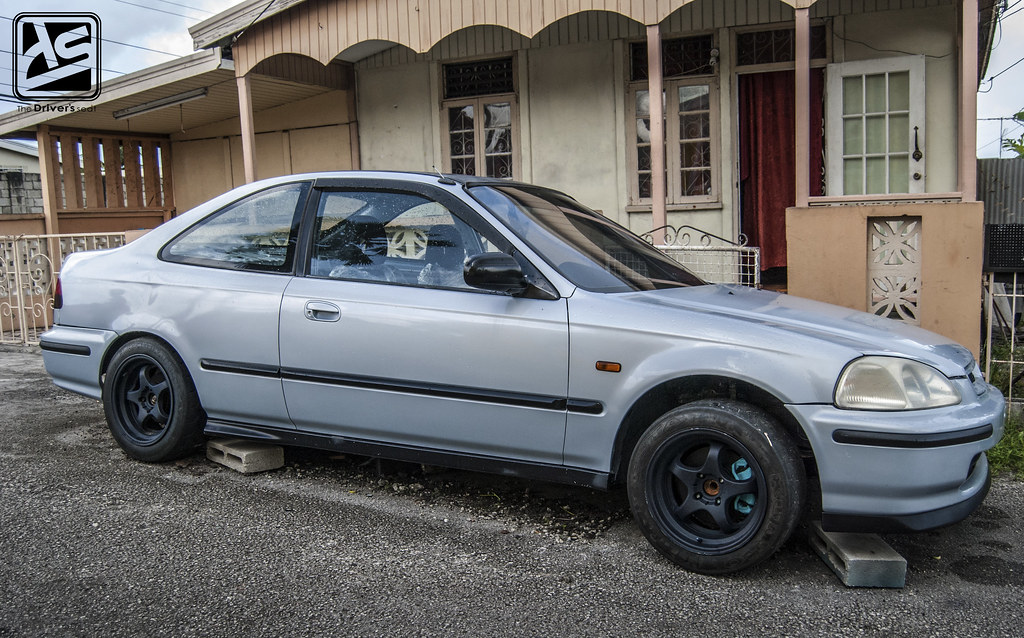

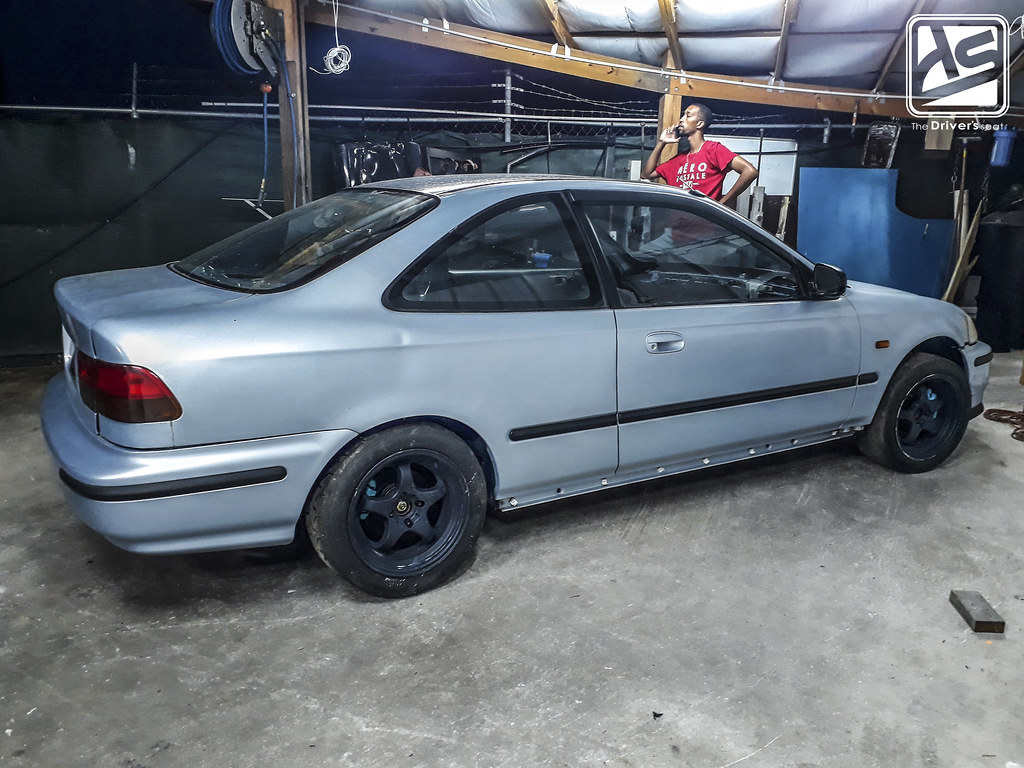
A couple shots of the coupe as it sat back from S.D.R.R, it was time to start moving forward with the swap plans…
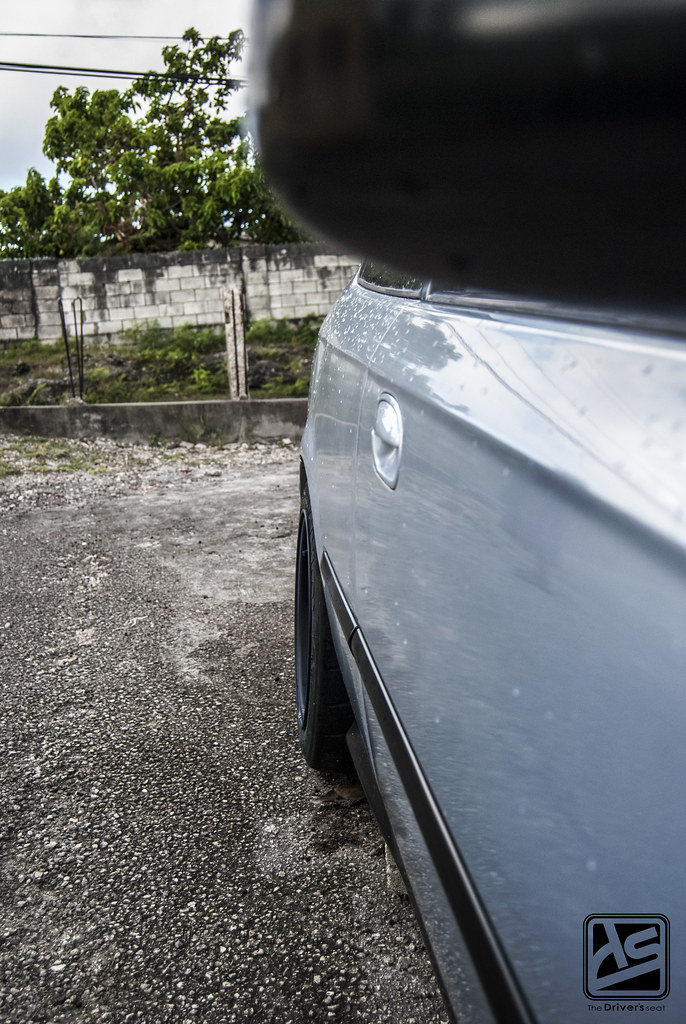
A quick glance at the fitment on the wheels…
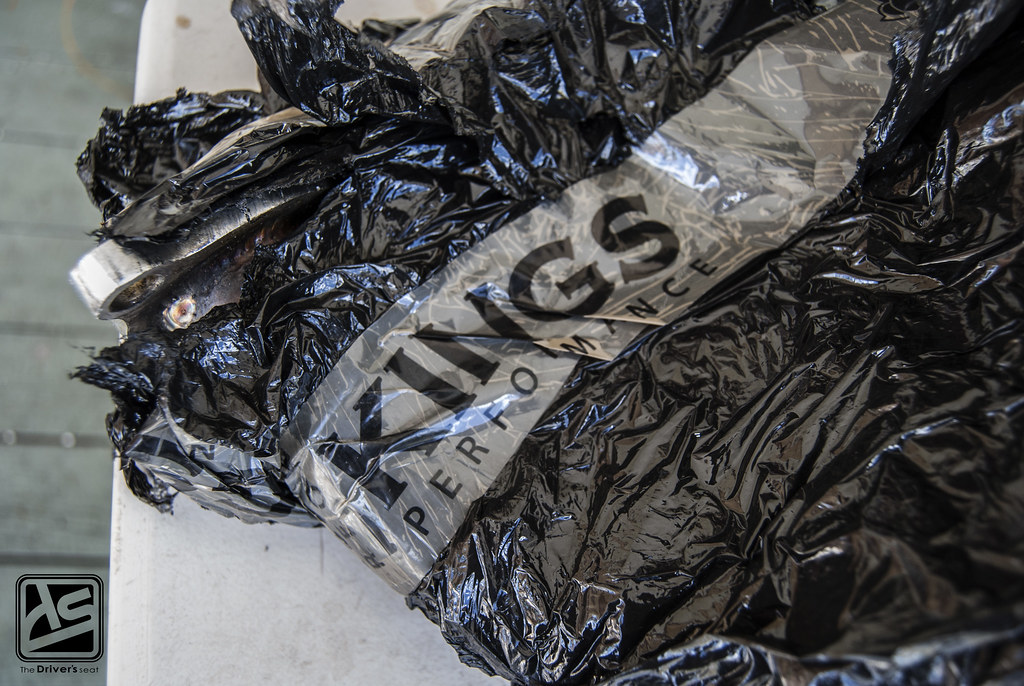
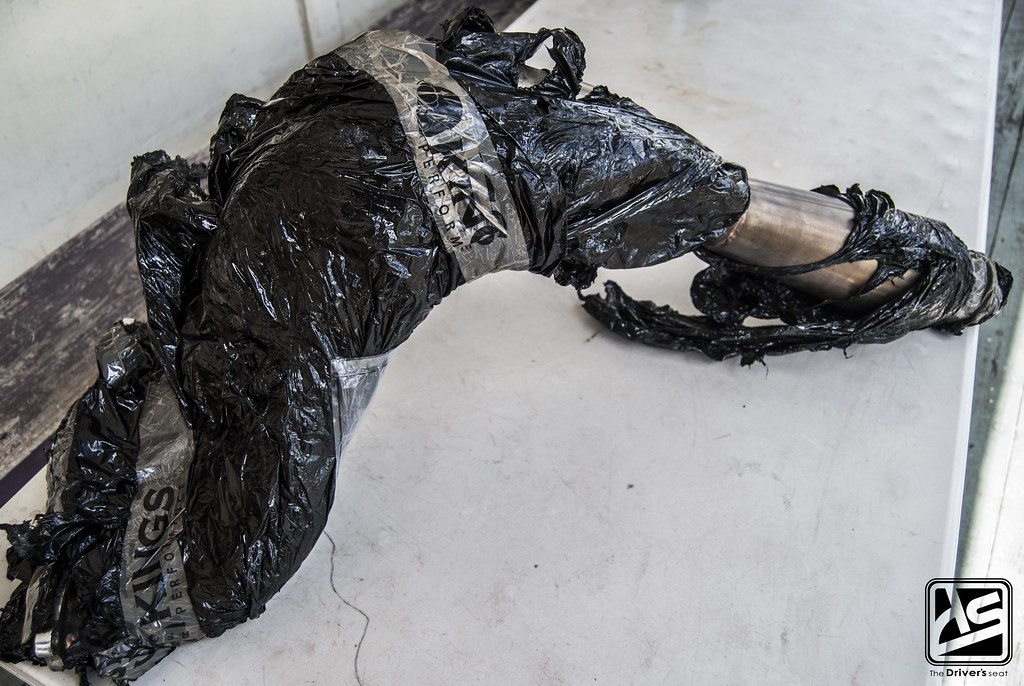
Next up on the list of things to arrive was a header…

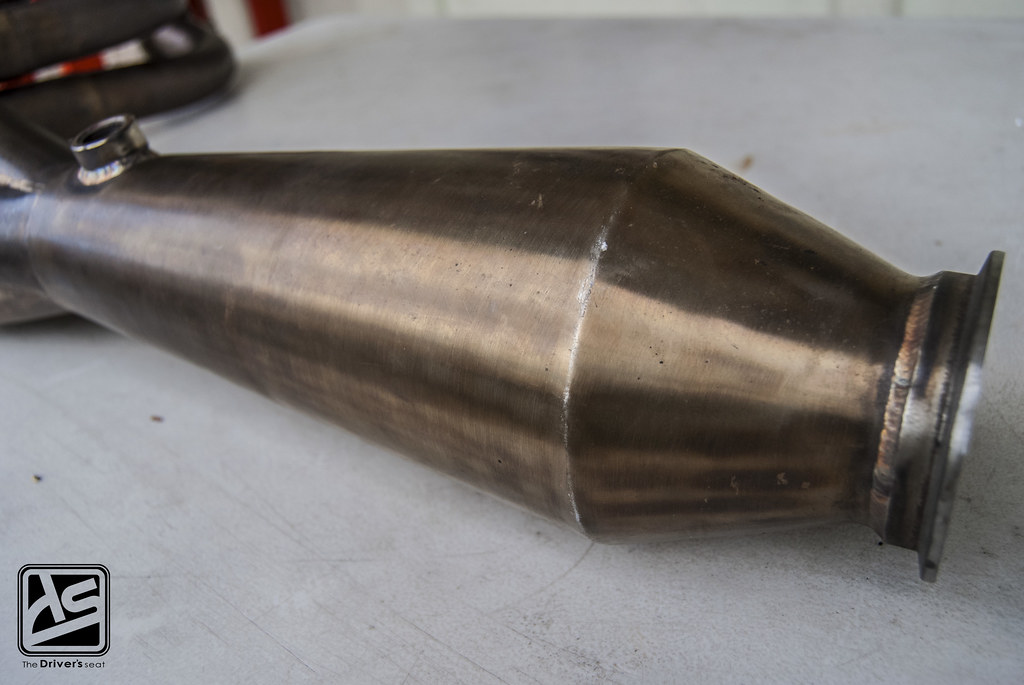
A look at the used 4-1 swap header that I picked up…


A close up on the primaries…

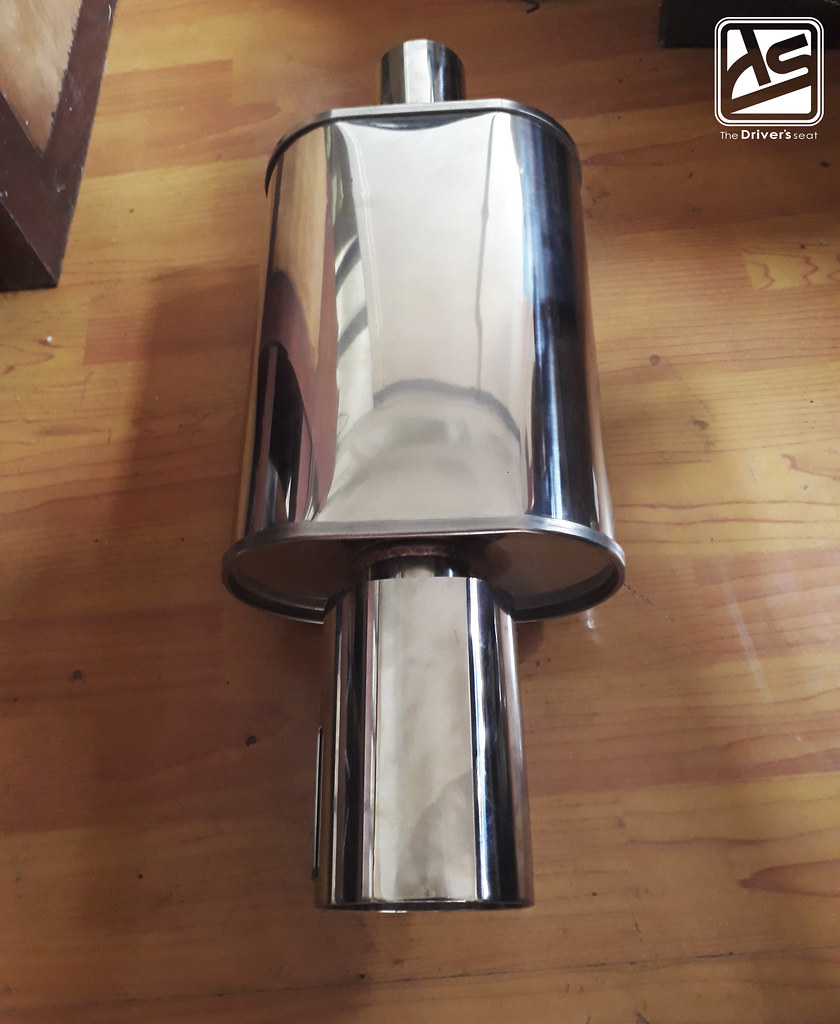
Not wanting the car to be overly loud, I picked up a OBX Forza Tuning muffler to jump start the exhaust plans…
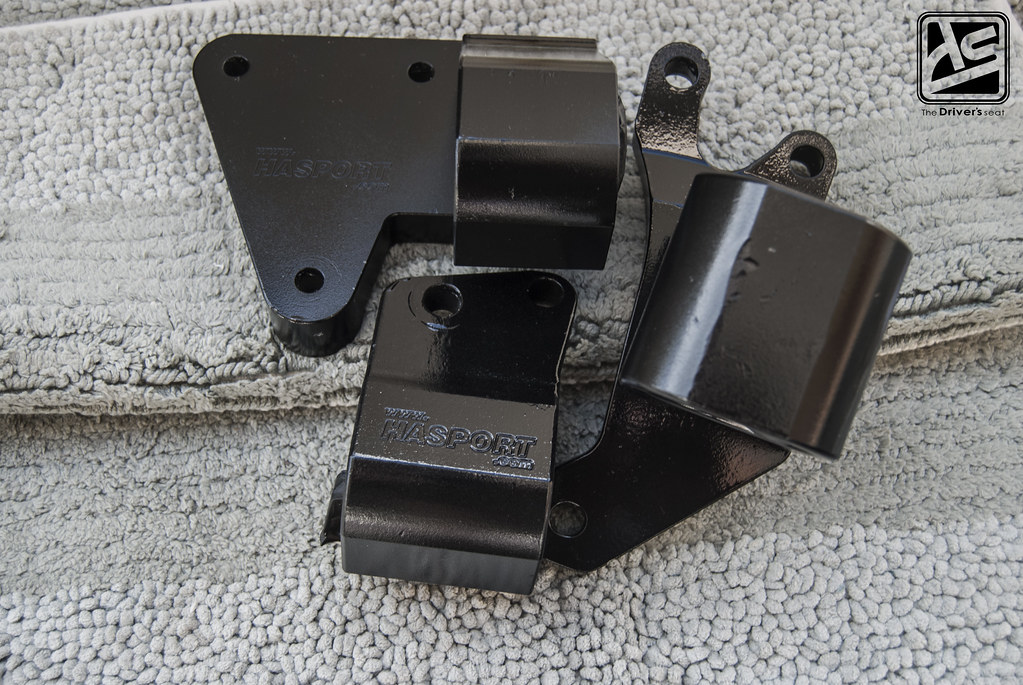
A look at the Hasport mounts after a little cleaning up was done…
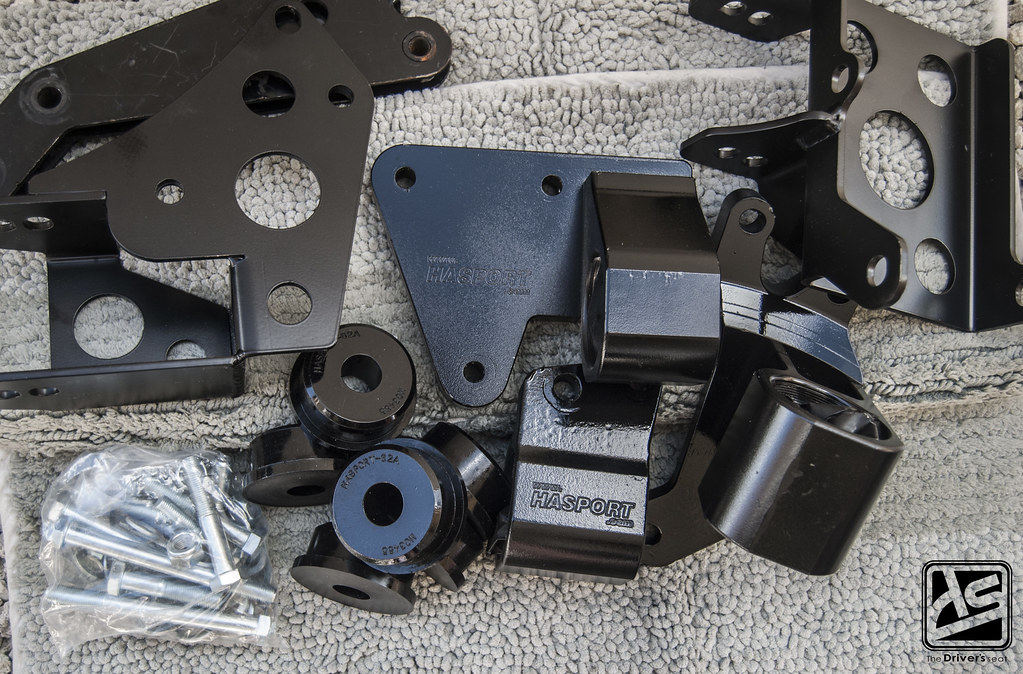
The complete EKK2 Hasport Performance mounting kit…

I opted to make a switch to a softer durometer mount insert and along with it I picked up a hardware kit as well…

Black on black; a look at the mounts alongside the inserts…

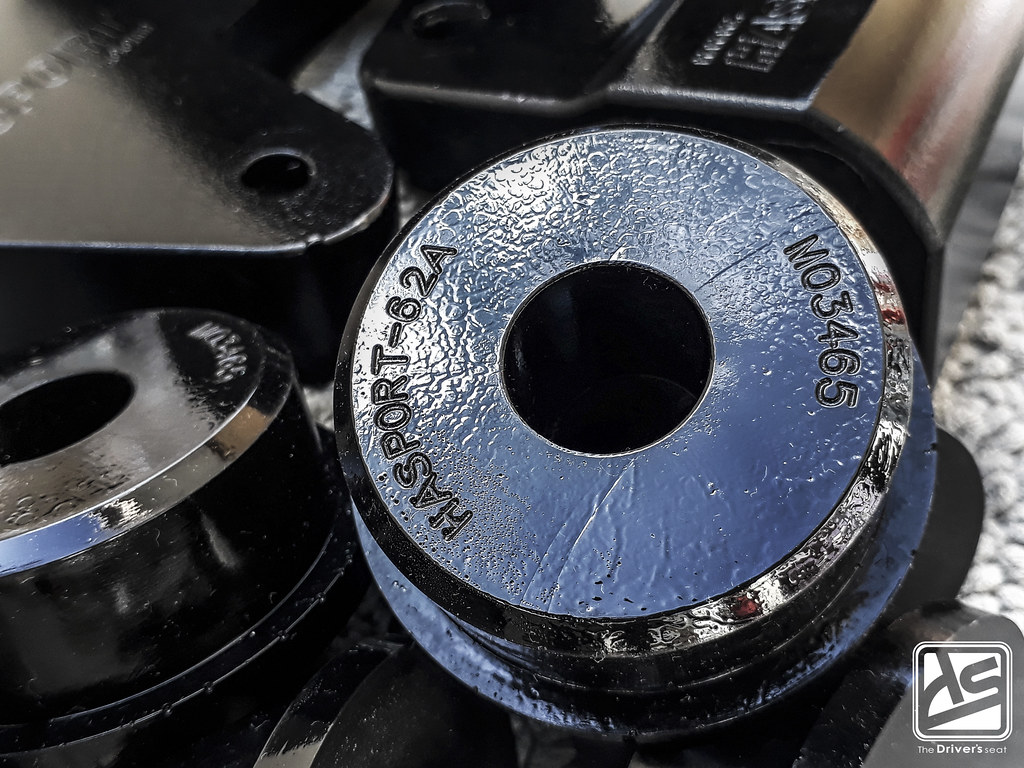
Some close up on the 62A mount inserts…
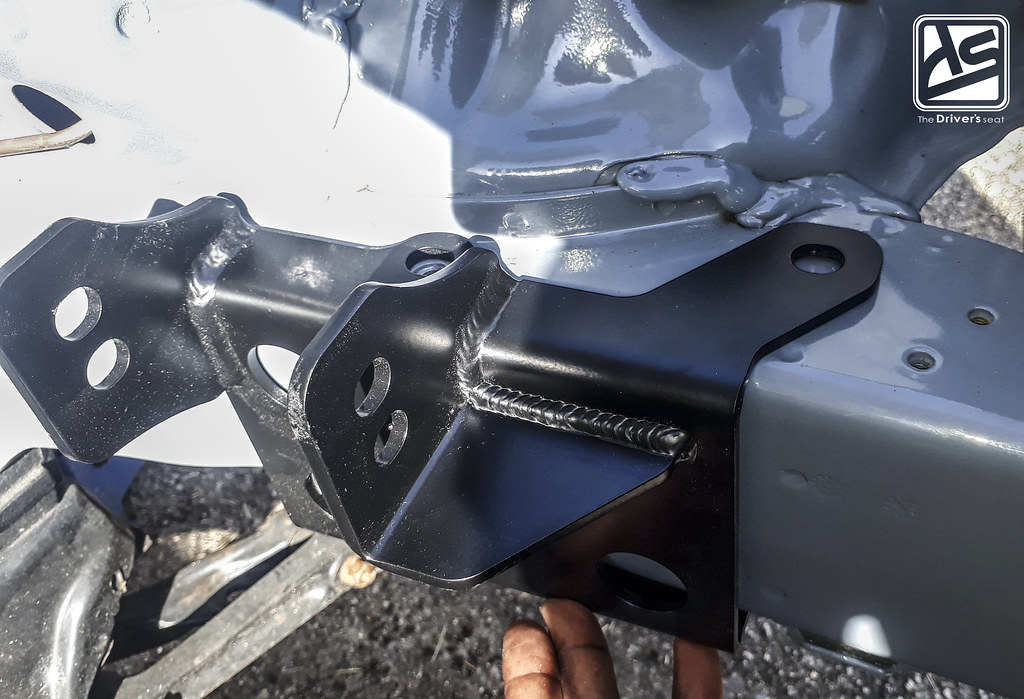
Gearbox bracket from Hasport Performance to begin the swap…

Starting to bolt up the timing side in preparation for the K20 motor…

The Karcepts billet aluminum fuel rail in a brushed finish had finally arrived…
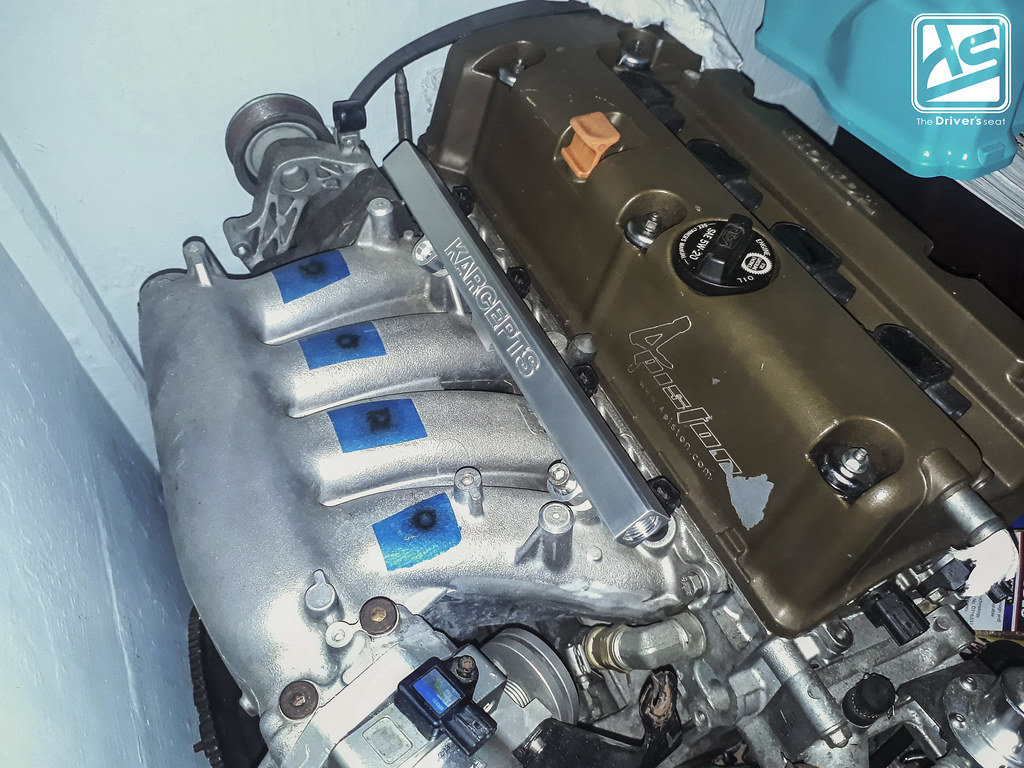
I did a quick test fit of the fuel rail…
With the addition of the missing key components necessary to execute the swap currently in hand, the wait was finally over…


Moments before the K20 motor and gearbox were mated together…

Swapped!..
That brings us to the end of this post, thanks for taking a look at another update on Project EJ. Moving forward, I’ll try to do better with updates on this build and not have you guys wait so long.
