
Special K… Part 1
In the introductory post I gave you guys a brief background about how Special K was created. After enjoying the car for a few years, Chubz noticed some areas which needed some attention and began stripping the car down to have it sent off for a much needed refresh. We’ll be taking a look at this process as it progresses.
For those who would have missed the first post, you can click the link below…
Shortly after my initial visit, Chubz started the teardown, here you can see the dashboard removed before the car is sent off to the body shop…
Upon arrival, the guys went to work trying to identify all the areas that need to be addressed…
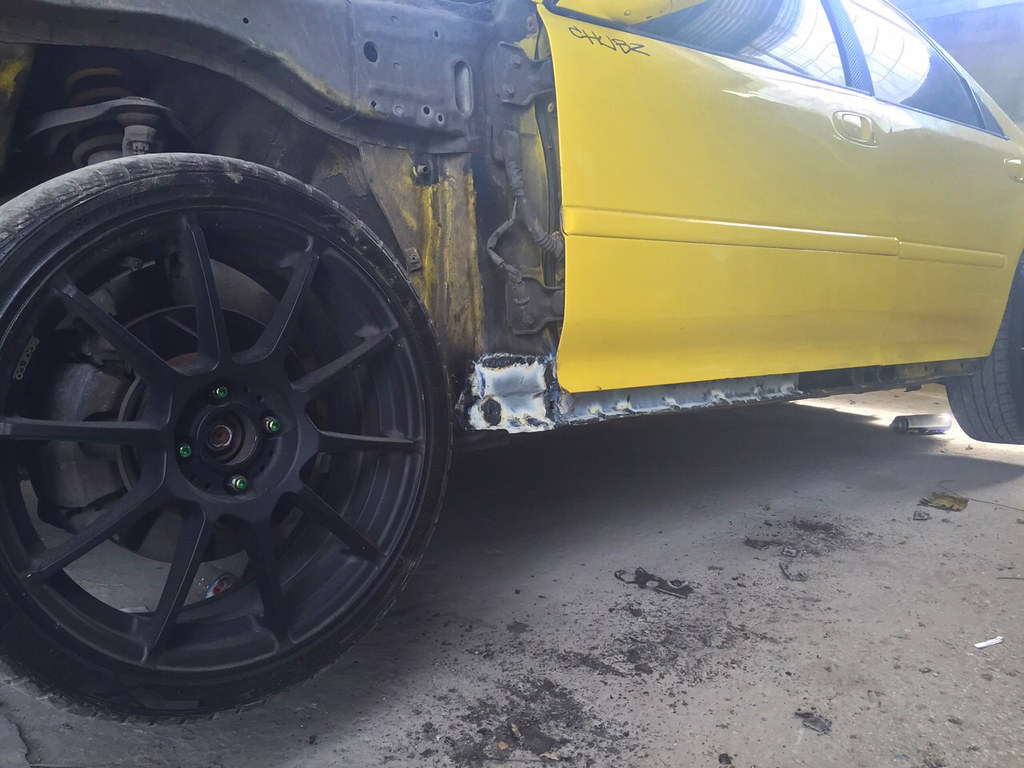
A few of the areas the guys found so far…
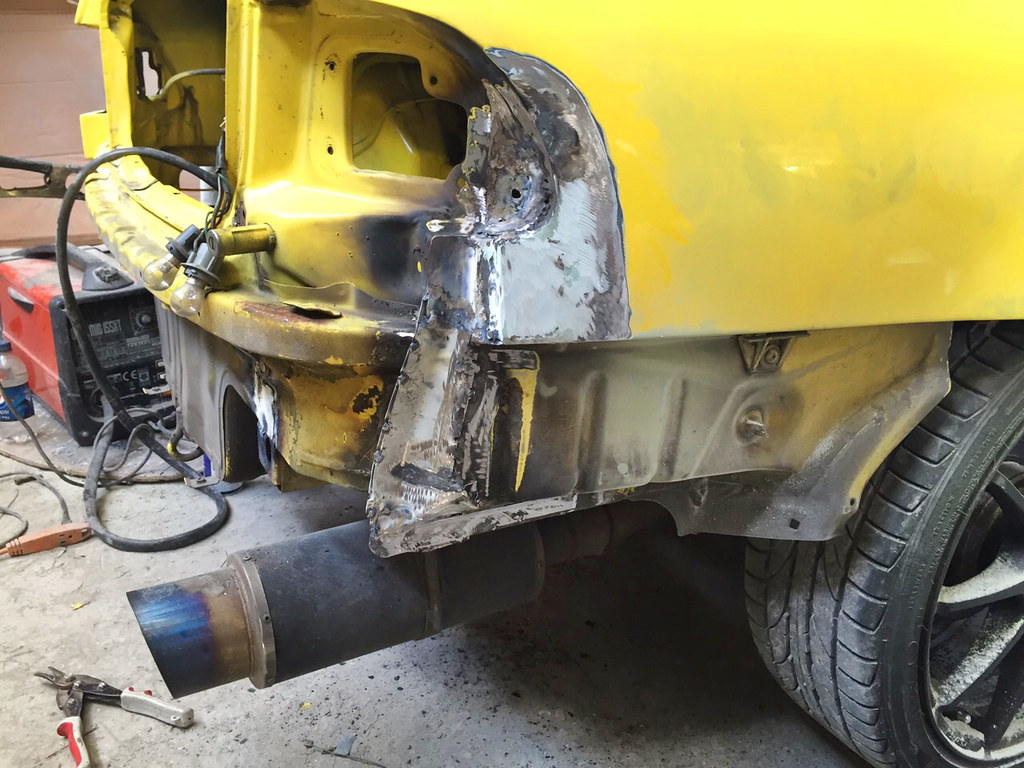
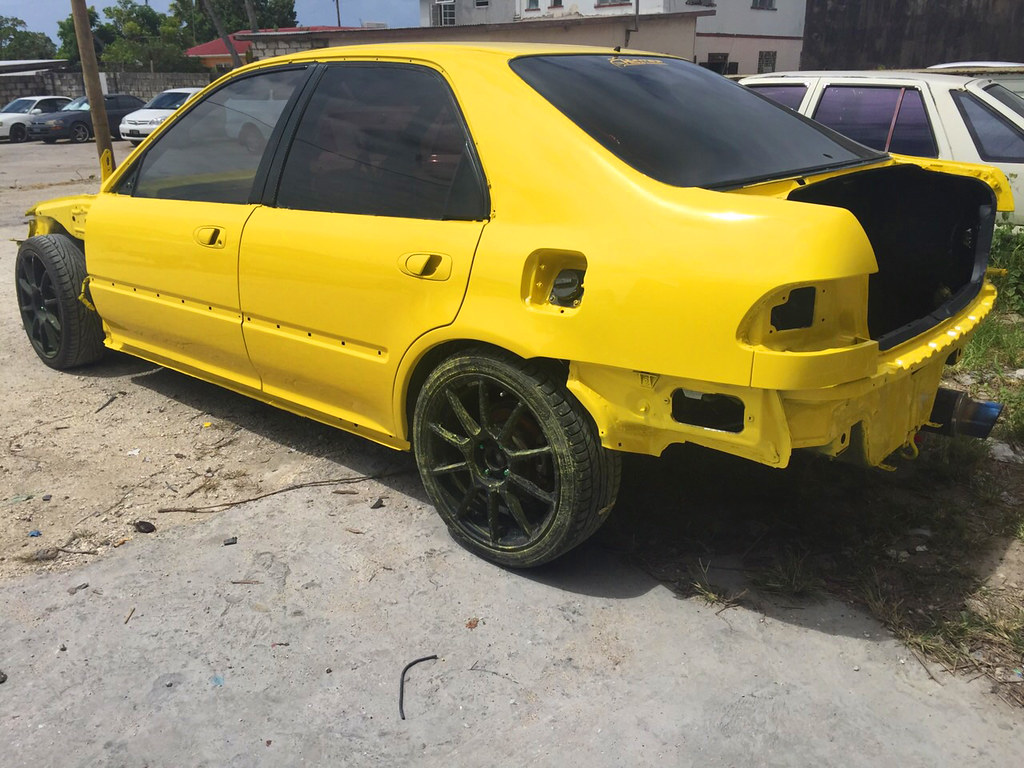
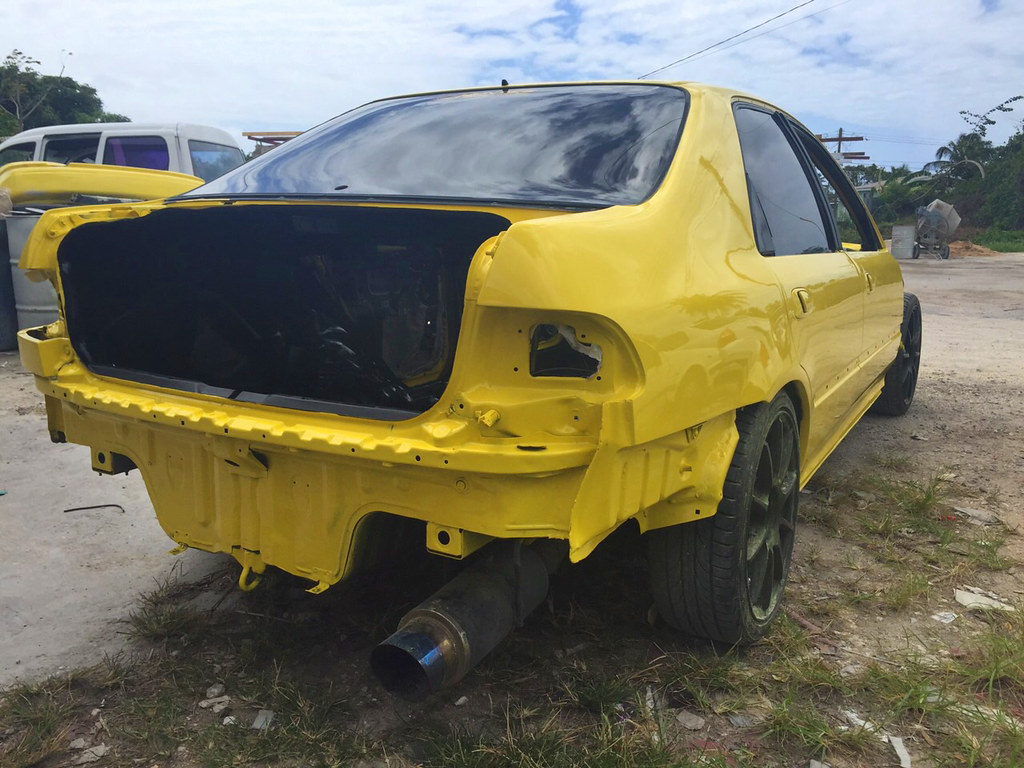
One of the more serious areas was the right rear fender which needed some serious work as the car was previously in an accident and was never repaired properly…
A look at the beginning stages of repairs being done to the running panel…
After a few days I paid the guys at the body shop a visit to see just how the progress was coming along…
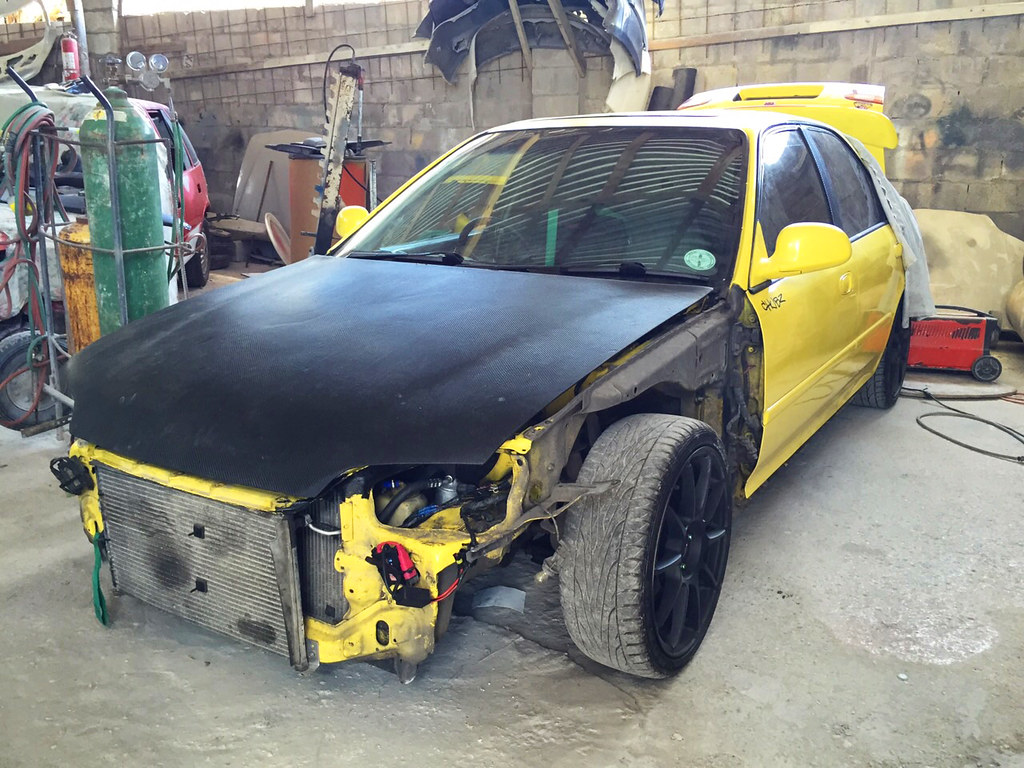
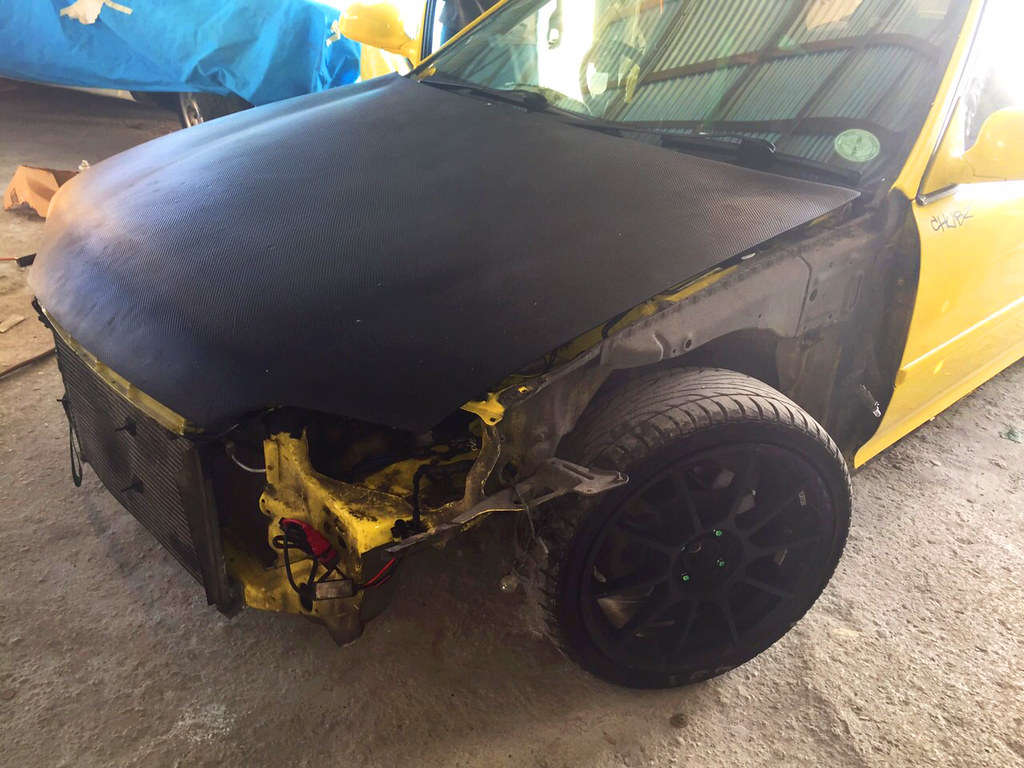
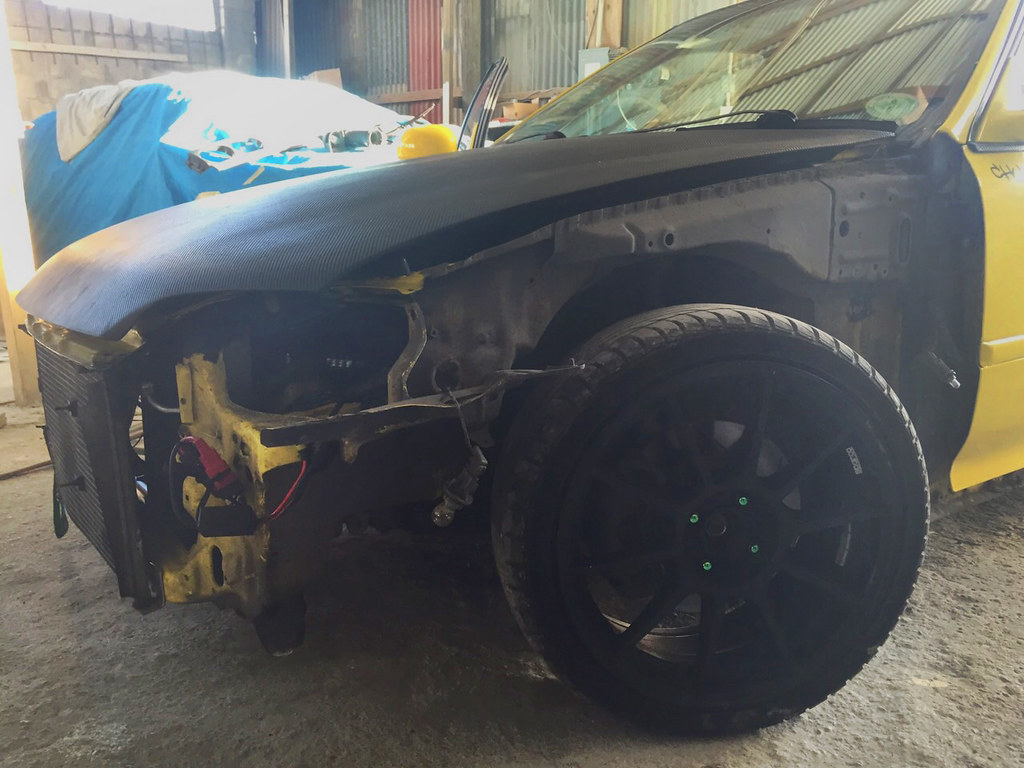
A stripped and dusty front end…
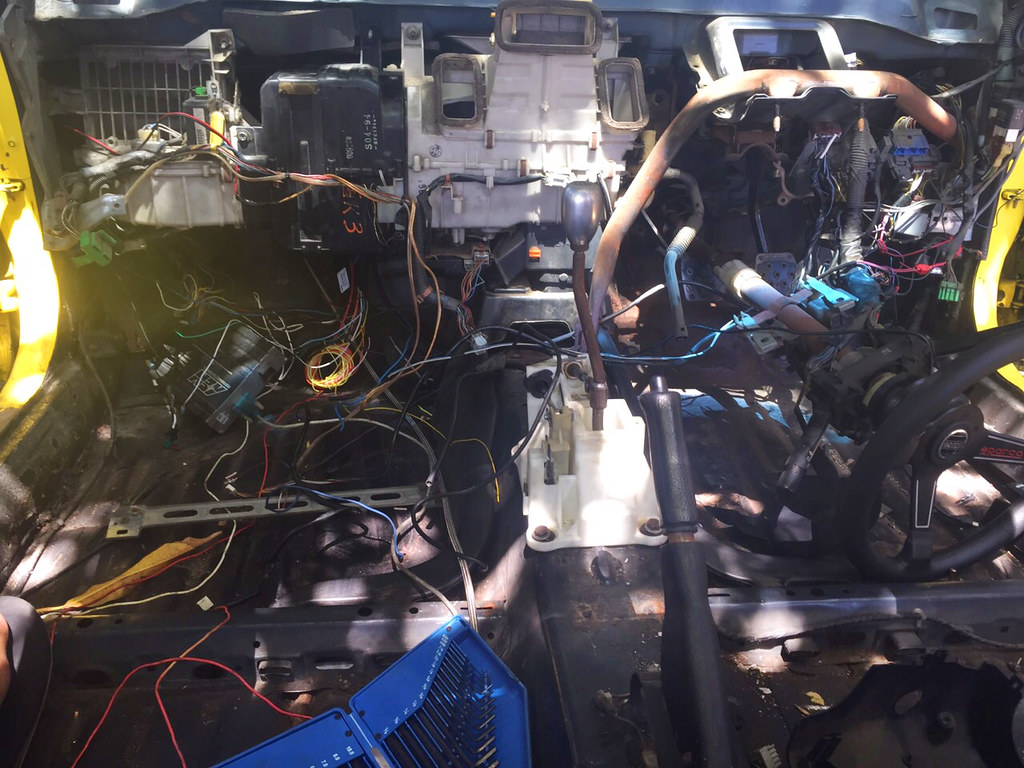
A quick glance at the gutted interior, full of dust from the guys hard at work trying to finish as they were on a tight schedule…
The bodywork to the running panel almost complete…
While the car was there, Chubz had the guys work on the mounting points for the racing harness…
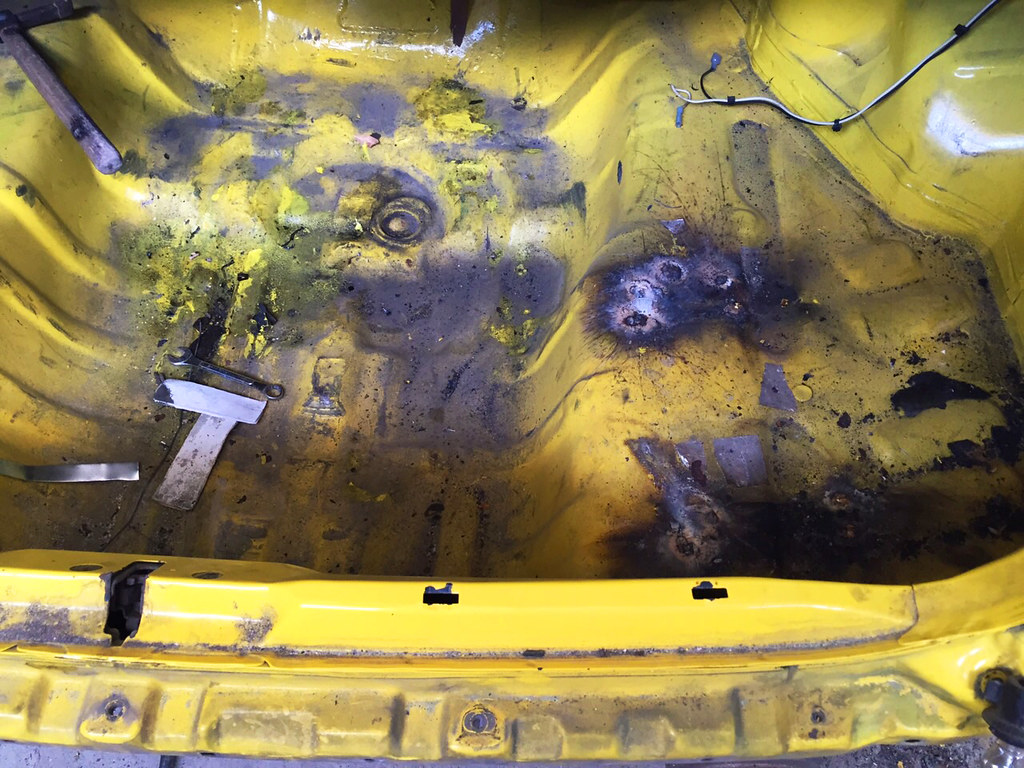
Moving to the rear of the car…
The spots in the trunk were patched, sanded and filled…

An inside look of the right rear quarter where it meets the trunk, as I mentioned previously, this was one of the more serious areas to be dealt with…
A look from the outside of the damaged area now fully repaired and ready for the next phase…
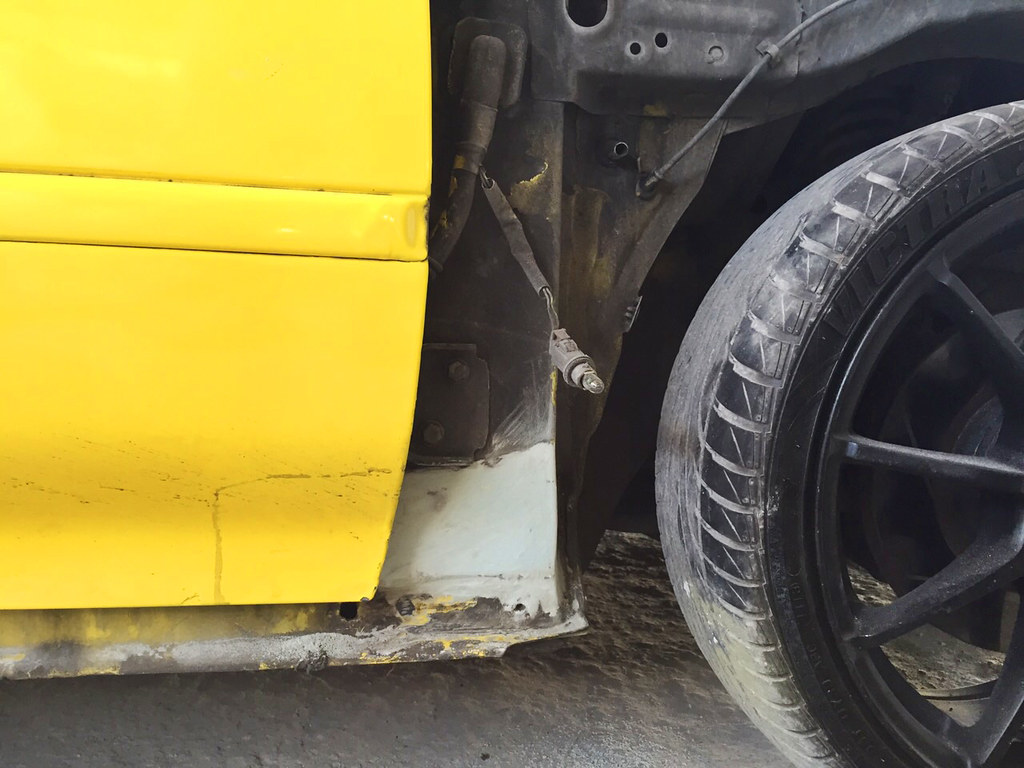
Inside the rear door jam started to show some signs of rust which was also taken care of…
As with most cars of this age, Chubz Civic was no exception and the windshield needed to be removed to repair the upper portion of the wiper panel where the bottom of the windshield would sit…

A close up of the repaired left and right side…
Along with the base of the windshield, the roof where it meets the windshield had some damage as well…
A final look at the car before it moved on to the paint stage…
Being a big fan of the yellow hue which was previously on the car, Chubz decided to stick with it…
In just a matter of time the guys had the car in the booth and wasted no time in laying down a fresh coat of paint.
Rather than have the interior sprayed in yellow, Chubz opted for a semi matte black finish…
How the car sat fresh out of the booth, waiting to be reassembled…

That’s a wrap for today’s post, in the next post I will go into detail about the engine plans Chubz has in store along with a few other surprises.
