
Track Bred EG6 Build… Part 28
Every time I have to collect coverage on this build, I never know what to expect and each time I’m equally surprised. In a previous post I mentioned that Jerry had an idea he was playing with in the last large scale rebuild of this series; that would allow him to add additional rigidity to the chassis while shedding some weight all within the same modification. Today I have some more photos of the progress he has made since the last post. In addition to this, while in the process of practically rebuilding the entire car Jerry took things a step further and switched out one of the most important pieces of the puzzle.
For those who would like a full recap of this build, I’ve provided the link below…
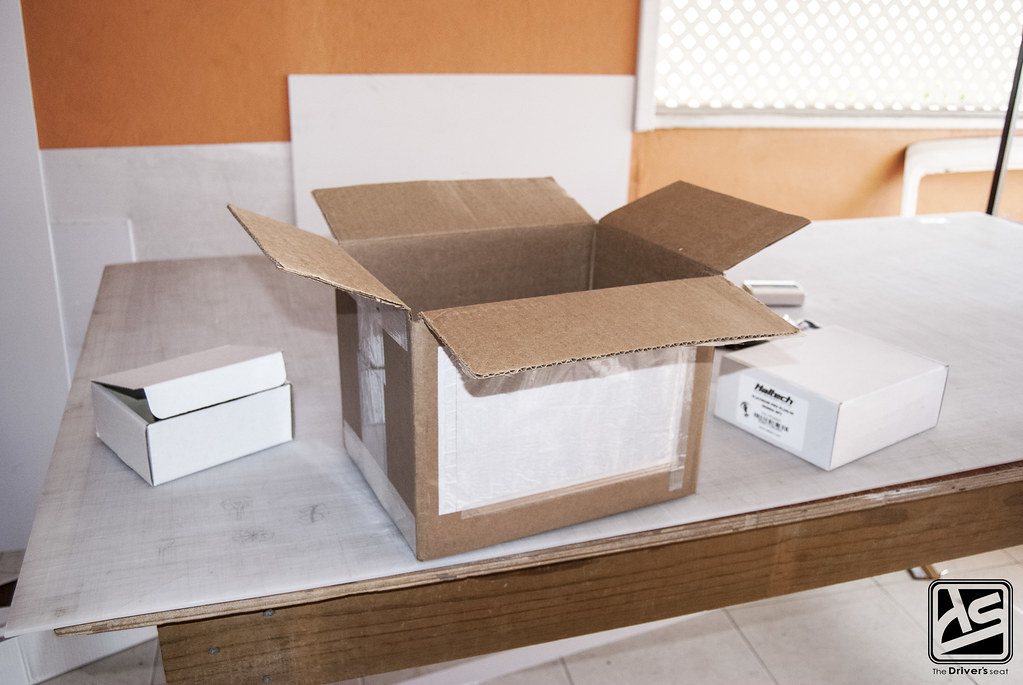
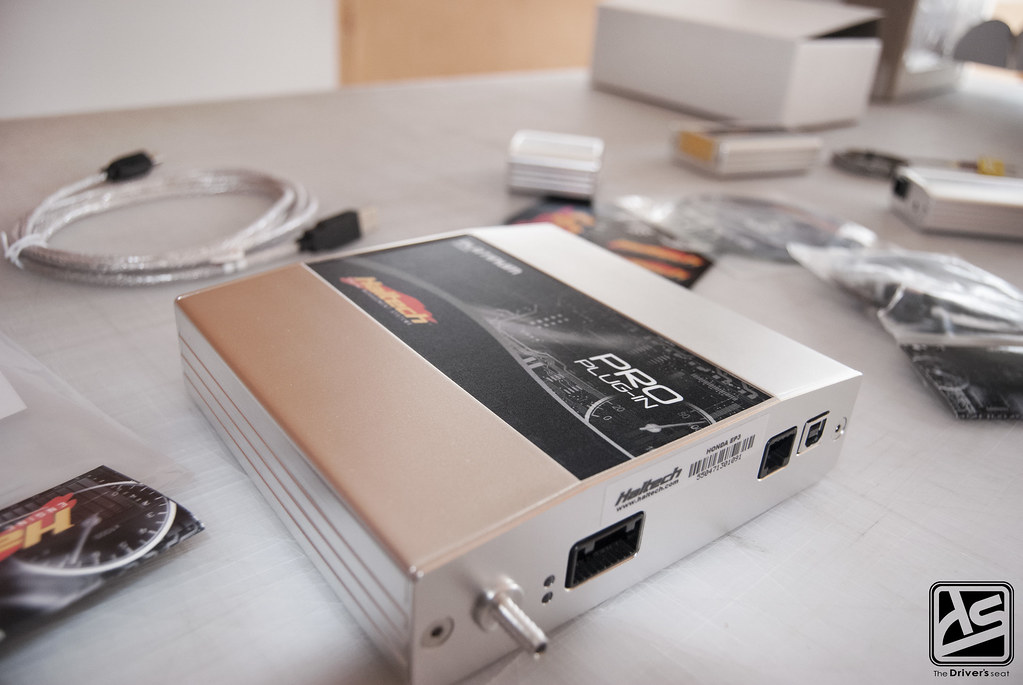
It’s always great when new parts arrive…
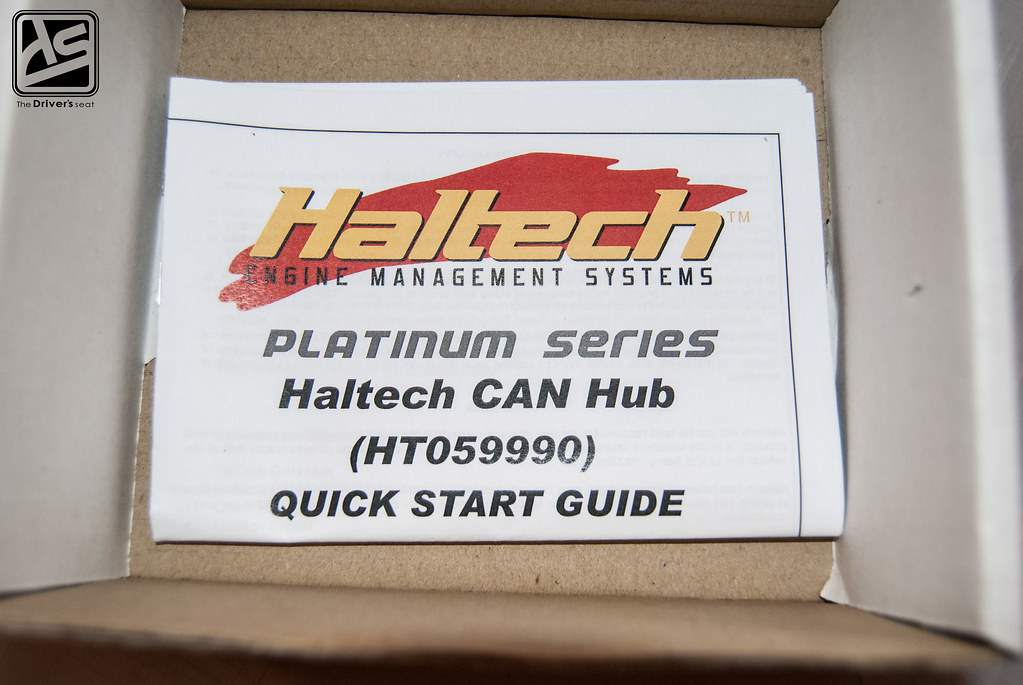
Jerry went ahead and bought a Haltech Platinum Series PRO EMS….
With the rebuild underway and with the increase in power to come from the K24 motor, Jerry thought that he should also address the brain behind it. And after doing an assessment of the advantages and disadvantages between the Hondata K-Pro and the Haltech Platinum Series PRO, the latter won. Not because of the “something new” syndrome some people think Jerry has; but because of the additional tuning capabilities and the precision that comes with it.
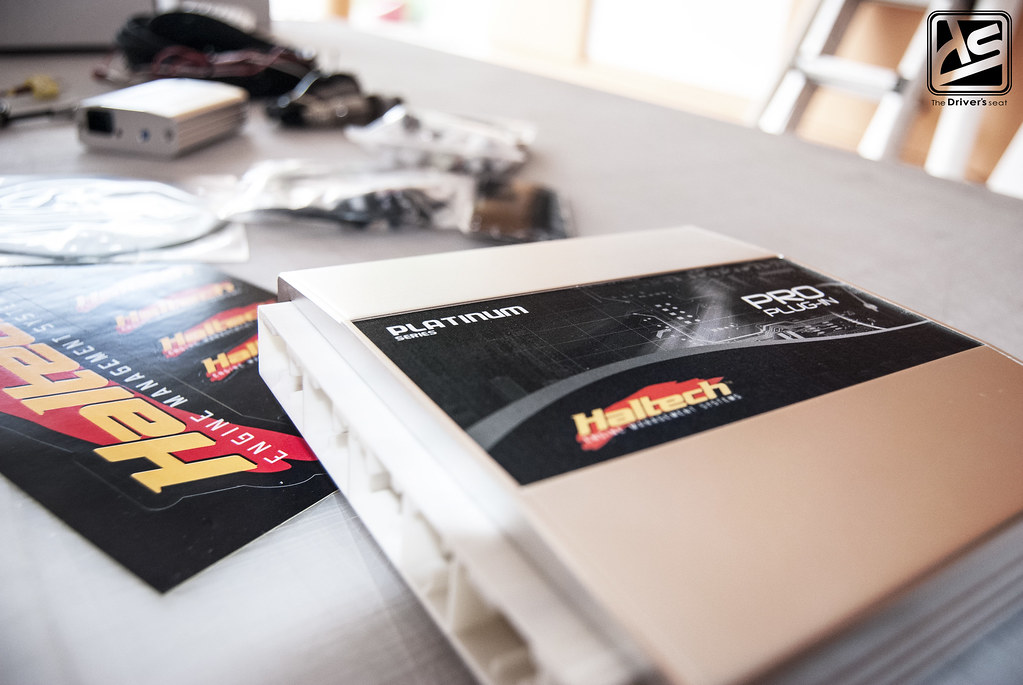
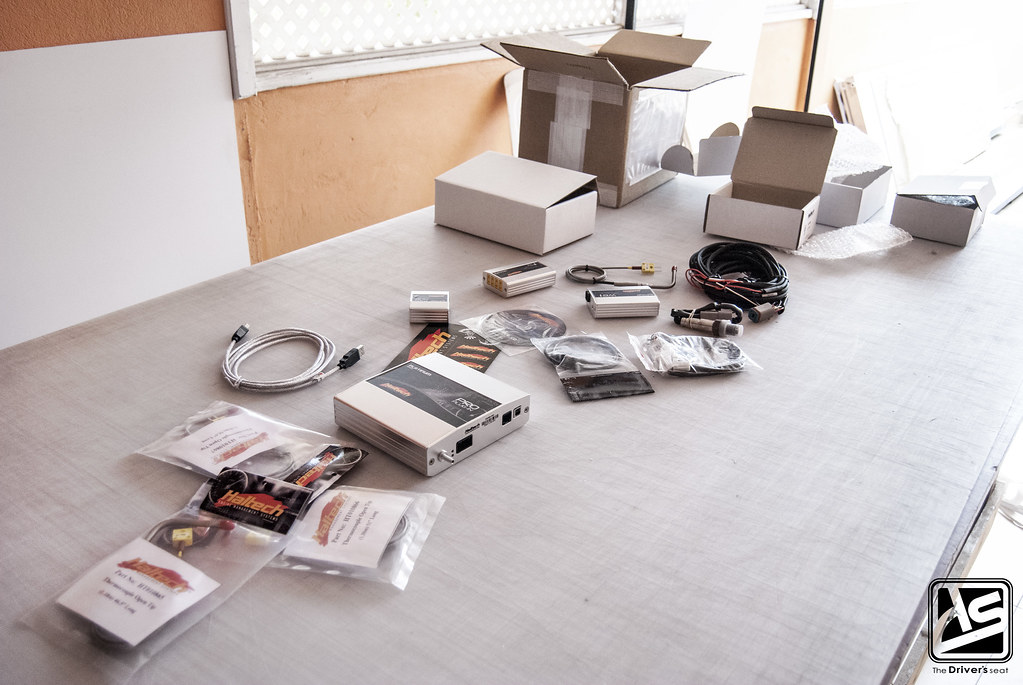
Close up of the new brain…
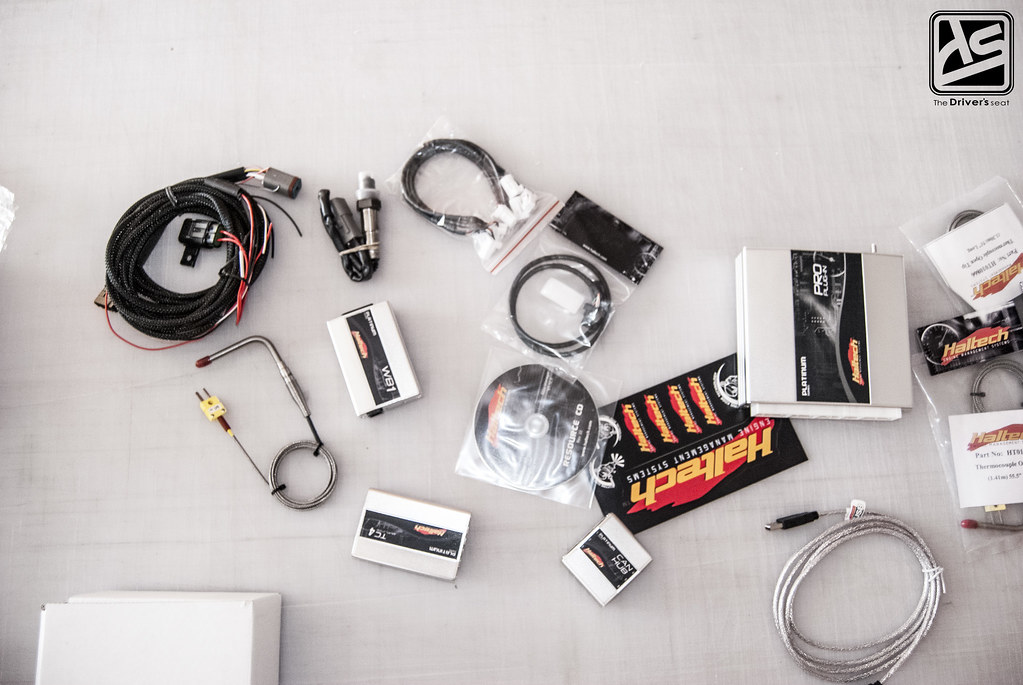
Some of the key components that will be needed for this new setup to work successfully…
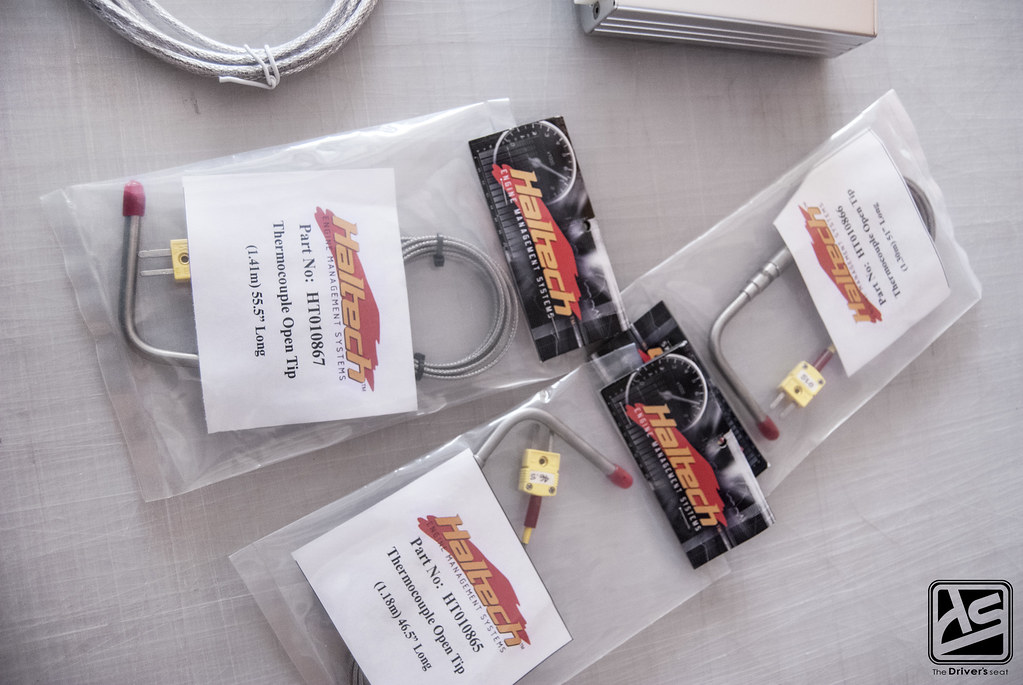
On speaking about the tuning parameters and precision tuning over the Hondata K-Pro, here are the open tip thermocouples which will be placed in each of the runners in the exhaust manifold. These will send a more accurate reading of the exhaust temperatures to the ECU and will aid the tuner in getting the most out of the motor.
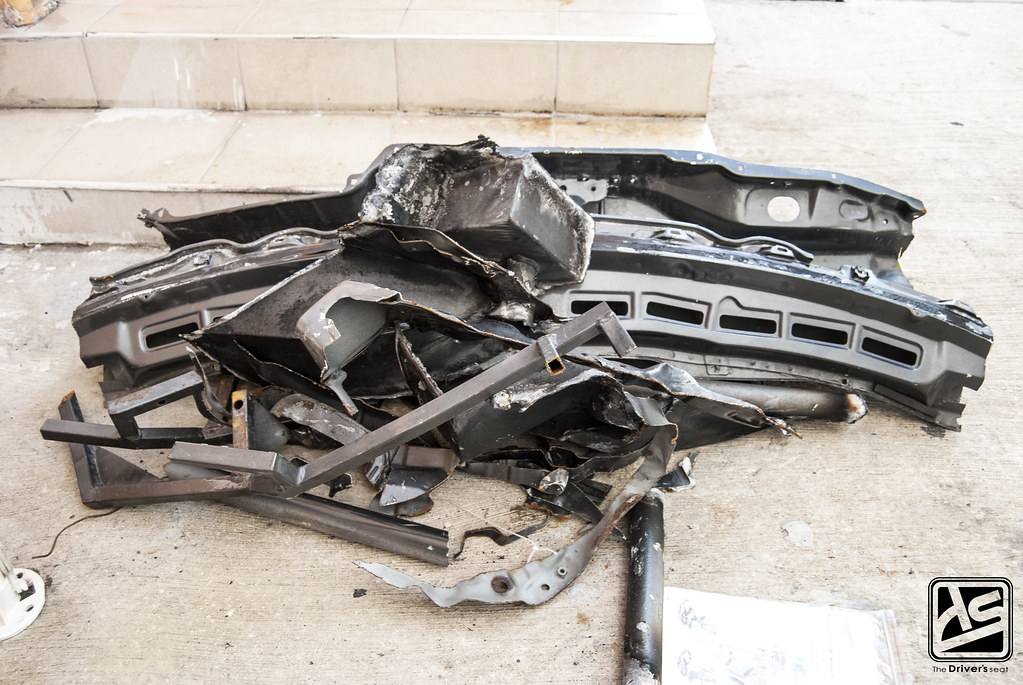
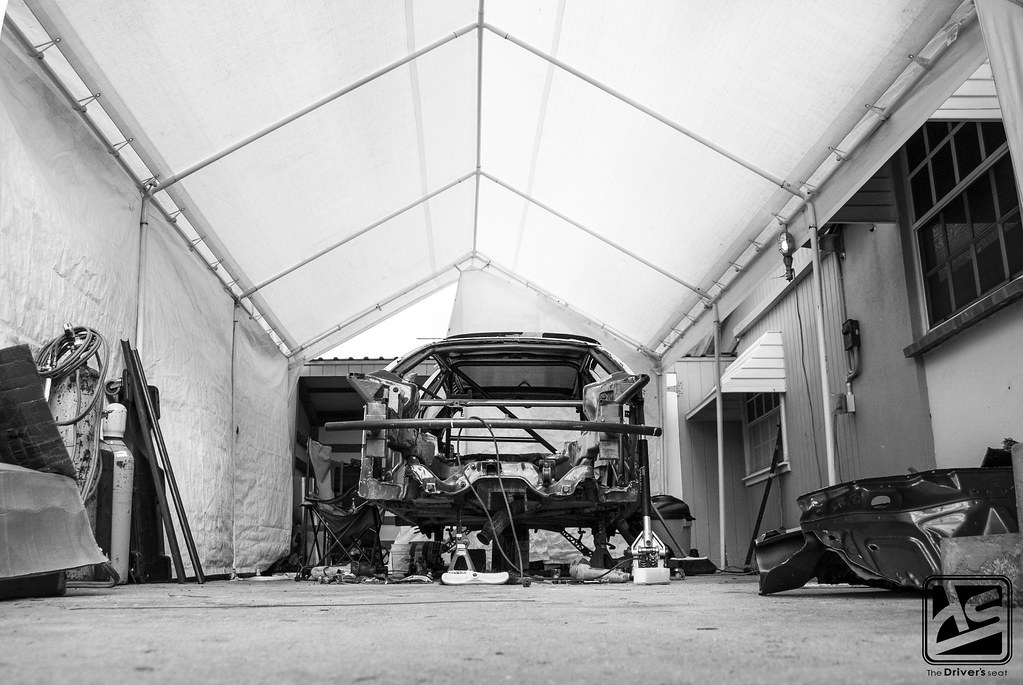
A scrap pile of metal that was cut from various places about the chassis that will now be replaced with a stronger, lighter material.
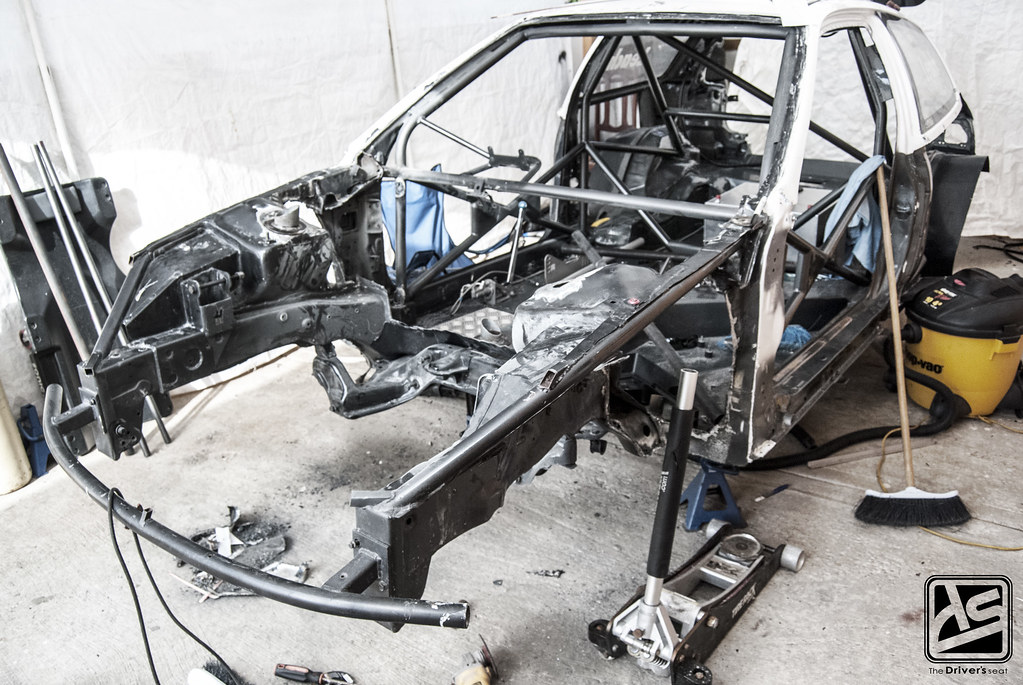
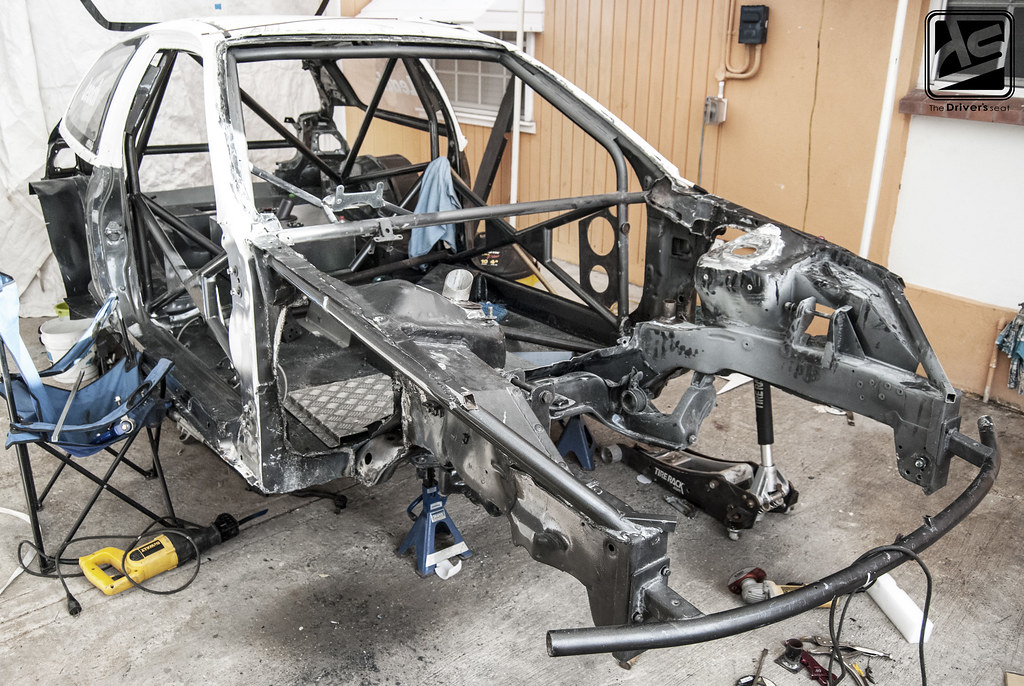
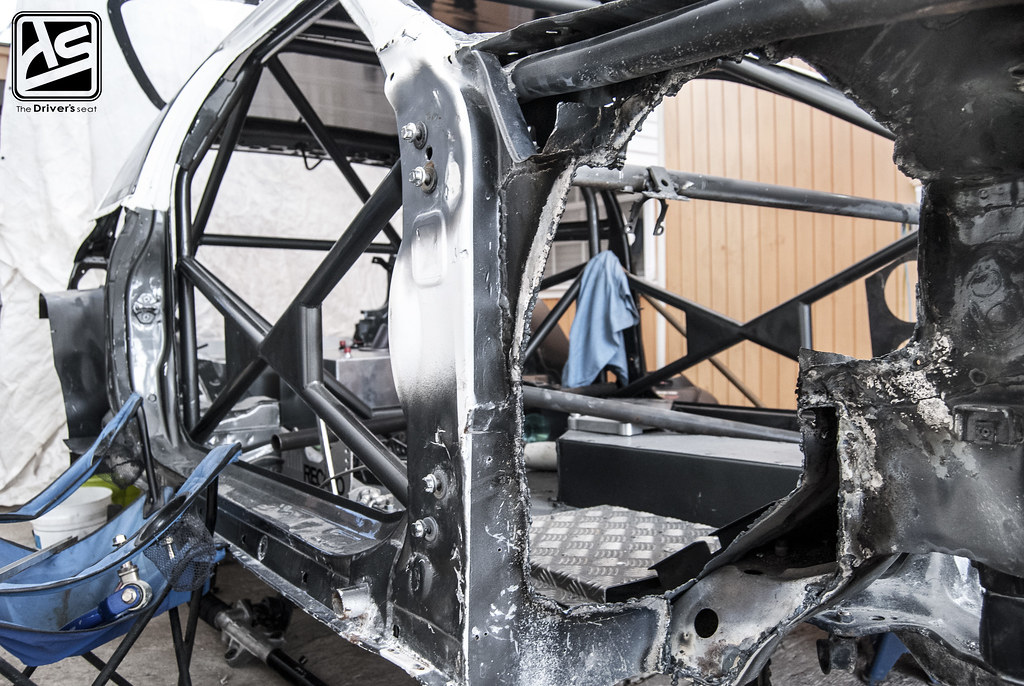
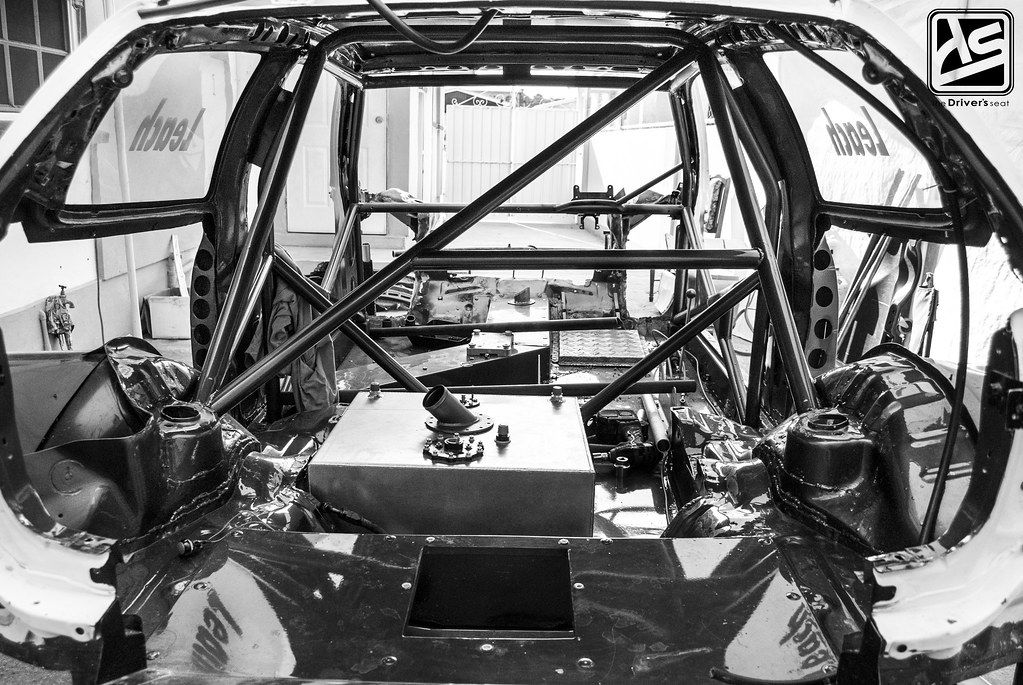
Varying viewpoints from the front of the car looking diagonally through to the back pretty much explaining where those pieces of metal came from…
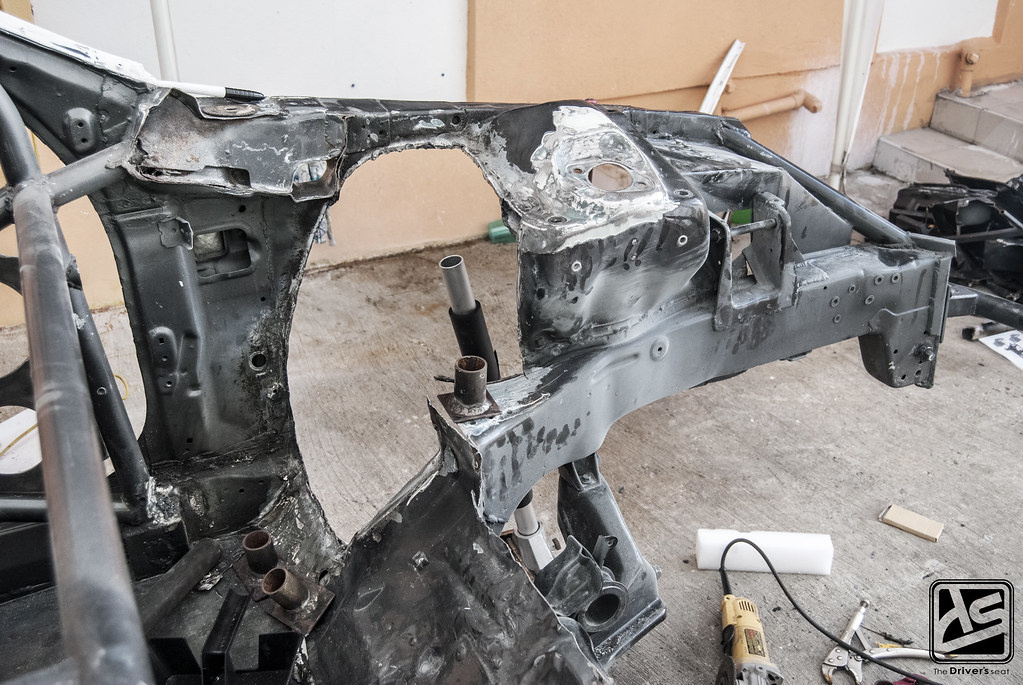

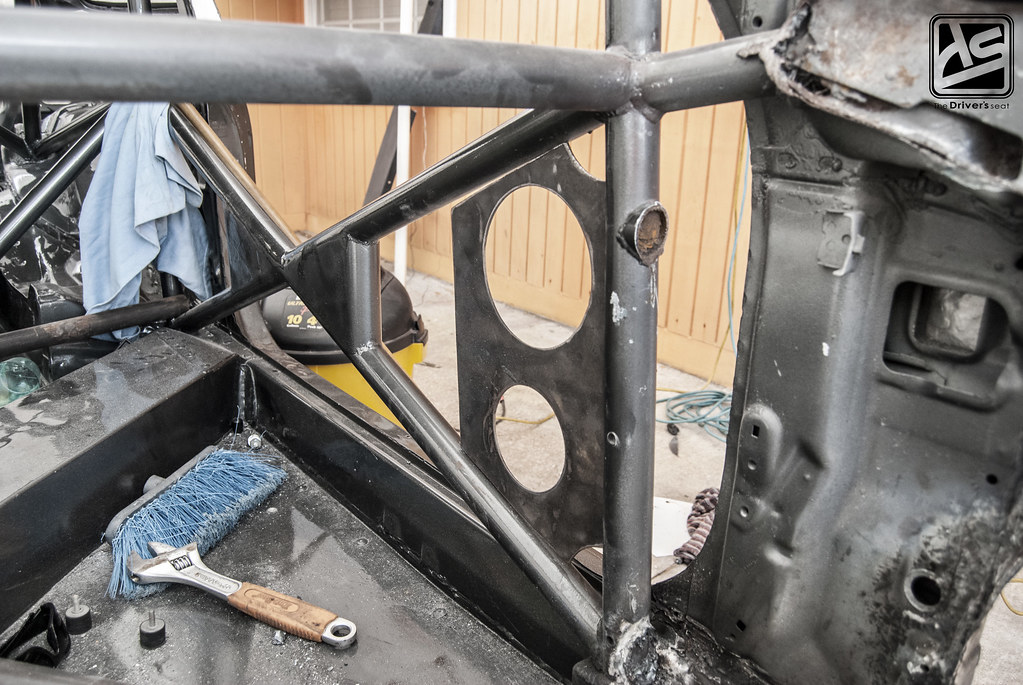
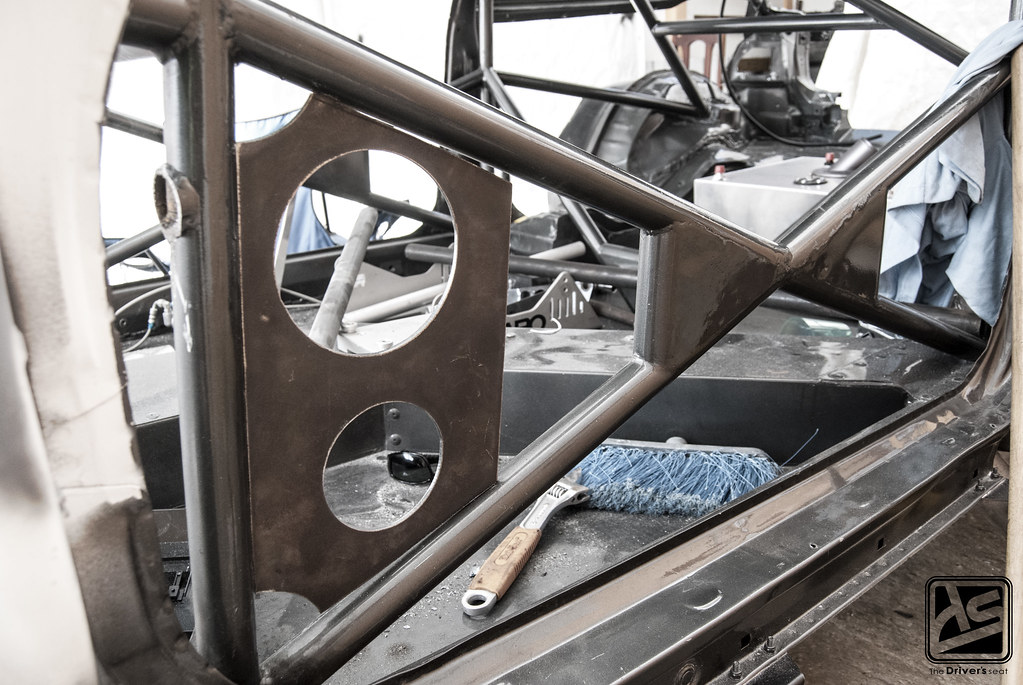
Here are the two wheel arches, more so where the previous ones existed, which in themselves had been modified at an earlier time in this build.
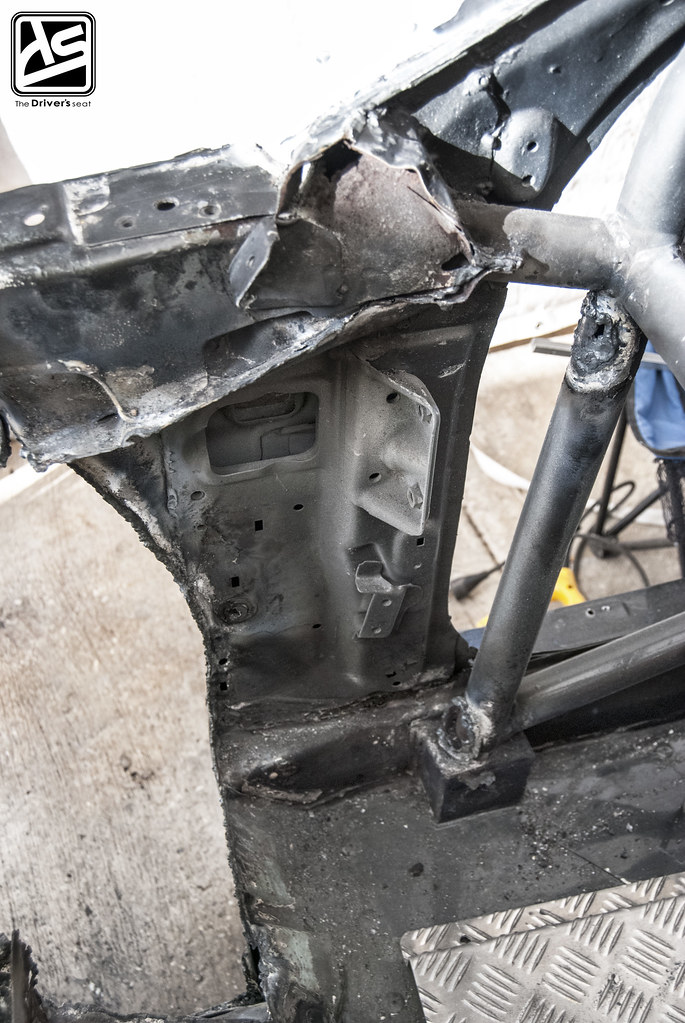
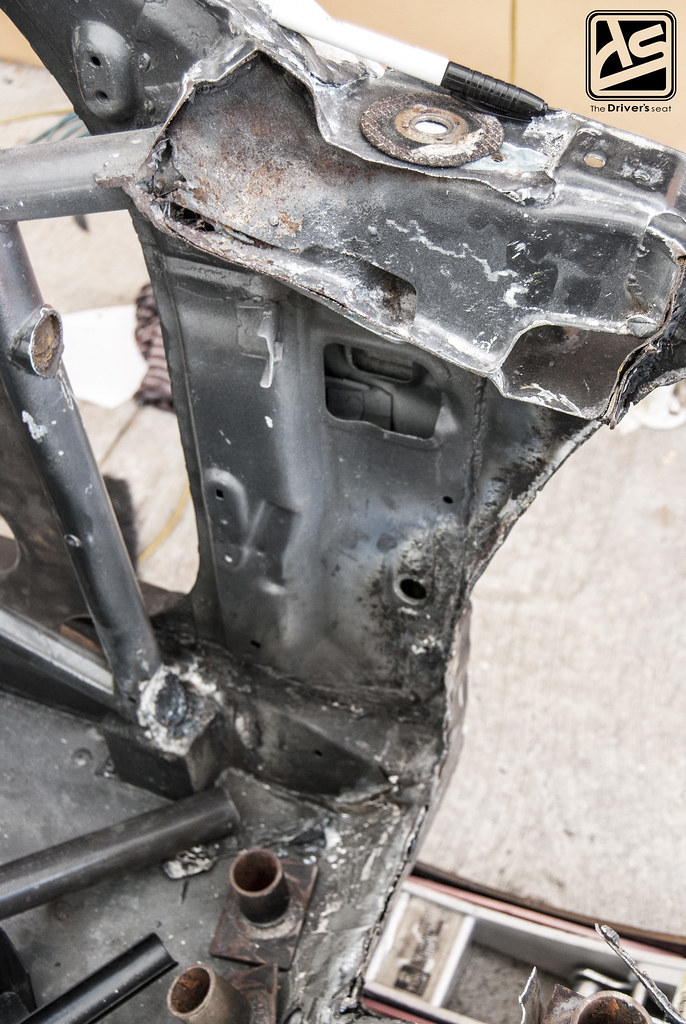
A more detailed view of the modifications…

Another angle of the gutted wheel arches…

From the engine bay to the back of the car…
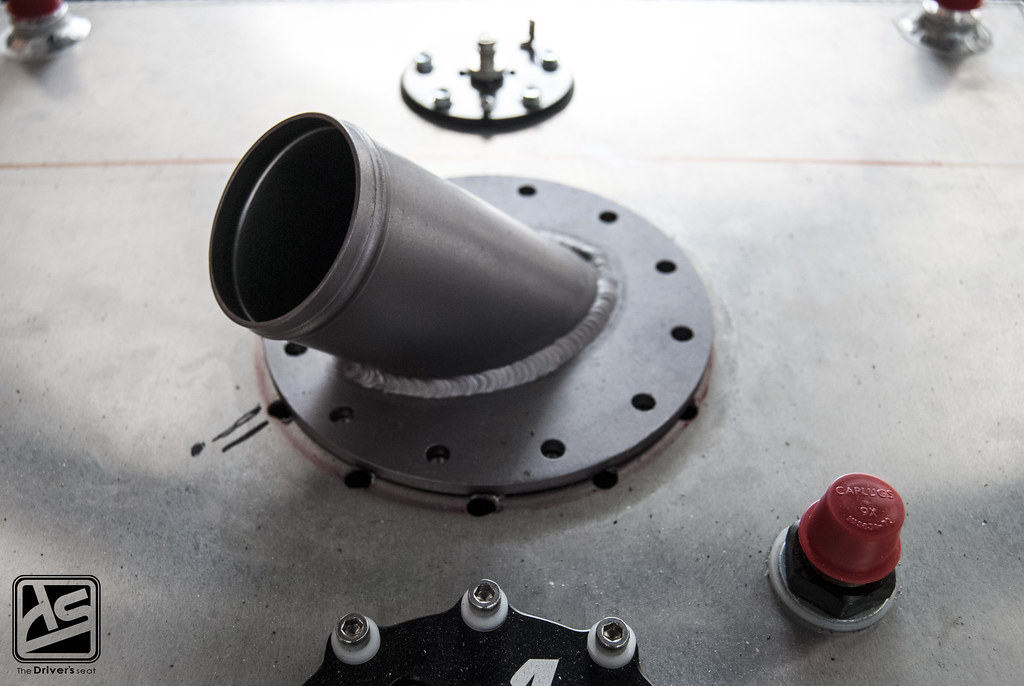
Moving to the other end of the car, Jerry has plans of completely changing the fuel setup. In addition he will no longer have to manually open to fuel cell lid to refuel. To accommodate this upgrade the fuel cell will need to be modified and a filler neck fitted.
Random shot of the tanks that will be used for welding…

Joel fabbed up a pretty badass looking oil tank stay…
Well that’s a wrap on today’s post… thanks for taking a look and to those who constantly follow. Until next time….
Absalom’s A31 Build… Part 1
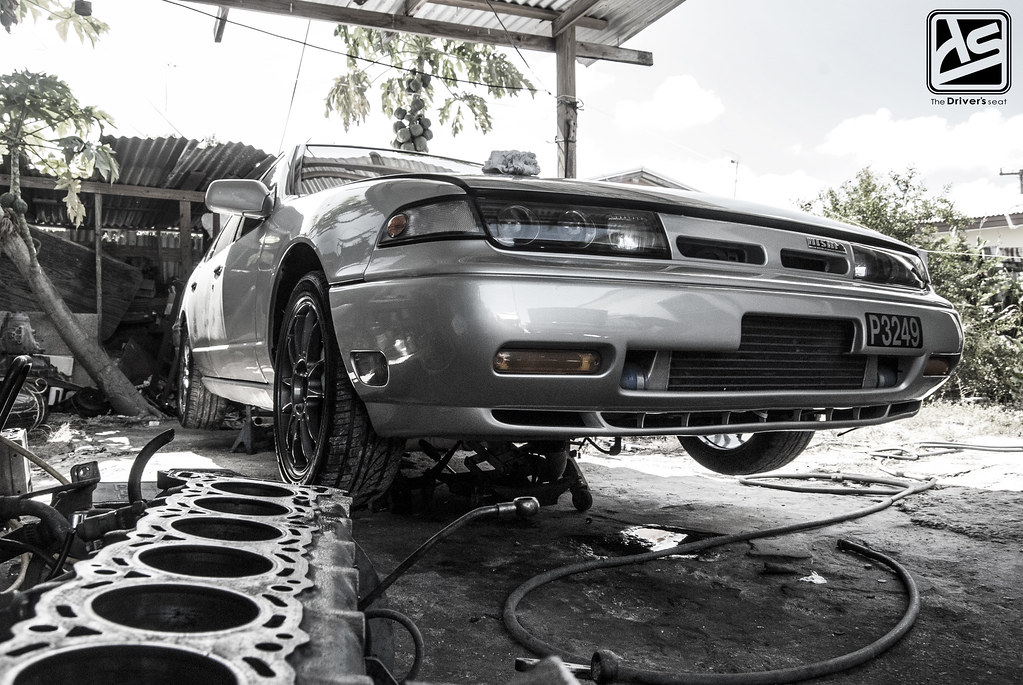
Welcome back to Absalom’s A31 Build. In today’s post we’ll be taking a look at the tear-down process of the motor and give you guys some insight on the plans Chris has for this build.
For those who may want to check out the previous post, I’ve provided a link below…
Absalom’s A31 Build… Introduction
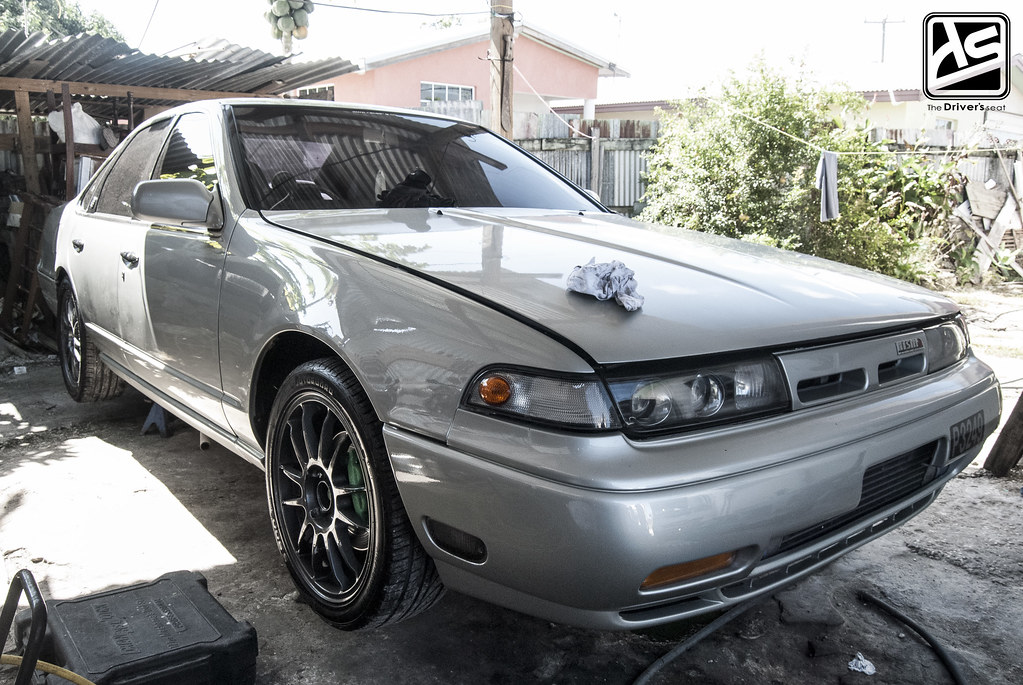
Chilling on jackstands…
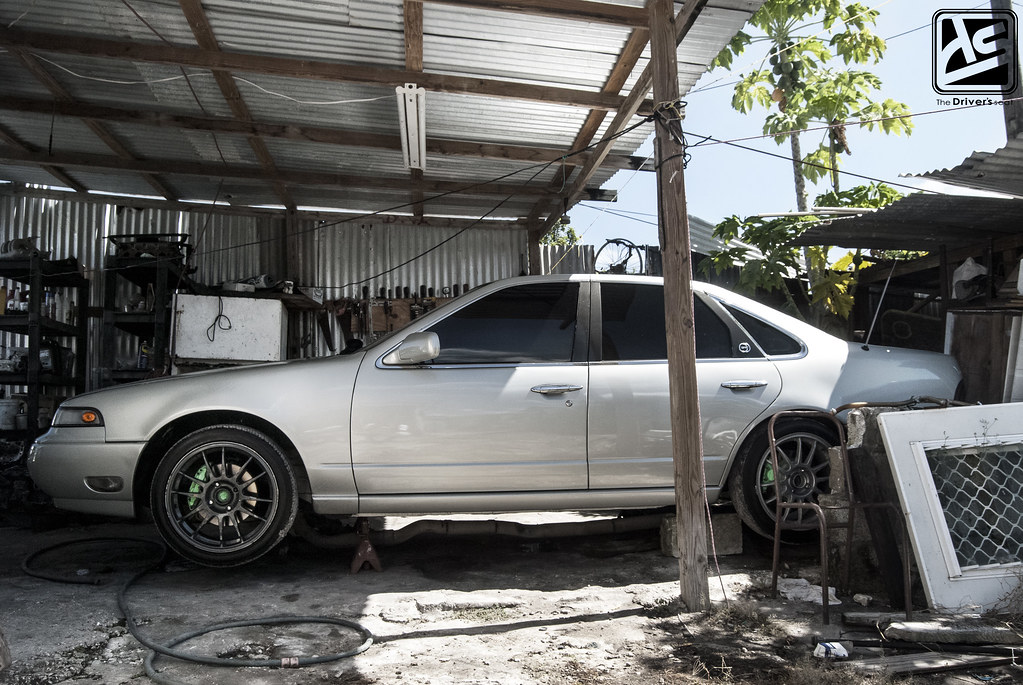
If you look closely behind the O.Z Racing wheels…
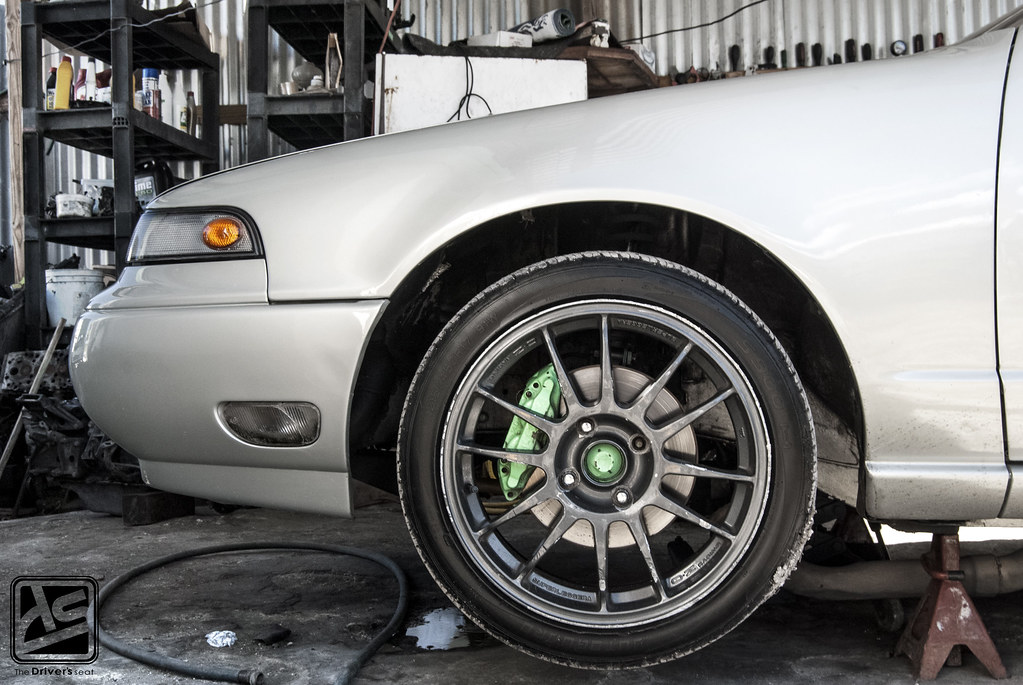
You will notice that Chris has all-round disc brakes with 4 pot calipers at the front and 2 pot at the rear which came directly from a BNR32 Skyline.
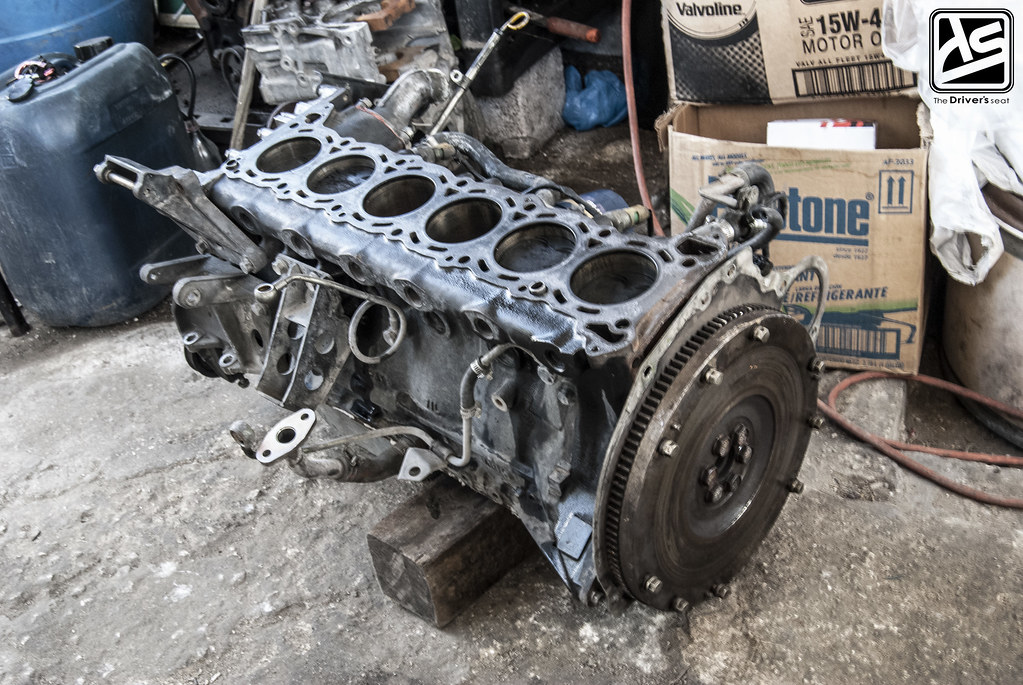

RB20 block that will be sent off to the machine shop to have the cylinders bored 0.5 over…
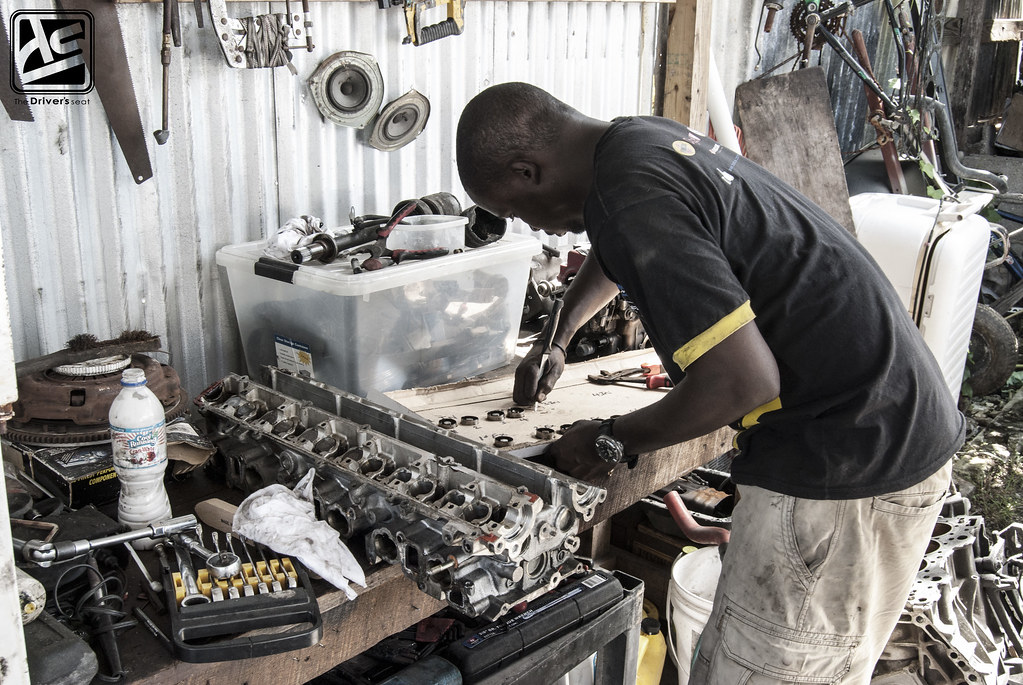
Chris busy dismantling the head…

Bare and ready to be cleaned…
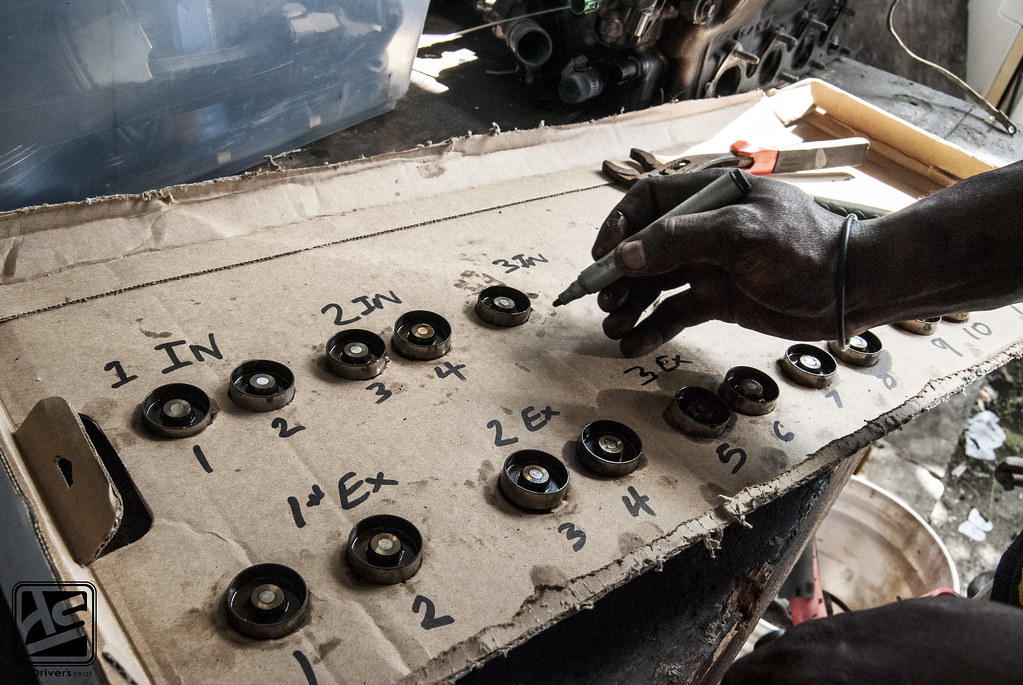
Safe storage of exhaust and intake hydraulic lifters…
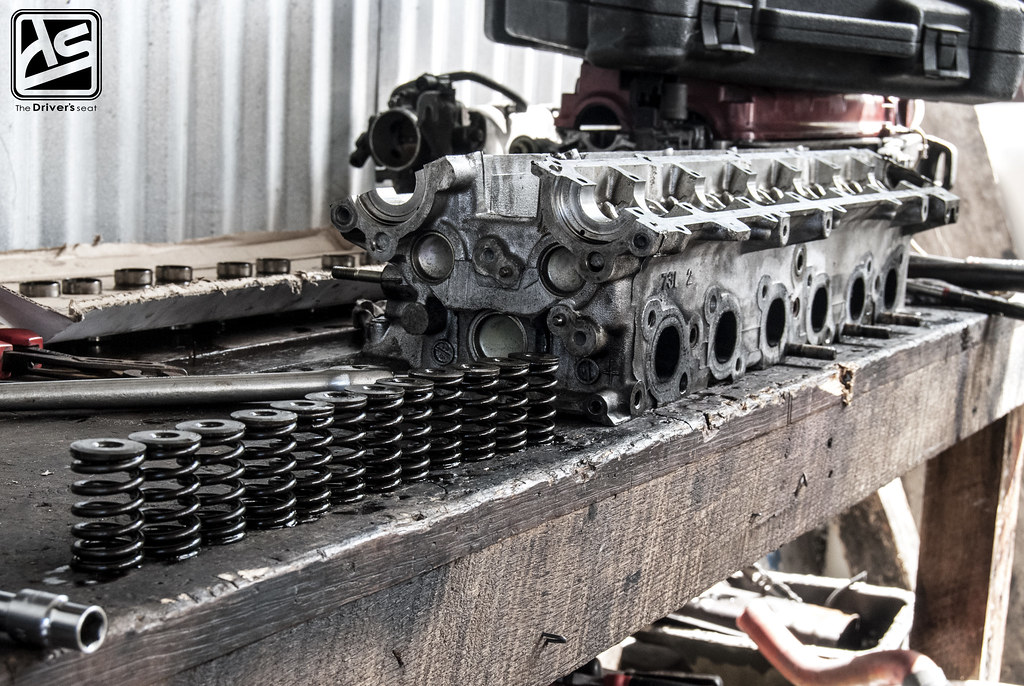
Valve springs and head sitting on the work bench… The next stage for the head will be to have it cleaned followed by a mild port and polish…

Unfortunately the crank was damaged and will no longer be of any use…
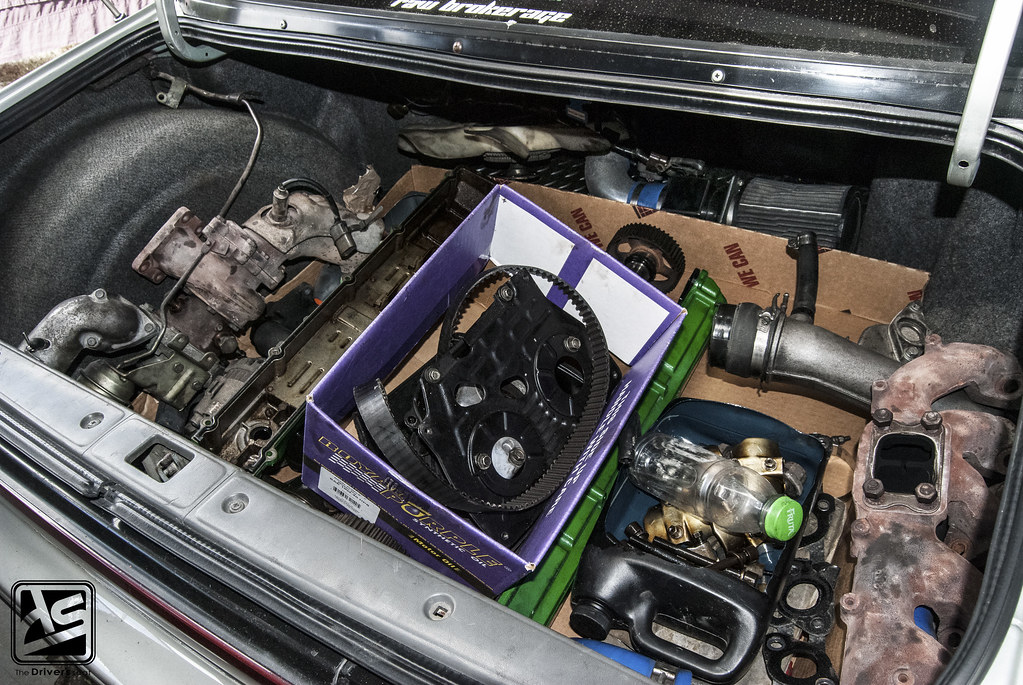
Trunk full of usable parts that will be cleaned for the upcoming rebuild…
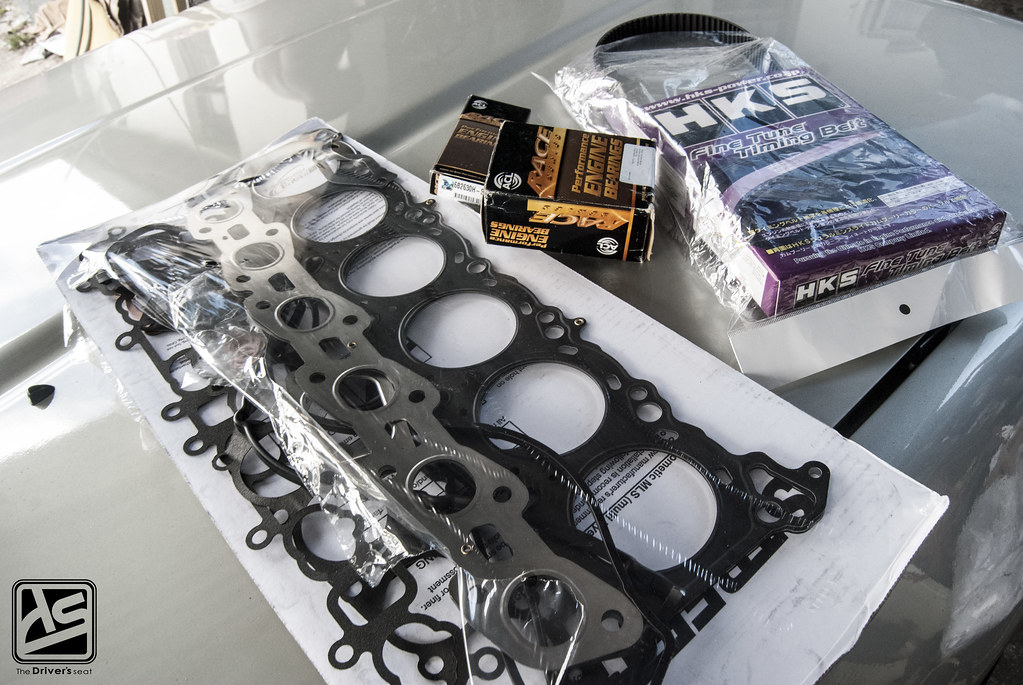
A full engine rebuild gasket kit…
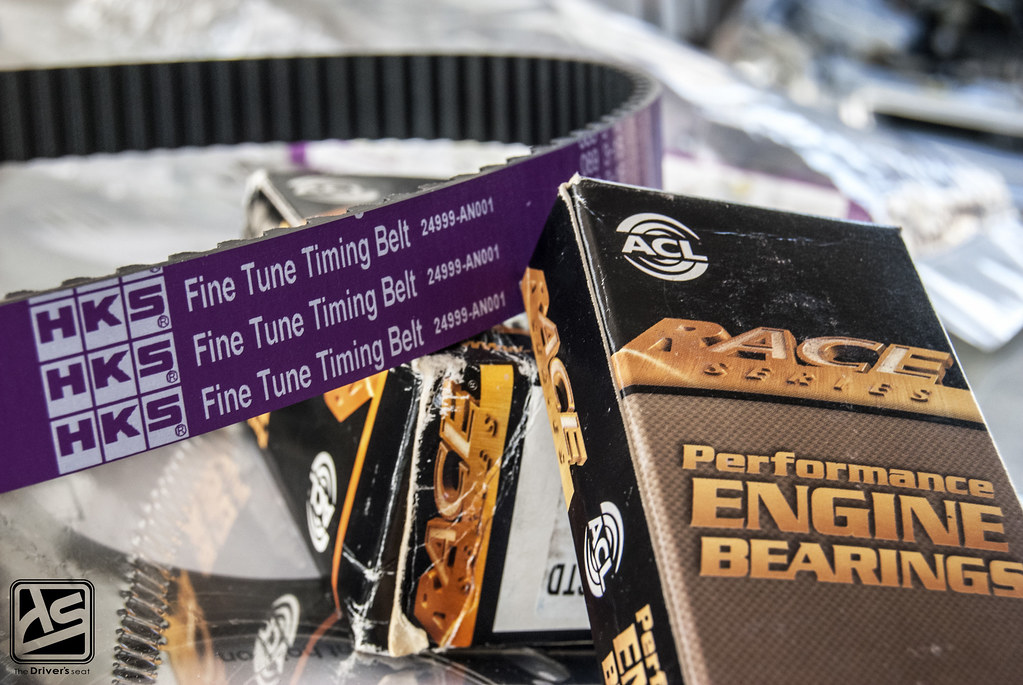
Accompanied by HKS timing belt and ACL race bearings…
That’s a wrap for today’s post, thanks for taking a look and stay tuned for the next update.
