
Daryl’s Rally K-EG Build… Part 10
For the upcoming season some major changes are being undertaken along with a full tear down and rebuild. In the previous post we looked at some of the damage which the car suffered over time and also at the new steering setup. Since then Daryl sent the car to have some much needed modifications done to the body before it is sent to bodywork and paint.
For those who are viewing this post for the first time, I’ve provided link to the entire build below.
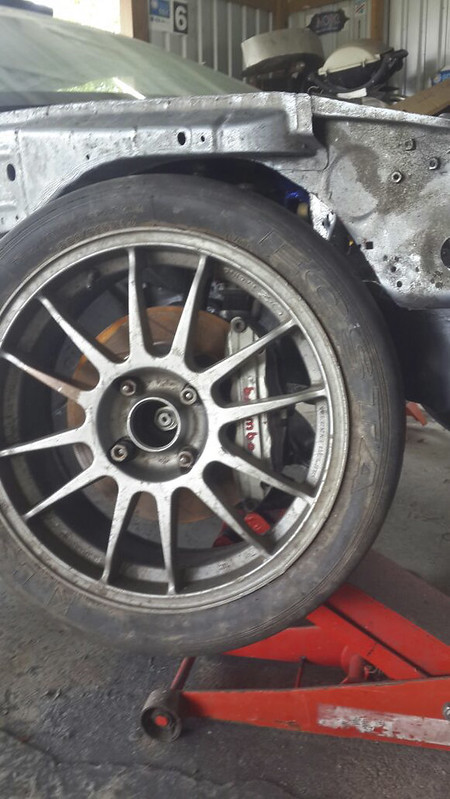
The car was sent off to Guava Tech where Stuart White was in charge of the necessary adjustments needed to be made to accommodate larger diameter wheels. For the upcoming season Daryl plans on using a 17″ wheels which will be an upgrade from his previous 15″ wheels. Checking to ensure there isn’t any rubbing issues under the most extreme shock travel and with the full lock in.
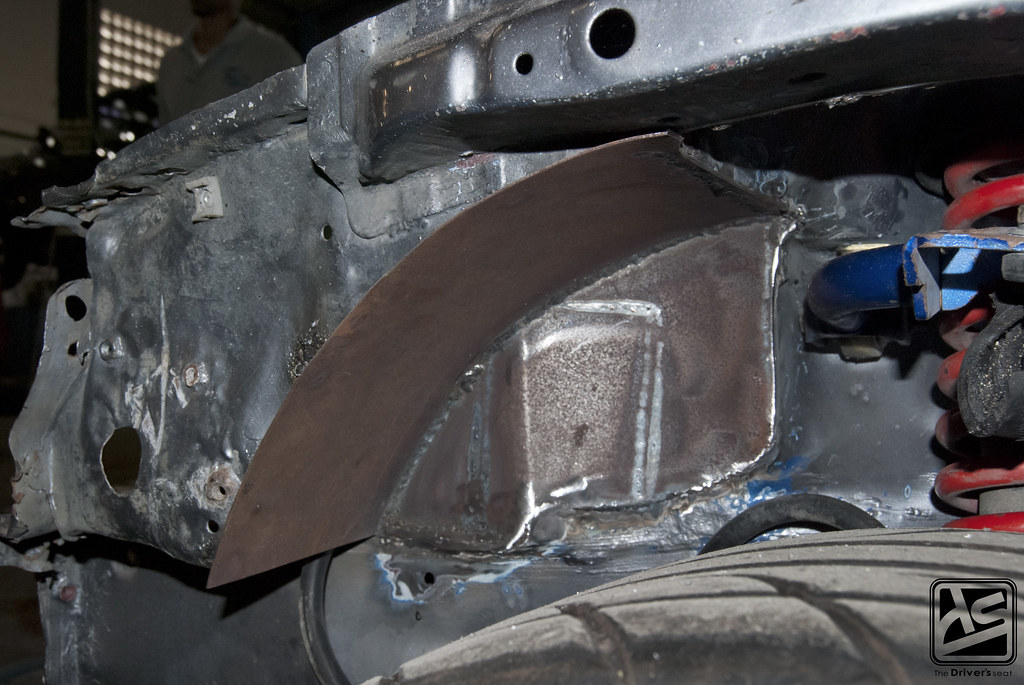
To allow for the extra travel and clearance, the wheel well needed to be redesigned to house the 17″ wheels…
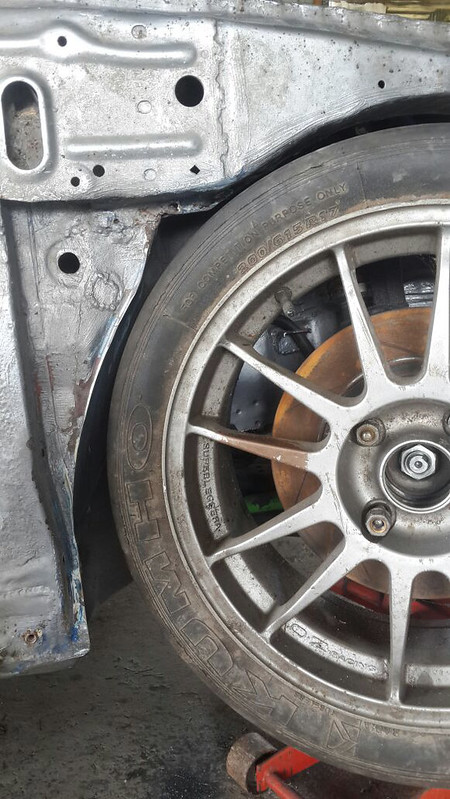
A look at the redesigned wheel well…
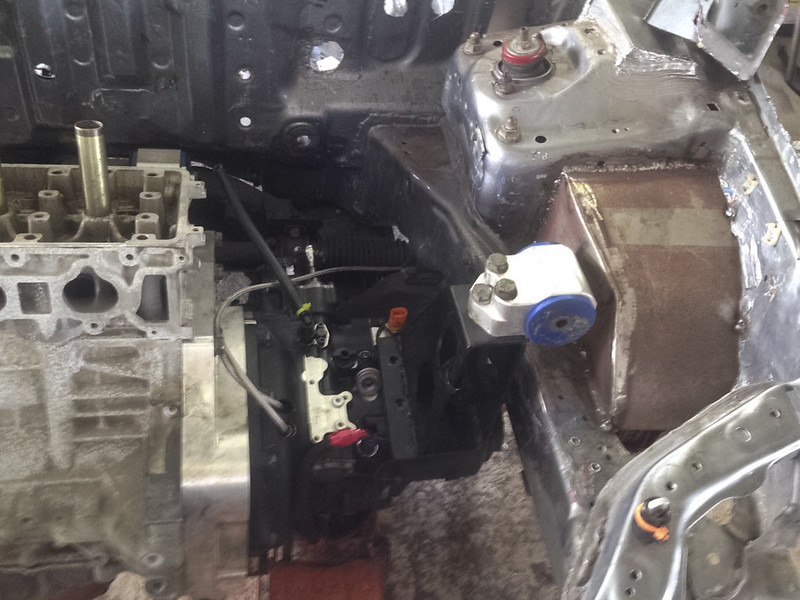
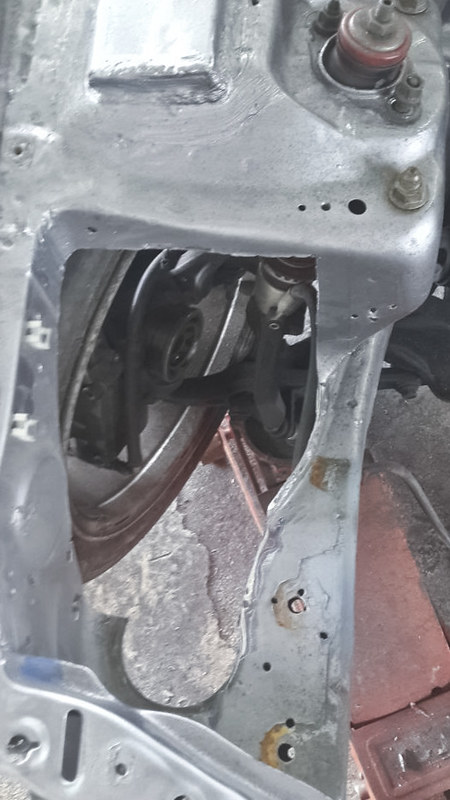
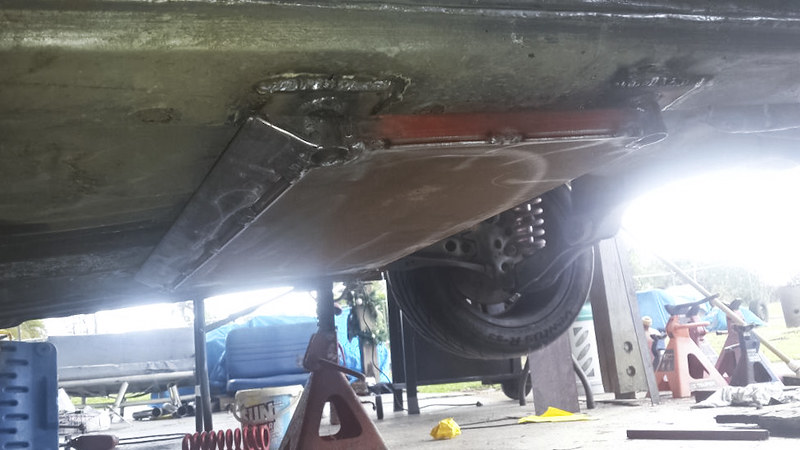
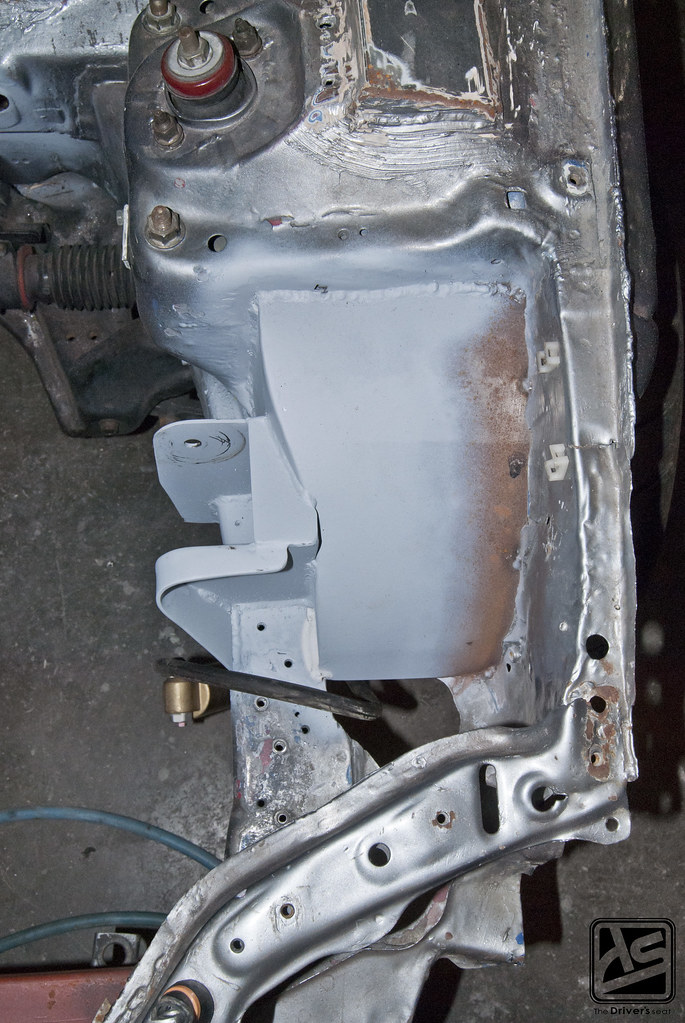
In order for the wheel wells to be redesigned, the bracket between the mount and the chassis had to be removed.
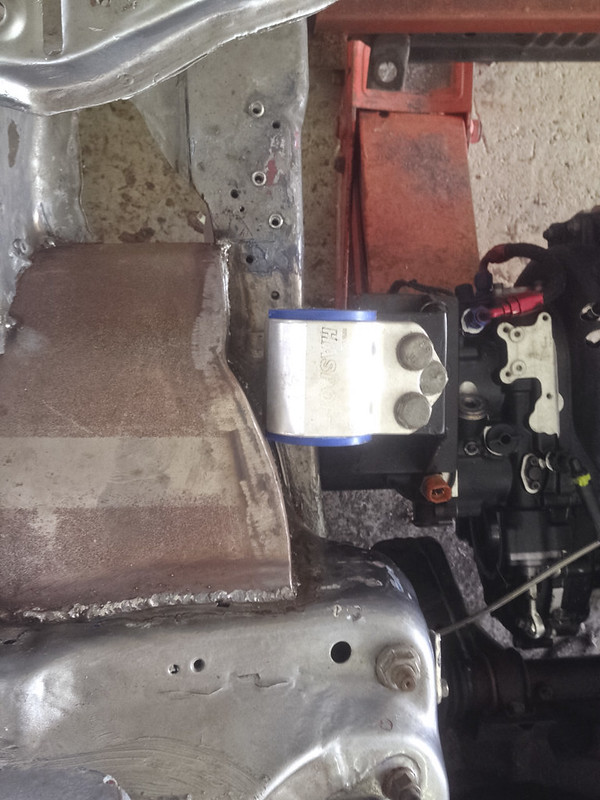
A few shots showing just how much space is available to fabricate a new bracket…
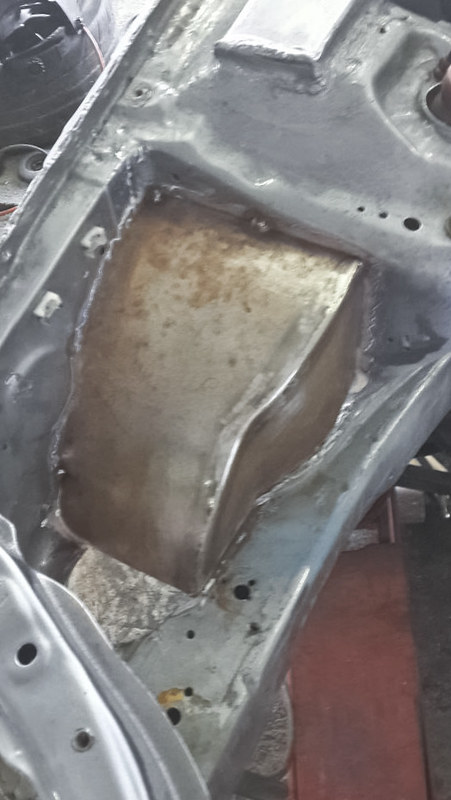
A look at the final product…
With the car being underweight, Daryl has to add weight to the car to make it legal to race in his group. Previously, he had a problem where the weights would fall off – with the car being down for repairs, Daryl took this time to resolved that issue. The new weight tray bolts to the underbody of the car and can be removed if necessary.
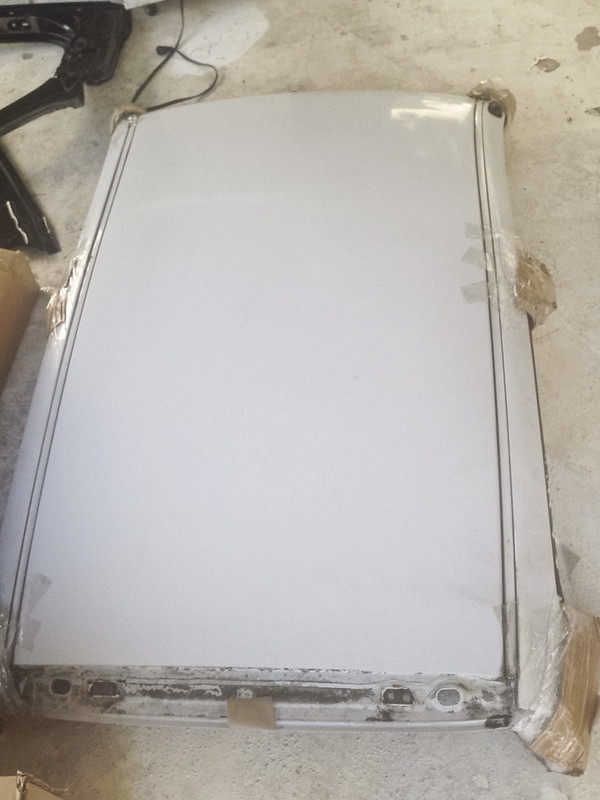
Due to the roof being so badly damaged from an incident where the hood blew up, Daryl took this opportunity to replace the entire roof…
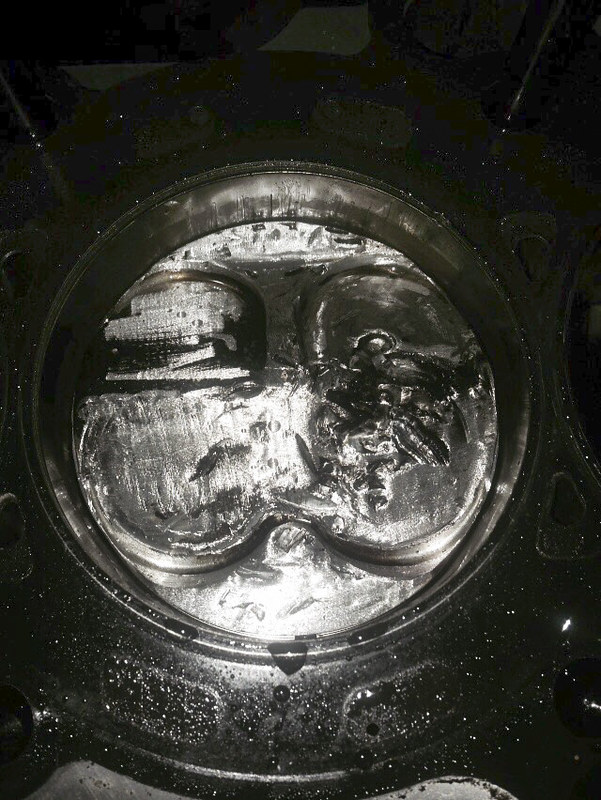
The next step forward was to deal with the motor, which dropped a valve and damaged a piston the morning of rally causing some damage to the cylinder.

The guys were able to change the head and replace the damaged piston all in time for the rally, where Daryl went on to win his group.
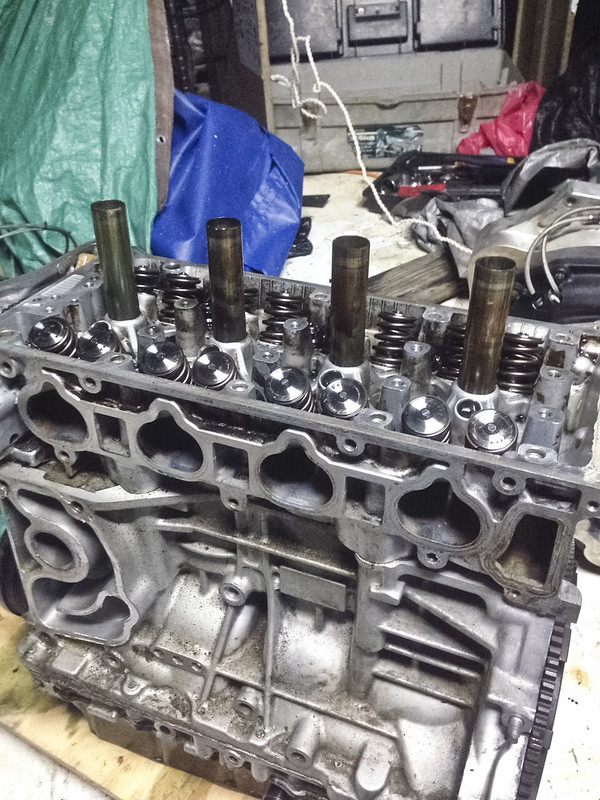
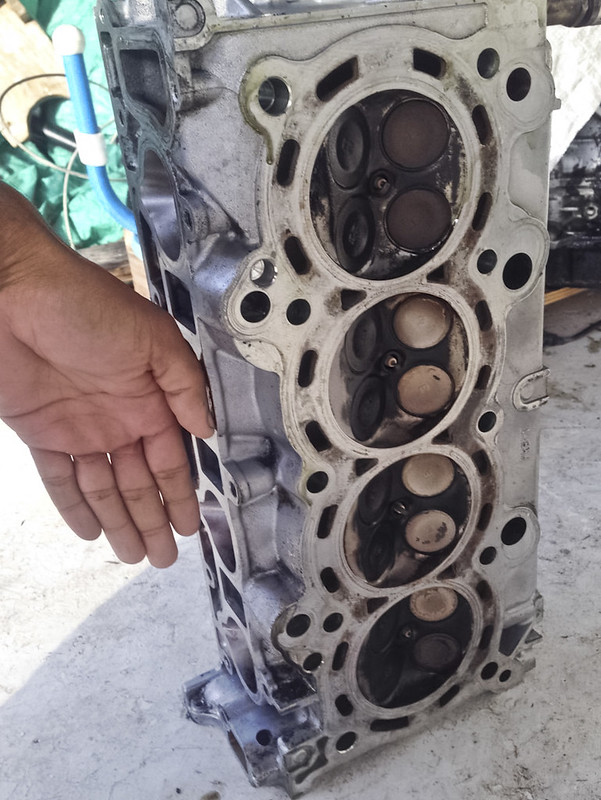
Now the season is over, Daryl decided to pull apart the motor and fully address these issues while making some changes for the upcoming season. So far a head was sent off to Drag Cartel, however a final decision hasn’t been made on the plans for the block.
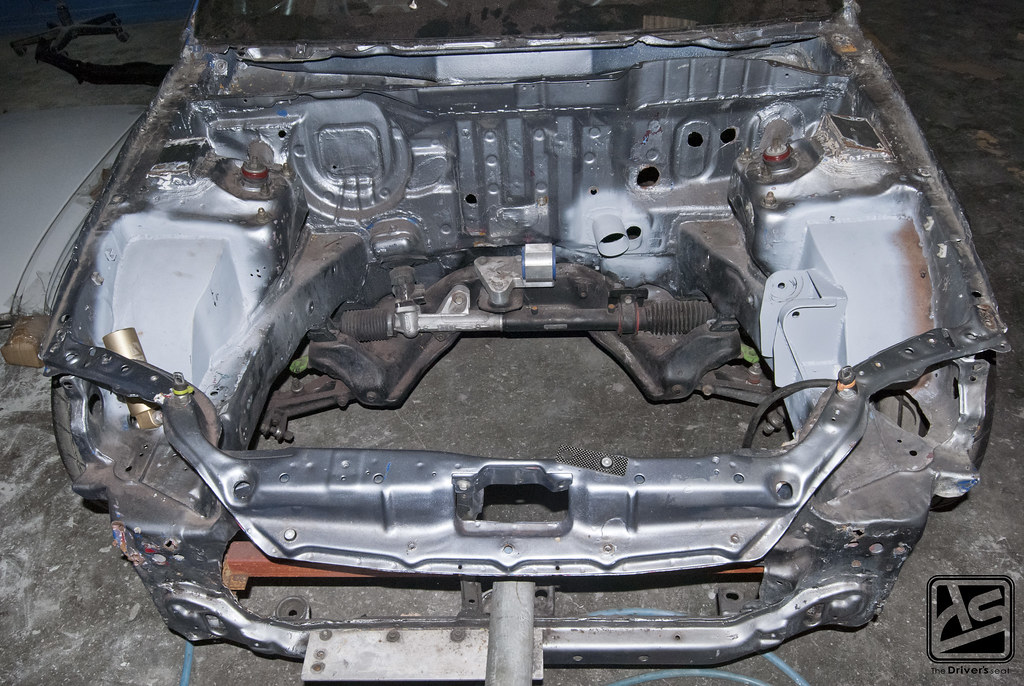
During that time, the shell was sent over to MQI to begin the body work phase of the rebuild…
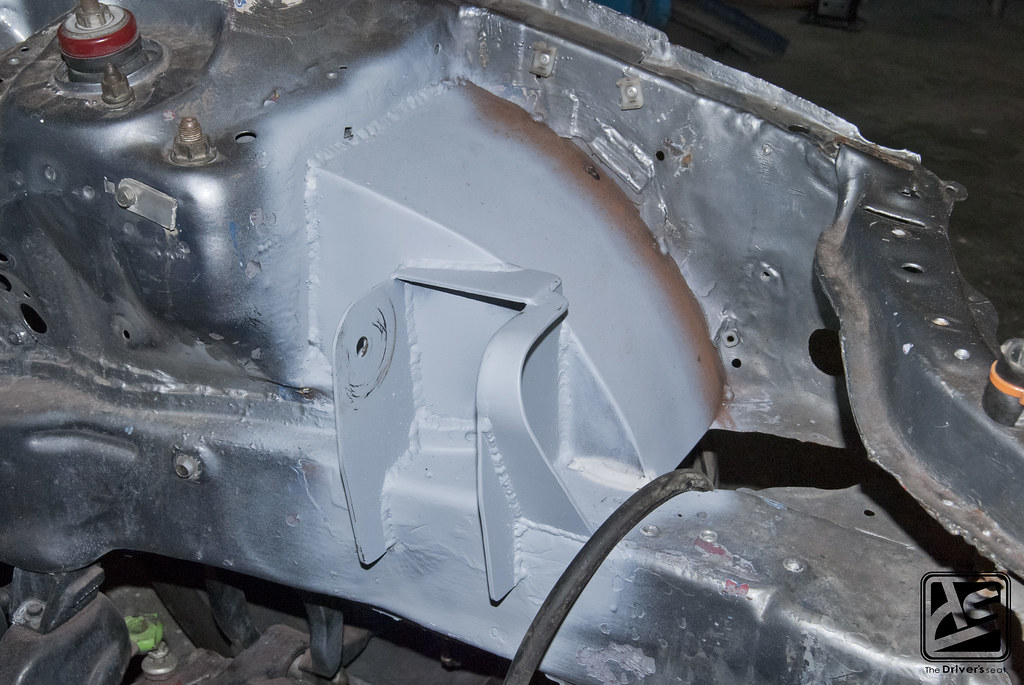
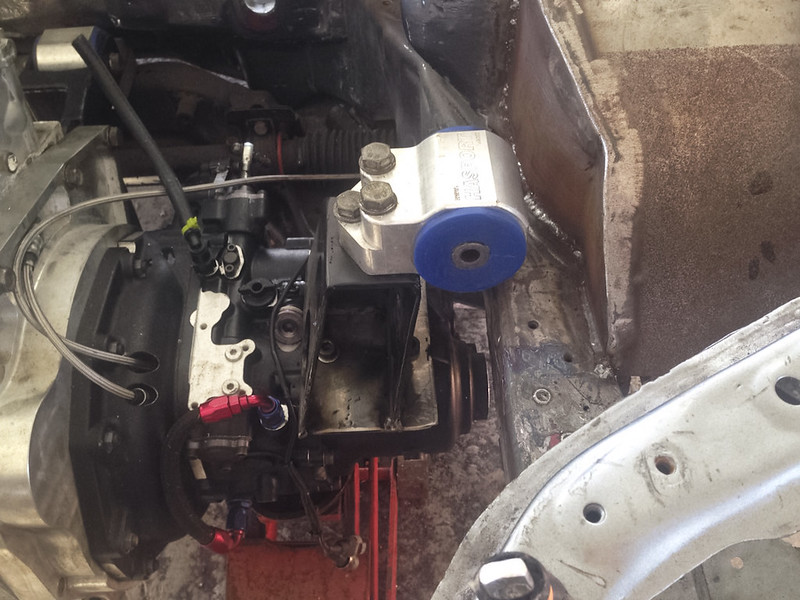
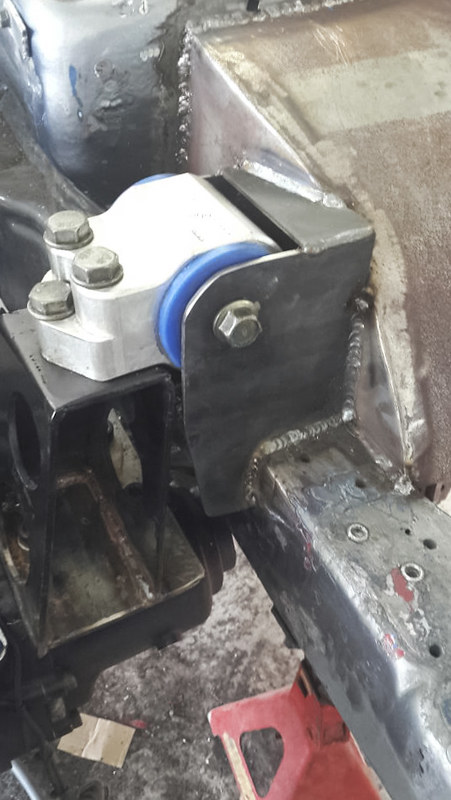
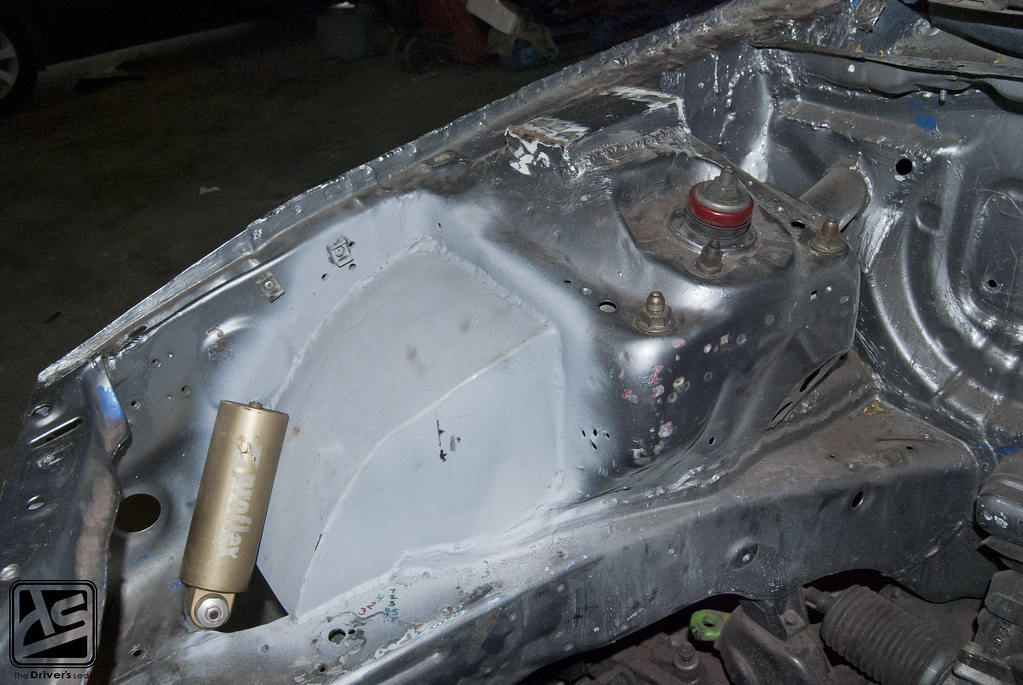
A look at the completed wheel well and the custom made bracket…
A look at the under side which hasn’t been completed as yet due to the damage on the left side of the car…
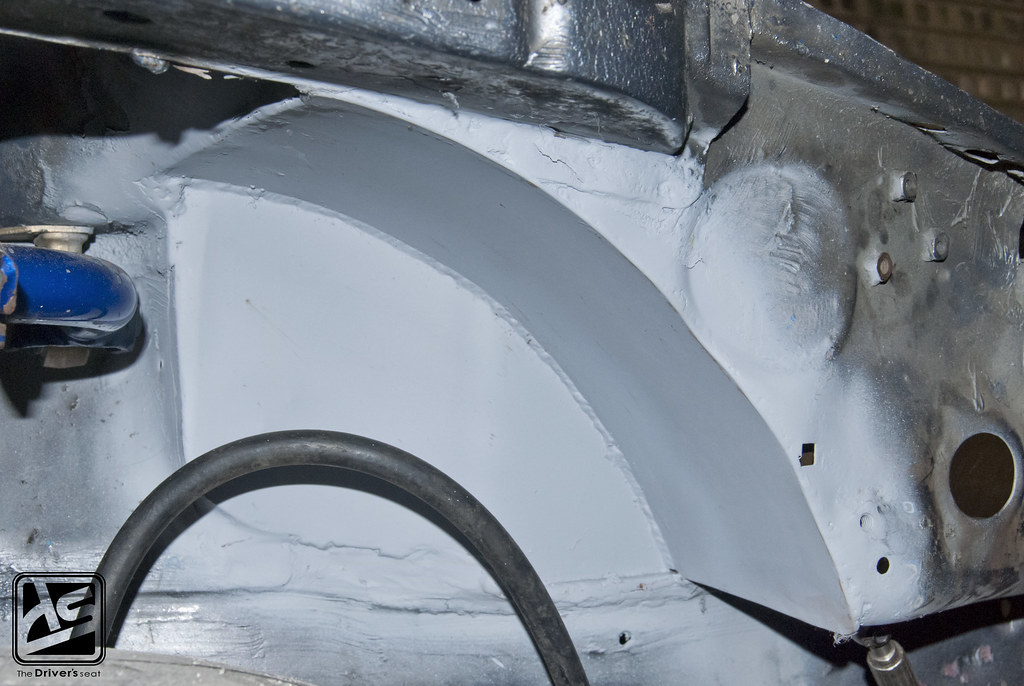
A look at the right side from above and below…
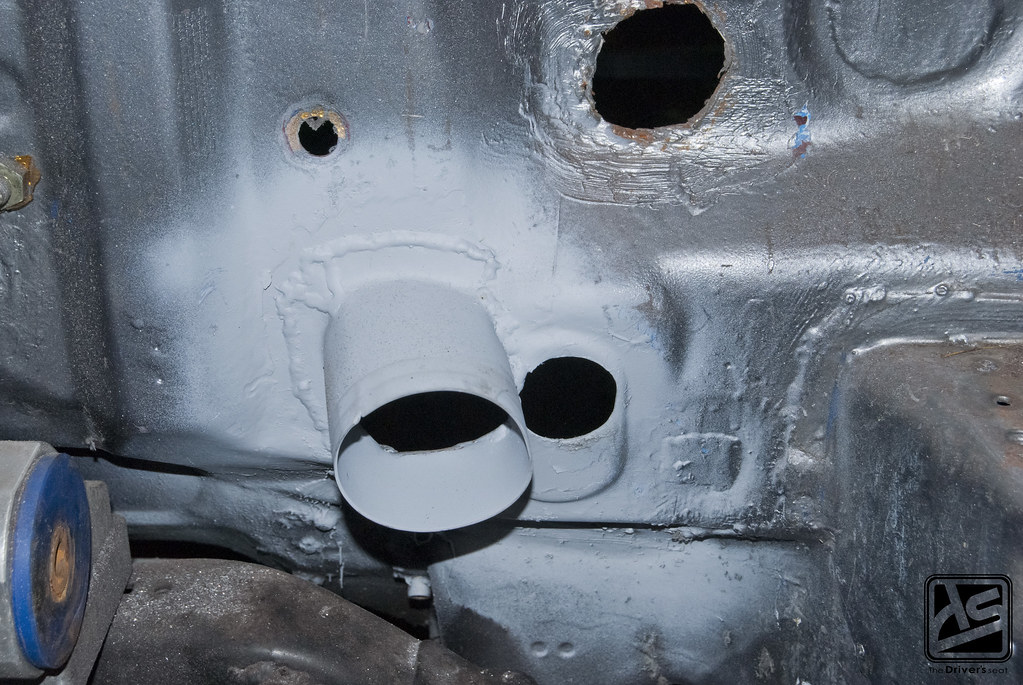
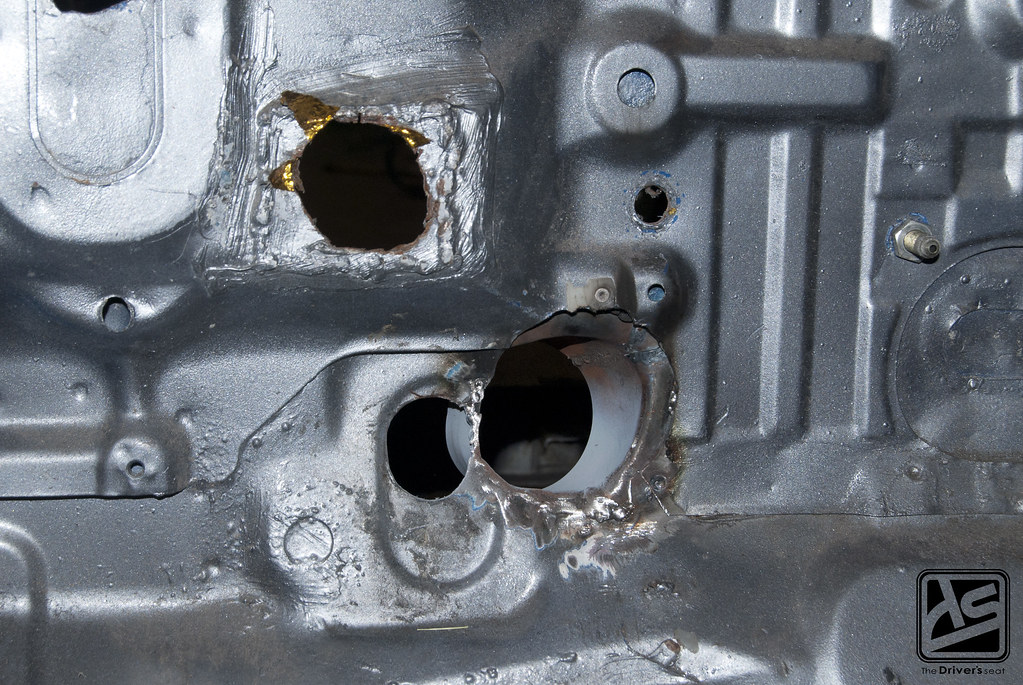
A portion of the firewall was removed to allow a straight path for the rod from the gearbox to the sequential shifter…
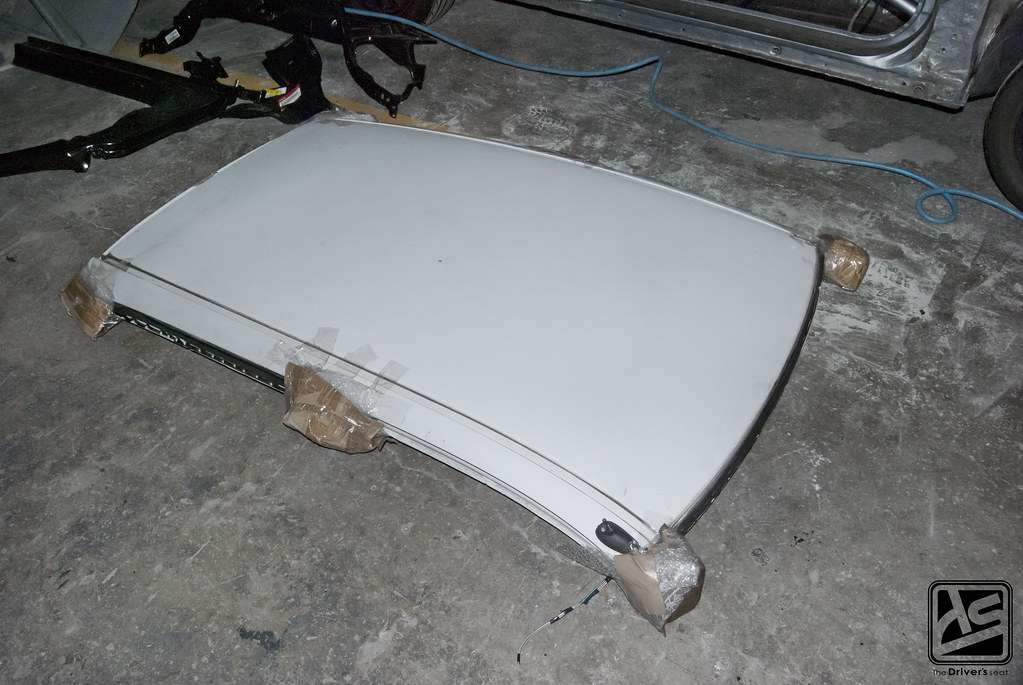
Another shot of the new roof skin that will be replacing the damaged one…
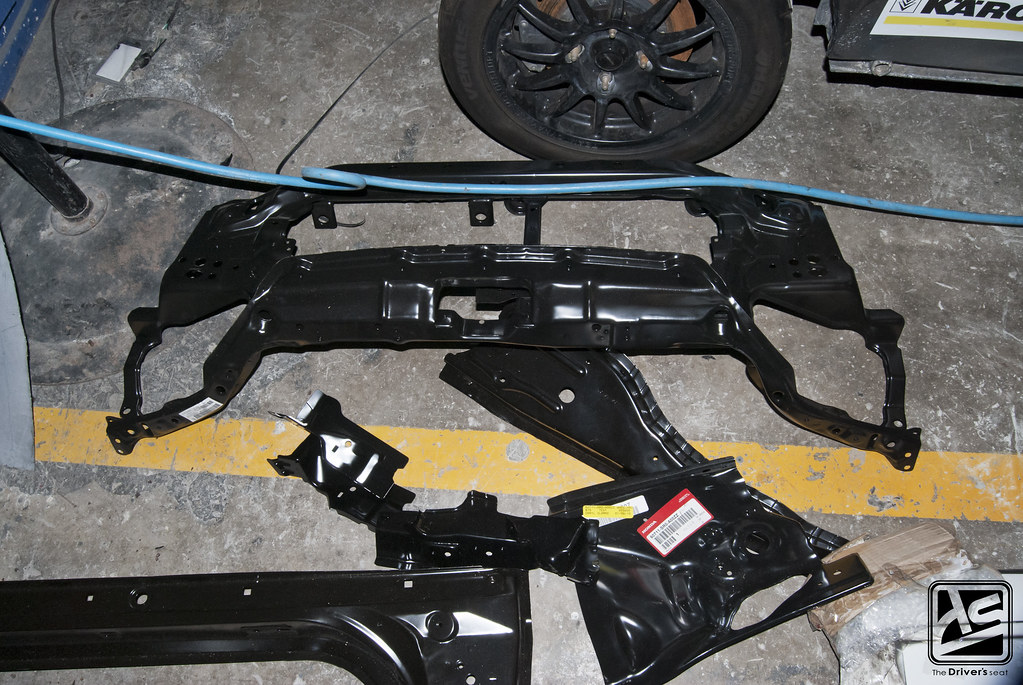
Rather than try to repair the damaged panels and supports, new replacements were sourced.
And on that note, I will end today’s post here. Thanks for taking a look and stay tuned in the next few days, I have some new projects to drop.
Track Bred EG6 Build… Part 35
The highly anticipated electronic goodies have finally arrived and are in the process of being installed. In addition to this, Jerry has also made a few adjustments going forward with the build to put a more personal spin on things.
For those who would like a full recap of this build, I’ve provided the link below…
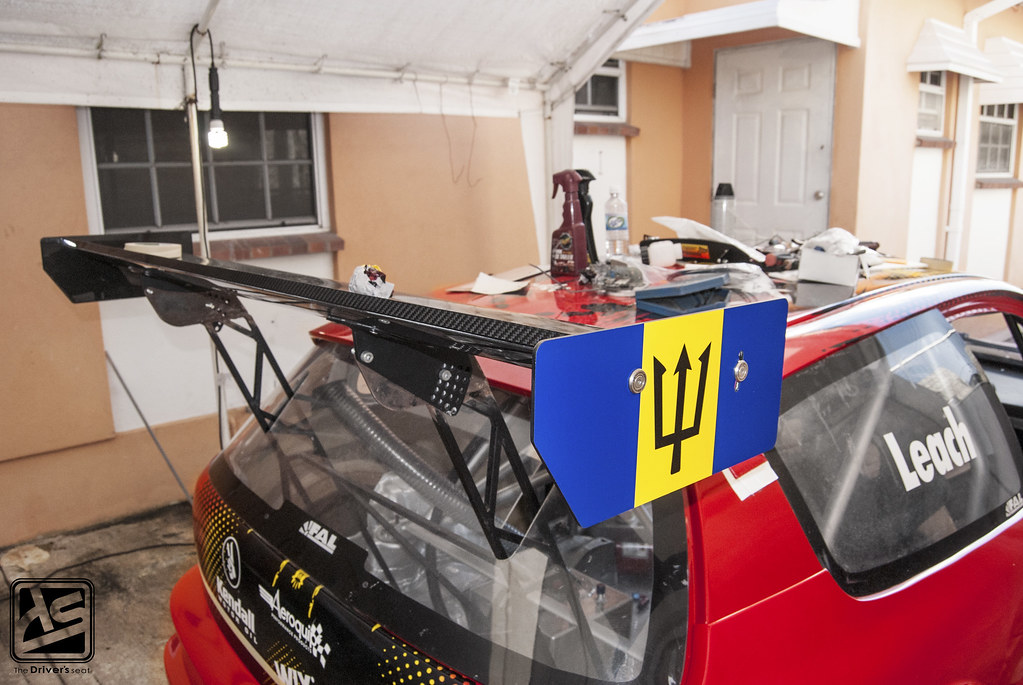
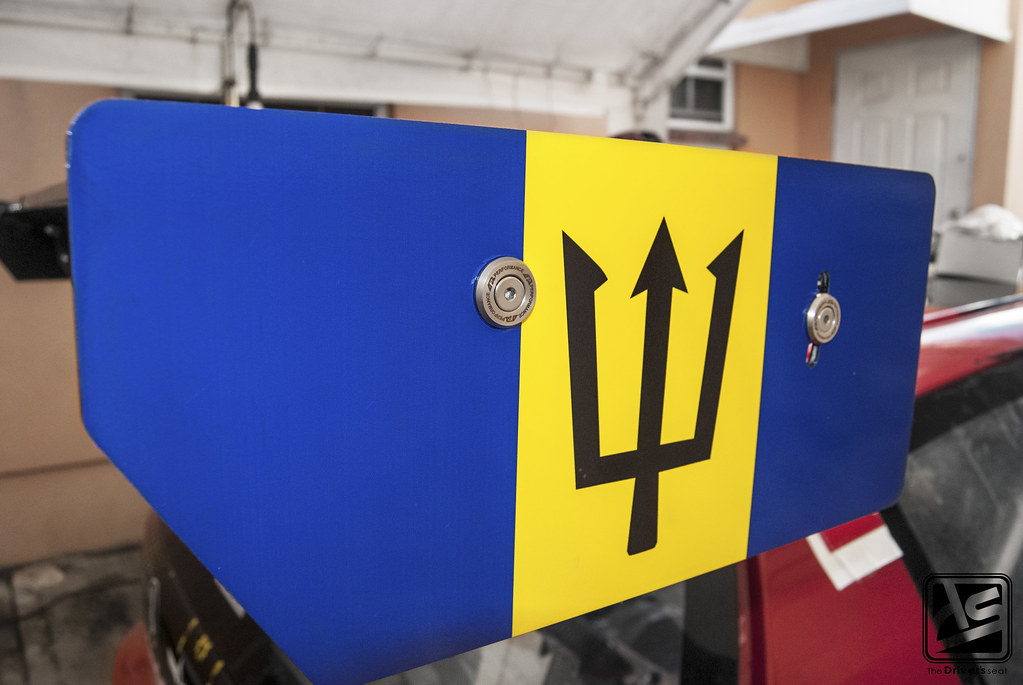
Not being a huge fan of ‘free’ advertising Jerry opted to cover the ends of the wing. What better way than to represent Barbados by putting the flag on both ends…
Being this is an entirely different build, Jerry wanted to ensure the best of everything was used. And with all the new technology available, he had all plans of taking advantage of it. Jerry got the ball rolling with the switch from the Hondata K-Pro engine management system to a more advanced Haltech unit. After acquiring the ECU, the next phase was to take things to another level and have the car completely rewired.
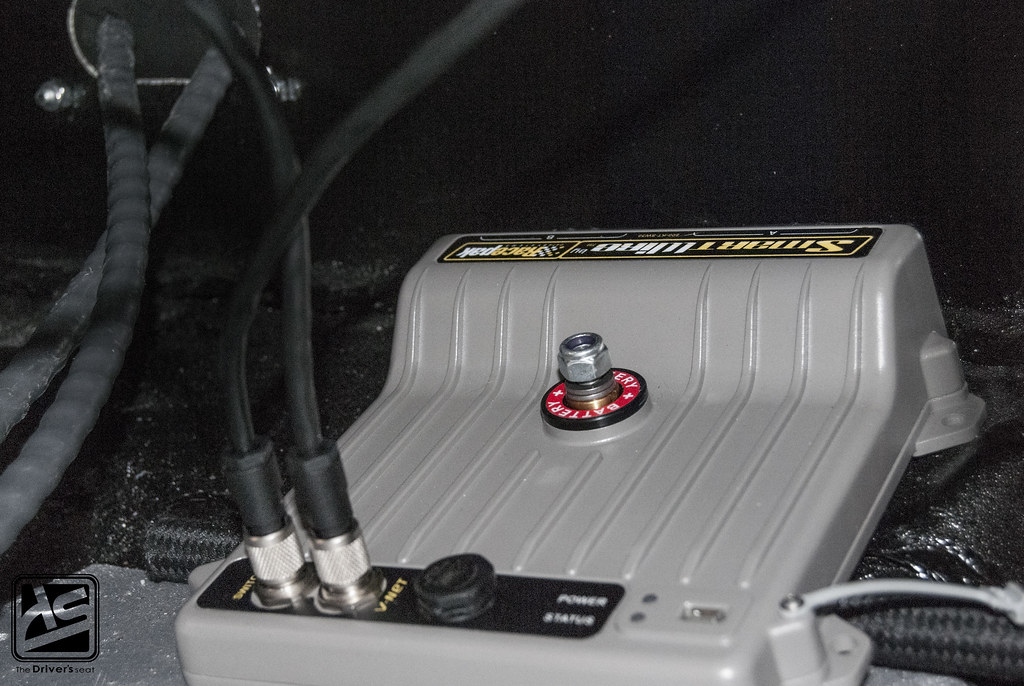
When I say rewire the car I’m not referring to something as basic as just swapping out wires and heat shrinking them. After all, thus far this build has seen the likes of some pretty amazing stuff so it’s only right Jerry continues with the trend. To make this all possible a Racepak SmartWire unit was purchased.
The Racepak SmartWire is a fully programmable power control module. While traditional wiring provides control of vehicle electronic components through the routing of wiring to single or multiple fuses, relay and circuit breaker panels, the Racepak Smartwire functions as a central “command center” for all vehicle wiring.
Based on Racepak’s exclusive single cable V-Net technology, the Racepak SmartWire module is the electronic “starting point”, with a direct main power connection from the vehicle battery to the module. Each input/output is then user defined, both in function, power requirements and current exceeding limits via a USB connection to the user’s PC. The design of the module functions to both reduce overall installation weight / clutter, while providing a quicker reacting electronic system, through the solid state switching design.
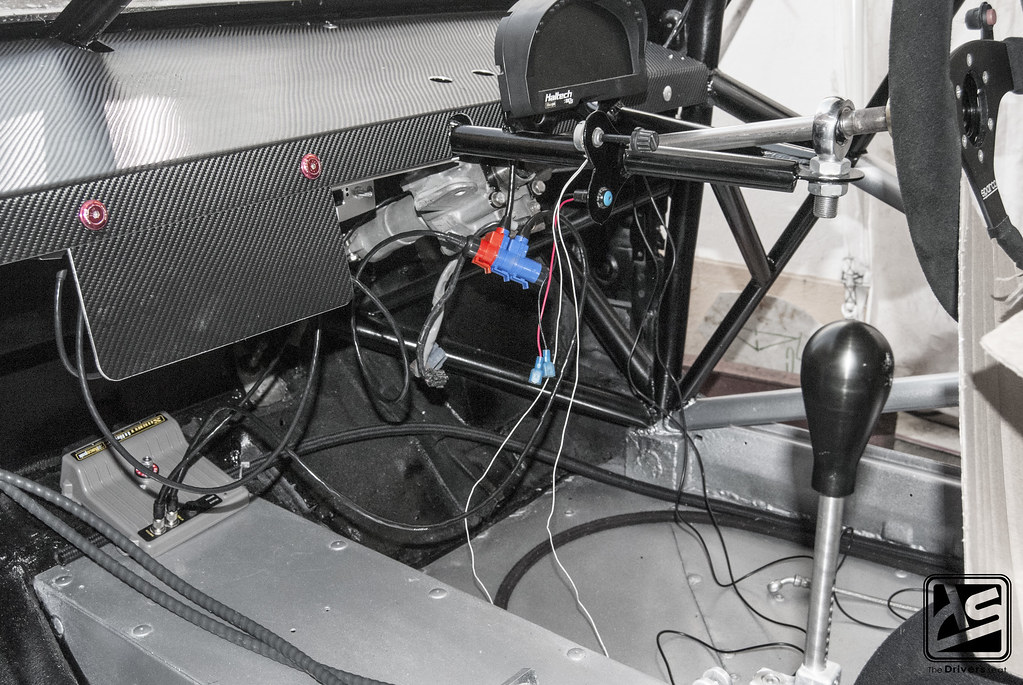
As you guys can see the work has begun judging from the state of the interior…
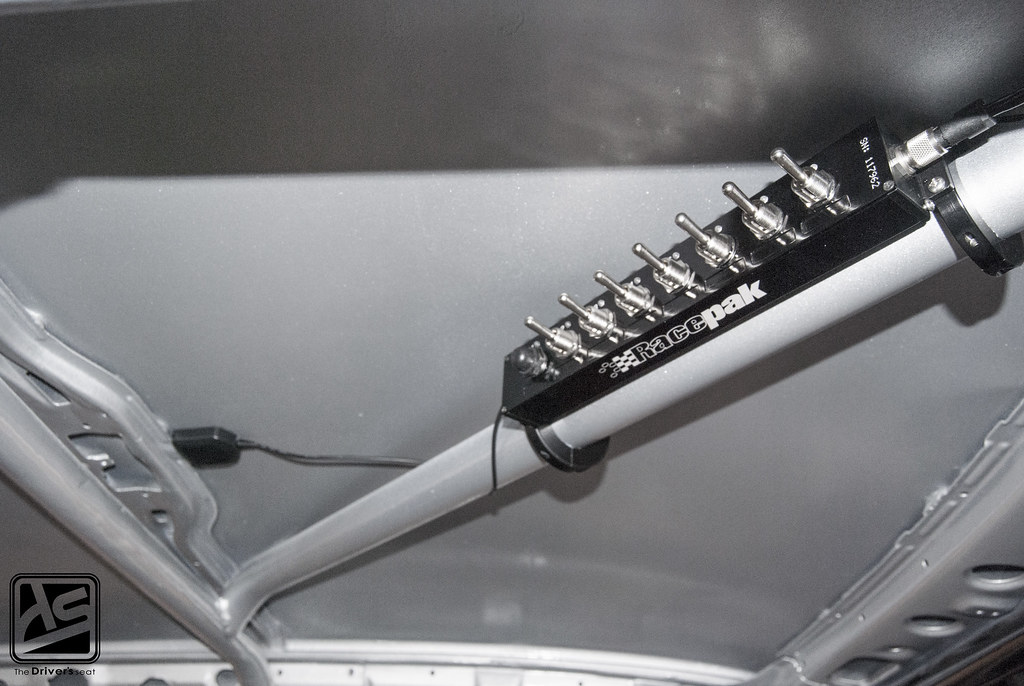
Manual activation can be achieved through use of either an optional eight switch Racepak Switch Panel or 16-channel Switch Module. From the Racepak Smartwire unit, a single small cable is routed to the SwitchPanel, reducing wiring clutter. Users needing additional switch panel capabilities can easily expand through the use of a “jumper” cable to a second Racepak SwitchPanel.
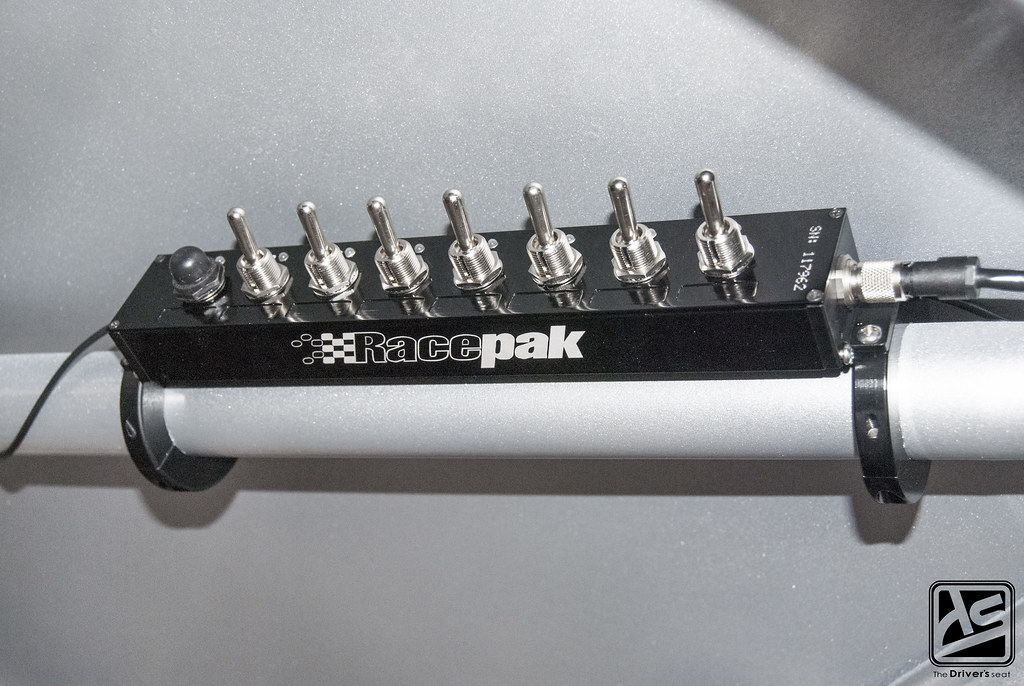
A closer look at the Racepak switch panel…
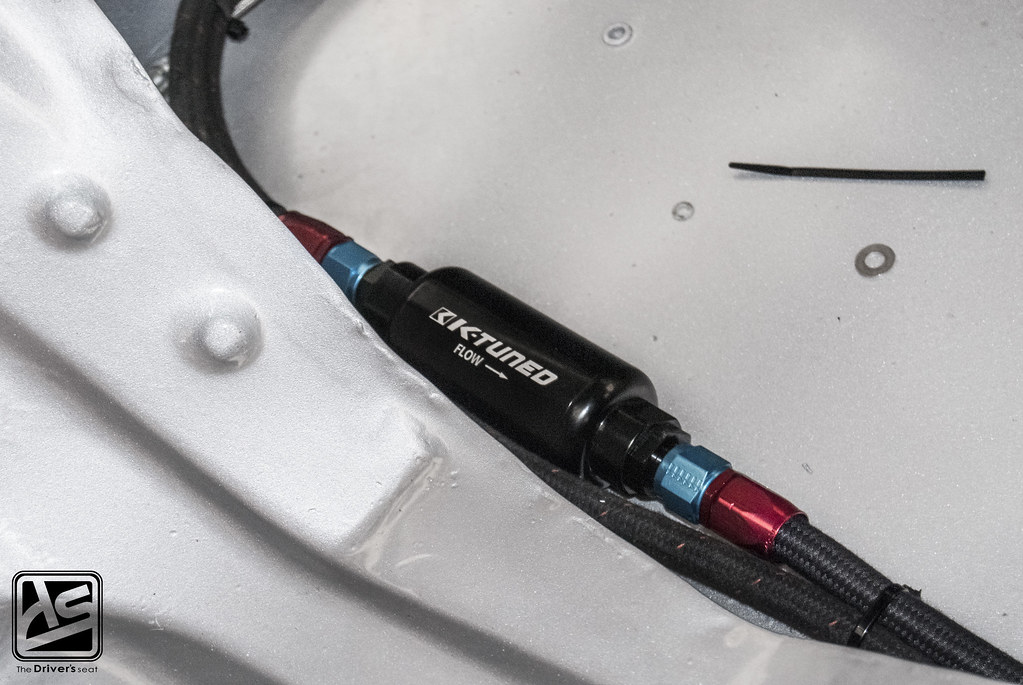
Jerry also spent some time on finishing up his fuel system. Compared to setups in the past, this one will be significantly simpler. With most of everything in tank, all that is left visible in the cabin is a K-Tuned inline fuel filter.
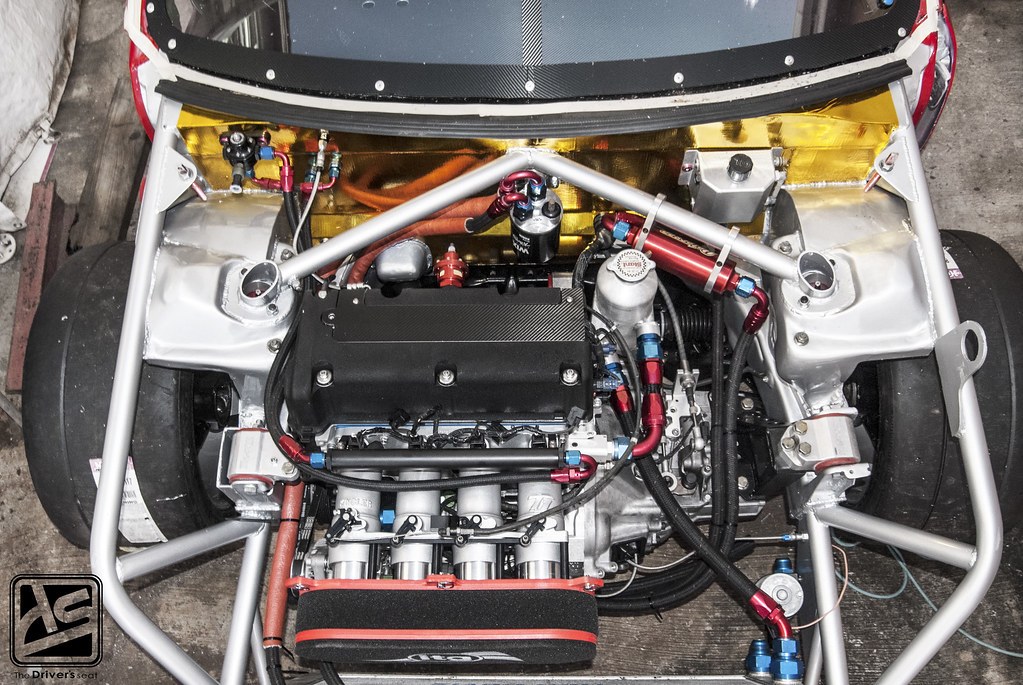
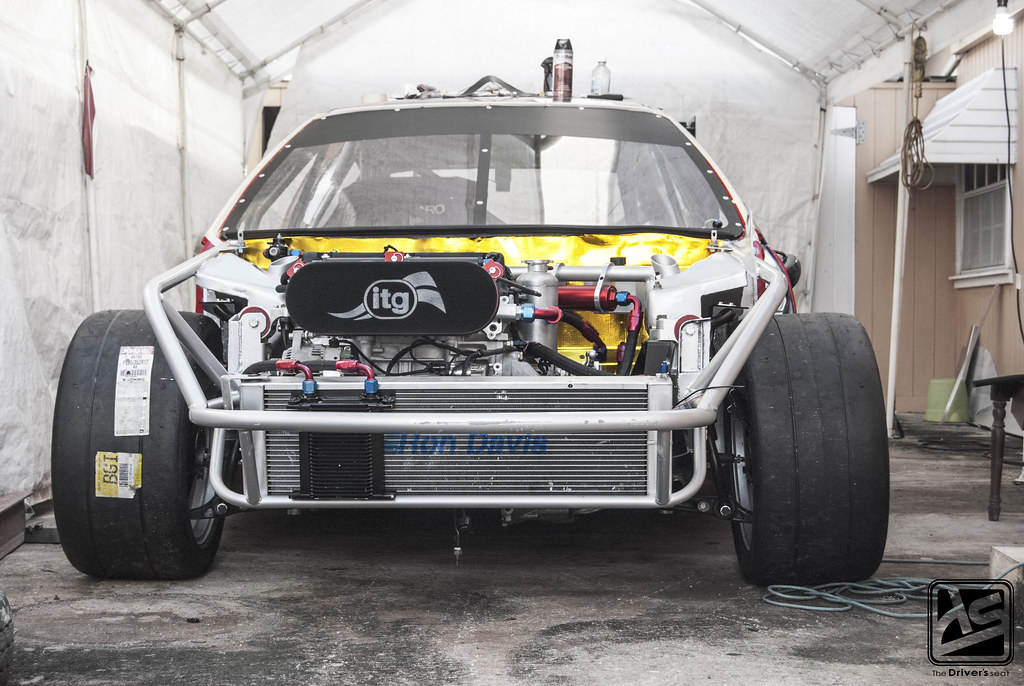
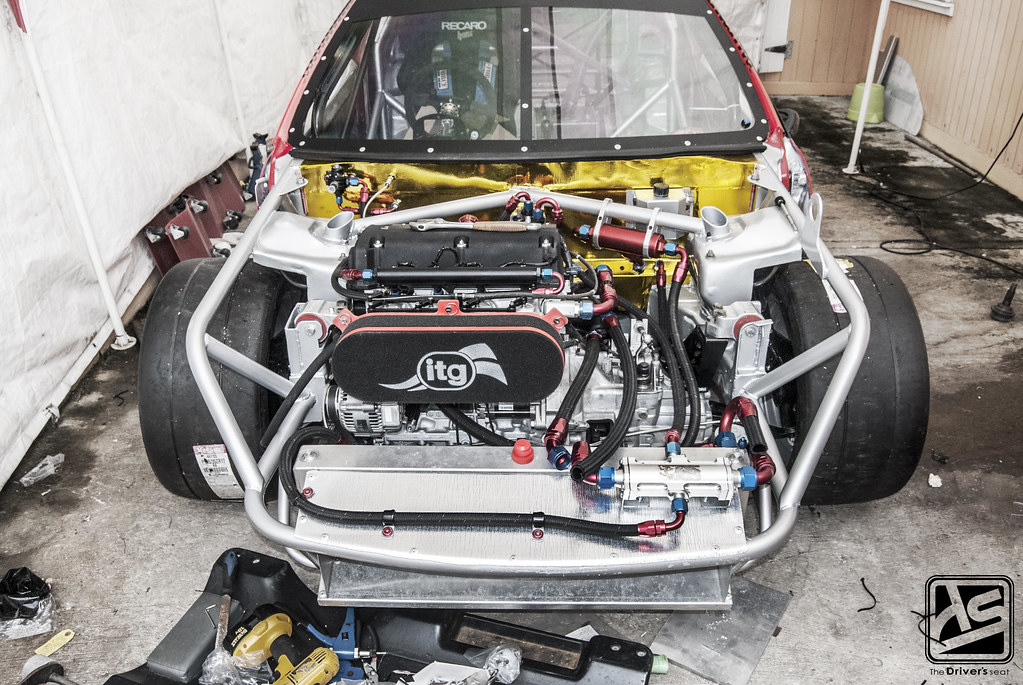
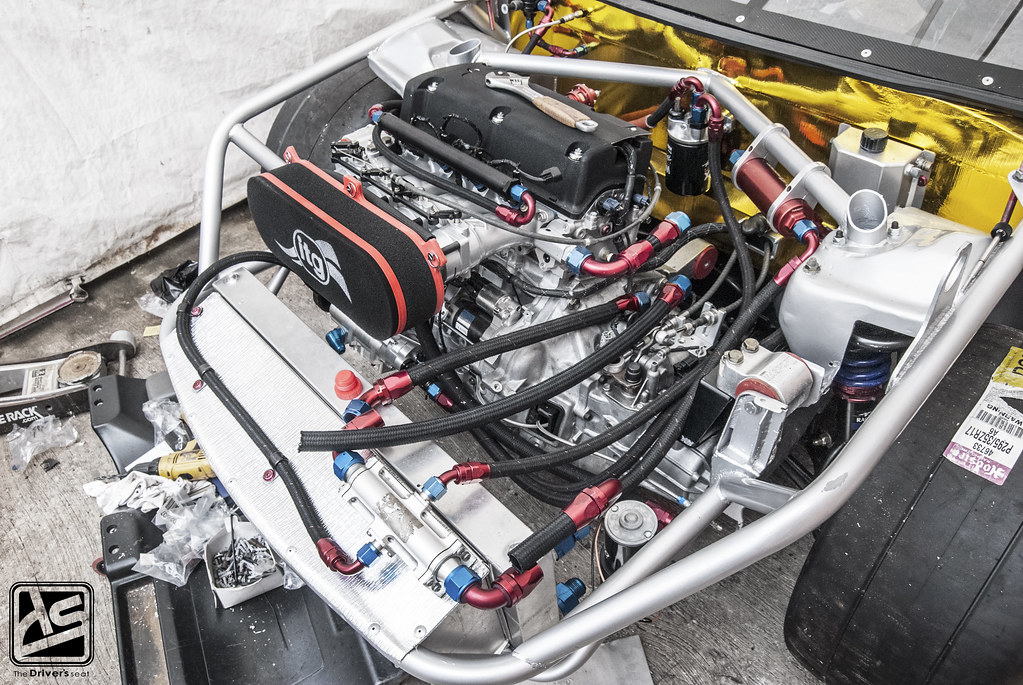
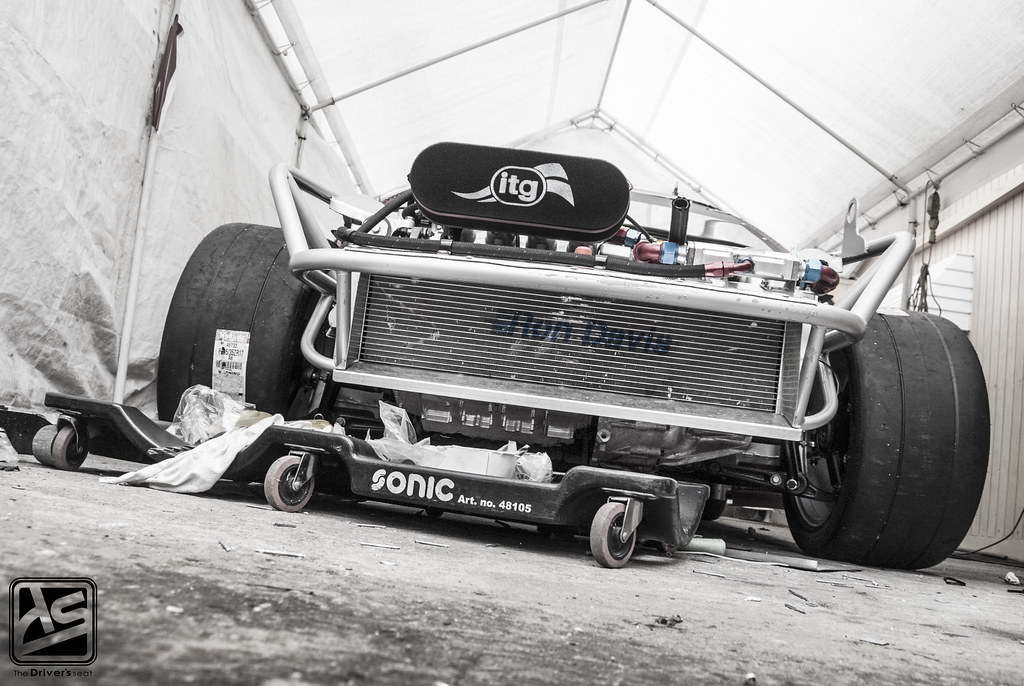
A look at the more exciting front end…
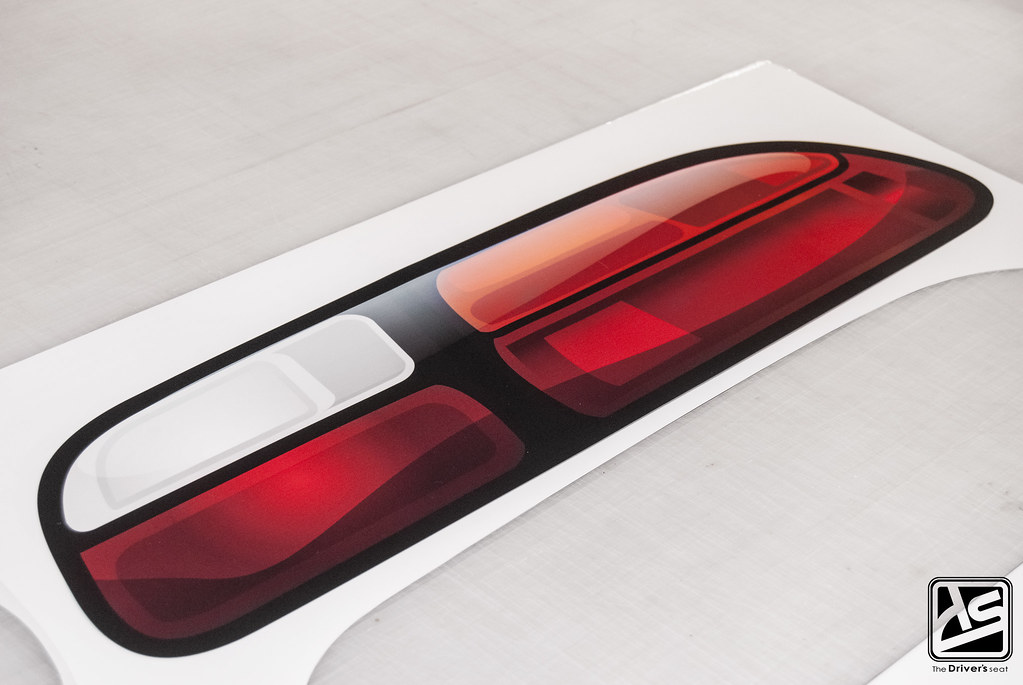
Not satisfied with the previous stickers which gave the illusion of blacked out taillight, Jerry switched them out for a more realistic look…
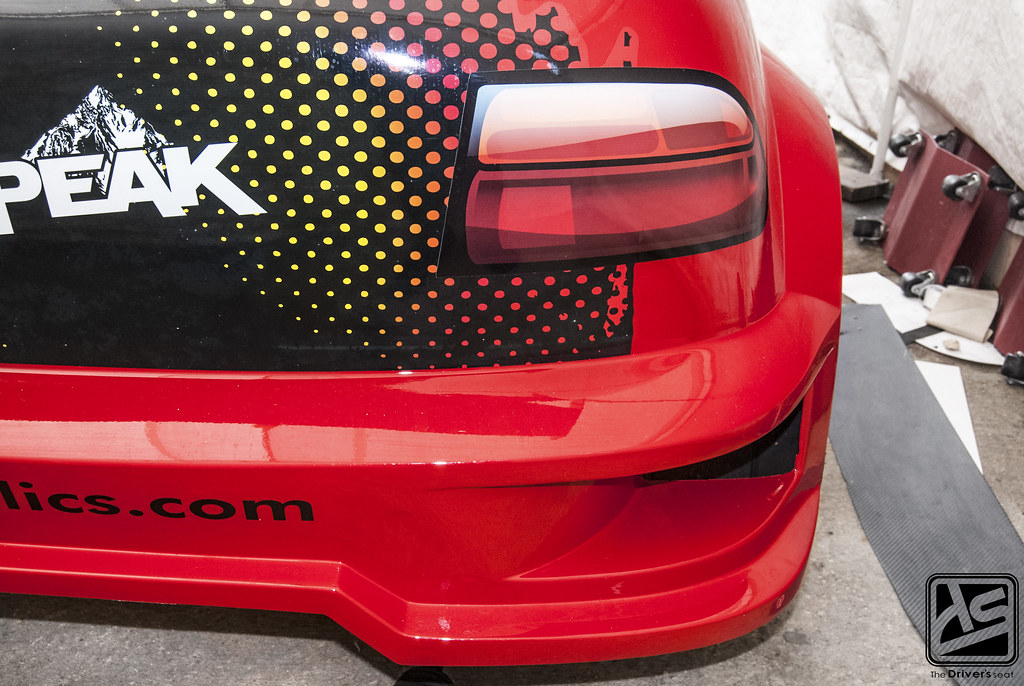
After the install…
Having some extra time on his hands, Jerry came up with a specially designed duct that will ram air directly to the radiator to increase cooling…
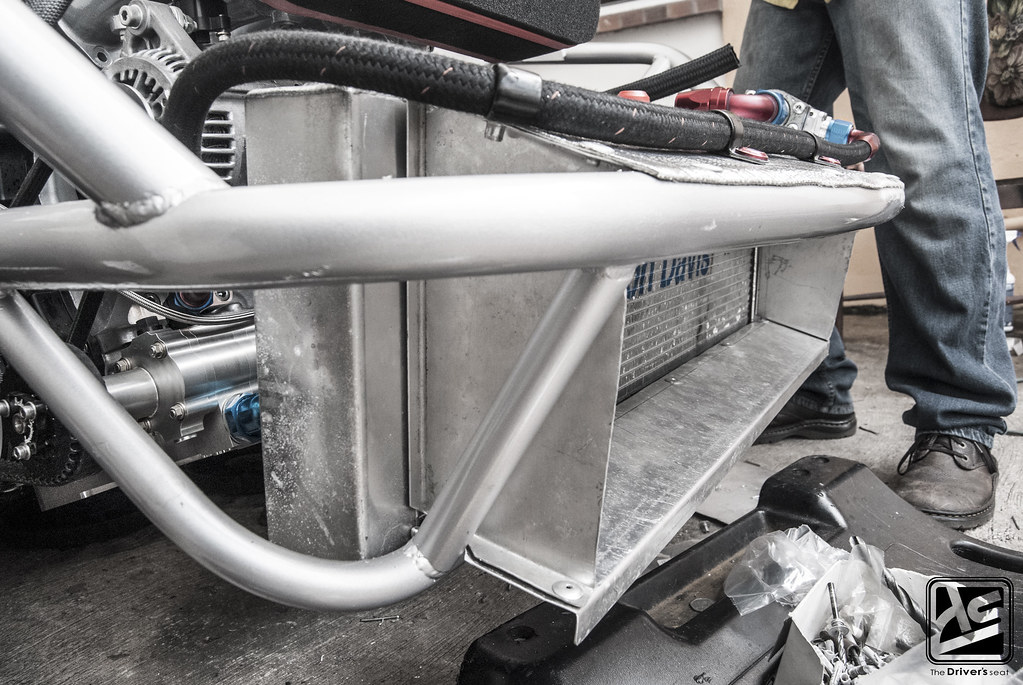

A closer look at the construction and how it is mated to the radiator…
That brings us to the end of another post, thanks for taking a look and stay tuned for more on this build.
