
Sol’s JZX100 Chaser Build… Introduction
Welcome back! I would have mentioned in the last post that I have some new content coming up for you guys & today we’ll be taking a look at the first in this series. No stranger to the site, I bring you guys a new project from within Sol’s garage.
Currently, there is quite a bit of activity going on within his garage in relation to project progression both from the performance & also from the maintenance side. Over the next few months I’ll be bringing you guys a more in-depth look at the progress being made.
Already having a few projects underway, its never too soon to begin a fresh new build. We take a first look at a car he’s had in his possession for quite some time but was actively taking his time on the direction in which he wanted to take it. Often known for being carried away with his builds in the years past, Sol has started to take a more subtle & purposeful approach towards car building in recent times. Straying away from his all out builds, he’s now at a stage where he has a new found appreciation for these machines & the way they perform. With a new found focus in mind, some of his builds will be adjusted to better suit this philosophy while adding a few personal touches.
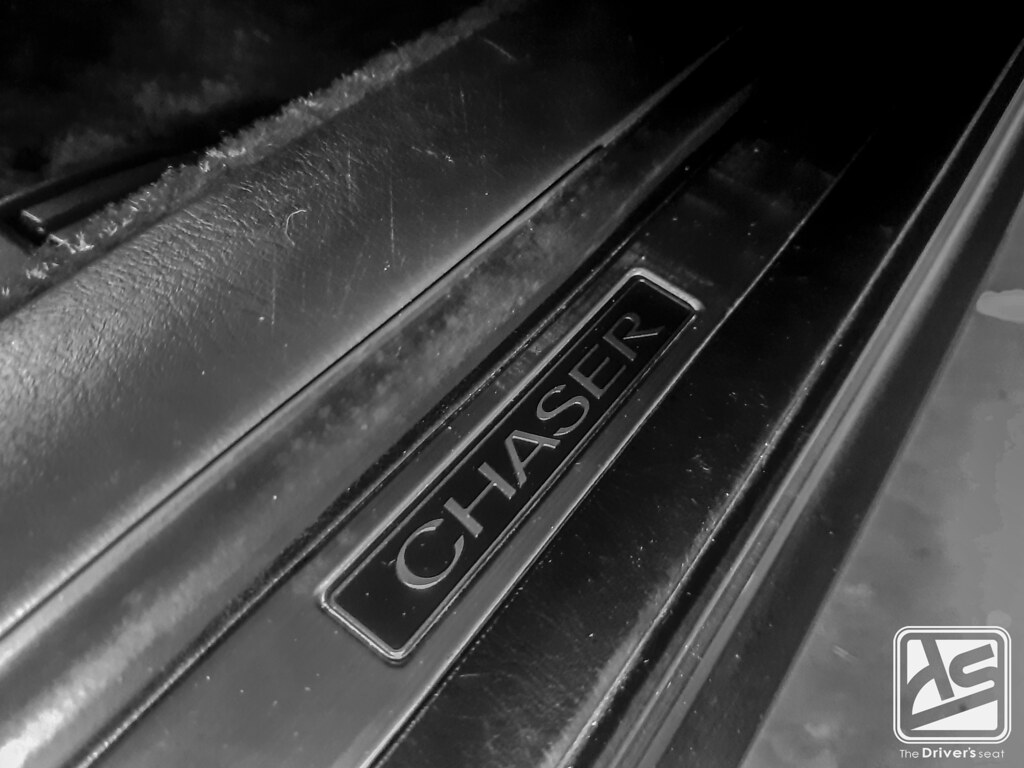
To start off this new style of building, lets kick it off with his Toyota Chaser JZX100 Tourer V. What better option other than a famed 90’s Japanese classic. These cars have been stirring up quite a buzz in recent years & are rapidly becoming a sought after cult car. Believe it or not, the main idea behind acquiring the car was based around his Mark IV Supra.
