
Daryl’s Rally K-EG Build… Part 11
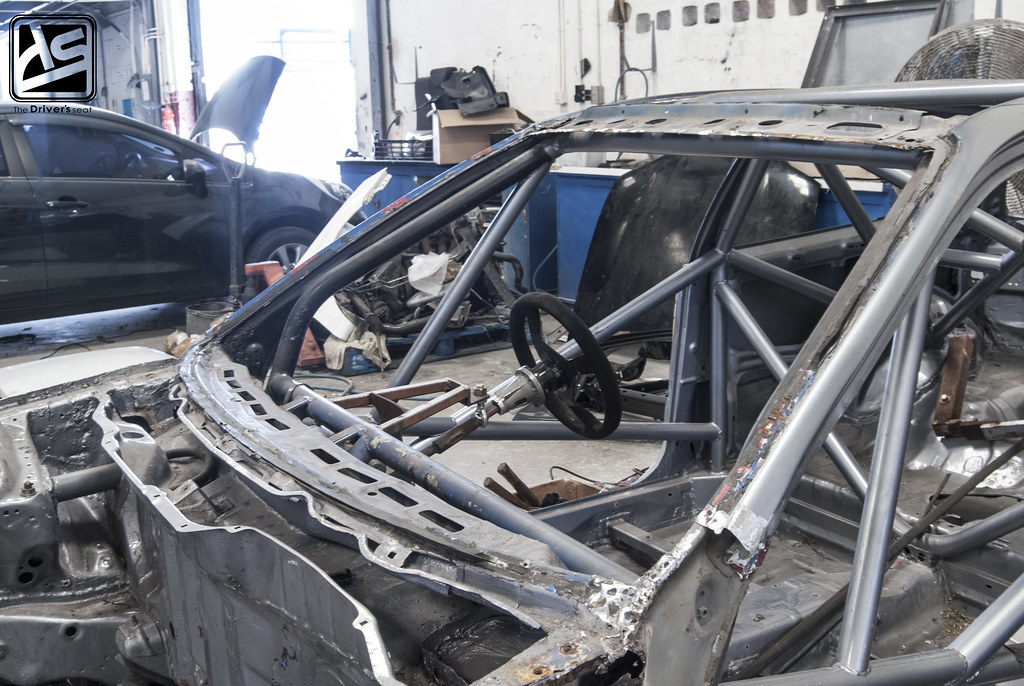
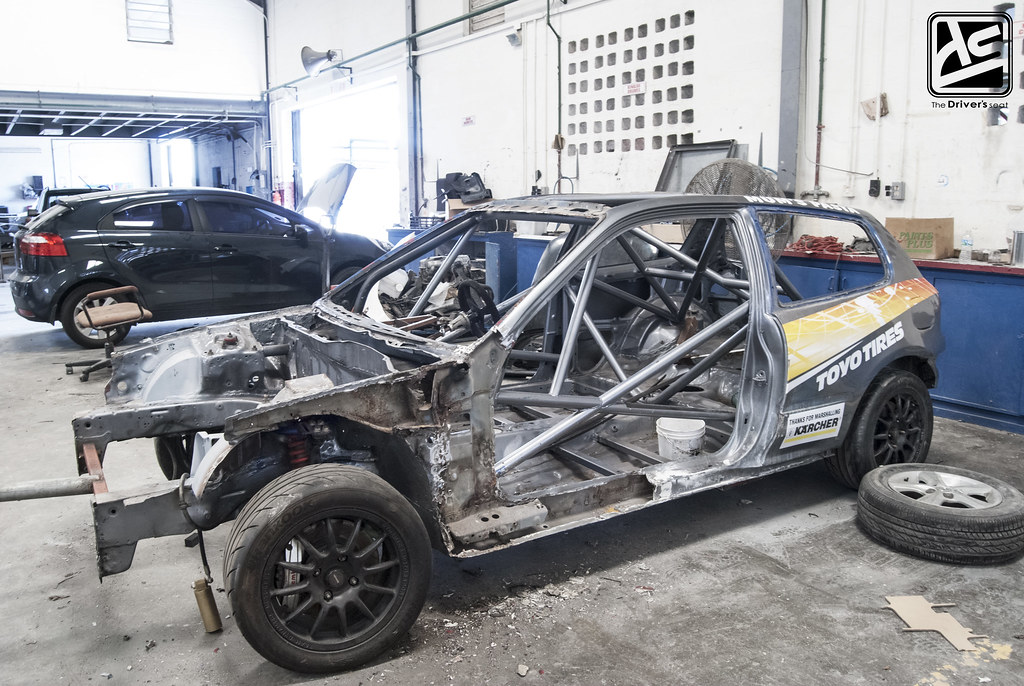
For the upcoming season some major changes are being undertaken along with a full tear down and rebuild. In the previous post we looked at some of the damage which the car suffered over time and also at the new steering setup. Since then Daryl sent the car to have some much needed modifications done to the body before it is sent to bodywork and paint. With those steps out of the way the car was then taken to MQI to begin the bodywork and paint process. We’ll be taking a look at the progress made so far in today’s post.
For those who are viewing this post for the first time, I’ve provided link to the entire build below.
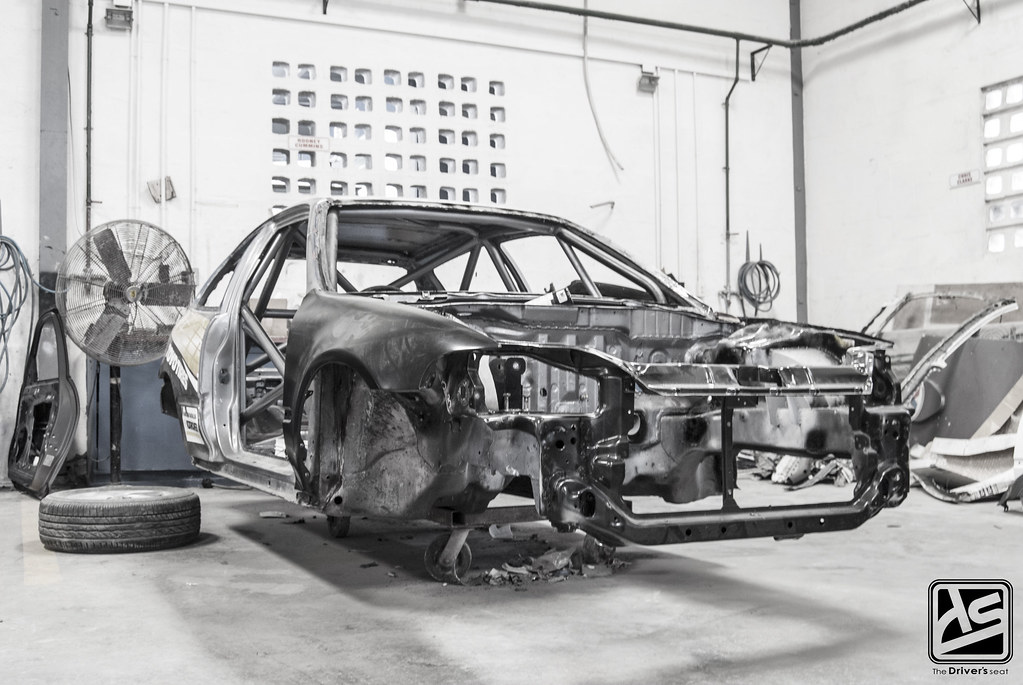
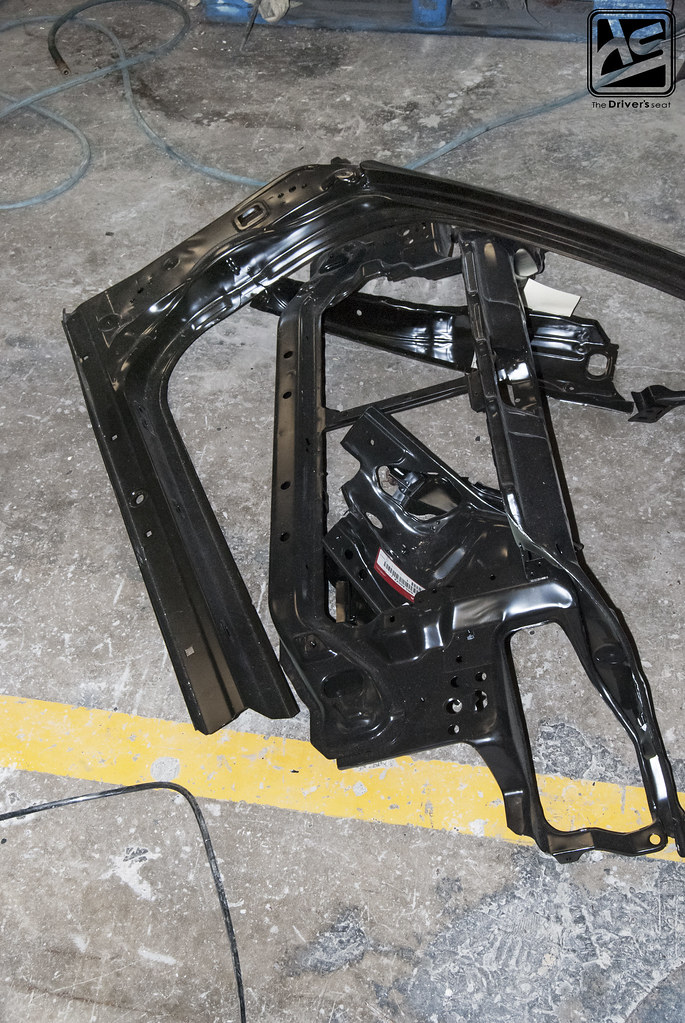
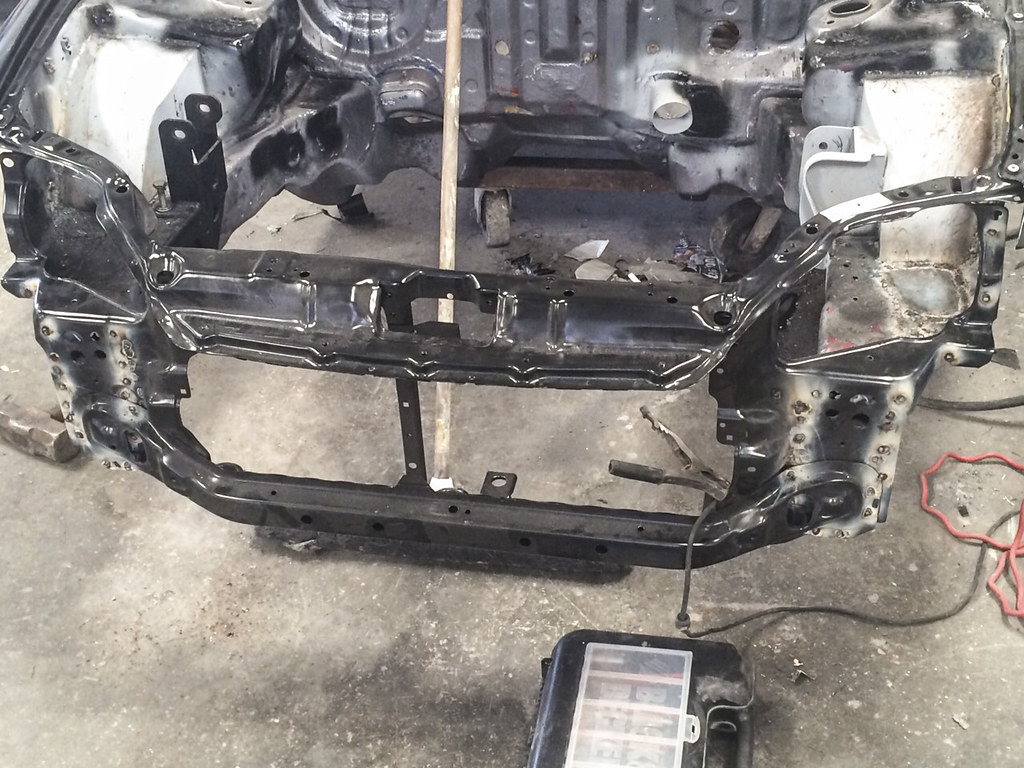
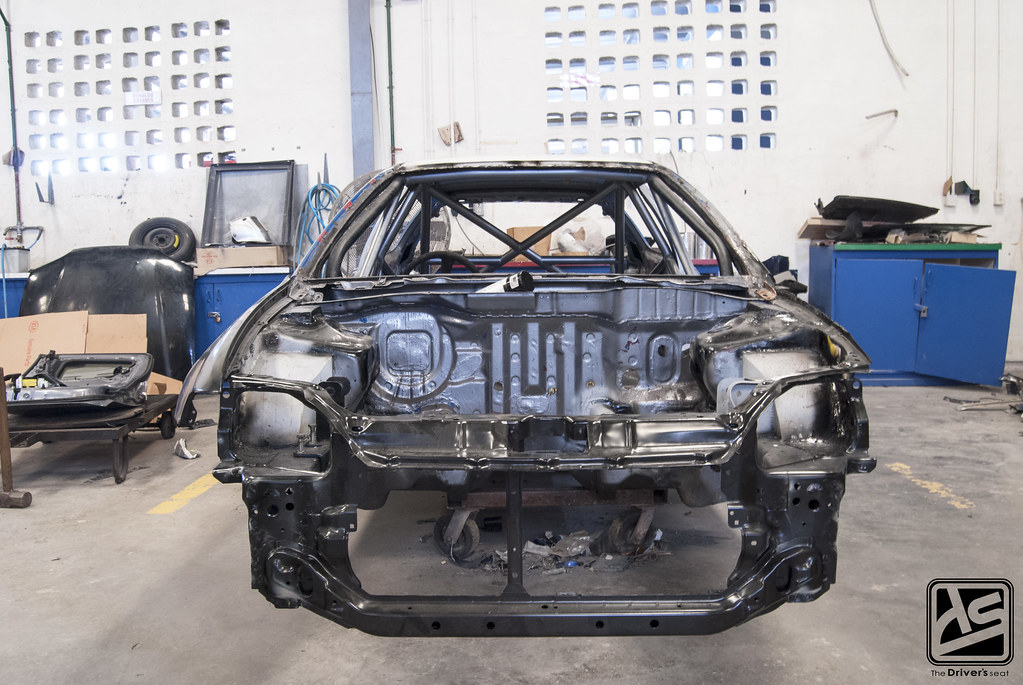
The shell as it sat at MQI with the damaged radiator support removed…
If you pay close attention you will notice there is a bar running from the left to the right side of the front end. This is the support that is needed for when the car is placed onto the rotisserie…
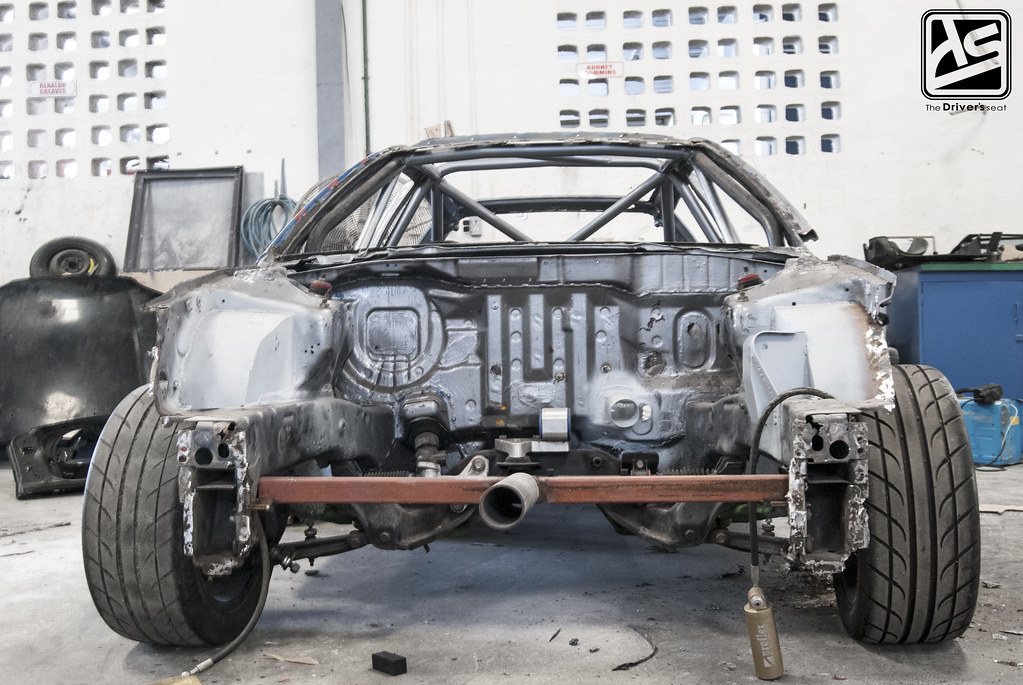
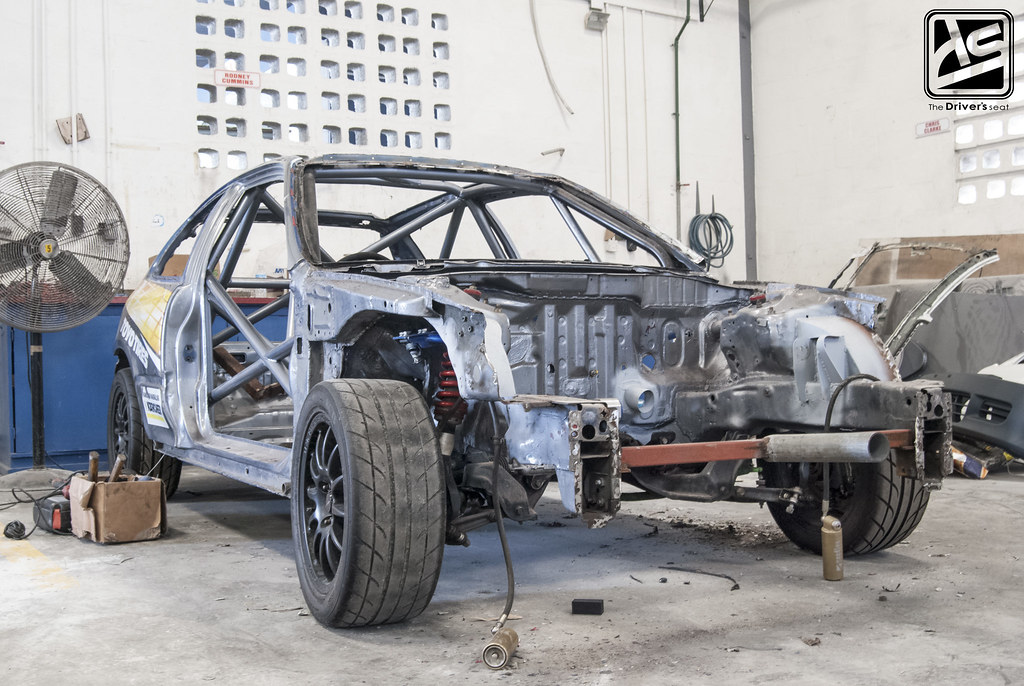
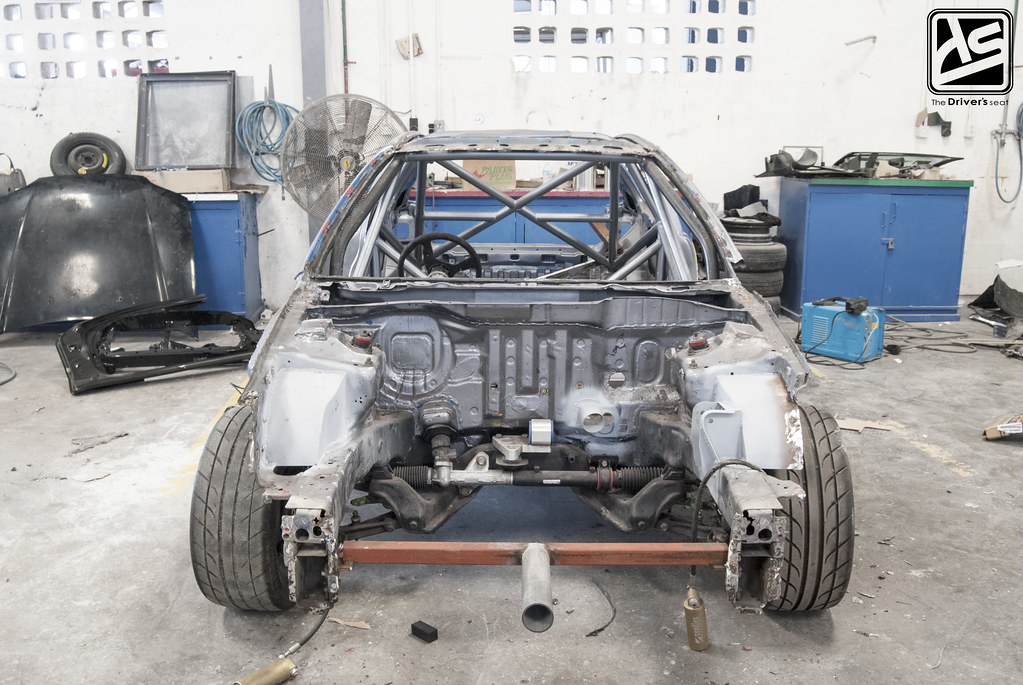
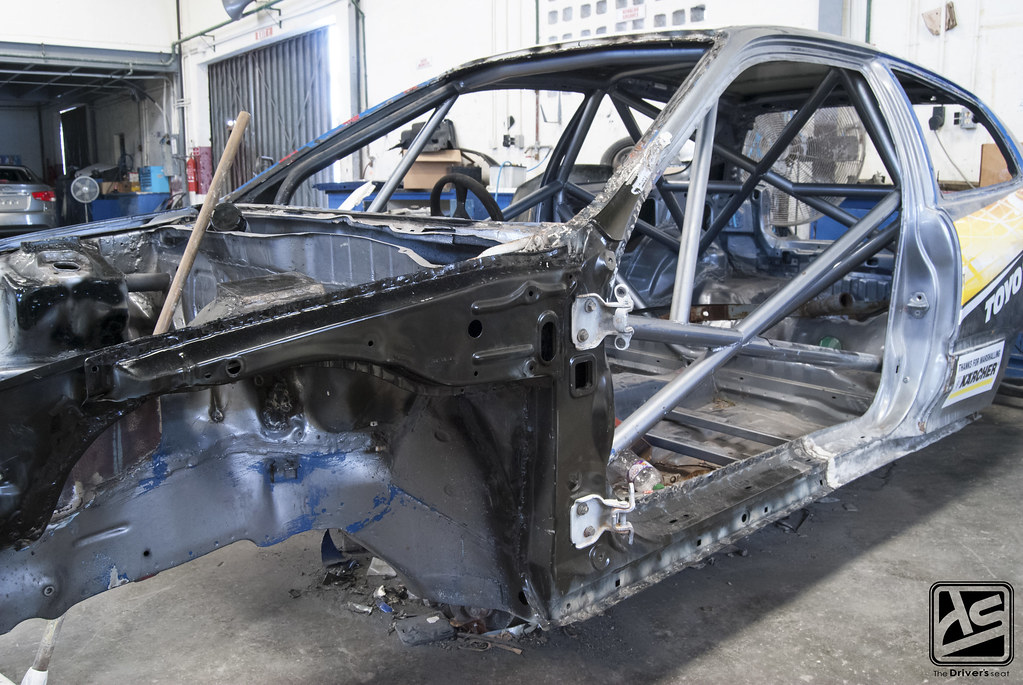
As you guys can see once the shell made its way over to MQI it was stripped even further…
And signs of progress were visible in just a matter of hours…
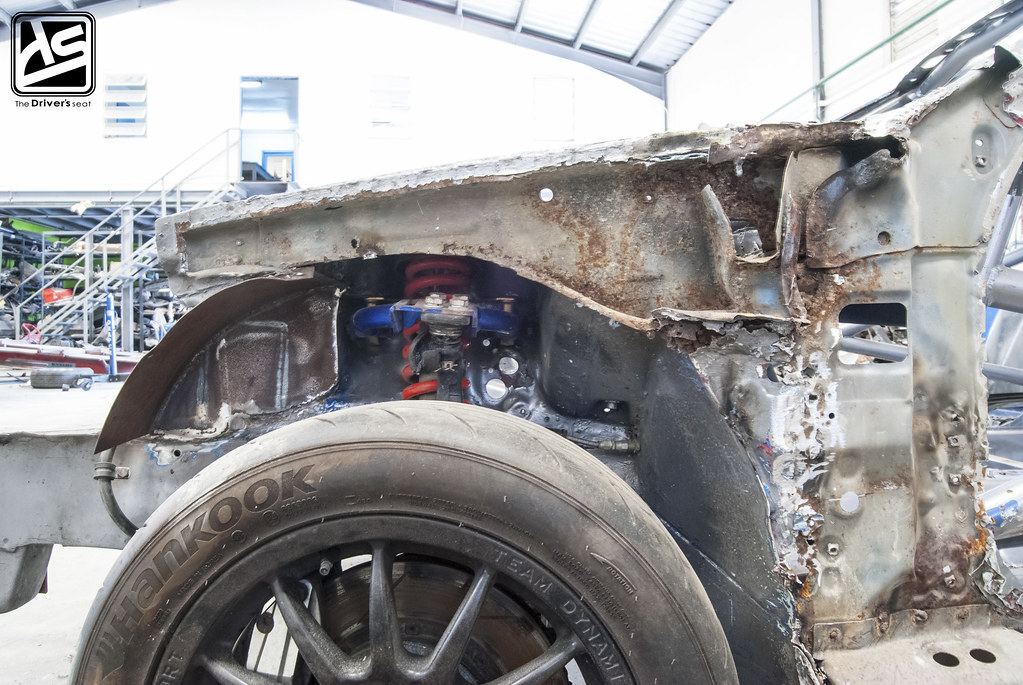
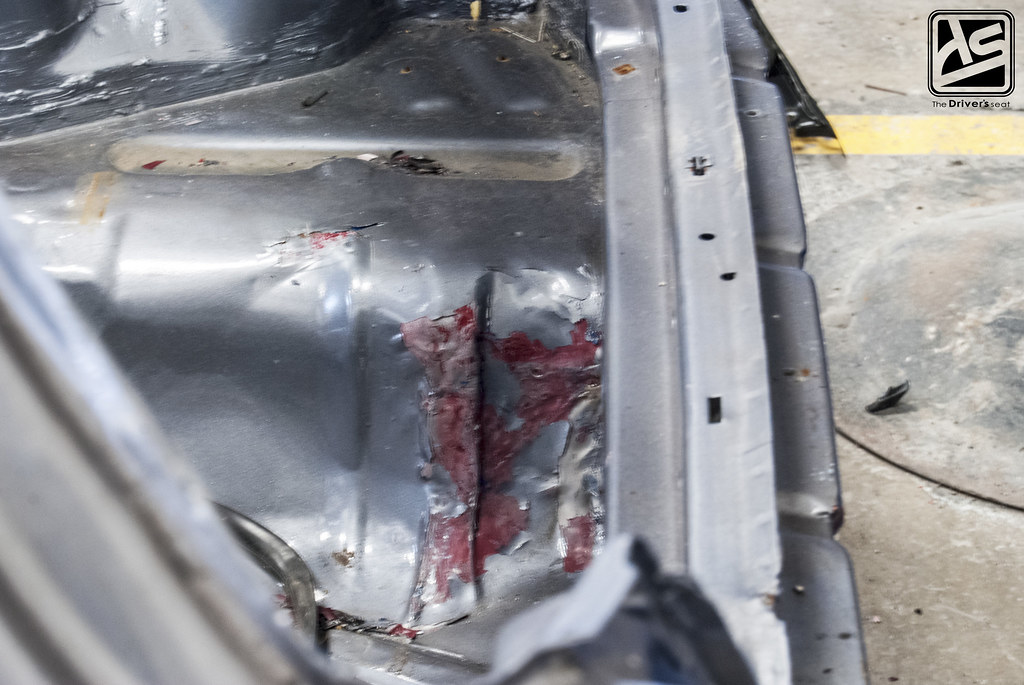
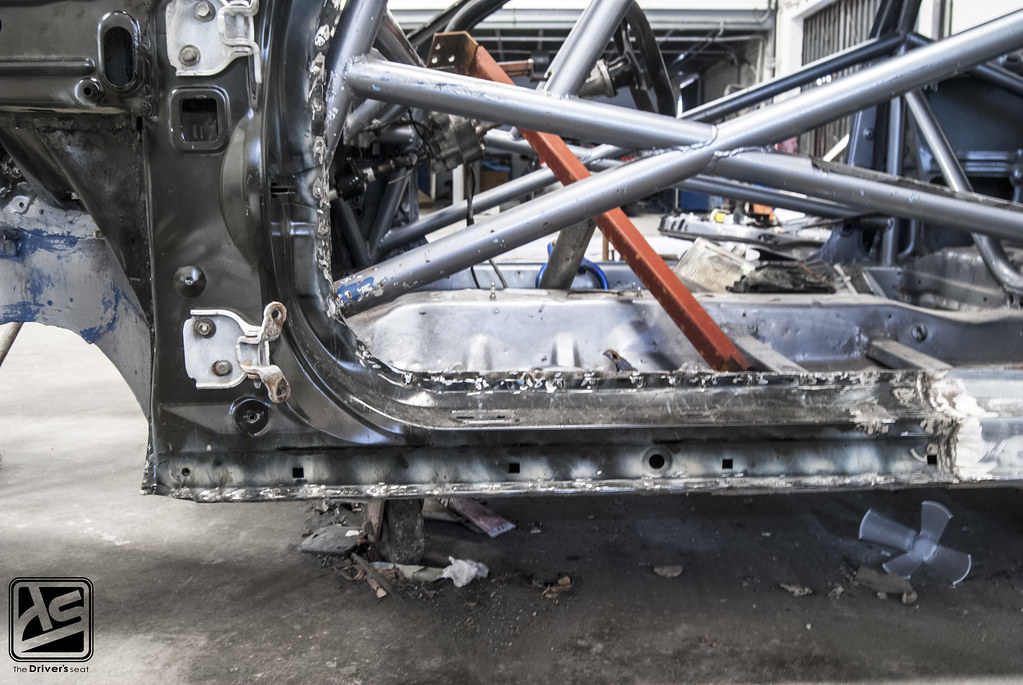
The front left side fender panel had some damage to be taken care of, but it wasn’t until pieces started to be cut out that the true extent of the damage was revealed…

As you can see a large area had to be removed…
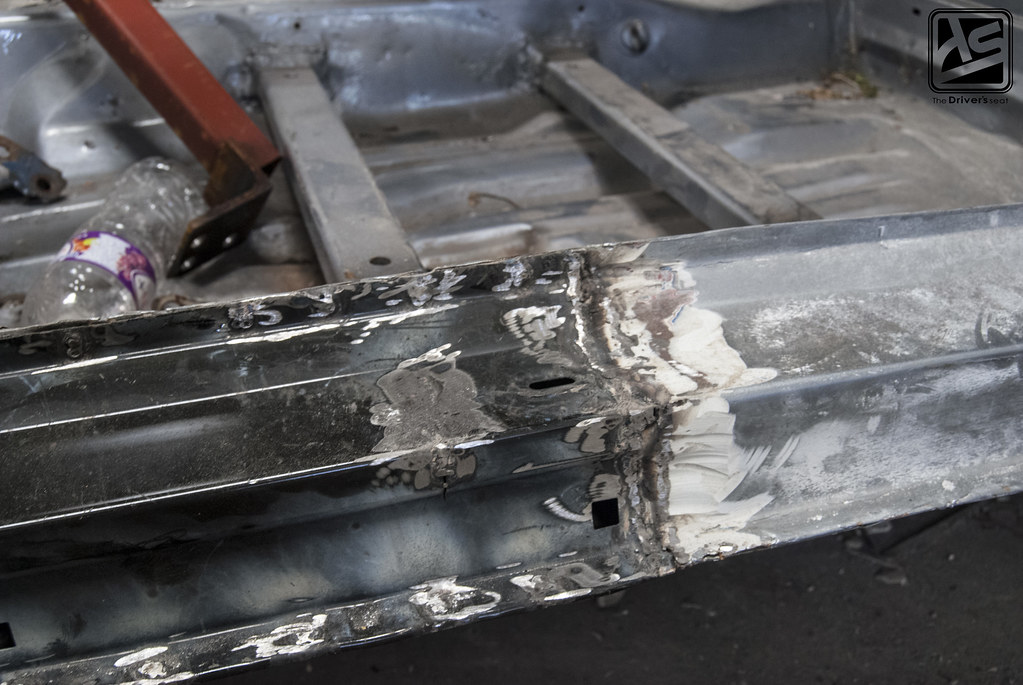
Moving to the back of the car, the damage to the spare wheel well was addressed and straightened out…
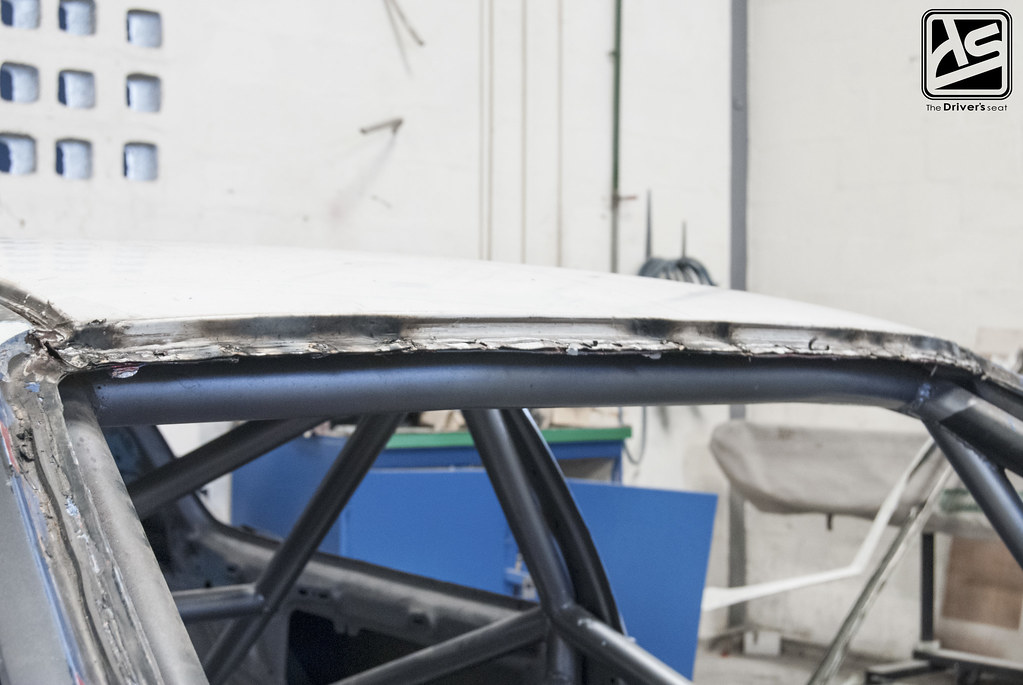
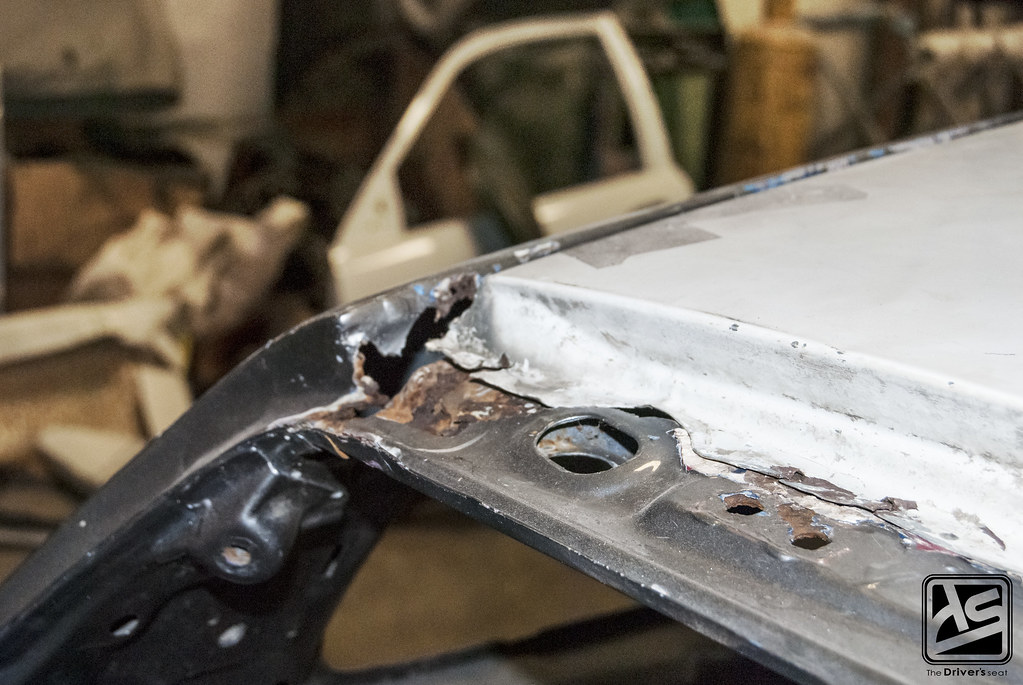
Mentioned in previous posts, Daryl brought in a roof skin to replace the badly damaged one which he suffered when the hood blew up.
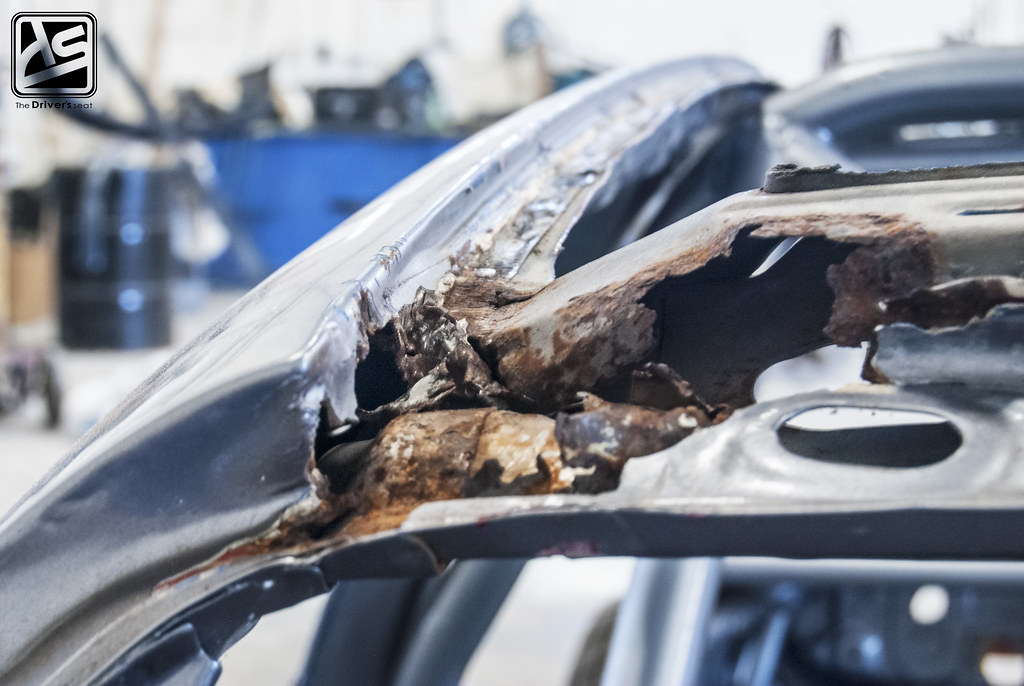
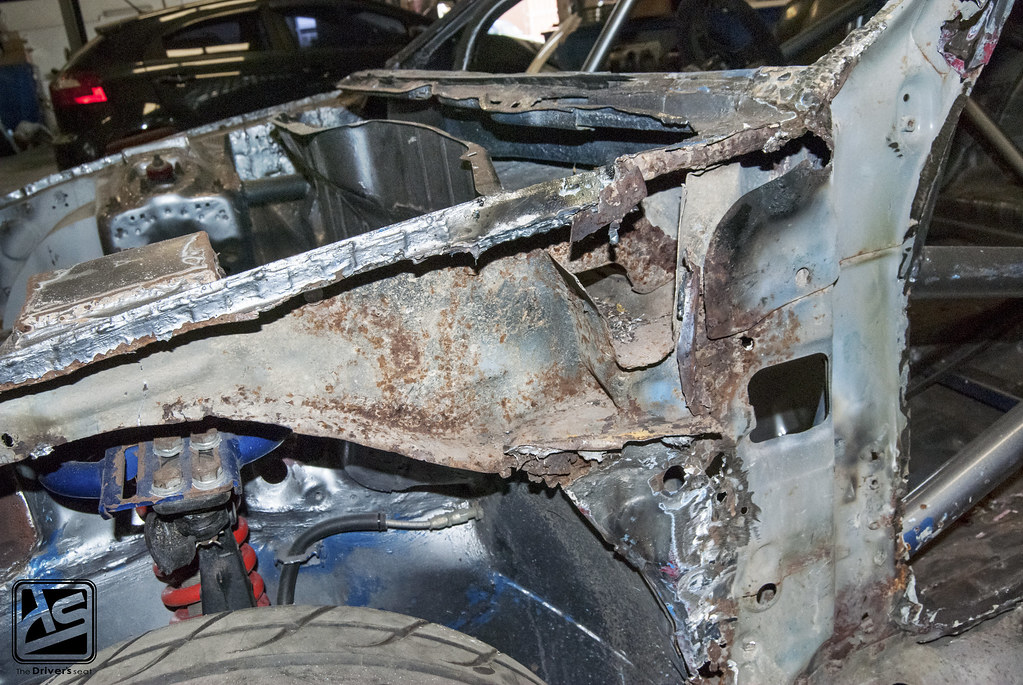
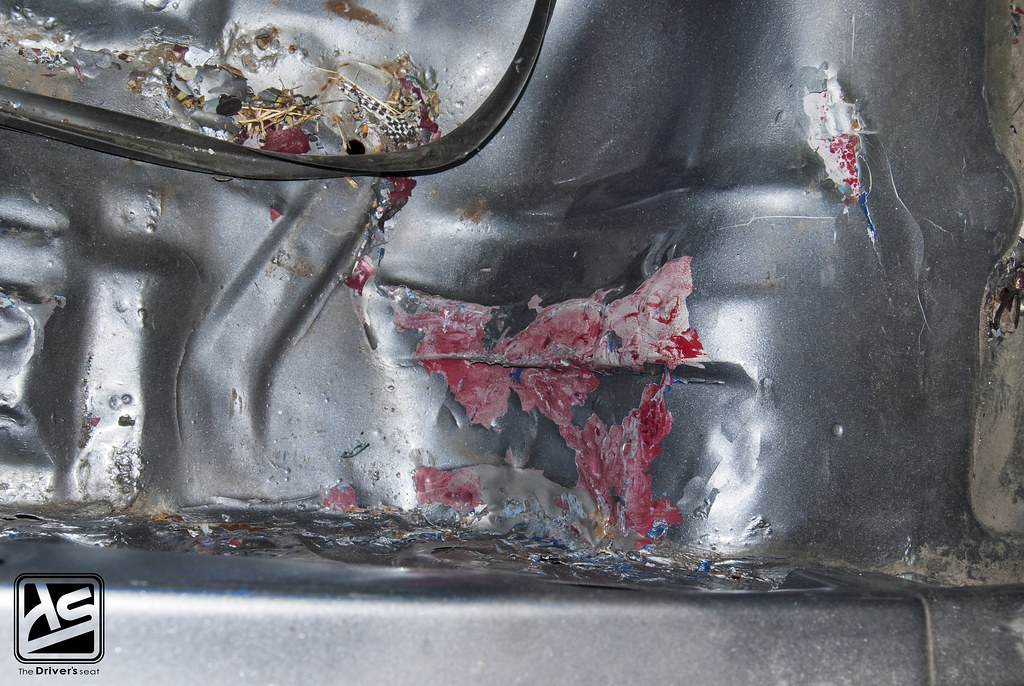
Similar to beneath the left side front fender panel, the roof showed severe metal decay when the roof skin was removed.
New replacment panel almost ready to make their way onto the shell…
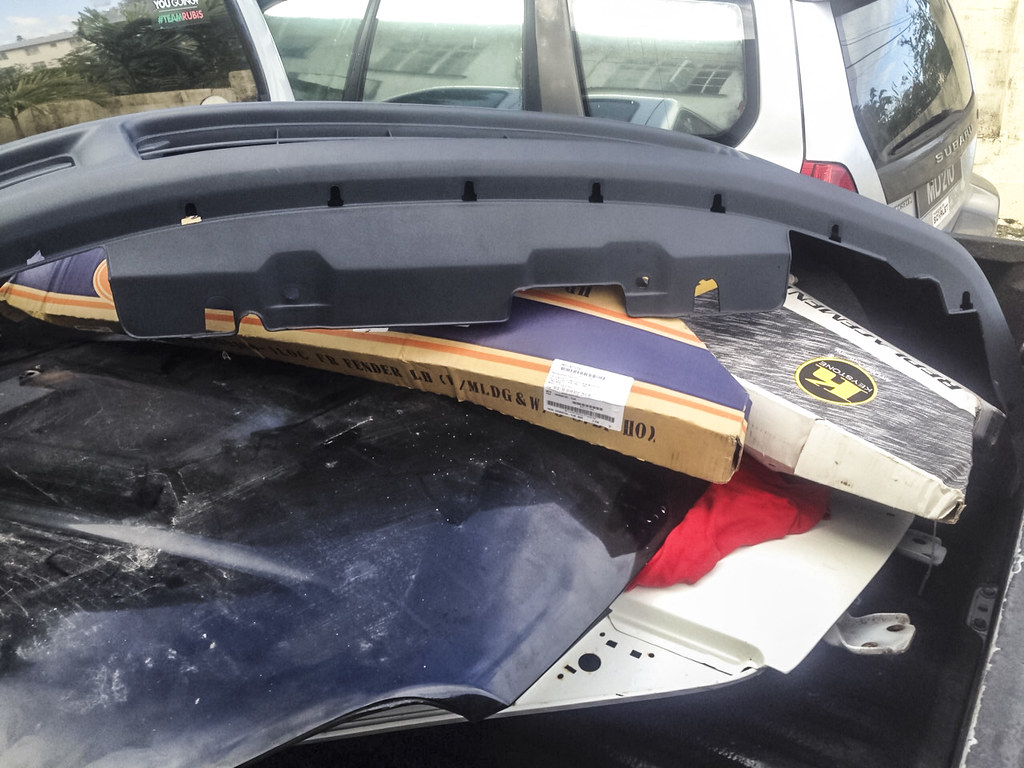
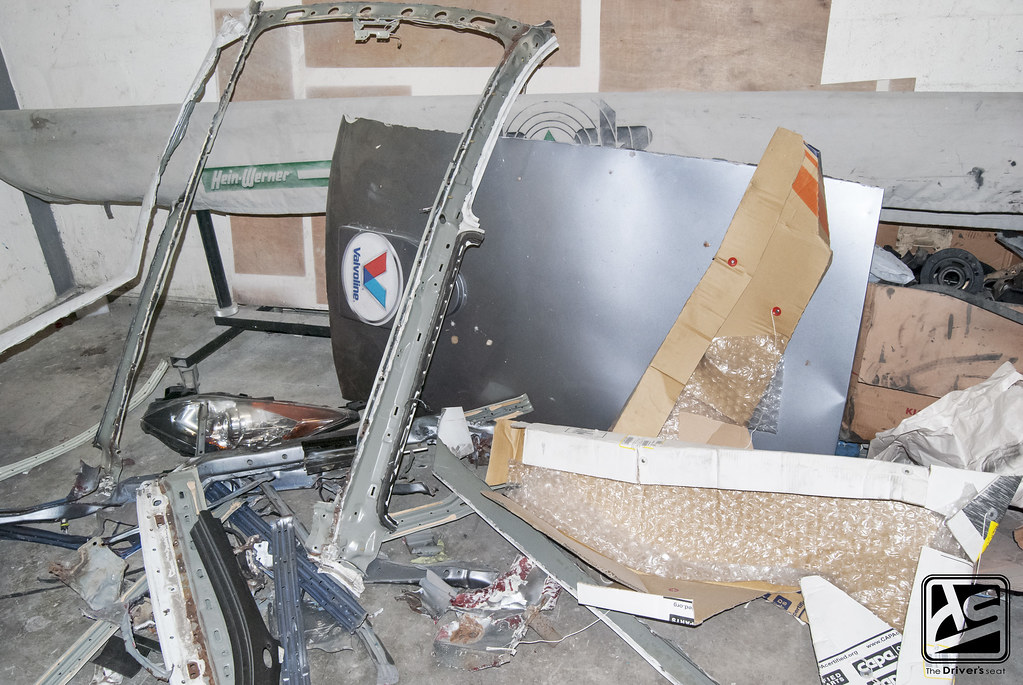
Bumper, hood, door and fenders loaded up…
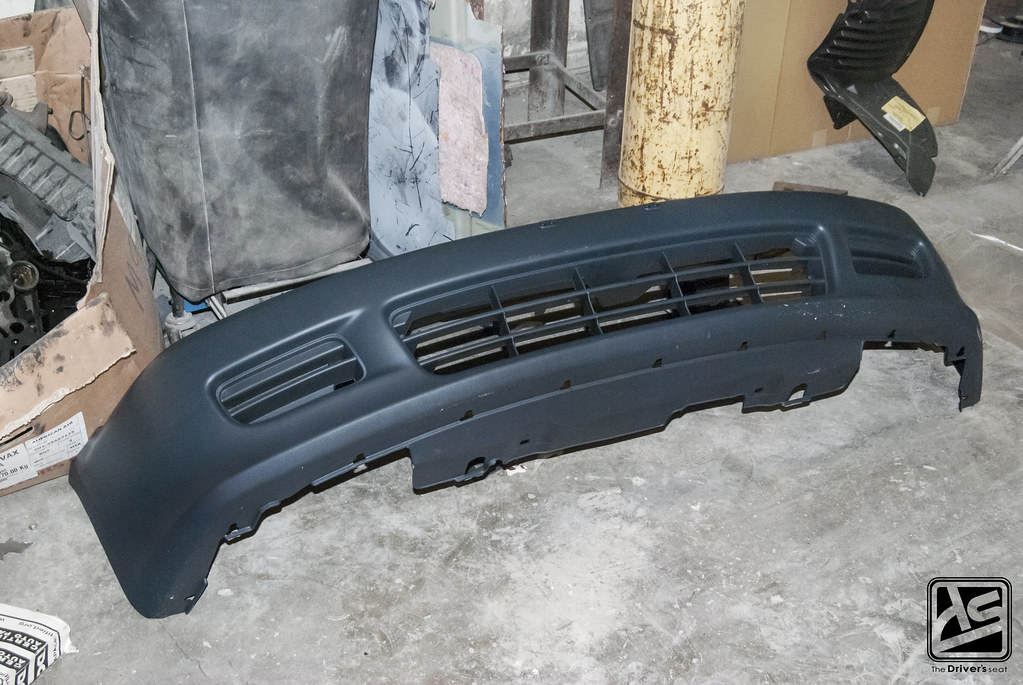
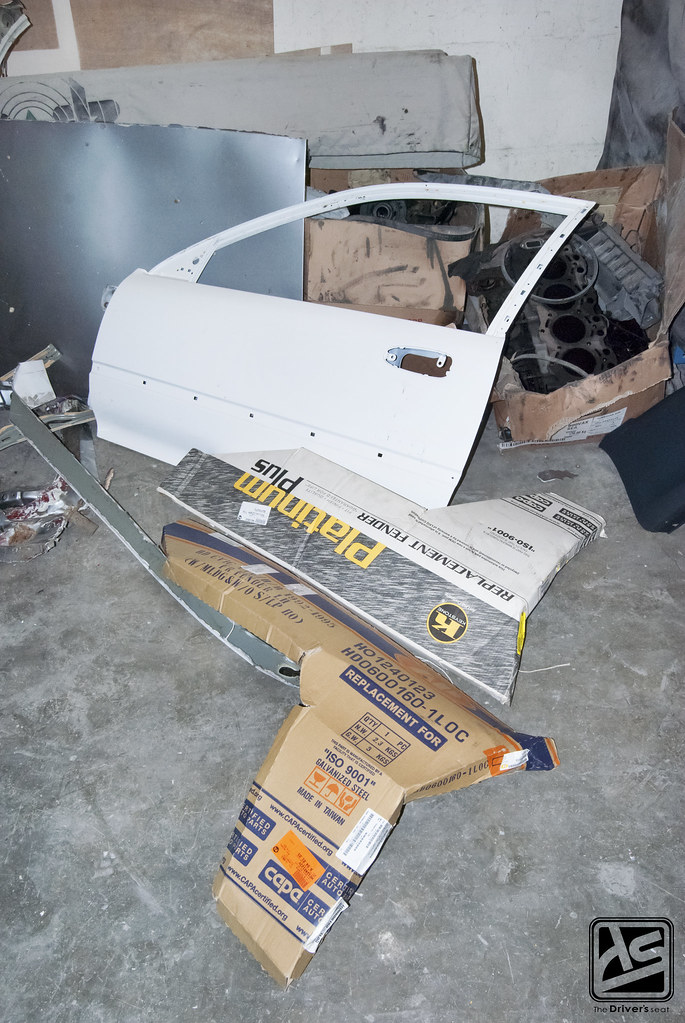
Daryl opted to place an order for a new bumper, door and fenders for this rebuild verses having them repaired…
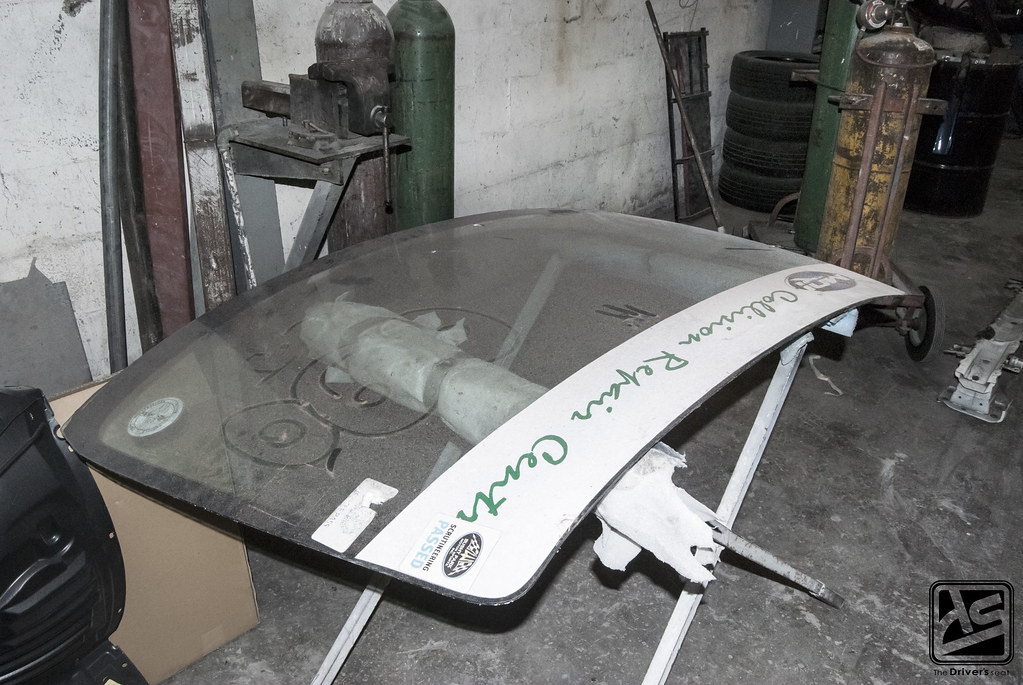
Front windshield out of the way and away from danger…
To help with the alignment of new panels, the body guy needed to do some test fitting before making any final decisions on their locations…
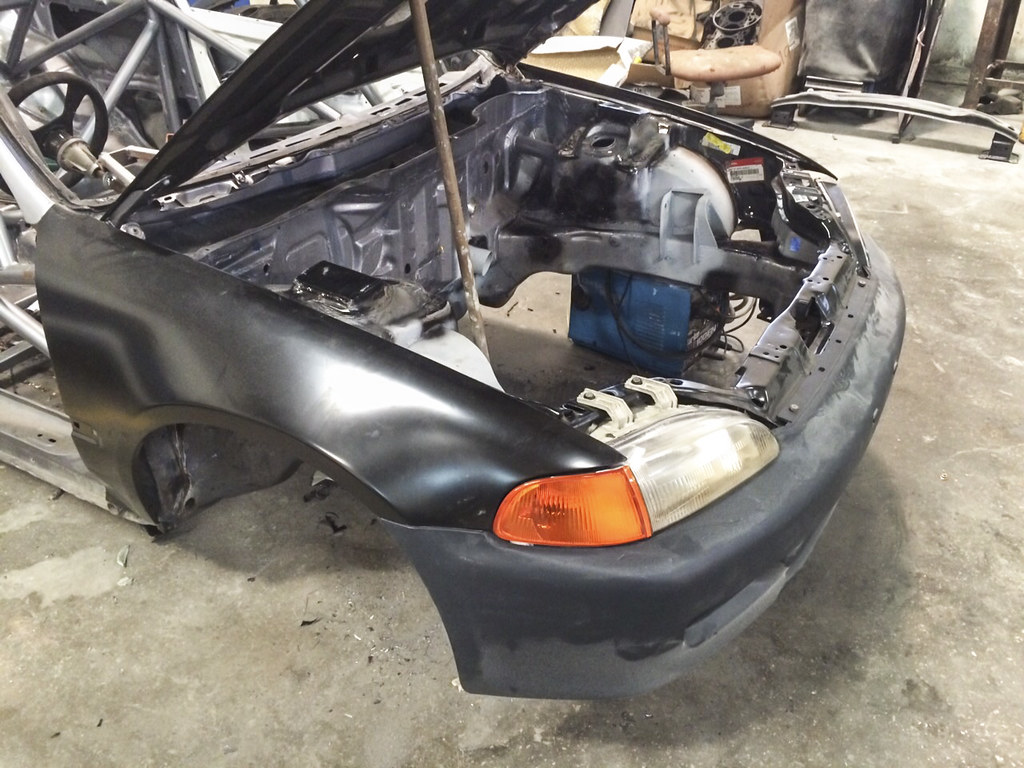
Here you see the front with the bumper, fender and headlights along with the hood mocked up…
Body panels in place…
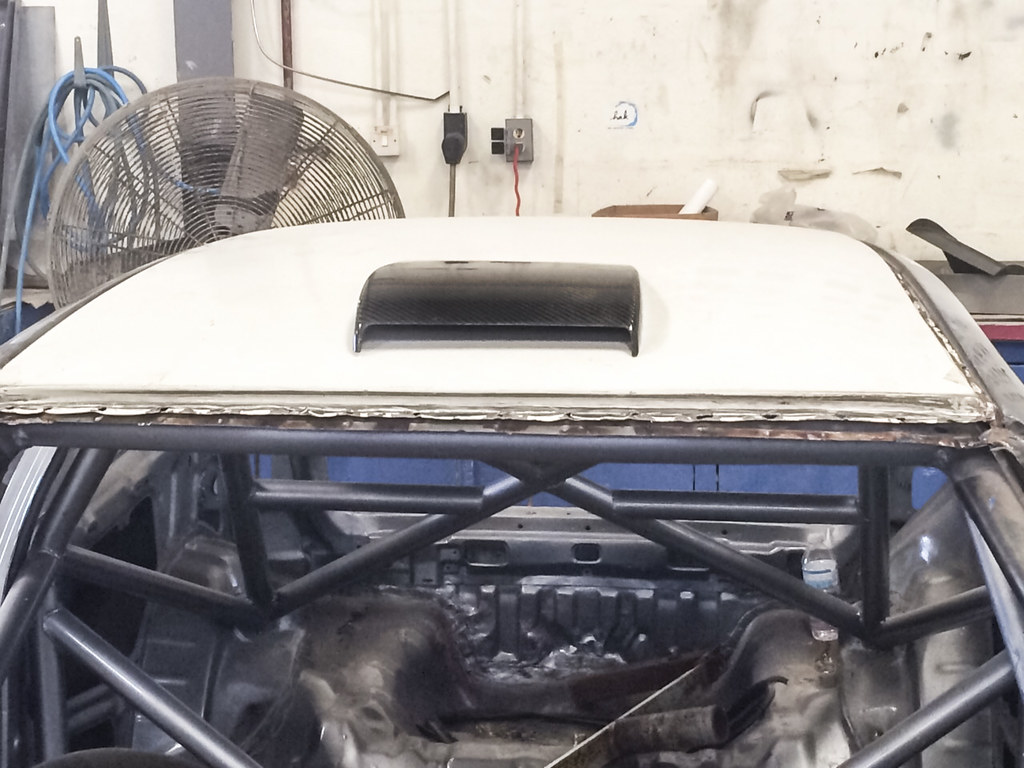
A new carbon fibre roof scoop was ordered for the rebuild, here you see it being mocked up so the body guy can pinpoint exactly where to cut.
A view of the new front end fully in place…
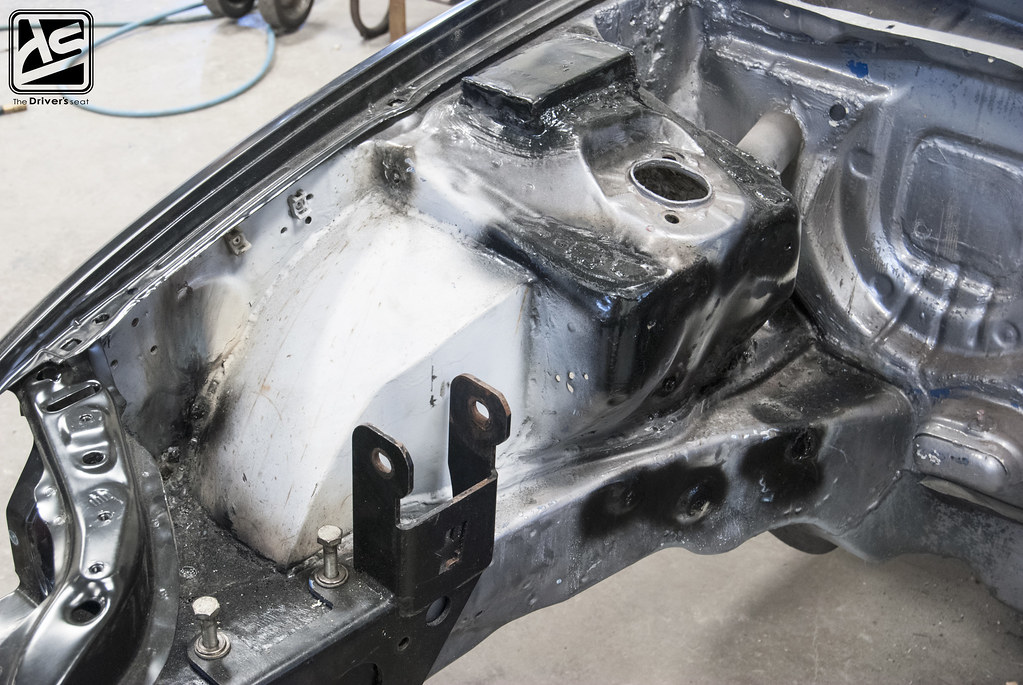
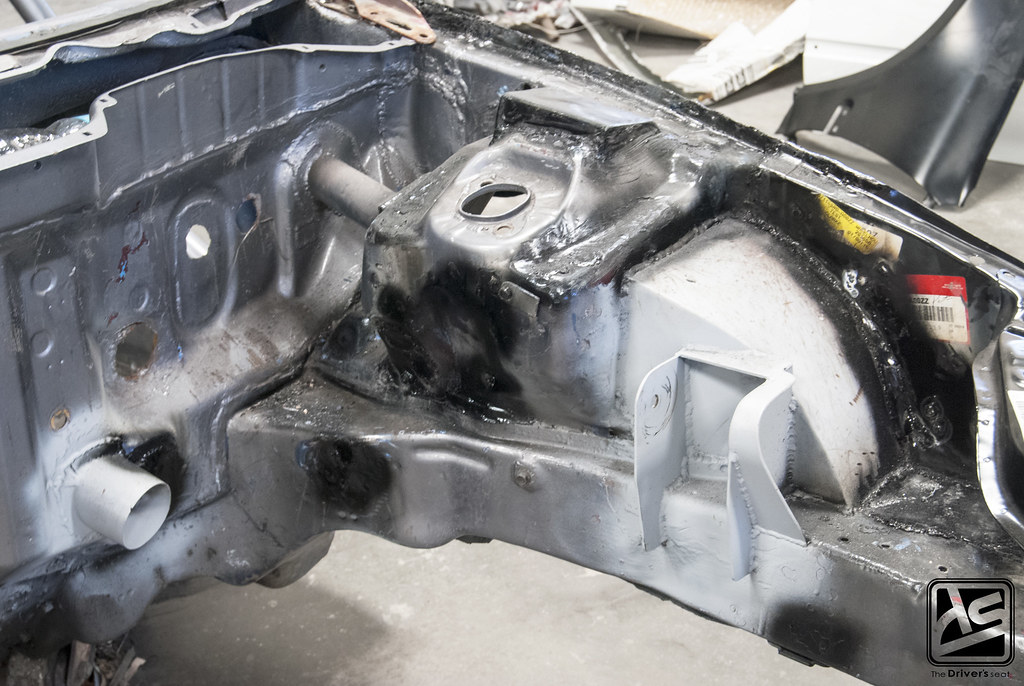
Engine bay welding work completed and spot painted…
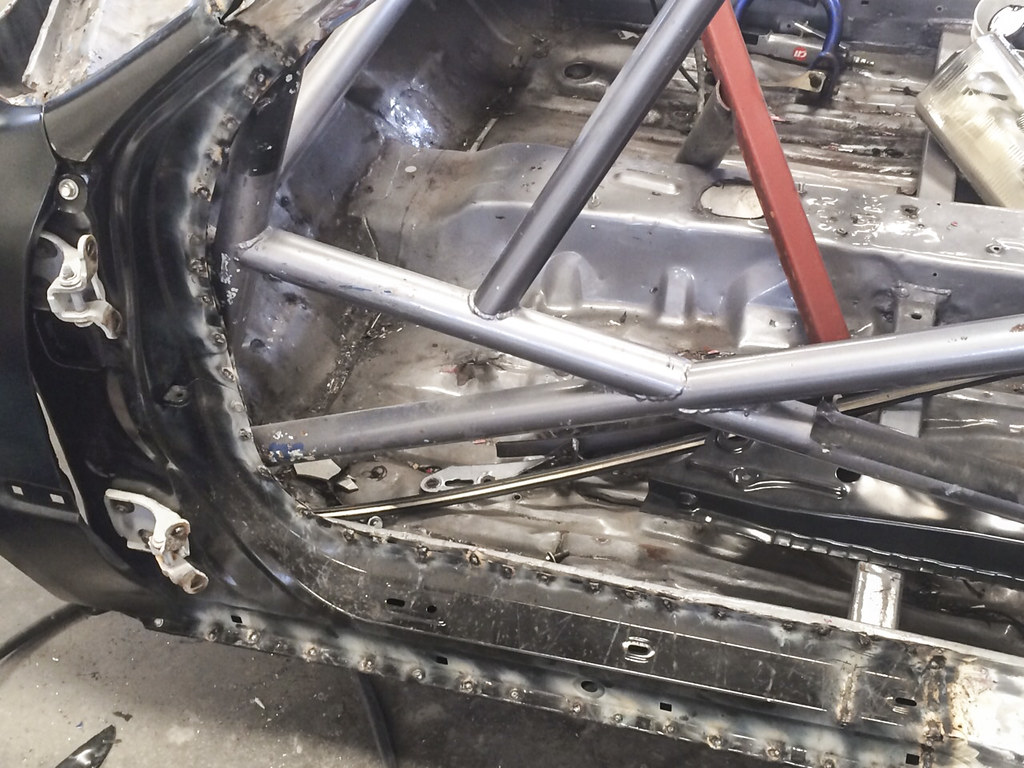
Varying angles of the left side panel…
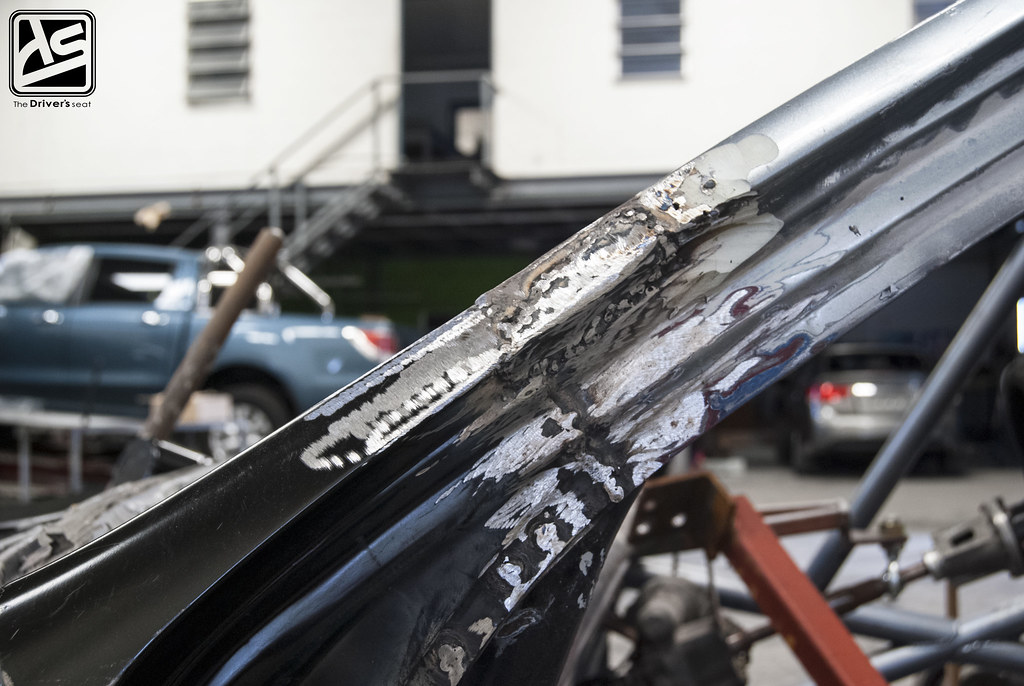
A closer look at the two points where it was joined to the existing panels…
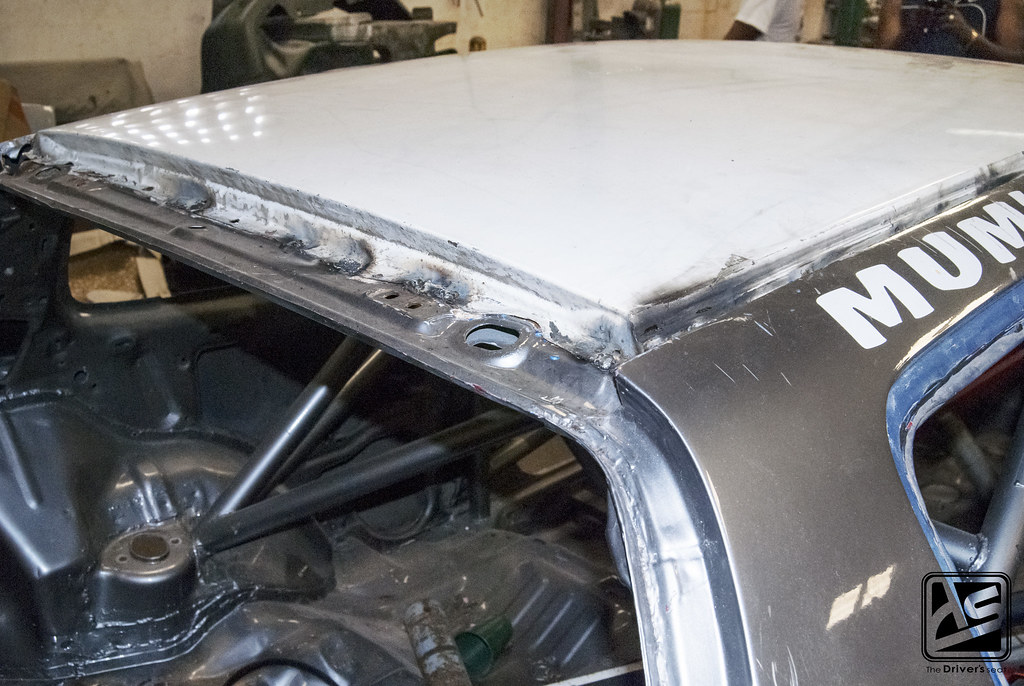
With the body panels out of the way the new roof skin was then installed…
The rusted portion of the body, under the roof skin almost fully repaired…
That brings us to the end of today’s post, I hope you guys enjoyed this one. Thanks for taking a look and stay tuned for more updates on this build.
