
Cuzz’s CD4 Lancer Build…Part 1
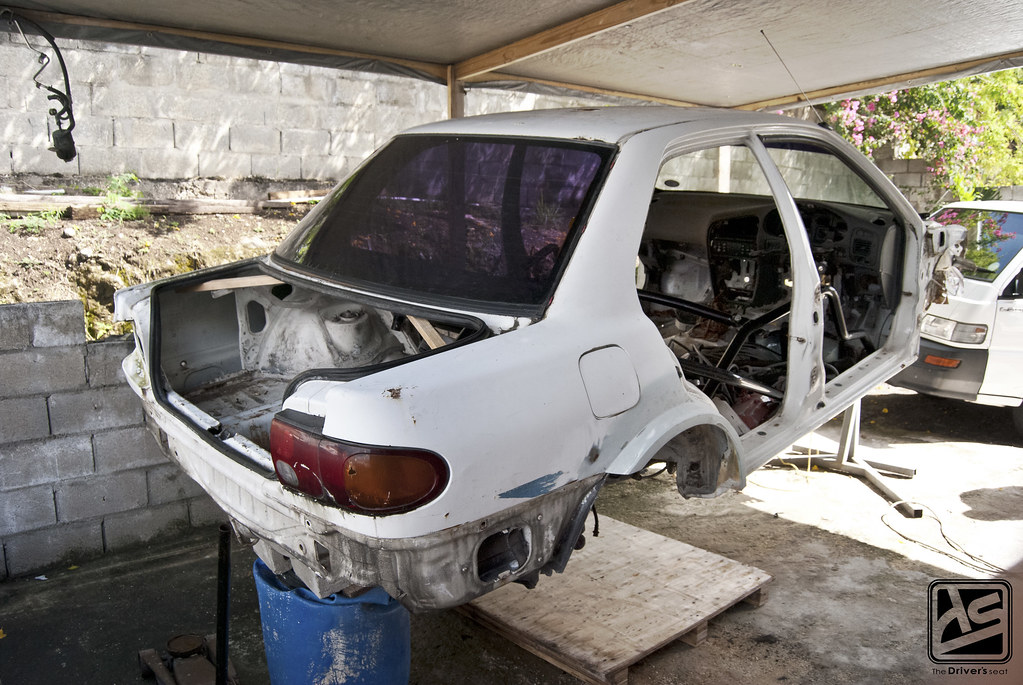
Today I’ll be bringing you guys part 1 of Cuzz’s CD4 Lancer build. In the last post I gave you guys the story behind the build and some of the plans Cuzz has in store. Since then Cuzz has stripped down the car and began to strengthen the chassis. I have some photos of this process for you guys to check out along with some other stuff that has been done.
Below is the link to the previous post for those who may have missed it…
Cuzz’s CD4 Lancer build… Introduction
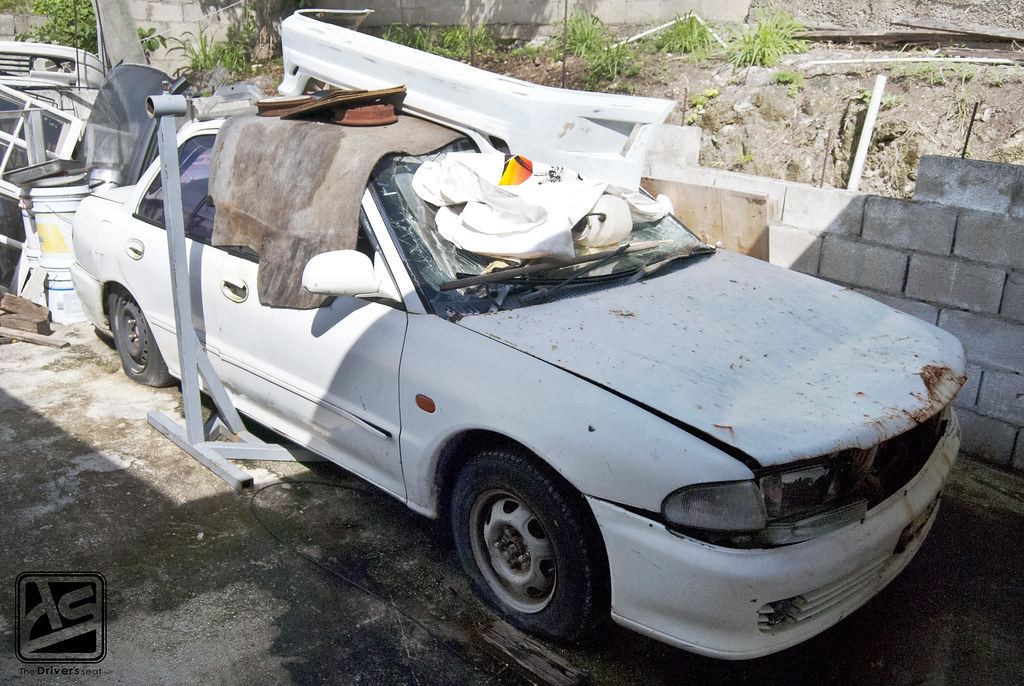
A car that Cuzz has acquired to help along the way with any parts that he may need…
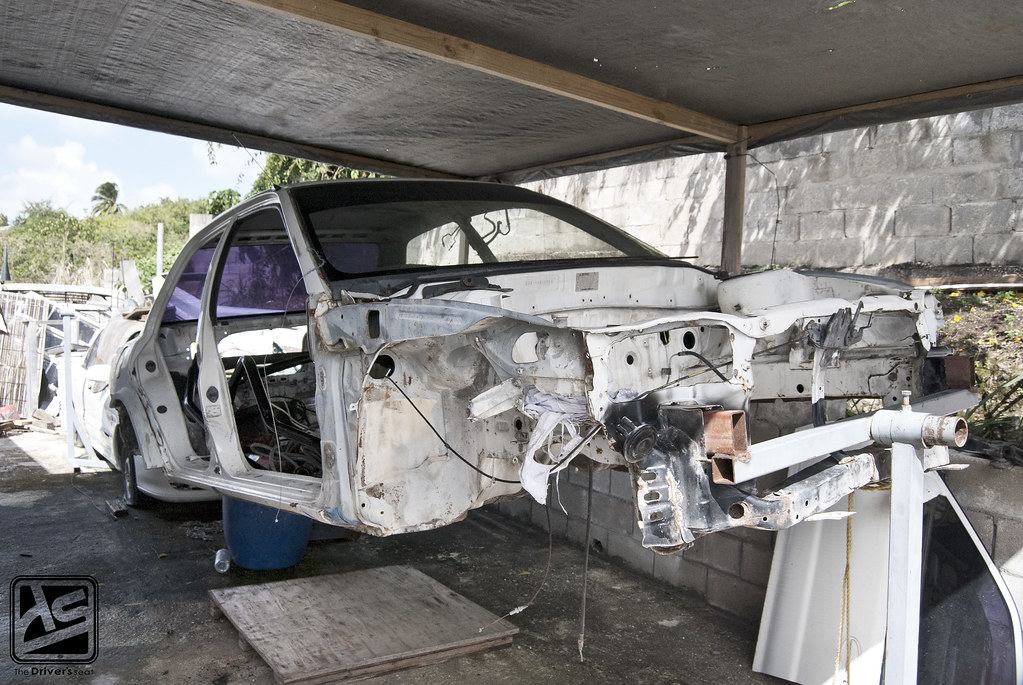
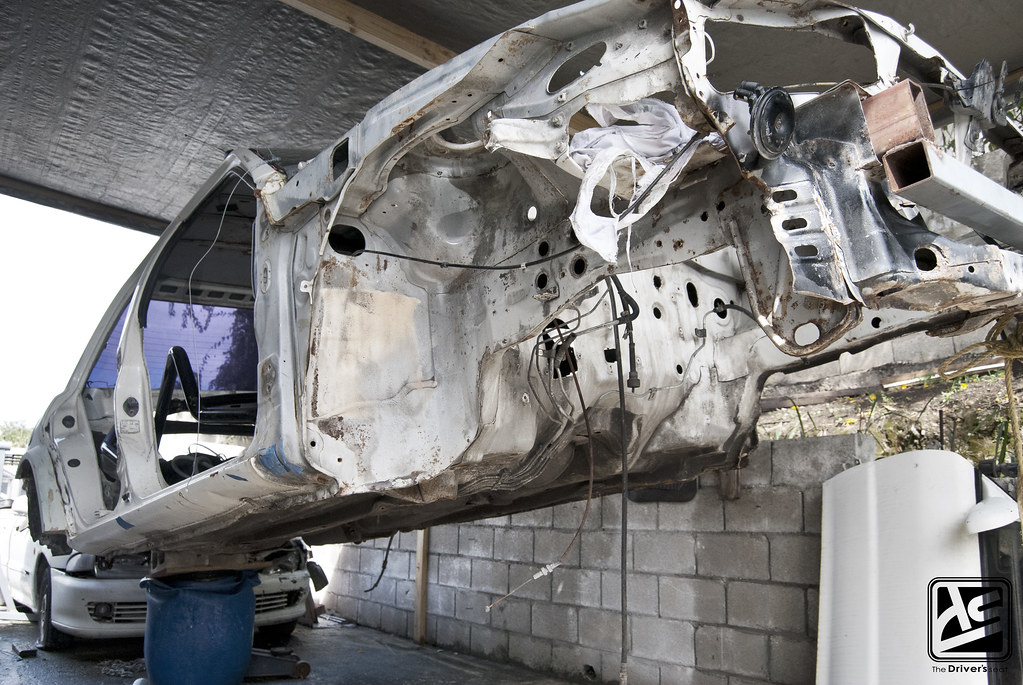
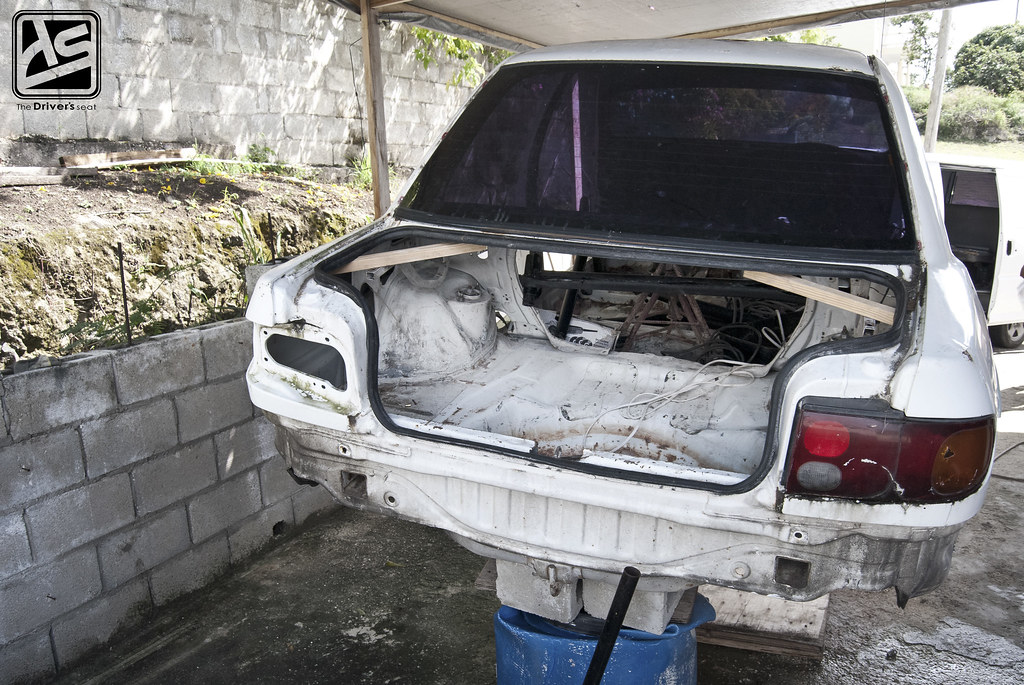
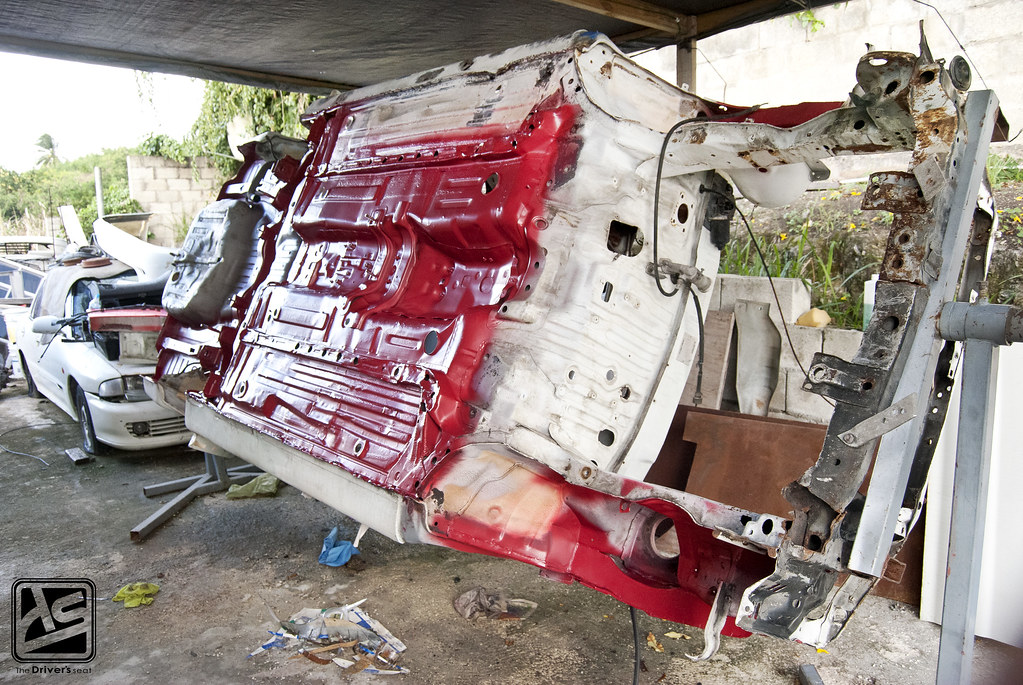
The car was placed on the rotisserie and the strip down process began…
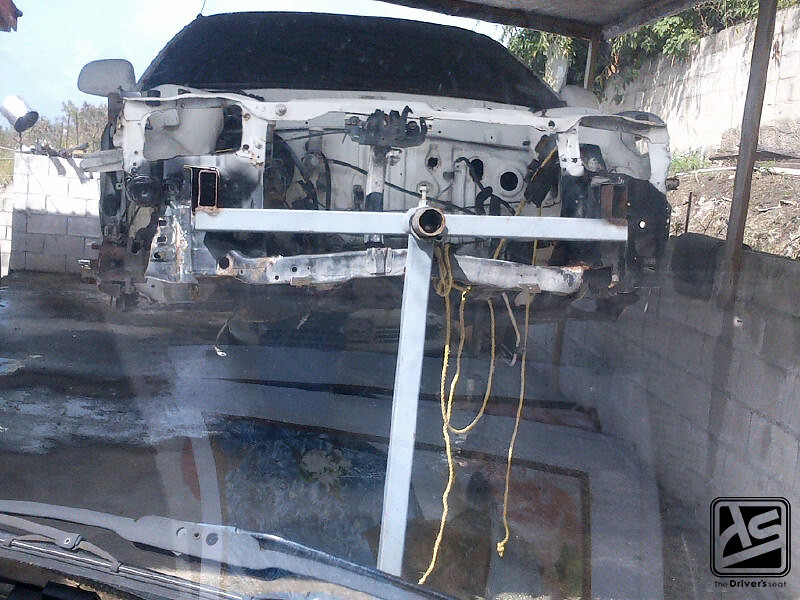
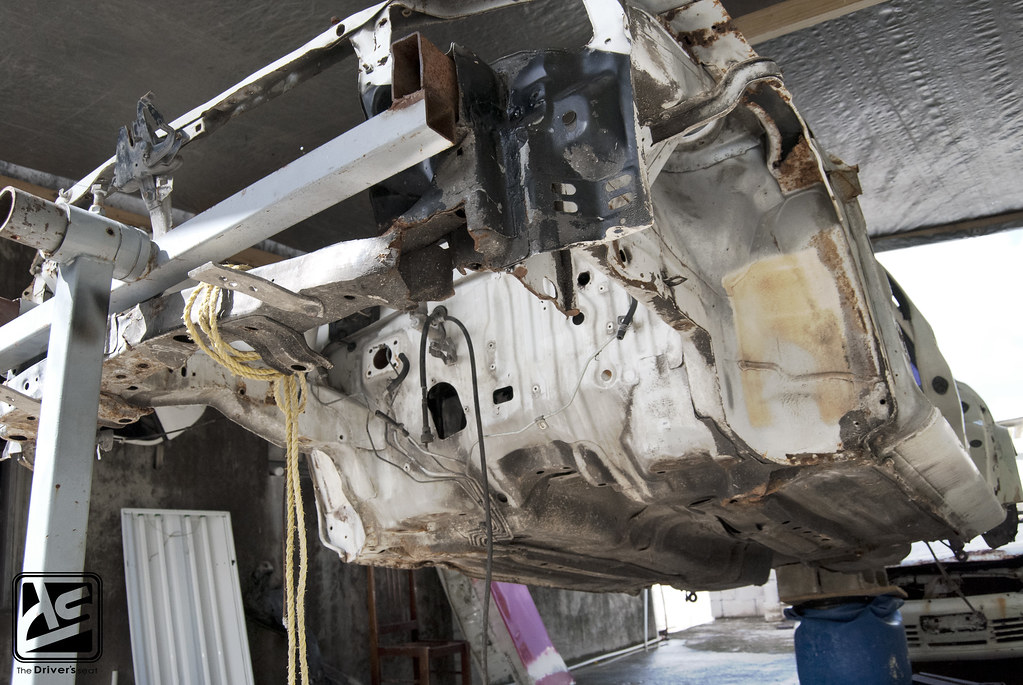
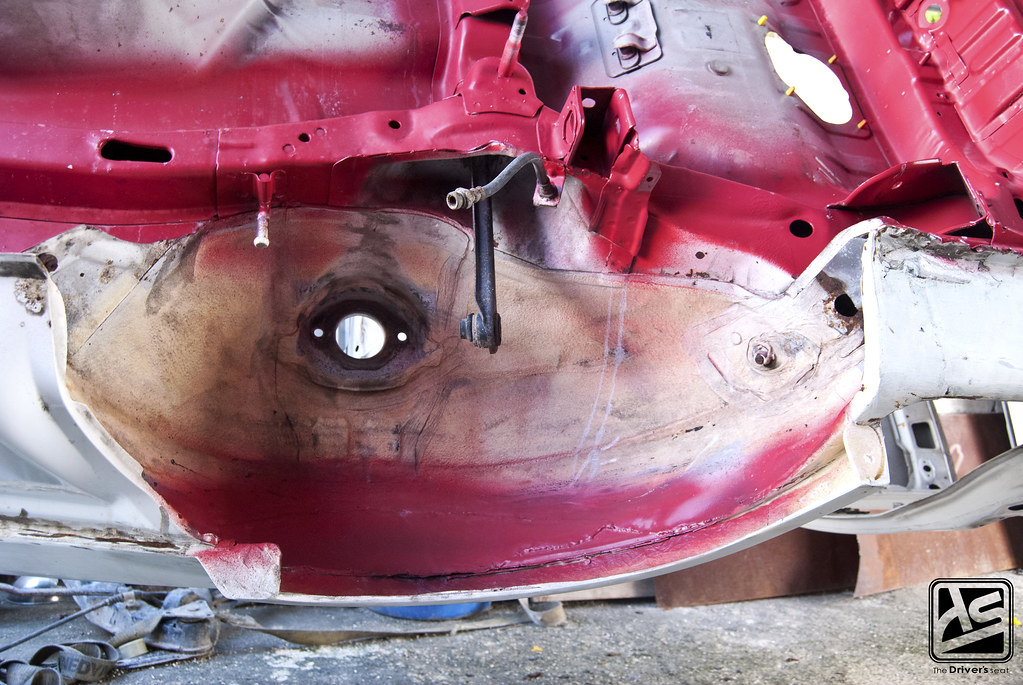
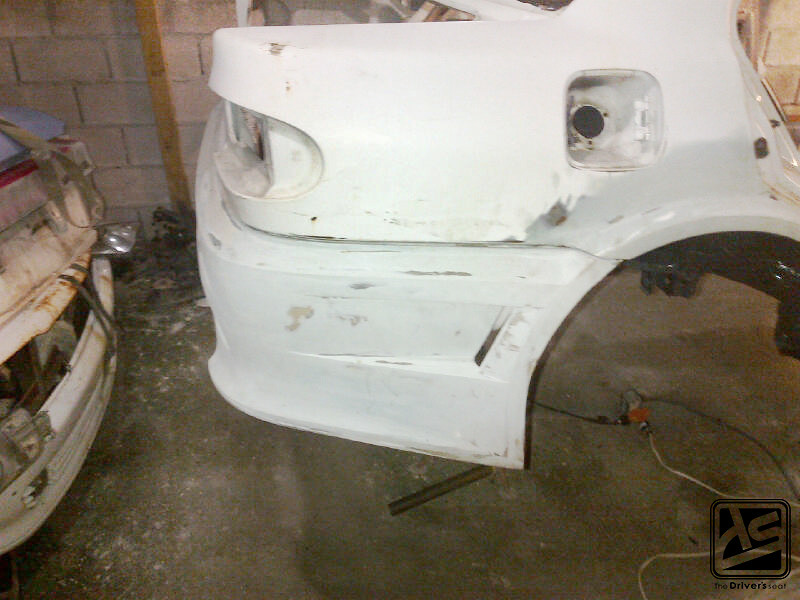
The front end had some damage which turned out to be a tad more serious than Cuzz initially thought…

As Cuzz was going all out on this build, he decided it would be a good idea to seam weld the chassis…
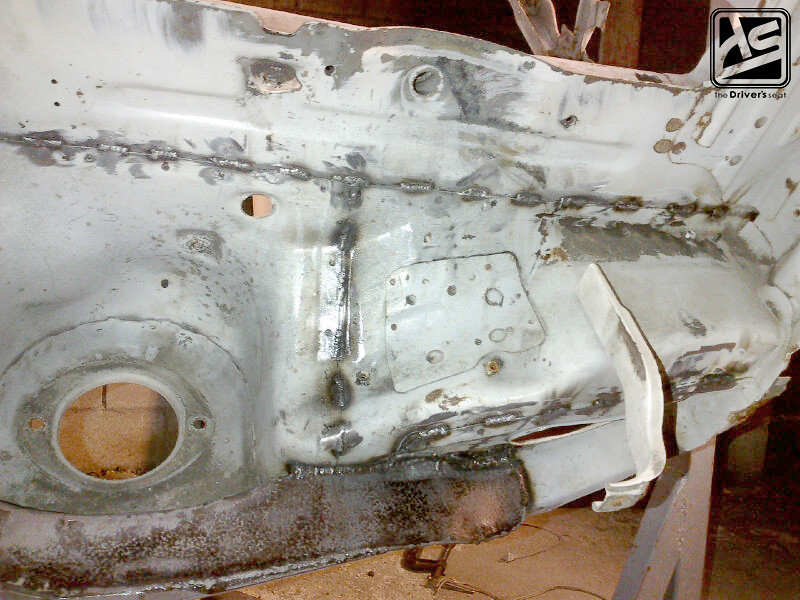
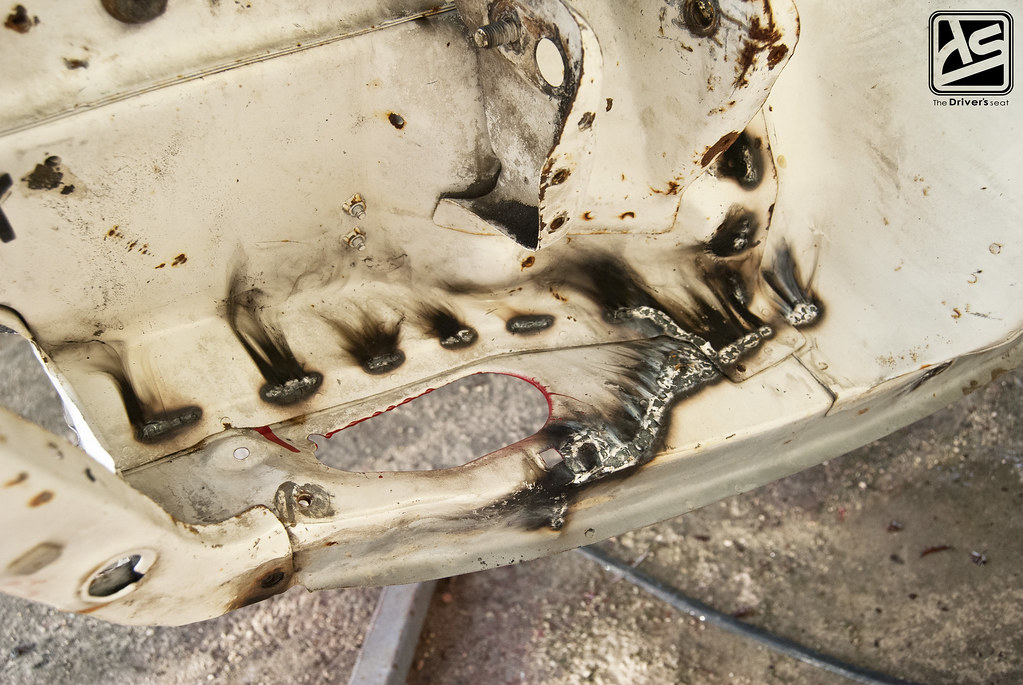
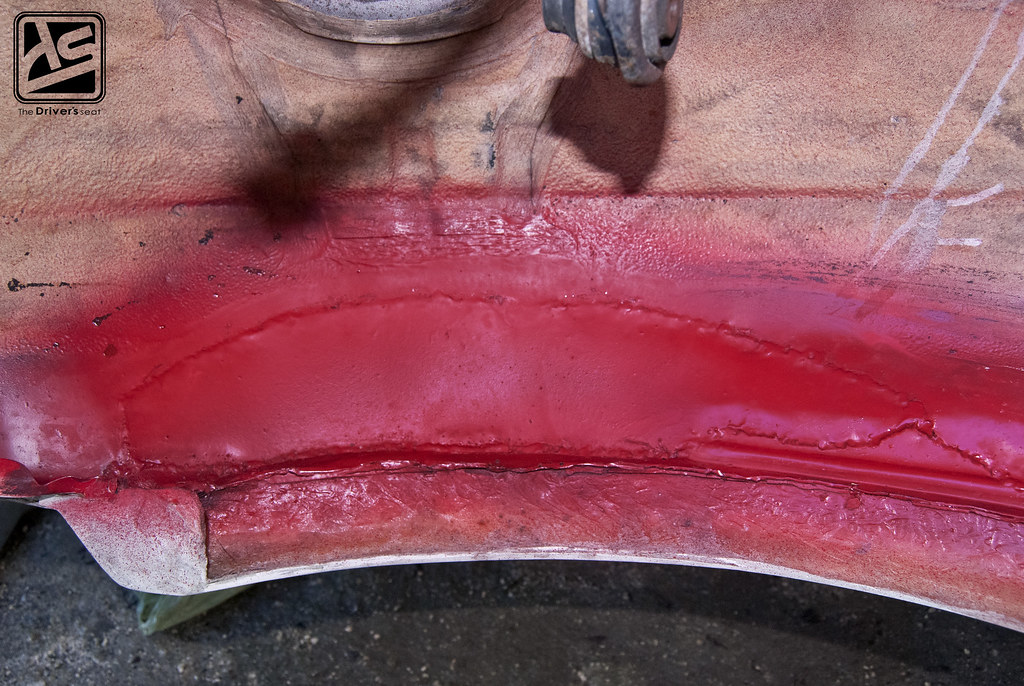
A few shots of the welding work that has been done…
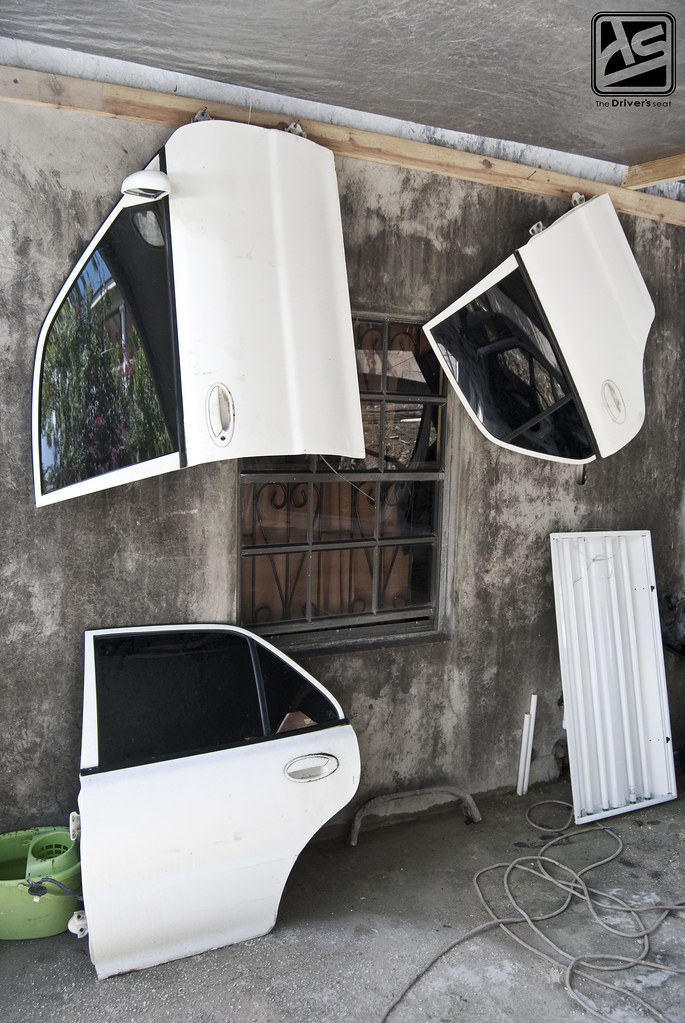
Some doors that were salvaged from the donor Lancer…
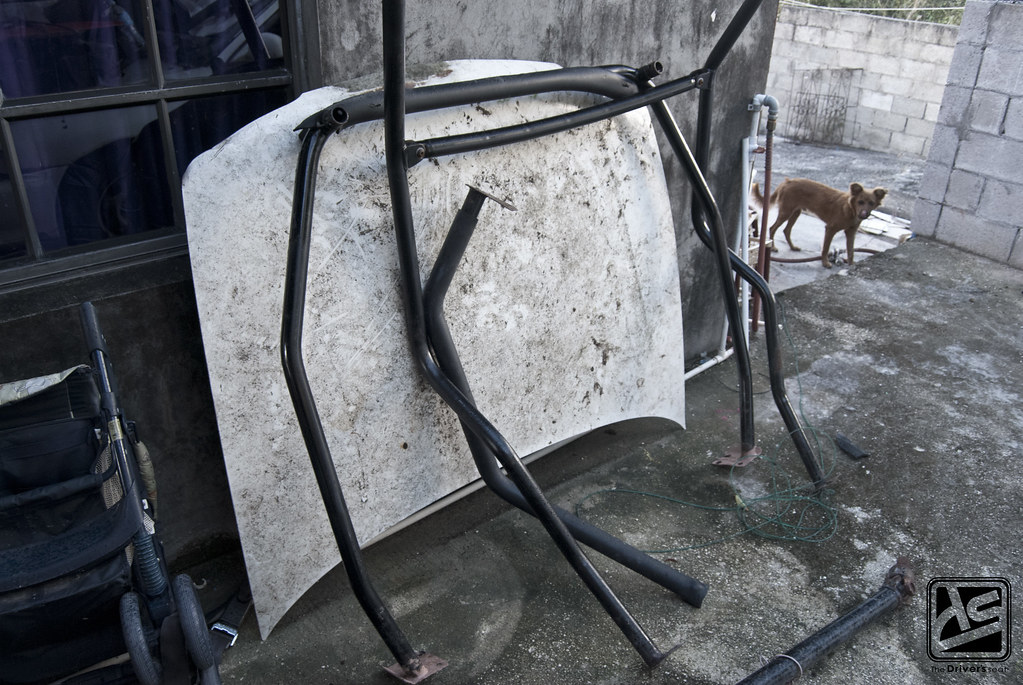
Bolt in cage which will be making its way into the car shortly…
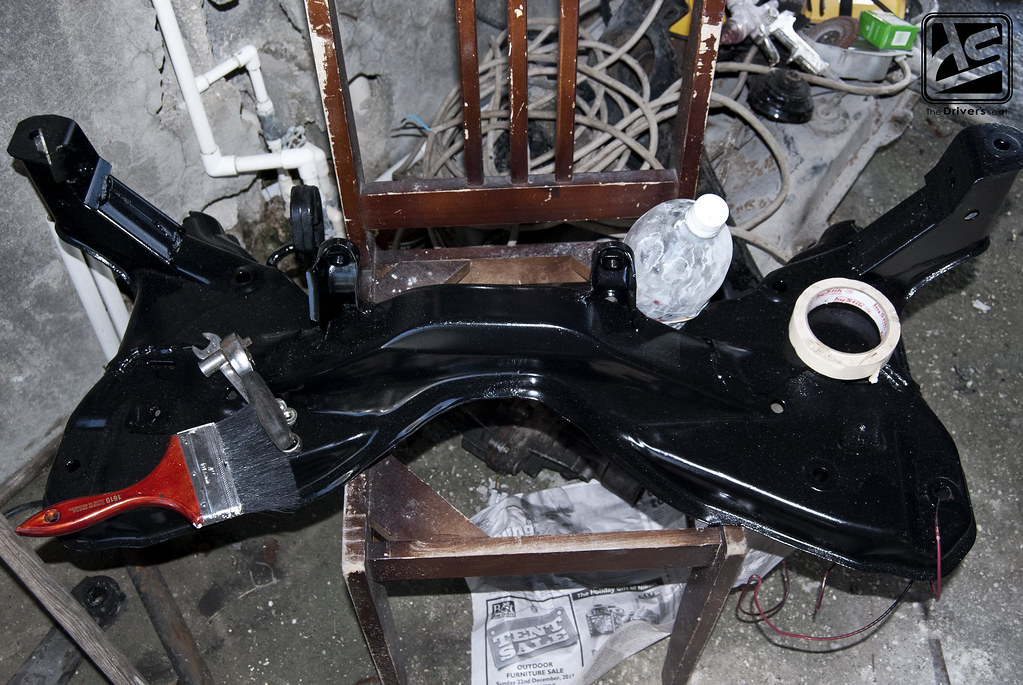
Subframe fully restored with a fresh coat of paint…

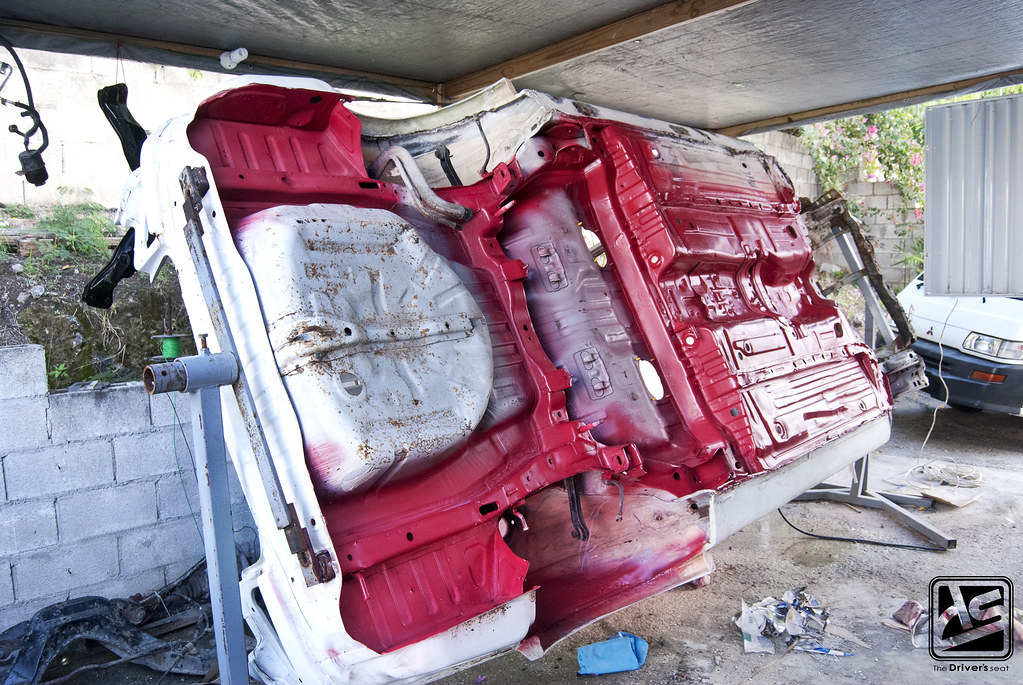
A look at the underbody of the car with the first coat of primer applied after the welding work was complete…
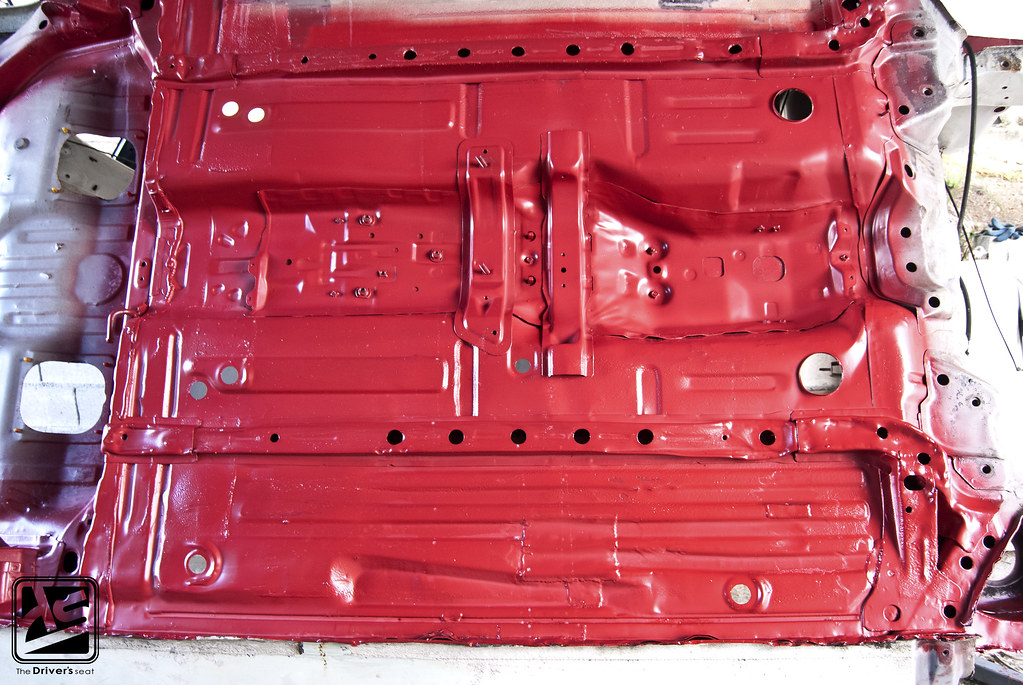
With a primer choice like this it only makes me wonder what colour Cuzz will be going with…

Another look at the welding work done to the front wheel wells…
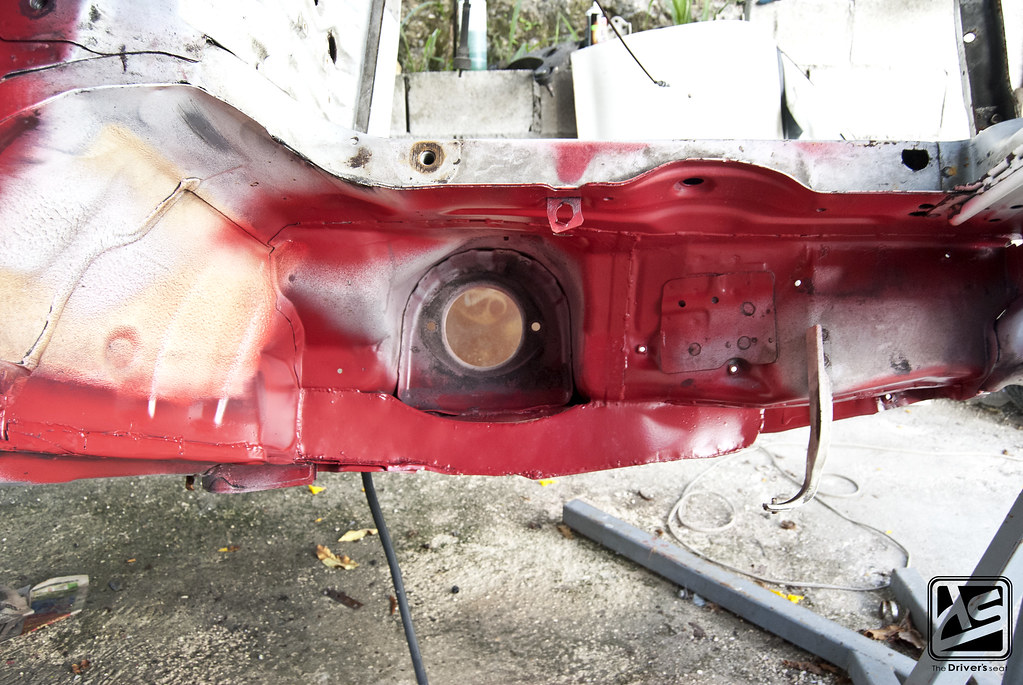
A look under the rear fenders…
A final look at the primmed underbody…
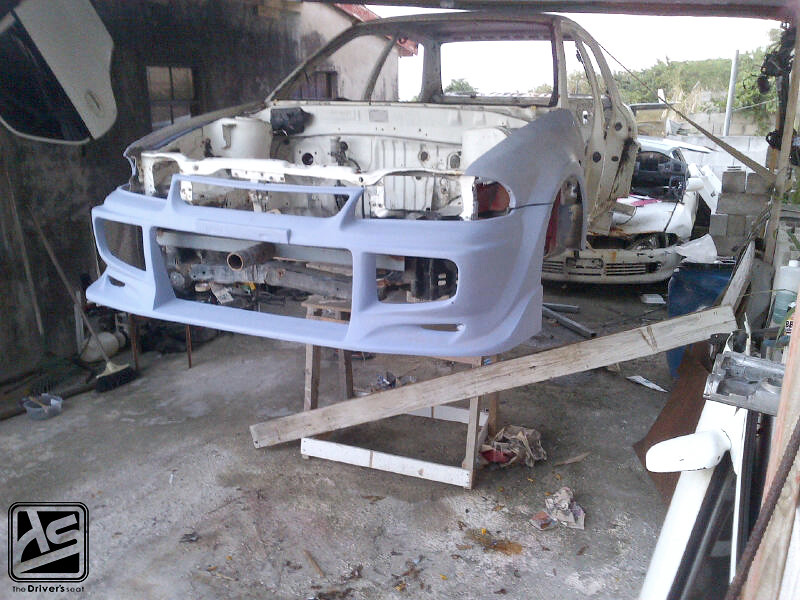
With the seam welding finished, it was time for the reassembly. Front fenders and bumper being test fitted once more before the front end is repaired…
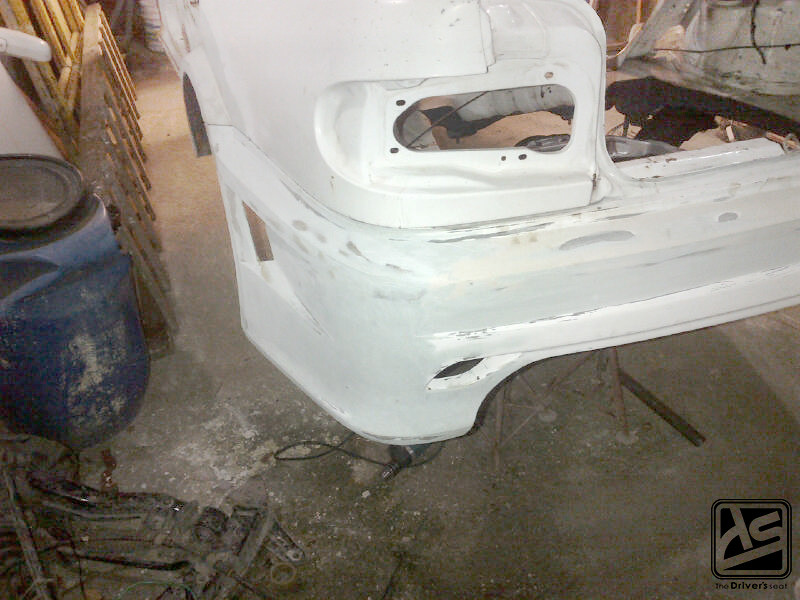
Likewise, a few shots of the rear bumper being test fitted once again…
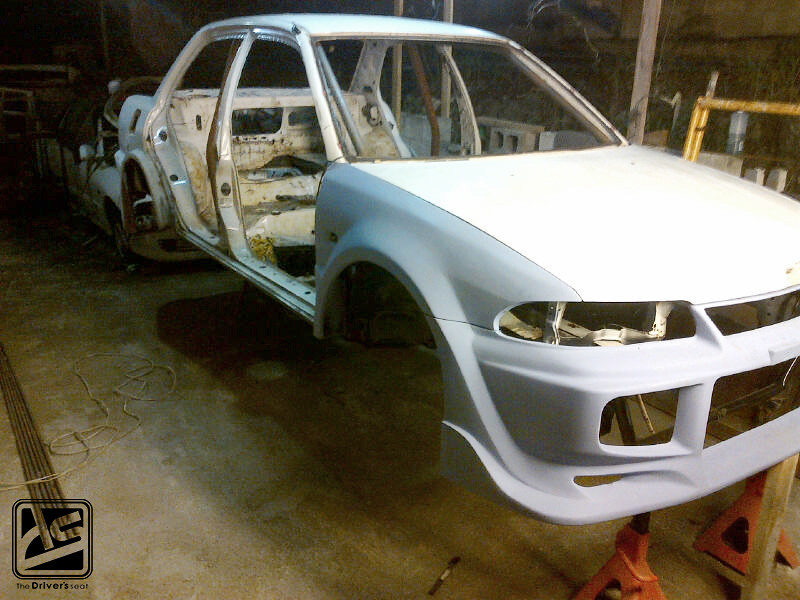

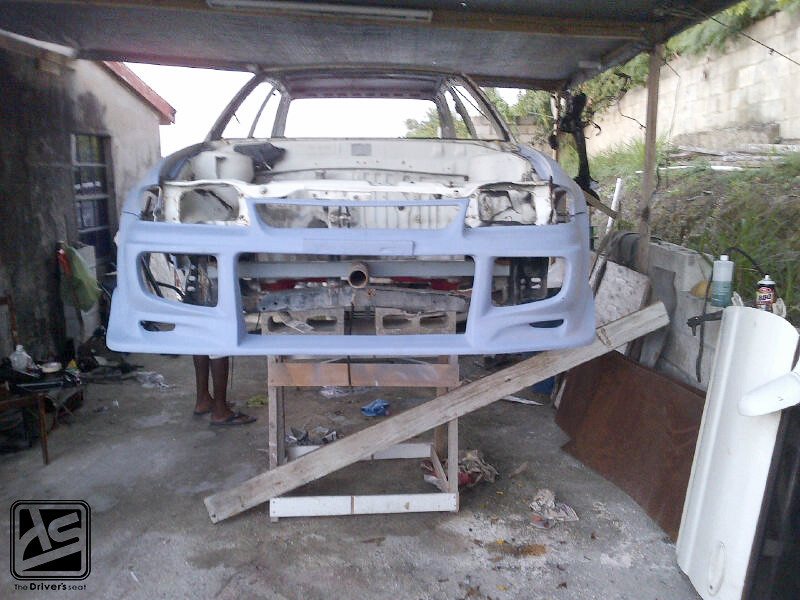
Unfortunately I don’t have any photos of the front end being repaired, but a couple with the bumper fitted afterwards…
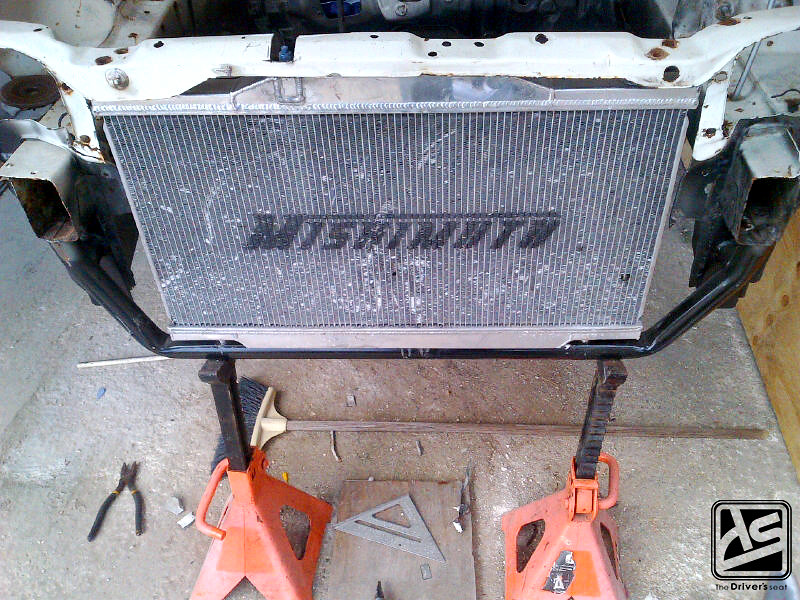
Mishimoto radiator trying out its new home…


Some final shots of how the car sits with the front end completed with the radiator, AC condenser, intercooler and bumper fitted. That’s it for today’s post, thanks for taking a look.
