
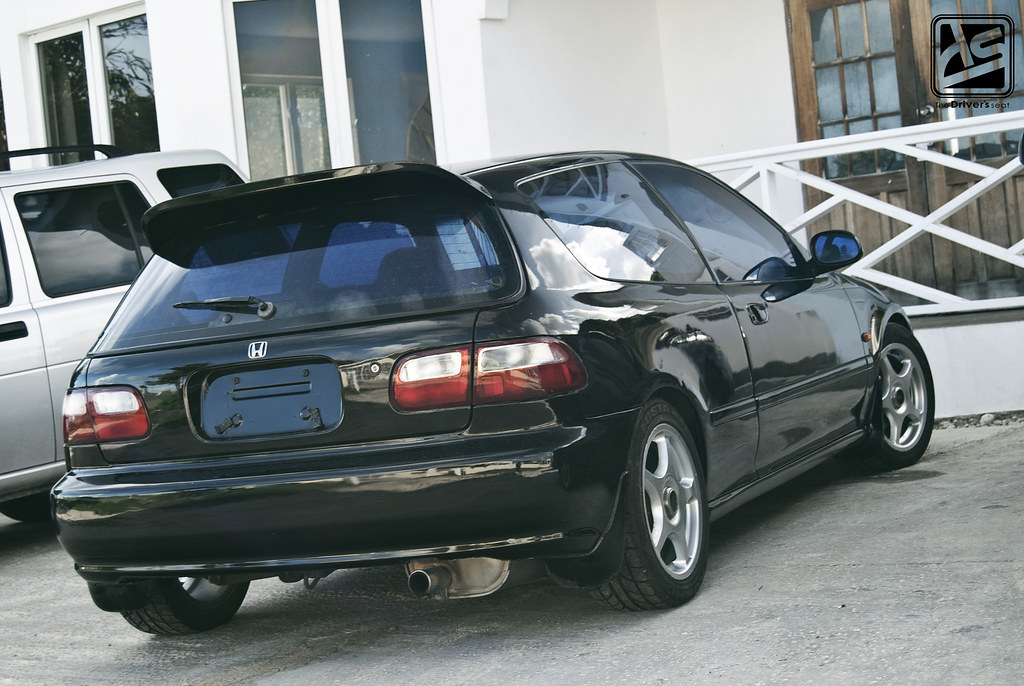
K-Swapped EG4 Build… Part 1
It has been a rough couple of weeks, unfortunately Verdon wasn’t able to get the car up and running in time for the Drag Warz event. Even though it was a rush to have everything completed, things were still looking quite hopeful a few days before the deadline, but with serious delays in shipping, the hopes of racing were crushed. In today’s update we’ll take a look at the progress made just before the drags, with the motor and gearbox lifted into the bay.
For those of you who missed the first part of this build, I’ve provided the link below…
K-Swapped EG4 Build… Introduction
Jumping right back into it, when we left off the D-Series motor had just been dropped…

Sitting peacefully awaiting the next phase…

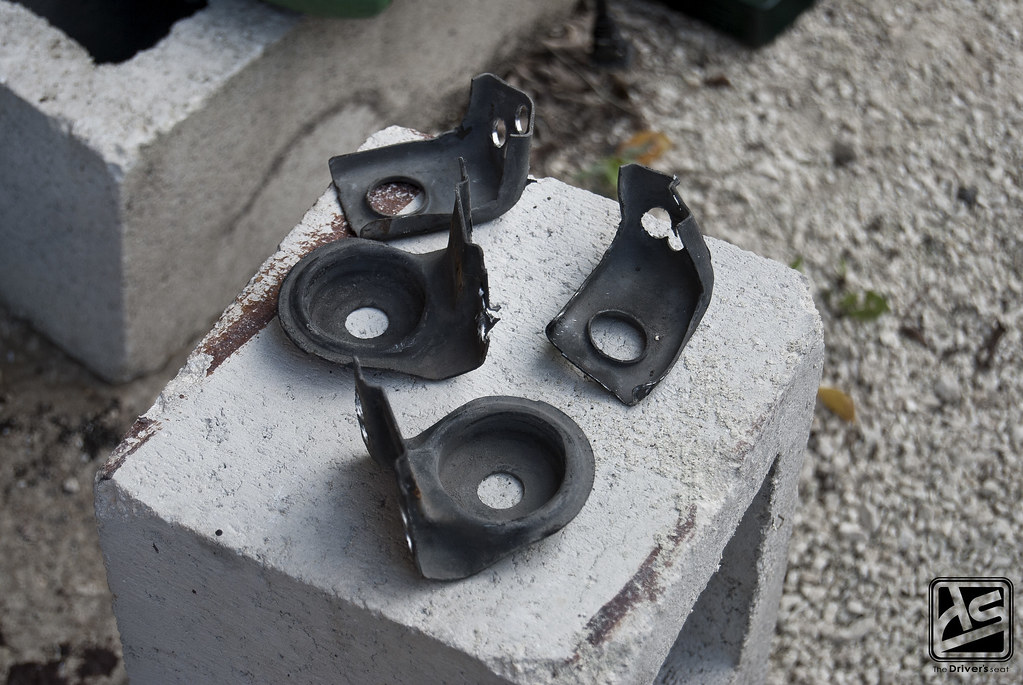
As I mentioned before, Verdon plans on keeping the car as street as possible, so it will retain the AC and PS. When doing a K swap the radiator needs to be relocated to the other side of the engine bay. In this case, both radiator and AC tabs were removed to be relocated at a later date.
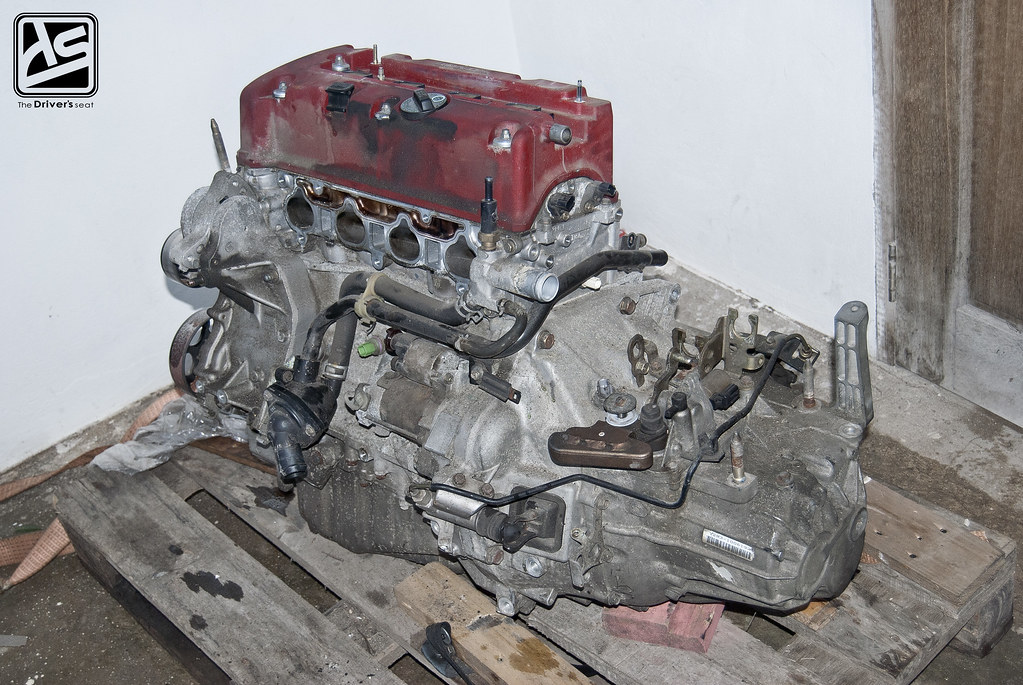

The DC5 K20A engine and gearbox looking a lot less bulky with the intake and exhaust manifolds removed, along with other misc stuff stripped off…

Ready to be lifted in its new home…
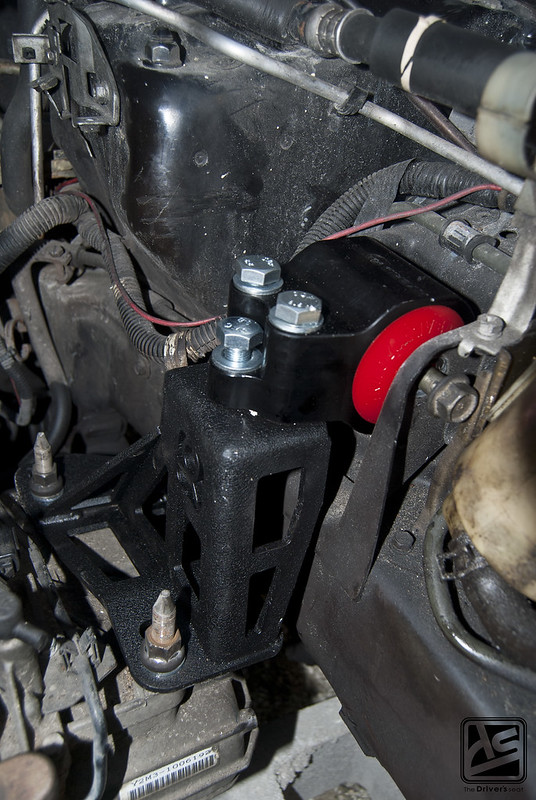
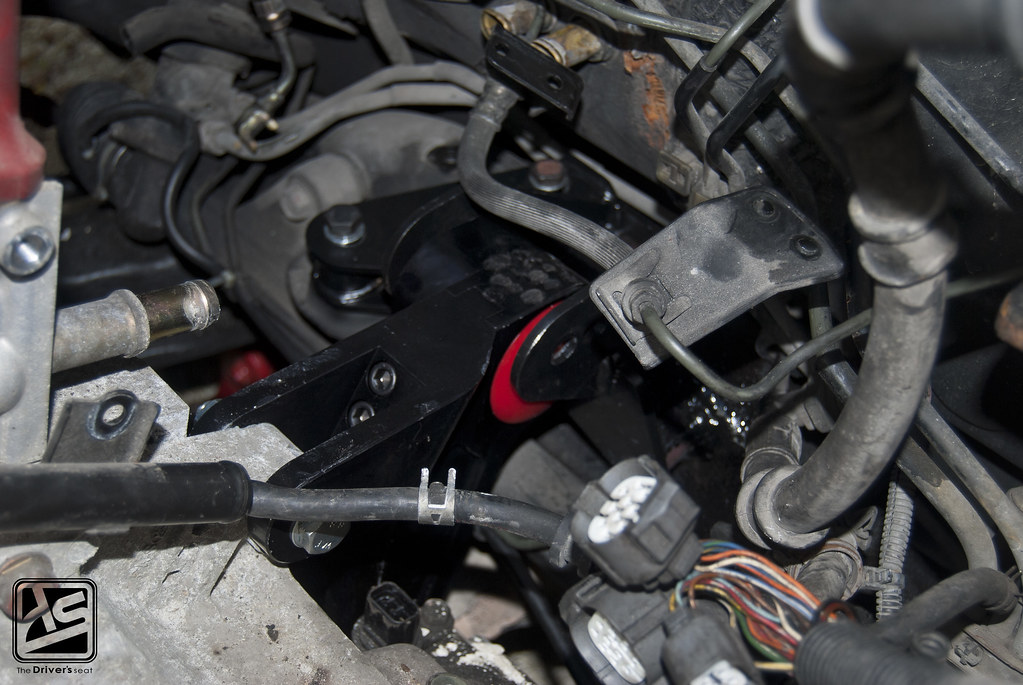
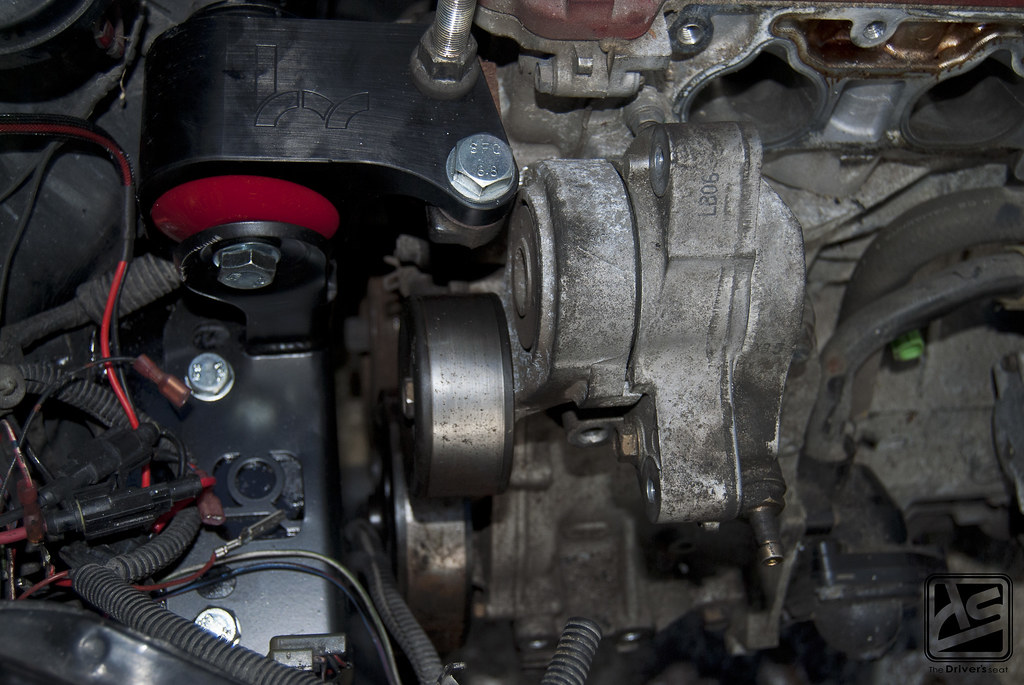
A few shots of the Hybrid Racing engine mounts and finally what you’ve been waiting to see…
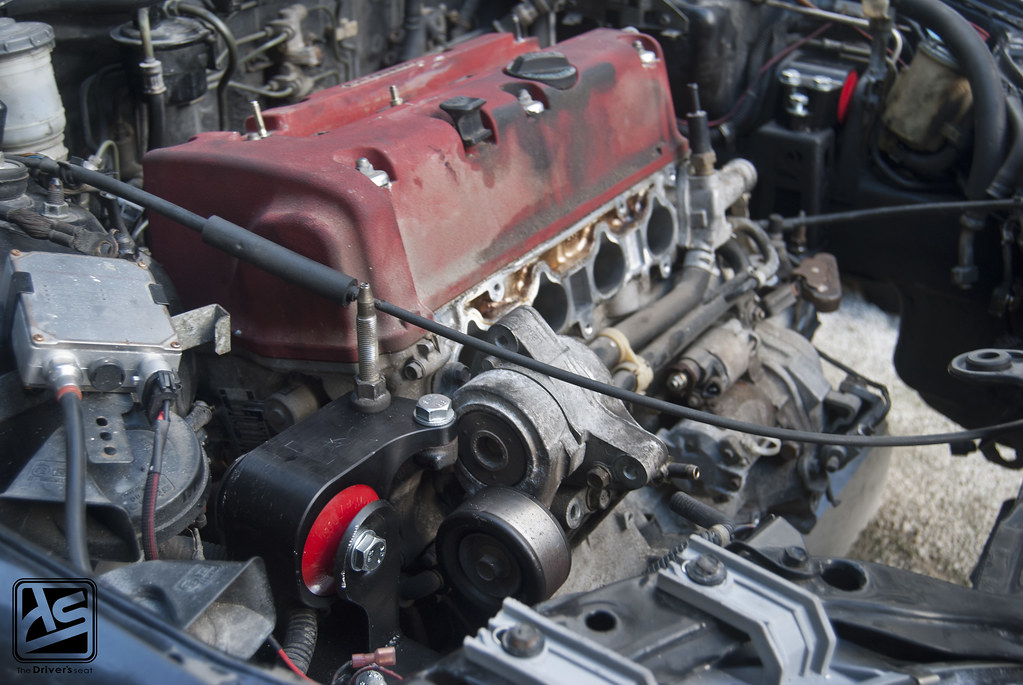
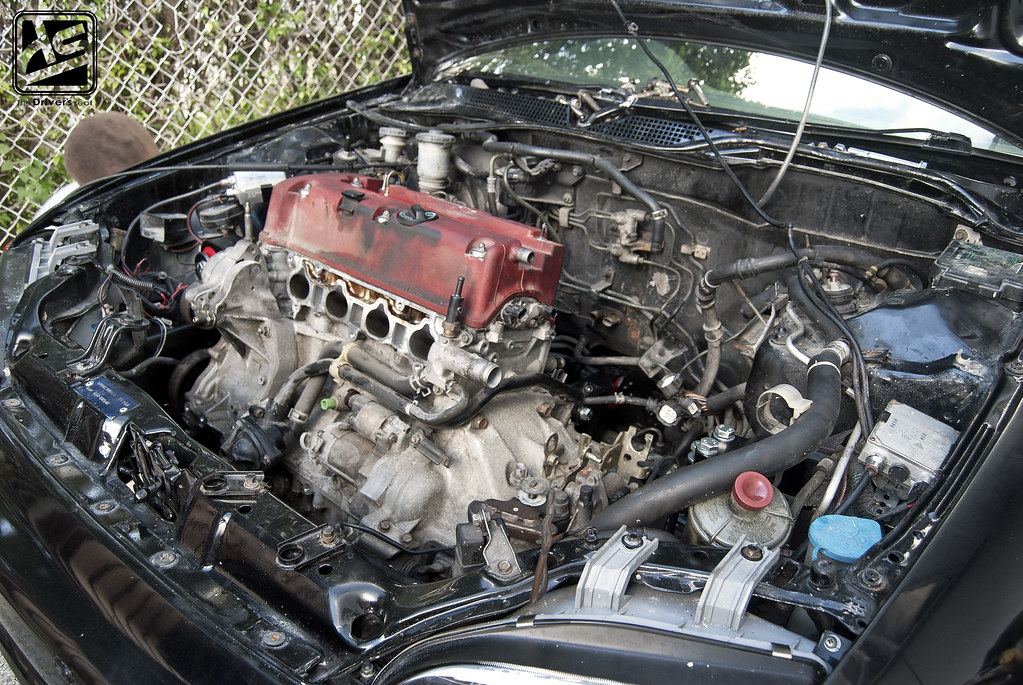
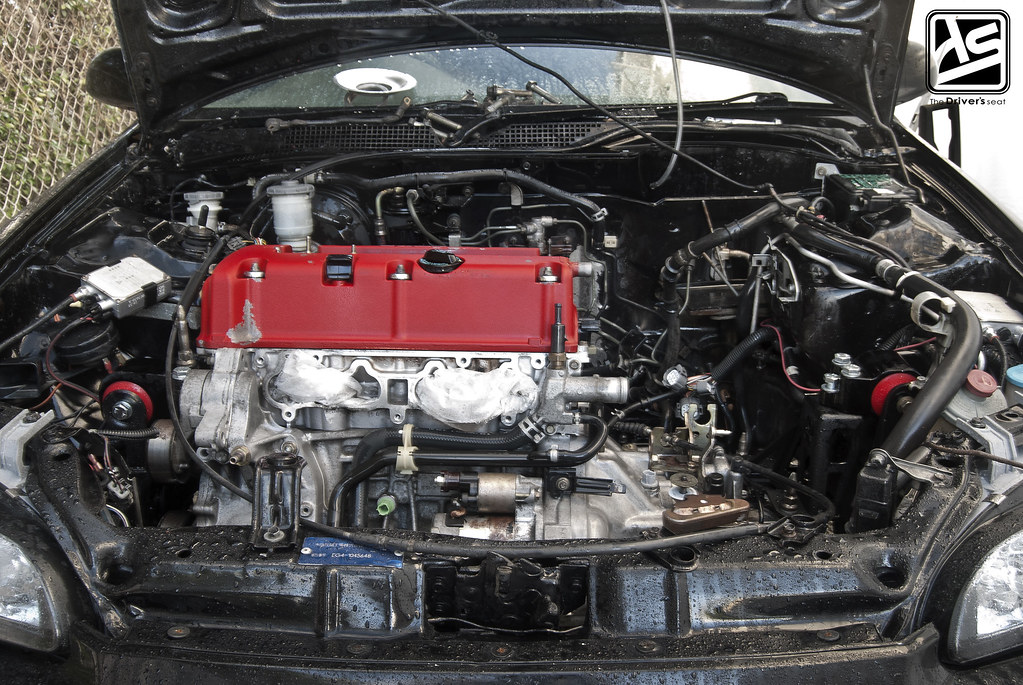
The motor fitted in the bay, as if it belonged there….
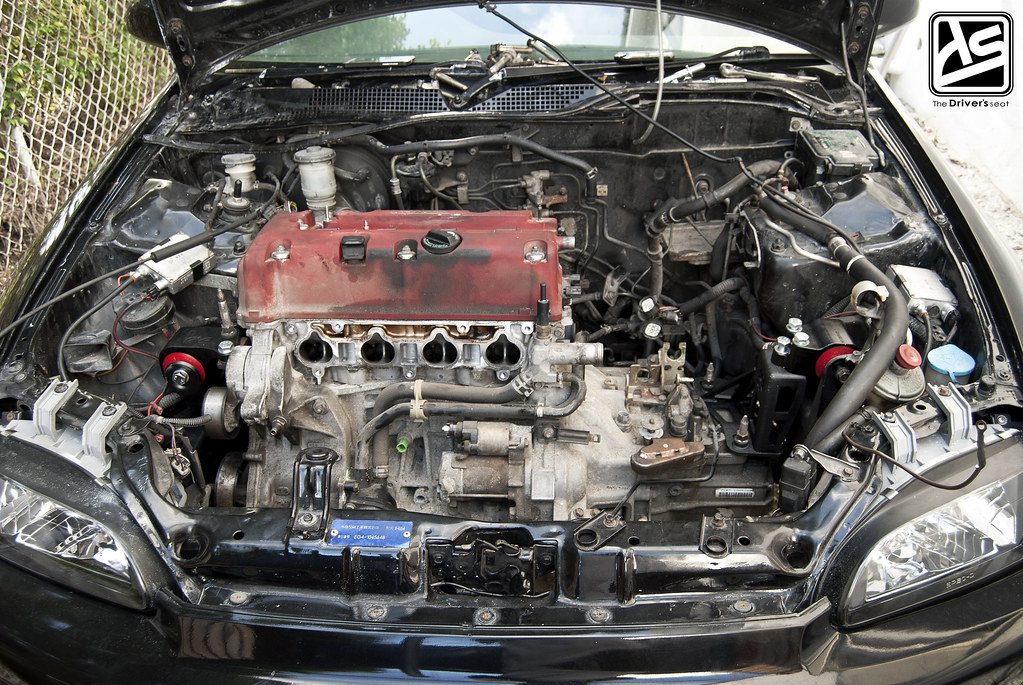

With the motor in place, it was time for a good cleaning….
A significant amount of degreaser was required…
Meanwhile…

Shot of the Hondata K-Pro engine management…
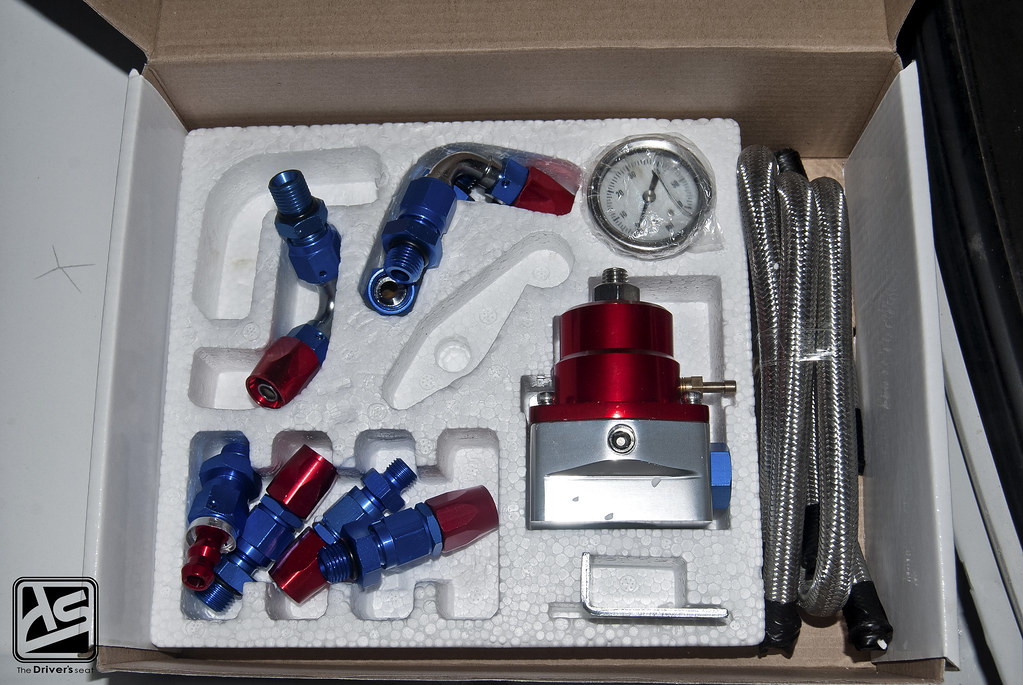
Adjustable fuel pressure regulator along with the fittings…
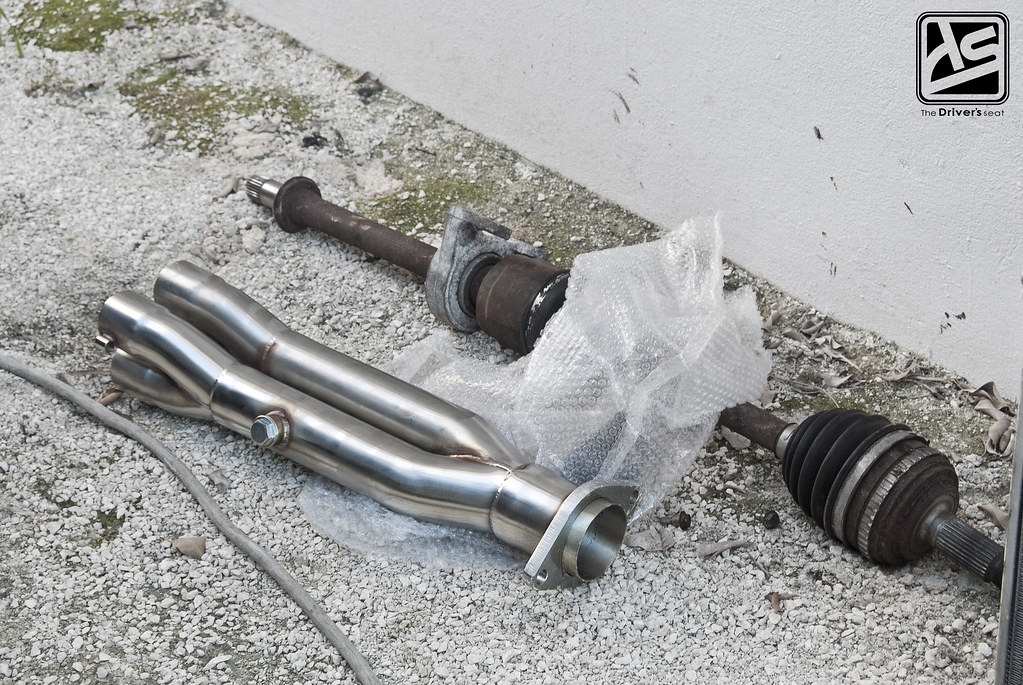
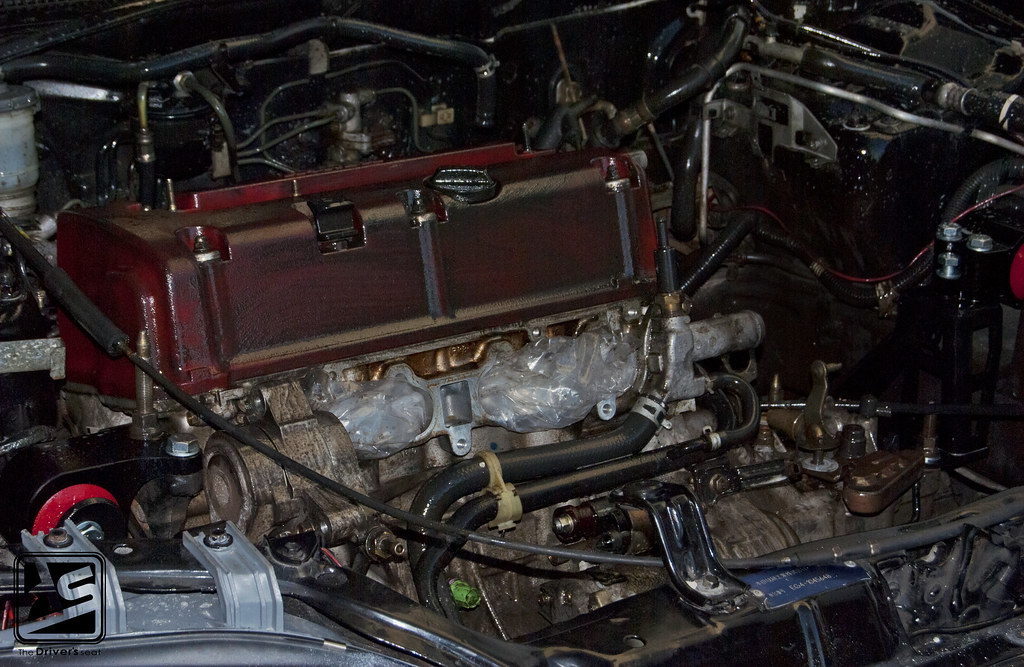
Random shot of part of the Hybrid Racing header next to one of the axles…
And within a couple of minutes…

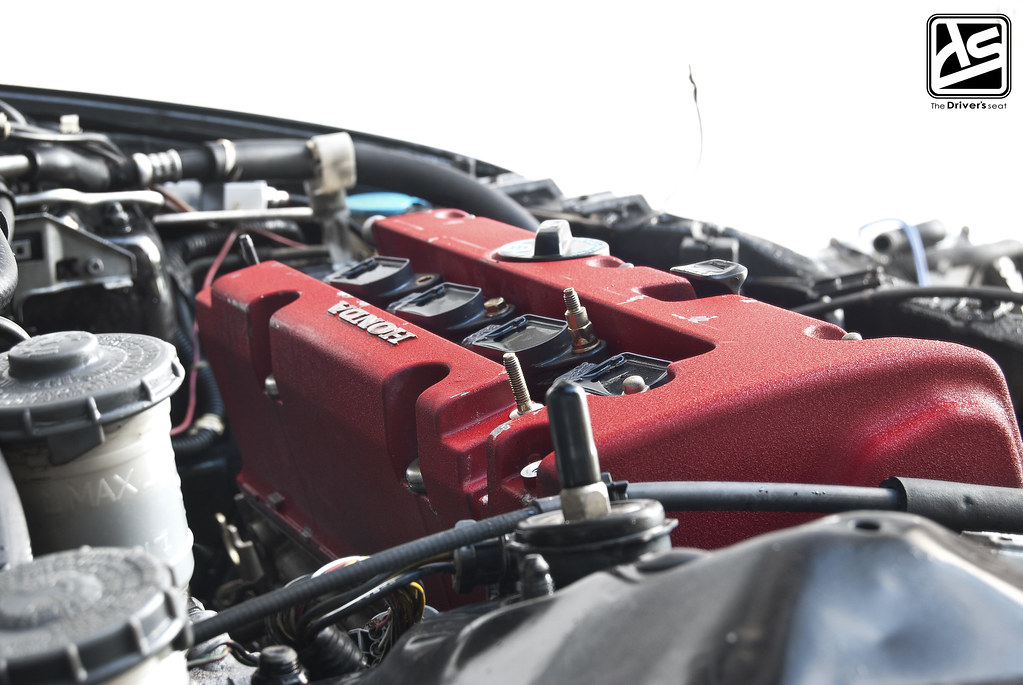
As you can see for yourself, the degreaser made a huge difference…


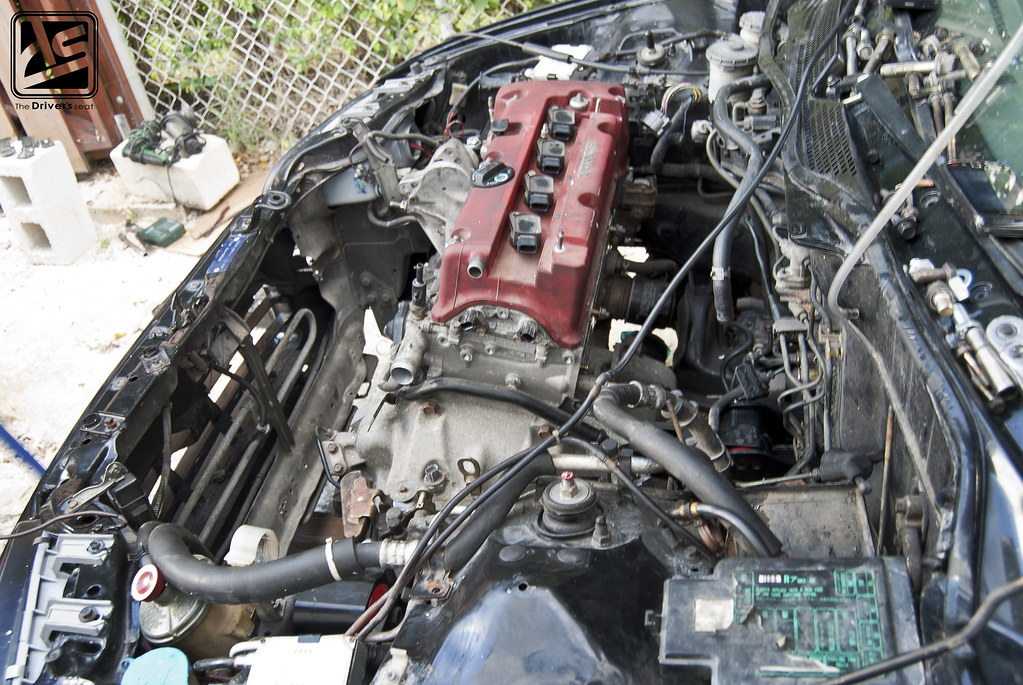
And on that note, I’m going to close out today with one more bay shot…
Stay tuned for another update on the progress of this build coming soon…
Track Bred EG6 Build… Part 15
When we last left off Jerry was in the process of fitting together the rear portion of the car, today we’ll be taking a look at the remainder of the puzzle as it’s pieced together and also take a look at this build from a different perspective. I mentioned before how challenging of a process this was and I try my best to get as much shots as possible throughout this process, so you guys can have a better understanding of what is going on.
For those who would have missed any parts along the way, I have provided the link below…
Moving forward…
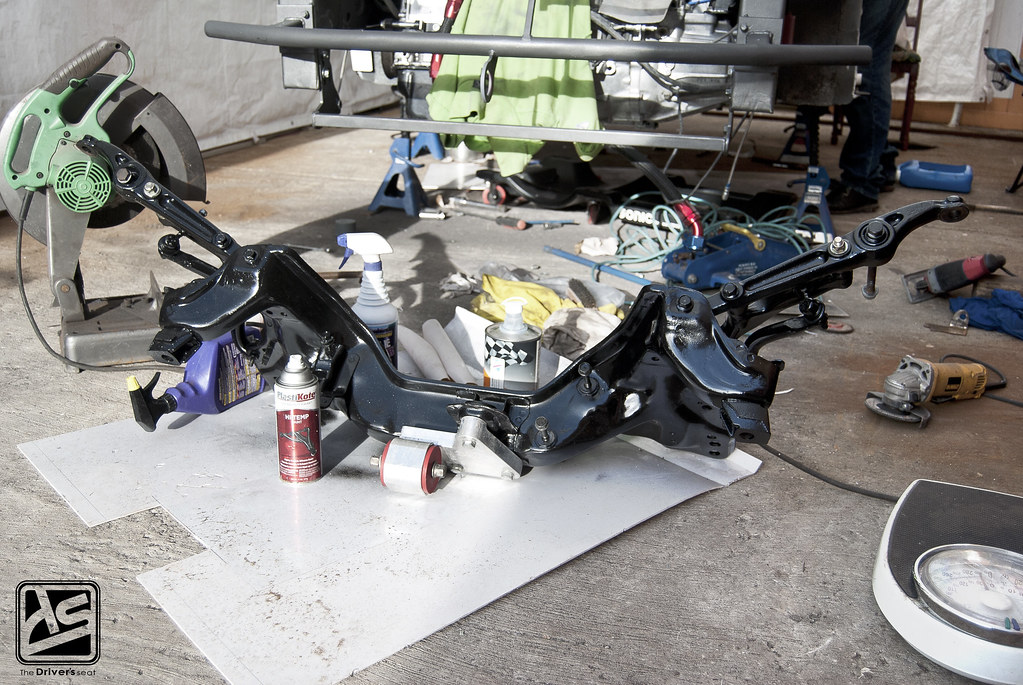
Recently the main focus has been placed on the redesigned floor, but today we’ll start off a little different. Along with all the madness that has been going on, the sub-frame, control arms and sway bar have all been removed and resprayed in a fresh coat of gloss black. While this was taking place, the rear engine mount bracket that cracked during the last event was further reinforced and hopefully wouldn’t be causing any more problems.

Everything as it sits waiting to be lifted in place…

If you guys paid close attention to the front end in the last update you would have noticed the radiator support has been cut and redesigned. The reason for this is because Jerry has ditched the ITBs and gone with a single plenum throttle body combination. Due to the design of the intake, the throttle body faces directly to the front of the car similar to how the ITBs did but significantly lower. The only way to accommodate the large throttle body and filter was to redesign the front of the car.
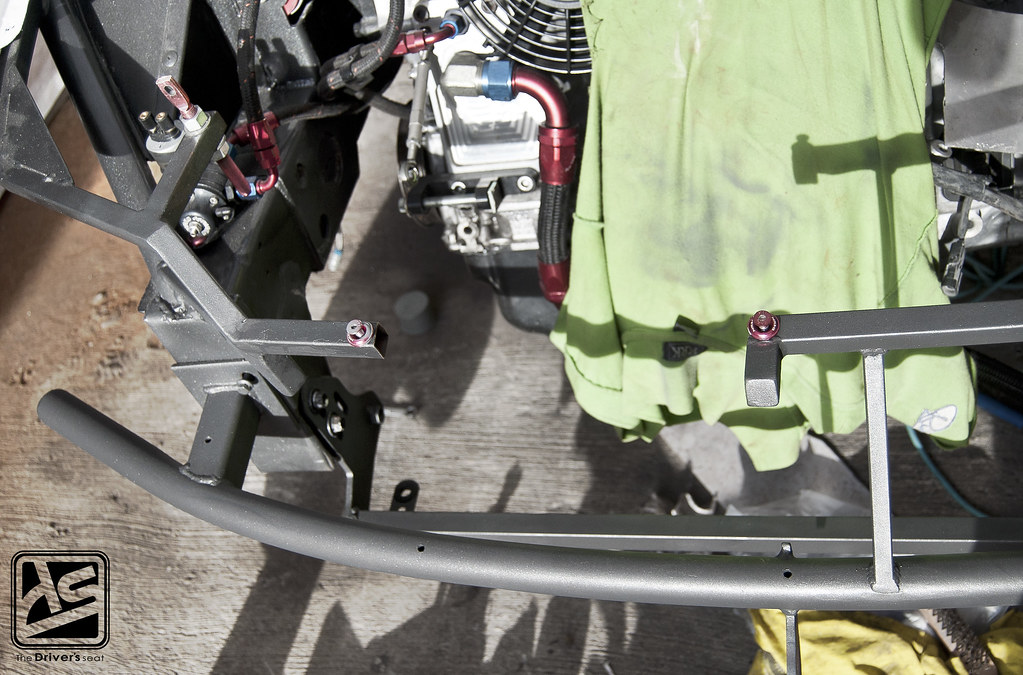
Here is a closer look of the redesigned front, the intake should be installed by the next update so you guys can get a better understanding of the new setup…

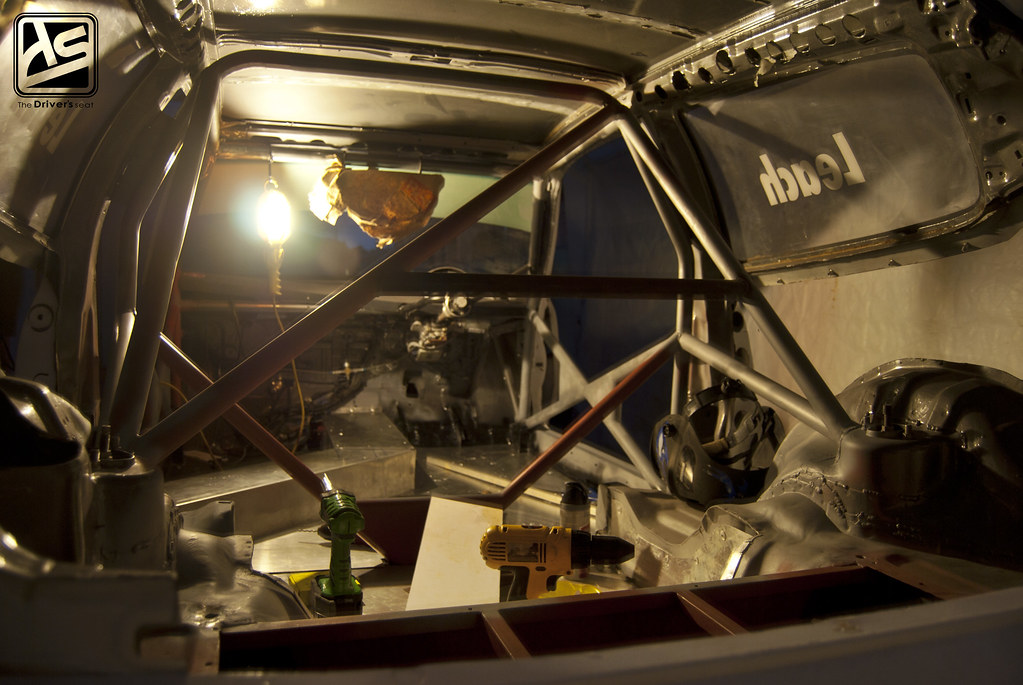
Things are shaping up quite nicely on the inside…
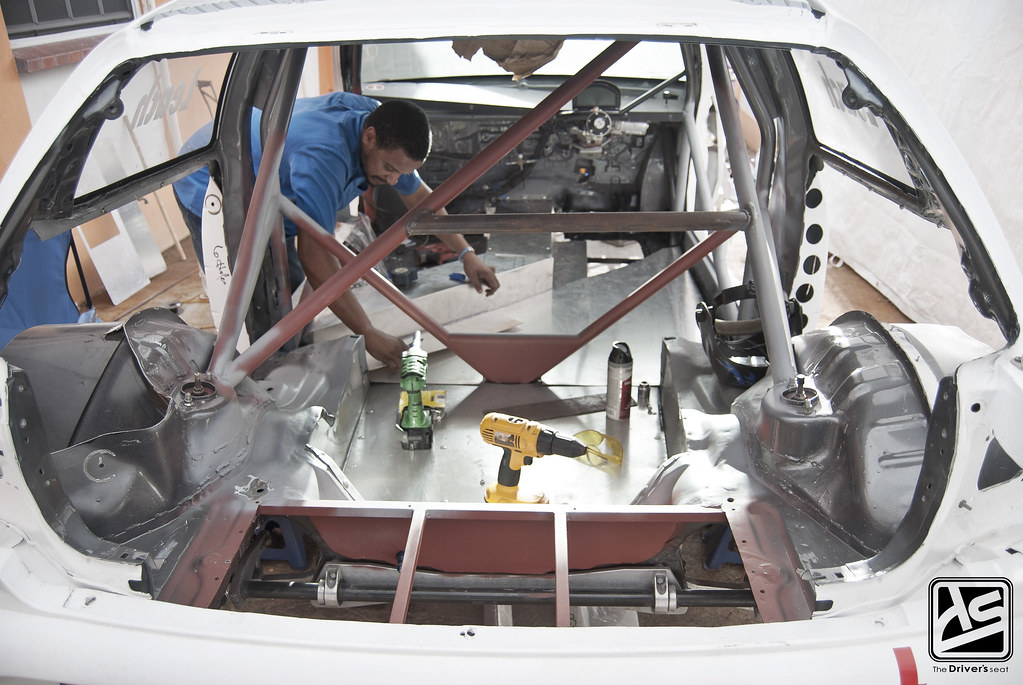
The man himself putting in some work, test fitting the panels and making final adjustments before they are riveted in place.


Now the floor has been redesigned, Jerry seized the opportunity to tweak his seating position the same time. This is first look at the bars and plates that make up the new seating position, just before the floor is riveted in place.

Messing around and ended up with this absolutely random shot of the Hitachi gun…
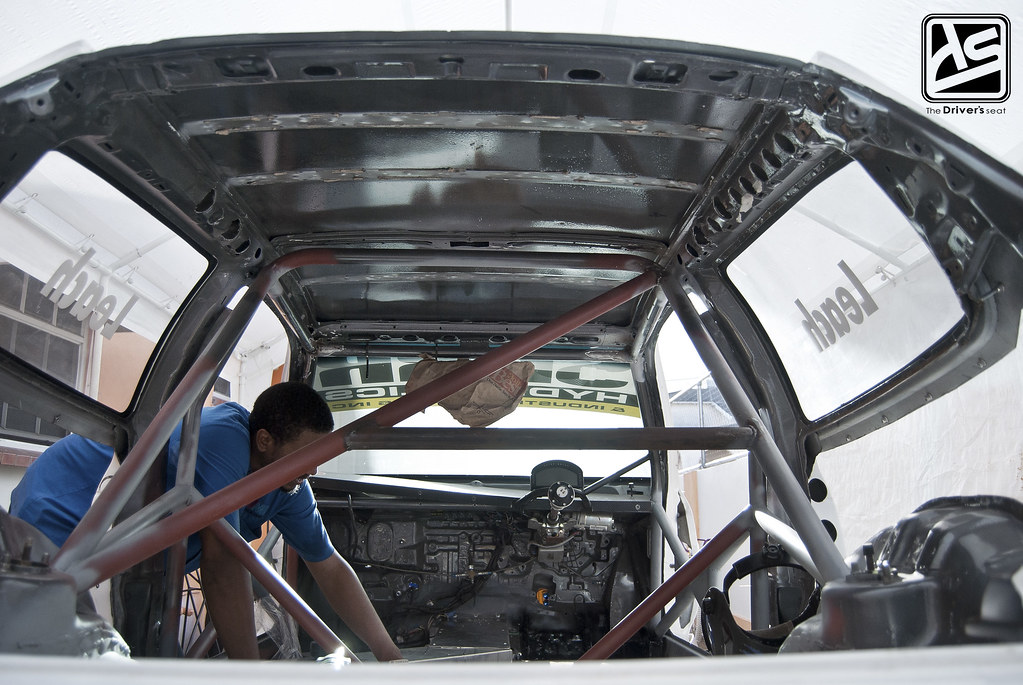
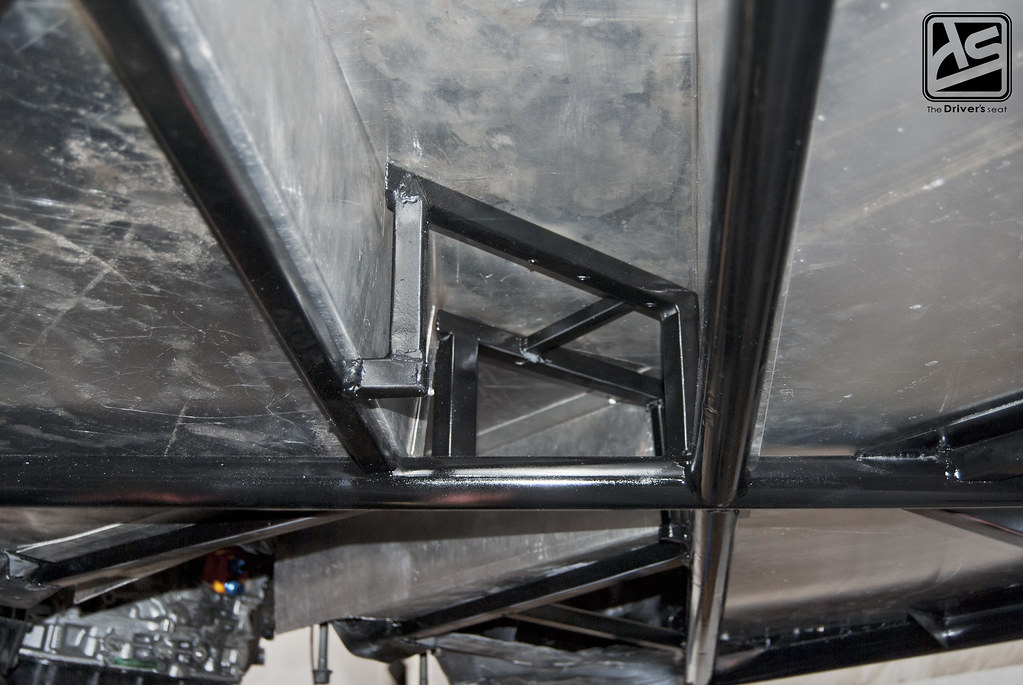
While I was there I thought it would be a good idea to get some shots from under the car…
This shot is just behind the engine, up against the firewall. To the left is the tunnel where the exhaust will be routed to exit in its previous location. There are still a few adjustments which need to be made to accommodate for the new location of the floor mounted pedals, hence the big void.

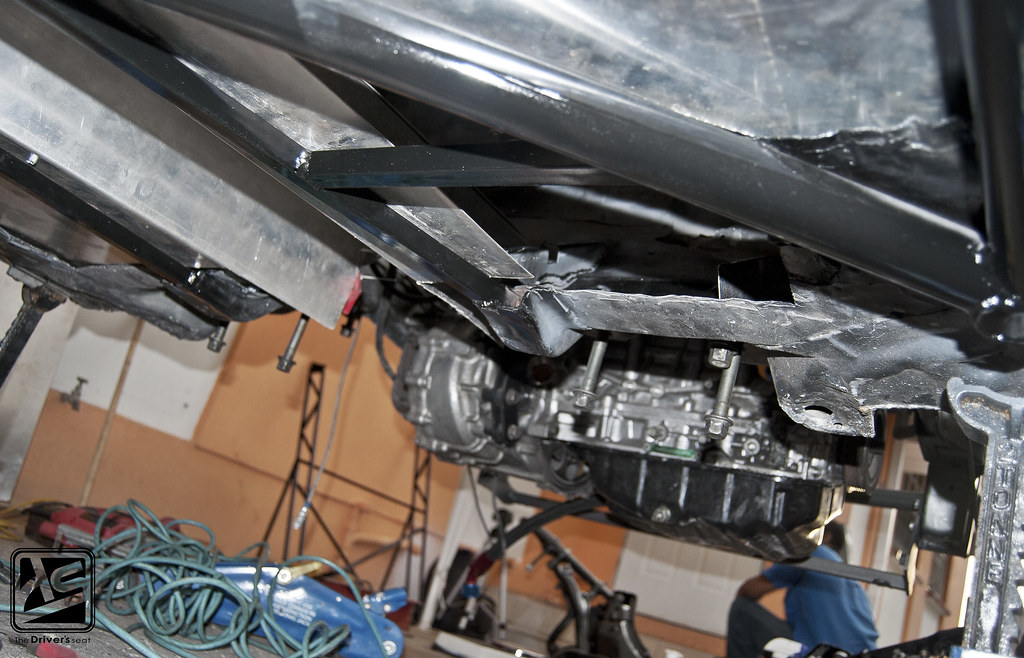
This is a view from where the exhaust will exit on the passenger side looking back through the tunnel…
Looking further into the tunnel where the exhaust will turn after coming from the header…

Looking from the the driver’s side, just below where the new seating position will be across to left side of the car…
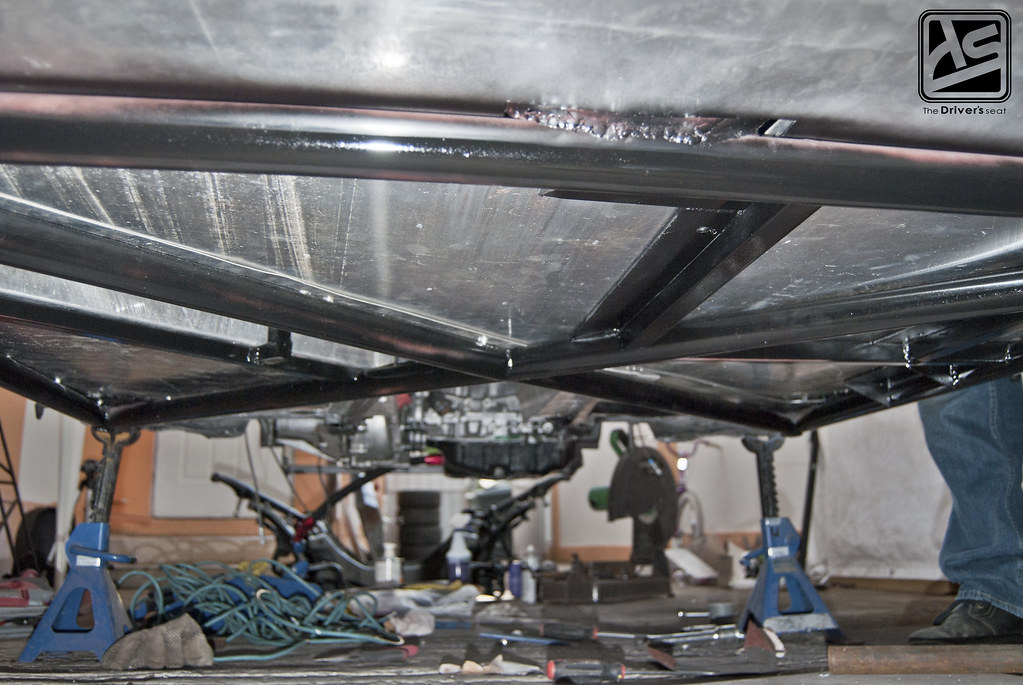
Now looking from mid way down the car towards the front…
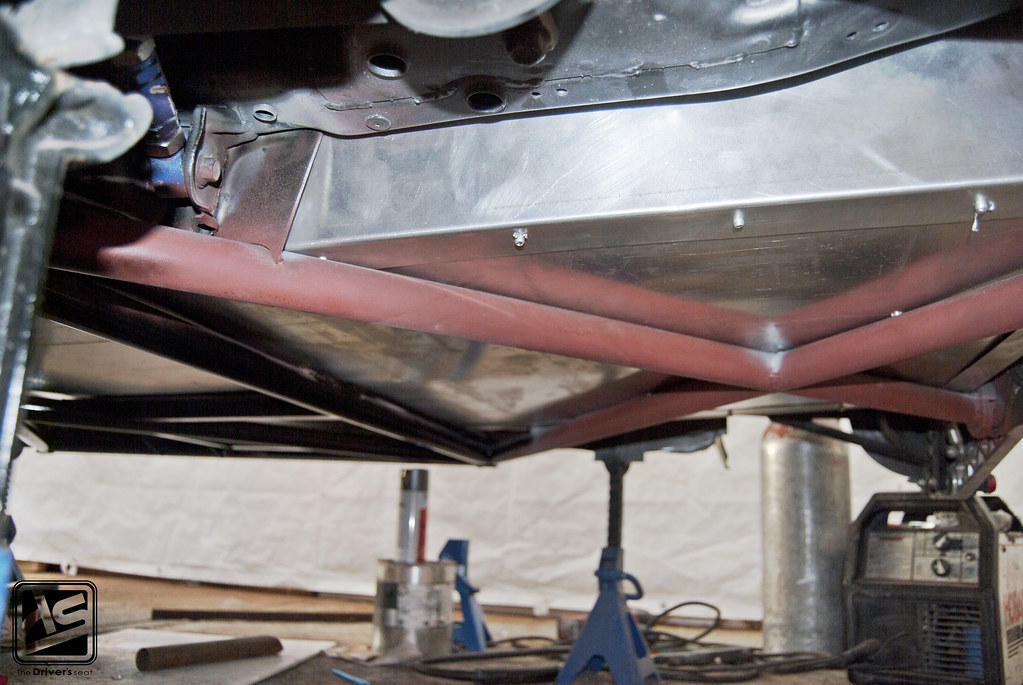
Looking from the left side to the right side of the rear section of the car…
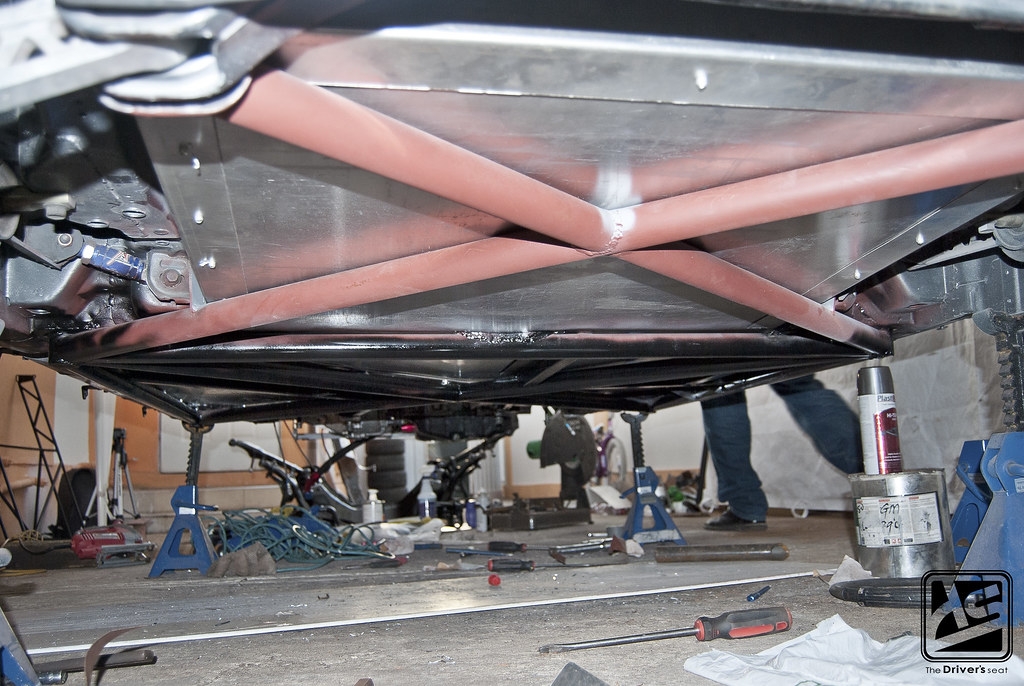
And finally, a view from the very back of the car looking forward, hopefully this will give you guys another perspective on the extent of work that was involved in redesigning the floor. Basically, the majority of the hard work has been completed, what’s left now is running the new fuel setup and then heading off to paint, but we’ll get into that in our next update, that’s it for today. I’ll leave you guys with a couple shots of the interior as it sits…

As usual, thanks for taking look…
