
All-Wheel Drive EG9 Build… Part 1

We’re back with a quick update on Bally’s EG9 build. Having done a large amount of research Bally was motivated to knock this thing out as fast as possible. He went ahead and started placing orders for the necessary items to execute the calibre of build in mind. We’ll be taking a look at the part as they arrived along with the additional progress which has been made to the shell.
For those who may want to view this build from the start I’ve provided the link below:
All-Wheel Drive EG9 Build… Introduction
Further research into the AWD conversions reveal there are two main options available to choose from. The first is the Wagovan which is what basically started the AWD craze. Unfortunately, due to this discovery the prices on the Wagovan parts have significantly increased over time. In addition to this, they are also becoming scarce which tends to drive the price point even further.
On the flip side, the CRV AWD setup is very readily available and significantly more cost effective. But It does come at a slight disadvantage when looking to make a large amount of horsepower, which it is not suited for in factory form…
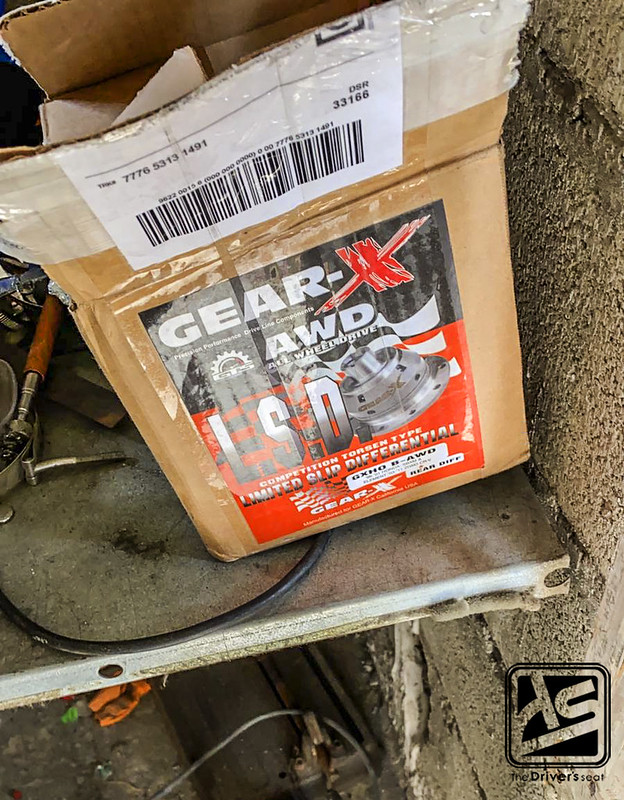
As a result of this some upgrades were necessary and Bally acquired a Gear-X AWD LSD that would be more suited for the application he will be using the car for…
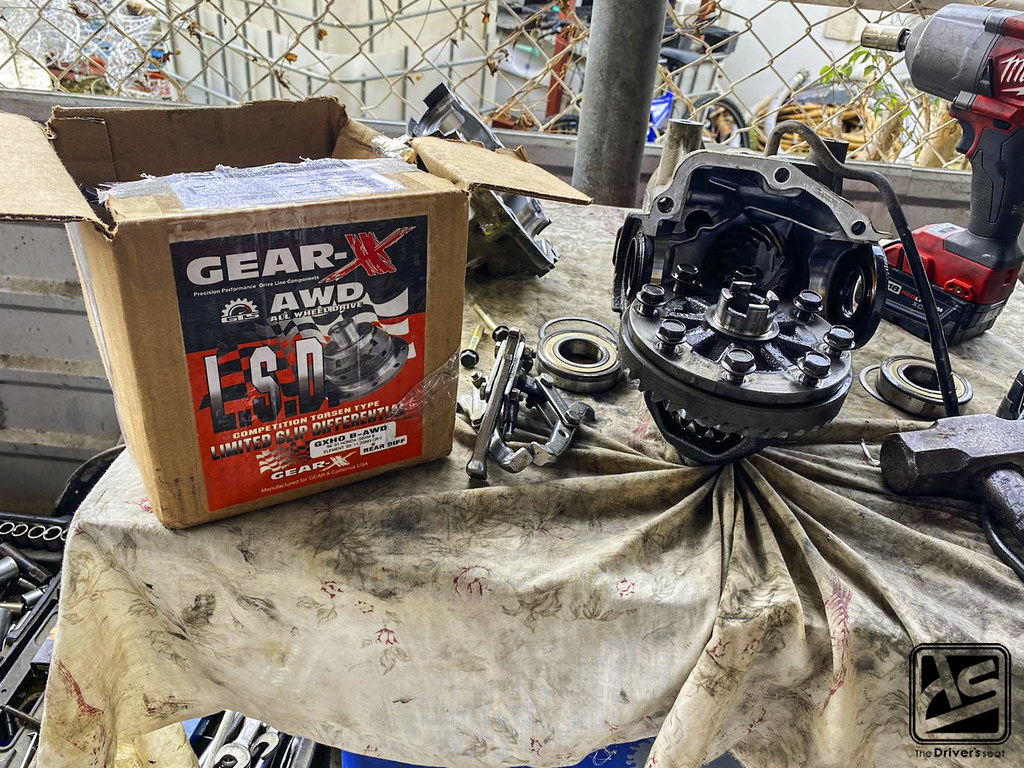
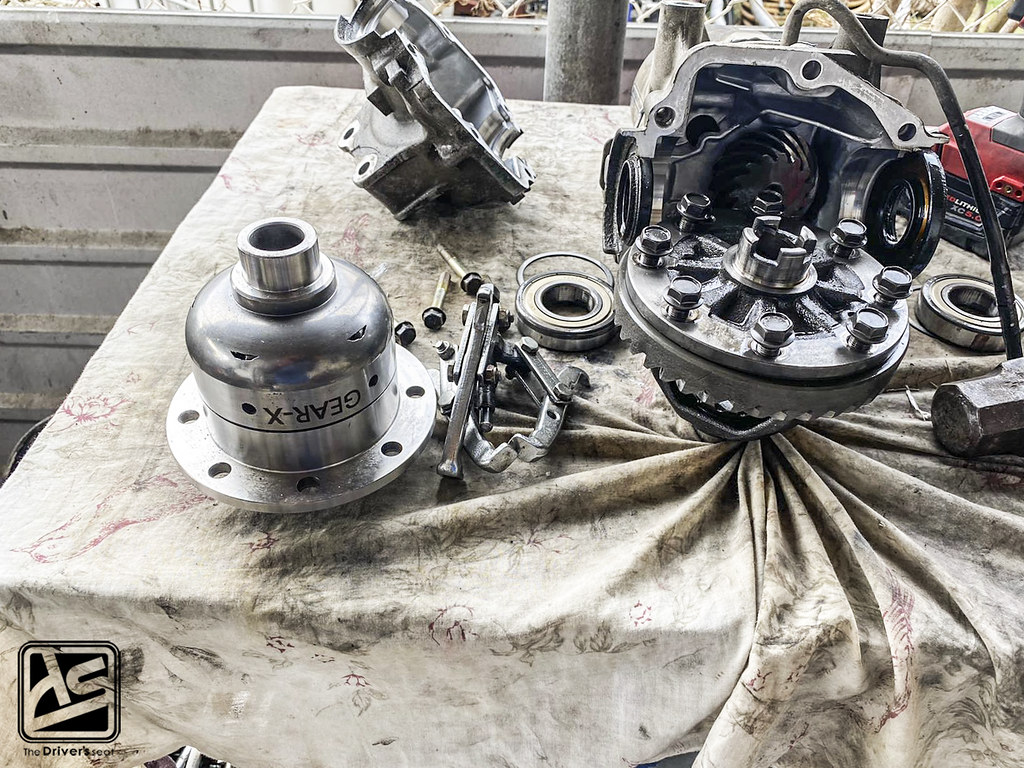

The factory CRV differential torn apart in the process of swapping out for the upgraded Gear-X unit…
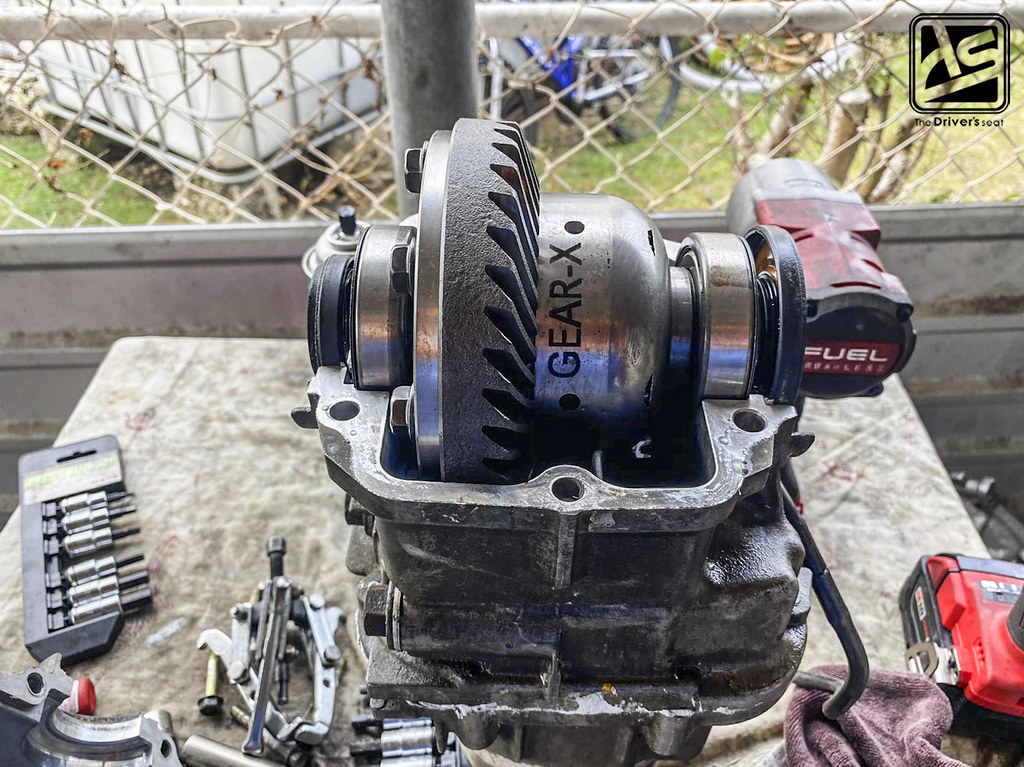
A look at the Gear-X LSD fitted in place before sealing the housing…

Along with the LSD that was added to the CRV differential to ensure power is transferred through both wheels, some robust mods are required. In order to push the limits where power stands, the rear differential clutch pack is pinned and welded to prevent any slippage. However, this also has a downside and causes the ratios between the front and rear to ultimately destroy themselves.

A viscous coupler typically from the Wagovan is added to the system to prevent this from happening but once again with prices astronomically high Bally opted to source one from a Freelander…

As for the gearbox, a PPG 1st through 4th turbo drag kit was added to ensure there are no issued when it comes to selecting the gears. To eliminate slippage from the front wheels the factory LSD was tossed and replaced with a Wavetrac unit…
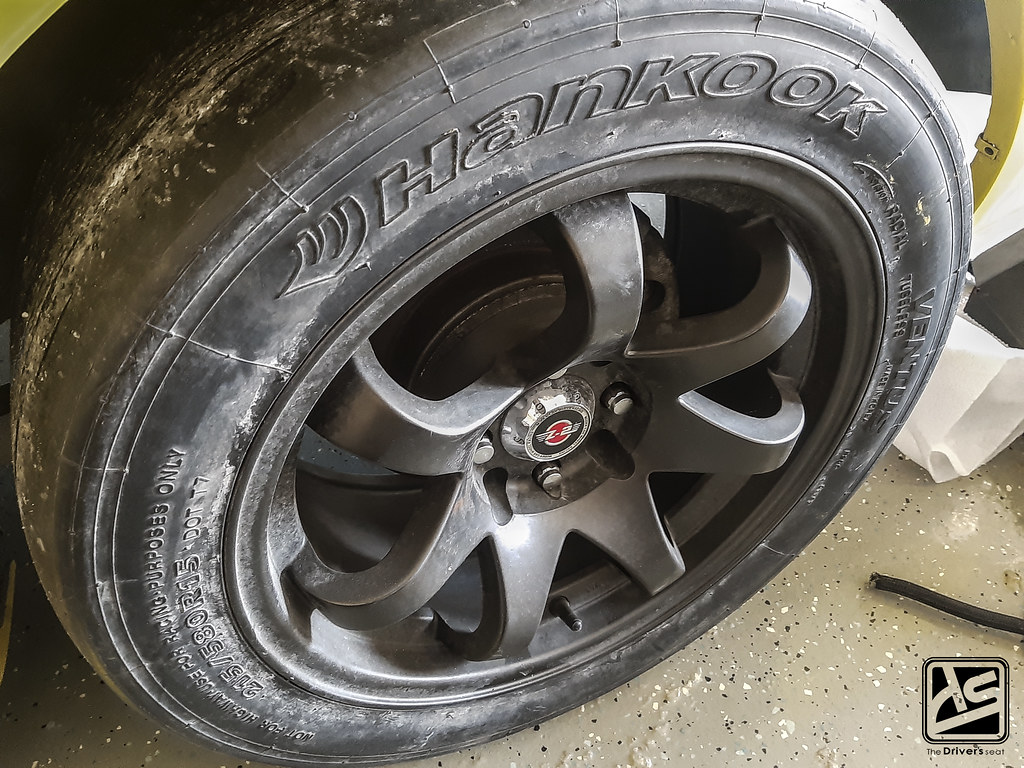
The car currently sits on a set of 15×8 wheels at all four corners; the rears are wrapped with Hankook Ventus rubber in a 215/580 sizing…


And the front wheels were fitted with a pair of Maxxis RC-1 tyres in a 225/45 series…
However for the target power Bally has in mind for the build, they wouldn’t be adequate to deliver the kind of performance necessary for him to hit his goals…

After doing some much needed research on wheel sizes and having looked thought several manufacturers. Bally was able to find what was in his eyes, a cost effective alternative to the ever popular sought after drag racing wheels. Replicating the wheel specs down to the beadlock feature, the fronts are 13×10 and in the rear 15×7. The major upside to the wheels are the price point given that Bally is still trying to keep the build very budget focused where possible. The downside is the added weight over the higher end of drag wheels but in the grand scheme of things the extra weight is negligible…
Having sourced a set of wheels for the Civic, Bally was now on the hunt for some fenders that would accommodate the large 13×10 wheels…
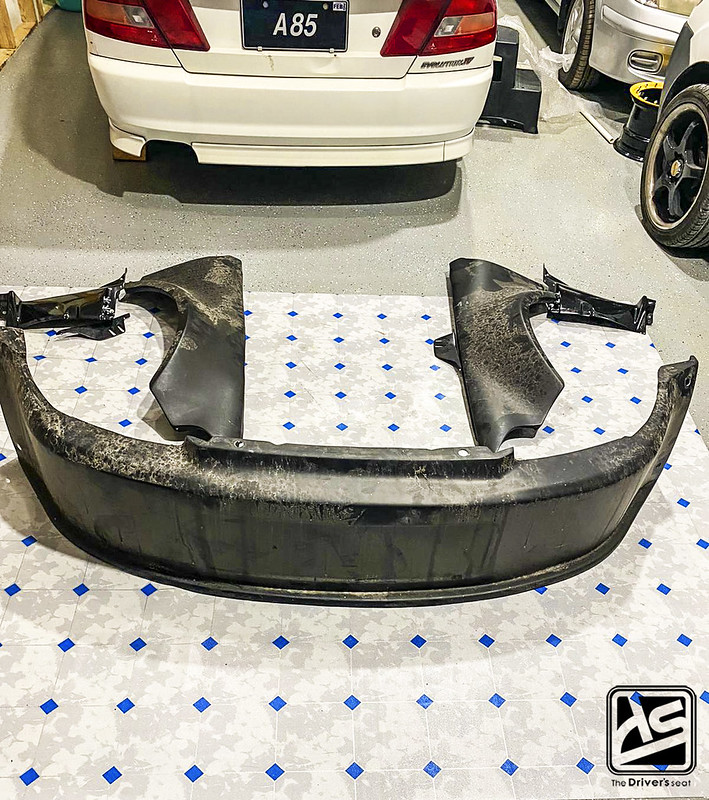
He was fortunate enough to find a drag spec widebody front end locally. However, upon test fitting he realized the kit was purchased for a 2 door EG which wouldn’t allow it to fit as designed. Being sold on the front end, Bally went ahead and placed an order for the for the 4 door compatible version…

Having dealt with varying builds over the years Bally knew how important a car’s suspension components are when it comes to setting fast times. With the Civic being a dedicated drag car, Bally wanted as minimal play between suspension components and opted to go with spherical bushings throughout the car…
The K Series motor is designed such that the intake is placed towards the front of the car. The motor orientation within the engine bay has the throttle body opening on the left side. When turbocharging this requires the use of more pipe, on a street car this wouldn’t typically be a problem but given the purpose of the build, Bally wanted as direct a path as possible to the intercooler…

When selecting an intake manifold he went with a Skunk2 centre feed unit which would allow for the shortest possible routing to the intercooler. Based on the skunk2’s intake design, it’s possible to increase the plenum volume and of course Bally took advantage of this with the addition of a 2.0L spacer…
Being heavily involved in the motorsport scene, Bally is a huge supporter of local talent. And in relation to head porting he uses DCR Motorsport for each of his engine builds. So naturally when the time came to build the Civic’s motor, Bally sent the head to receive a special treatment based on drag racing…

After the head was back from DCR, Bally began the assembly with Supertech nitride intake and inconel exhaust valves. A set of 110lb Ferrea valve springs along with titanium retainers closed out the head package…

A look at the K-Tuned throttle body mated to the Skunk2 centre feed being test fitted to the head…
Taking things to another level with this build Bally sourced a K24 block and crank and had them shipped to Cylinder Support Systems…
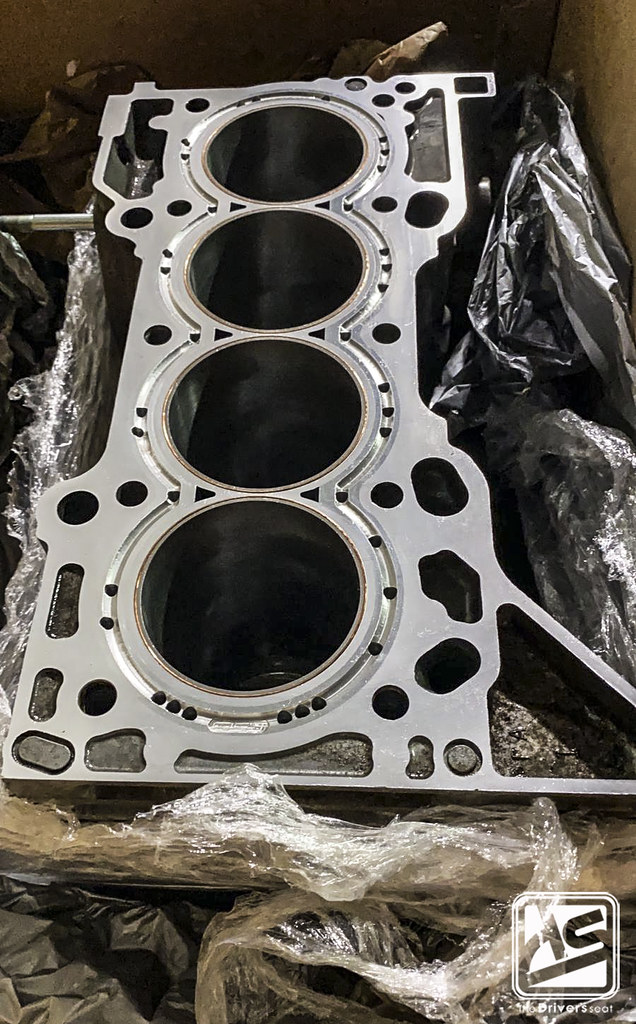
While there the guys micro polished the crank and performed their cylinder reinforcement treatment; in addition to this the block was o’ring and received a fresh bore and deck…

This was done in preparation for the R and R aluminum rods and the Traum 10:1 compression pistons Bally had planned for the bottom end…

With all the parts in the island Bally wasted no time in assembling the long block with the addition of a ATI super dampener…
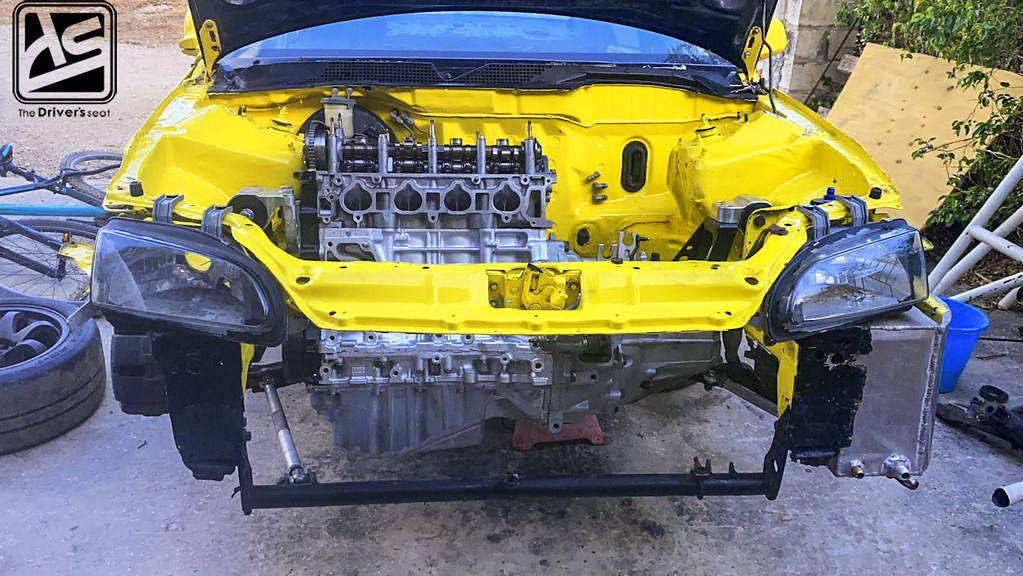
Shortly after the gearbox was bolted up and the motor assembly was fitted into the EG9’s bay…

After finally having the motor in place, Bally began to fit up the necessary components. A sidewinder stainless manifold was modified in order to receive the Precision 7275 Gen II turbo. The Skunk2 centre feed manifold also was fitted to the head along with a Hybrid racing fuel rail..
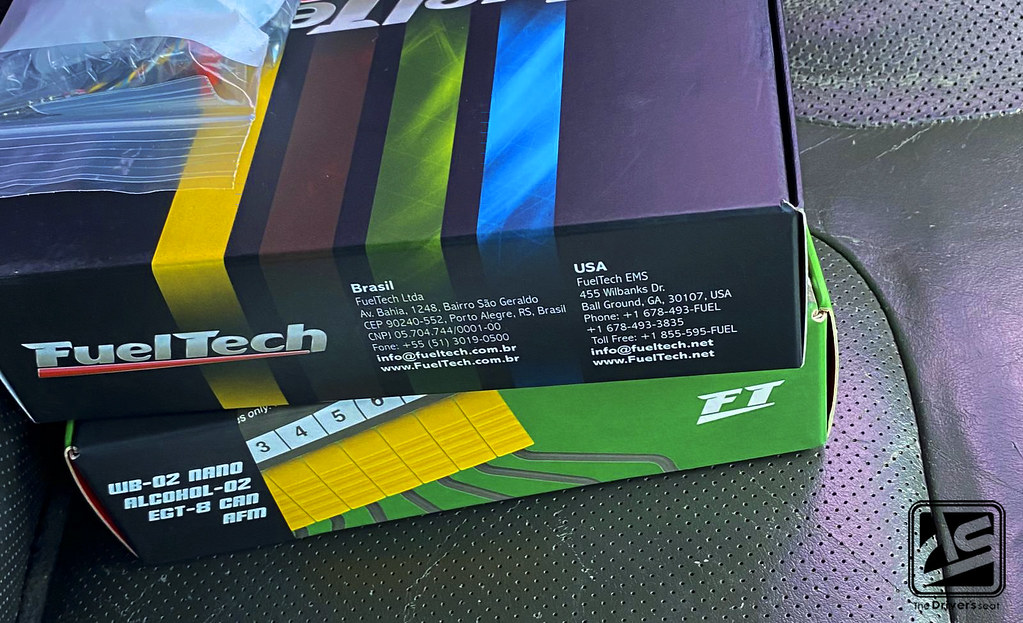
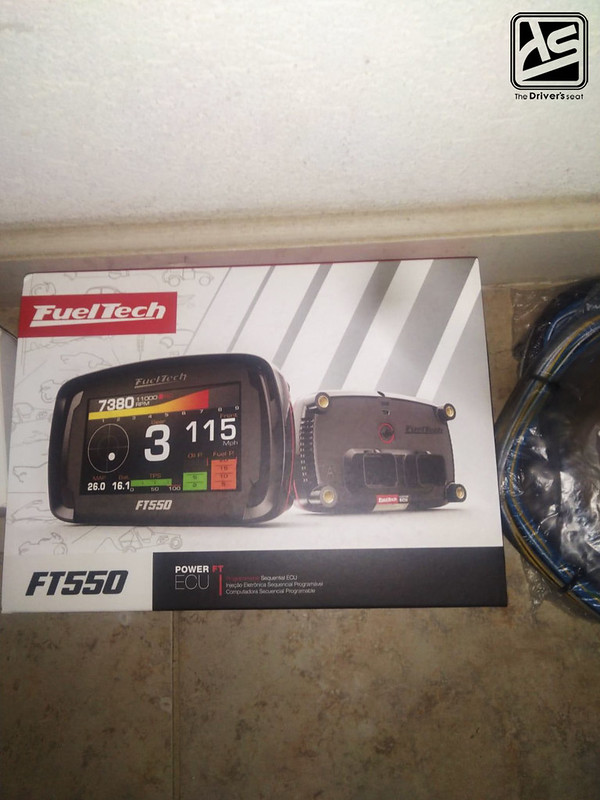
When it came time to choose a ECU for the build, Bally did some research and decided to go with a Fuel Tech system. The main reason for this was to challenge himself working with one of the newer ECUs on the market to ultimately expand his knowledge base…
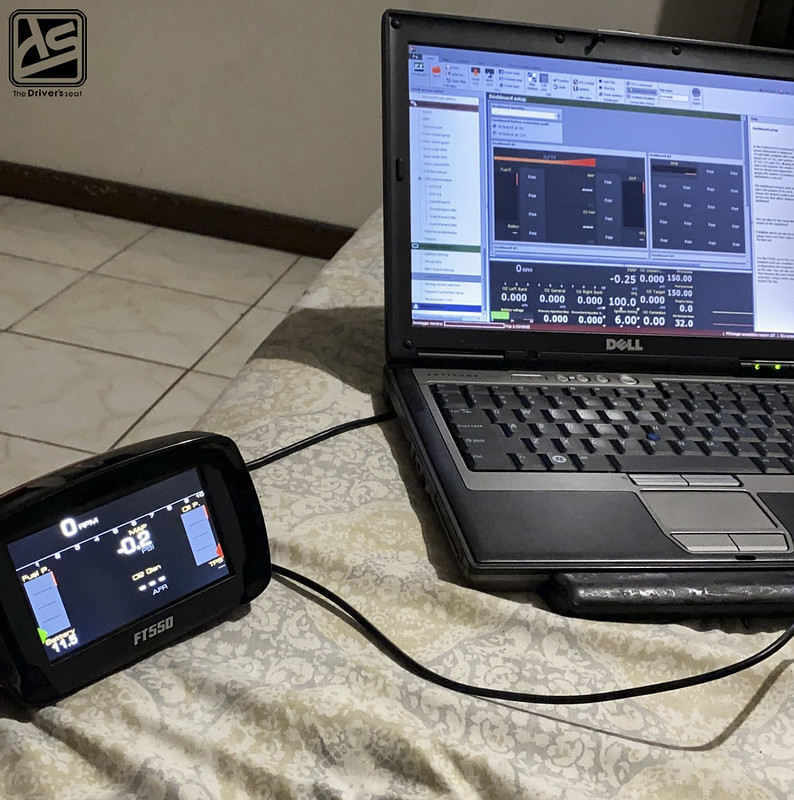
In possession of the ECU he wasted no time and after verifying everything was functioning as it should, he went to work on building a base map to suit the specs of his setup…
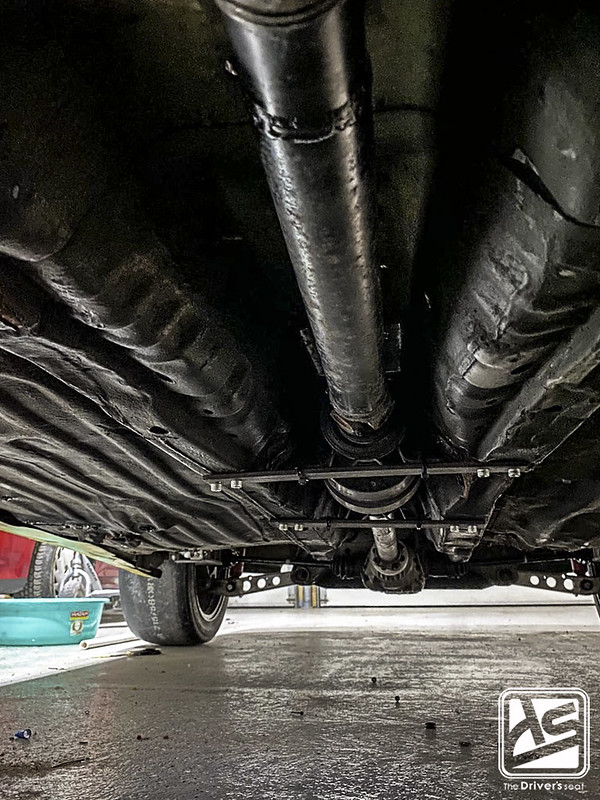
Having the motor assembly in place Bally went to work and executing the necessary fabrication required to have the driveshaft fitted and secured…
Closing out this post with a shot of the rear end of the Civic displaying the FCS Race billet subframe kit for the CRV differential…

Thanks for taking a look and stay tuned for more on this project coming soon…
Project EJ8… Part 5

A project car can be very unpredictable, and things tend to hardly ever go exactly to plan. Today we’re back with another update on Project EJ8, it has been ups and downs since our last post. In preparation to get the car fired up, we’ve discovered a few chassis harness issues which required some unplanned electrical work to be taken care of. I also received some parts that are necessary in moving forward with the swap plans. In addition to this, we’ll take a look at the completed ReWeld intake setup.
For those who may want to view this build from the start I’ve provided the link below:

Taking a look at my door panels in comparison to the remainder of the interior pieces, they were in bad shape. In an effort to rectify this, I took an interior piece to have it paint matched so I could refresh the dated door panels…
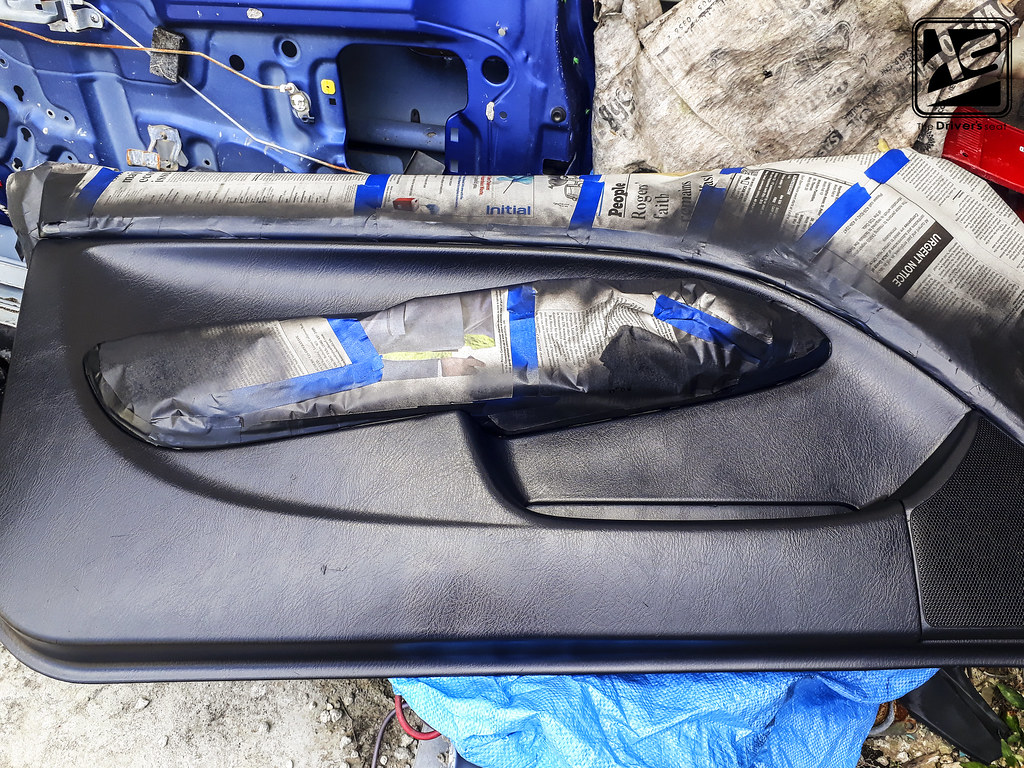

I wasted no time and masked the fabric portion of the panel and went to work. Initially I was skeptical of the results…
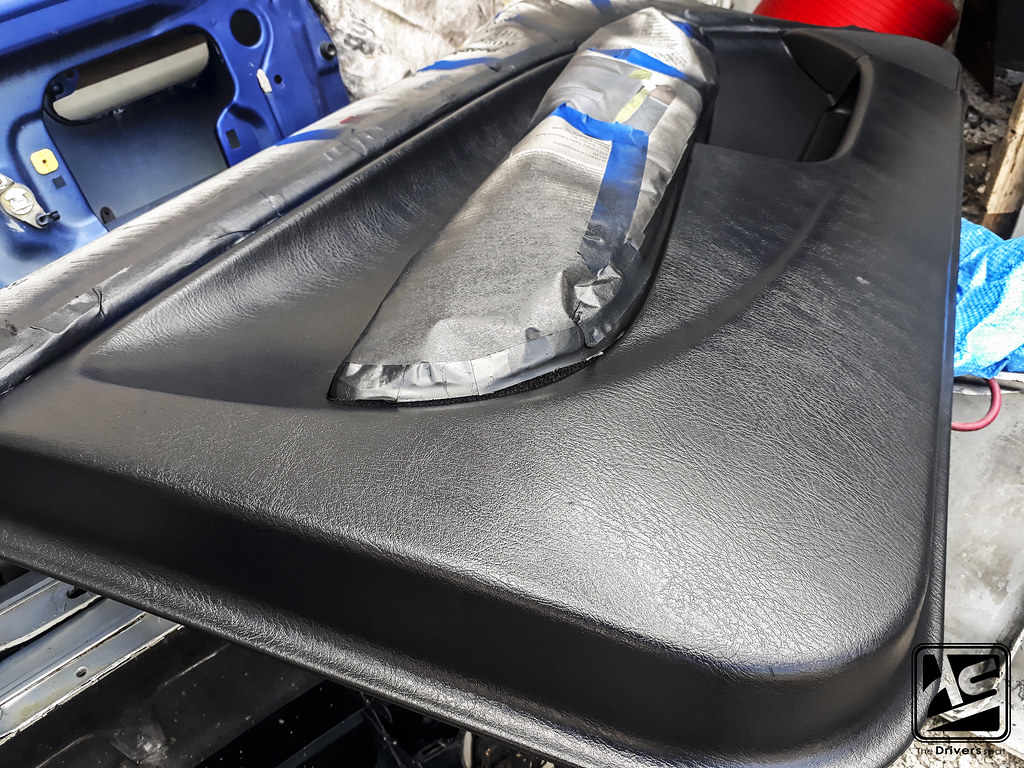

But after the paint started to dry, I became hopeful that it was in fact a step in the right direction…

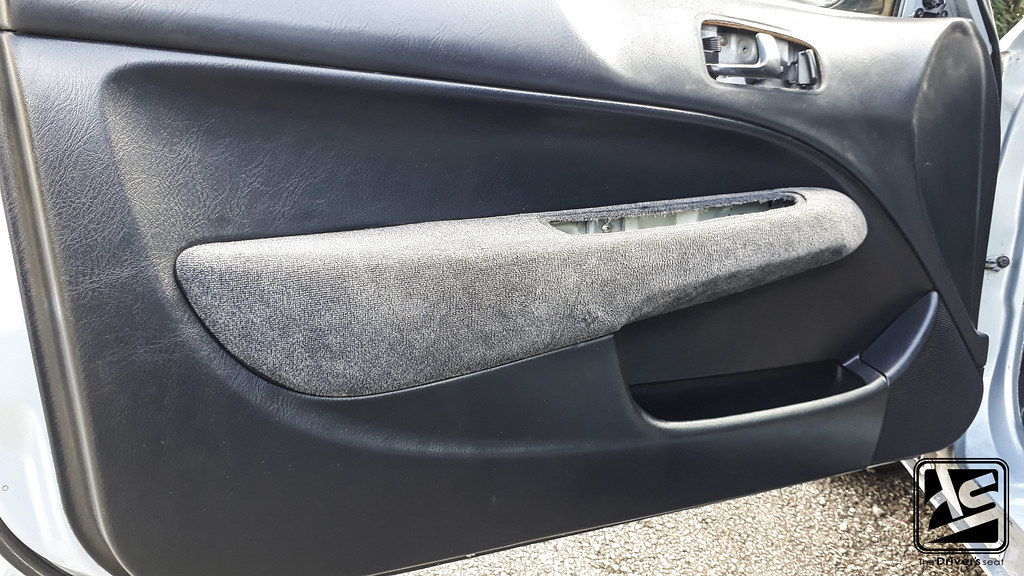
The transformation on the panels were quite a shocker to me, considering I had not a clue what the results would have been…

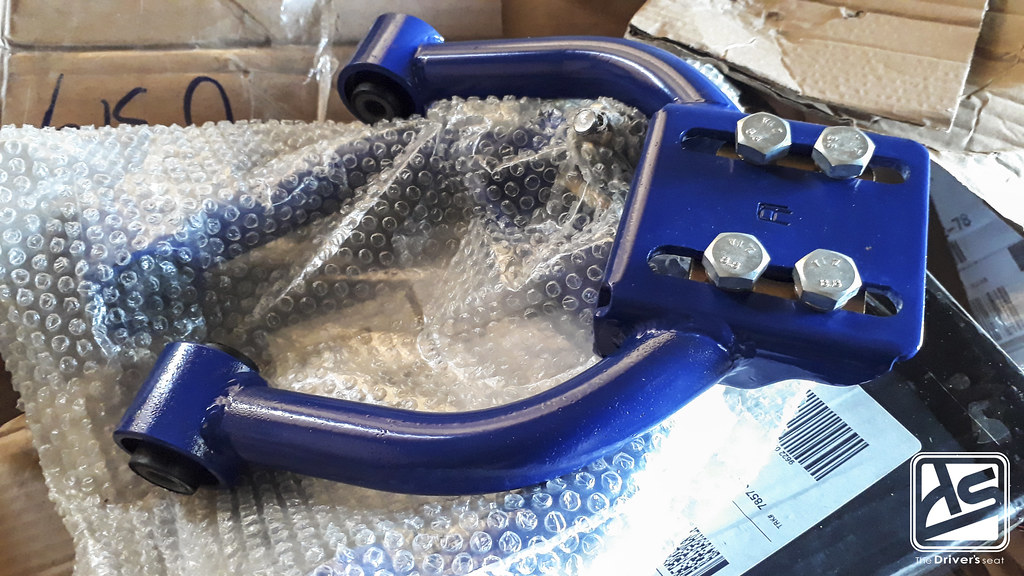
For a while I was avoiding adding camber arms to the front end of the car but eventually I had to come to grips with reality. After setting the car on the ground and taking a look at the fitment, I knew I would have no choice but to do so…

To execute the K swap I was in need of a E-plug connector to wire at the end of the engine harness…


As I started to fit the car together I still needed a few additional bolts, I hit up Downstar to get the necessary hardware and I also picked up one of their tees…
Throughout these last few posts, there was heavy mention of my fondness for USDM culture. Often identified by their heightened sense of attention to details from start to finish. As my EJ stood, I wanted to replicate this type of build with the focal point being my engine bay. ReWeld and I sat and discussed which components to either modify or fabricate to achieve the desired end goal…
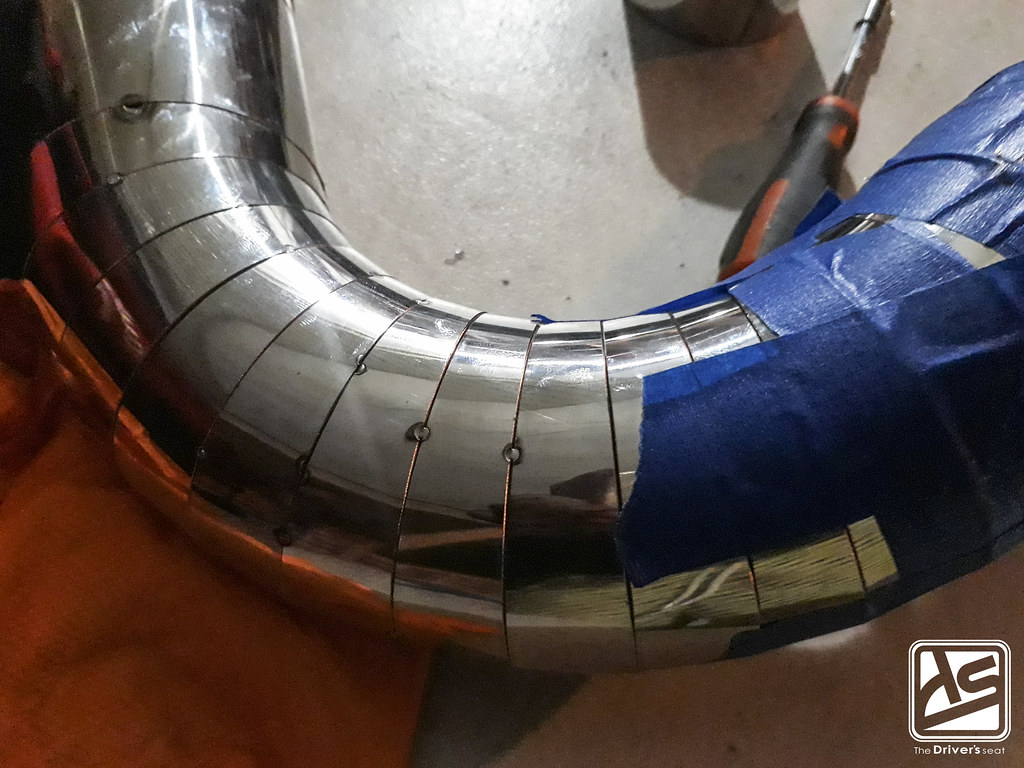
When the time came around to discussing the intake system, I wanted to take things to another level and we came up with a concept that would go outside of what is typically seen here in Barbados. Automatically my mind went towards the use of pie cuts where necessary while fabricating the intake. However, in using aluminum this posed a problem in relation to the aesthetics, the welds would be quite sizable and force us to use wider angle pie cuts to accommodate them. Not keen on this method and also wanting to step away from the basic systems, we decided it would be best to fabricate out of stainless. This would allow Reudon to bring the pie cuts closer and push the limits on the concept design we had in mind…

A look at the intake being mocked up to determine the exact placement…
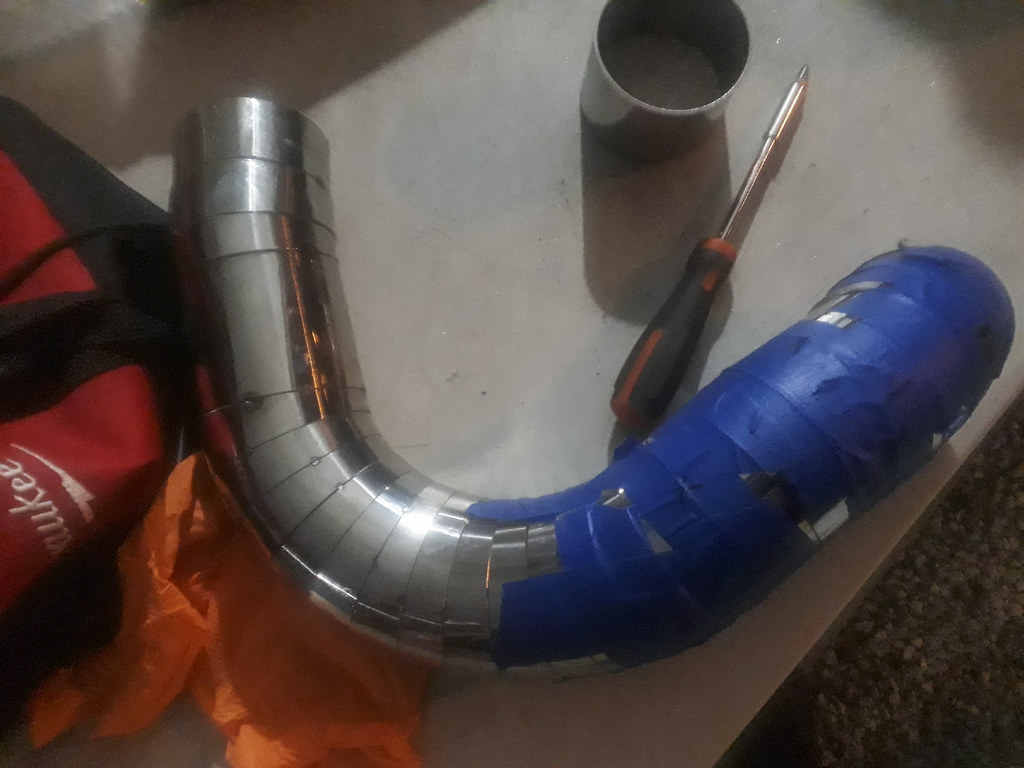
A closer look at the intake after determining the final placement and angles on the recently added extension…

Upon making the final adjustments to the setup, Reudon was able to fully tack it together in preparation for the final welds…
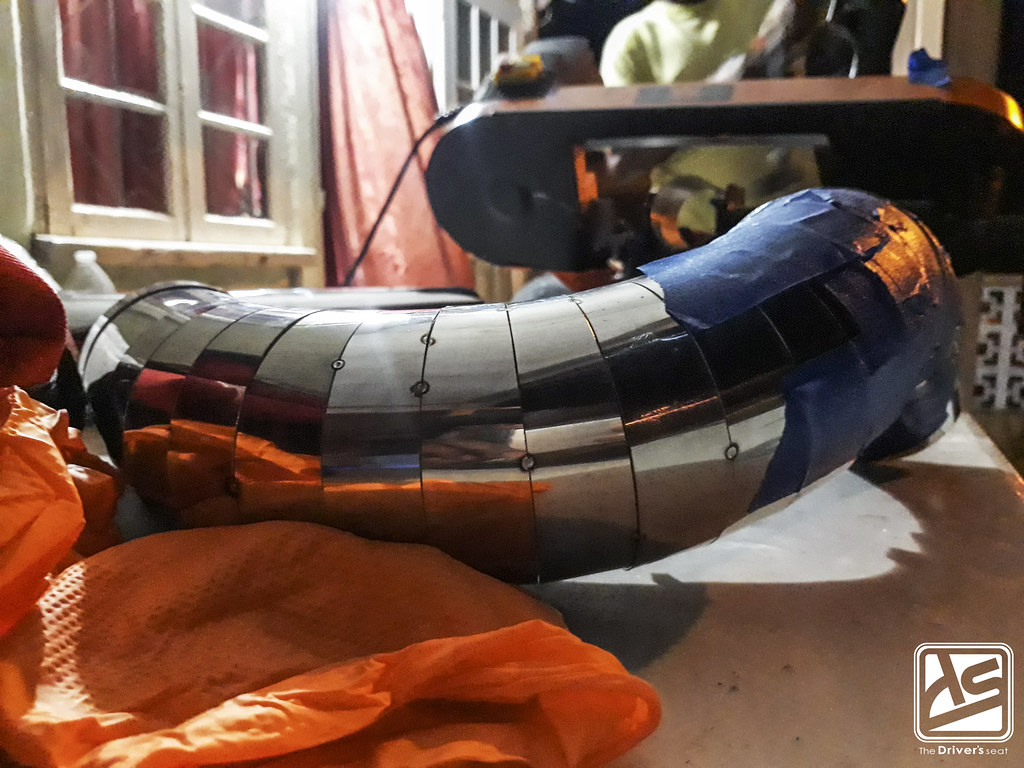
The final addition was to have a ReWeld tag made to complete intake system…

With everything tacked together, the intake was mocked up one last time. The next step would be for Reudon to get to work on welding everything in place…
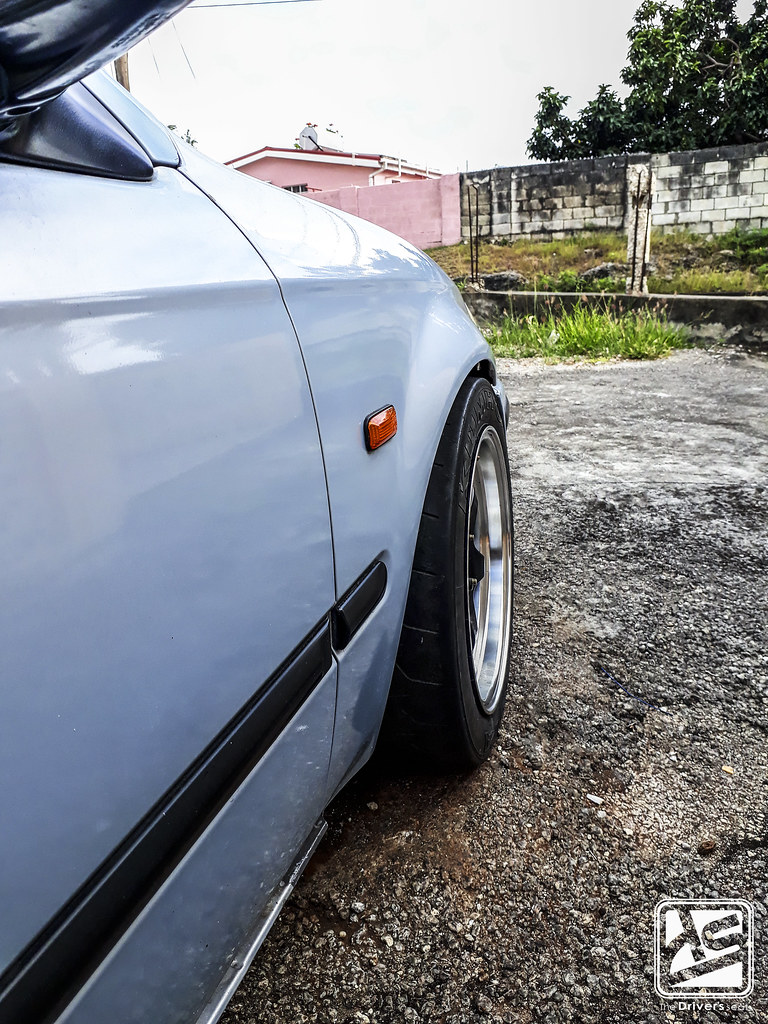
Given the width and the offset on the wheels, the addition of the camber kit was absolutely necessary for me to achieve the desired fitment…
As with most projects, just when you think you have everything you realize that you don’t. I placed an order with AFHK Parts for a few OEM items…
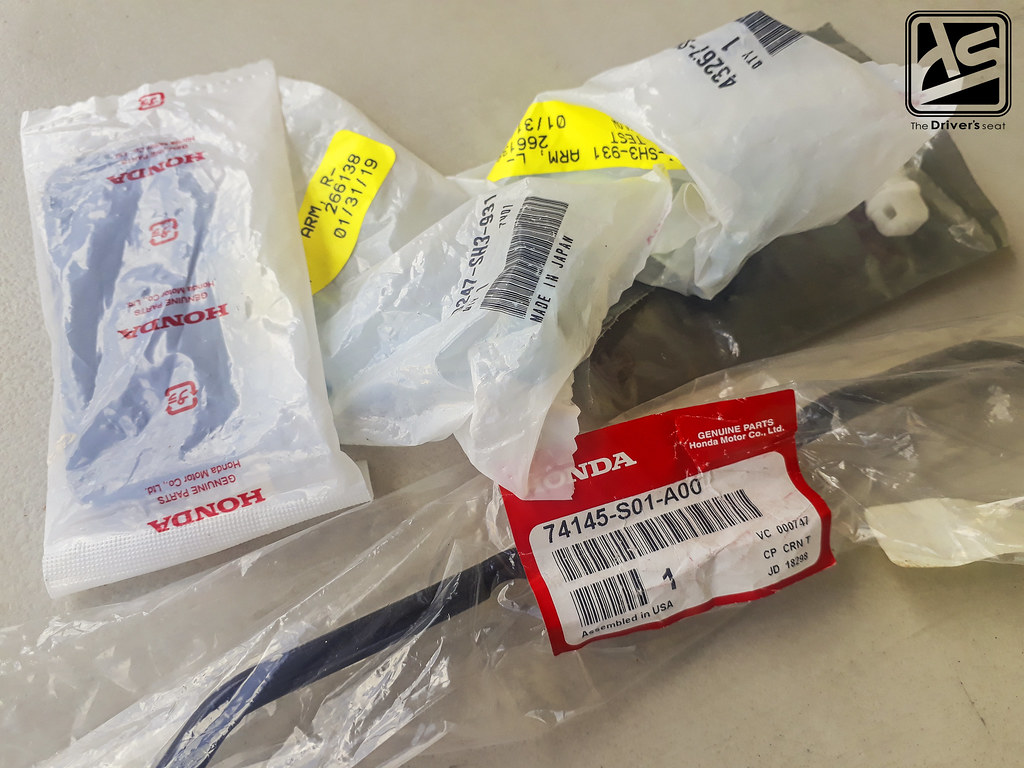
A new hood rod and clip along with some other misc clips that I found were necessary while in the process of completing the engine bay…
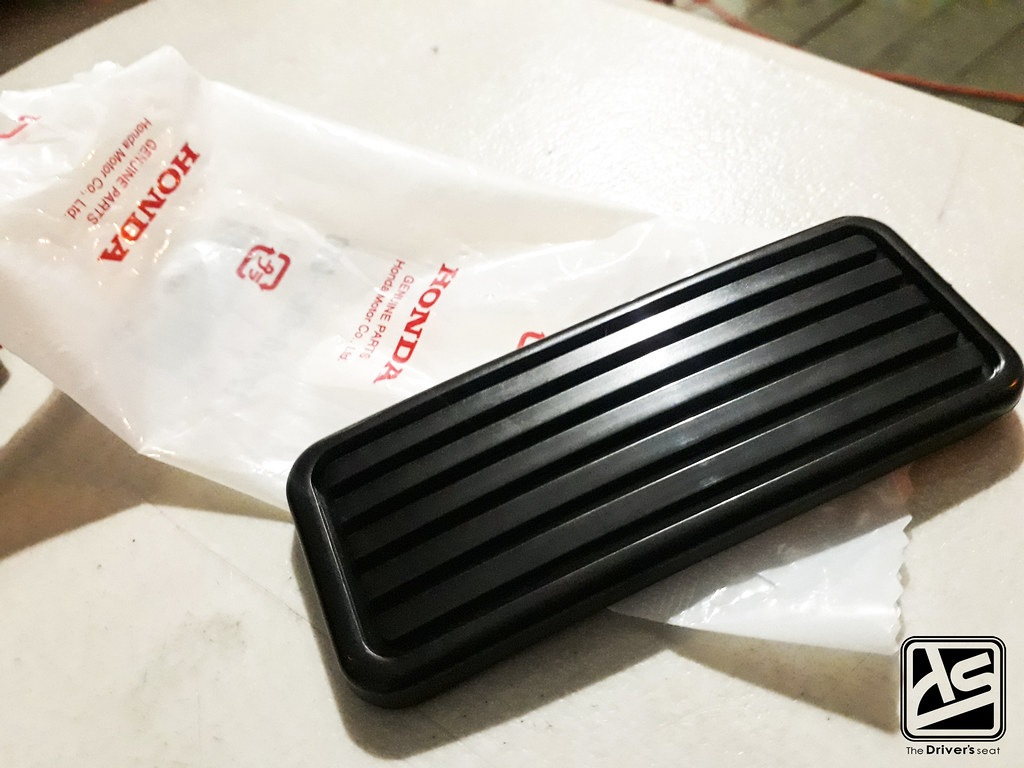
While I was at it I opted to change out the gas pedal cover for a new one…
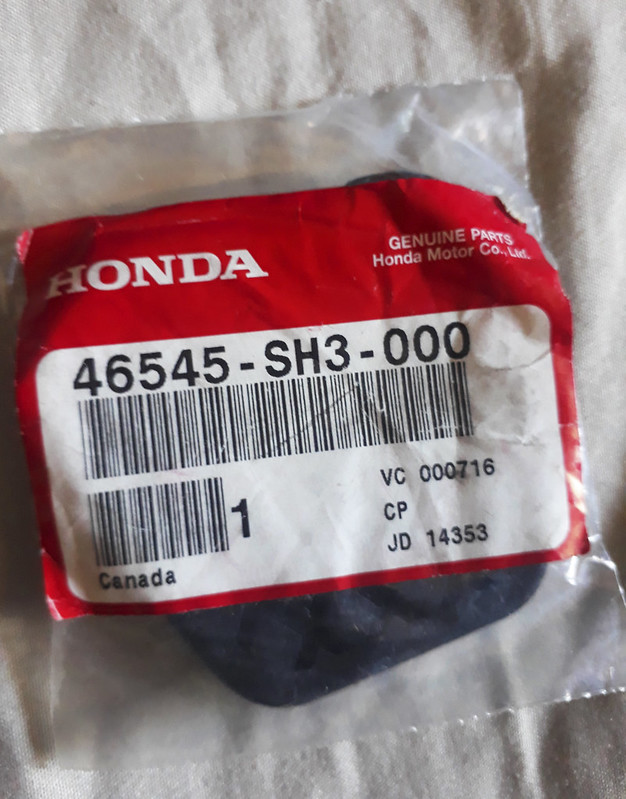

It didn’t make sense to stop there so I picked up some new ones for the clutch and brake pedal as well…

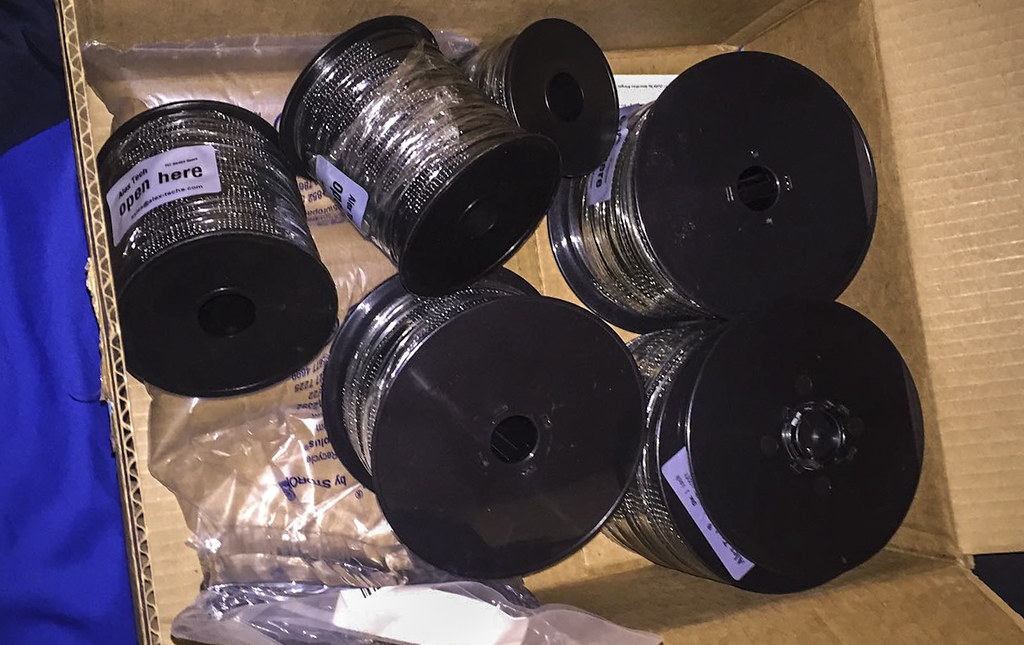
I’ve been having some harness related issues and before I could tackle what has been going on, I placed an order for some sheathing and heat shrink…

I made sure to purchase as many size as possible to have a wide range available for when we do start going at the harness…

A few more packages arrived with some much needed items…

The plan is to custom build an exhaust for the car; with this in mind I consulted with Reudon for a list of items needed for him to execute the system…

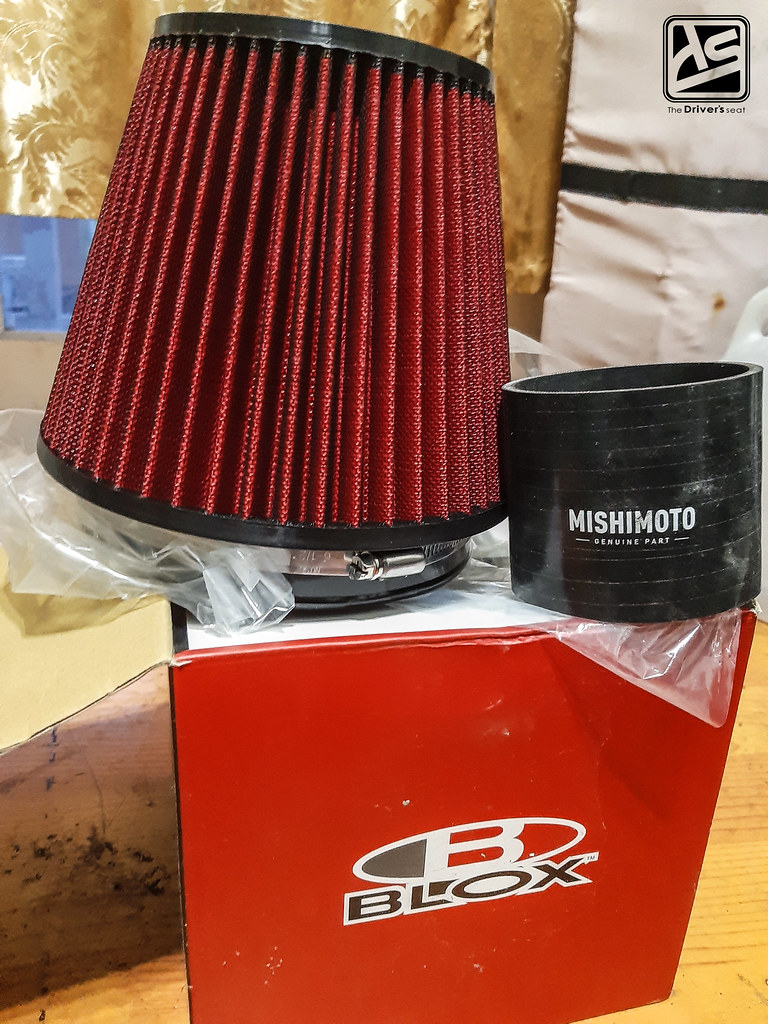
In addition to that, I picked up a Blox filter to go with the custom intake he was already working on…

I also picked up this billet aluminum piece…
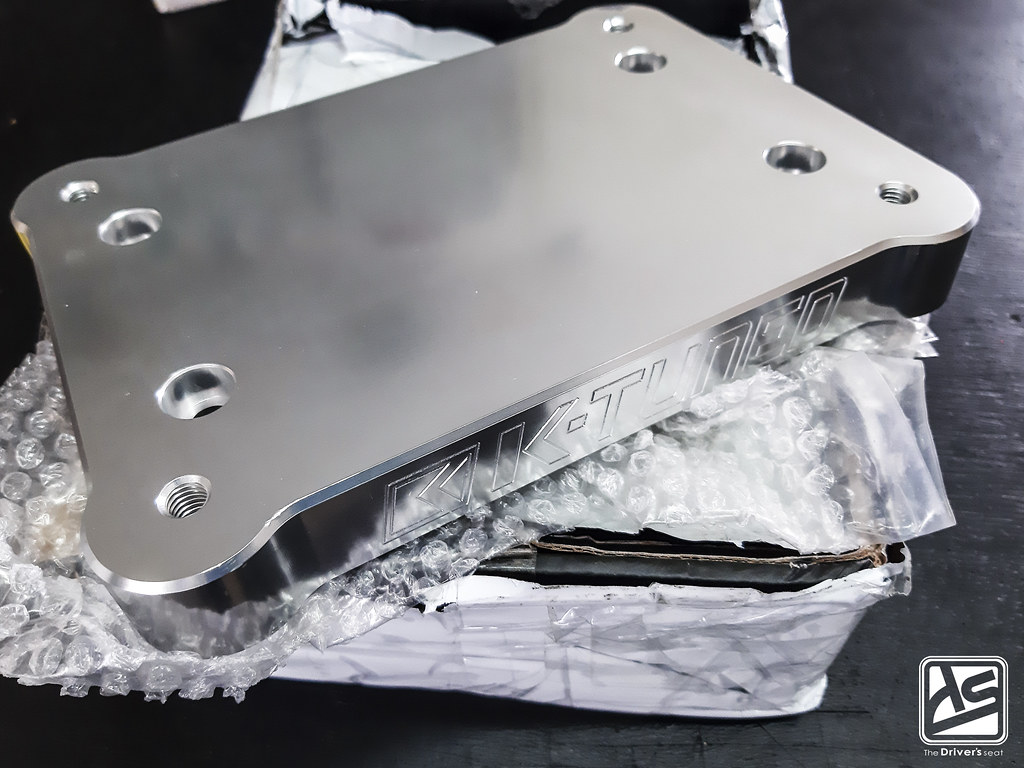
In a previous post I mentioned to you guys that I will be running a OEM DC5 shifter. Not wanting to bolt it directly to the tunnel, I decided to pick up a base plate to give it some height and also to improve the appearance…


A few random shots of how the engine bay sat…
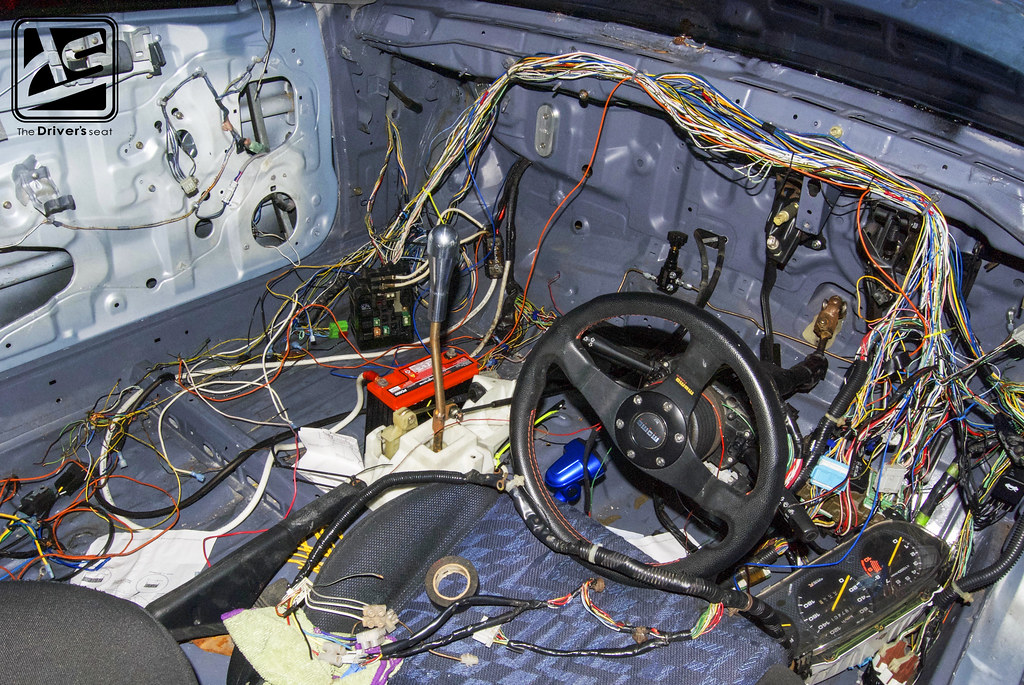
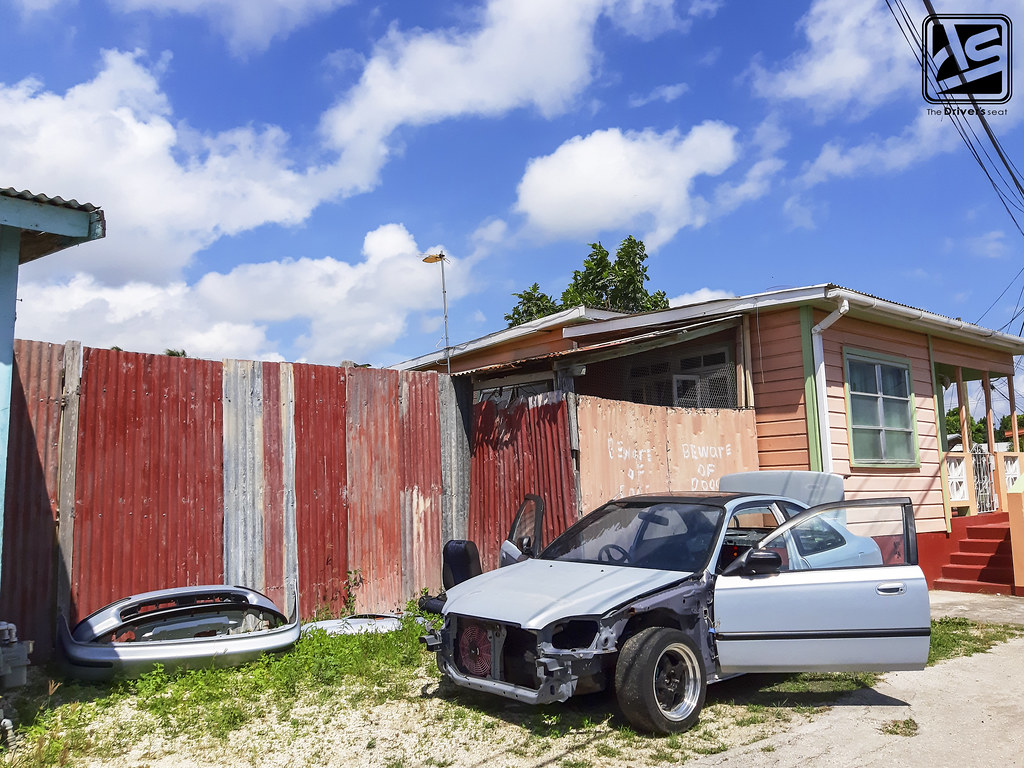
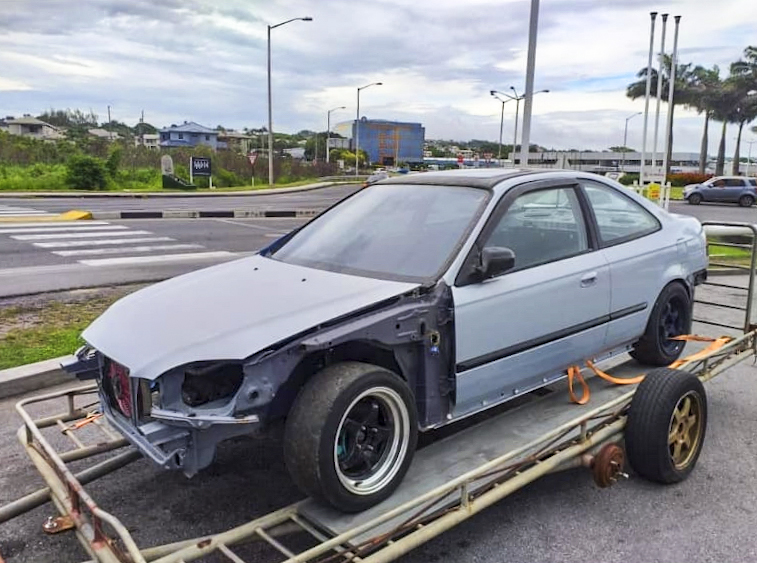
The car has been giving some problems where the chassis harness is concerned, this was the current state before loading the car up and taking it to be sorted…


A few shots of the car on the truck as it arrived to be dealt with…
With the car on location we decided to take a stab at getting the tunnel prepared for the base plate…
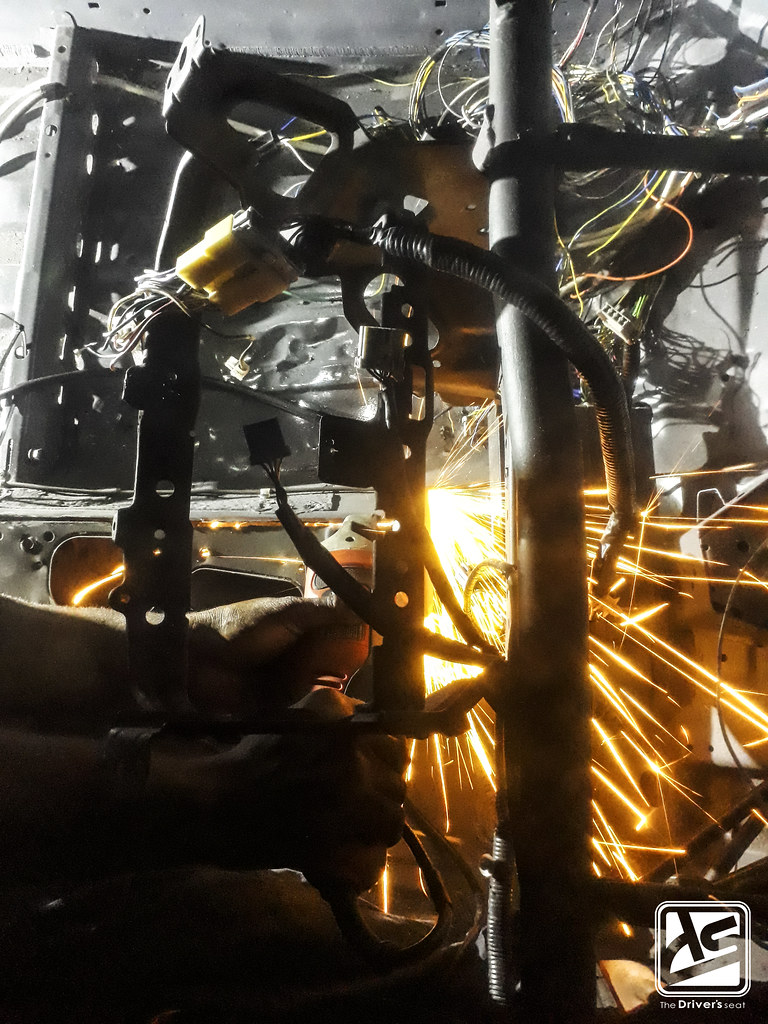
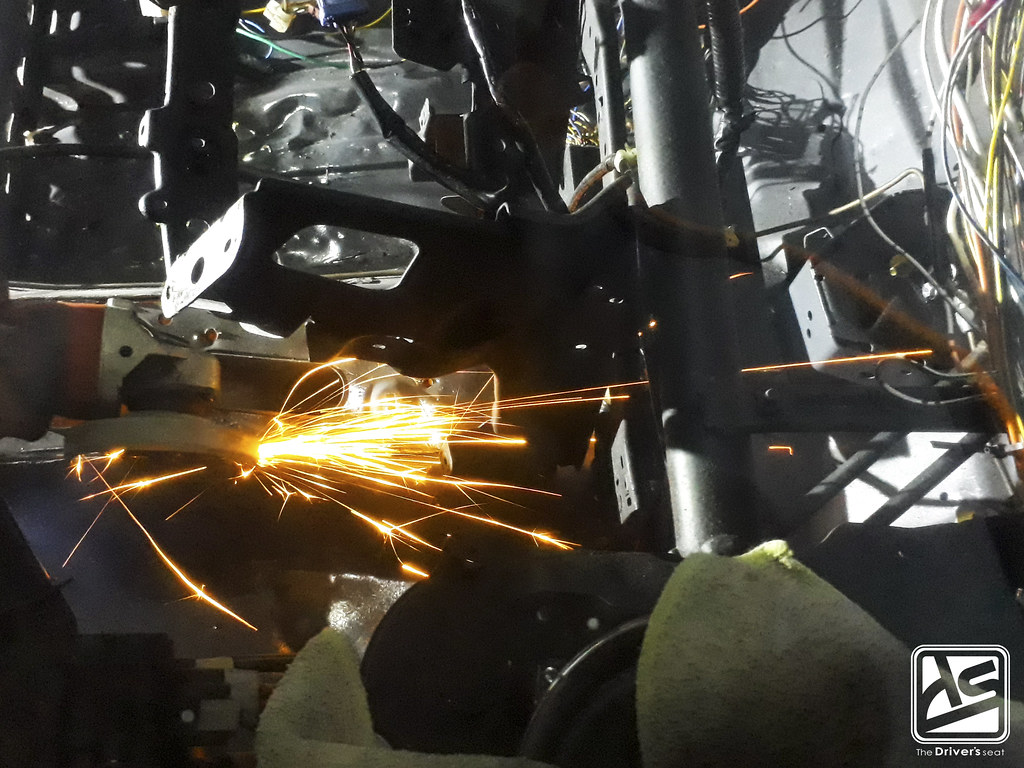
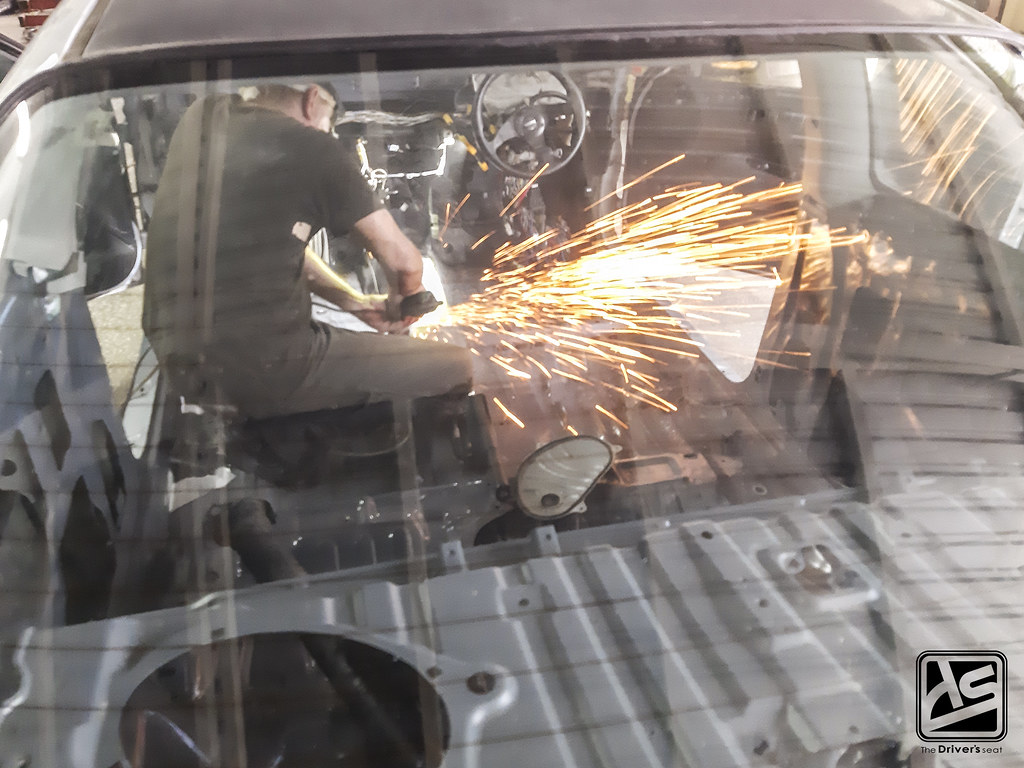
This meant having to cut a large portion of the tunnel…
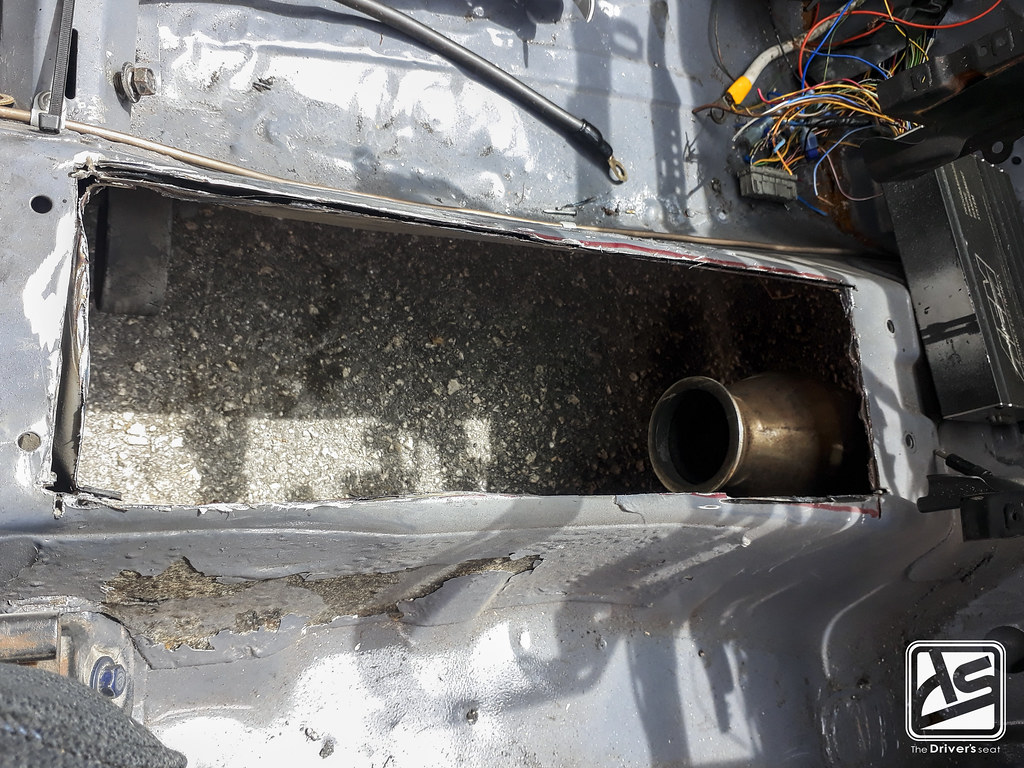
A look at the results after going at it with the angle grinder…

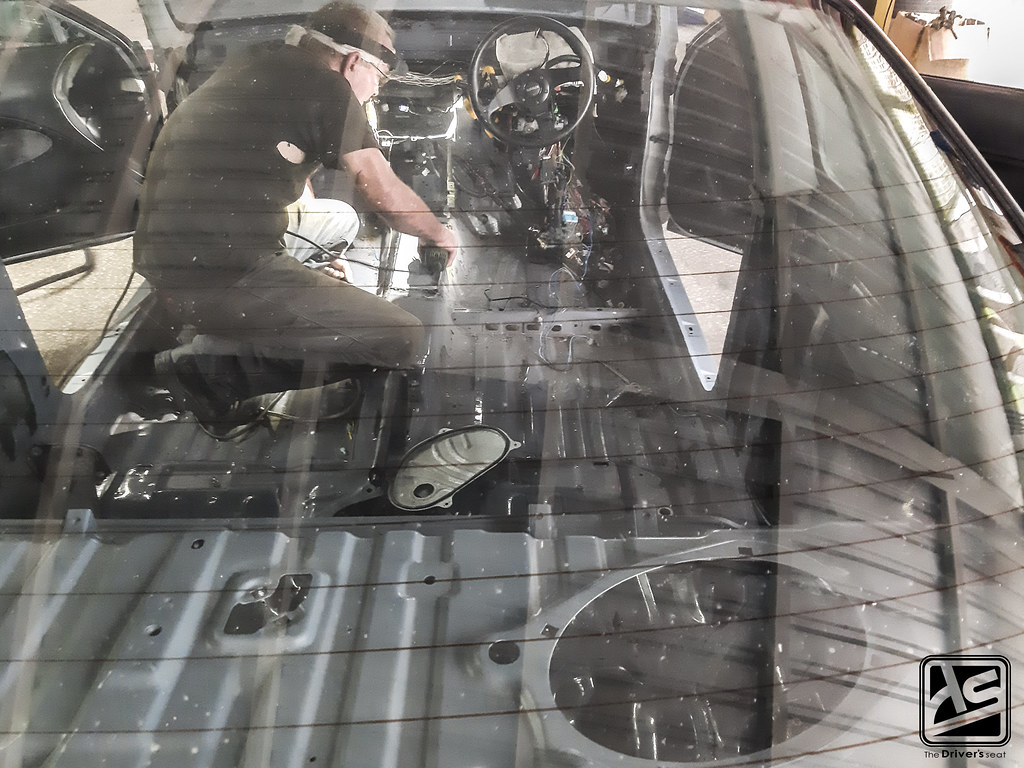
A look at the car after we started the tear down before getting to work…

First up was to strip the harness and get started on the routing…


With that completed, we had a more accurate idea of the harness length going to the headlights…

A look at the state of things after a few hours in; for those who maybe unaware, harness work can be rather time consuming…
We decided to take a slight break around that time as Reudon arrived to lend a hand…

Remember that giant hole we cut in the tunnel? Well he came to aid with the solution for convering it…

After taking some measurements of the hack job we did, he started to cut out the tunnel replacement…
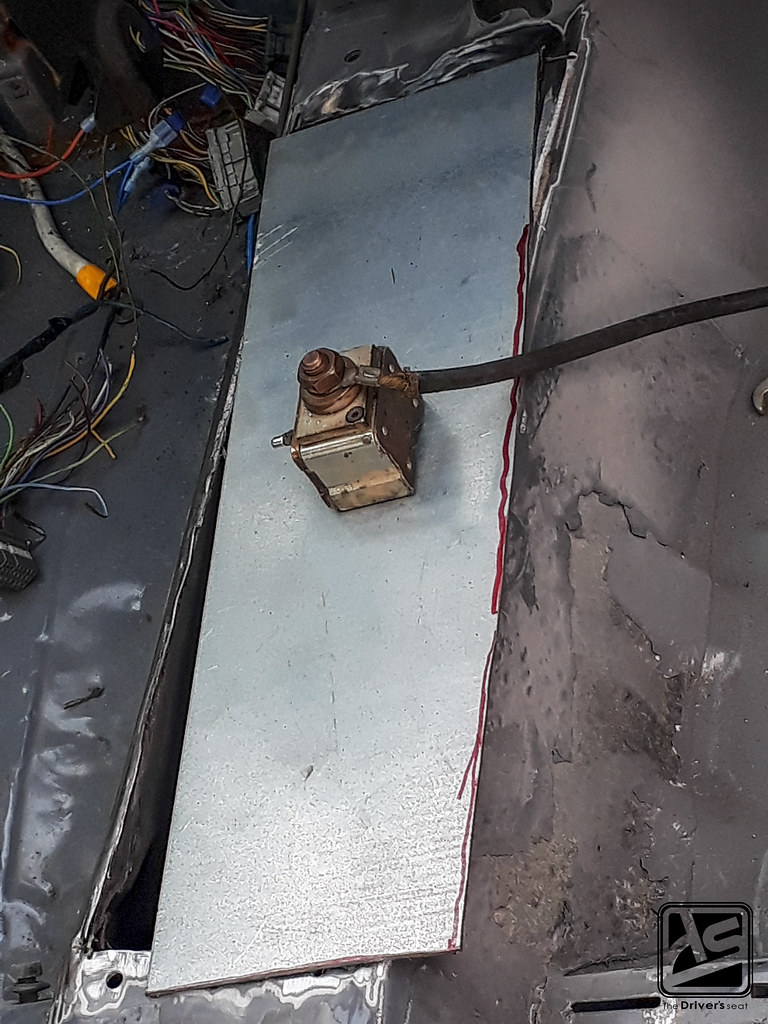
A look at the replacement for the tunnel…
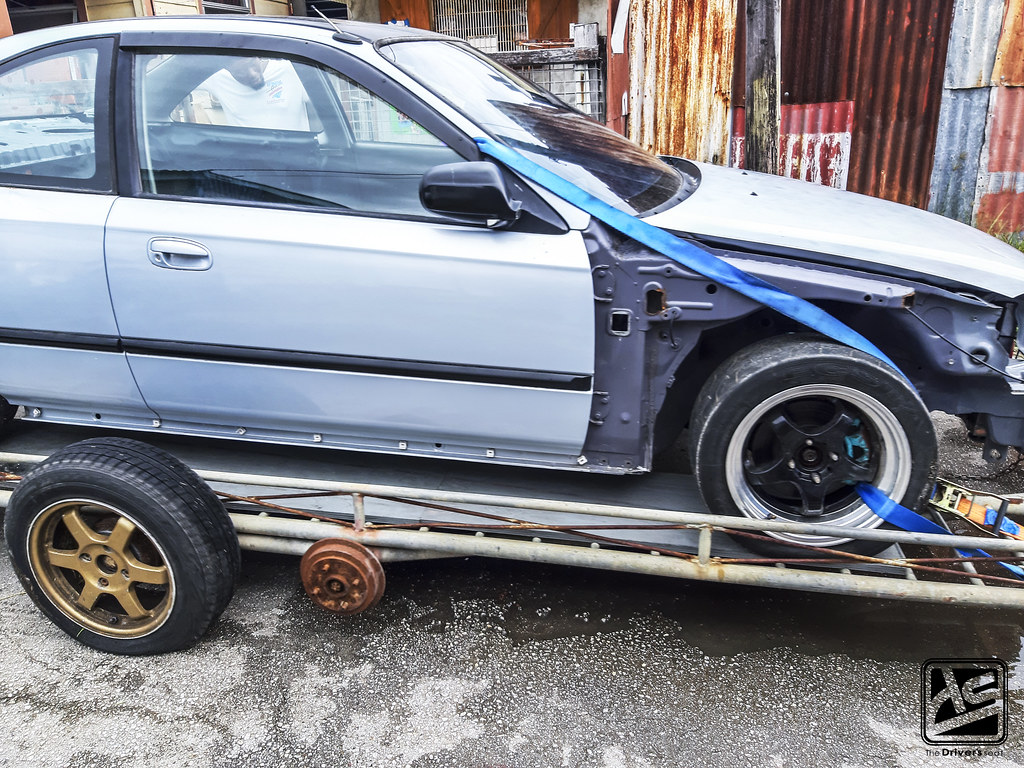
It wasn’t possible to execute the welding necessary to complete the tunnel on site. I was able to get the use of a trailer and loaded the car up to have it sorted…

Locked, loaded and on the move…

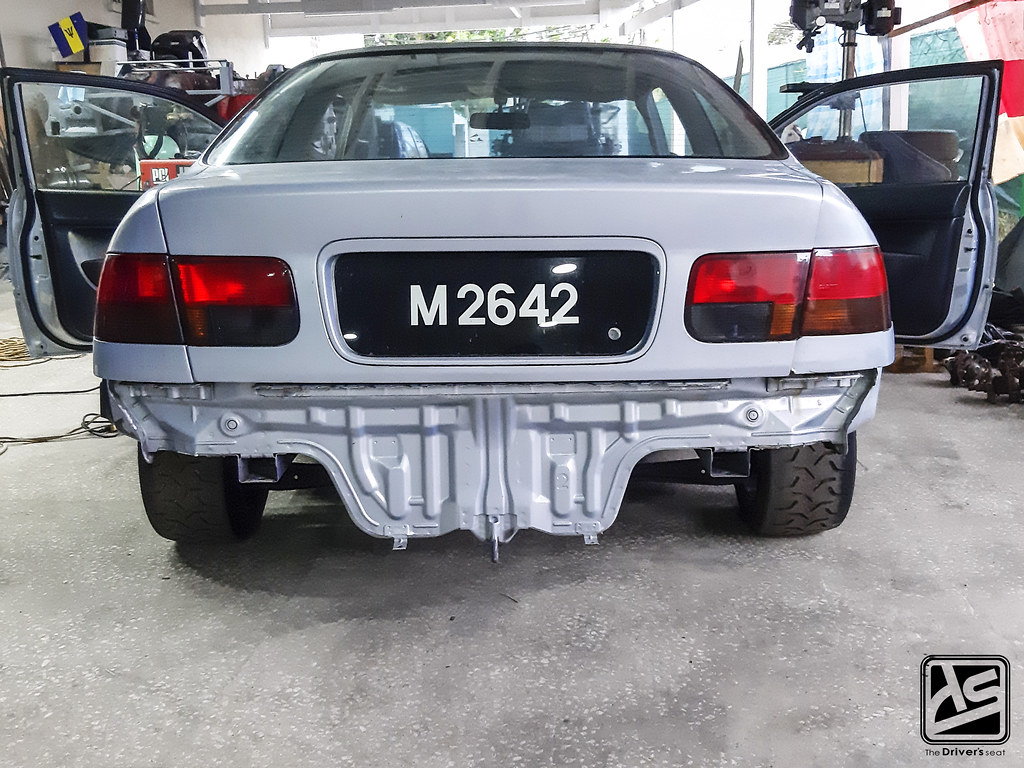
A few shots taken at a quick stop while enroute to location…

While capturing content throughout the build process of Sol’s EK9, I was able to spend a considerable amount of time around Fred as he made the necessary adjustments to the chassis. After assessing what was needed to be done to properly mount the base plate and shifter to the tunnel, I was sold on having Fred execute the job. Having dealt with all forms of fabrication, this would be a walk in the park for him…
Moments after arrival, Fred wasted no time and quickly got to work on the task at hand…

A few shots taken throughout the process…

A view after the tunnel was welded and the appropriate holes were drilled to accurately mount the base plate…

Under Fred’s advisement, the following day I made sure to jack up the car and applied some sealant to the underside of the freshly welded tunnel…
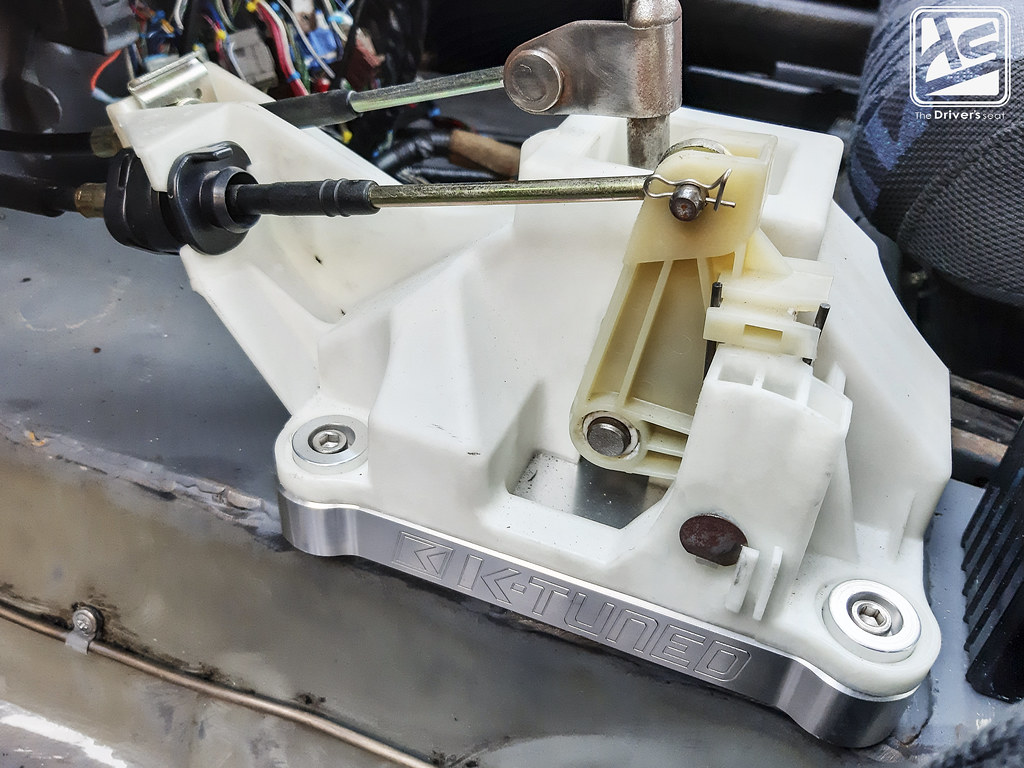
The DC5 shifter and base plate bolted in place…
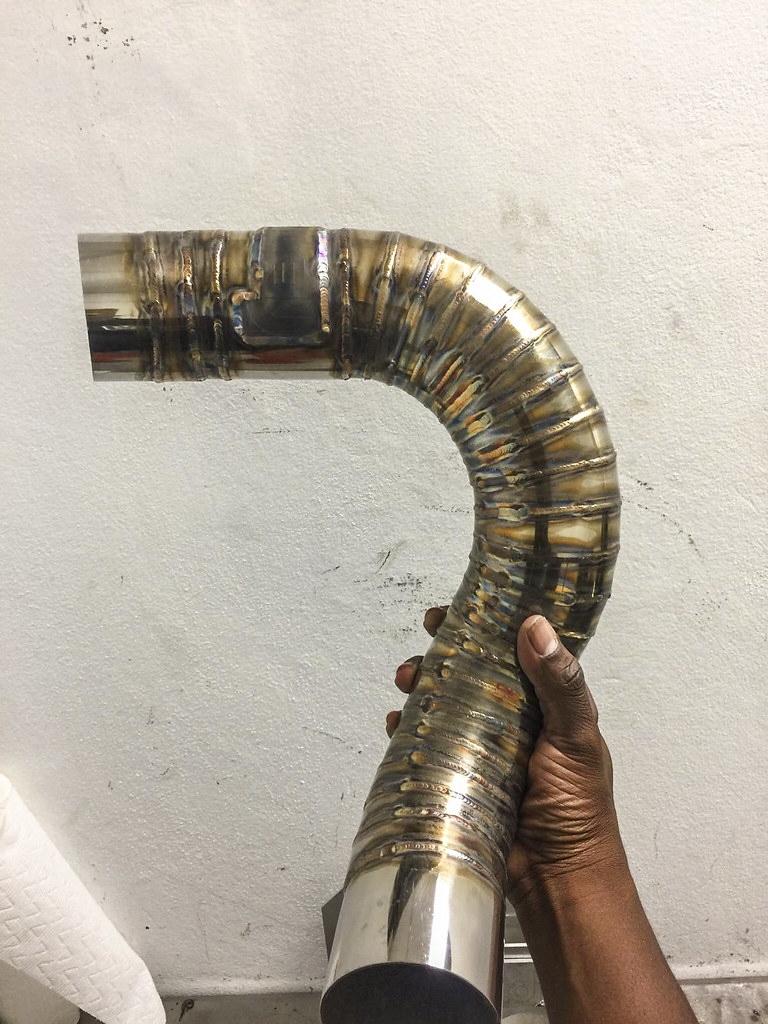
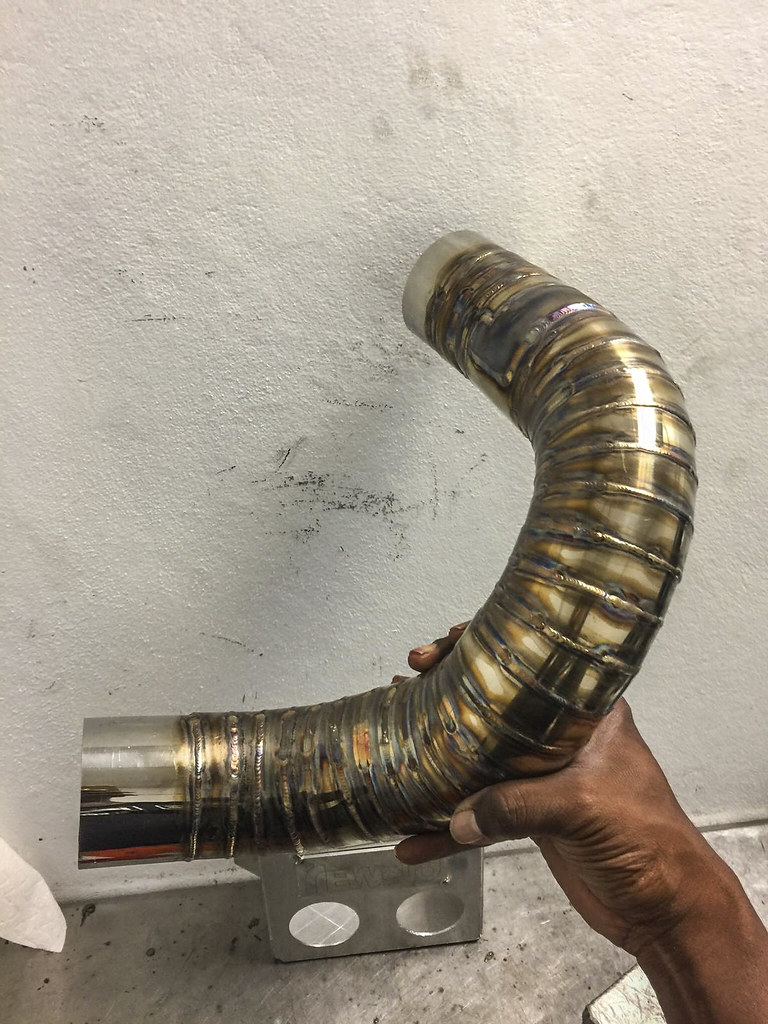
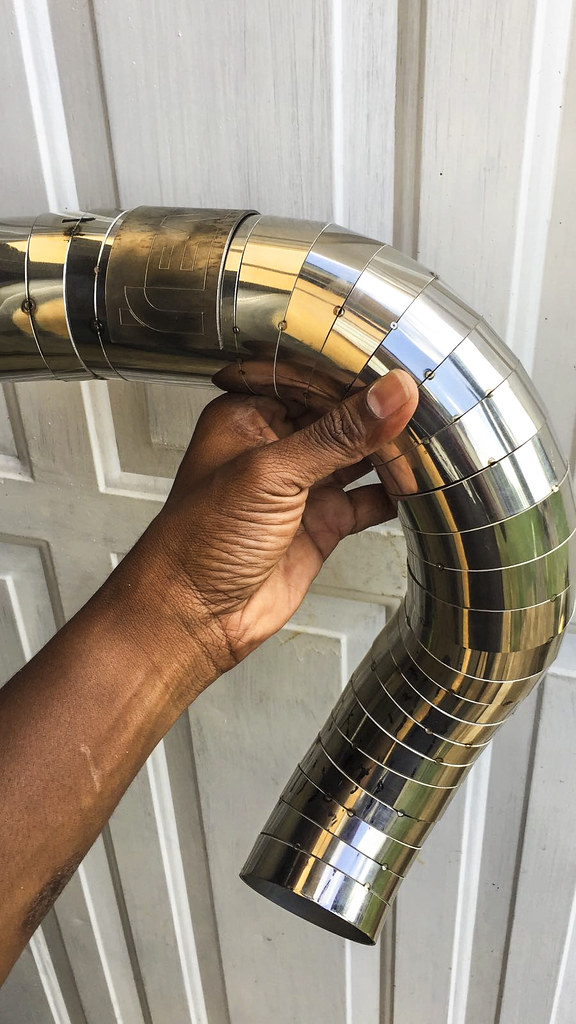
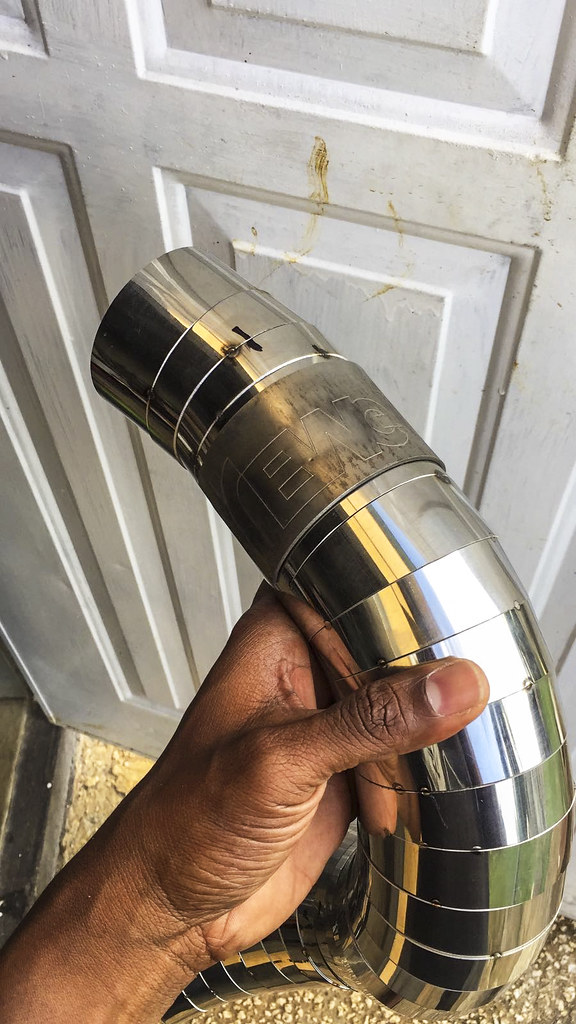
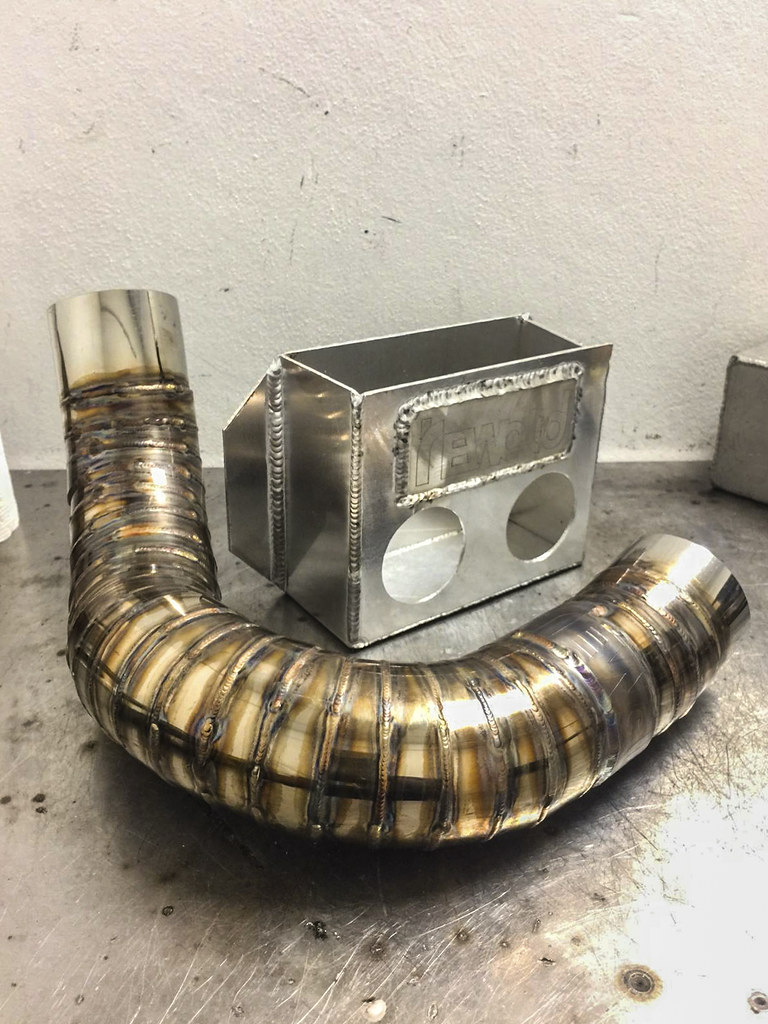
A first look at the custom built ReWeld intake pipe which came out way better than I initially envisioned…
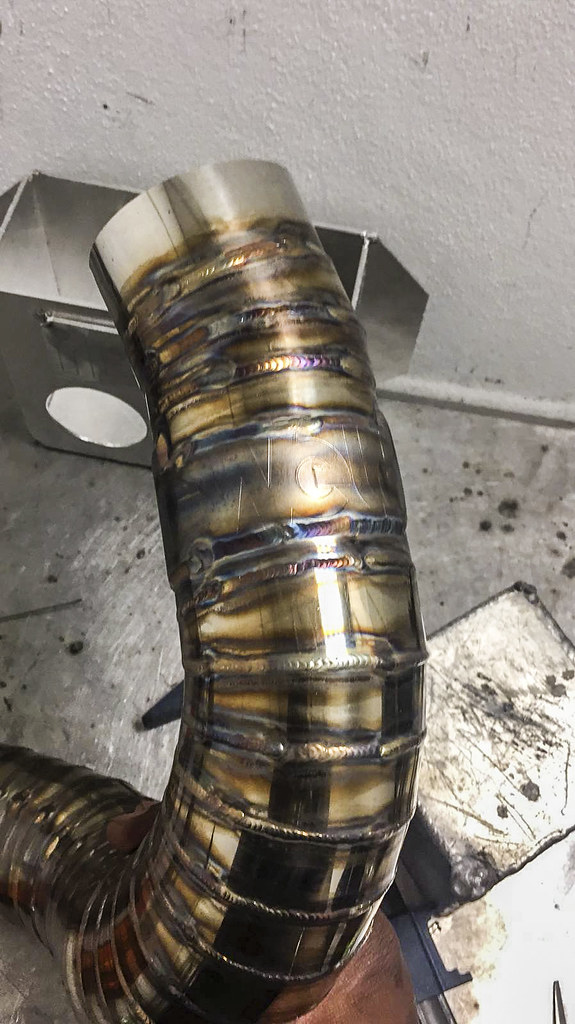
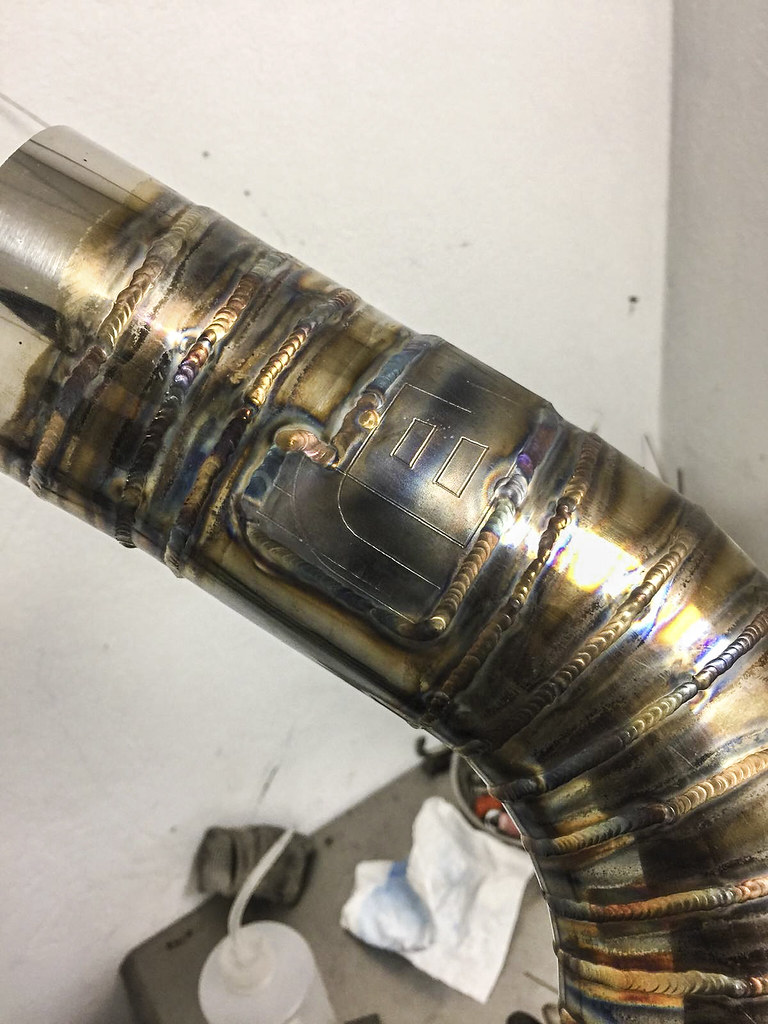

A few more shots where you guys can get a better look at the weld work that was executed to the pies that make up the intake. Also note the addition of the ReWeld tag which was fully welded in place…
That’s it for today’s update on Project EJ8, I hope you guys enjoyed it and thanks for taking a look. The plans moving forward are to focus on the remaining wiring related issues and direct my focus towards getting the motor fired up…
