
Track Bred EG6 Build… Part 22

Kicking off today with another installment in the Track Bred EG6 Build series. Just a recap from the last post, Jerry started working on some concepts for the new widebody body kit. In today’s post I’ll be giving you guys a look at what design he has settled on and some shots of the progress as it is being done.
For those who would like a full recap of this build, I’ve provided the link below…
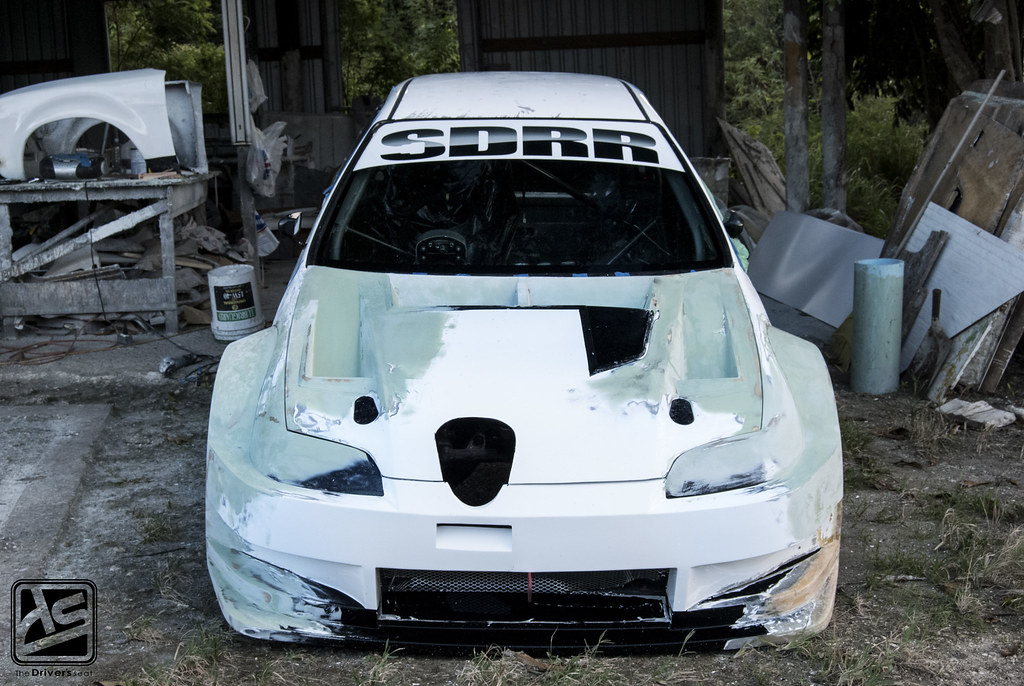
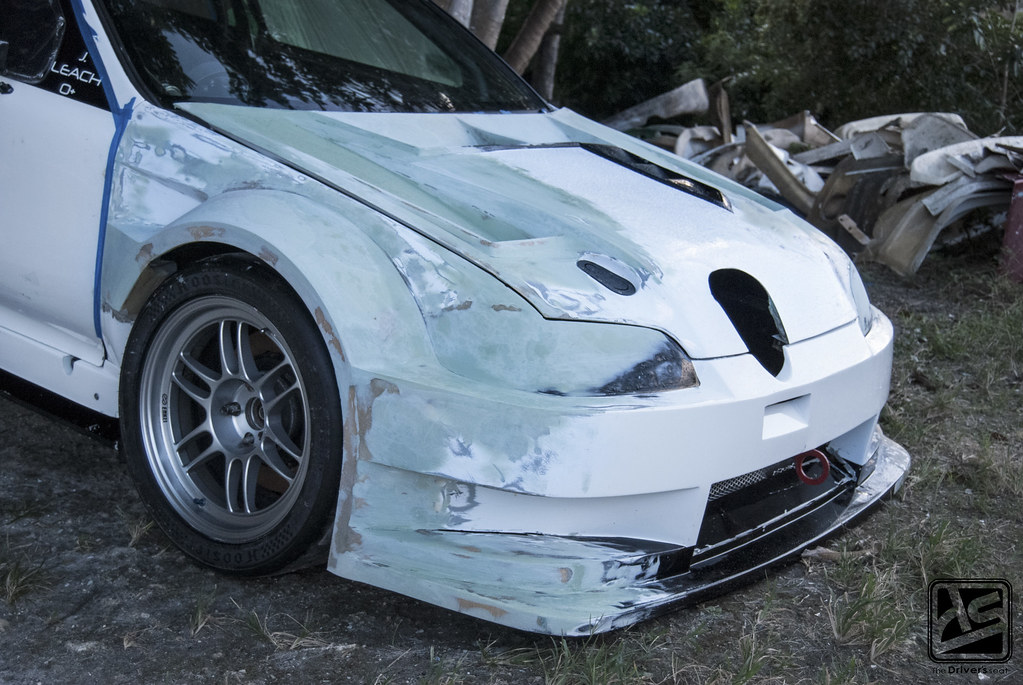
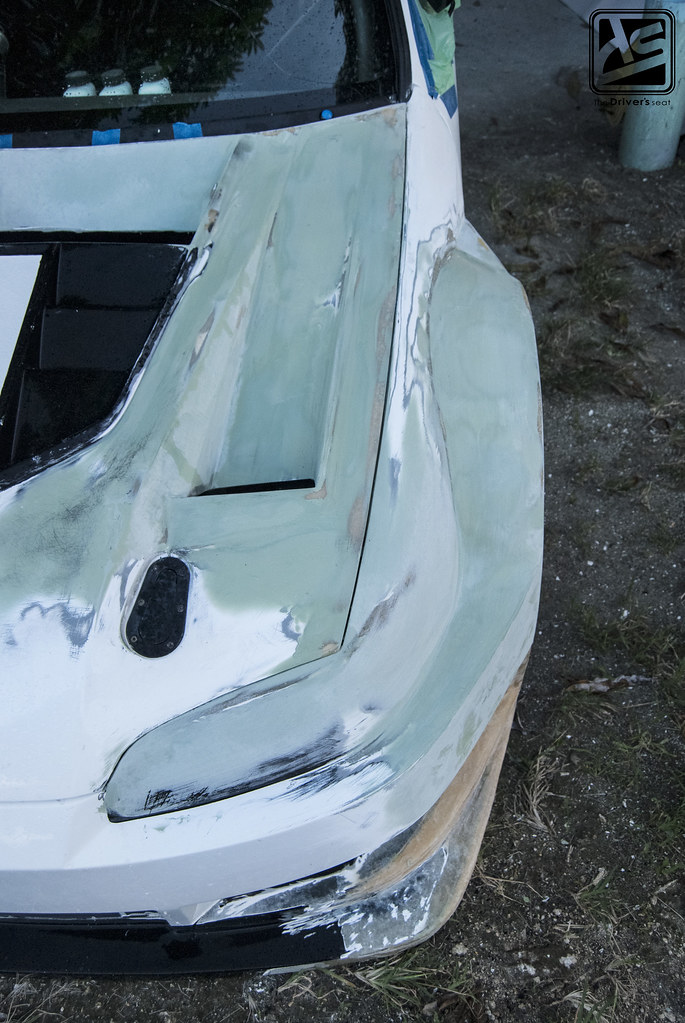
As soon as a decision was made on which concept to go with for the front end, no time was wasted and work began immediately…
A closer view from the front as it starts to take shape, if you pay closer attention you would realize that the fender is incorporated with the front bumper…
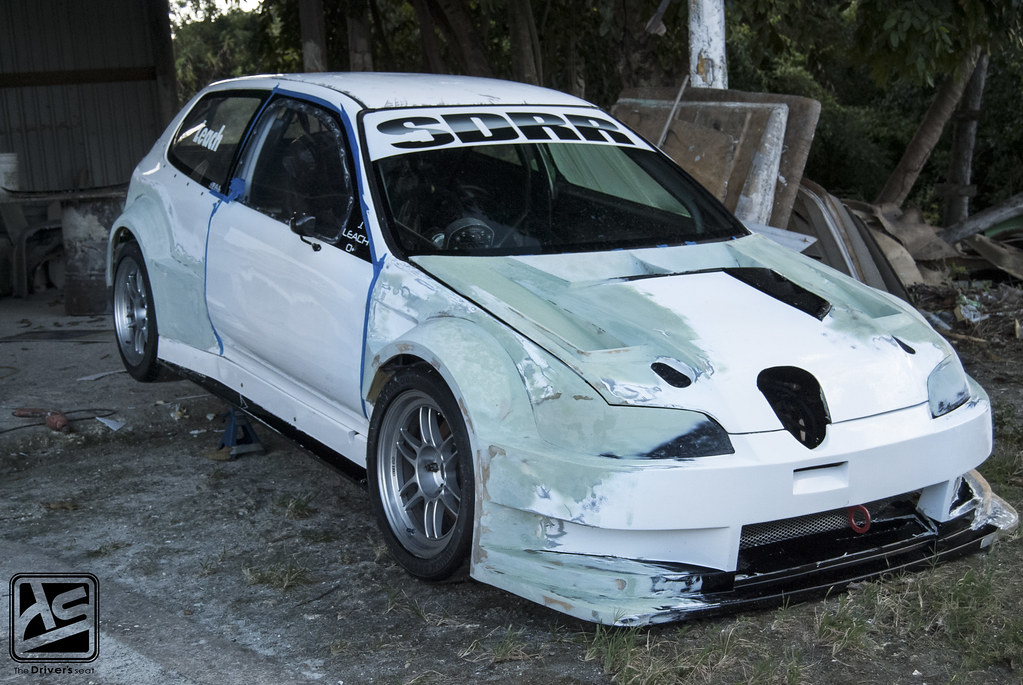
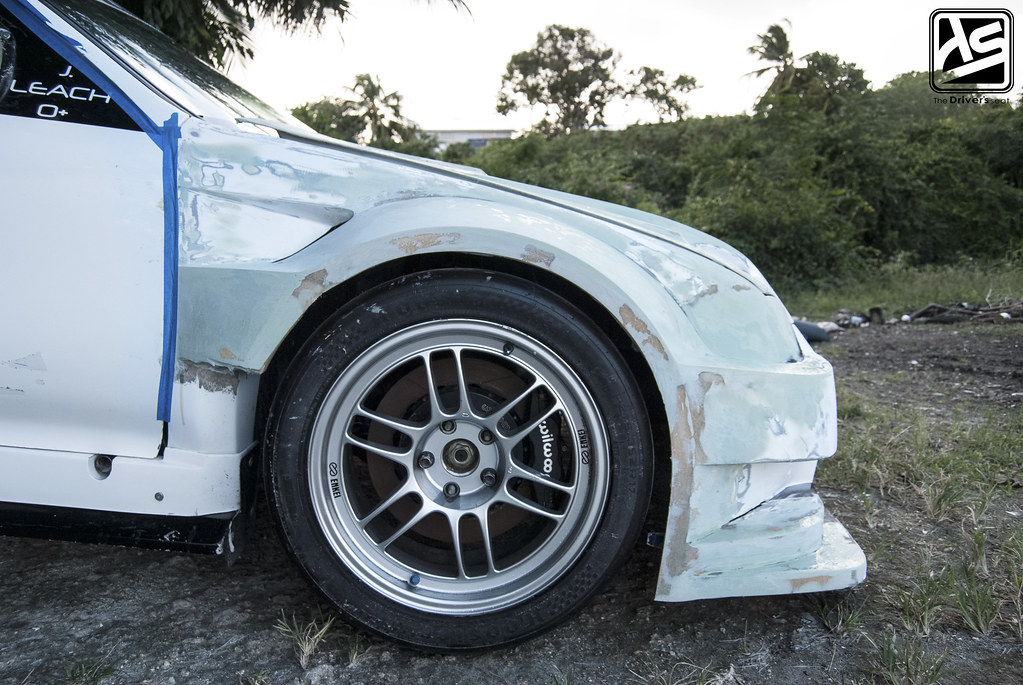 Jerry decided to go with the second concept design for the fenders…
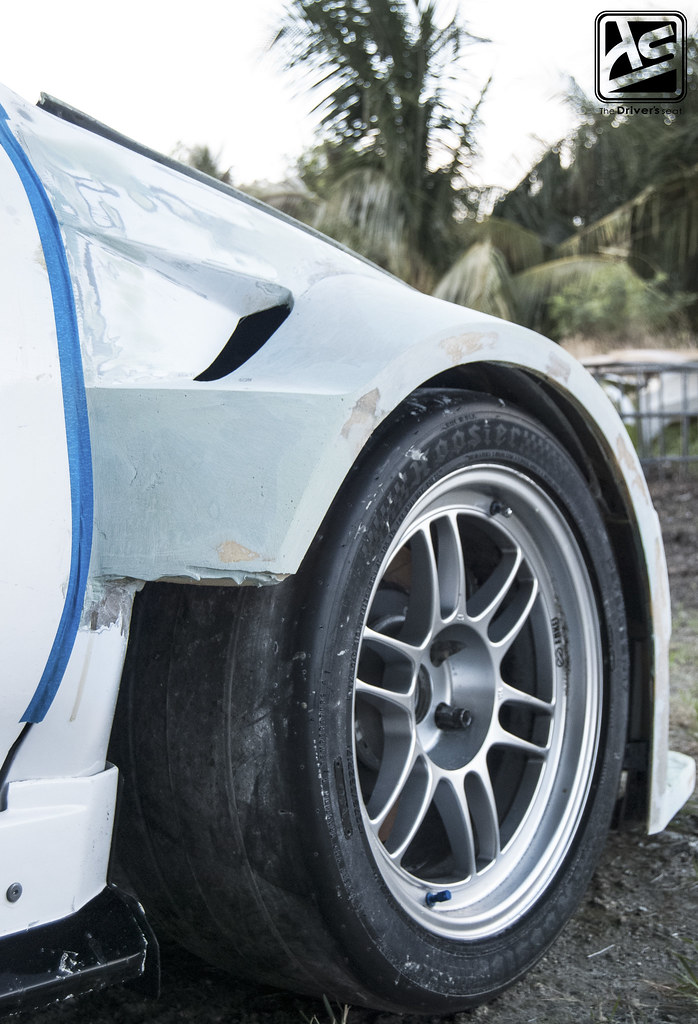
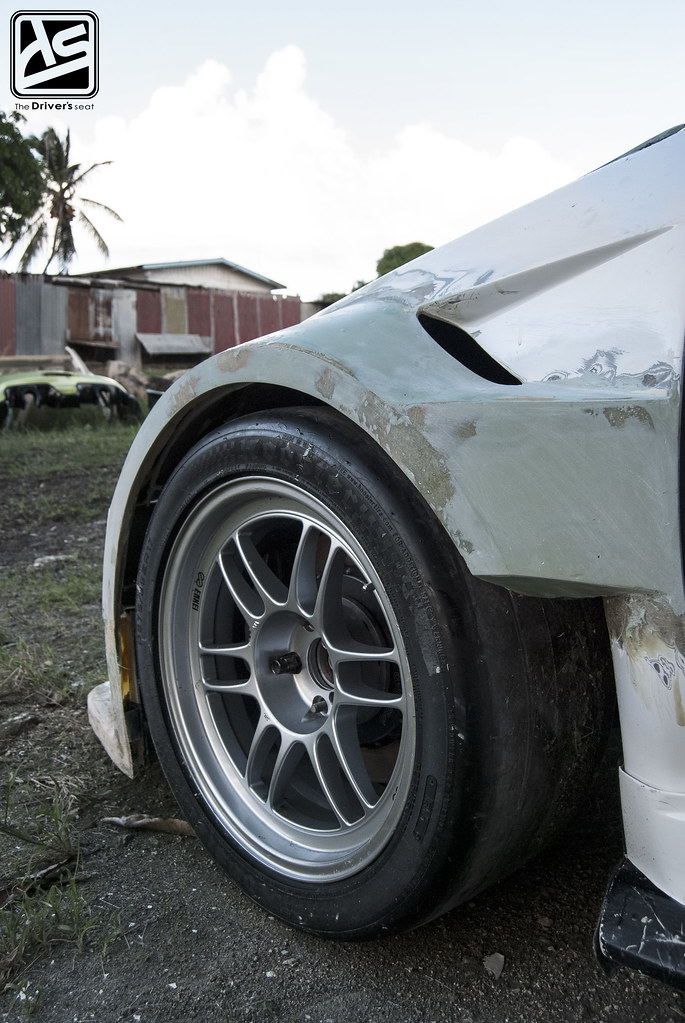
Varying angles of the front fenders, which seem to fit the meatier 275/35/17 Hoosier rubber quite well…
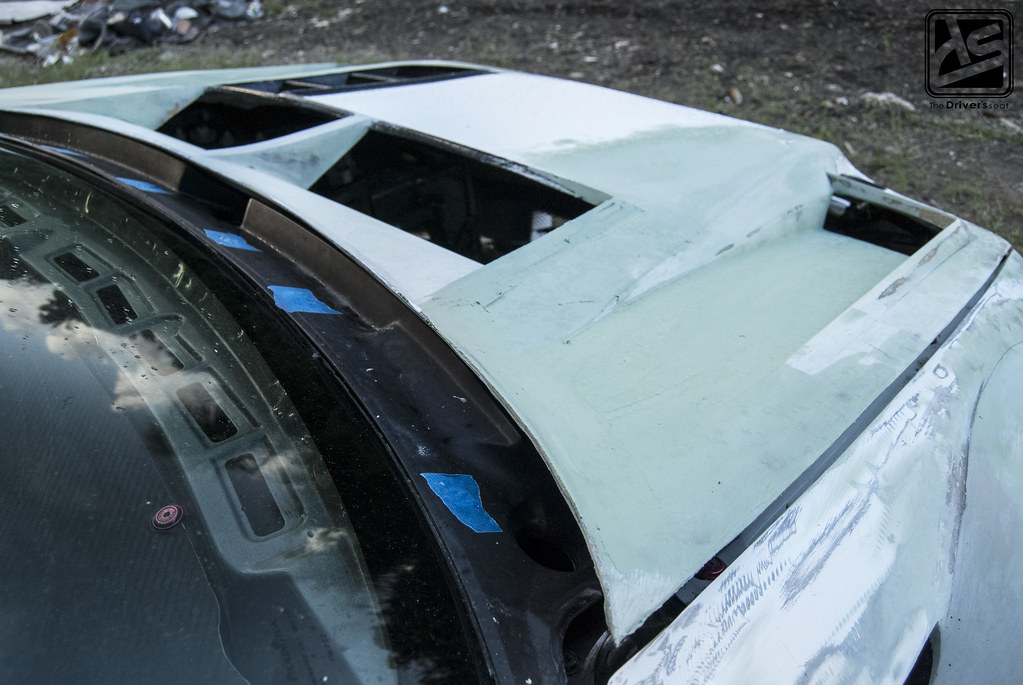

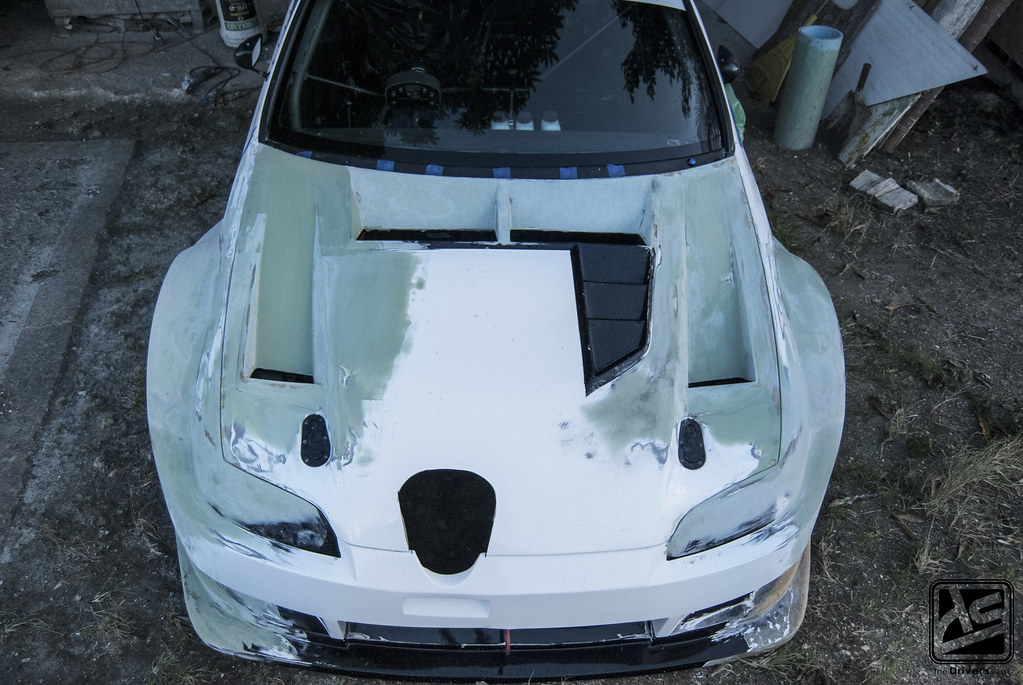
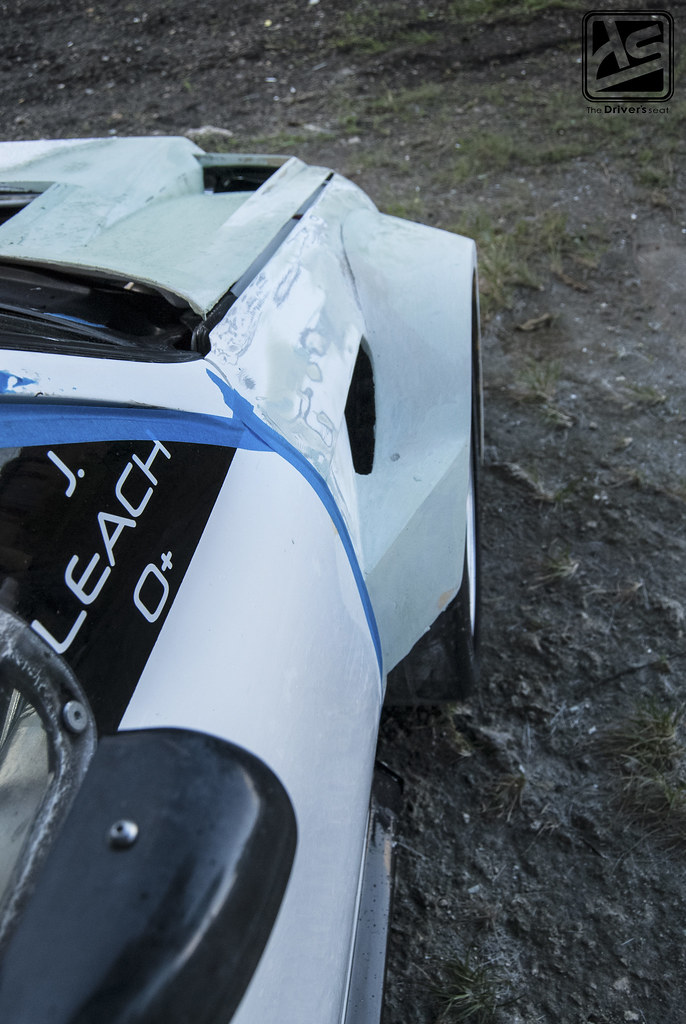
While Jerry was redesigning the bodykit, he decided it would be beneficial to spend some time working on a new hood design as well…
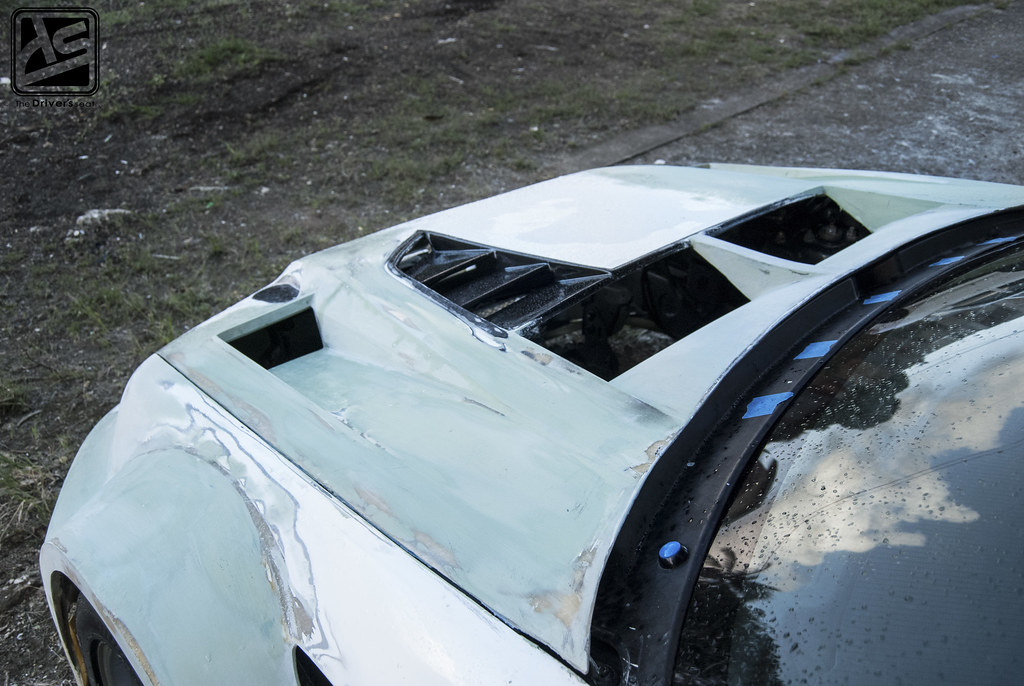
To help with hot air exiting the engine bay which would in turn help to reduce intake temperatures the size of the previous vents were increased and two additional vents were placed on either side…

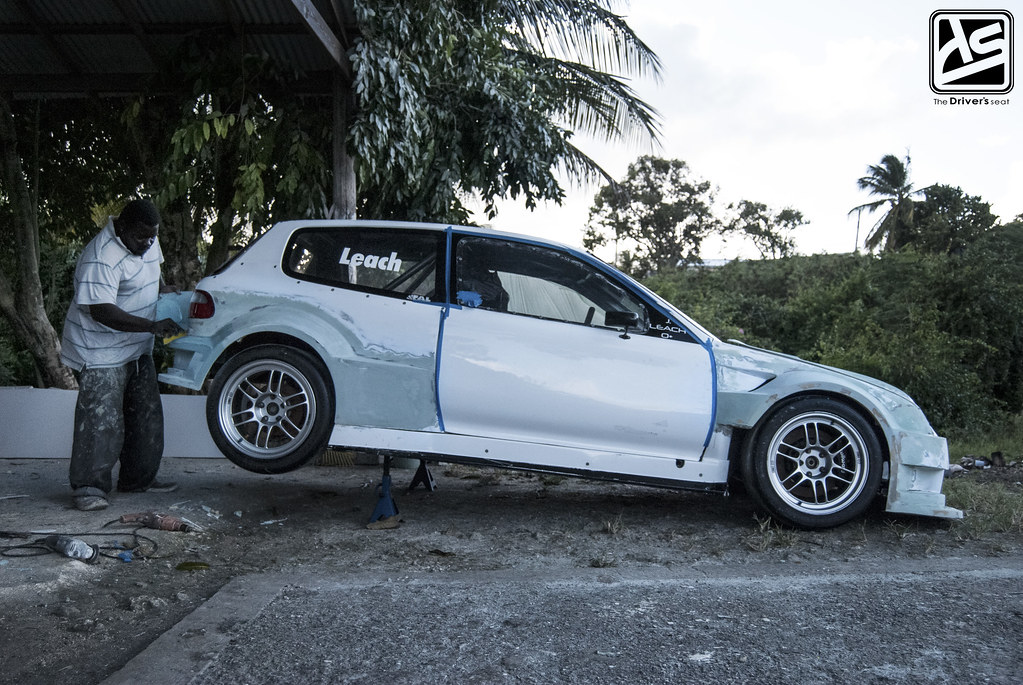
A look at the progress that was made to the left side of the car, as the fenders start to take shape…
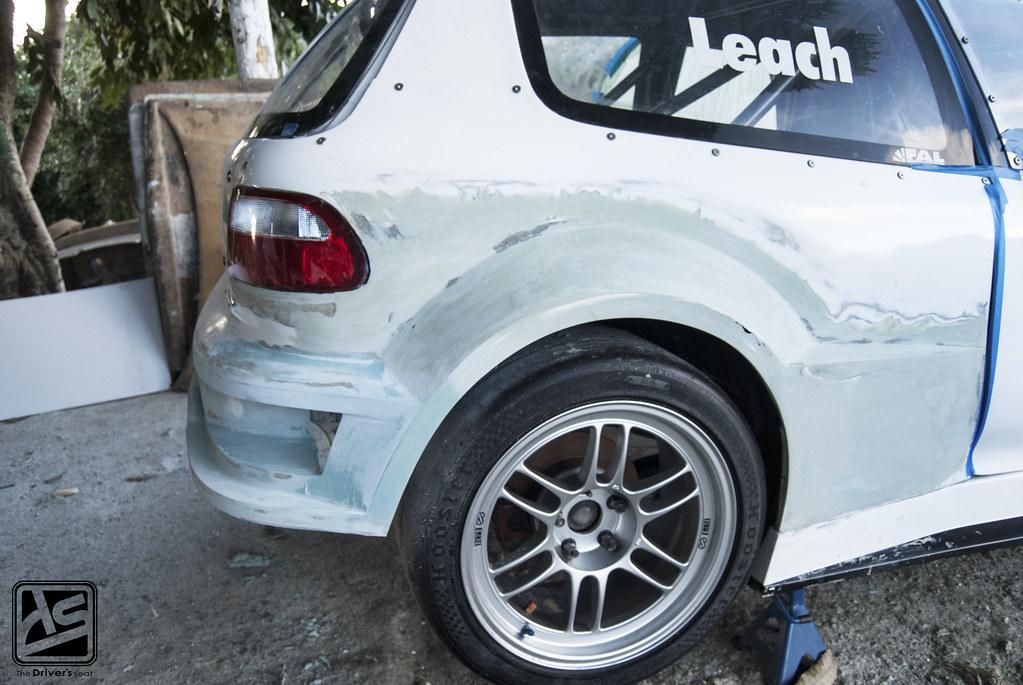
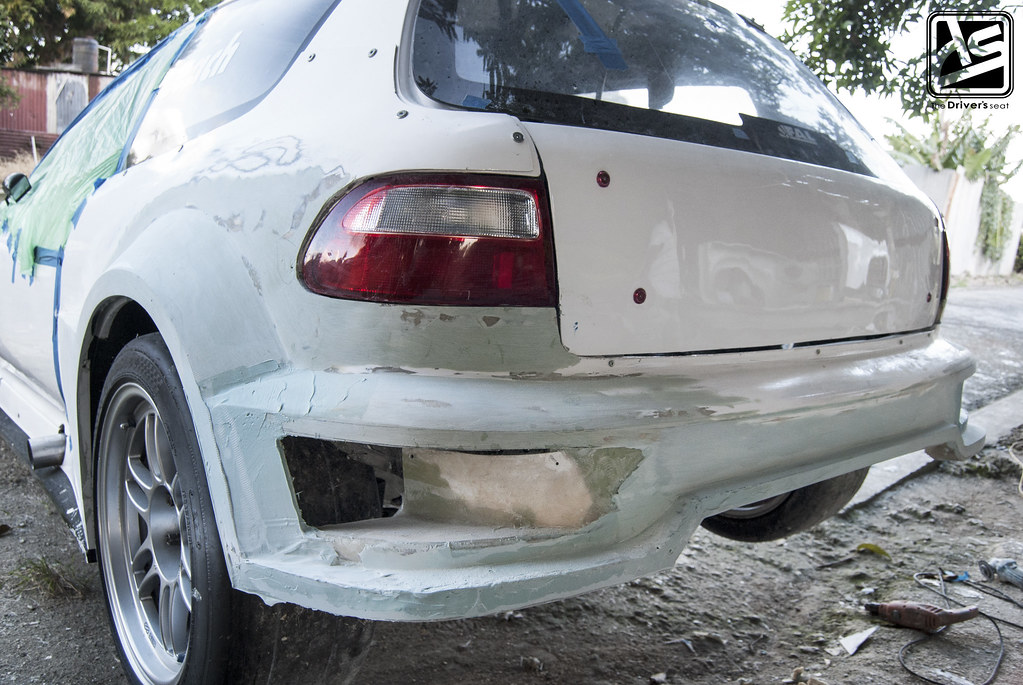
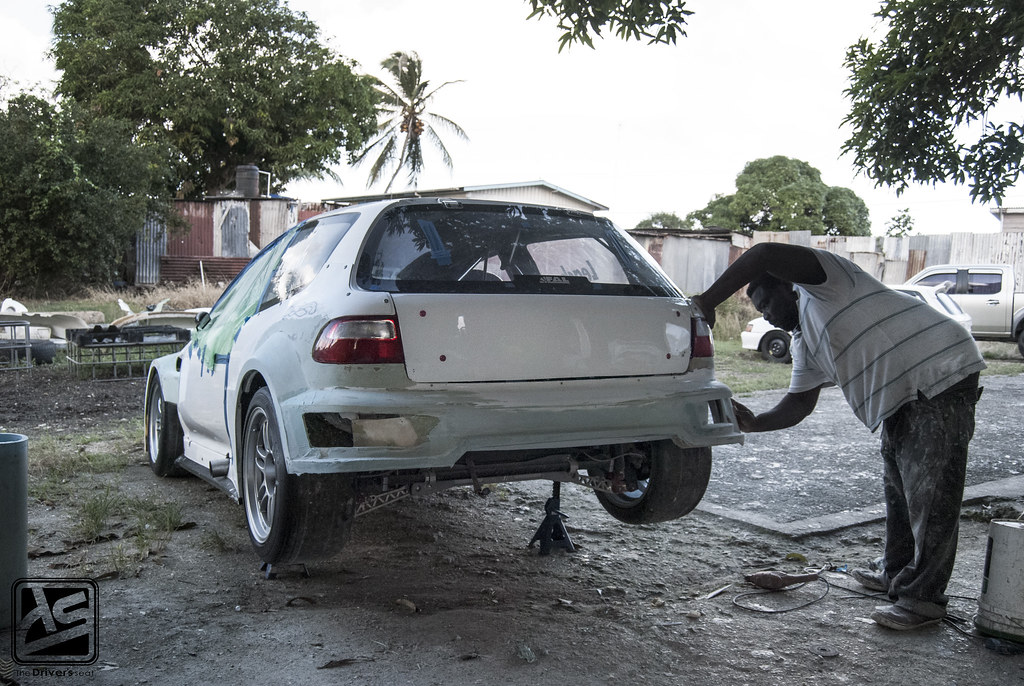
Working our way to the back of the car, the design has changed somewhat in comparison to what it was in the last post…

Full view of how it currently sits…
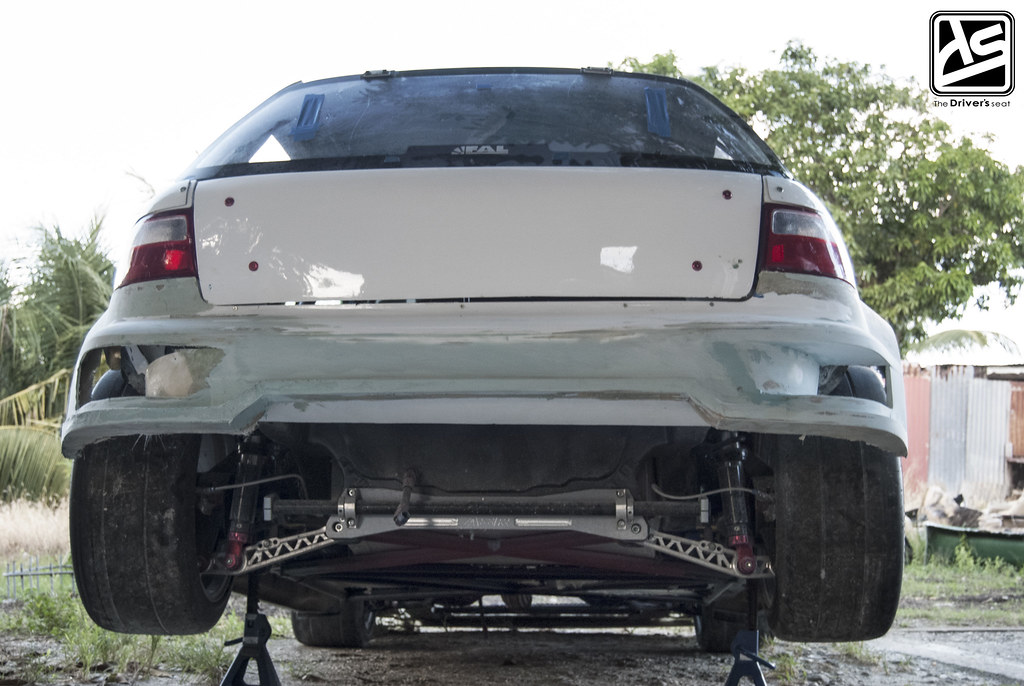
Random underbody shot showing the host of bars and braces used in the most recent modification to the chassis to improve handling…

Hard at work making some final adjustments…
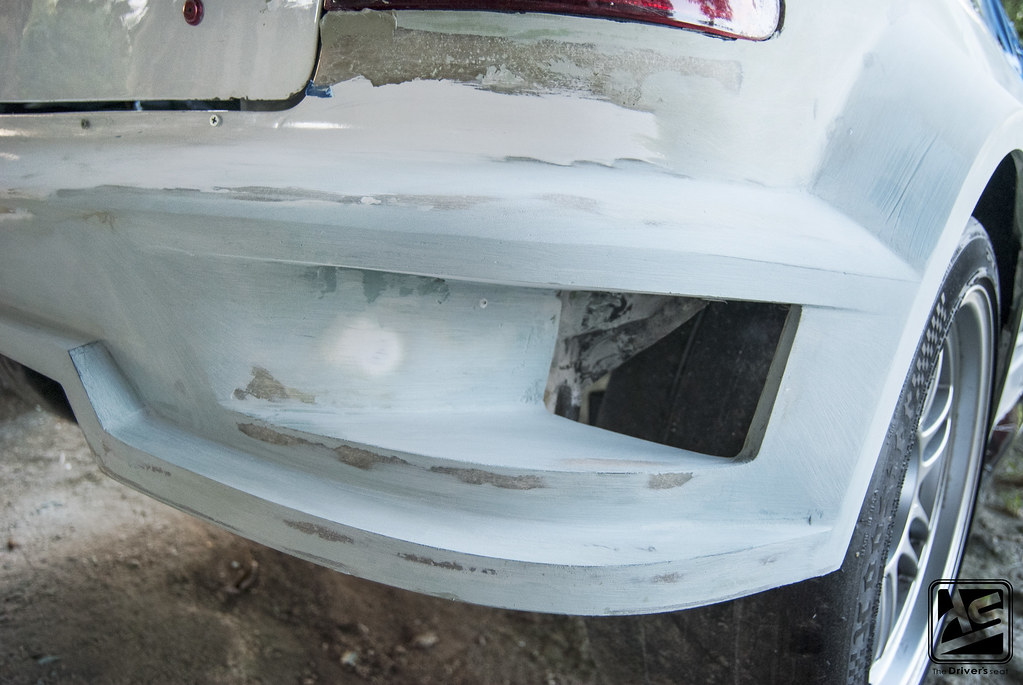
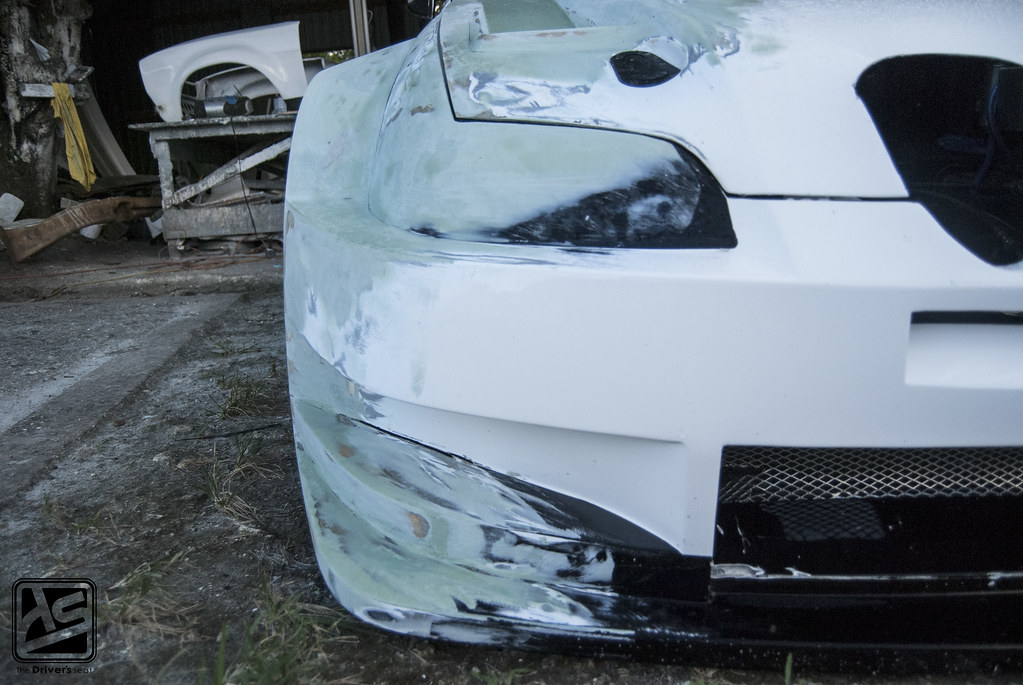
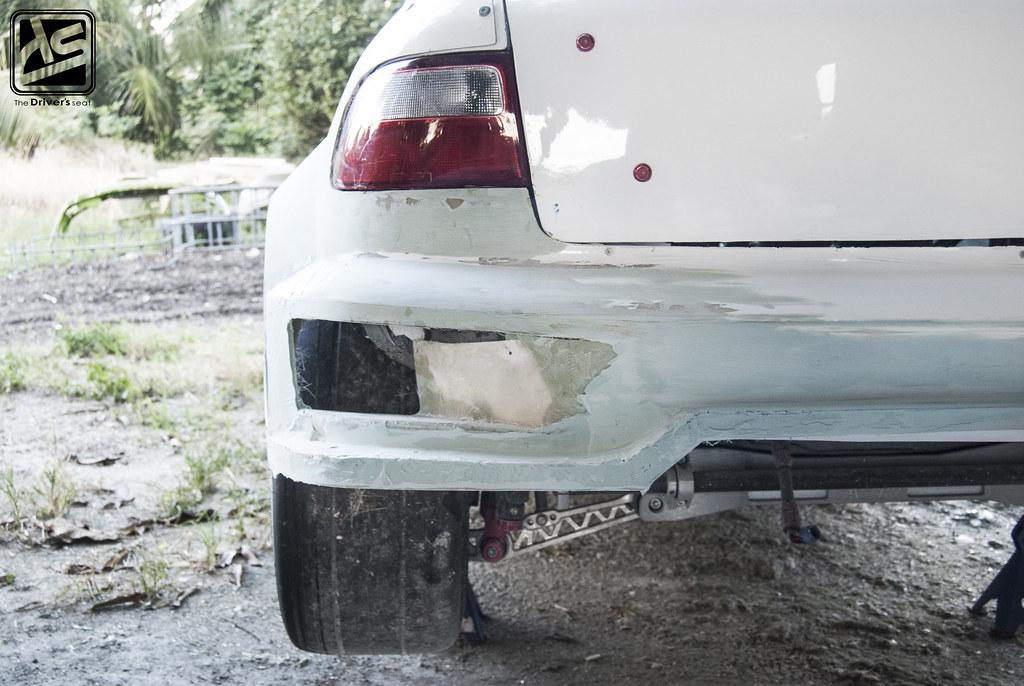
The edges looking significantly more refined and the lines are also a bit sharper…

And on that note, that’s a wrap for today, thanks for taking a look and be sure to lookout for another update coming soon…
Dominic’s KP61 Build… Part 5
It’s a great thing when you see hard work and dedication take shape and start paying off. Today I’m back with an update on a build that is just that.
In the last post, the motor had finally made its way back into the bay and the reassembly started. Today, I have some more shots of this process. Dominic has started to re-install the interior and as with every update so far, he has some new goodies to show off…
For those who may need a recap on this build the link to the previous posts is below…

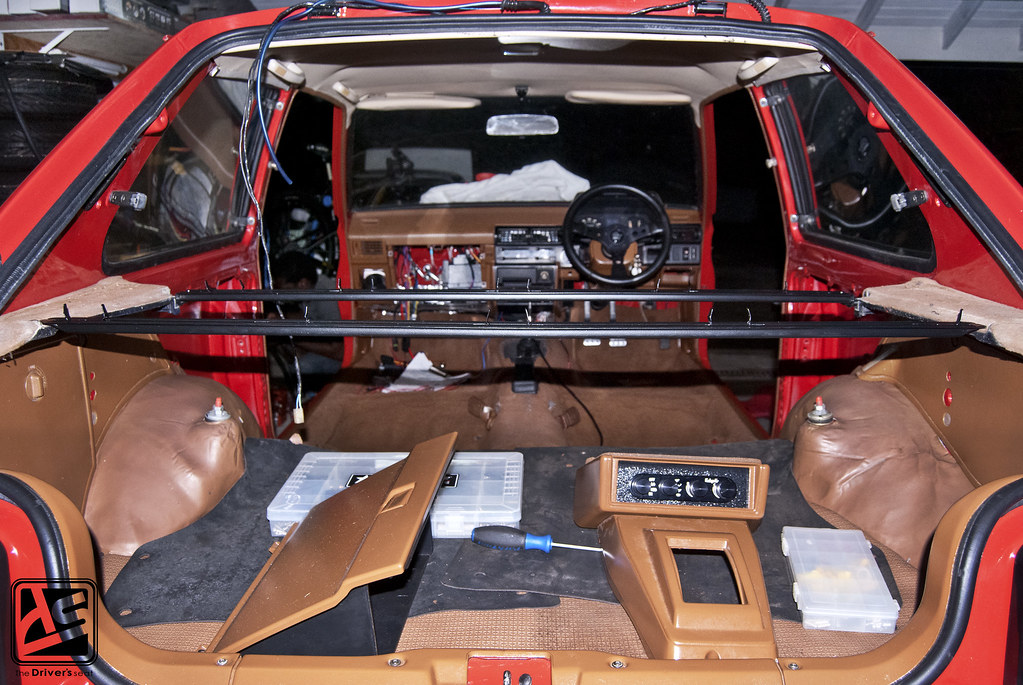
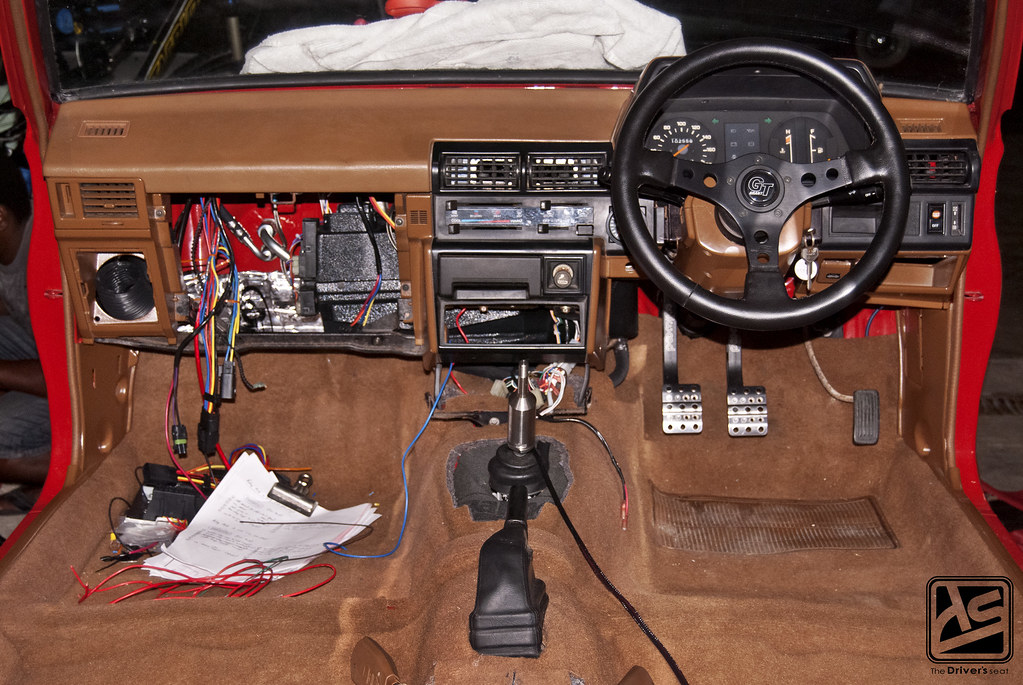 Carpet and dash installed for what would hopefully be the last time. As you can see, Dominic is still busy trying to finish up the harness…

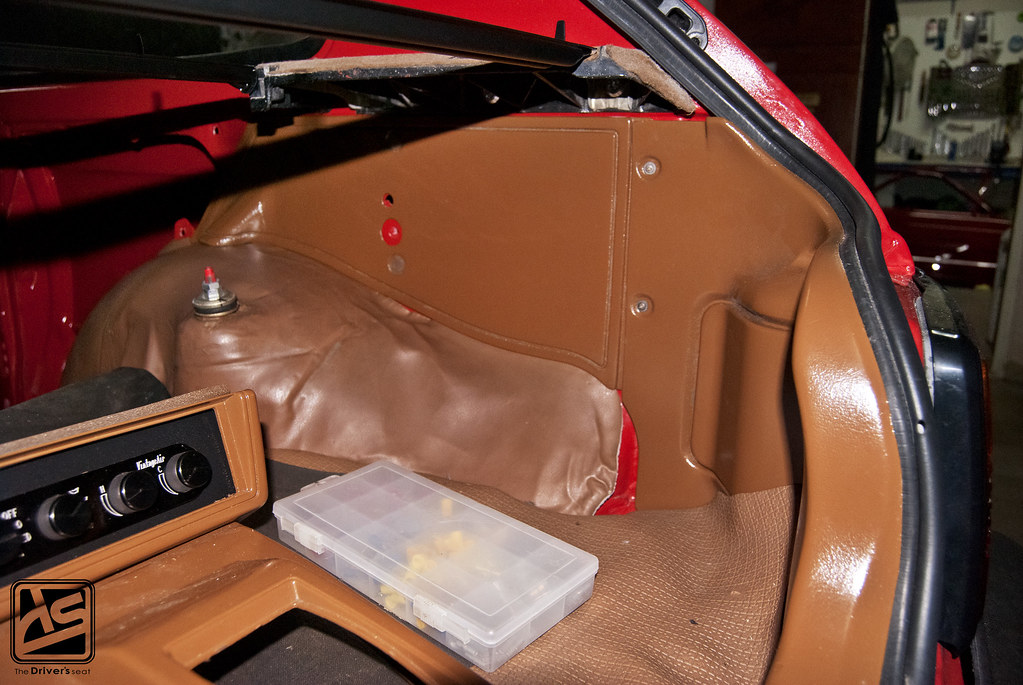 While the car went off to be painted, Dominic had the pieces for the trunk restored back to factory spec similar to what he had done to the dash.
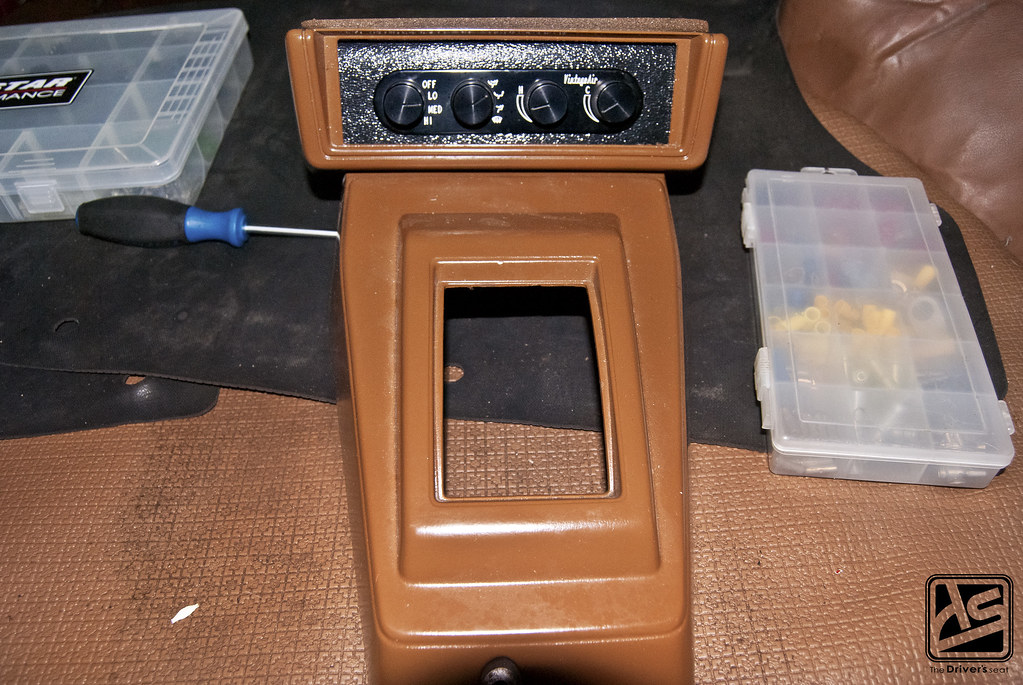 If you guys paid close attention, you would have noticed that Dominic has made provisions for the car to be AC compatible. Because once again the car is suppose to be a restoration build that is comfortable enough to be mixed with modern pleasures. Being bent on the fact the interior had to still remain as vintage as possible, Dominic went on a hunt to find someone who made an AC setup for the 84 Starlet. He managed to find a company by the name of Vintage Air where he was able to purchase a complete system. This worked out great as the knobs and dials look identical to something that was designed back in the 80s.
 Another noteworthy addition Dominic started on, was a trunk lid as his never came with one when he purchased it. As you can see he already has fitted the rails and its just to install the lid now…

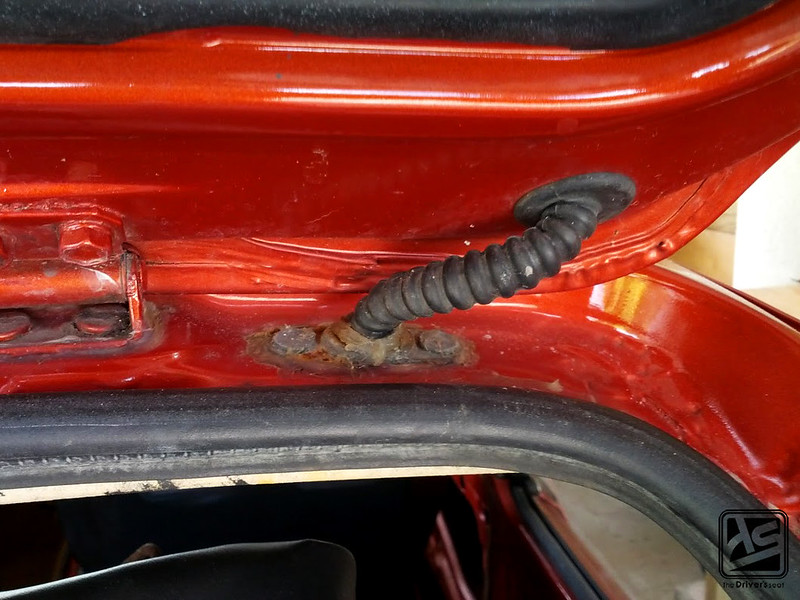
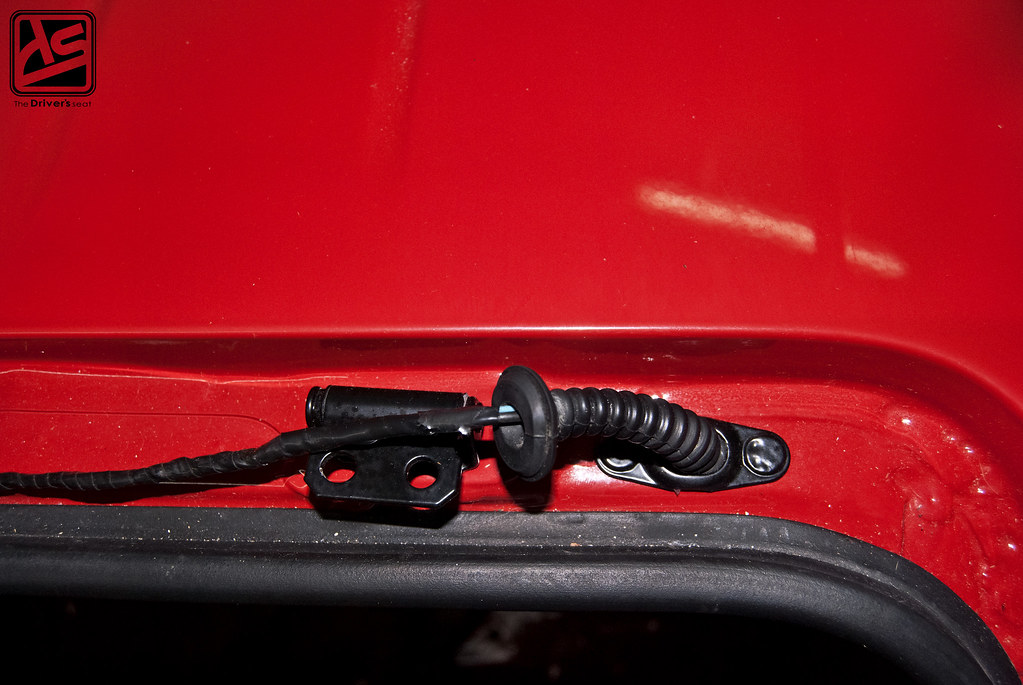 A close up of an area that was lacking attention but was later dealt with by the guys at Corbin’s Garage…
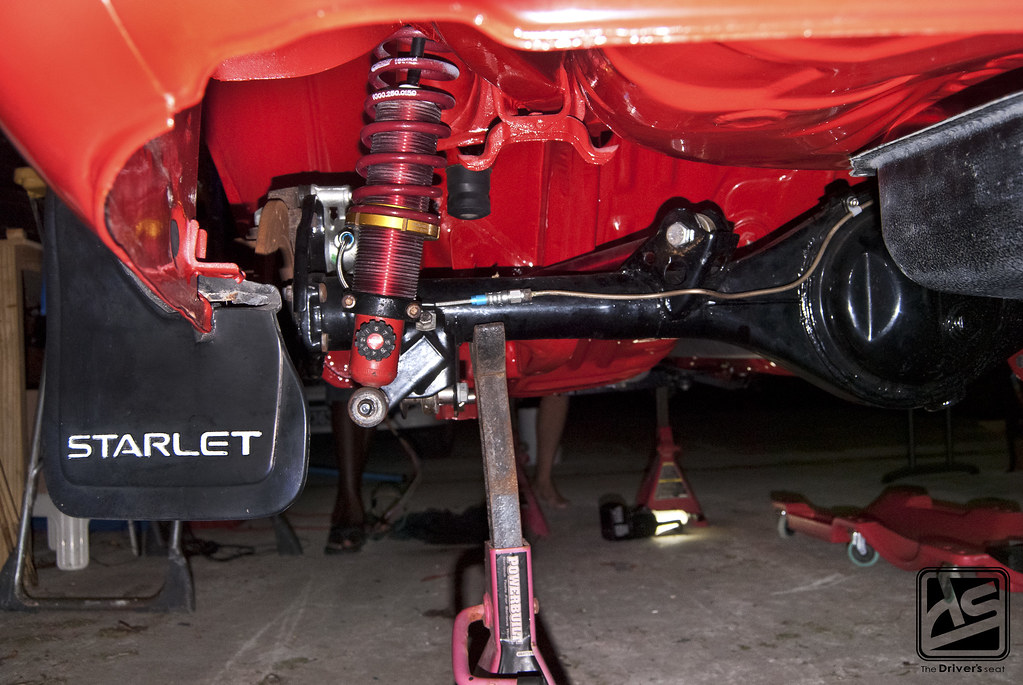
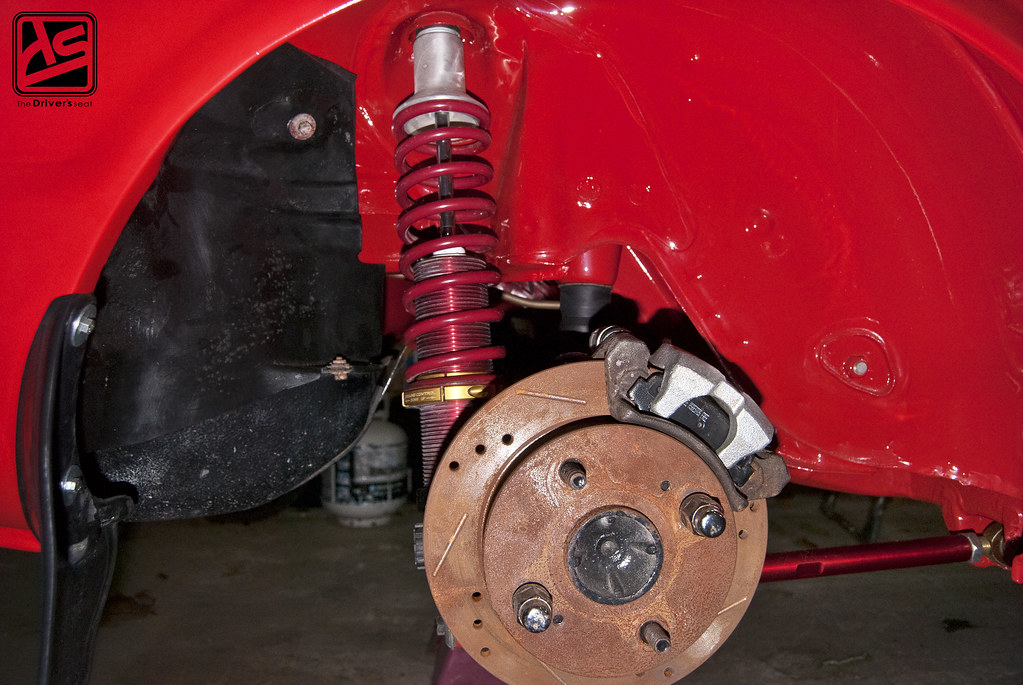
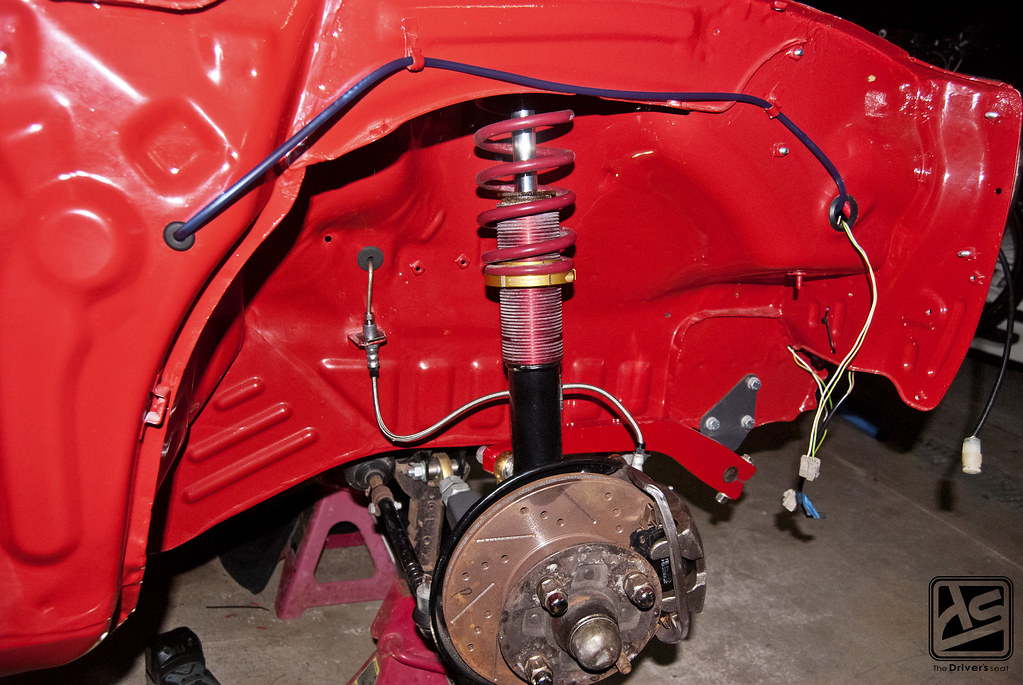 Another look at the suspension and brake setup now complete with the lines ran…
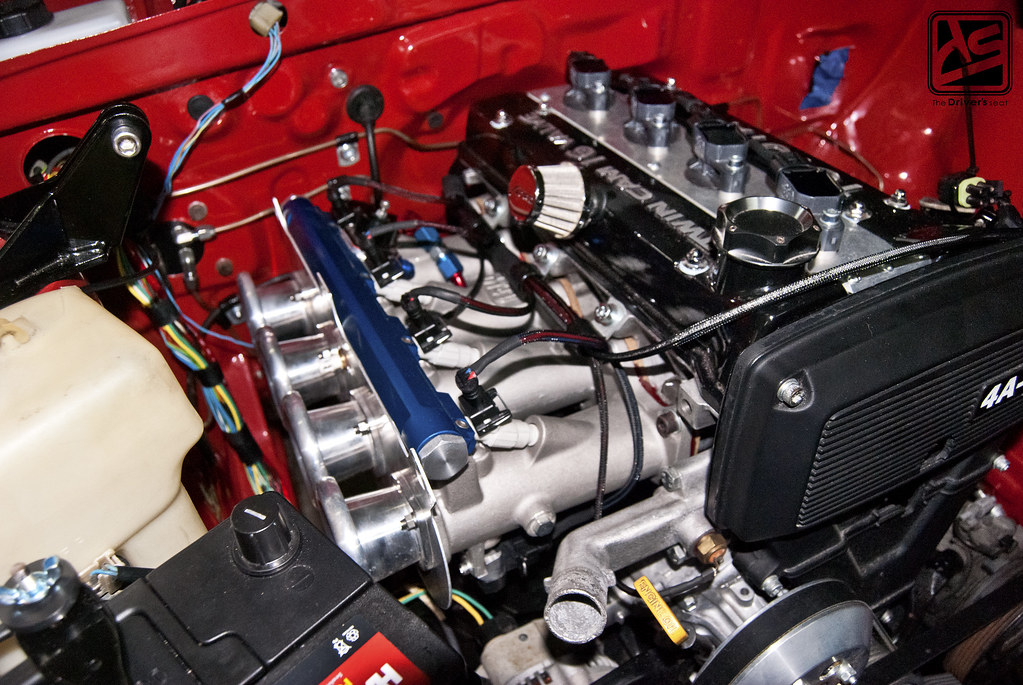
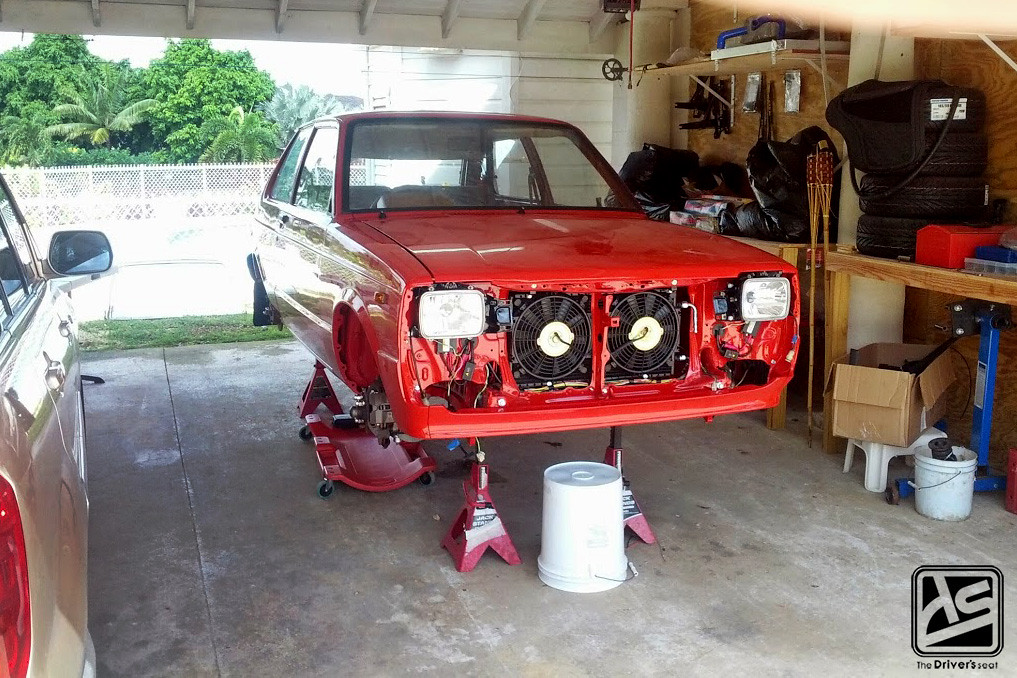
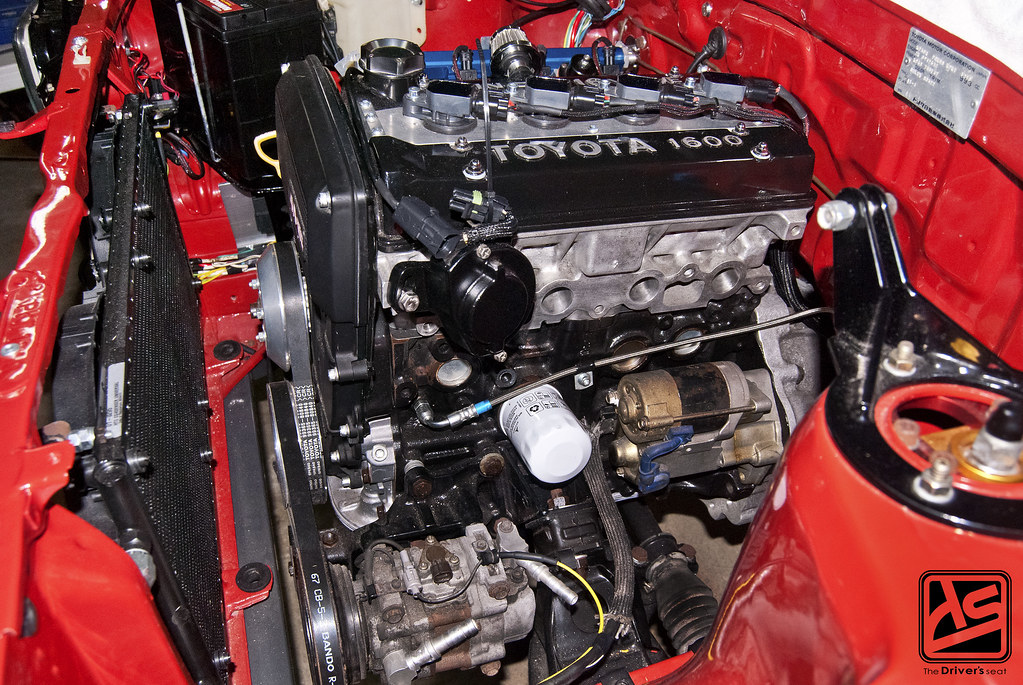 Progress being made in the engine bay, with the harness almost fully completed. You can also spot the Vintage Air AC condenser…
 Doors as they were being fitted…
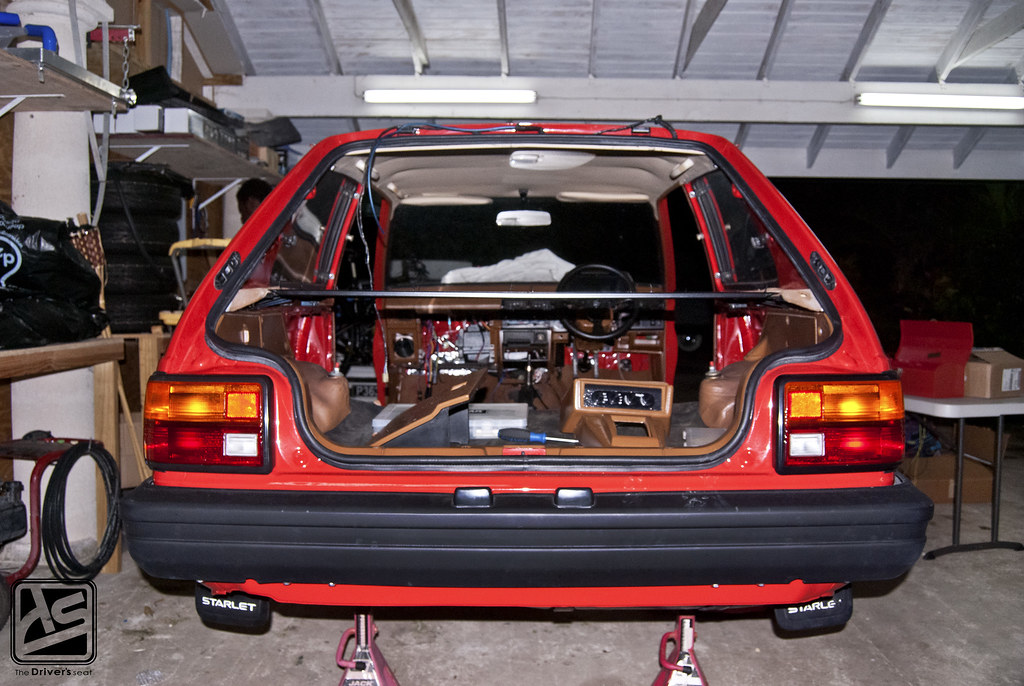
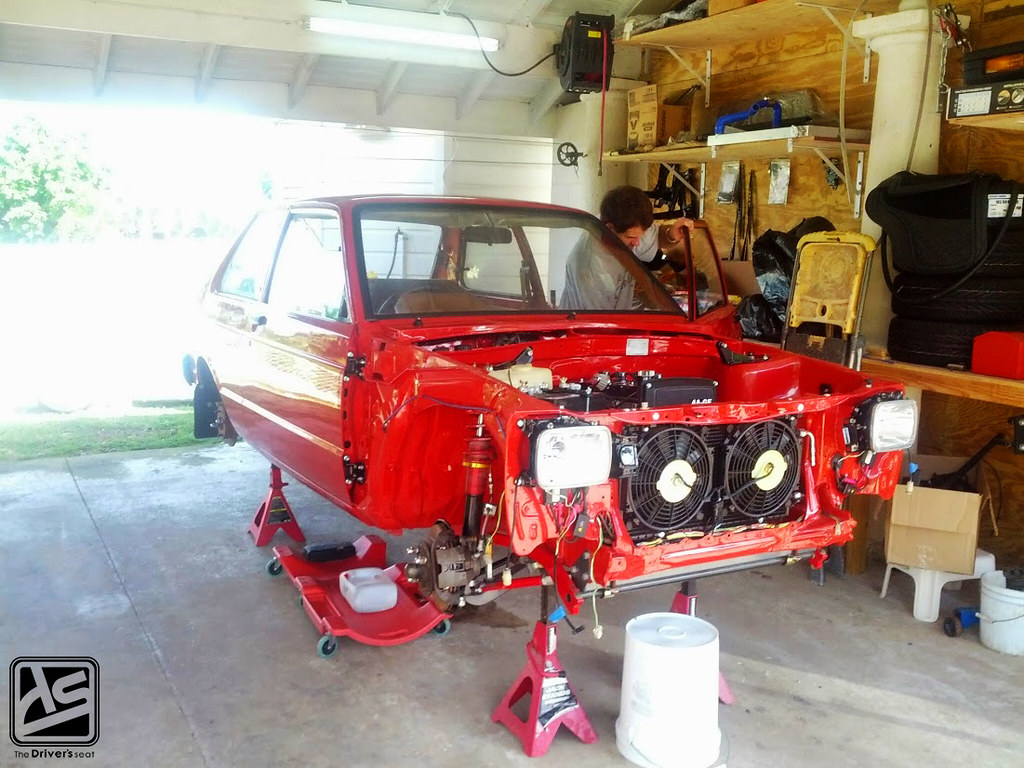
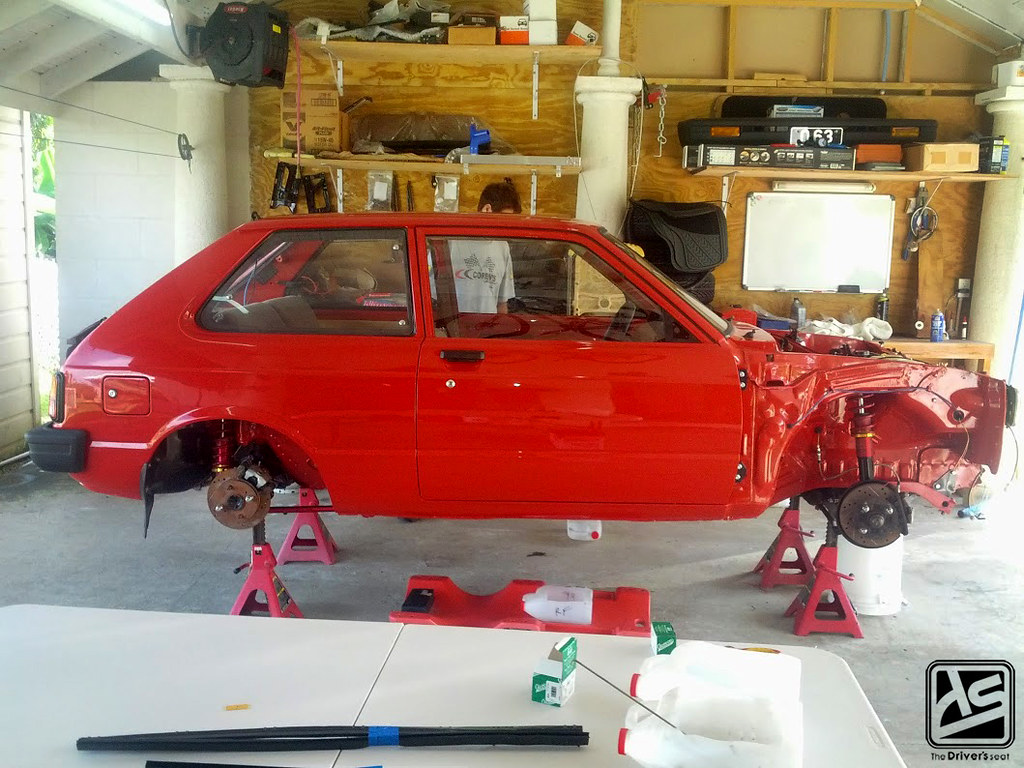
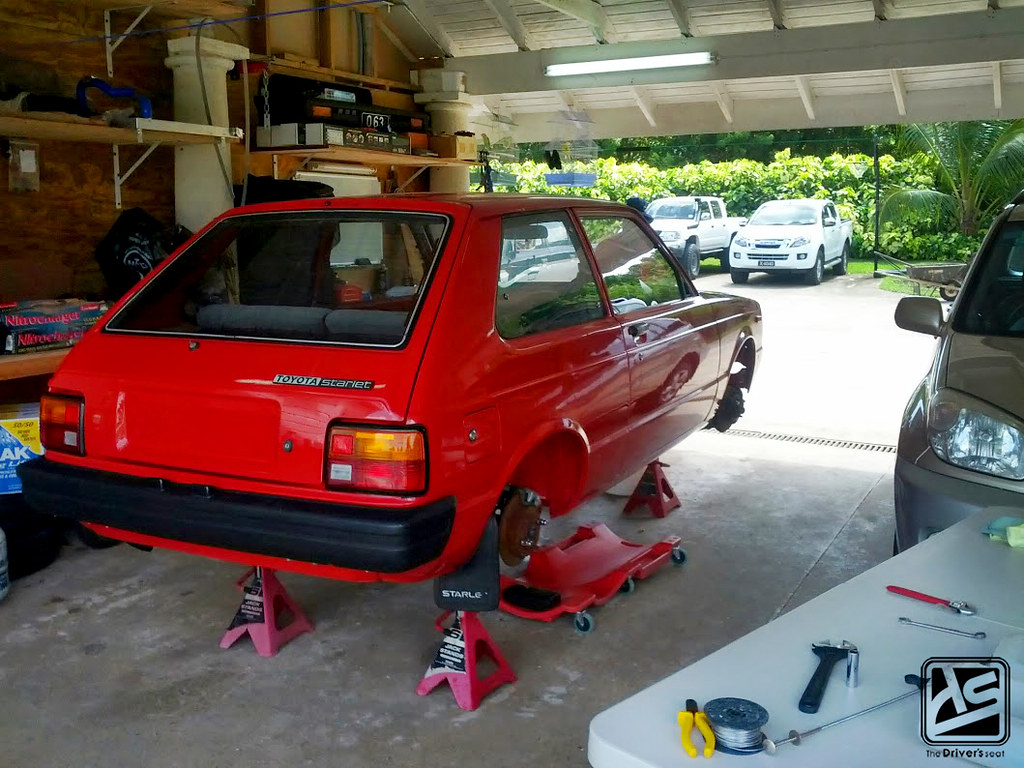 Fenders, headlights, and tailgate also have been fitted. You guys can have a better idea of how the car will look once fully completed. And on that note, that’s it for today’s post, thanks for taking a look and stay tuned for the next update coming soon…
