
Street Kingz: The Empire… Intro
If you guys can remember, some time ago I brought you an inside look at one of the car groups here in Barbados. Well today I’m bringing you a step closer to another one.
A few years have passed since we all became car friends, now today we’re here as something a bit more; a lot of us coming from different backgrounds from varying parts of the island. Before the rise of all these popular social media tools like Instagram, Facebook & Whatsapp. Some of us actually met in parking lots, gas stations or even at a popular tuning shop. When we’re lucky enough to have time off from work or family, we try to get together every once in a while and enjoy each other’s company, no car talk required. That group of people I’m talking about is Street Kingz. My exclusive membership was attributed to friendships formed…
The automotive scene has shifted from one trend to another, throughout this time one group of enthusiasts have remained true to their roots. This group has gone from being known by a few friends to a common name in the automotive scene. Some might view Street Kingz as a group of “Honda enthusiasts” but in reality we are just a bunch of close friends who have a great love for performance no matter the platform.
The idea behind Street Kingz started somewhere in 2010, but the group itself wasn’t formed until 2011. What was initially just a thought – between two friends coming from separate groups within the automotive underworld – to join together and form an alliance. It didn’t take long before this idea was revisited and later finalized and brought forth the start of Street Kingz.
Officially Street Kingz has 7 members and most of the guys have been together now for roughly 4 years, in this time we’ve moved from just a bunch of guys not only talking about cars but helping each other work on or make technical decisions regarding each other’s build. Another thing that was the main focus behind the group was how everyone meshed together, it’s not all about the cars, it comes down to friendship.
For the most part, we have stayed away from the stanced out, neon coloured wheels, sticker bomb style that is heavily associated with the current scene today. Function above all, if it can’t take a good thrashing then what’s the point? I think that’s another reason we all mesh so well together, because we have similar interests. From a distance we all would admire the stance scene but that’s really not what Street Kingz is about. A lot of the influence comes from back in the day when having a car with just a simple drop, nice wheels and fast motor was all you needed. In a nutshell the best way to describe Street Kingz’ style is a modern day timeless look.
Now you guys have the story behind Street Kingz, I will get into the other side, the rides. Over time I will be giving you guys an inside look at the the various projects within this group and the progress associated, similar to any other build that I cover here on the site.
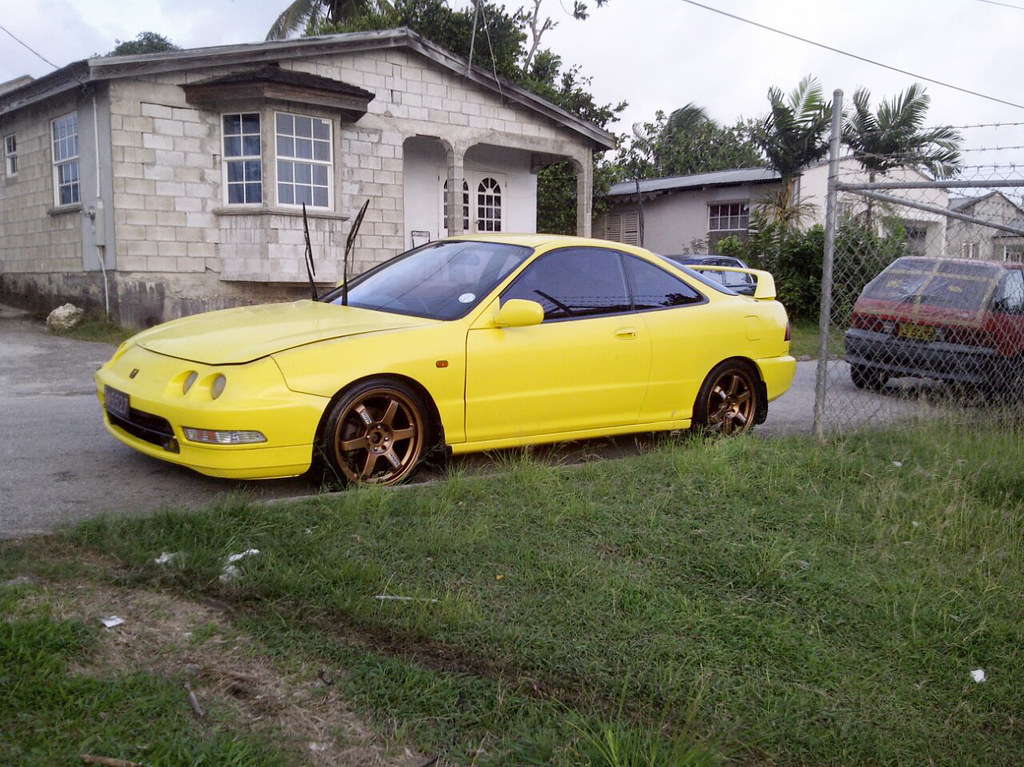
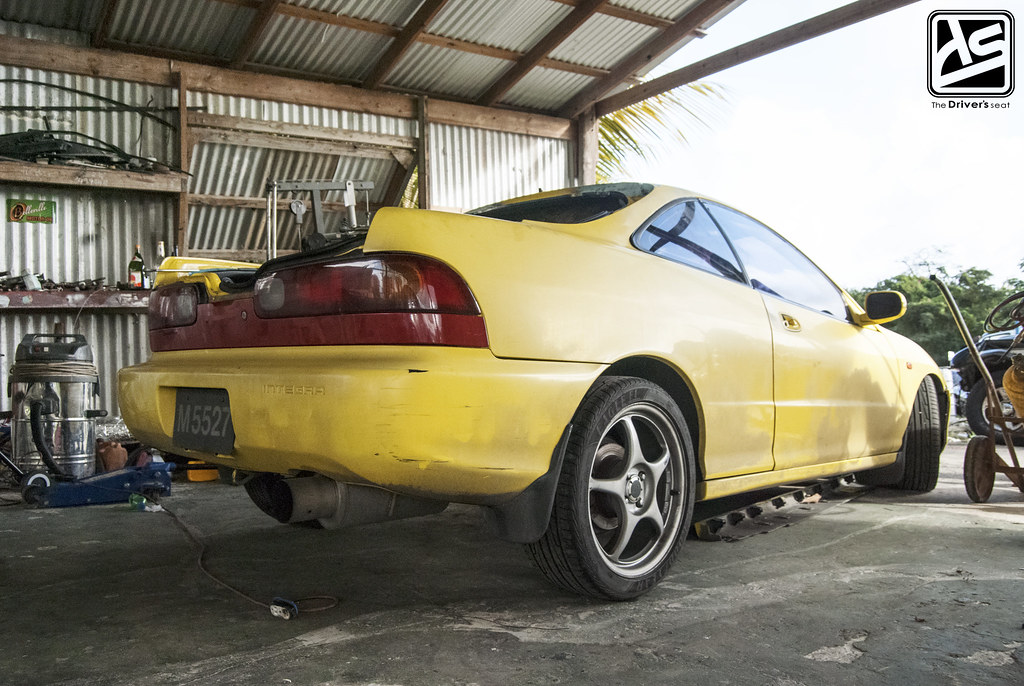
Moving forward with the first car I will be bringing you from Street Kingz is Clement’s DC2 Integra GSR. Being in the car scene for some time and having built several projects over the years, ranging between rwd and fwd both naturally aspirated and forced induction. After Clement’s first encounter with a B Series, he was amazed by the performance levels attained from a standard motor. Not only was it powerful, but the reliability that came with it was remarkable. From there on, Clement developed a great love for Hondas and hasn’t looked back since.
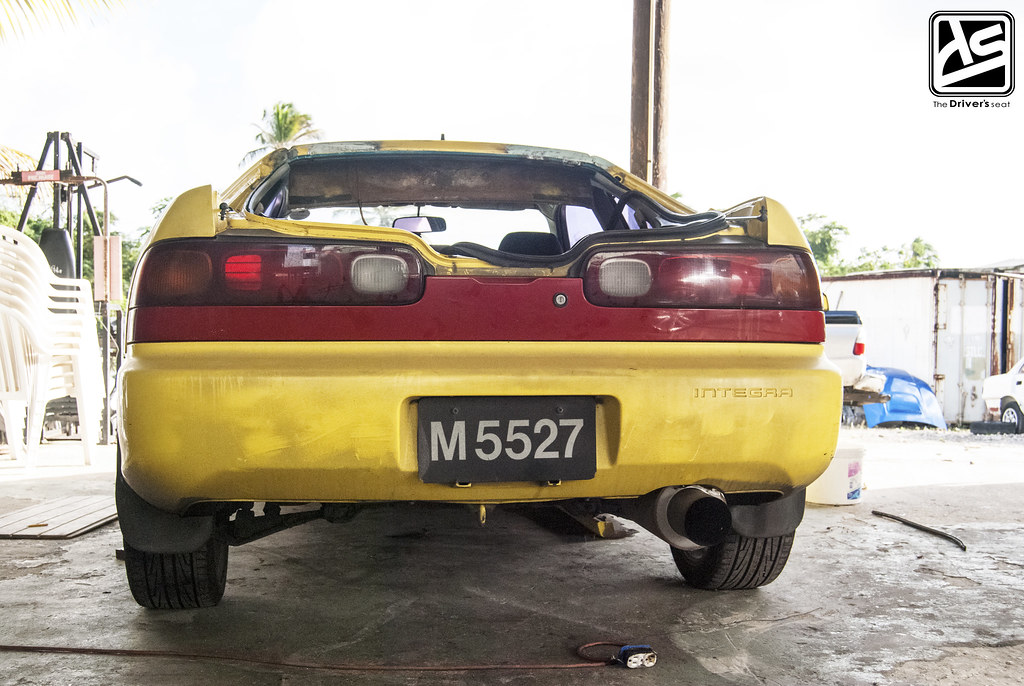
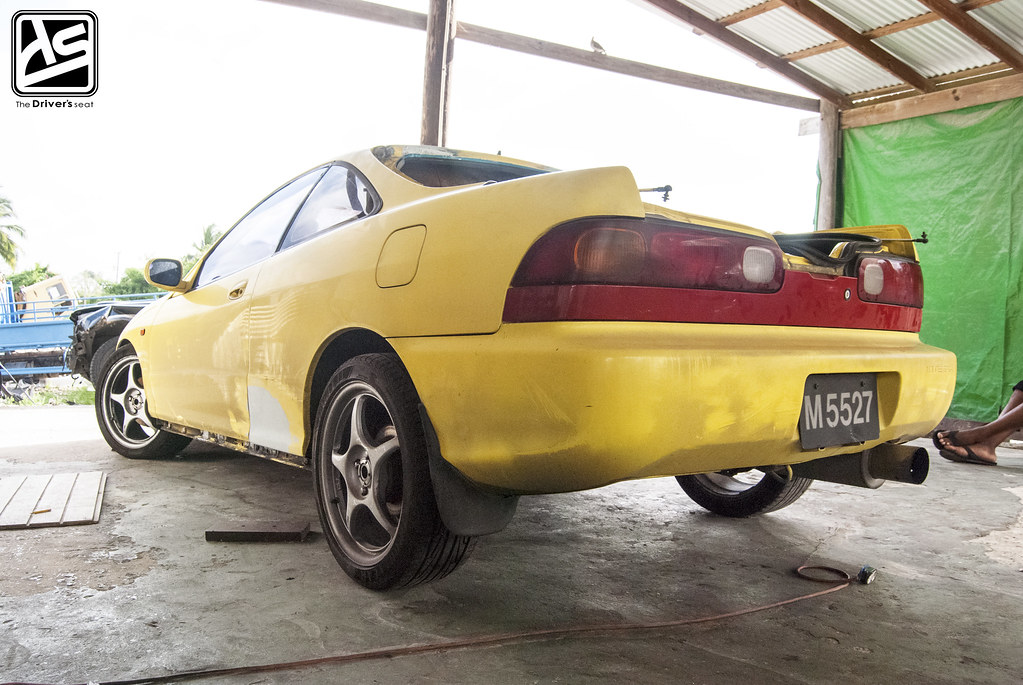
After making some upgrades to the motor a little while ago and enjoying it to the fullest, Clement has finally made the time to strip down the car and focus on the other side of his build, the appearance. I have a few shots of how the car sat for a while and I’ll be taking you directly into the bodywork process.


With the car wanting some serious TLC, Clement put plans in motion to have the car dealt with body wise in preparation for a fresh new coat of paint.
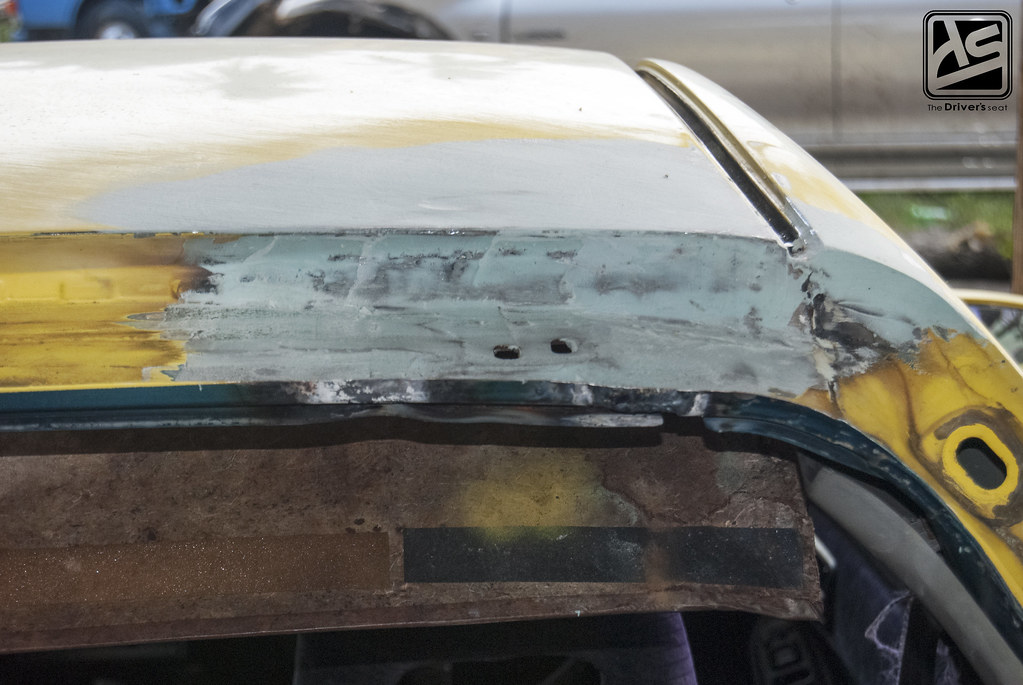
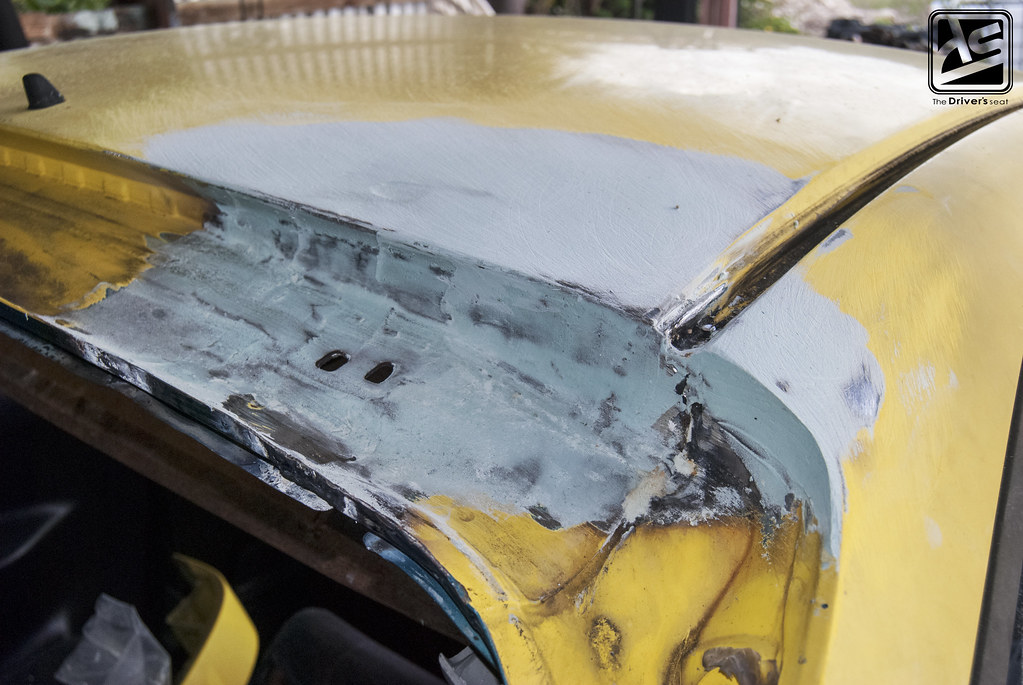
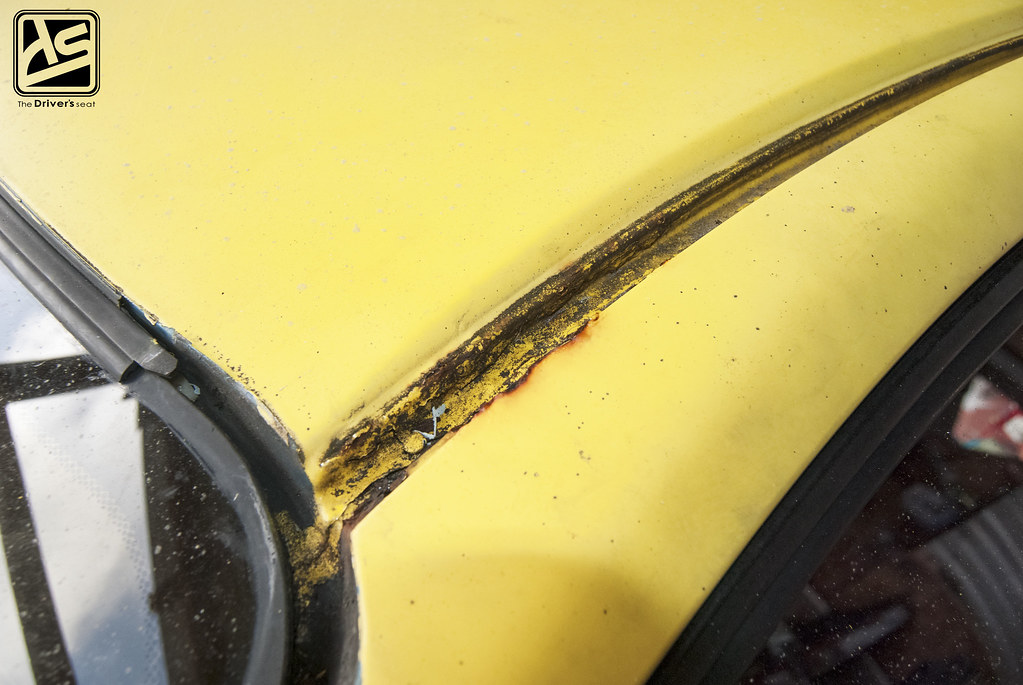
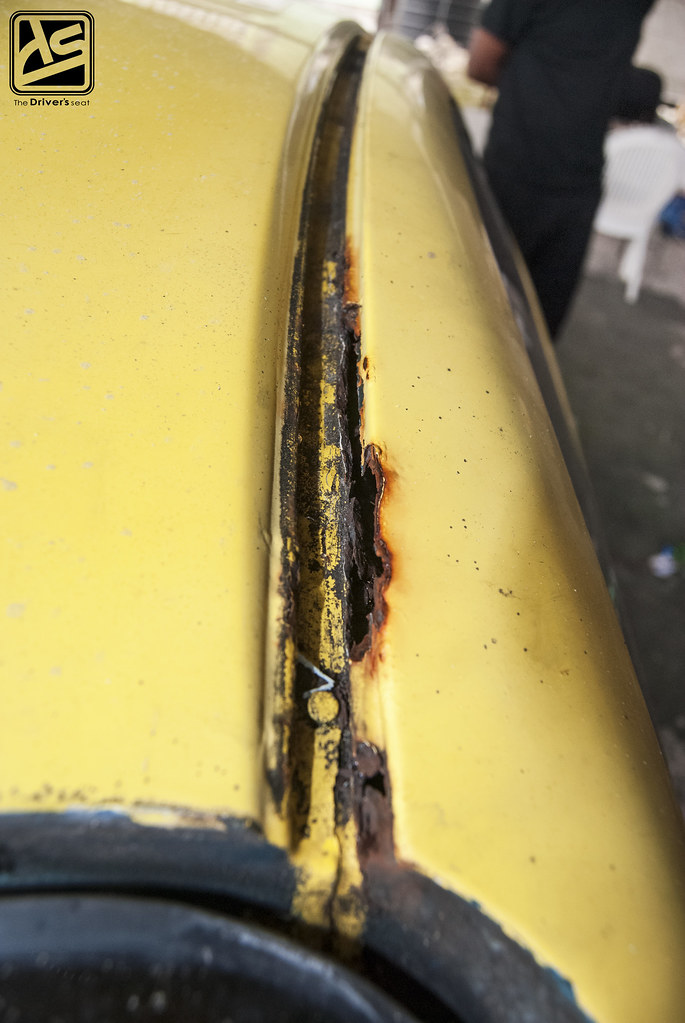
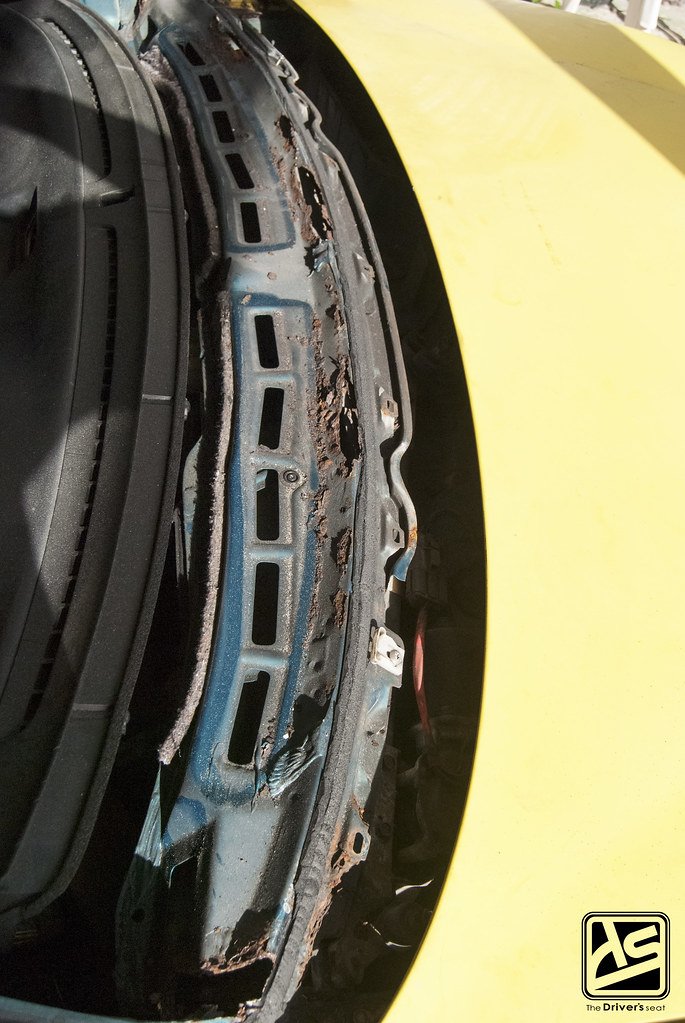
The rear portion of the roof where it meets the tailgate is typically known to rust. As you guys can see, Clement’s own wasn’t an exception…
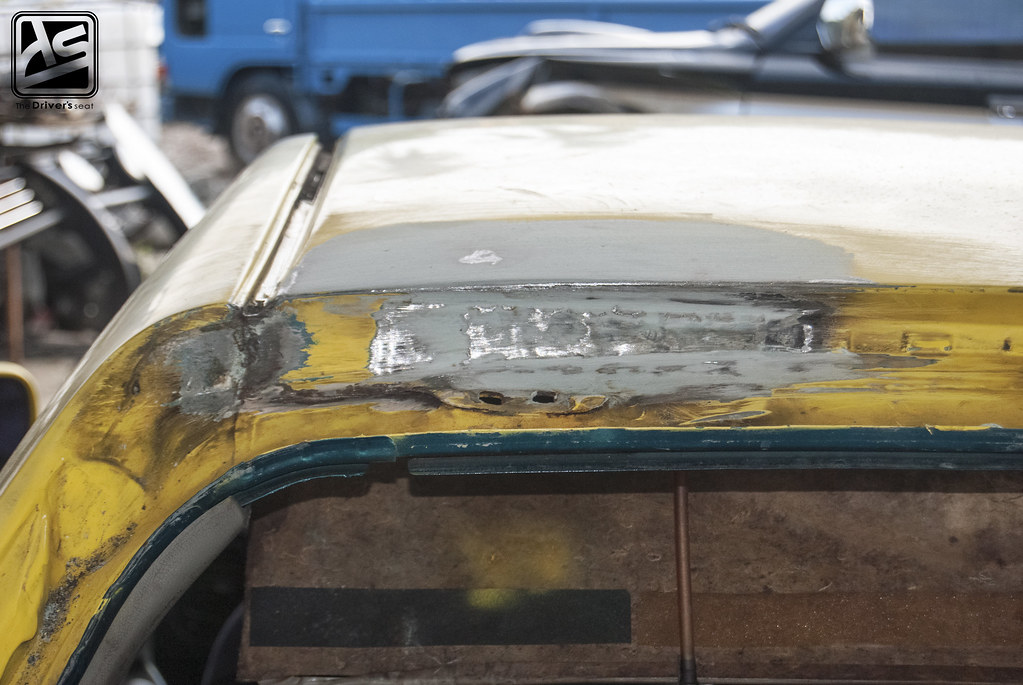
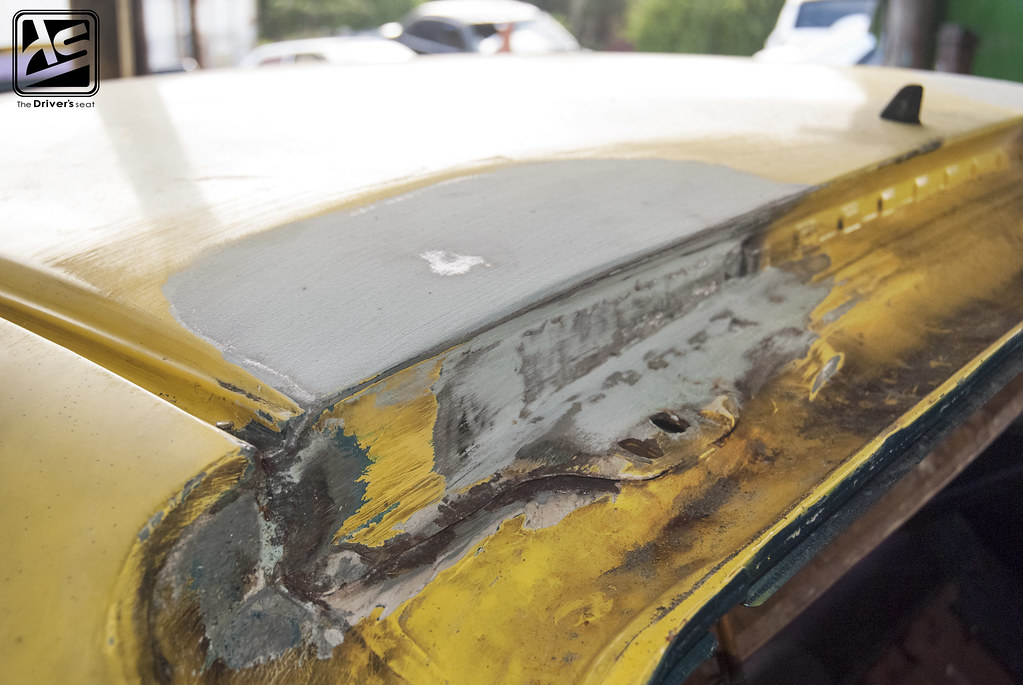
Both the left and right side had rust that needed to be dealt with…

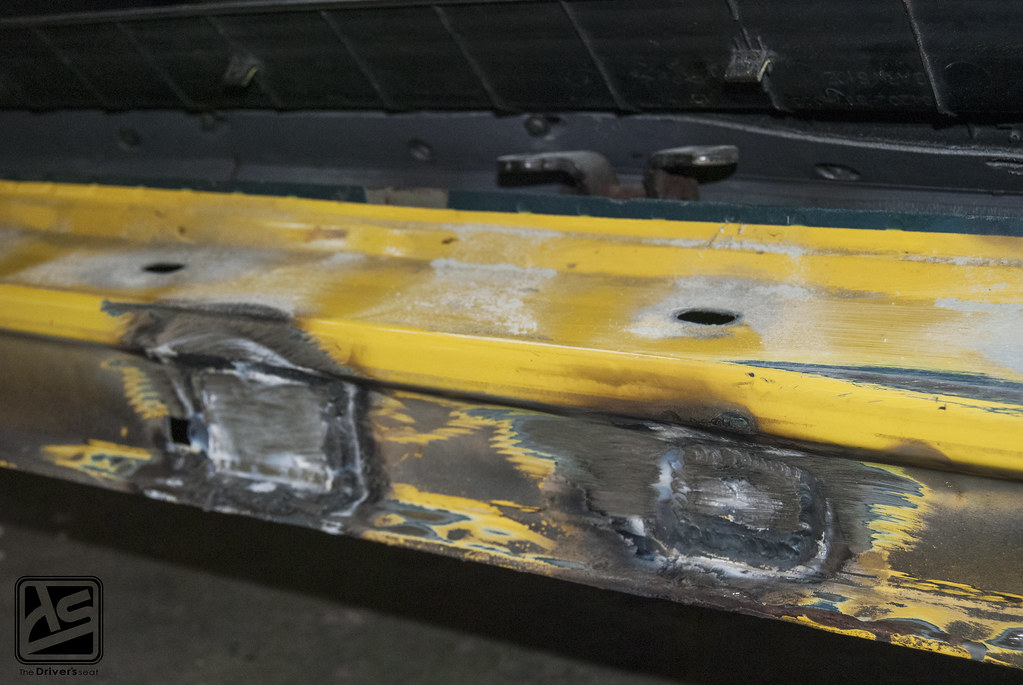
The left lower rear panel just behind the door received some attention as well…
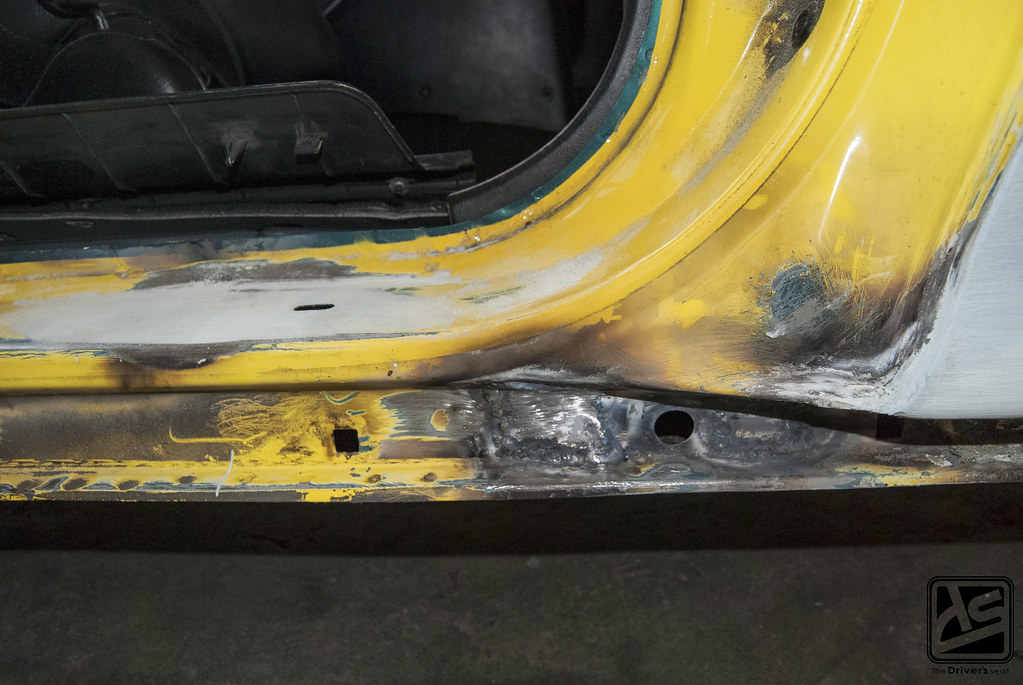
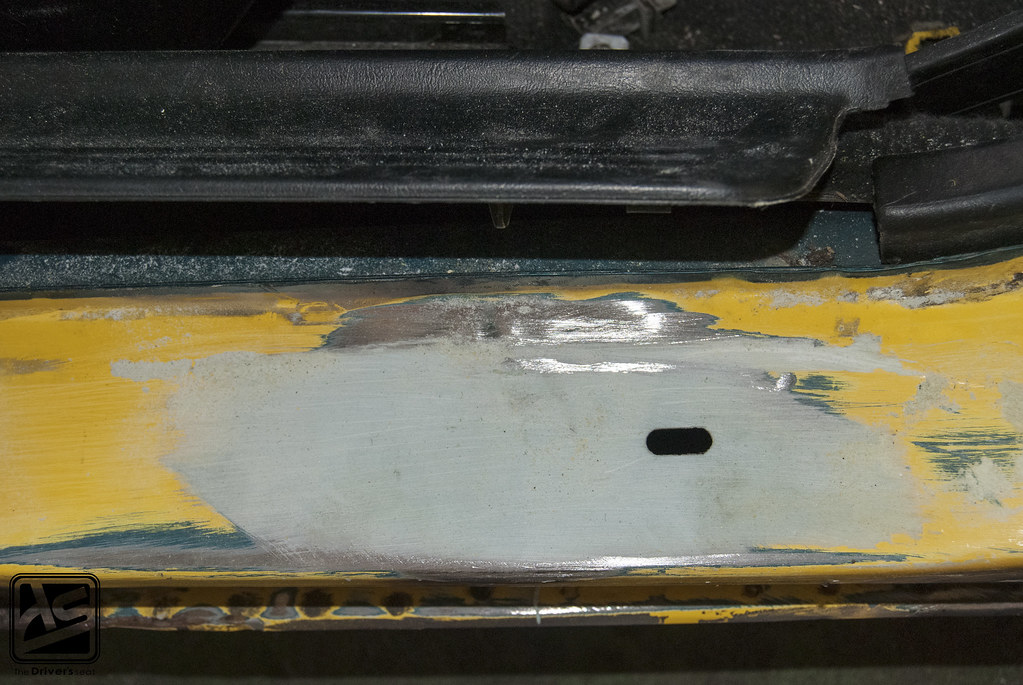
One of the hidden areas which needed some attending to was beneath the side skirt along the running panel…
As did the door jam…
The panel above the bumper was on its way out, so rather than spend time trying to repair it, Clement just replaced it with an entirely different piece.
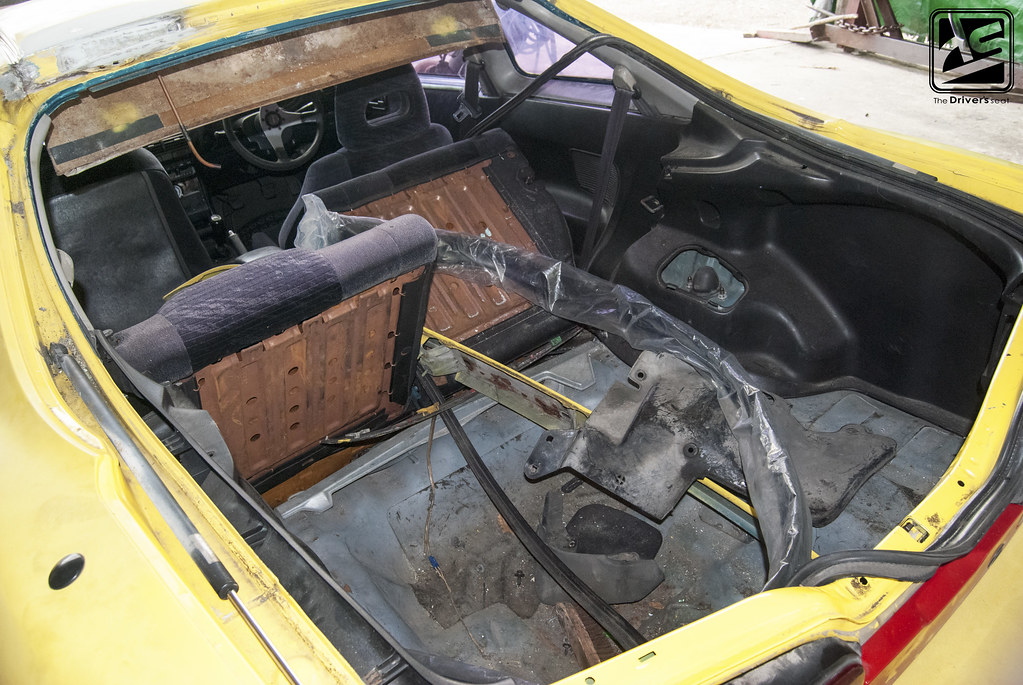
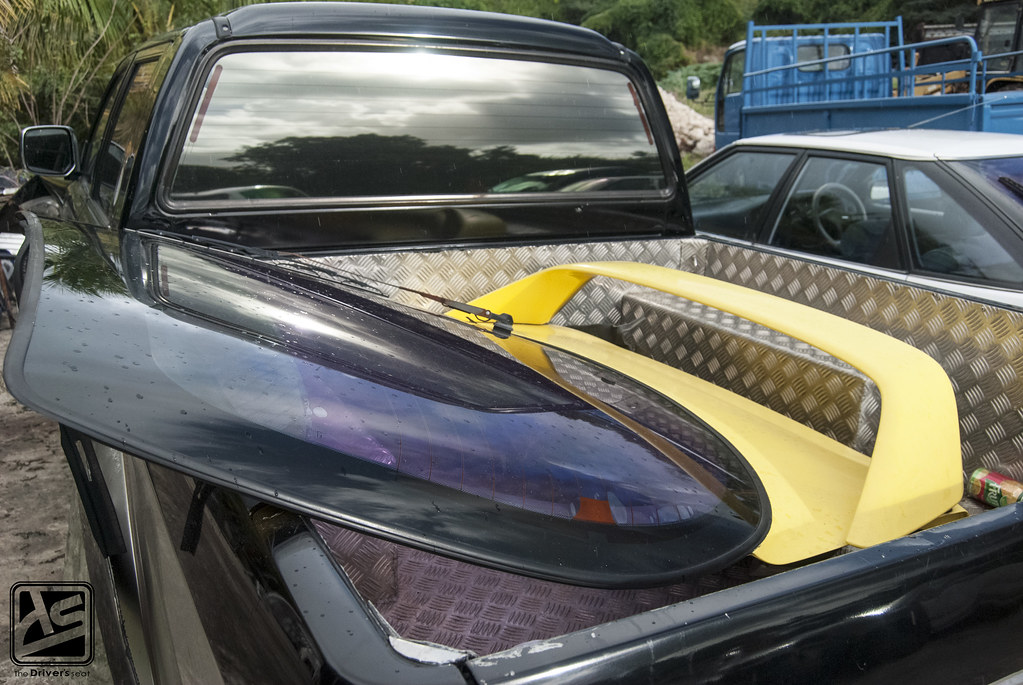
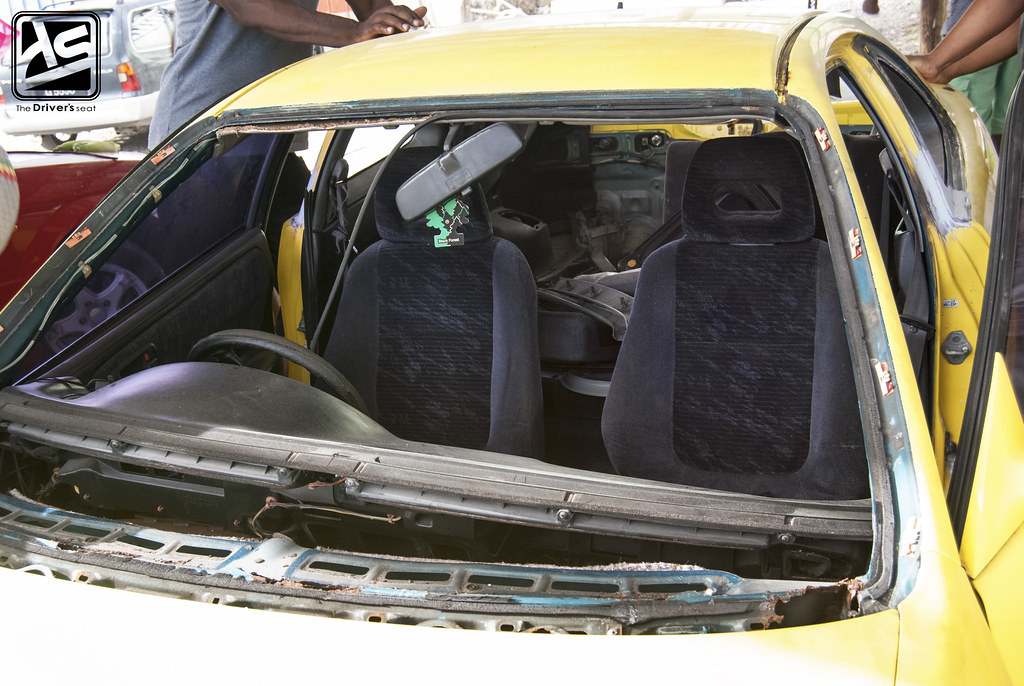
A look at the trunk area with the tailgate removed…
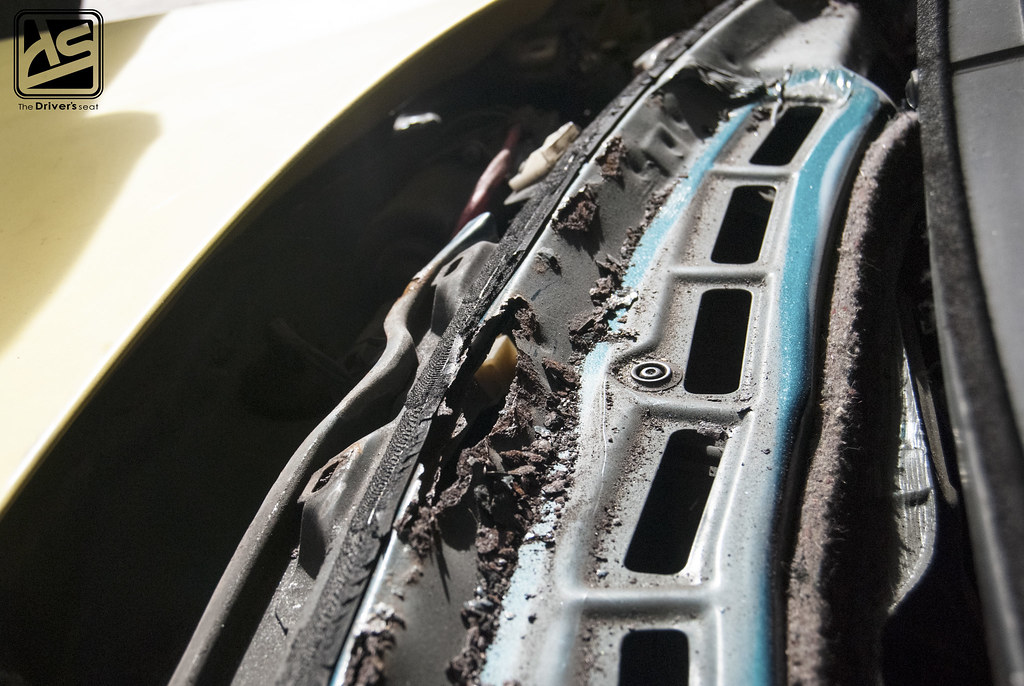
When the guys removed the roof strips this is what they were greeted with…

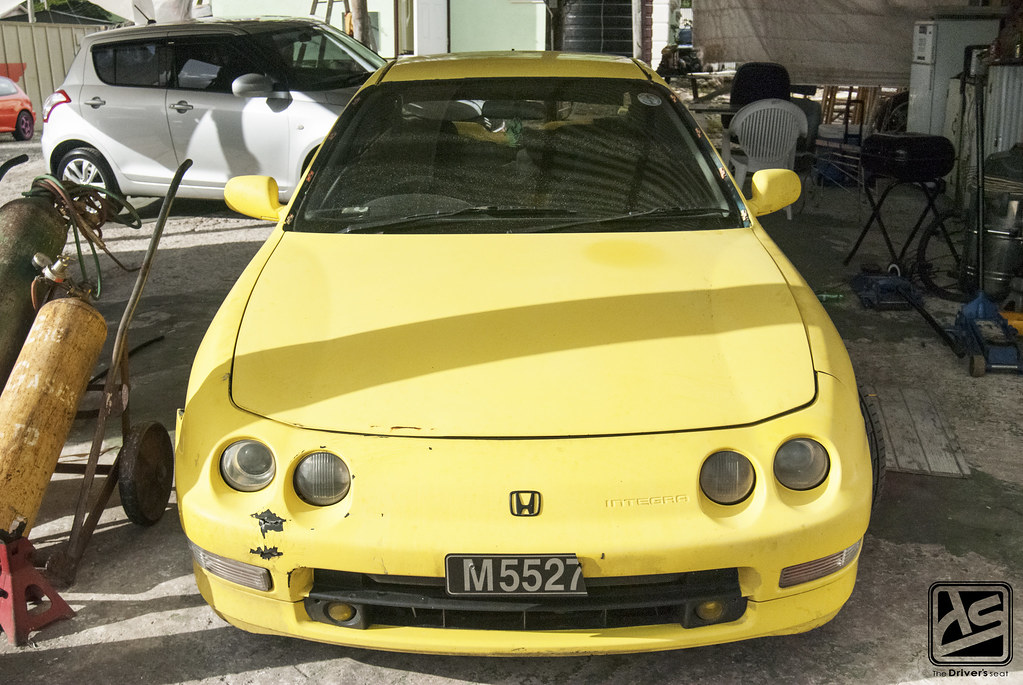

A few shots of the front end as it sat…
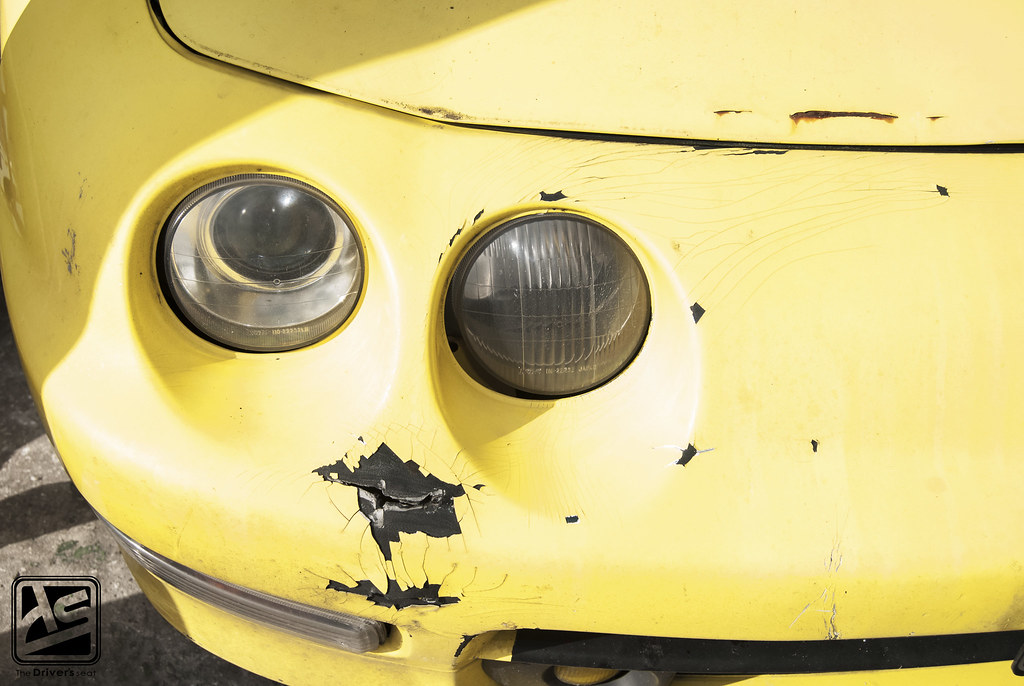
Some damage to the front bumper that will need to be taken care of…
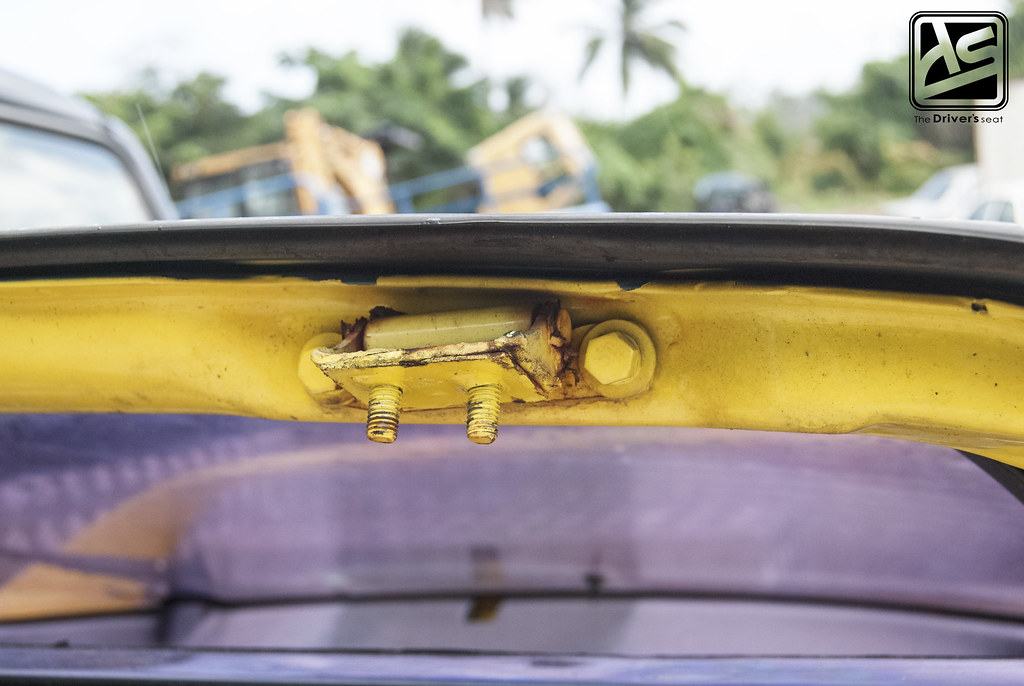
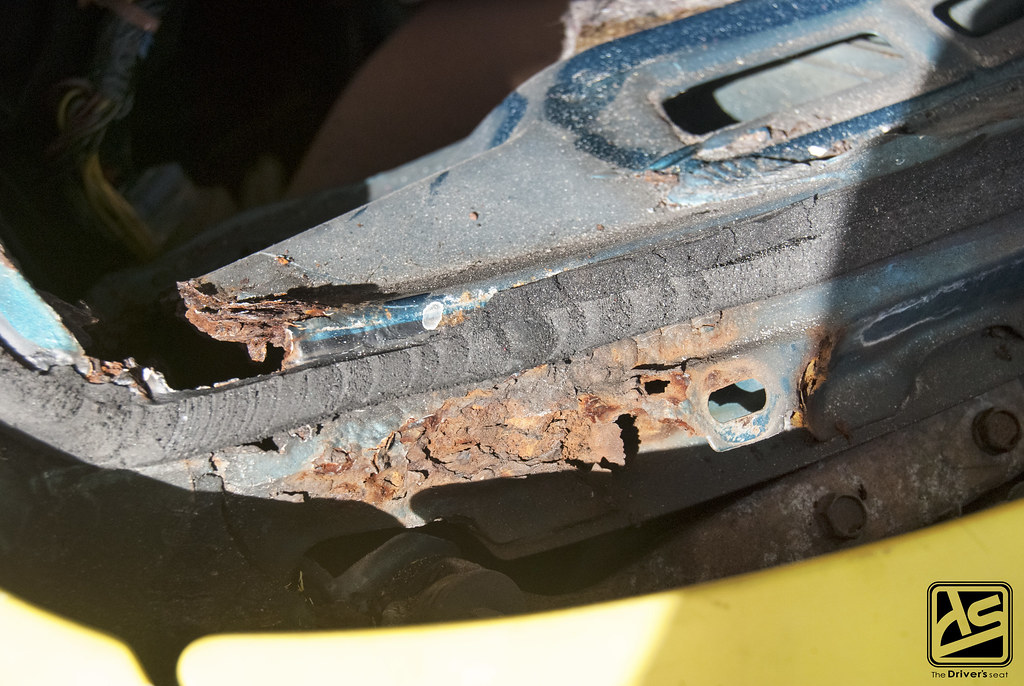
Some of the damage done to the tailgate…
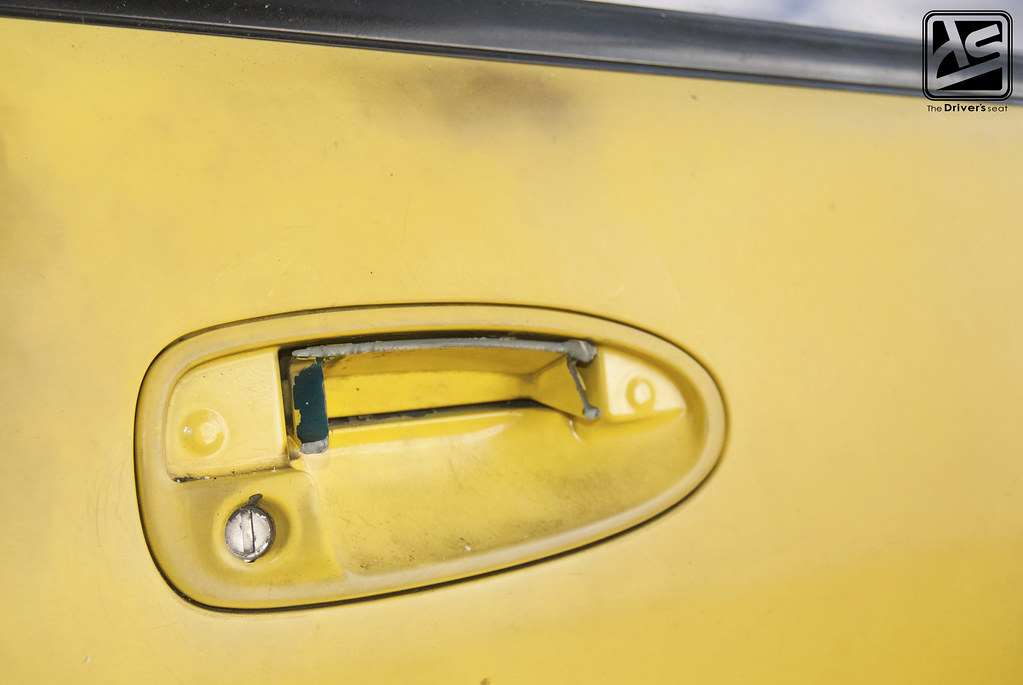
Damaged door handle that needs to be replaced…
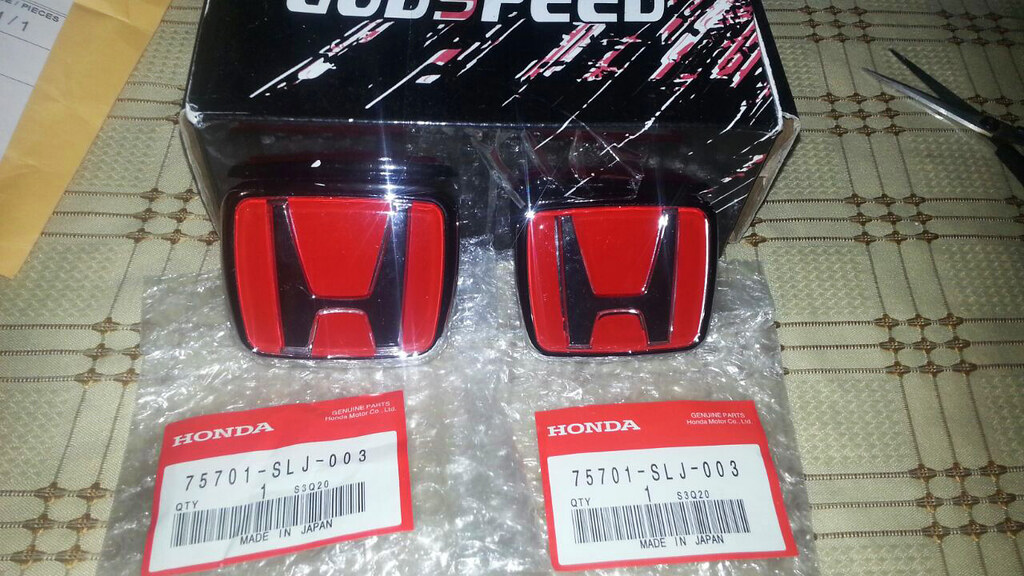
With the restoration in progress Clement picked up some red badges…
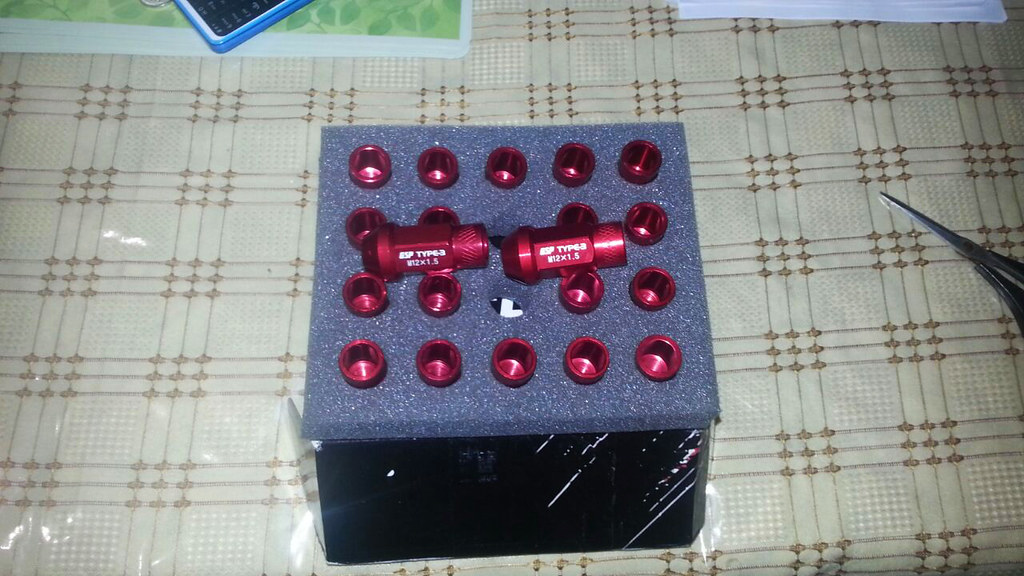
And red lug nuts to compliment the build…
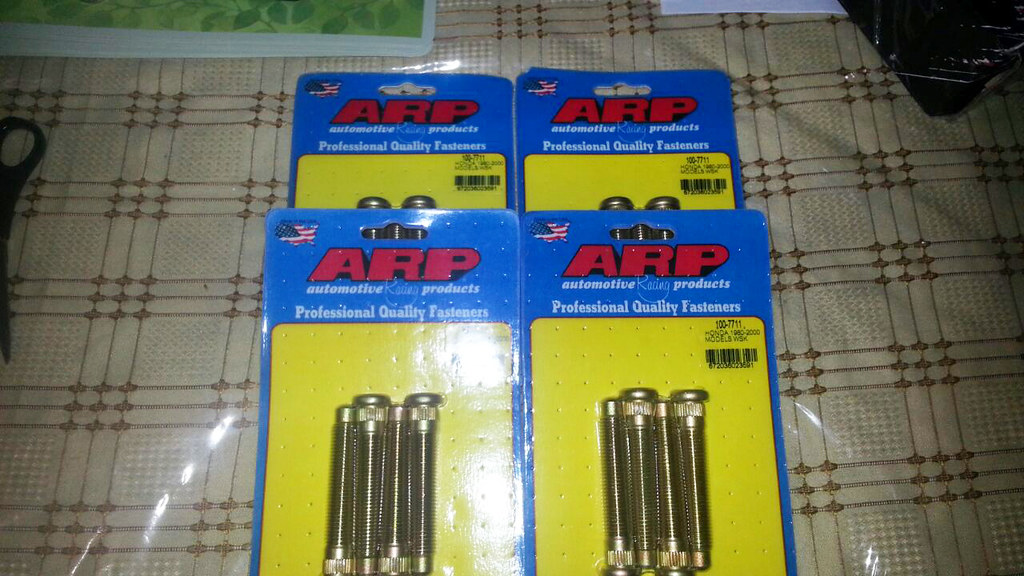
Along with some ARP extended studs…
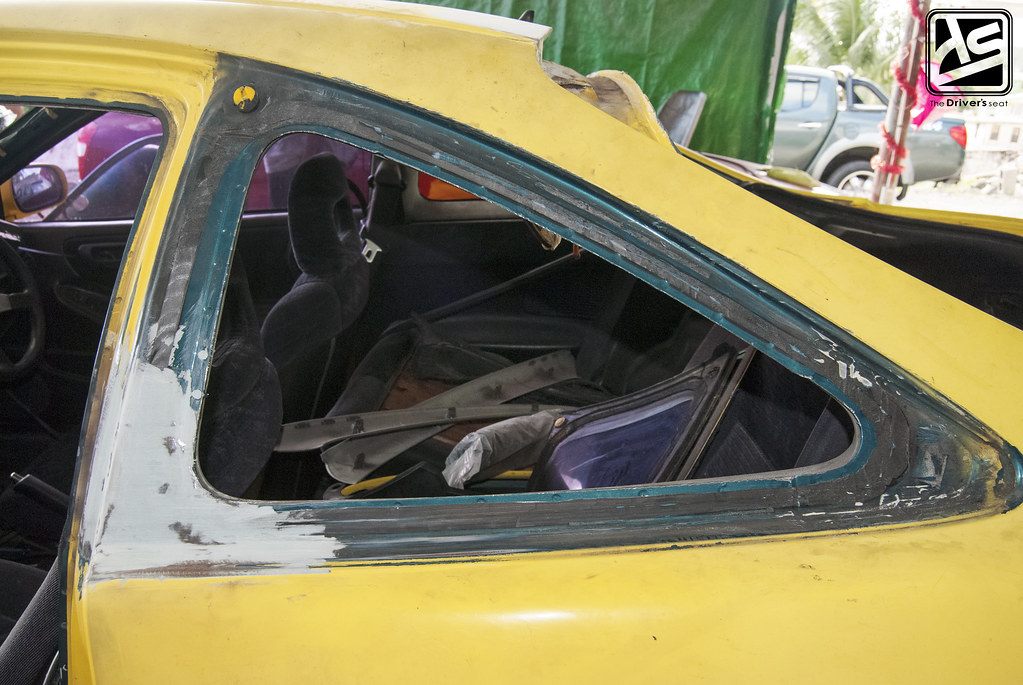
Checking back in on the progress at the body shop, the rear quarter glass needed to be removed to address some spots of rust that were arising…
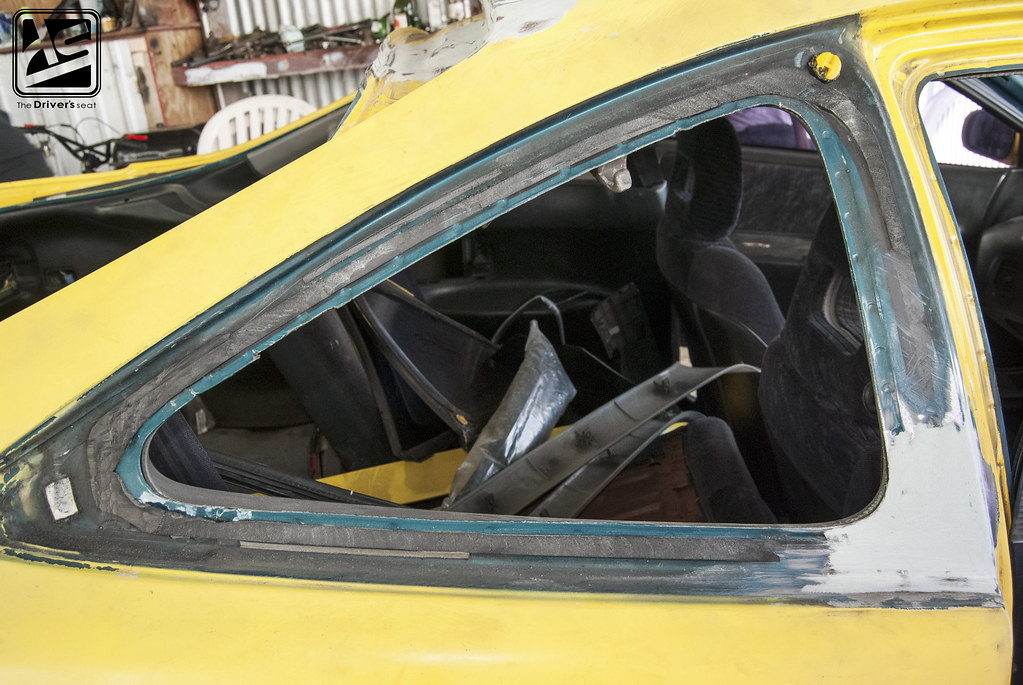
Likewise the driver side needed to be removed also…
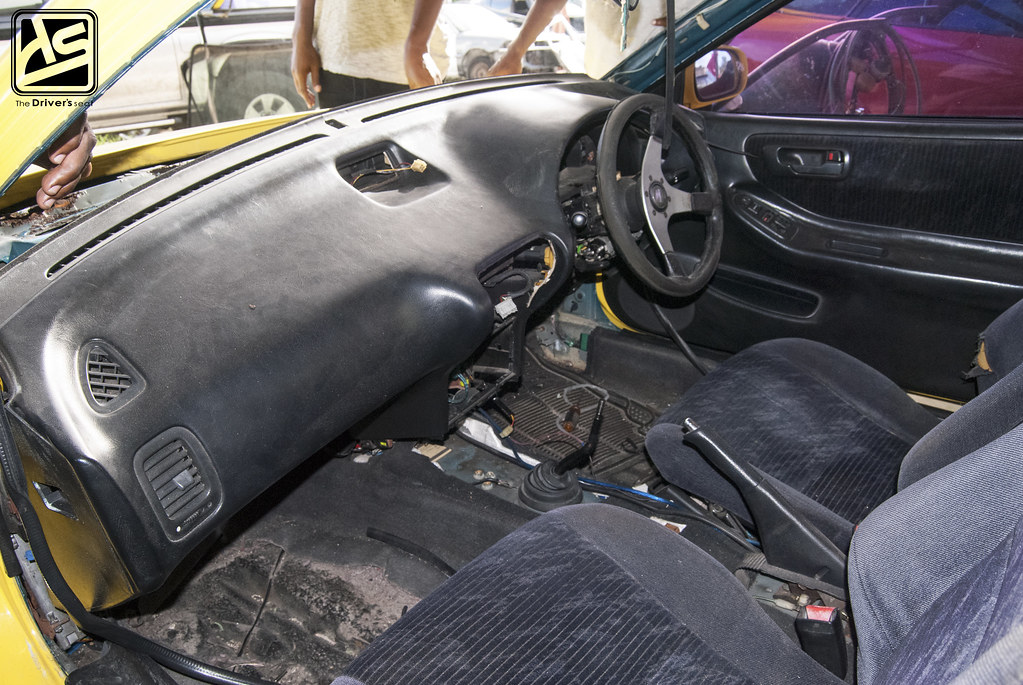
The dash was partially removed…
So the guys could deal with a much bigger problem at hand…
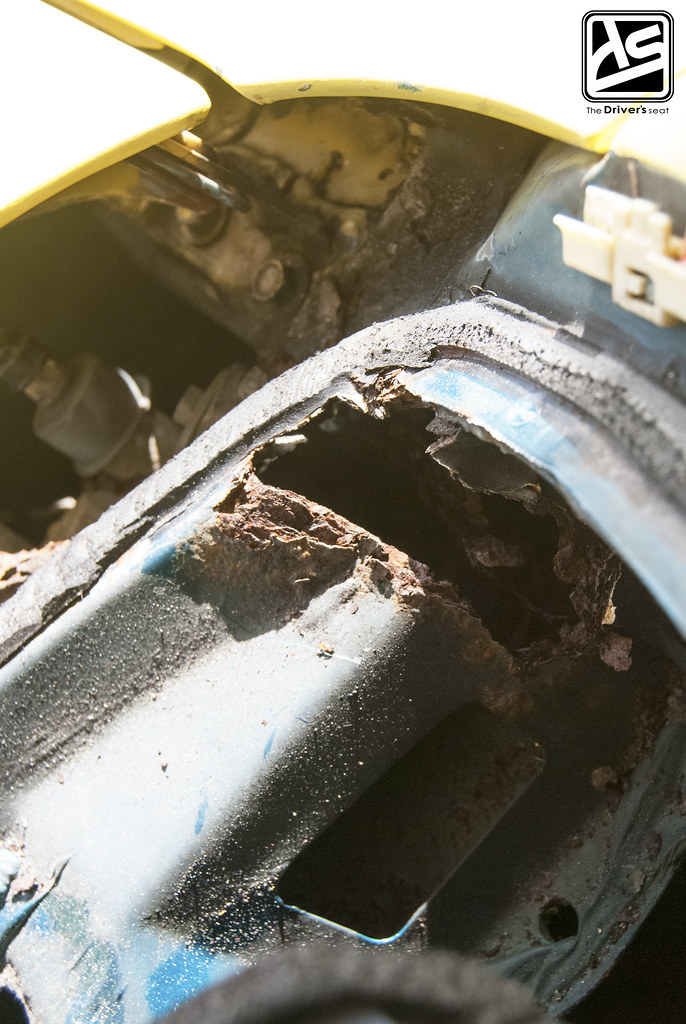
With the large volumes of water running off the windshield, combined with a crack at the bottom of the windshield, it further added to the decay of the base…
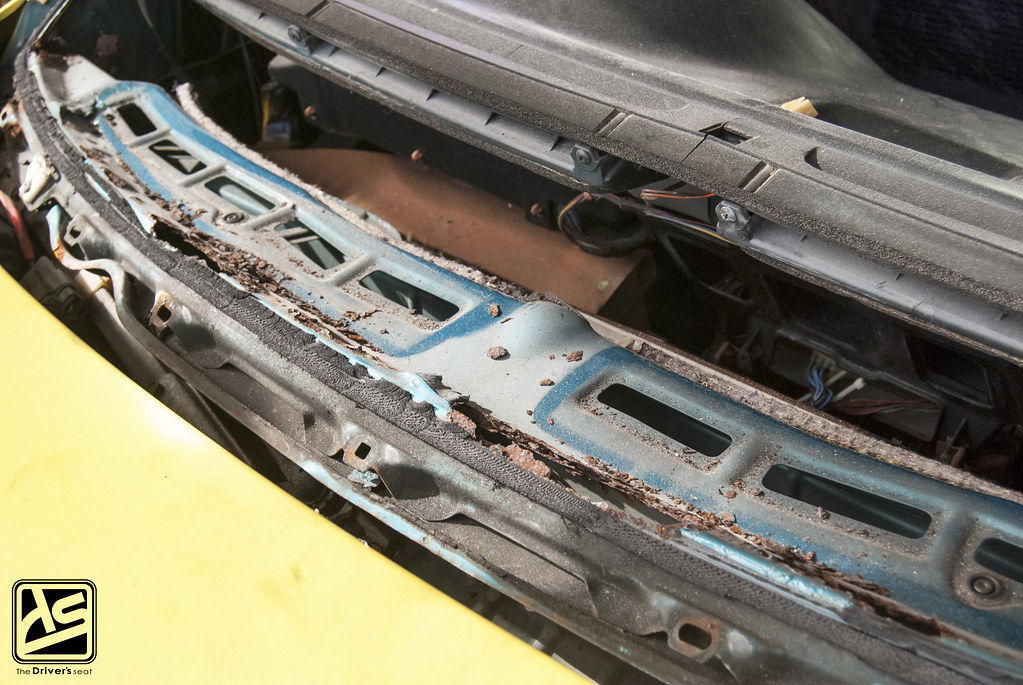
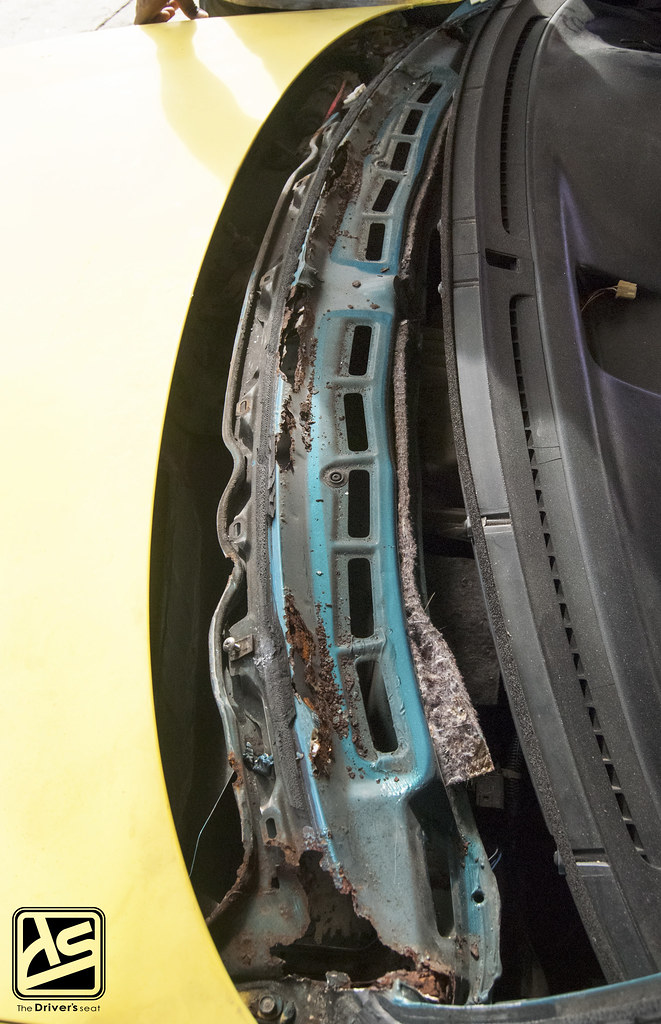
Moving towards the centre of the base, they were some areas which were in need of serious attention…
To give you guys a better understanding of where I’m taking about…
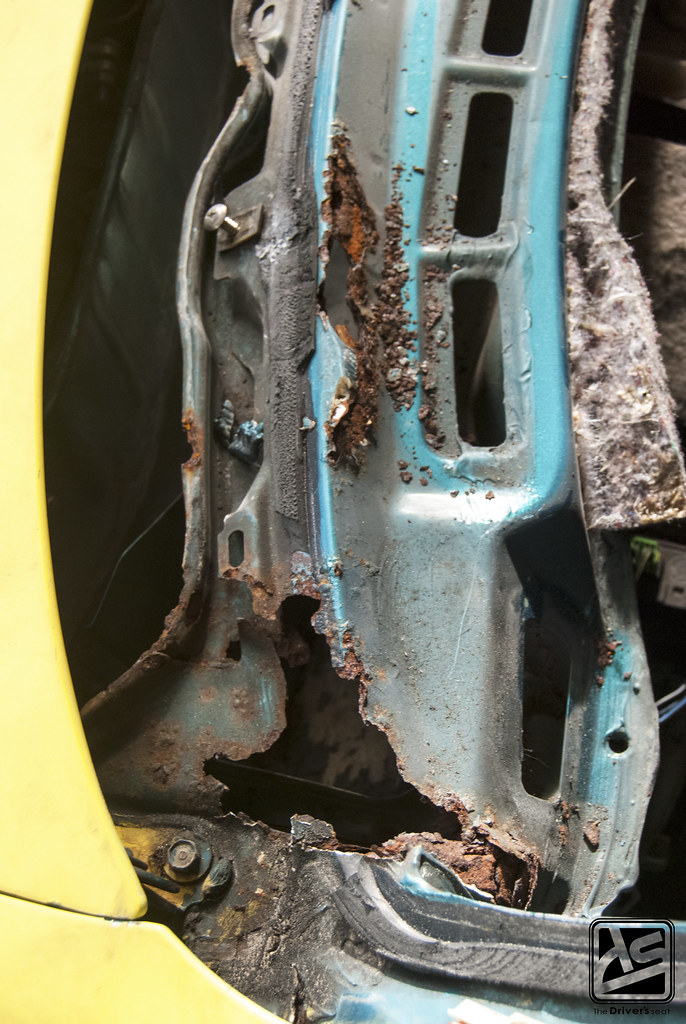
Similarly, the right side had some damage but not as bad as the left…
A closer look at the damage…
Well that’s it for today’s post, I hope you guys enjoyed this exclusive glimpse into Street Kingz and also a first look at Clement’s DC2 restoration. I’ll keep you guys posted on the progress of this build and also continue to bring you the remainder of the members’ rides. Thanks for taking a look and be on the look out for much more to come.
Track Bred EG6 Build… Part 34
Today I have a small update on Jerry’s EG6 build. As I would have mentioned before, Jerry plans on using a lexan windscreen, which he finally received and installed. Along with this, Jerry also added few small upgrades to the build.
For those who would like a full recap of this build, I’ve provided the link below…
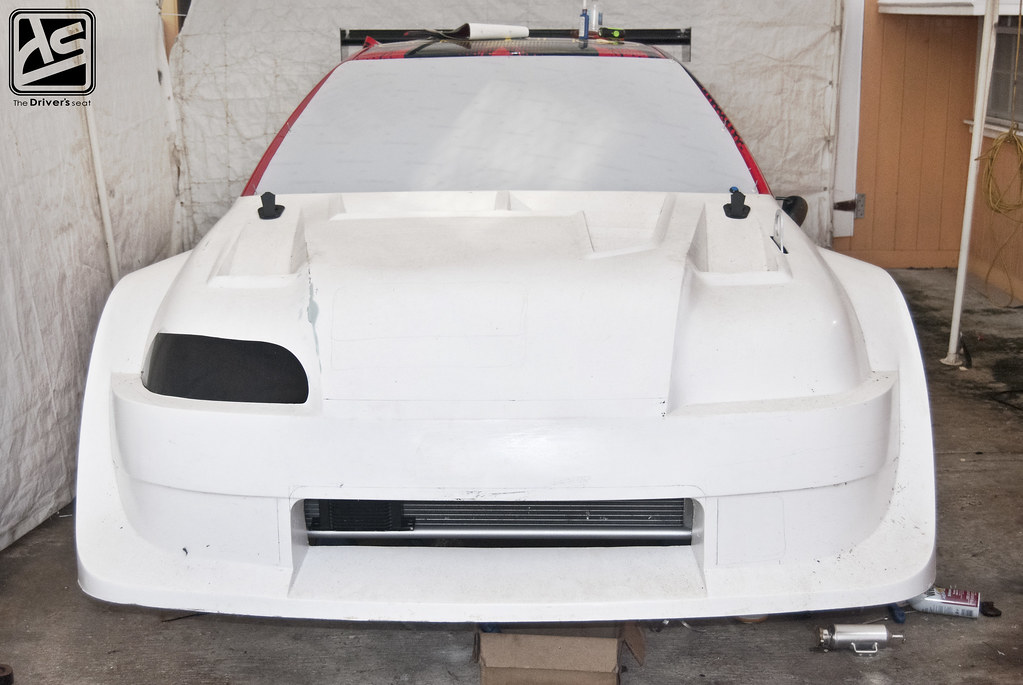
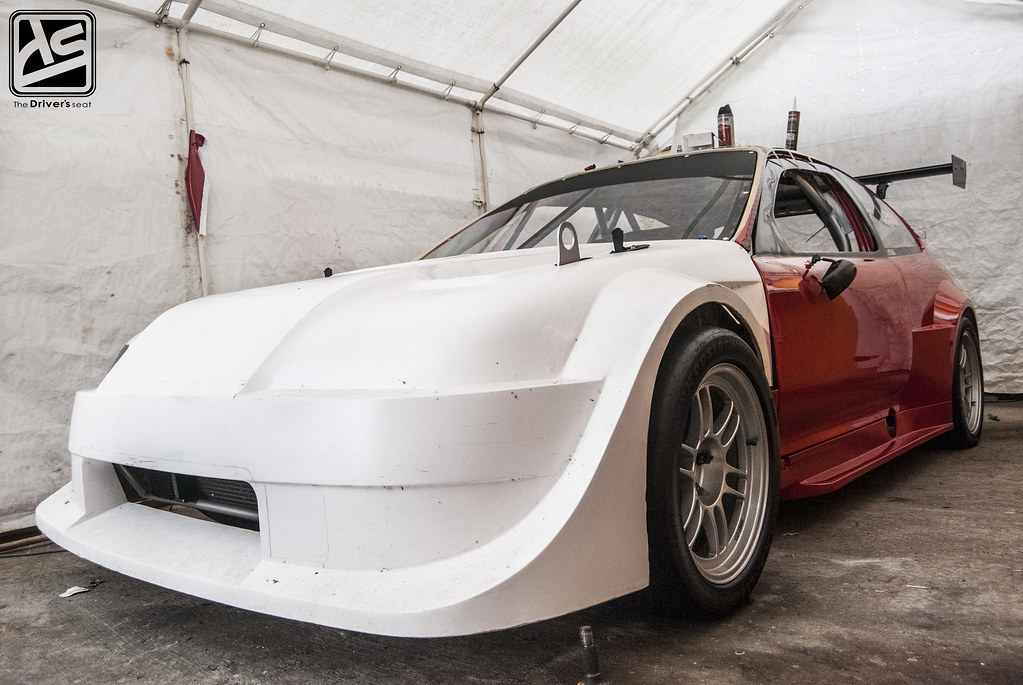
One piece front end fitted…

You may be wondering why the front end still has not been painted as yet. Jerry still hasn’t made up his mind on if he will make a few more changes or not.
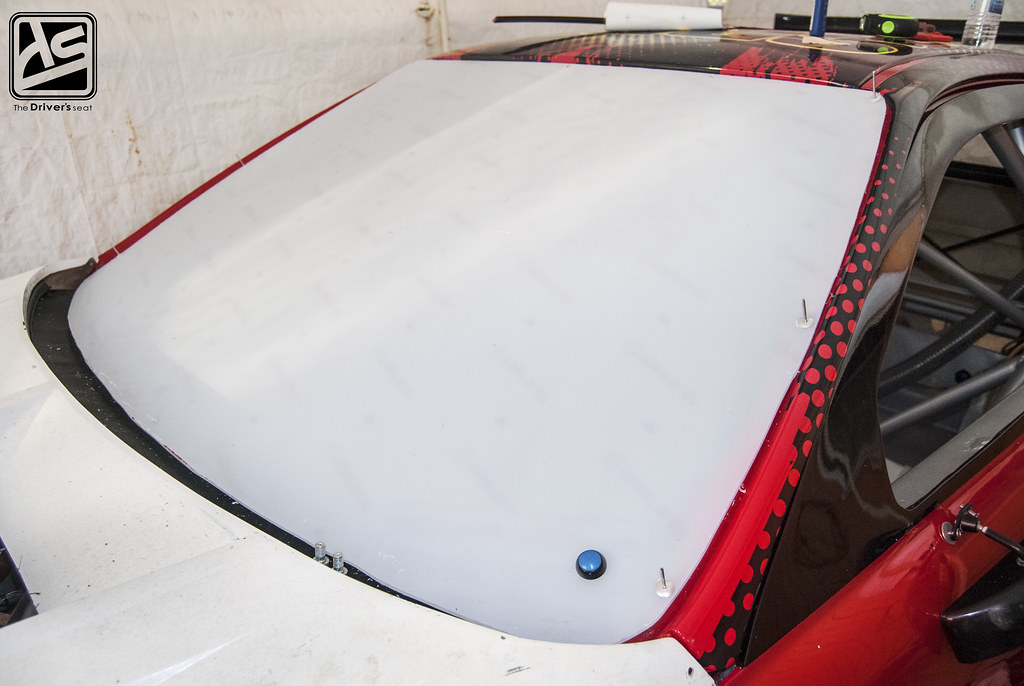
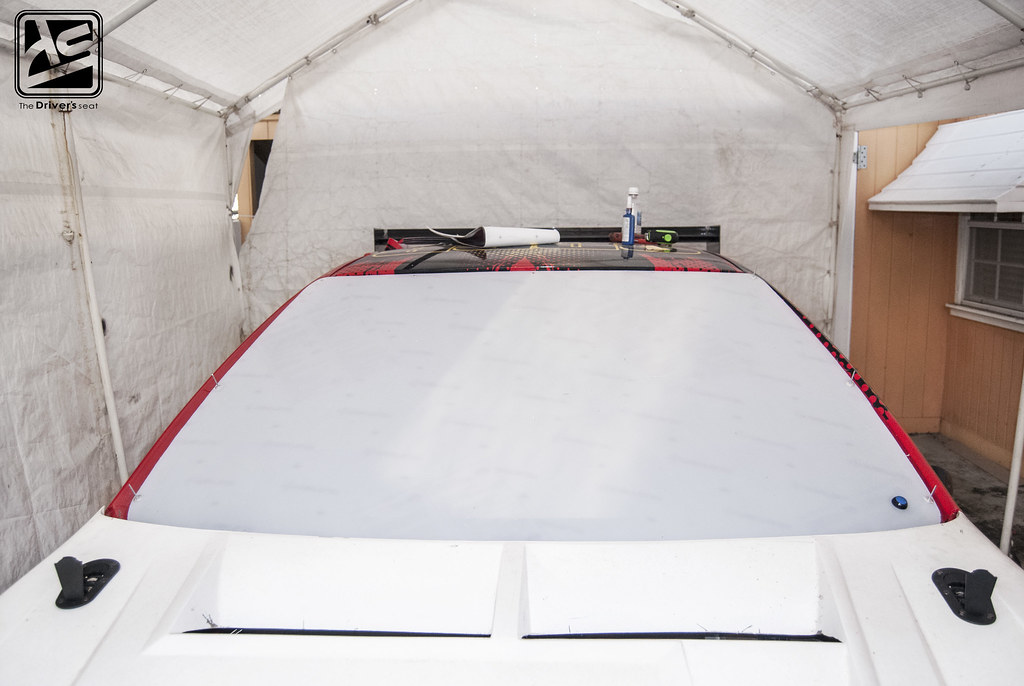
Lexan windscreen test fitted in place with the kill switch neatly mounted slightly higher this time around as there is no cowl with the new front end…
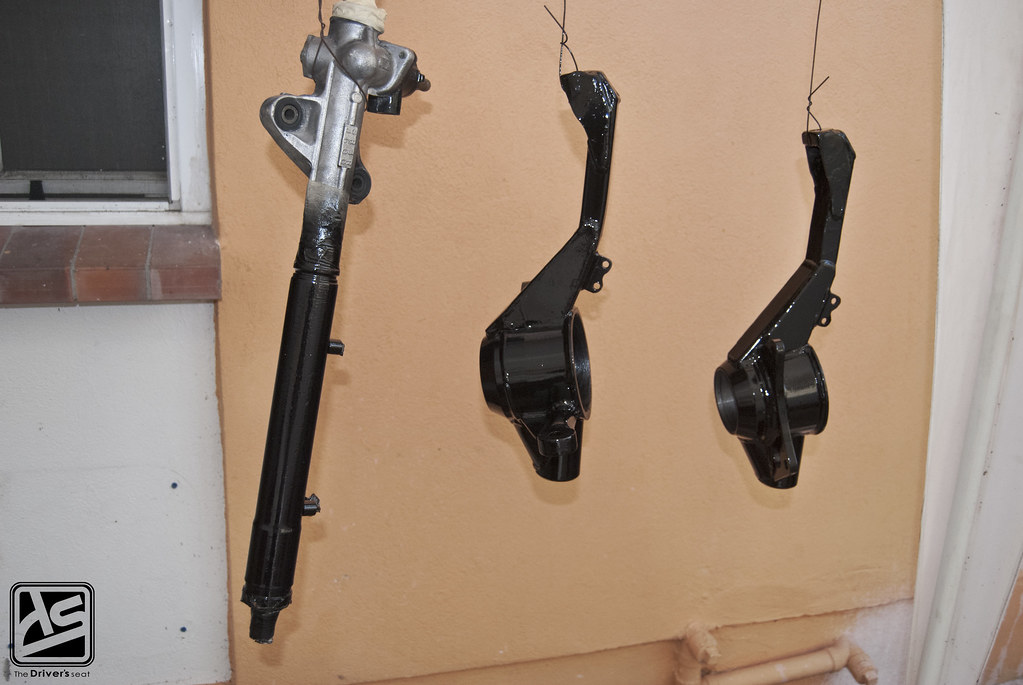
The steering rack and front hubs were looking a tad run down so a fresh coat of paint was applied…
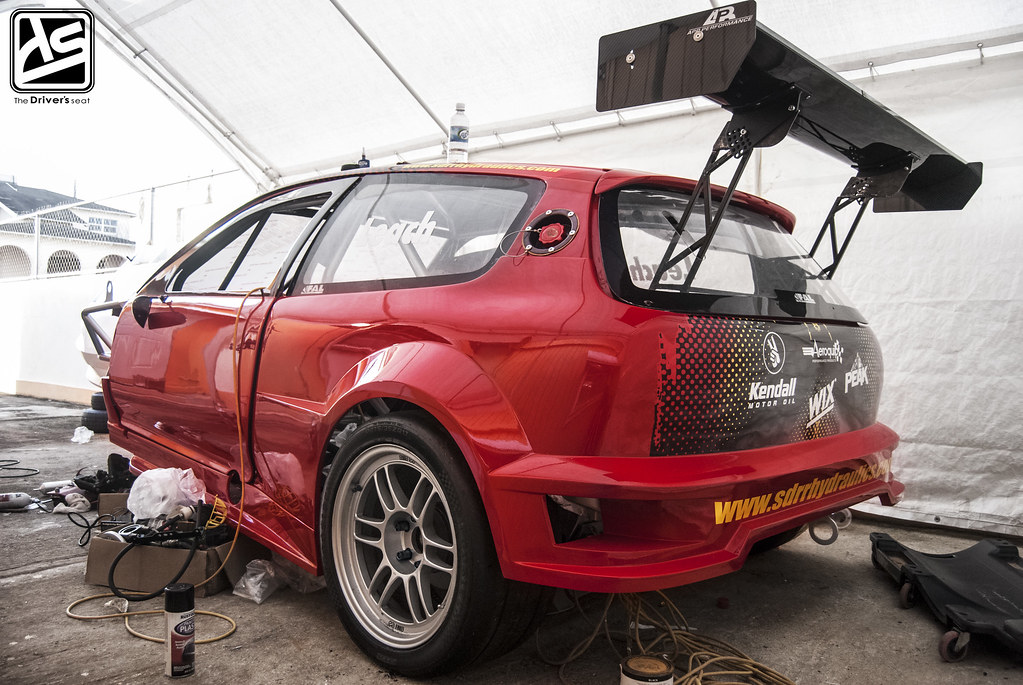
Random shot of that tail end…
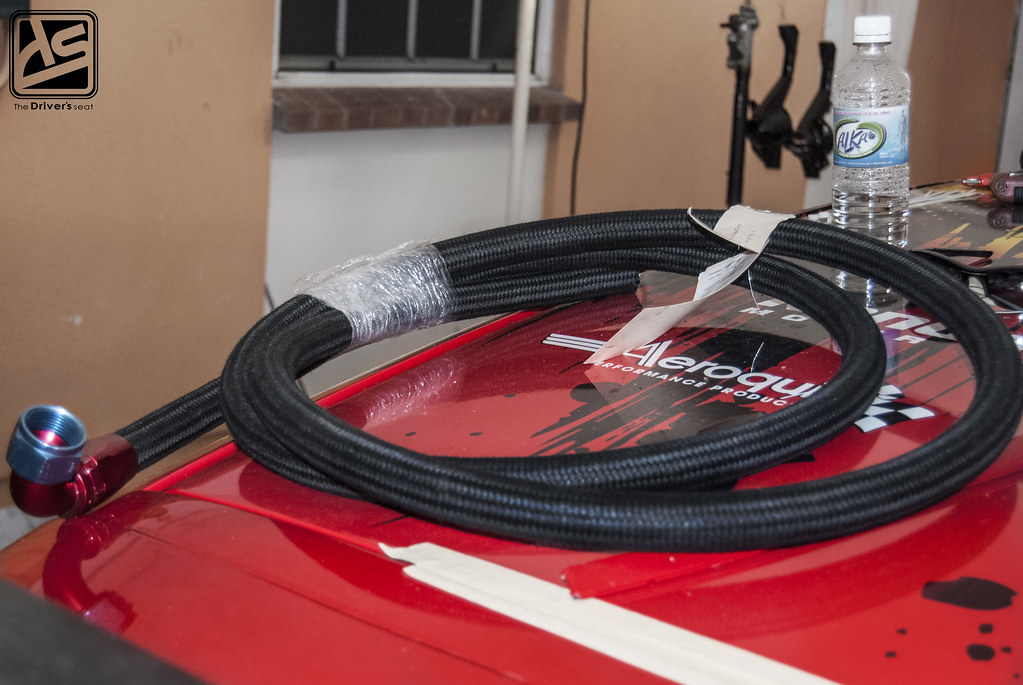
Jerry picked up some -16 hose to run from the oil tank to the breather at the back of the car…
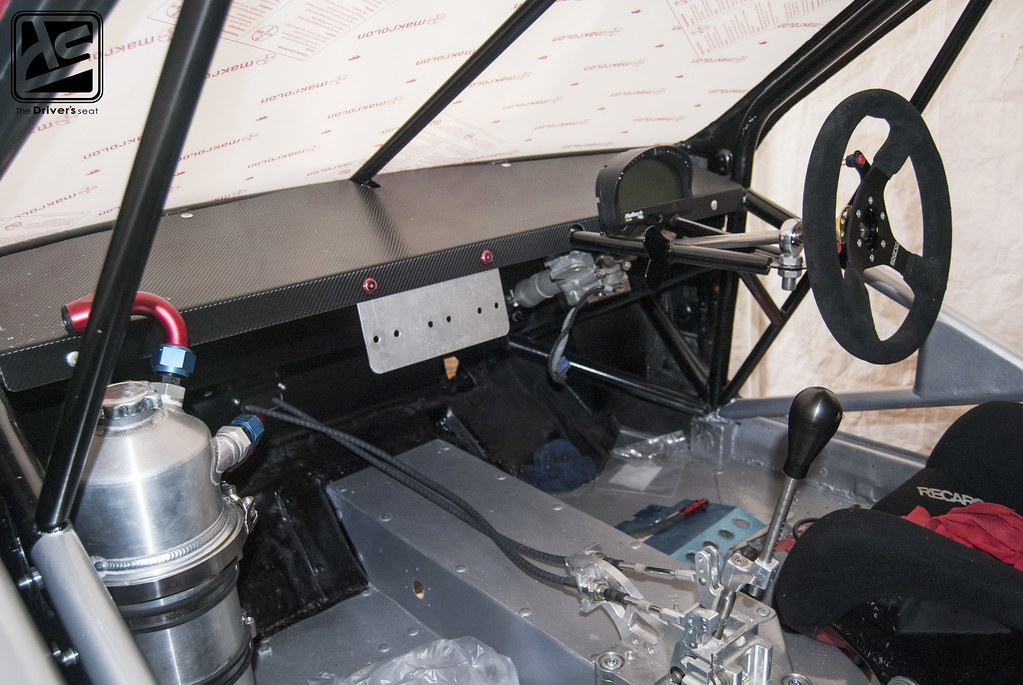
Quick view of inside…

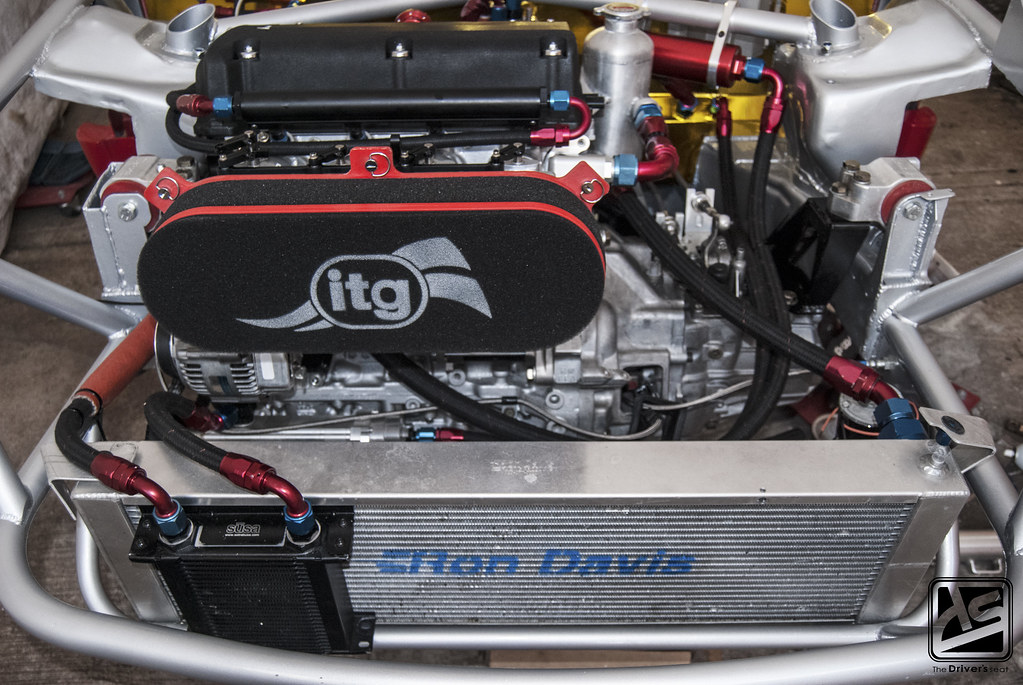
To ensure there aren’t any foreign particles entering the intake and causing serious mechanical failure, Jerry placed an order for an ITG performance filter…
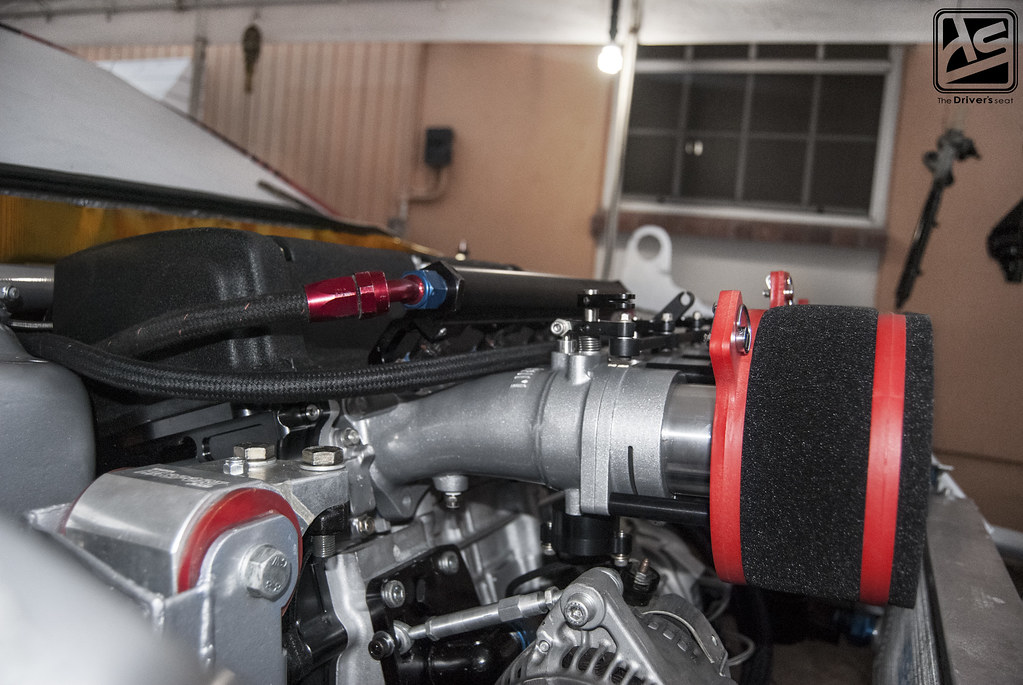
A few more angles to give you guys a better idea of the size…
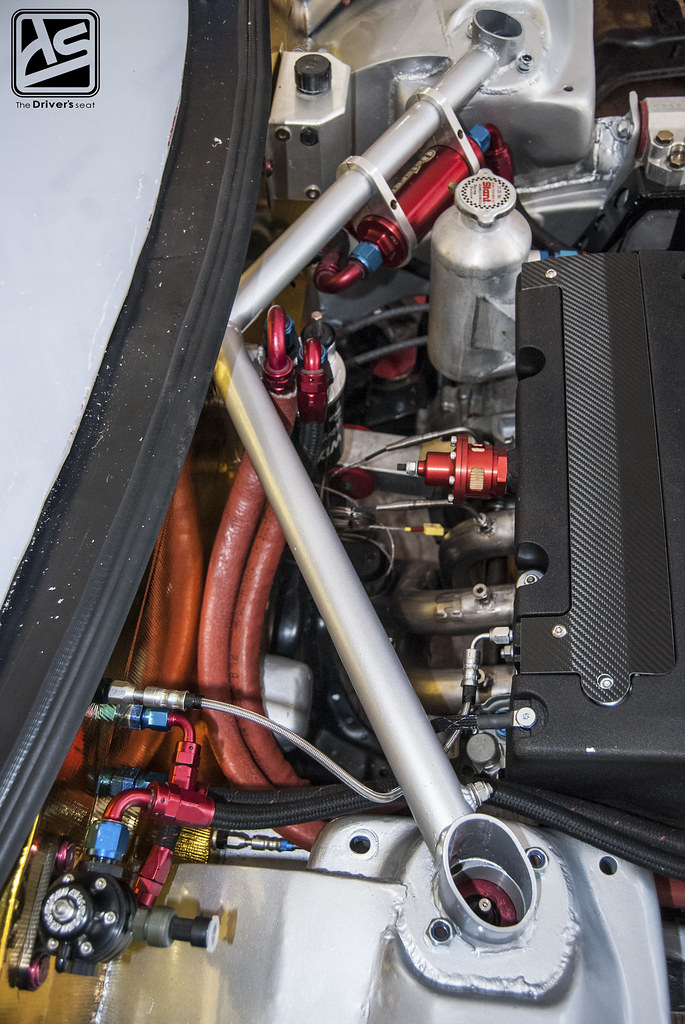
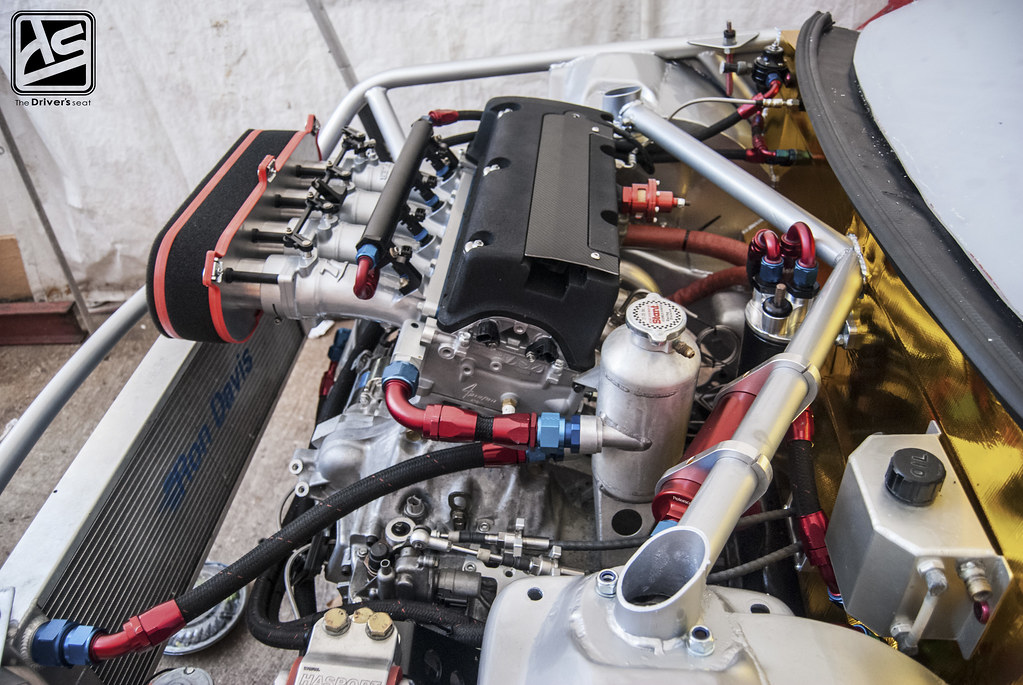
To the back of the engine, Jerry has most of the lines already ran in their final locations…
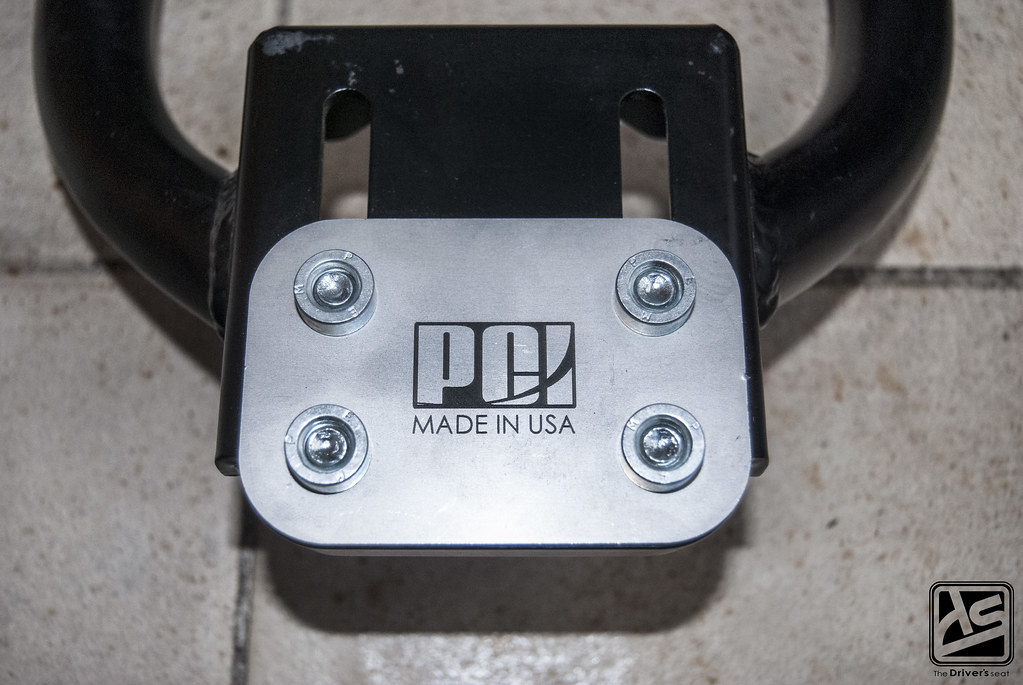
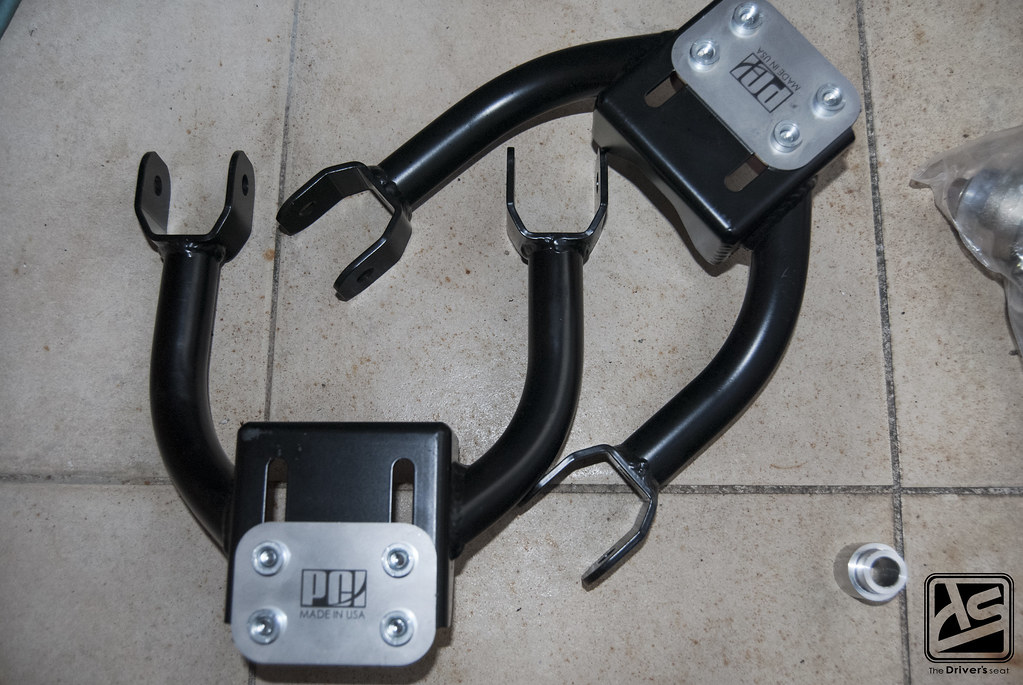
In comes some more new goodies, Jerry ditched the old Hardrace UCA setup and went with a lighter, more adjustable alternative from a company called Pro Car Innovations…
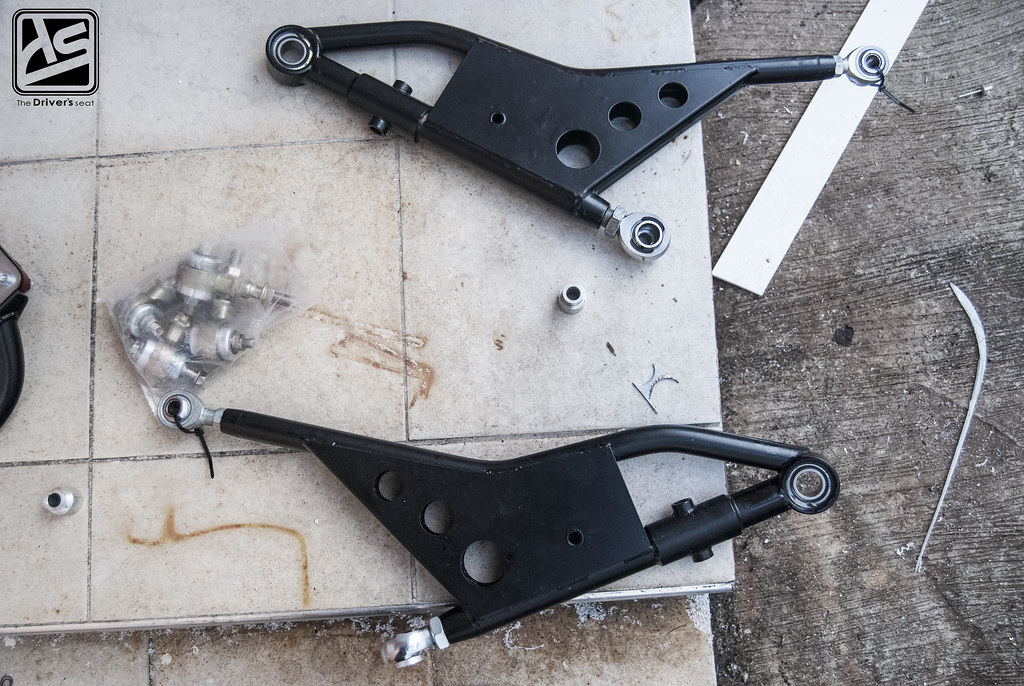
It made no sense to Jerry to change the UCA and reuse the old LCA, so naturally they had to go as well. Their replacement came from a company called NRG Tech and these too are lighter and have slightly more adjustability than the previous ones…
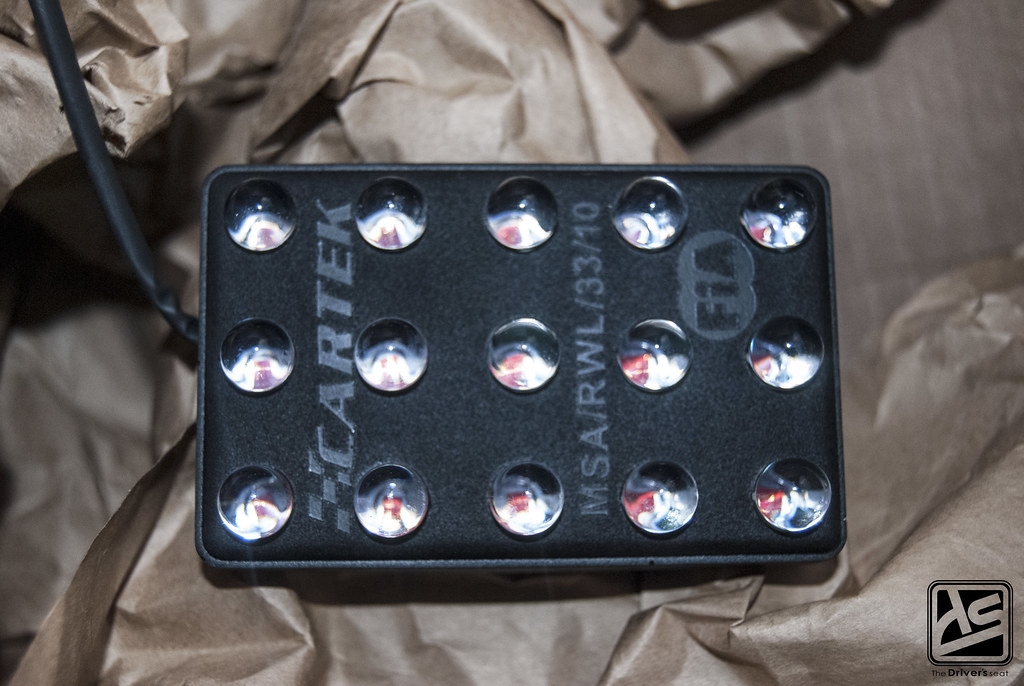
Not fully satisfied with the dated rear brake light setup, Jerry opted to replace it with a Cartek LED FiA approved rain light…
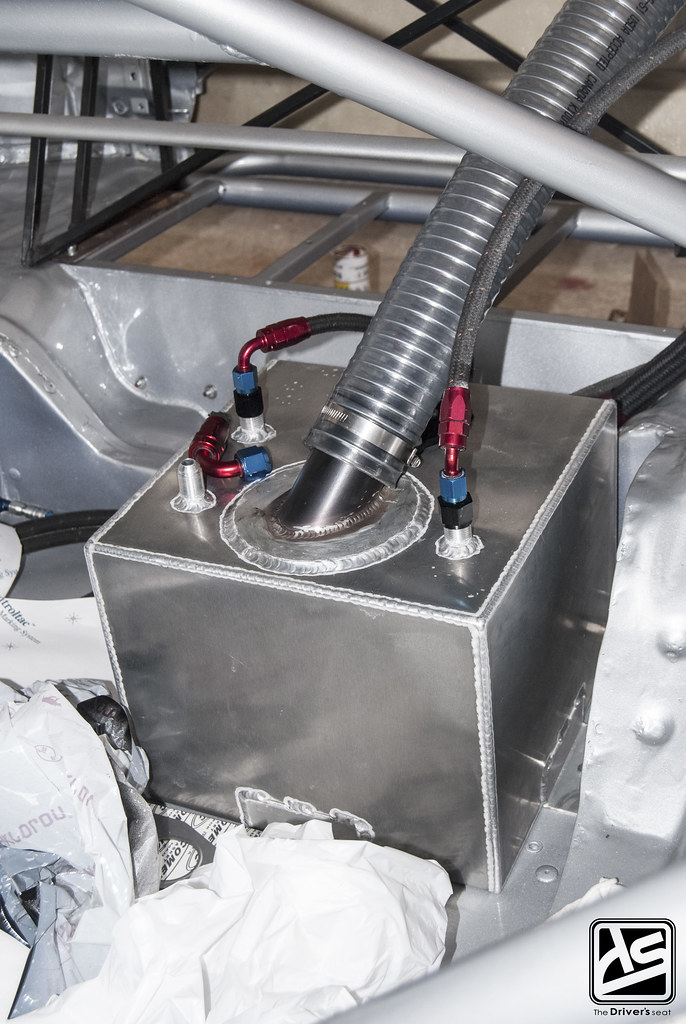
Still on the topic of replacements. Jerry scraped the previous plan of cutting down the fuel cell he bought and through some searching found this Aeromotive 6 gallon fuel cell with internal baffle…

Fuel Safe filler hose attached for external refilling of the fuel cell…
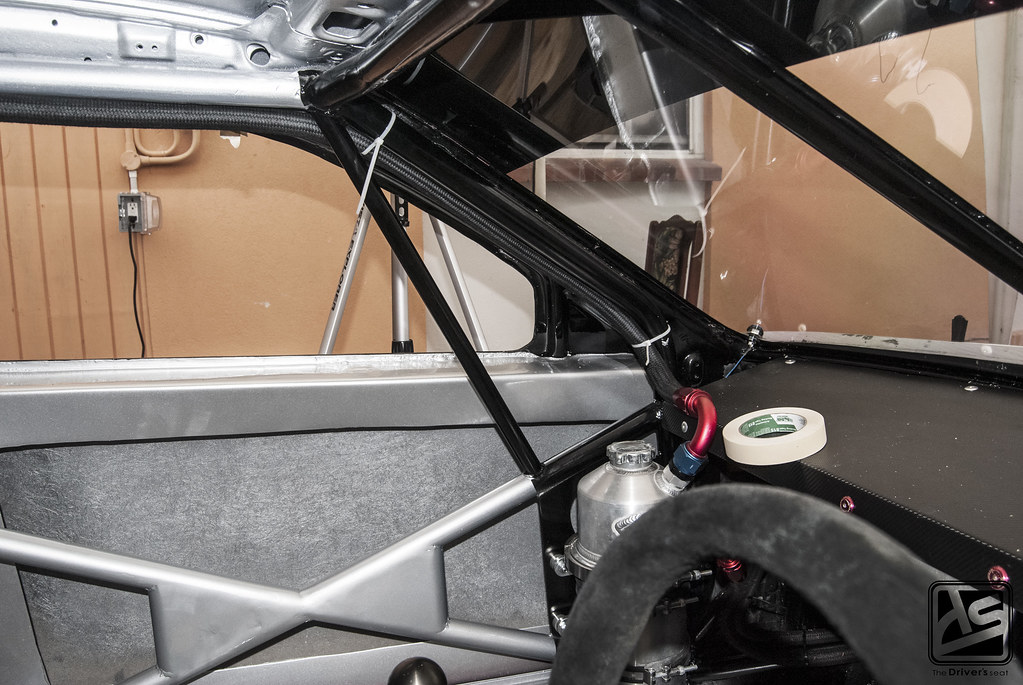
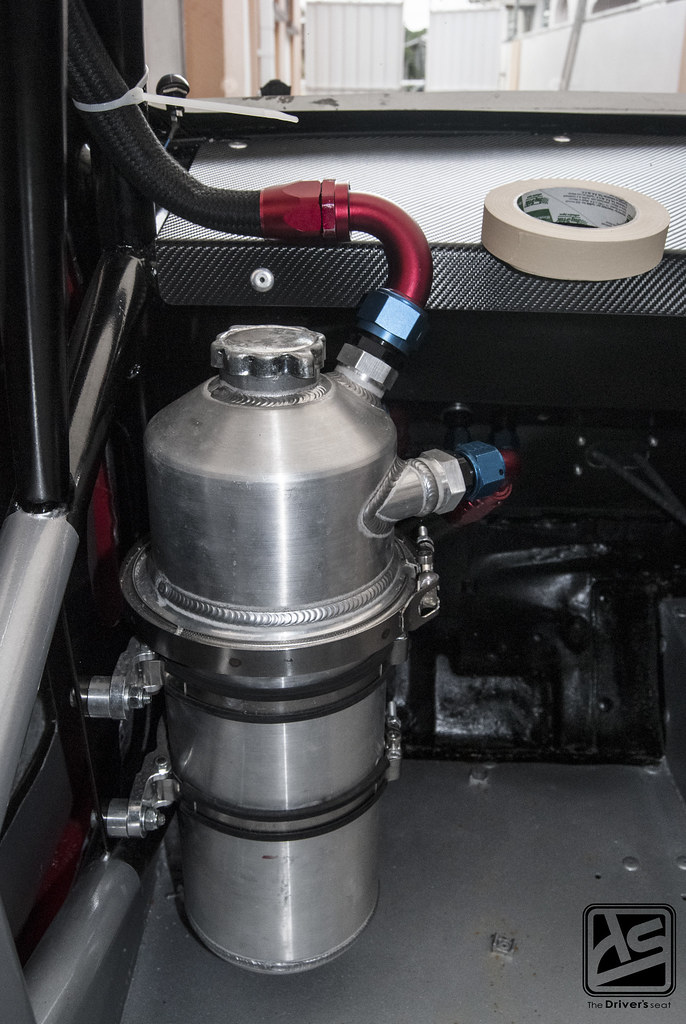
-16 hose ran from the Peterson Fluid Systems oil tank to the breather tank at the back of the car…

A look at the fully installed windscreen…
The car finally on the ground with the new 17×10 Enkei RPF1 wheels and Hoosier rubber mounted…
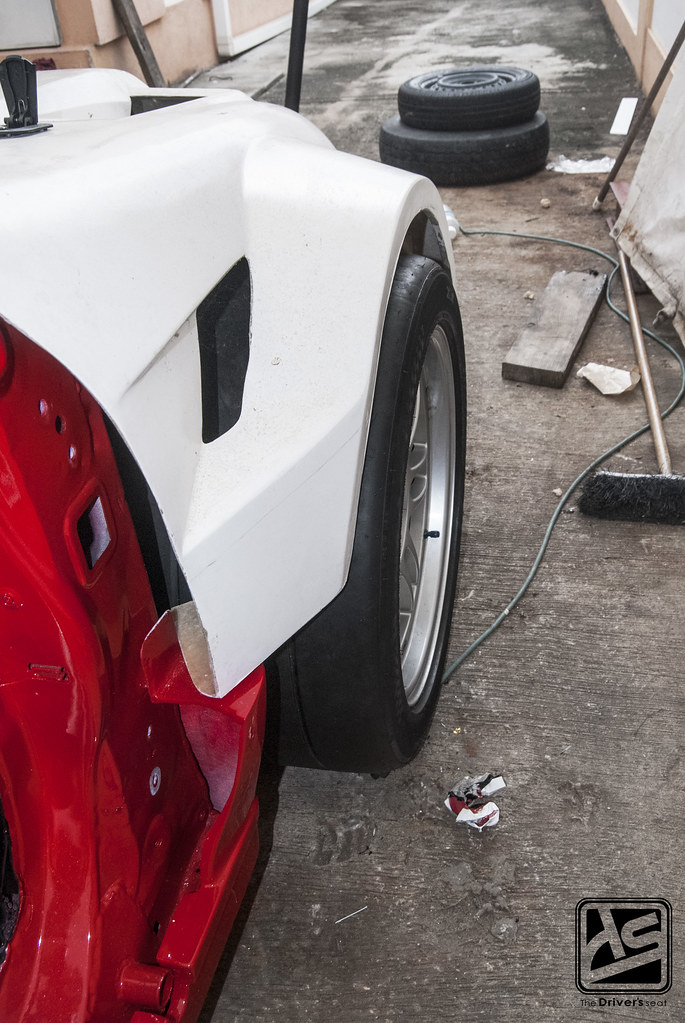
A glimpse of the fitment…
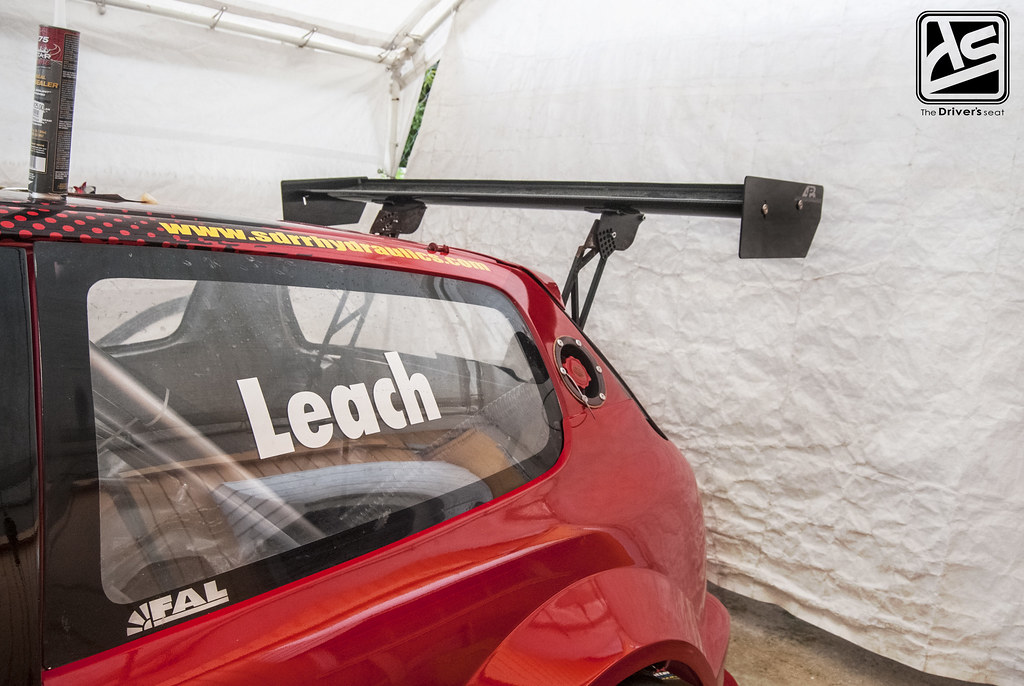
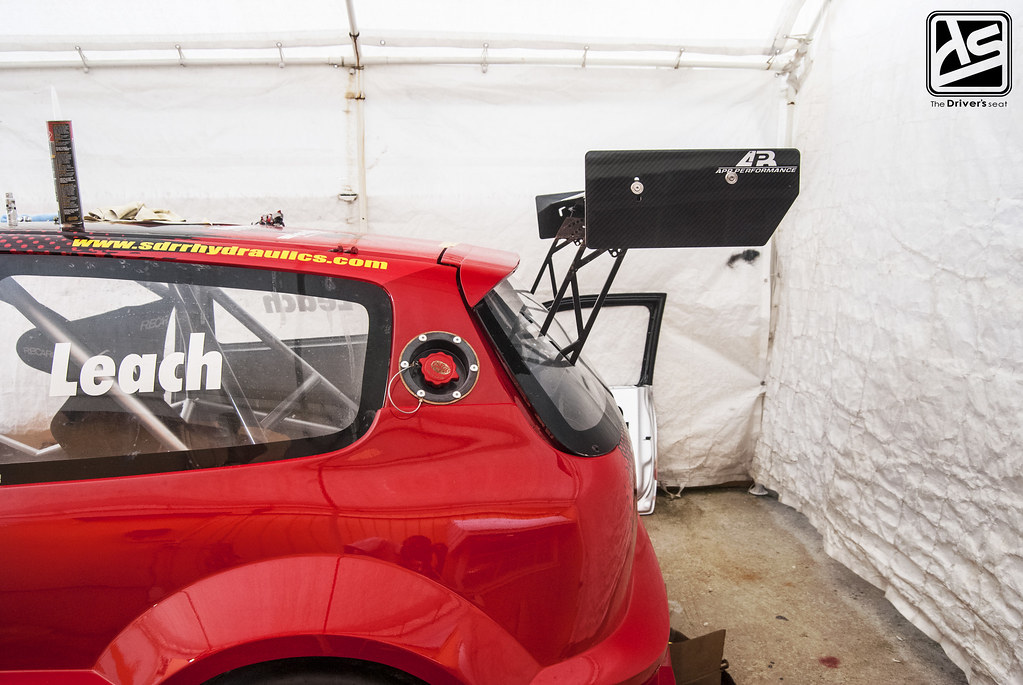
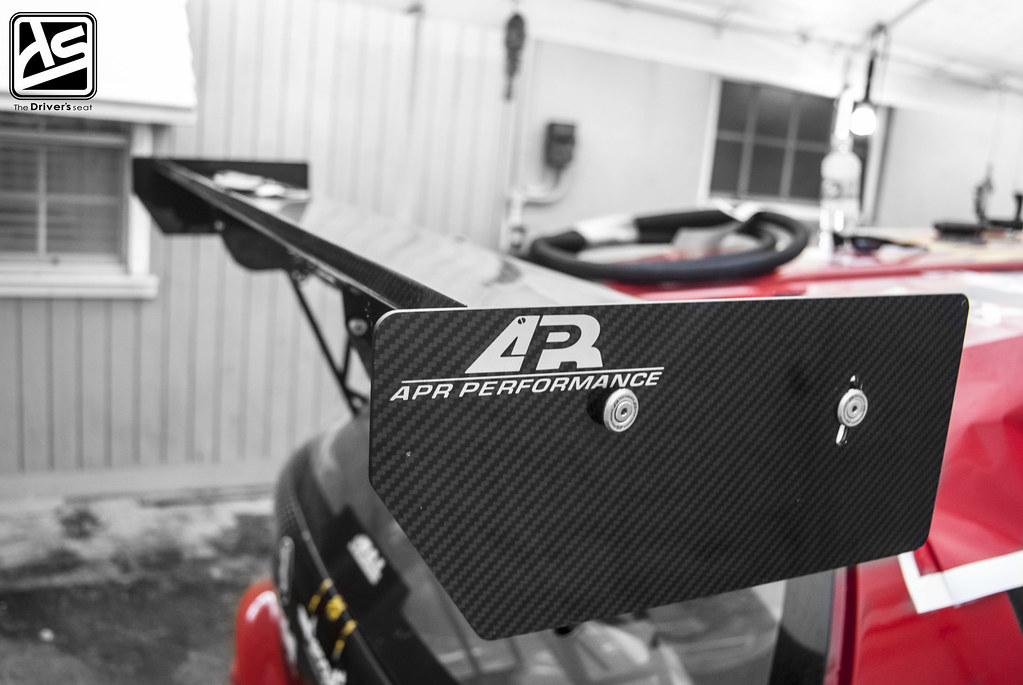
Well that’s it for today’s post, going to leave you guys with a few shots of the APR Performance wing. Thanks for taking a look I hope you enjoyed it.
