
Special K… Introduction

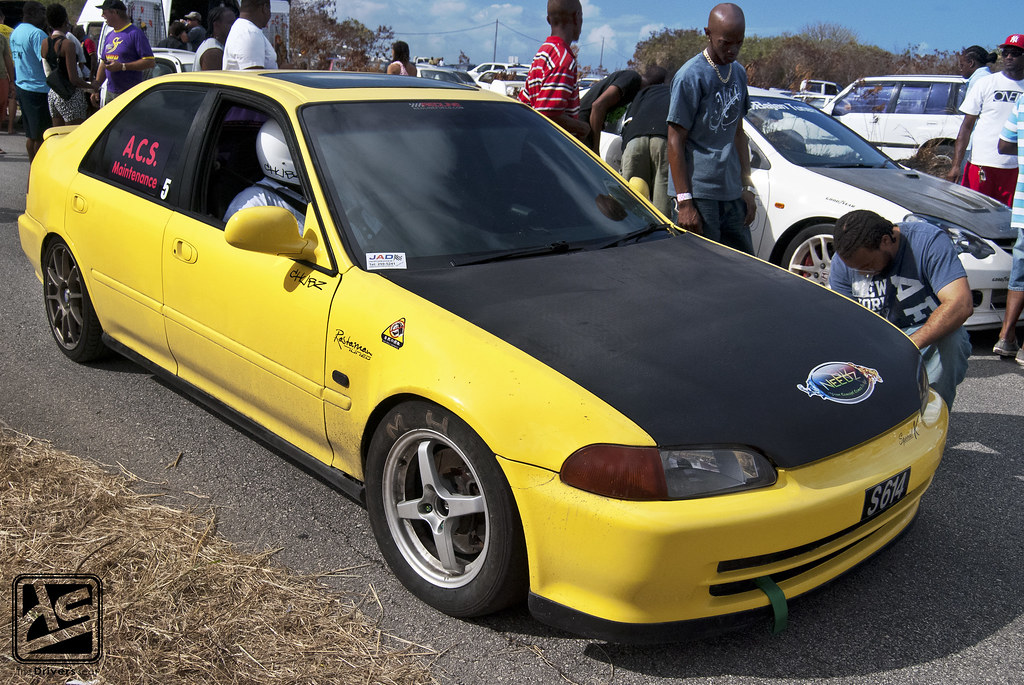
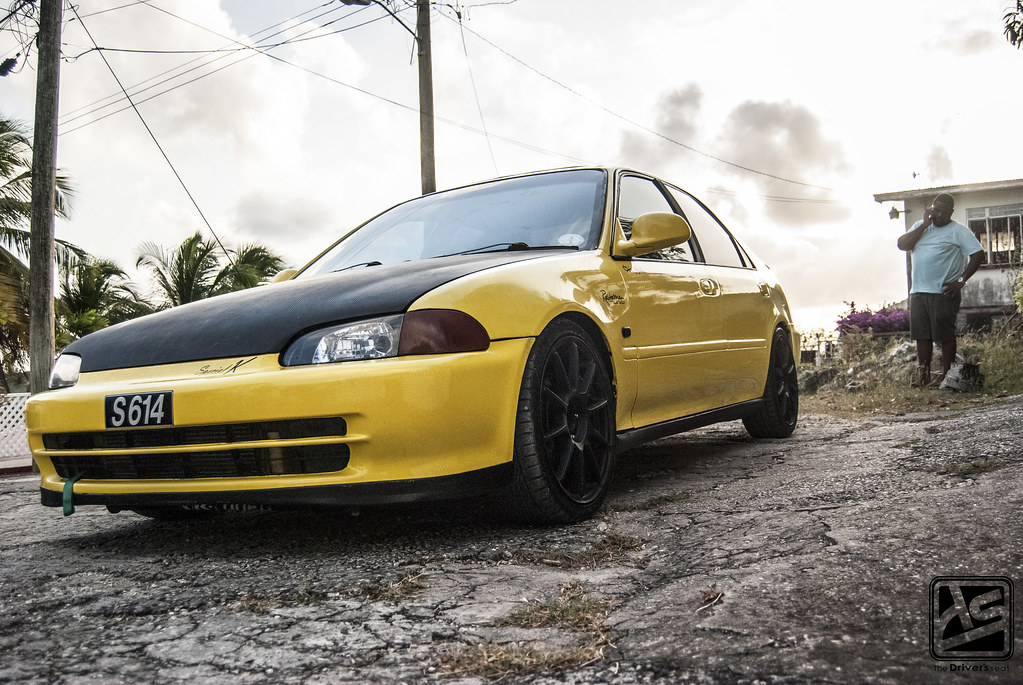
Today I’ll be giving you guys an inside look at one of the more popular street built Hondas, we’ll be taking a look at Michael ‘Chubz’ Carter’s K-Swapped EG9 Civic.
Chubz has been around the car scene for quite some time and is no stranger to performance or engine swaps either, with his current car going through several changes over the years. It was first bought with a boosted B16A, following this came an aspirated B16A which was later replaced with a B18C5. It was during this time when Chubz was bitten by the NOS bug and the car was under heavy narcotics for a while. With the car being doped up as often as it was, it was no shock to see it surface with a front mounted intercooler leading Chubz back down the road of forced induction once more. After engine failure Chubz resorted to a LS on boost which ended in catastrophic failure as well. This car has been through numerous changes over the years with each being a force to be reckoned with.
After going through a few B Series setups, Chubz found himself at the crossroads trying to figure out what to do next. This is where David ‘Bally’ Balgobin comes into the picture, the man behind the ‘Rastaman Tuned’. He was the driving force for Chubz to make the leap into the K Series world. Going against the grain, a choice was made to go with a K20A3 motor, the frowned upon K Series. With the motor in hand, some Type R cams, a set of ITBs and a 80hp shot of NOS were thrown into the mix. It was at this point where Special K was born. The goal behind this was to see how much could be gained with a setup like this.
After the engine was finished, the guys headed over to the dyno to see what results they could squeeze out of the setup. Unfortunately, I only have video footage of the NA pull which was 198whp, not bad for pump gas. The guys went back at a later date and tuned for the NOS and ran E85 where they made 320whp.
Here is some footage of Special K at the old Bushy Park during some grudge matches up against two circuit prepared Hondas…
Being a member of the Barbados Association of Dragsters & Drifters (B.A.D.D) it was no doubt about if the car would make it out to an event and put down a time on the 1/4 mile. So far Chubz did a best time of 12.6 secs with the 80hp shot.

Special K… A shot with the 54mm OBX ITBs and direct port NOS fogger setup…

A shot from one of the Trackdays at the Bushy Park Racing Circuit…
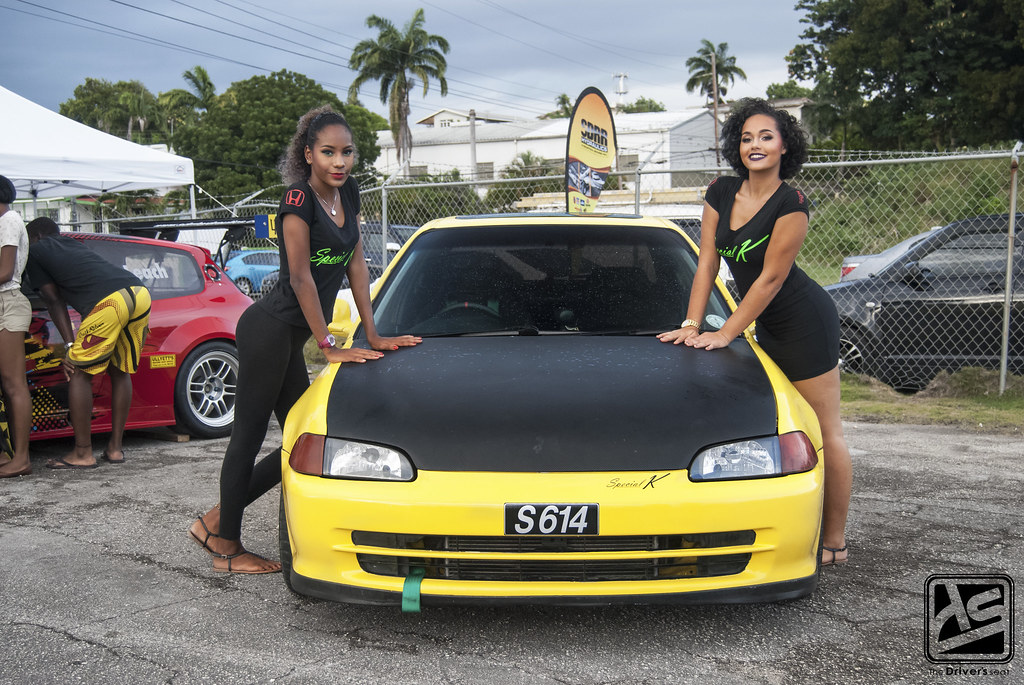
Chubz was recently added to the SDRR Motorsports team, the car is pictured here with the two promo girls at the recently held Honda Craze event.
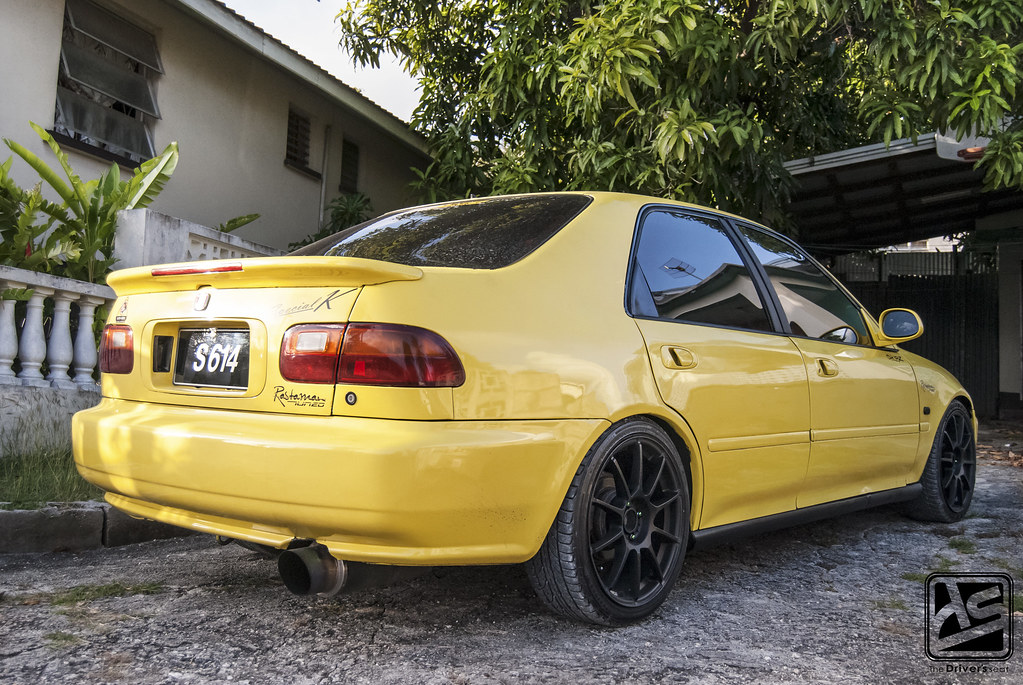
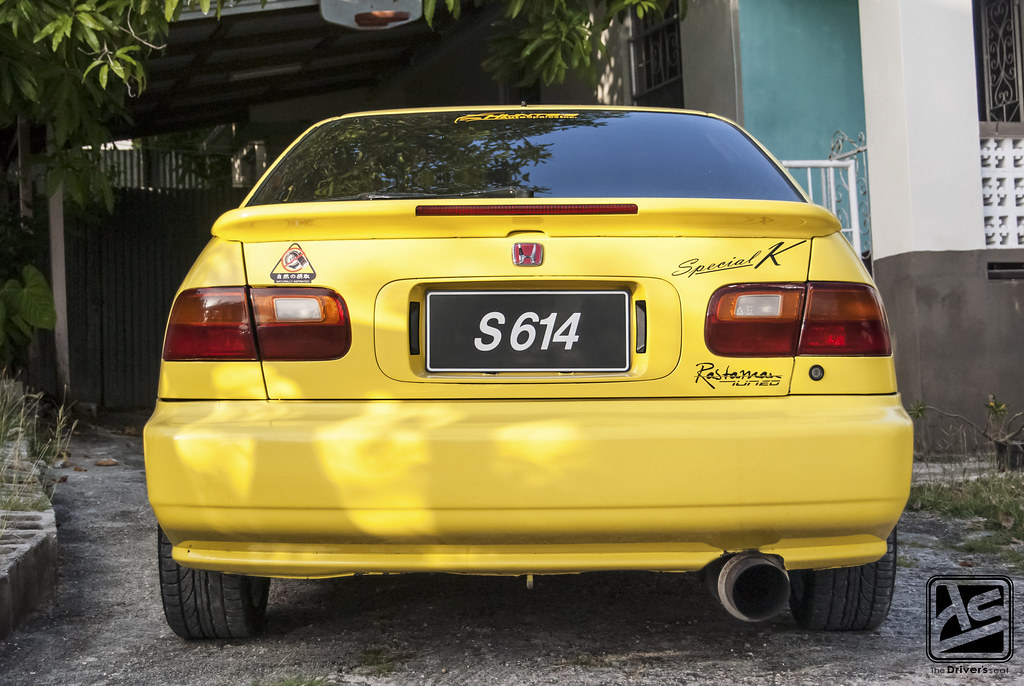
The car runs a full 3″ exhaust system…
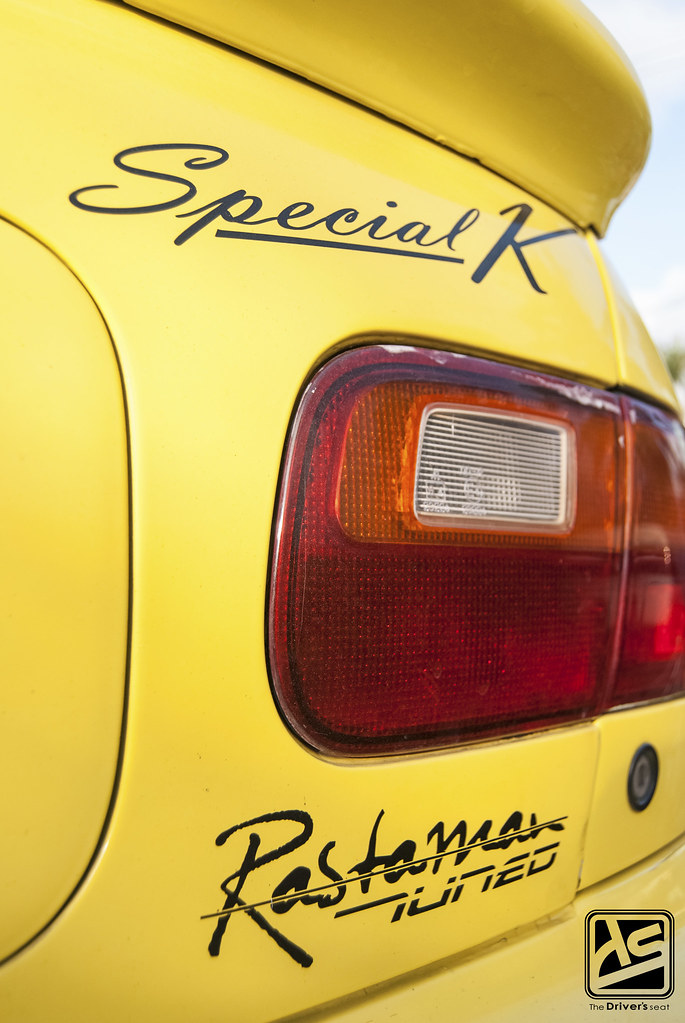
Special K repping Rastaman Tuned…
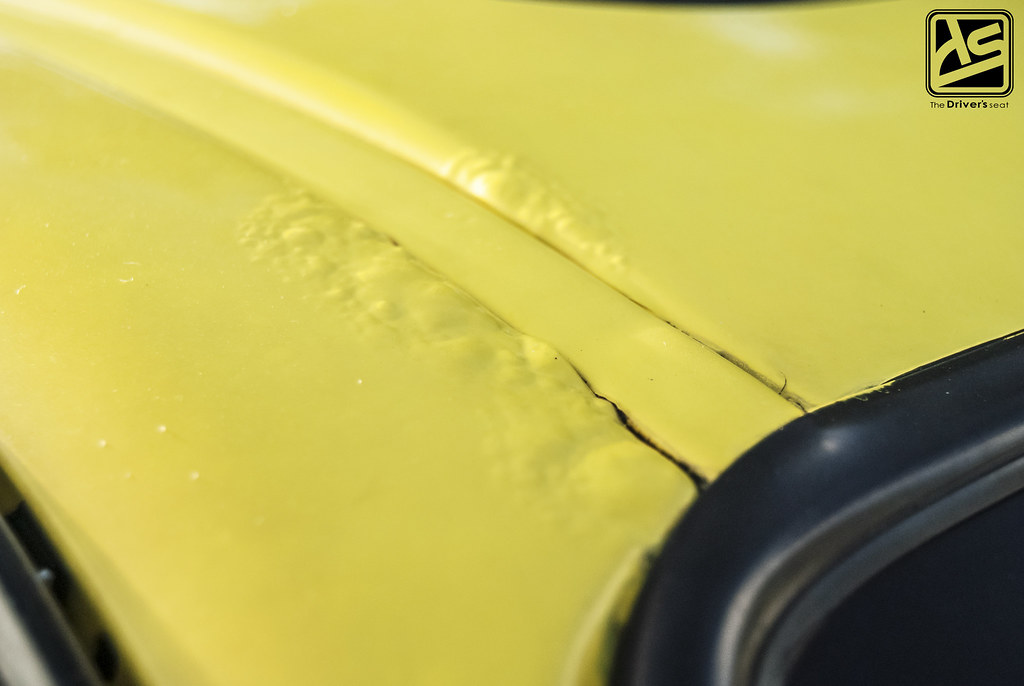
An area by the windshield being taken over by the usual suspect which will need to be addressed…
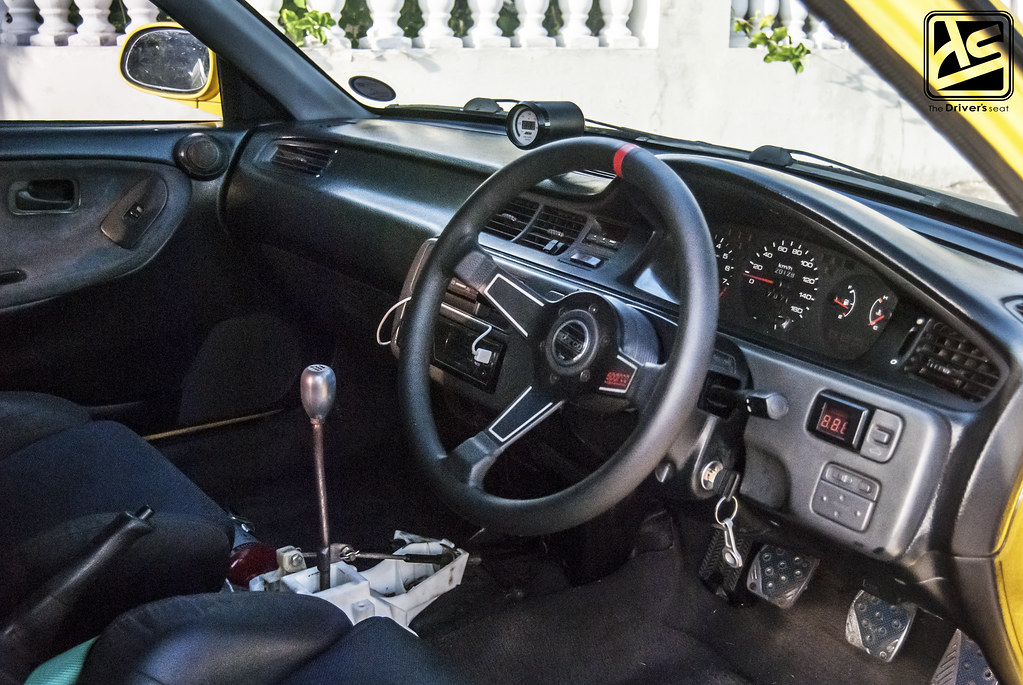
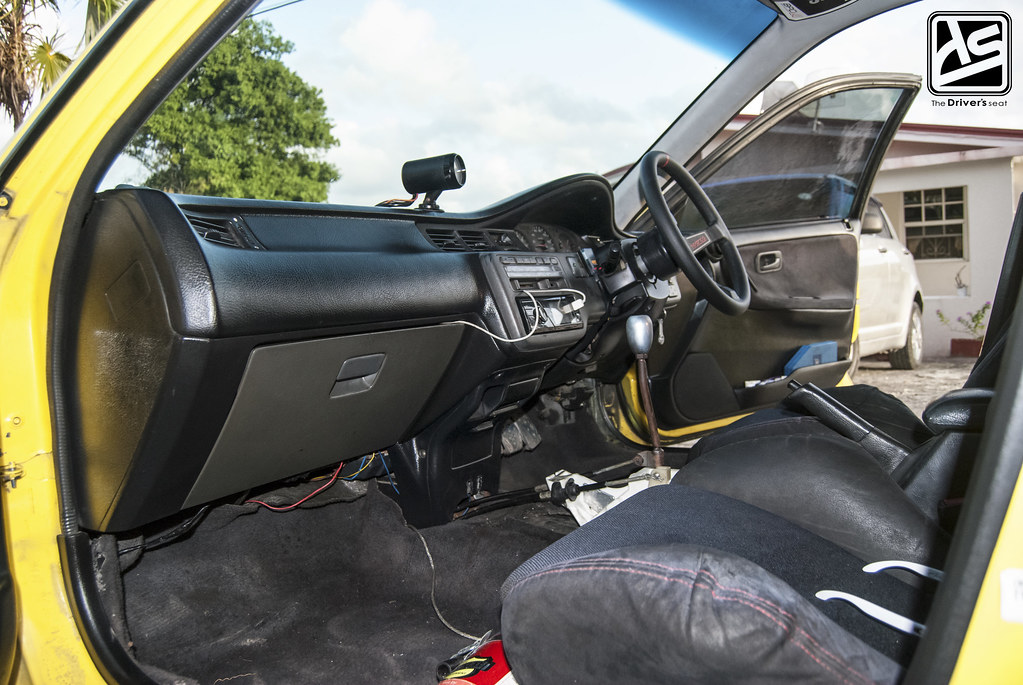
A look at the interior where you can see the RSX stock shifter and cables exposed…

Sparco steering wheel…
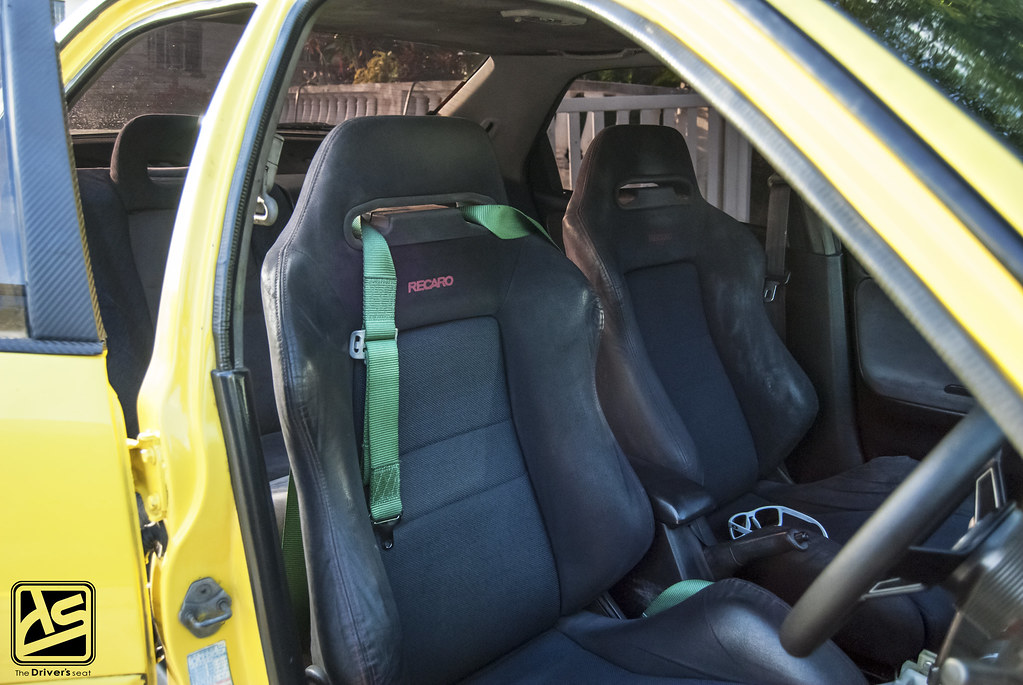
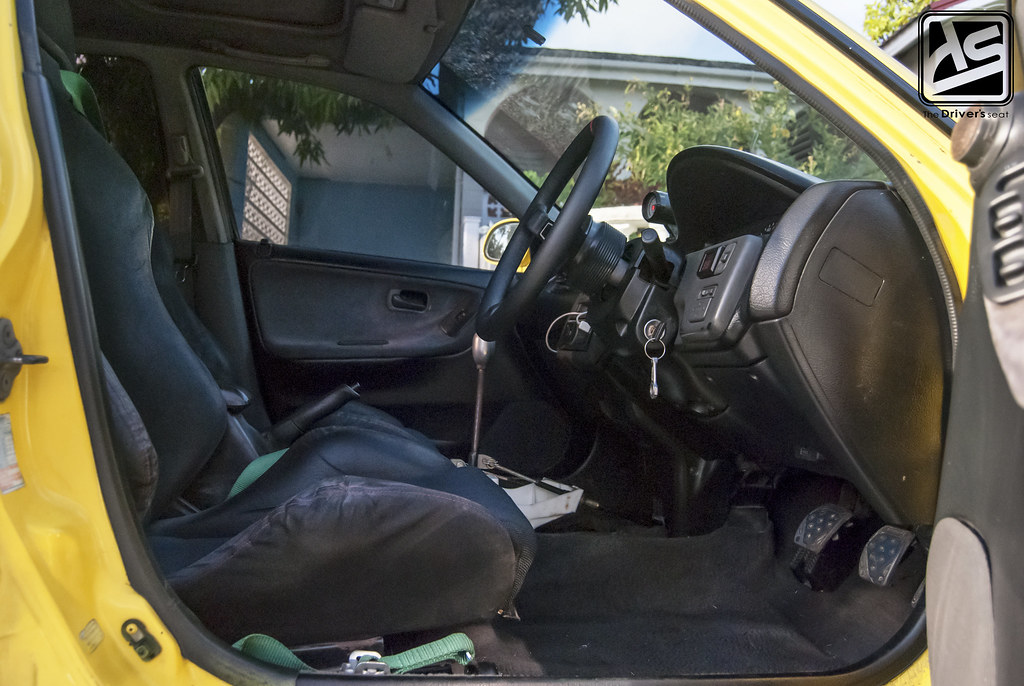
And Recaro seats with safety harness…
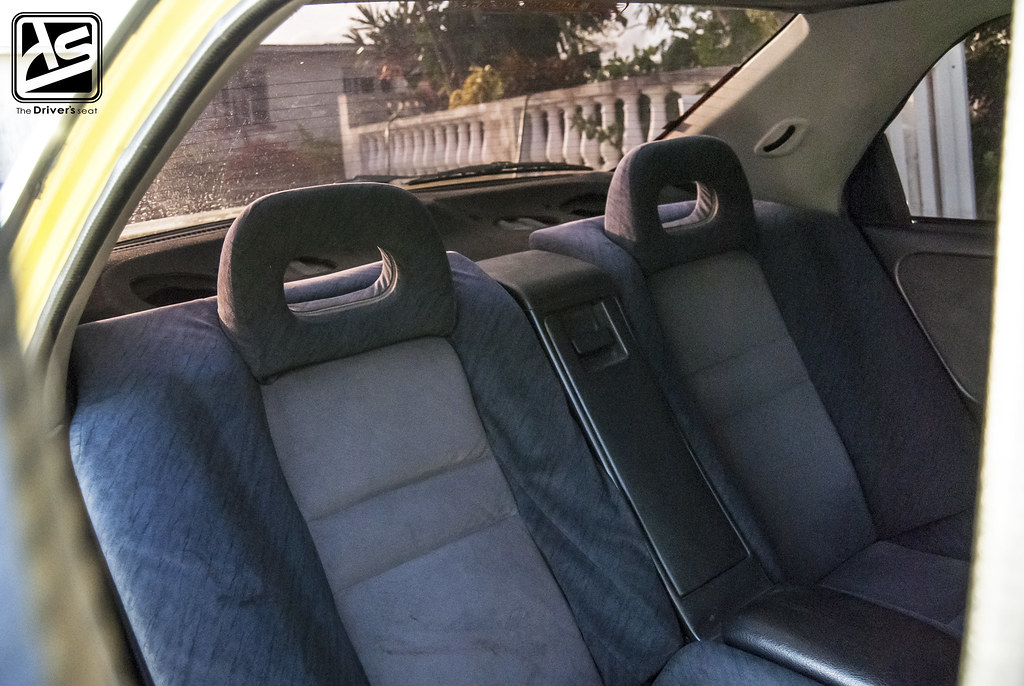
The car runs a full interior…
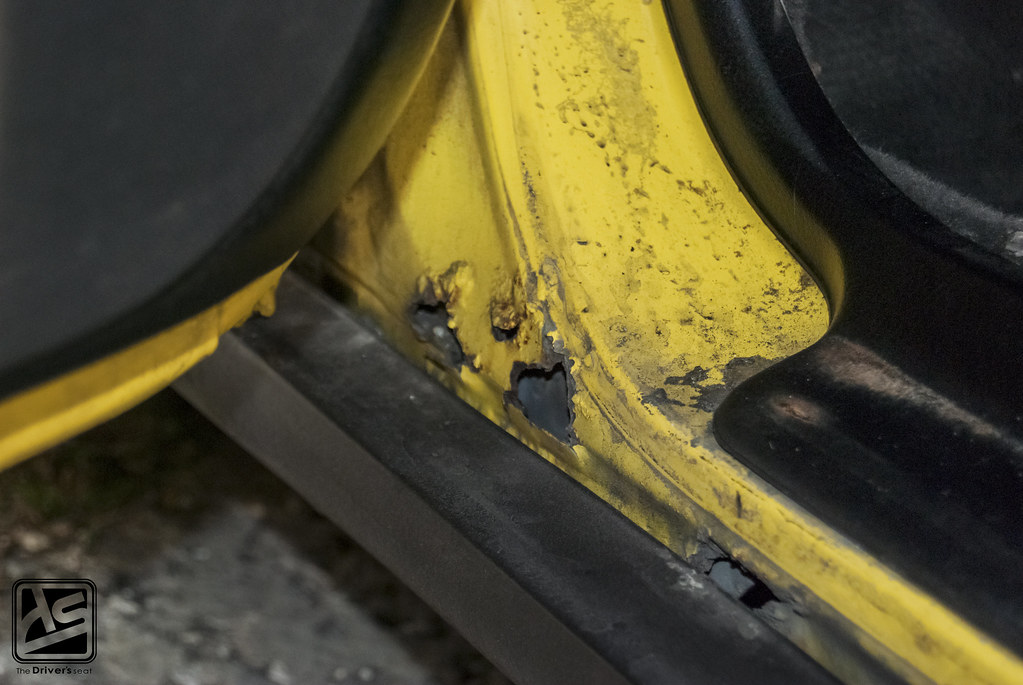
More evidence of some damaged areas that need some attention…
Sparco 17″ wheels wrapped in Firestone rubber at the rear…
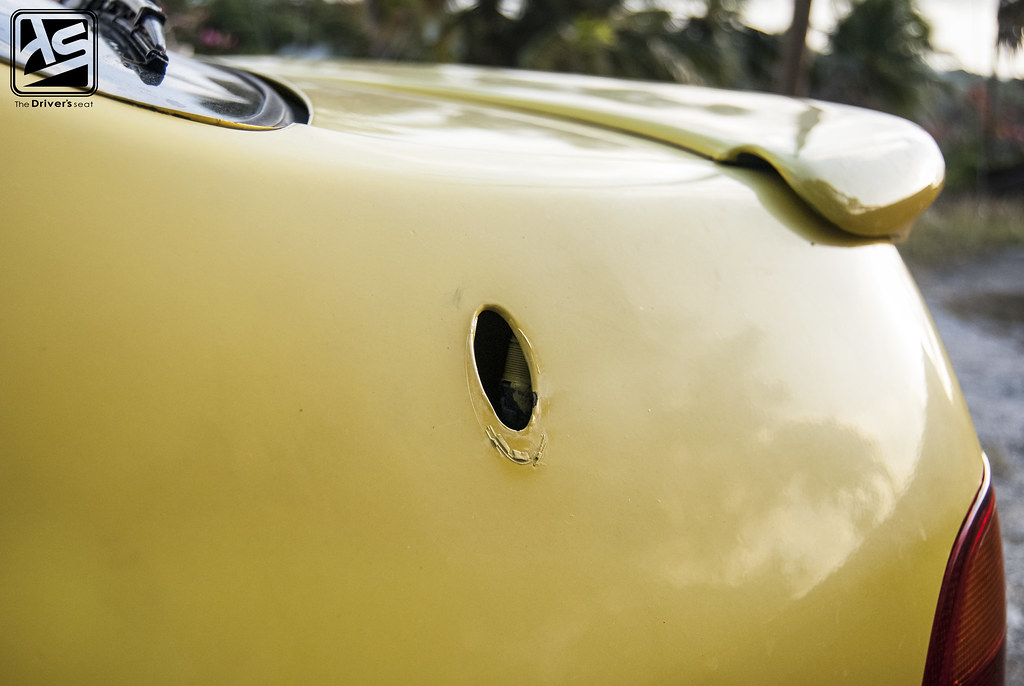
The existing hole in the rear quarter which once housed the antenna…
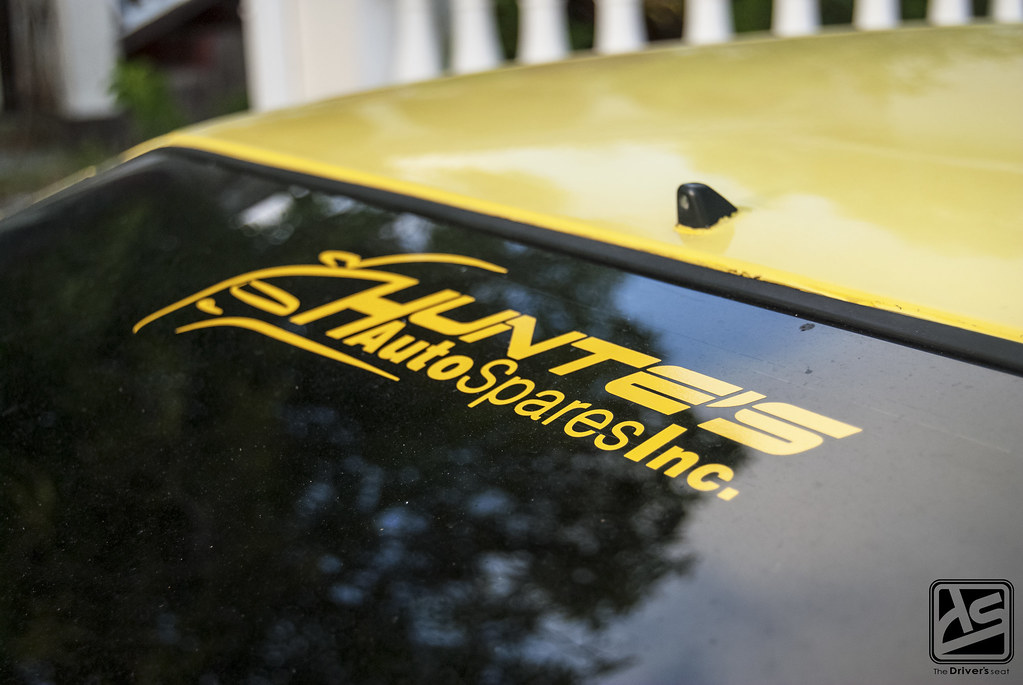
Hunte’s Auto Spares, one of the sponsors of Special K who provide regular maintenance parts needed…
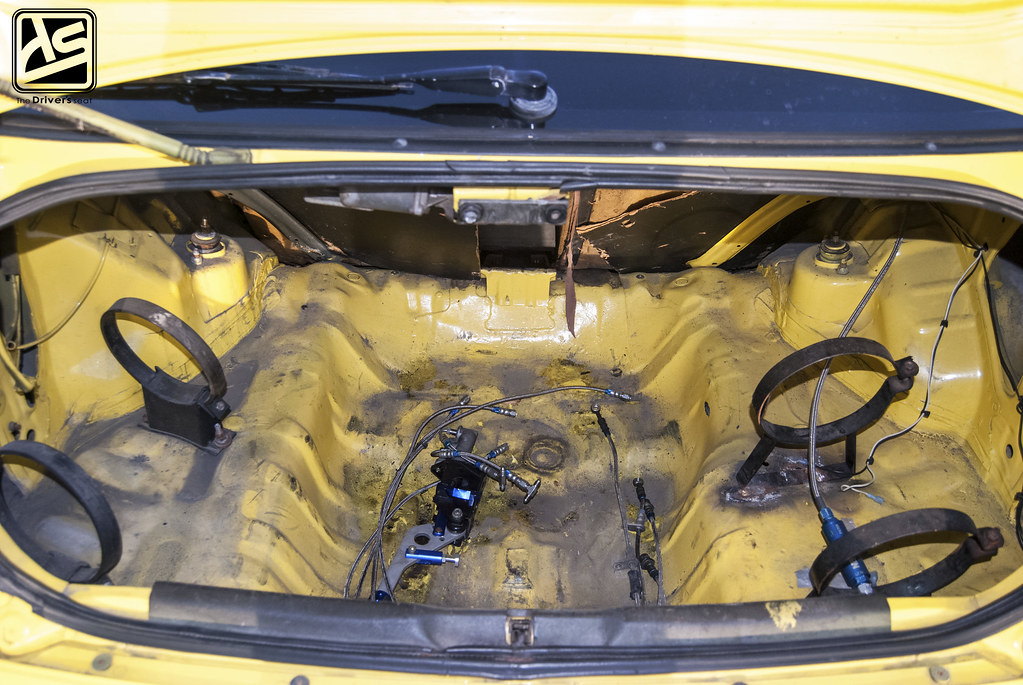
Where the two bottles reside, which has seen better days…


Front view, if you look close you will see an AC condenser, Special K runs a custom built AC system also done by Bally…
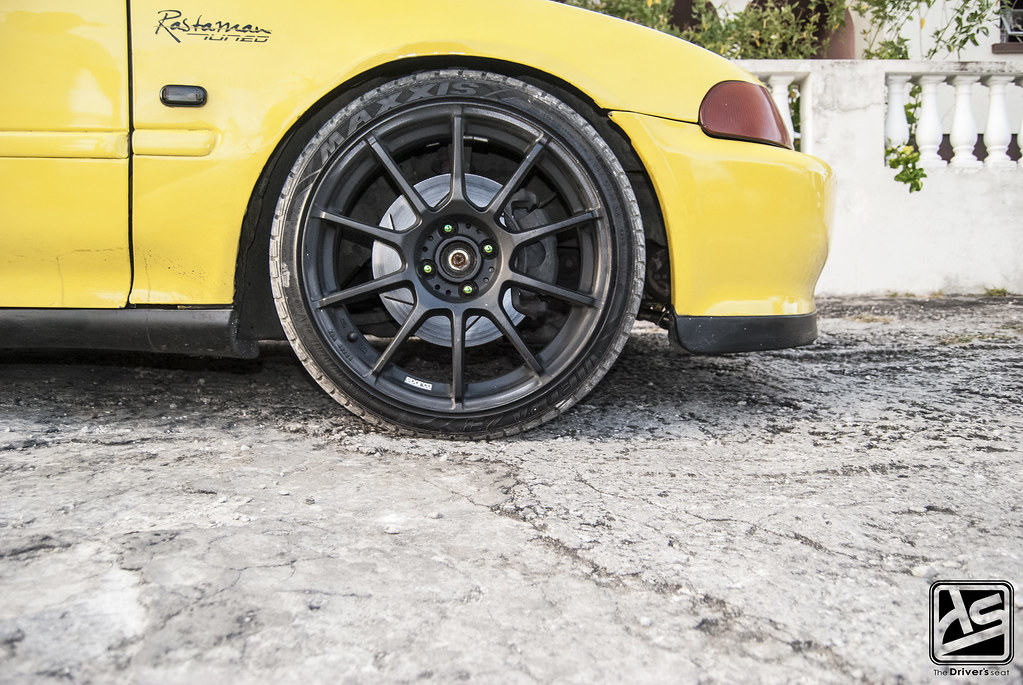
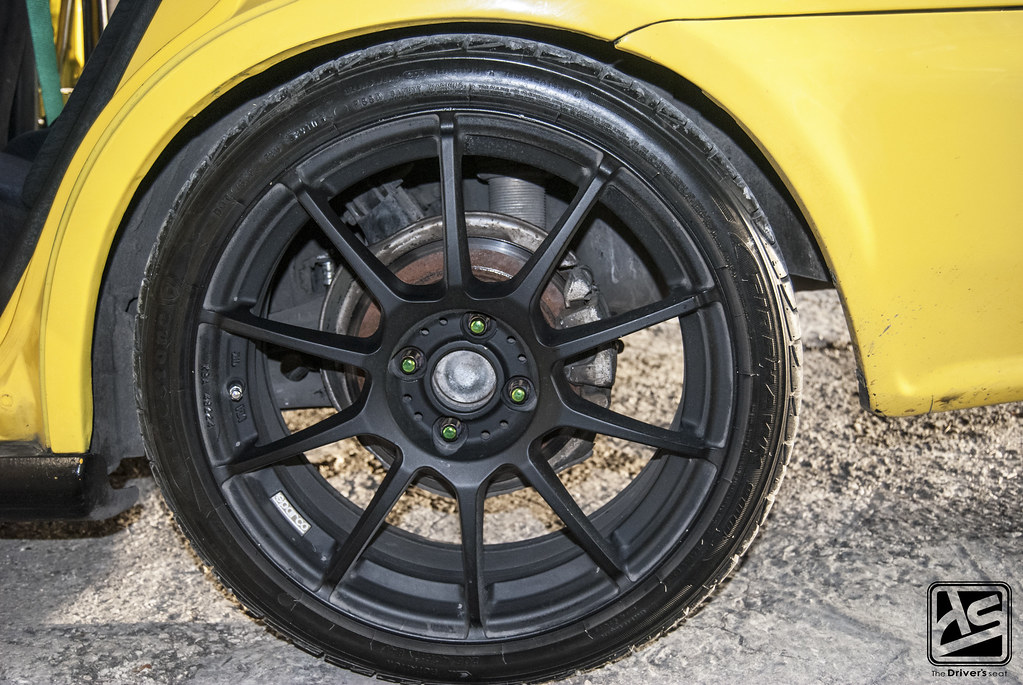
Moving to the front end, you will find the Sparco wheels wrapped in Maxxis Z3 rubber. Taking a look behind them will reveal, CTR calipers and redrilled slotted rotors. In the suspension department, Ground Control coilovers mated to a set KYB AGX shocks and Energy Suspension bushings throughout.
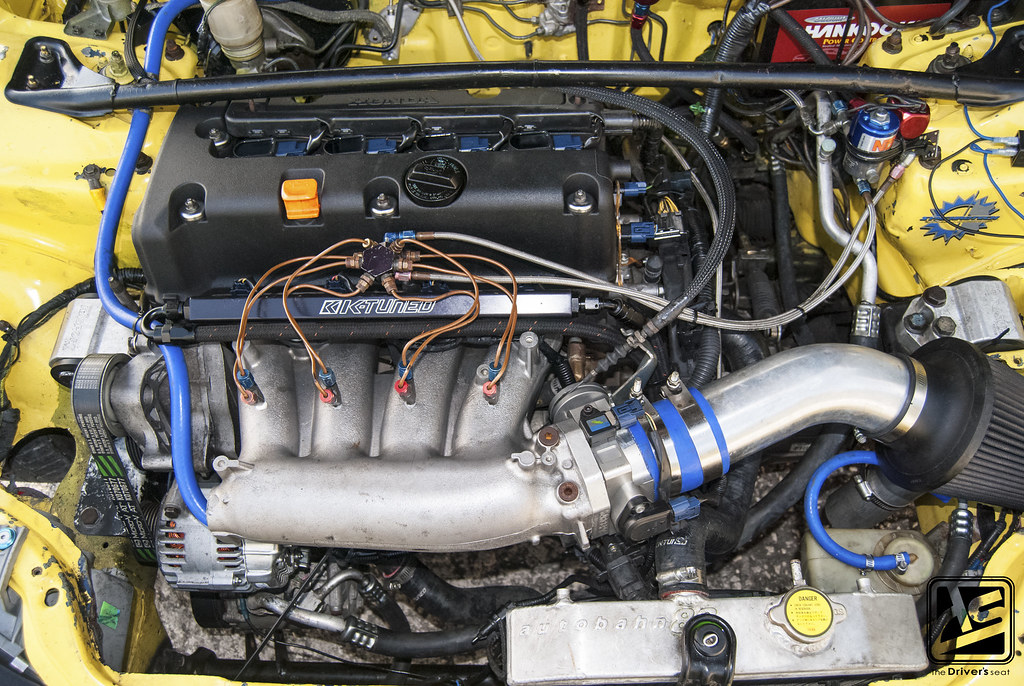
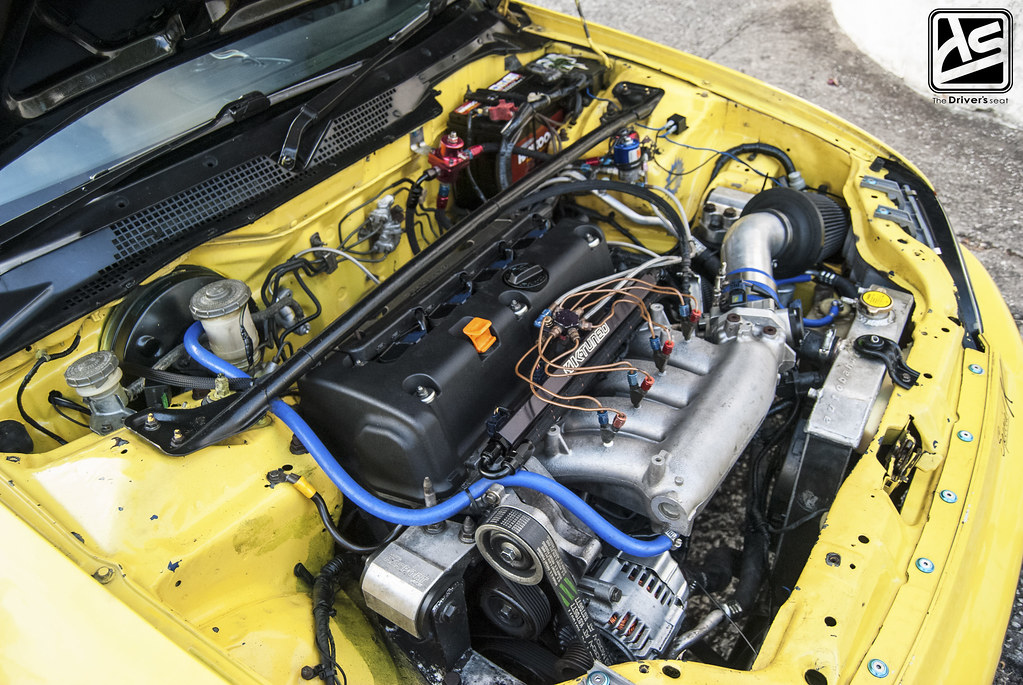
With an old addiction to the bottle resurfacing, and Chubz wanting to run a bigger shot, the OBX ITBs were swapped out for a RRC intake with a 74mm Skunk2 throttle body and at the same time the A3 head was changed to a Type R head.
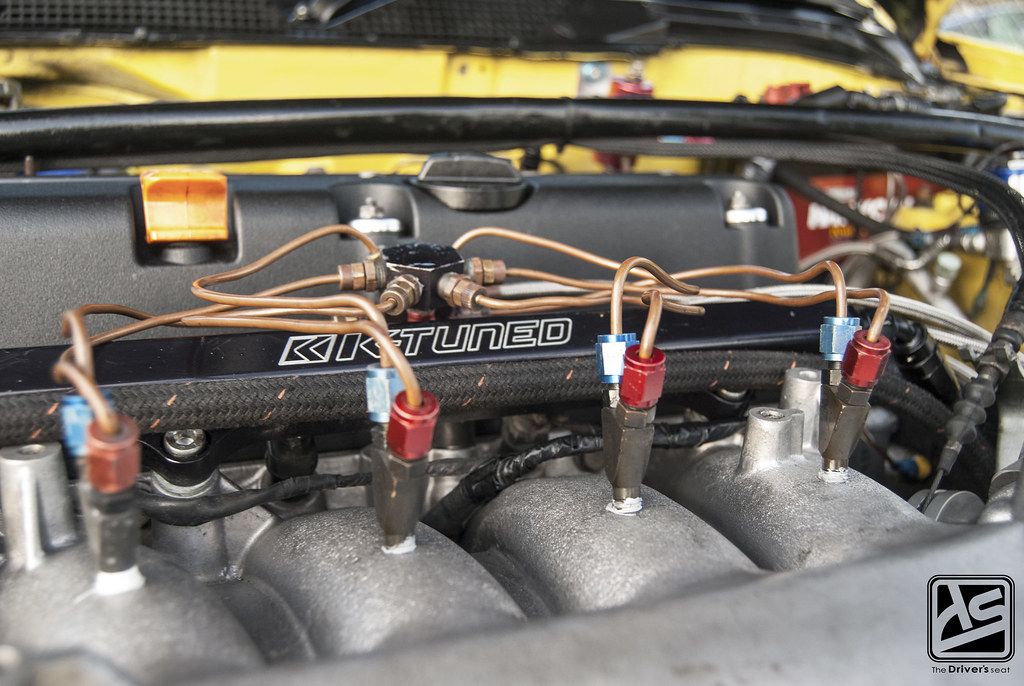
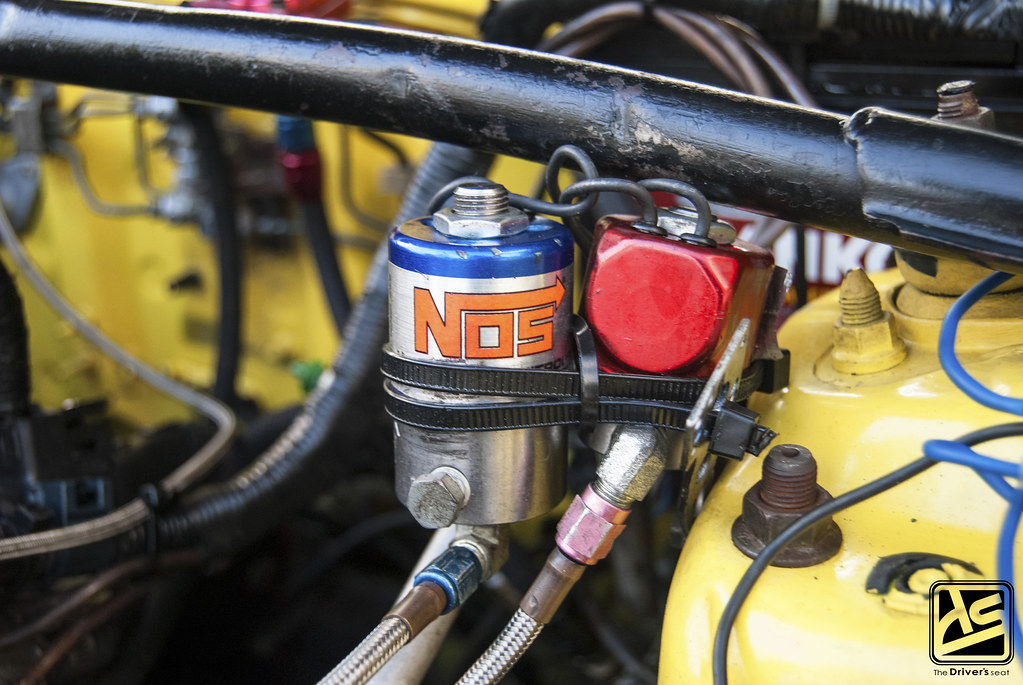
Close up of the NOS solenoid and direct port injection setup that was replicated into the RRC intake…
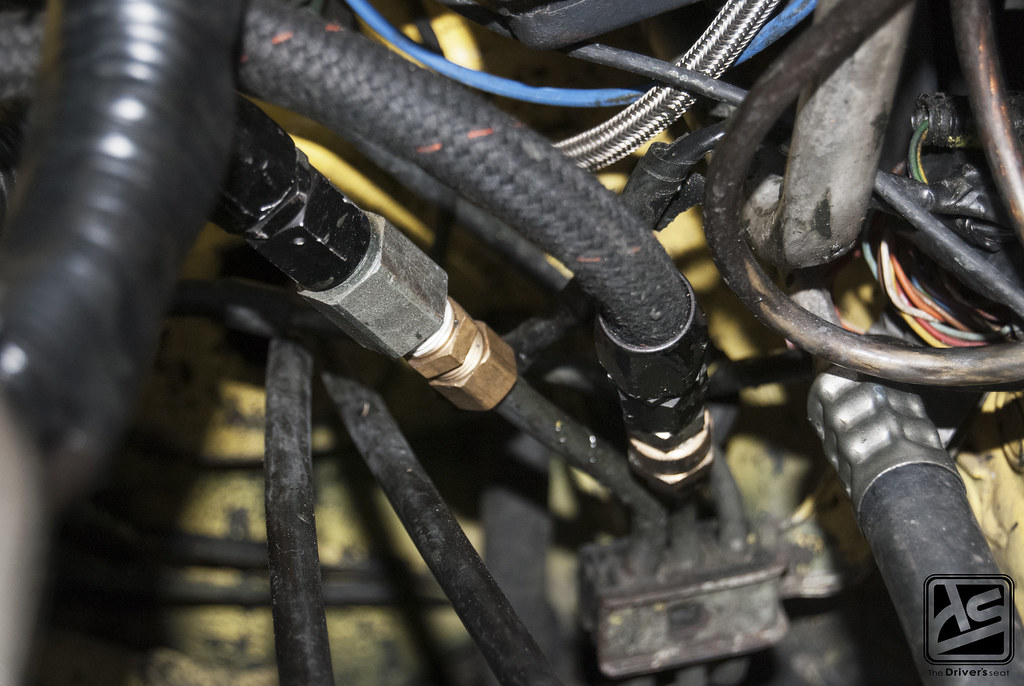
A look at a compression fitting found at SDRR used to convert the regular metal fuel line to a AN fitting…
Interesting video with the RRC intake and type R head installed…
A compilation video of the making of Special K…
That brings us to the end of a first look at Special K. Chubz would like to give a shout out to Bally the man behind the build, and to his sponsors SDRR and Hunte’s Auto Spares. Thanks for taking a look and be on the lookout for more to come on this build…
Daryl’s Rally K-EG Build… Part 11
For the upcoming season some major changes are being undertaken along with a full tear down and rebuild. In the previous post we looked at some of the damage which the car suffered over time and also at the new steering setup. Since then Daryl sent the car to have some much needed modifications done to the body before it is sent to bodywork and paint. With those steps out of the way the car was then taken to MQI to begin the bodywork and paint process. We’ll be taking a look at the progress made so far in today’s post.
For those who are viewing this post for the first time, I’ve provided link to the entire build below.
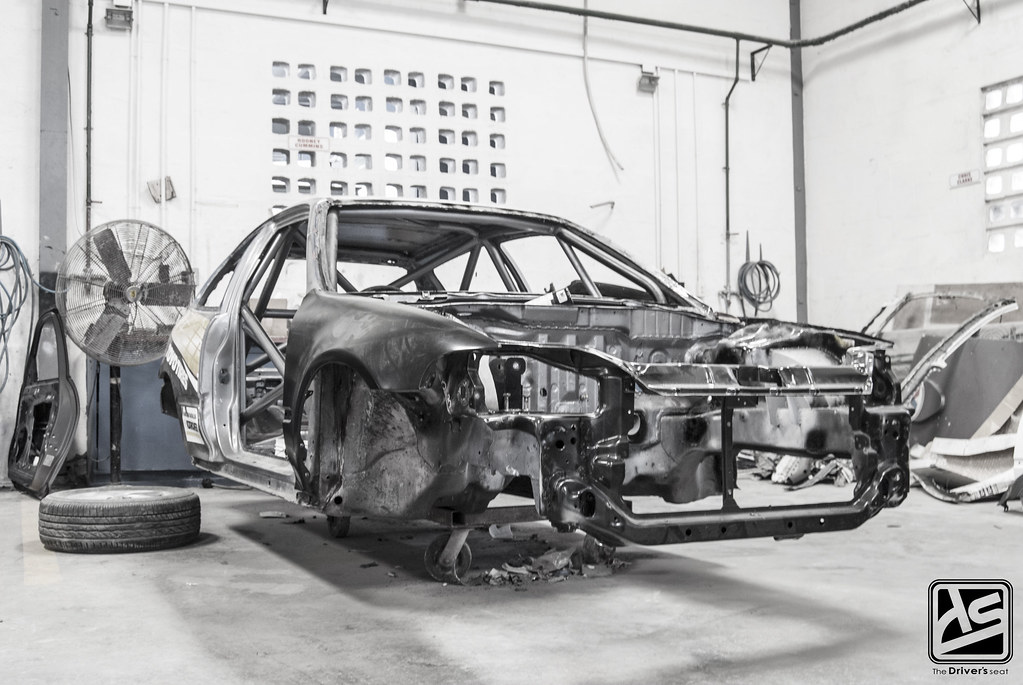
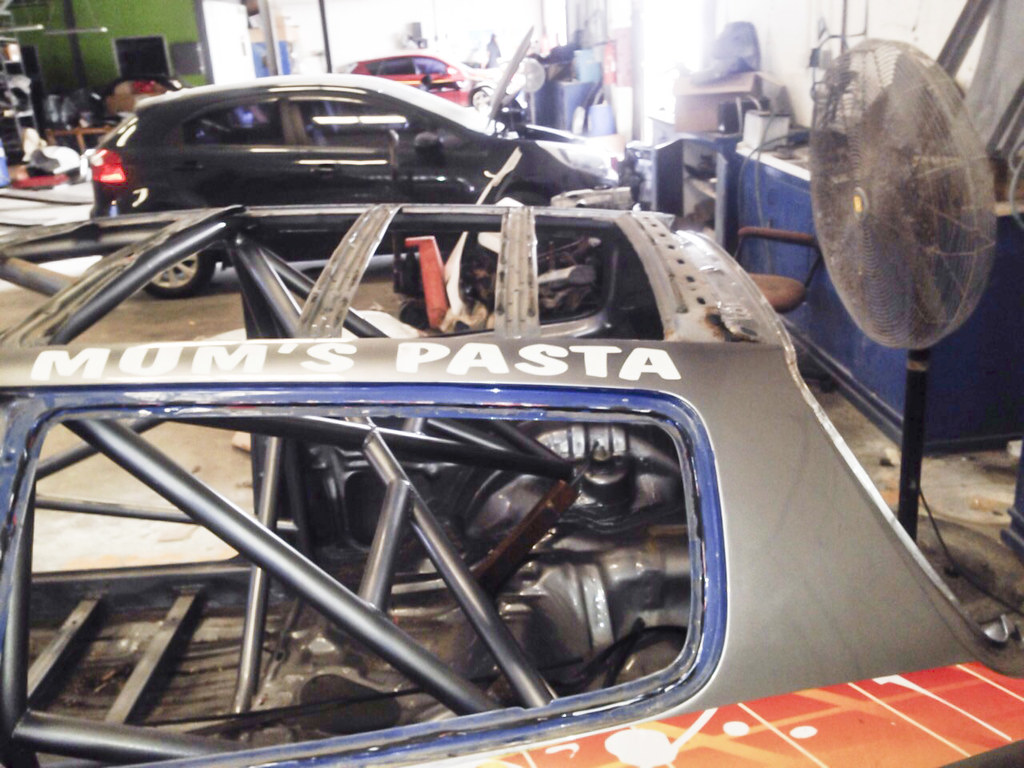
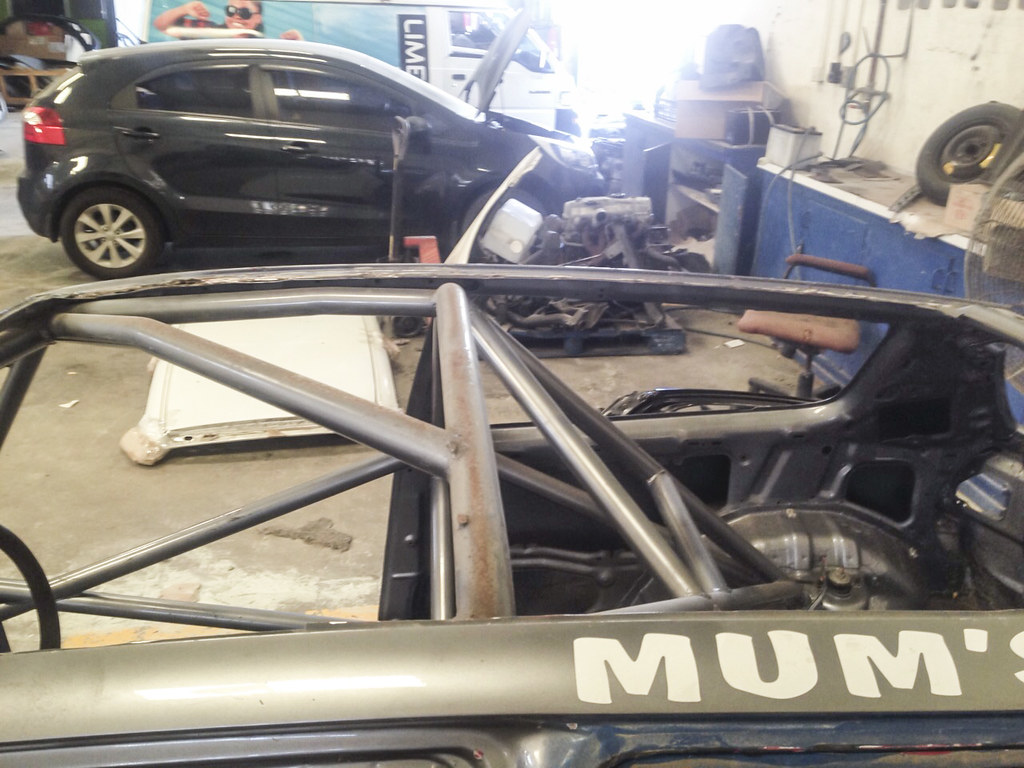
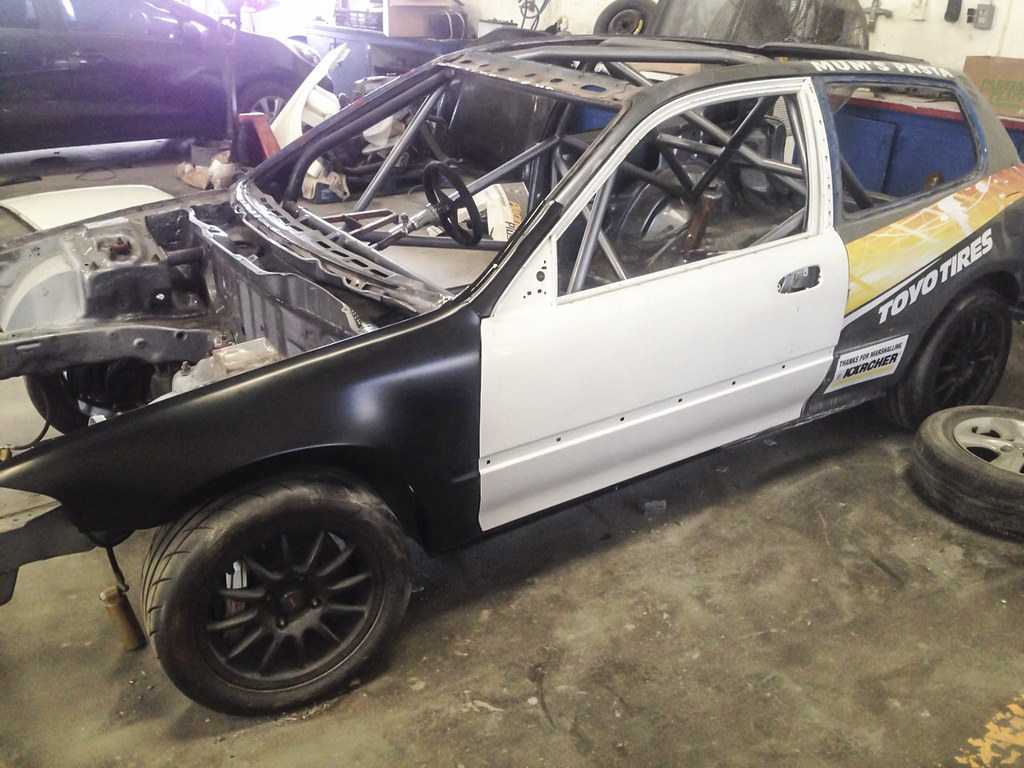
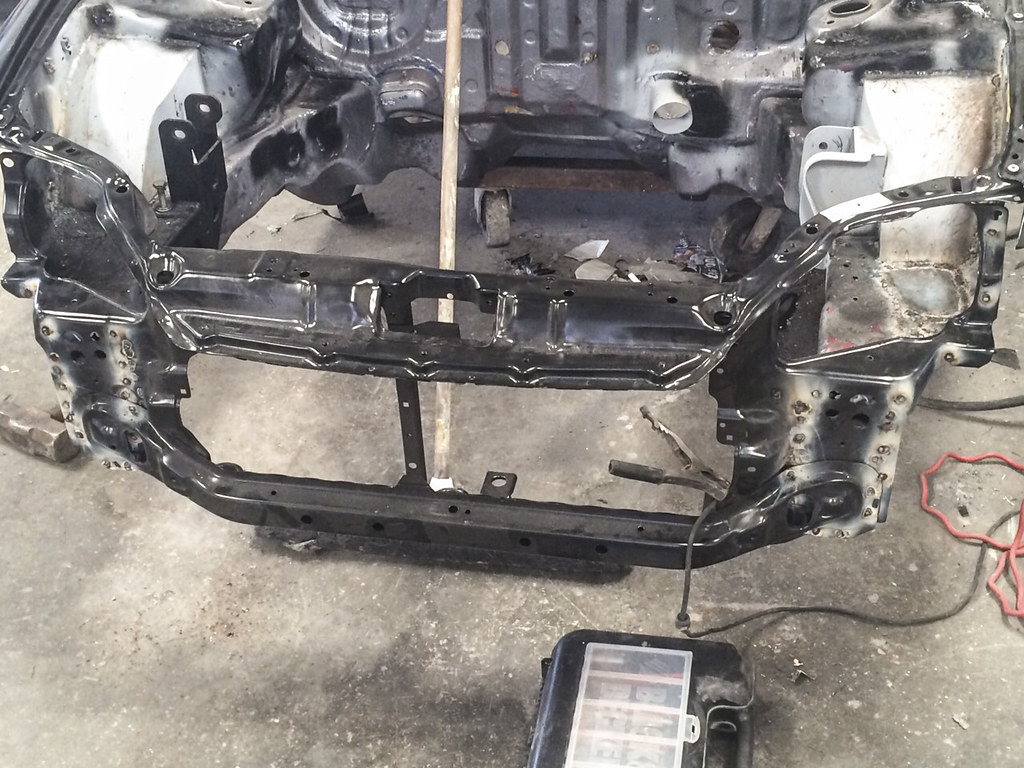
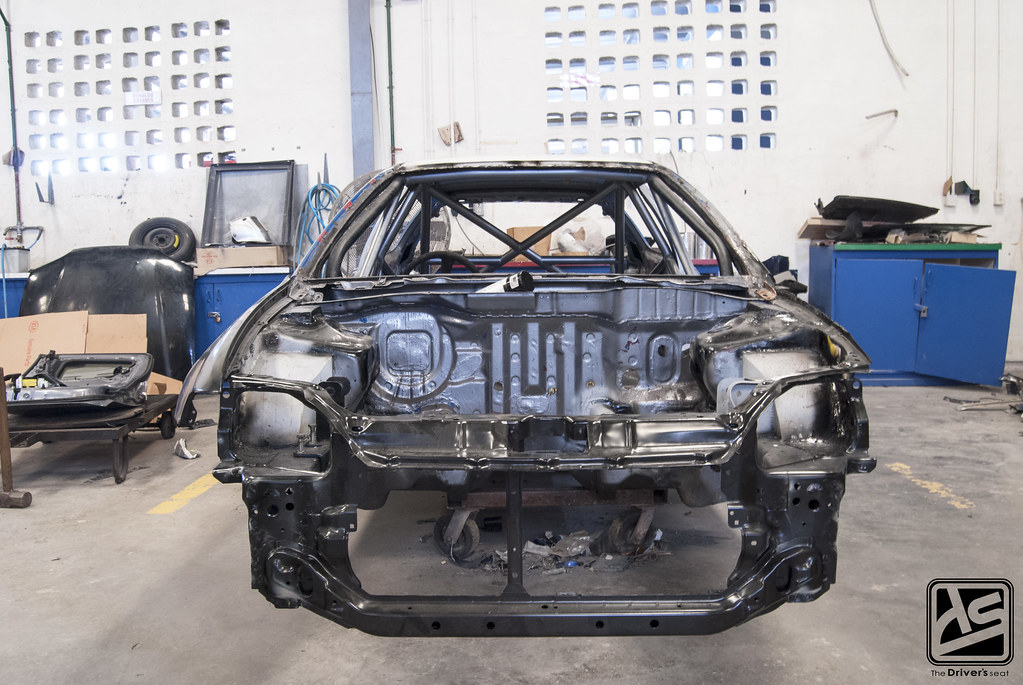
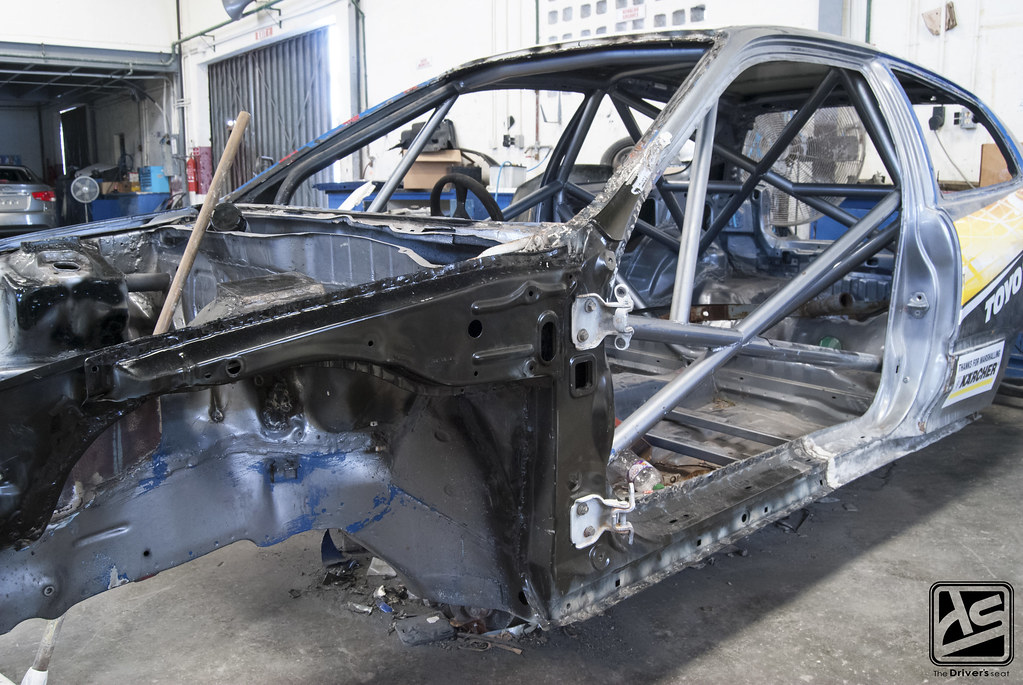
The shell as it sat at MQI with the damaged radiator support removed…
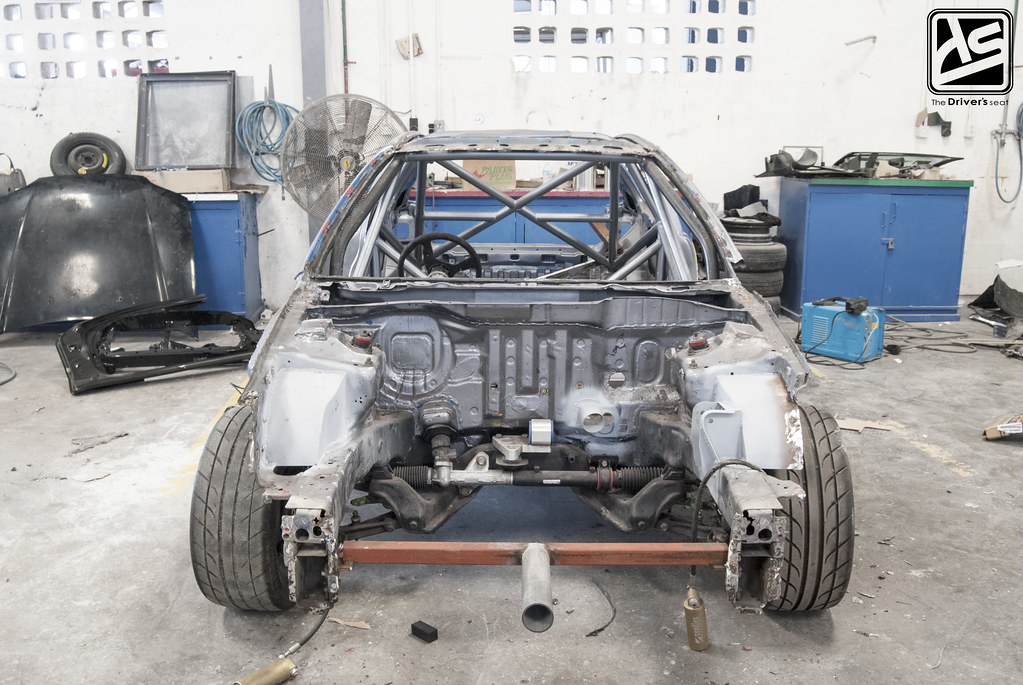
If you pay close attention you will notice there is a bar running from the left to the right side of the front end. This is the support that is needed for when the car is placed onto the rotisserie…
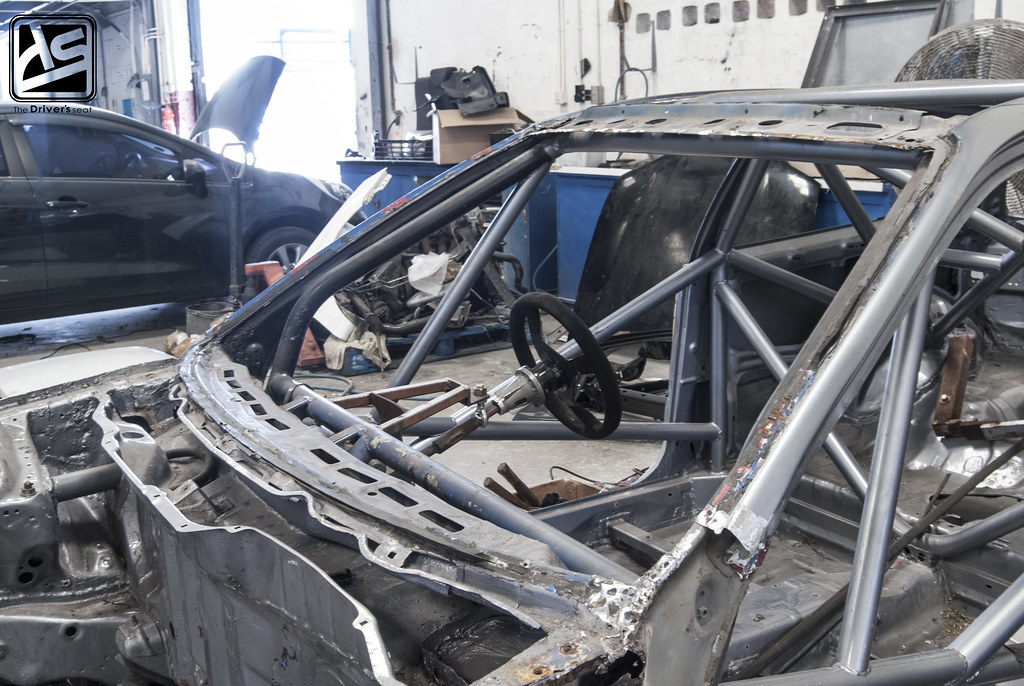
As you guys can see once the shell made its way over to MQI it was stripped even further…
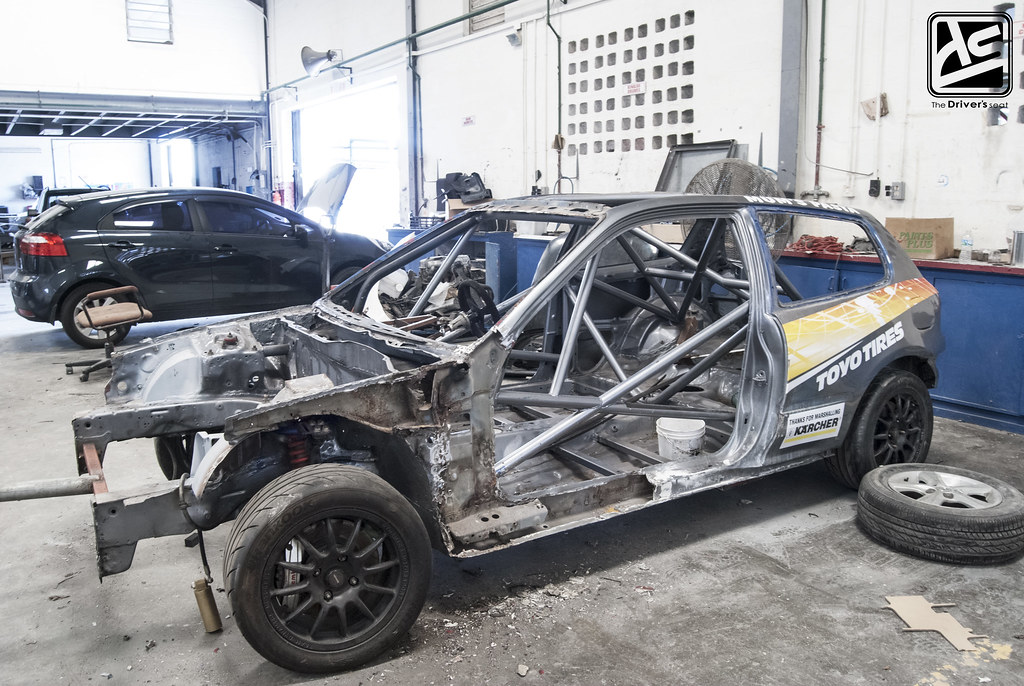
And signs of progress were visible in just a matter of hours…
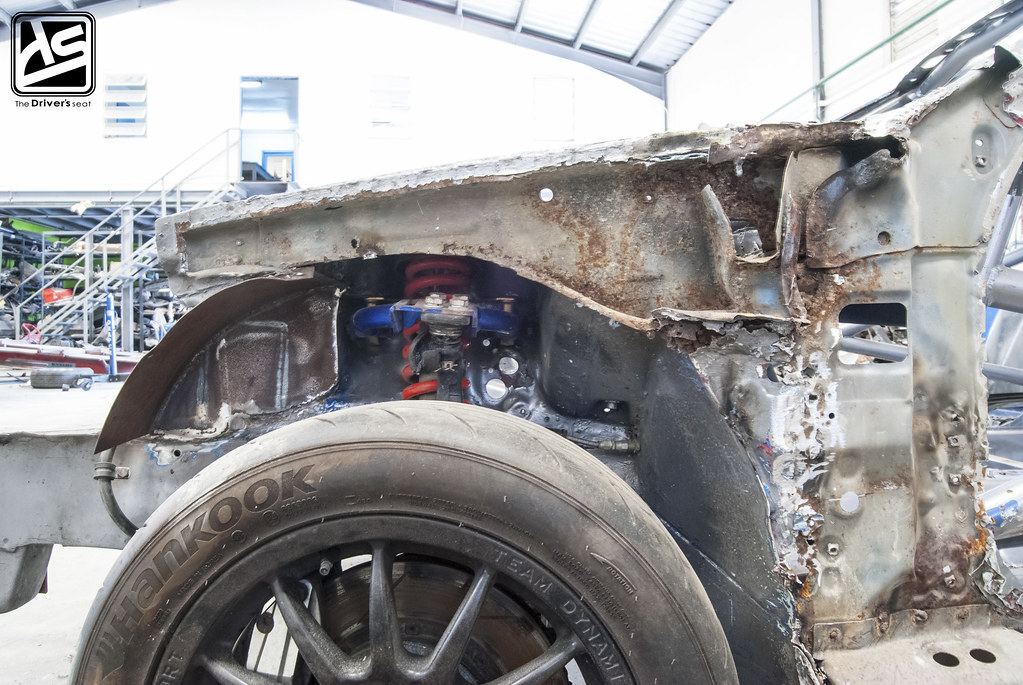
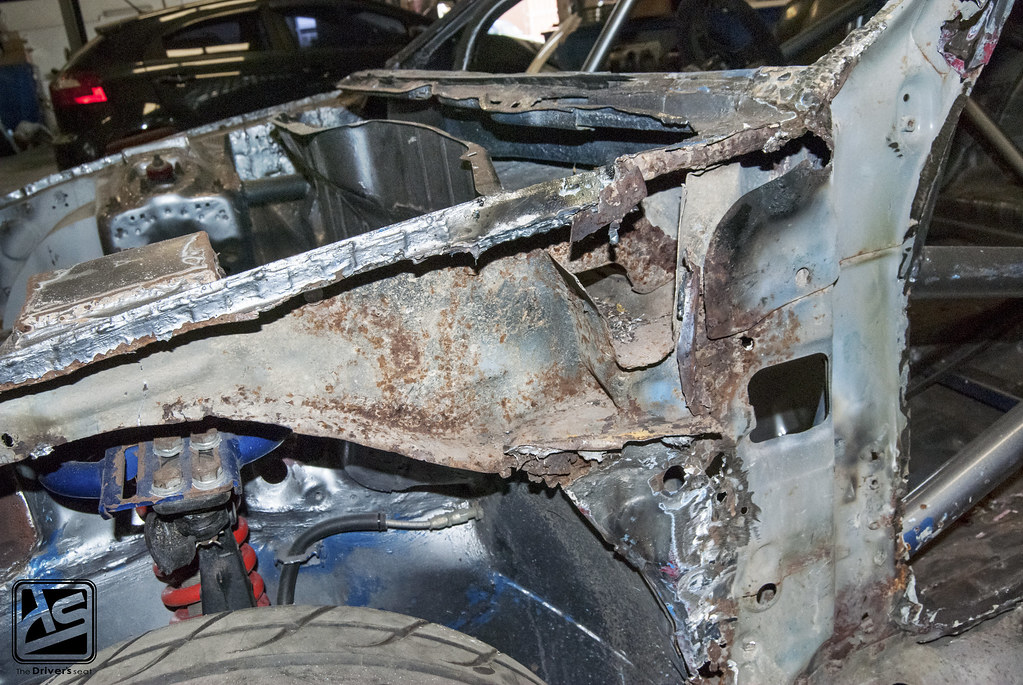
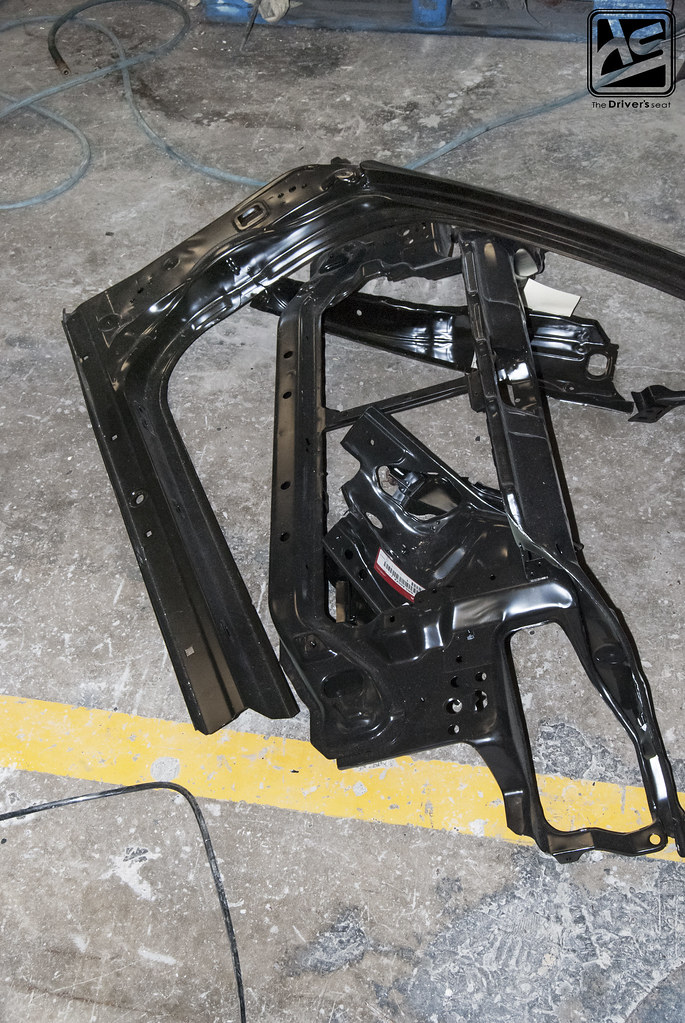
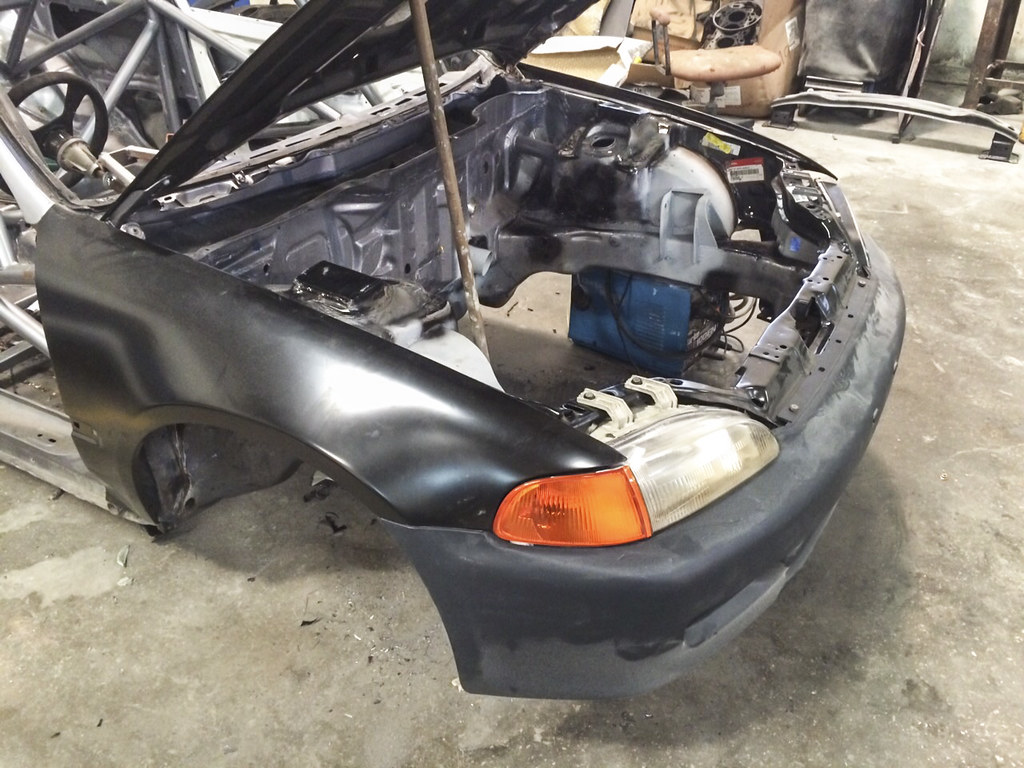
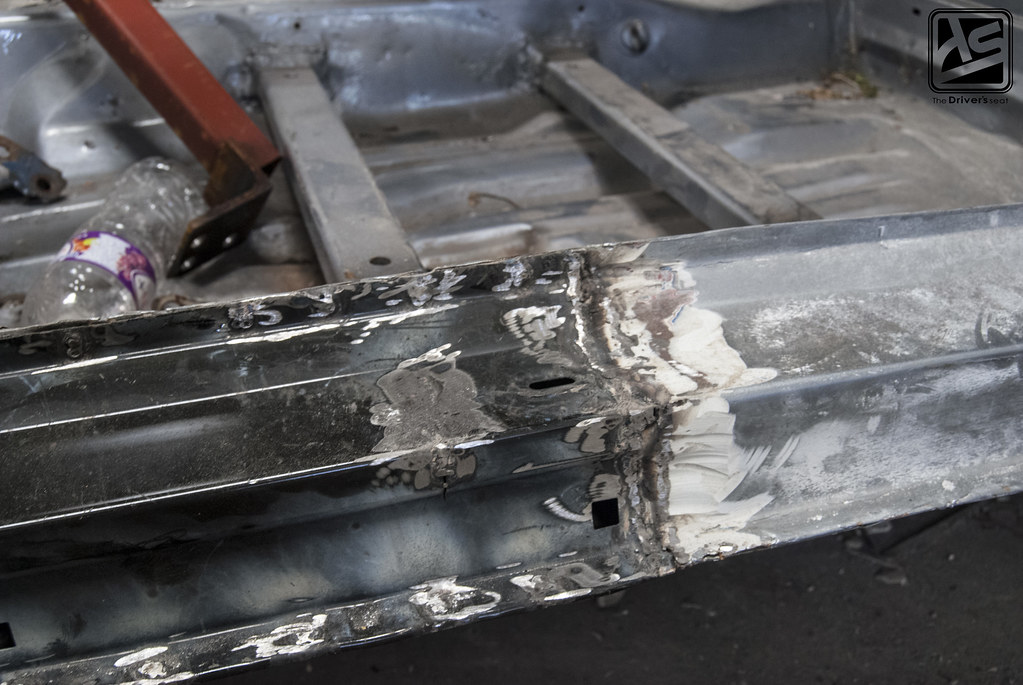
The front left side fender panel had some damage to be taken care of, but it wasn’t until pieces started to be cut out that the true extent of the damage was revealed…

As you can see a large area had to be removed…
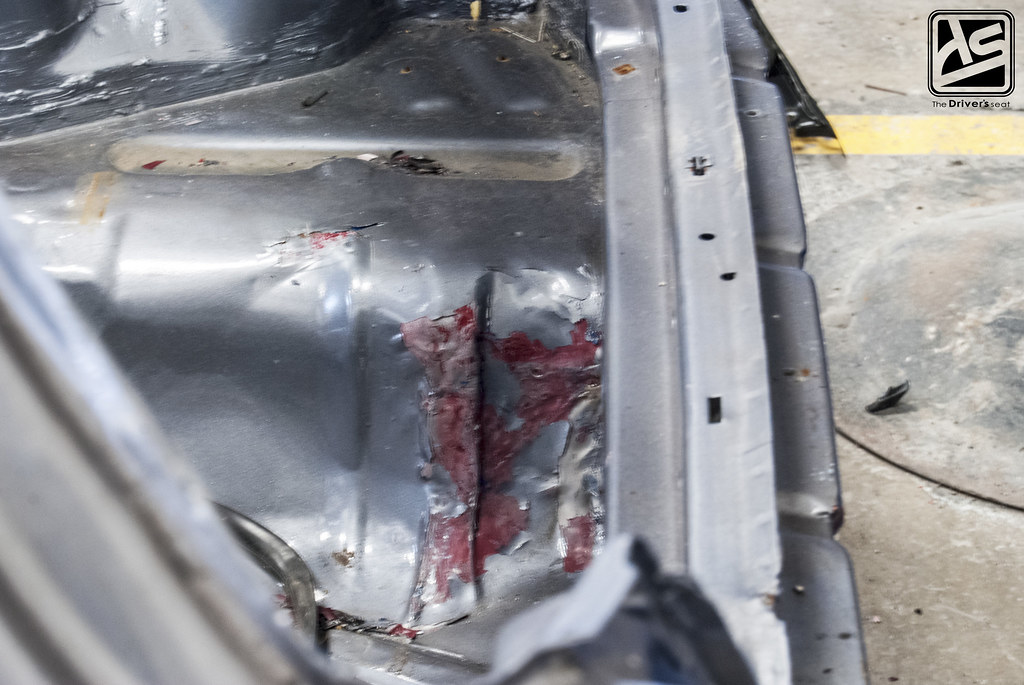
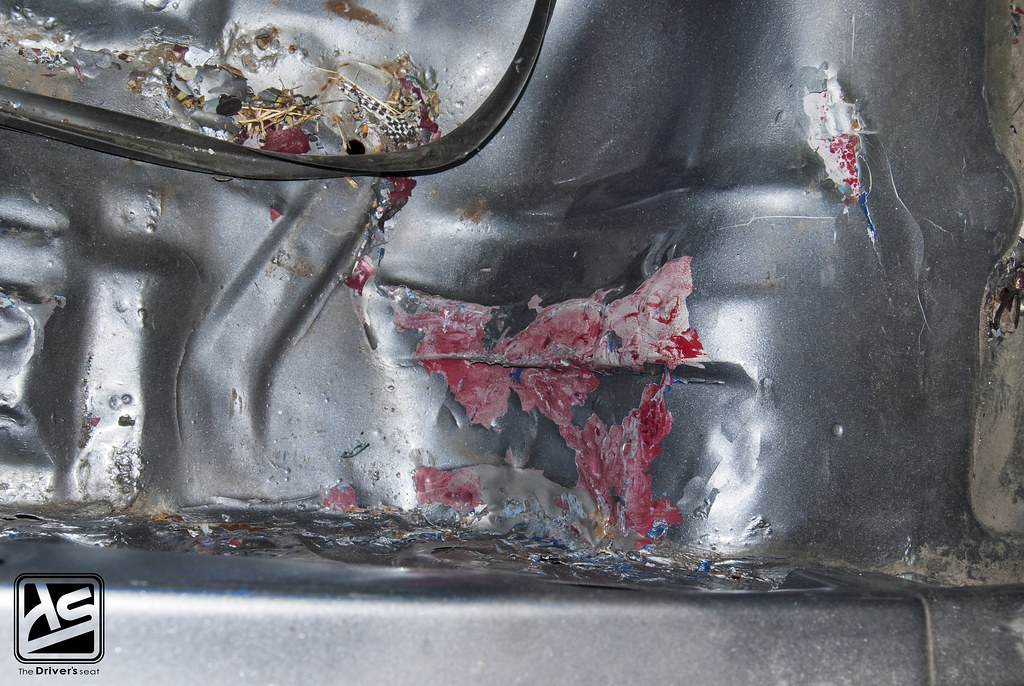
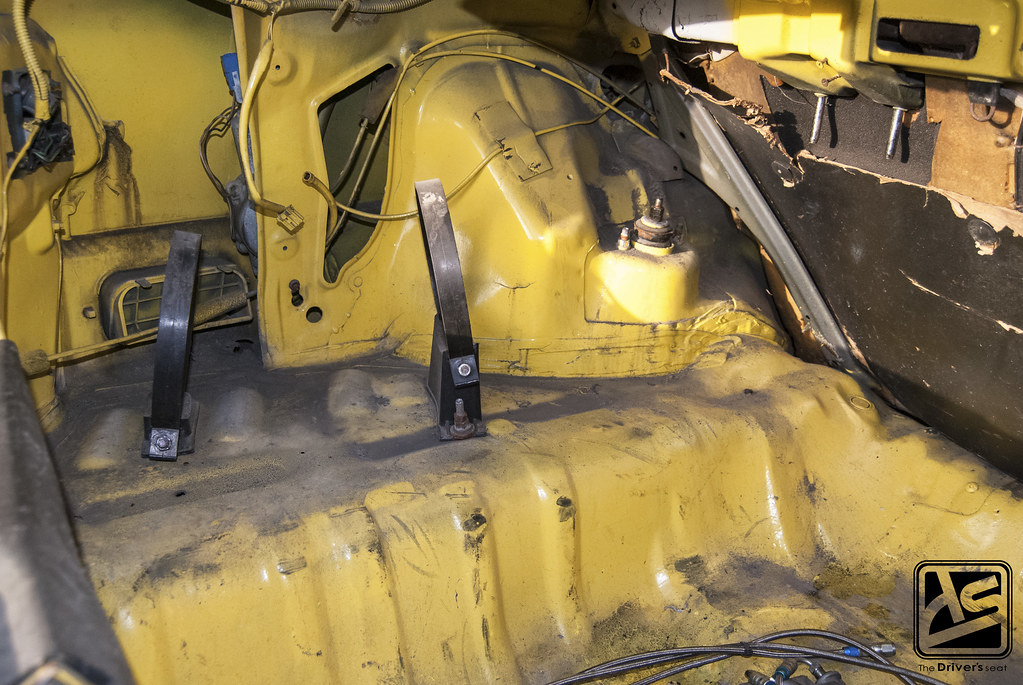
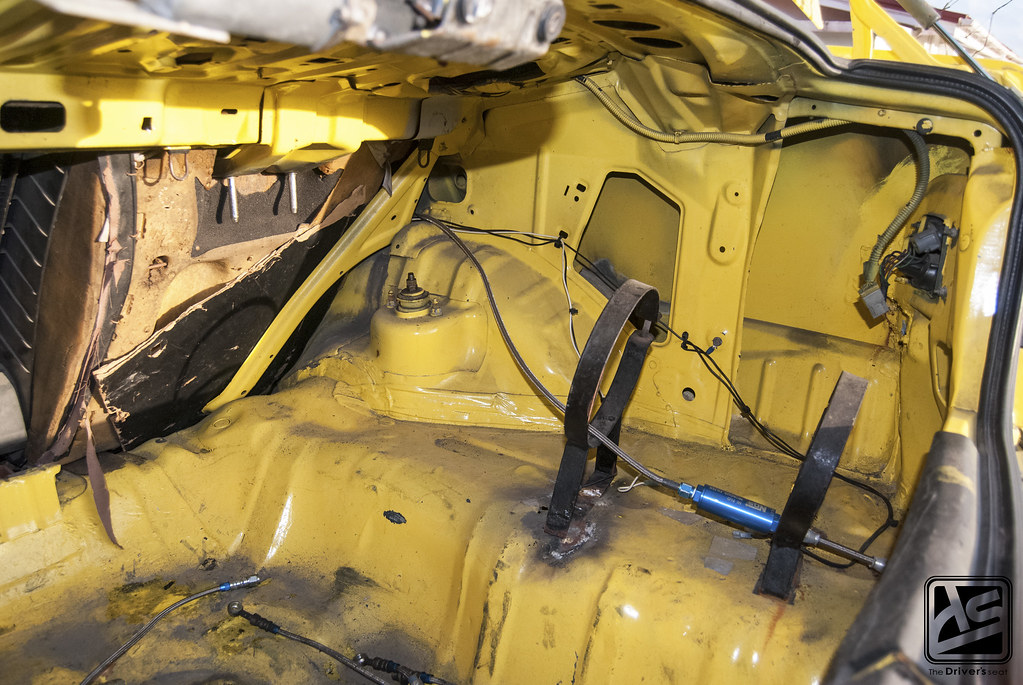
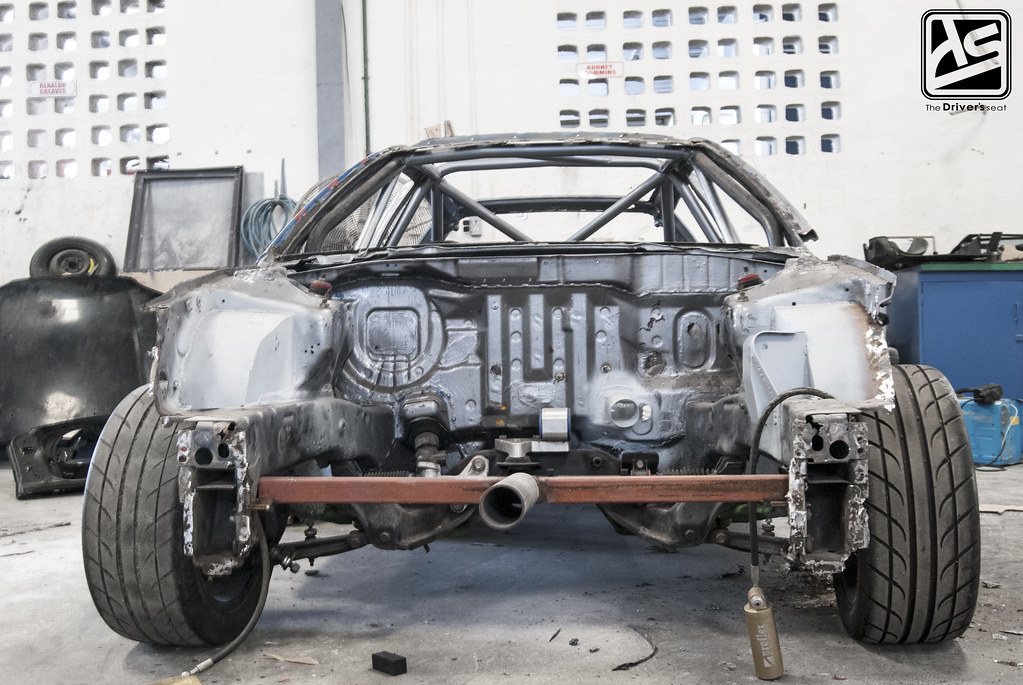
Moving to the back of the car, the damage to the spare wheel well was addressed and straightened out…
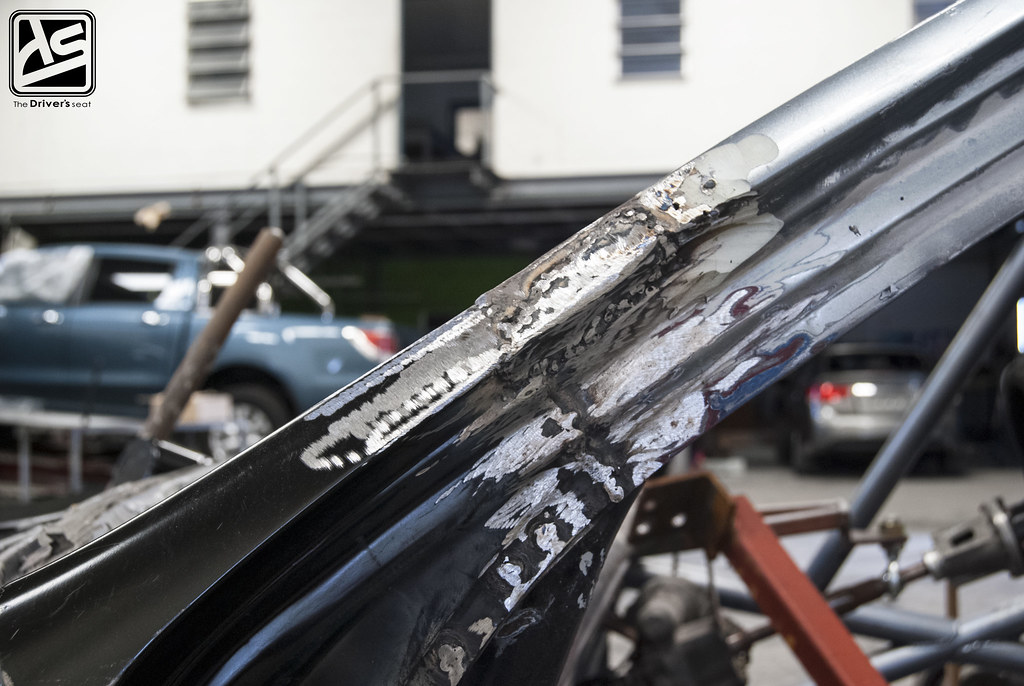
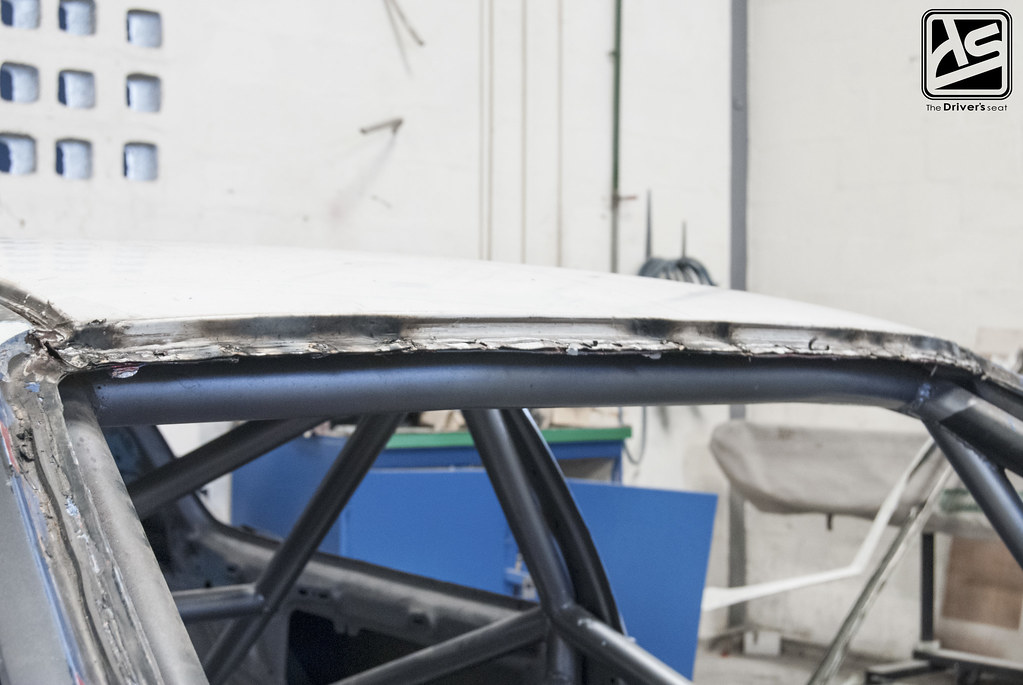
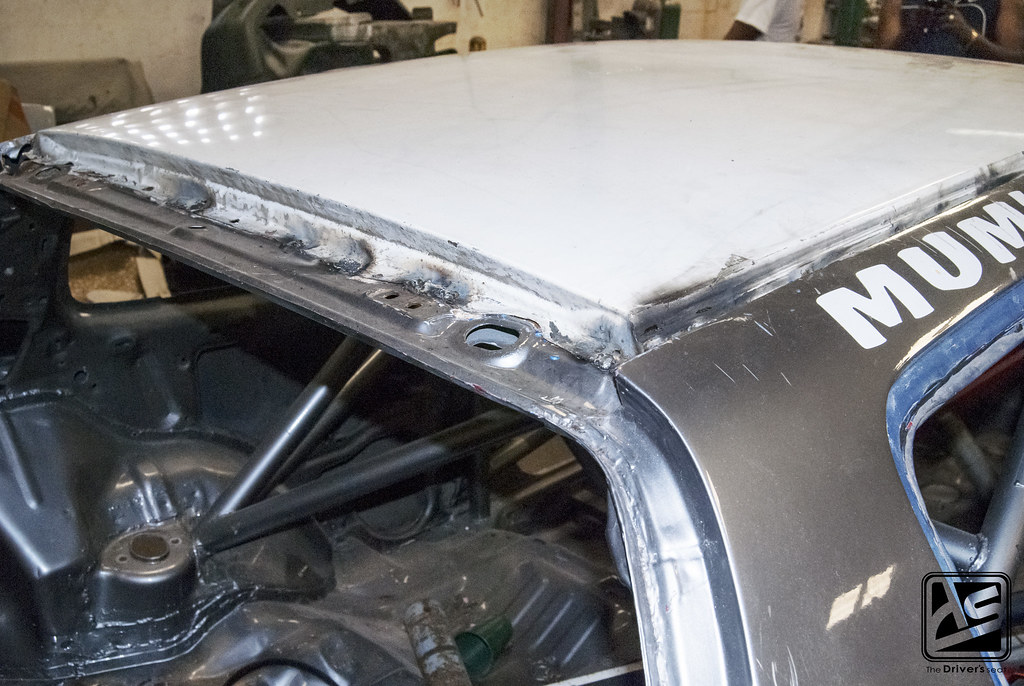
Mentioned in previous posts, Daryl brought in a roof skin to replace the badly damaged one which he suffered when the hood blew up.
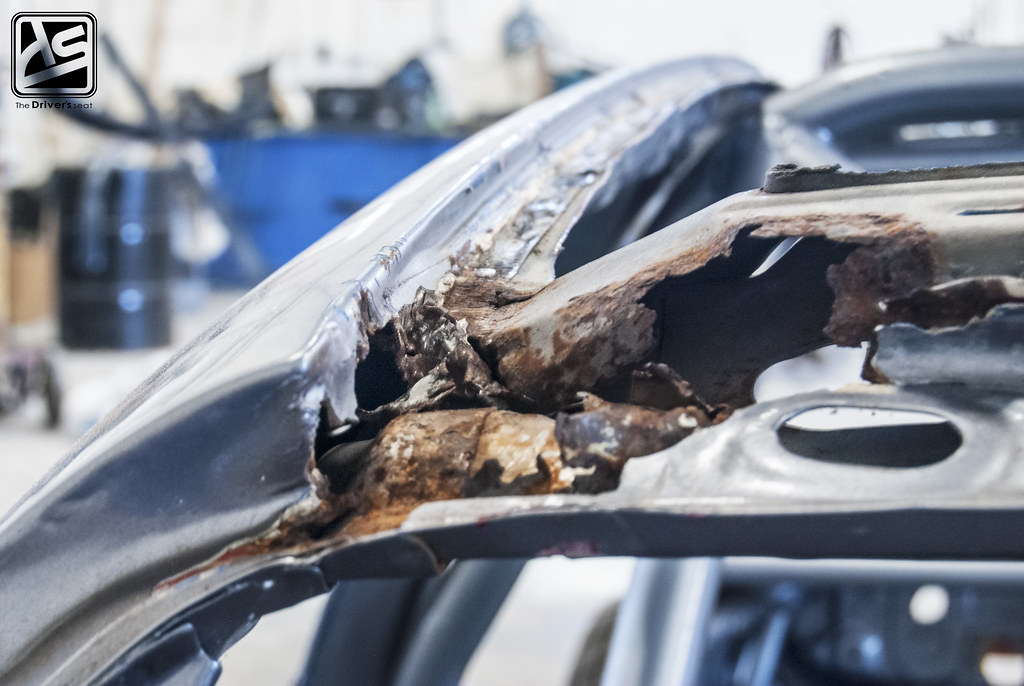
Similar to beneath the left side front fender panel, the roof showed severe metal decay when the roof skin was removed.
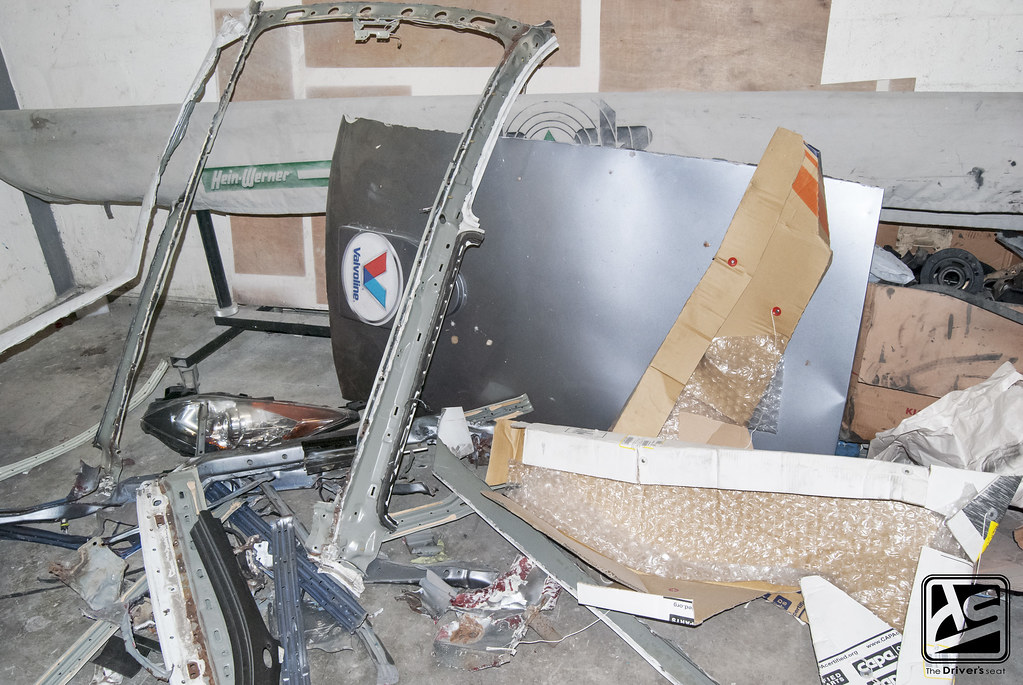
New replacment panel almost ready to make their way onto the shell…
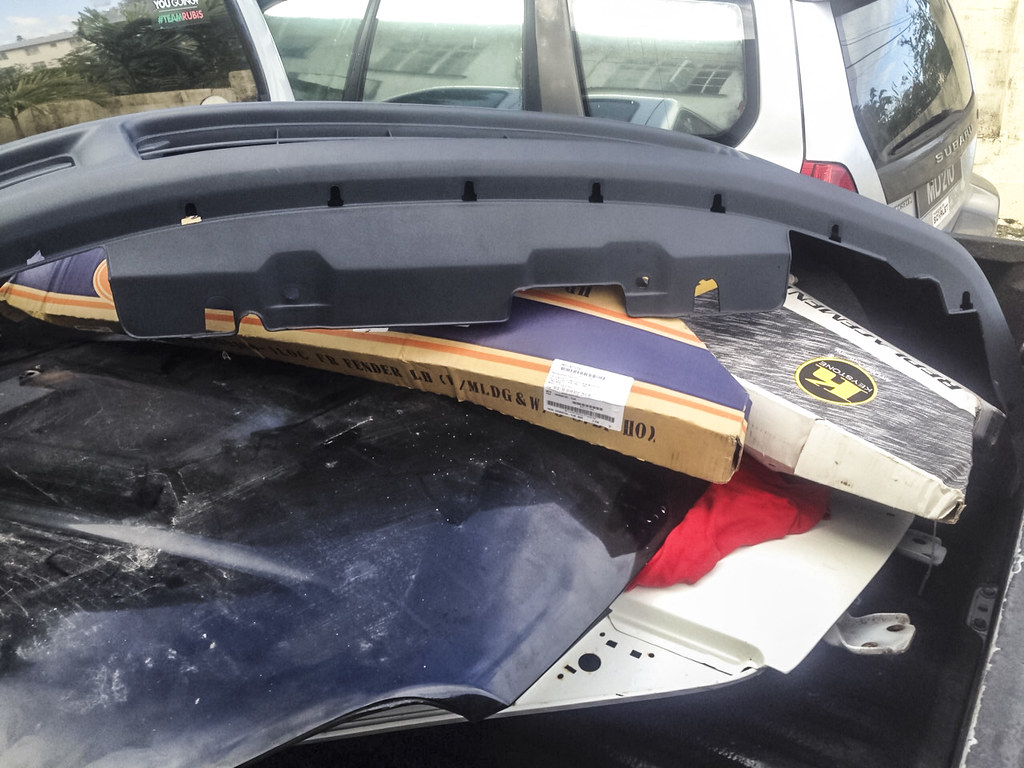
Bumper, hood, door and fenders loaded up…
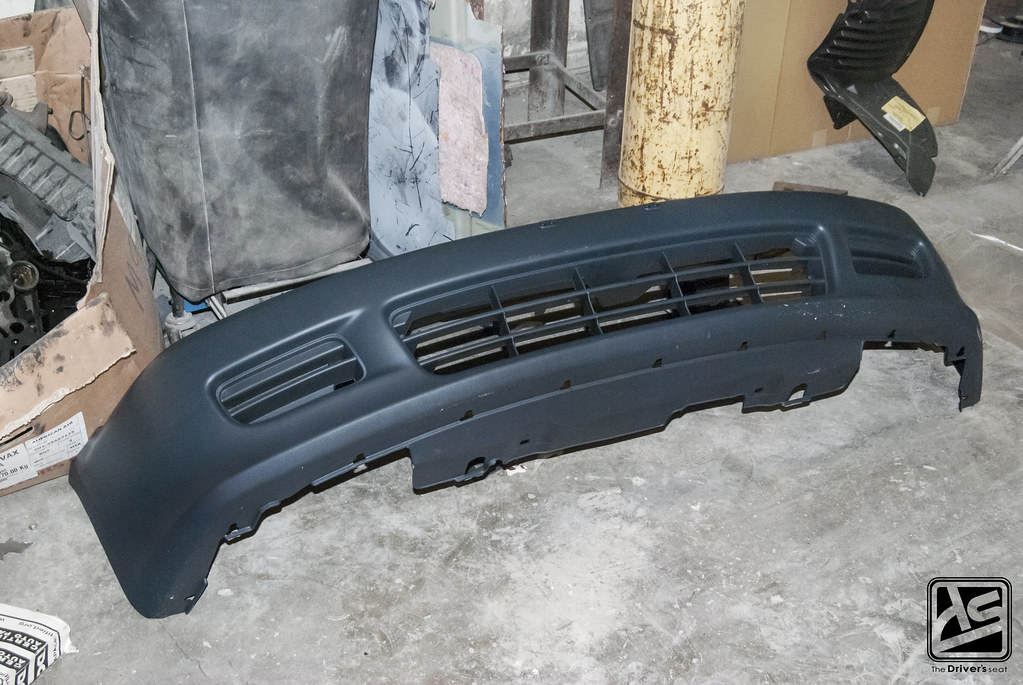
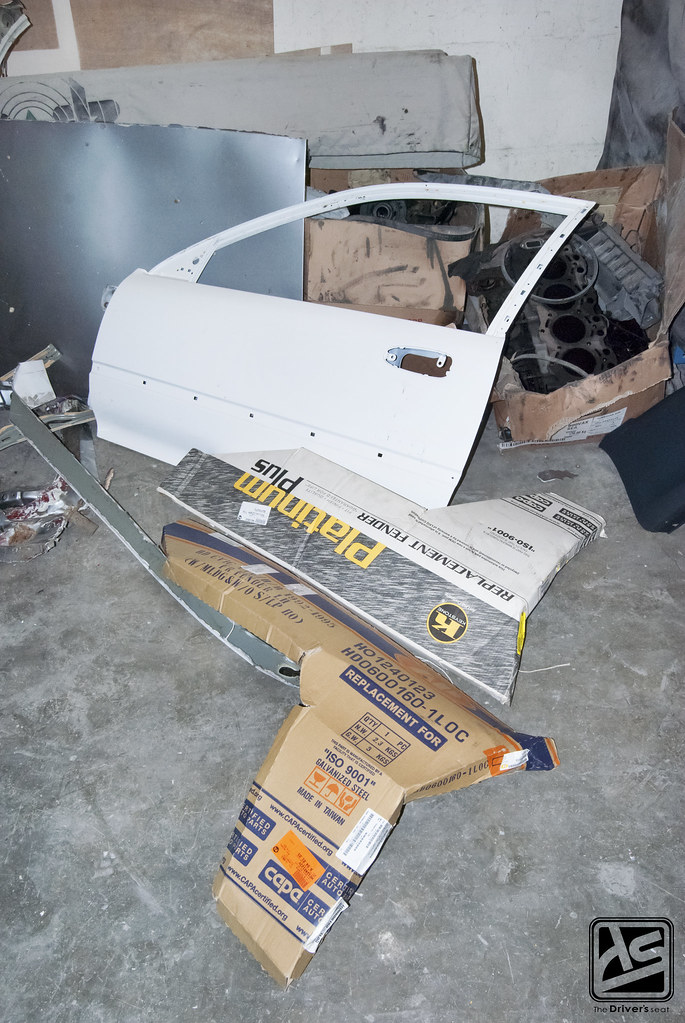
Daryl opted to place an order for a new bumper, door and fenders for this rebuild verses having them repaired…
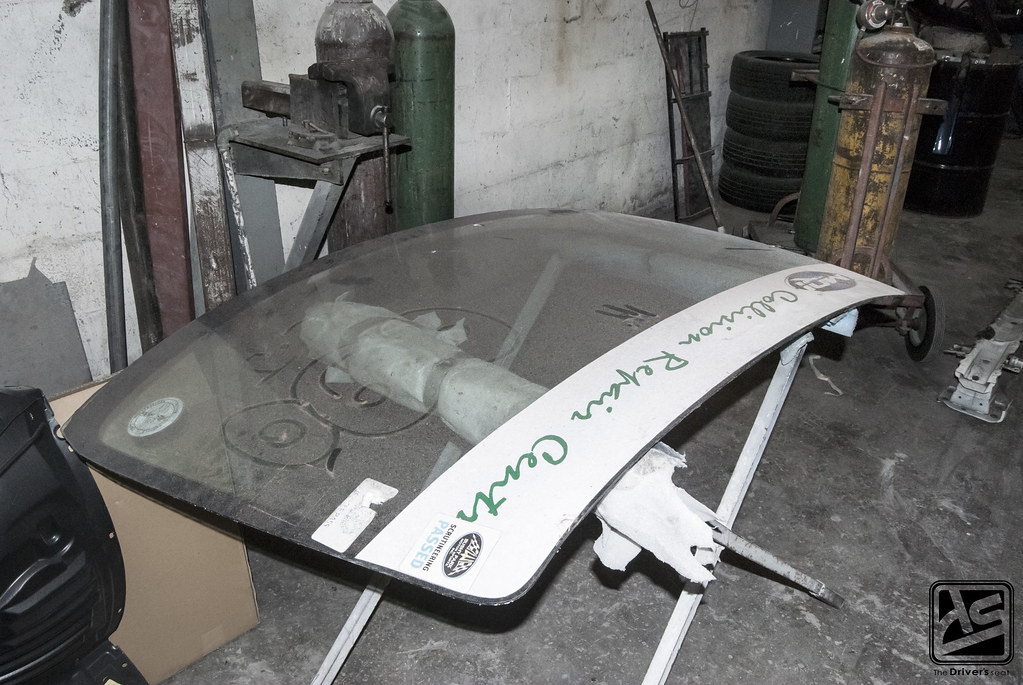
Front windshield out of the way and away from danger…
To help with the alignment of new panels, the body guy needed to do some test fitting before making any final decisions on their locations…
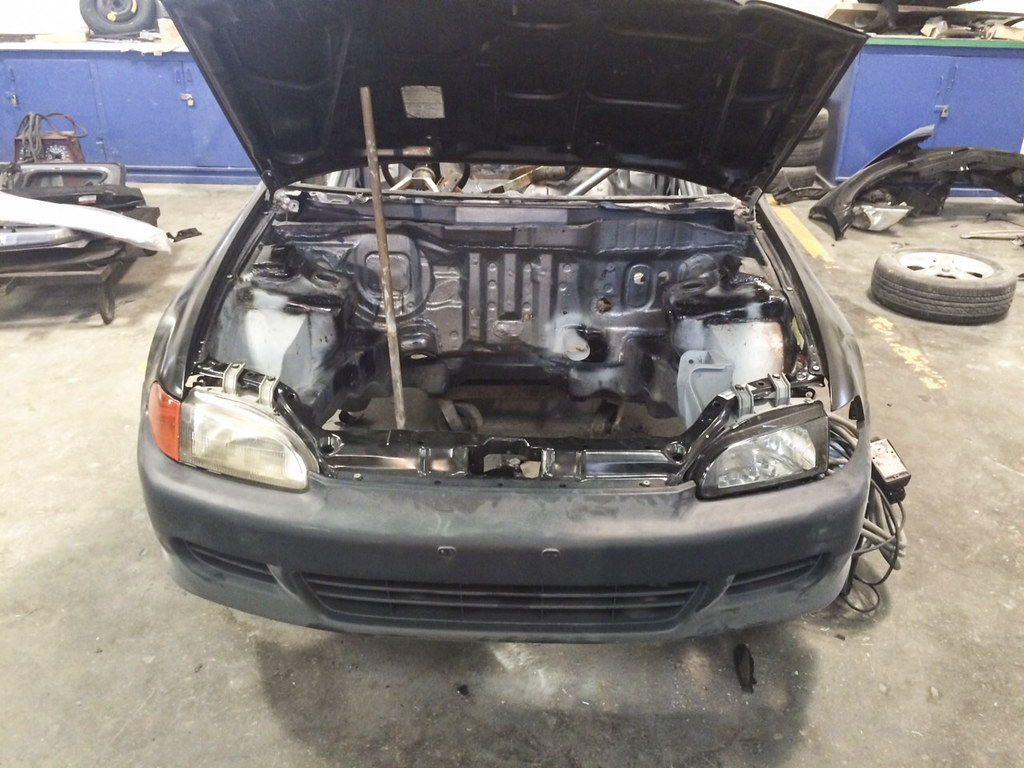
Here you see the front with the bumper, fender and headlights along with the hood mocked up…
Body panels in place…
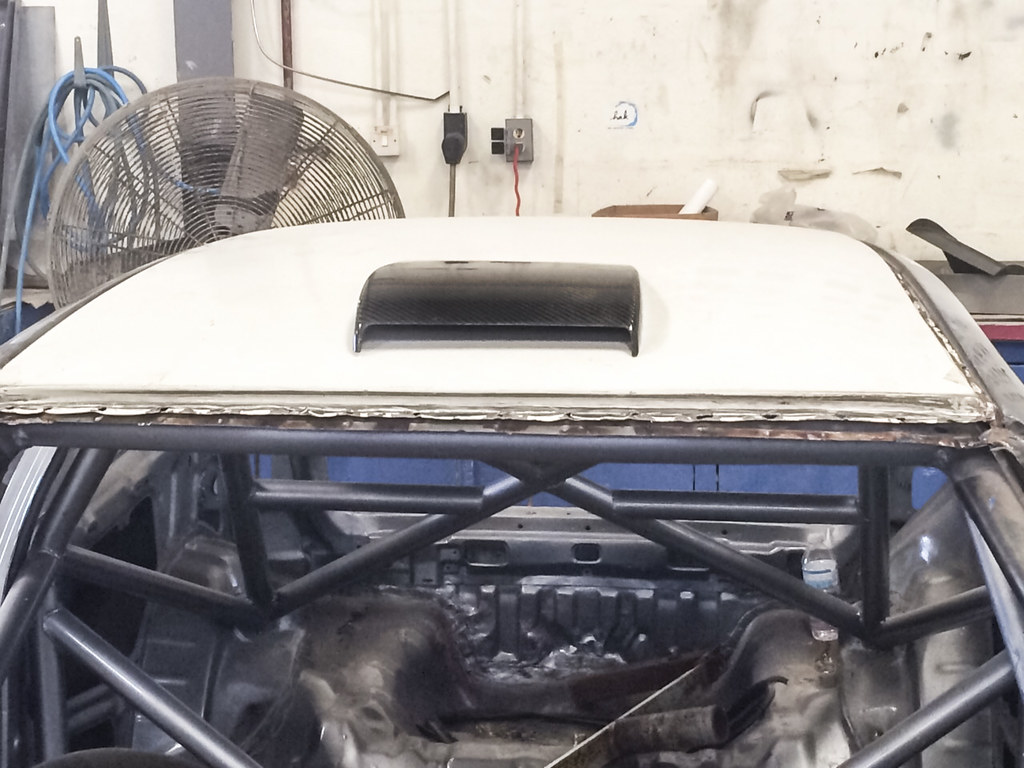
A new carbon fibre roof scoop was ordered for the rebuild, here you see it being mocked up so the body guy can pinpoint exactly where to cut.
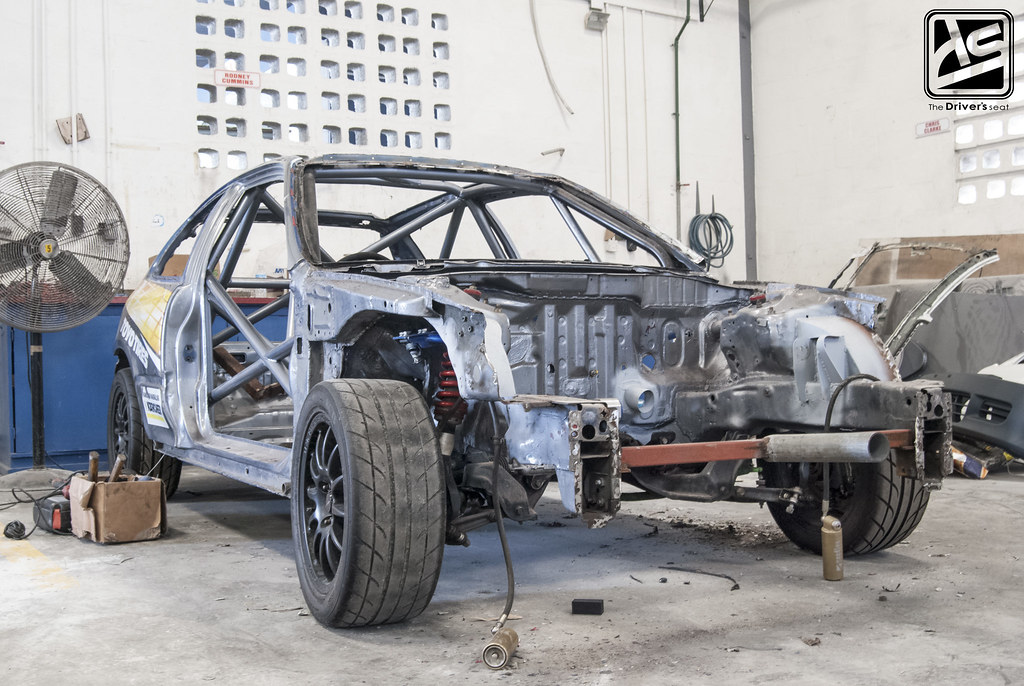
A view of the new front end fully in place…
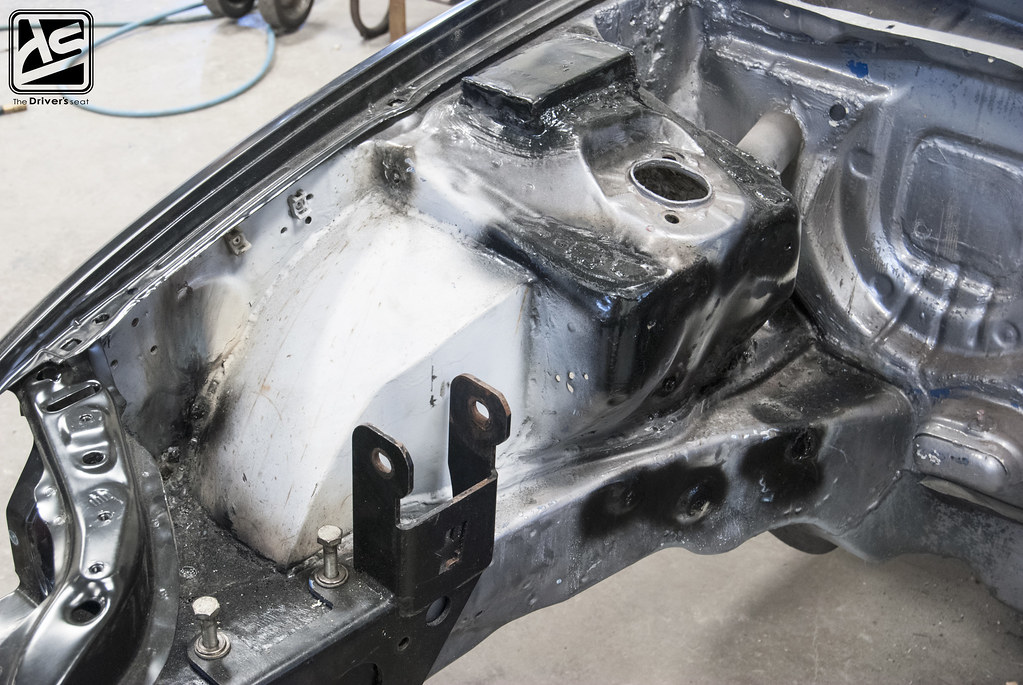
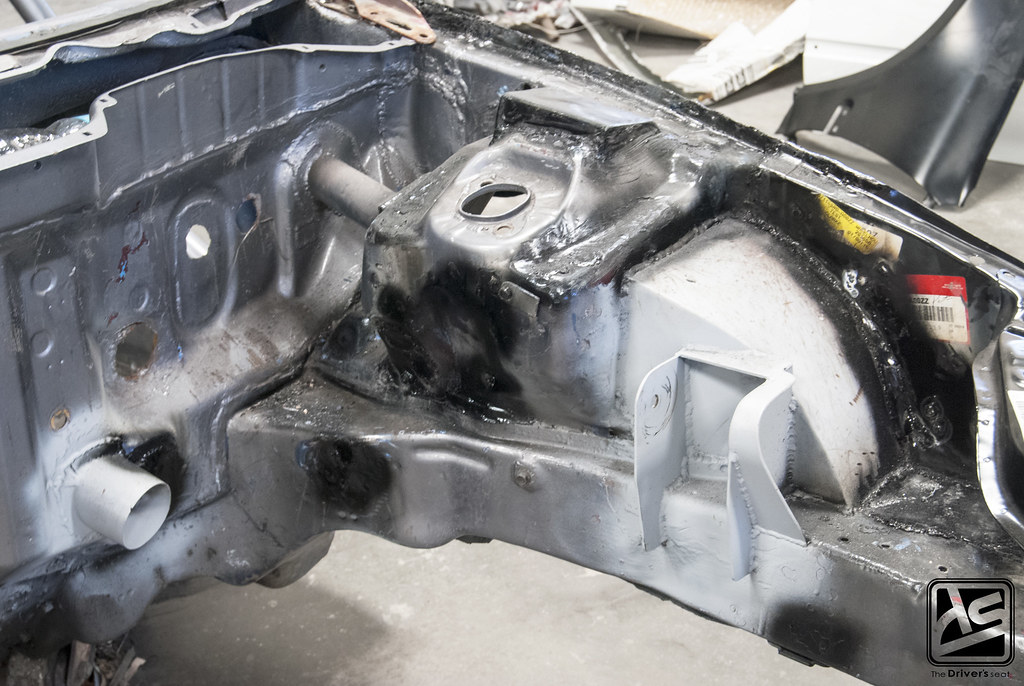
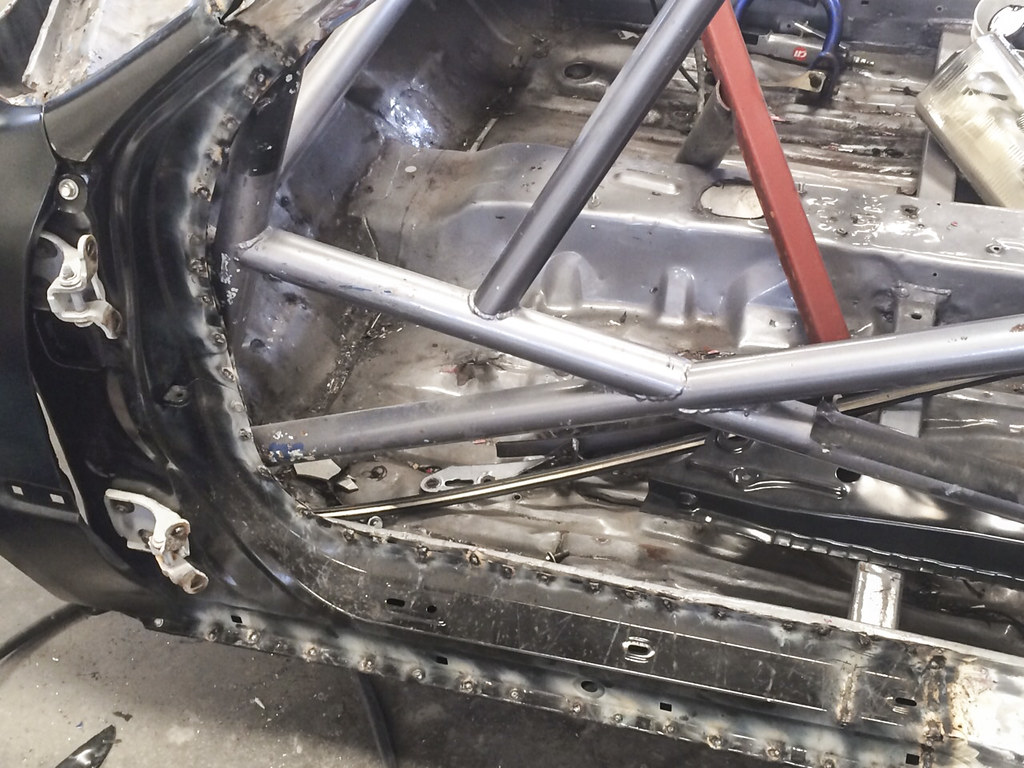
Engine bay welding work completed and spot painted…
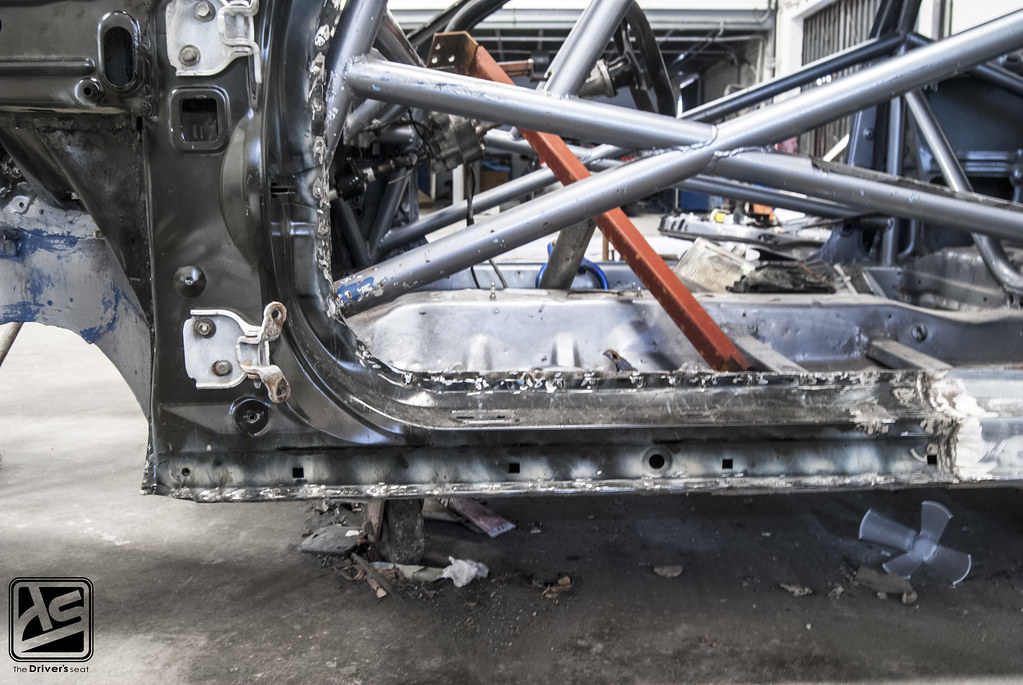
Varying angles of the left side panel…
A closer look at the two points where it was joined to the existing panels…
With the body panels out of the way the new roof skin was then installed…
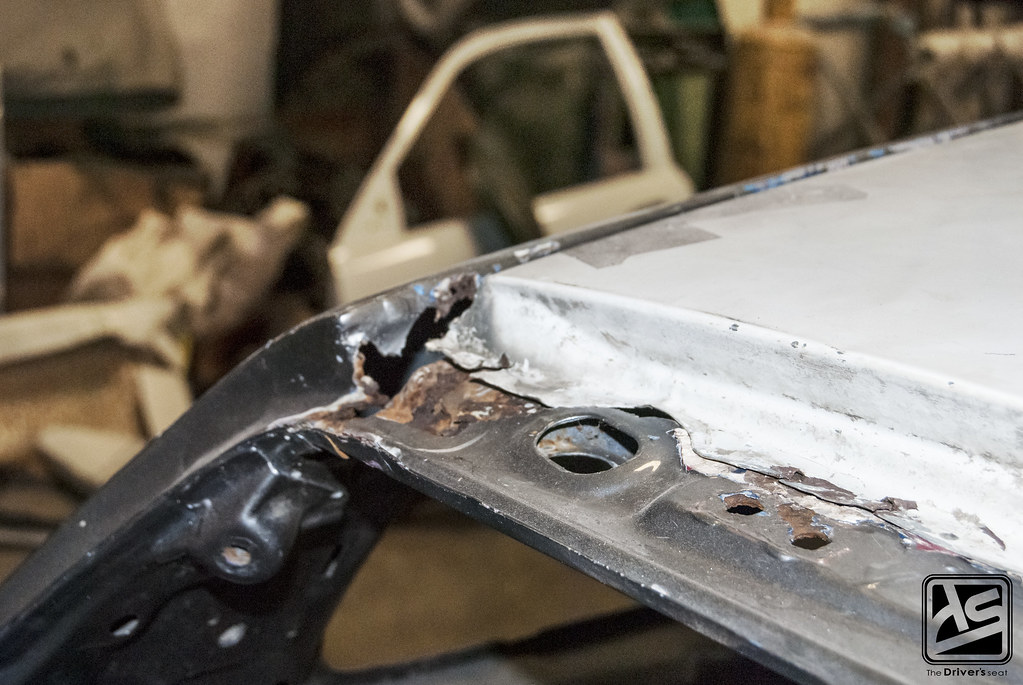
The rusted portion of the body, under the roof skin almost fully repaired…
That brings us to the end of today’s post, I hope you guys enjoyed this one. Thanks for taking a look and stay tuned for more updates on this build.
