
Daryl’s Rally K-EG Build… Part 12
Part twelve of the rebuild of Daryl’s K-swapped Civic will be a long one. As the majority of the bodywork comes to an end, Daryl made a decision to bring the finish date closer than expected with hopes of being able to drive for the Valvoline Rally also known as the warm up rally. This would cut down significantly on the time the guys had to work with, as the initial goal they were working towards wasn’t until a month away from the warm up rally.
Putting things into perspective, the guys at MQI had just a matter of days to fully complete their work on the shell followed by the pit crew immediately starting the re-assembly in order to have everything up and running. There are still a ton of parts which need to be shipped but along with that there are some which hadn’t even been purchased as yet. And to think this rebuild was initially to be moving at moderate pace with no big rush in mind, and suddenly it has now been kicked into high gear. We’ll be taking a look at the progress this build made as the days ticked away before the rally…
Some of you may be viewing this post for the very first time, feel free to click the link provided below for a recap of the build so far.
With that out of the way, let’s move forward with our update…
It was time to check in with the guys at Drag Cartel on the progress of the head…
Daryl opted to get their basic head package which included CNC Cartel port design and additionally to have it rebuilt with a PSI valve springs and Supertech valves. So far the head has already been ported and the valve train is in the process of being assembled. So hopefully it can be shipped off soon…
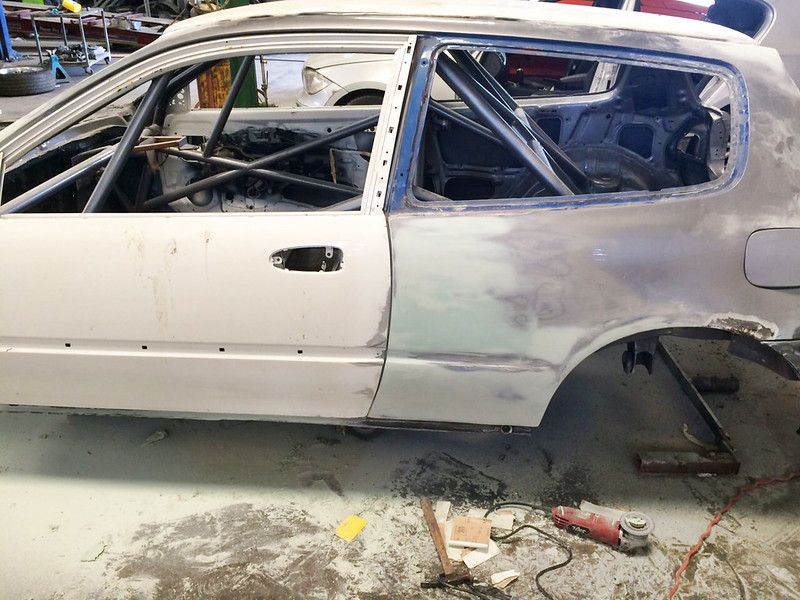
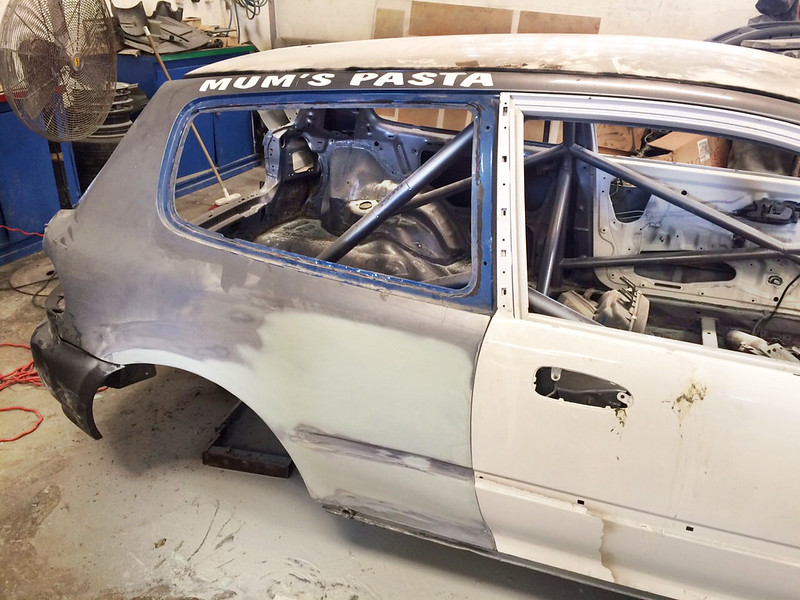
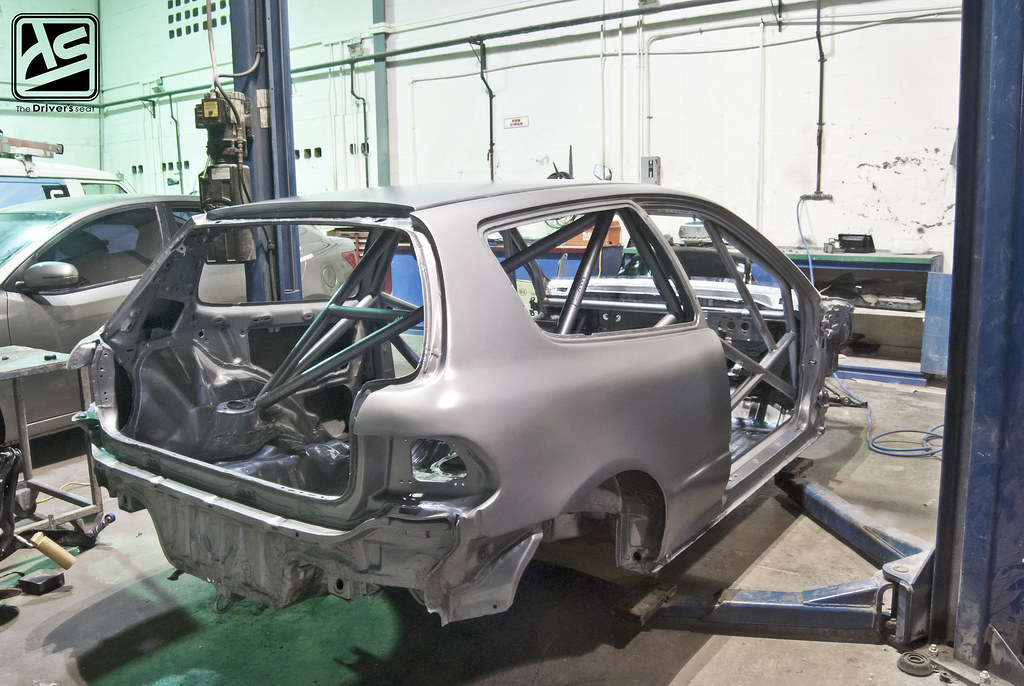
Meanwhile at MQI, the shell was on the rotisserie going through the final stages of bodywork…

The rear left corner of the roof which suffered serious decay has now been fully repaired…

A few more shots of the shell before it moved onto the next stage…
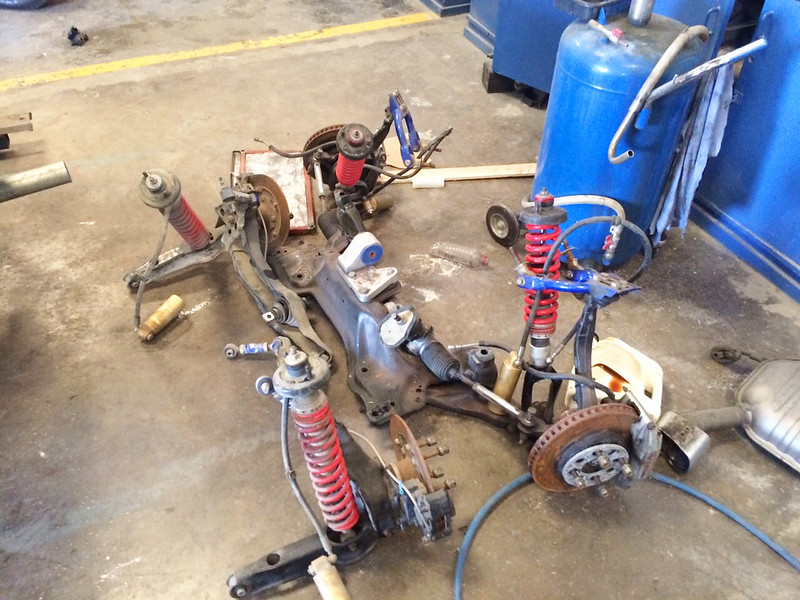
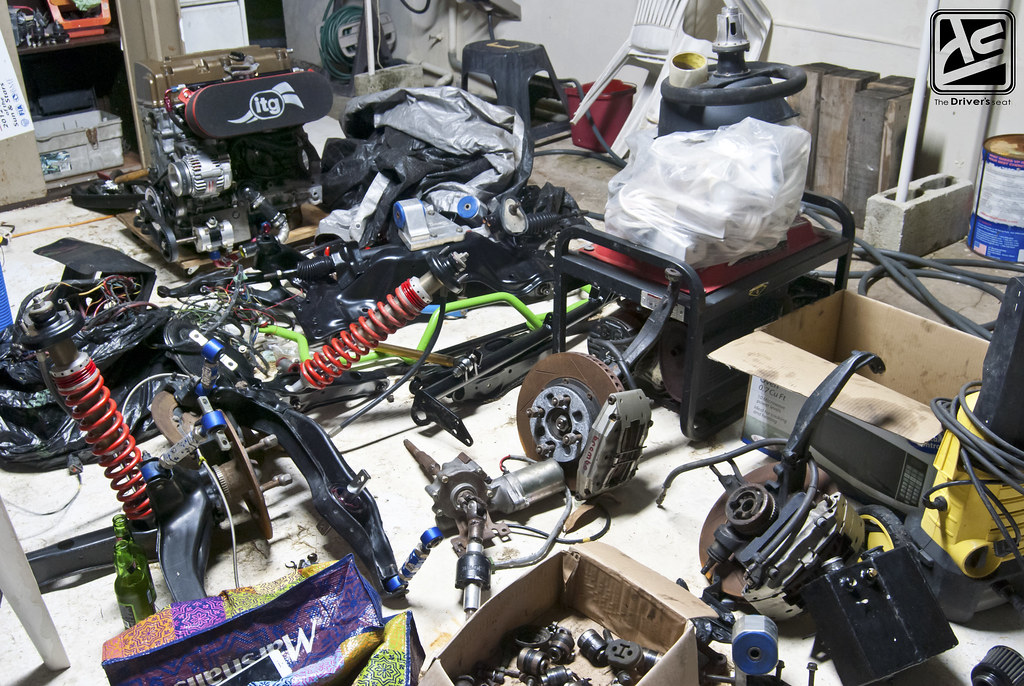
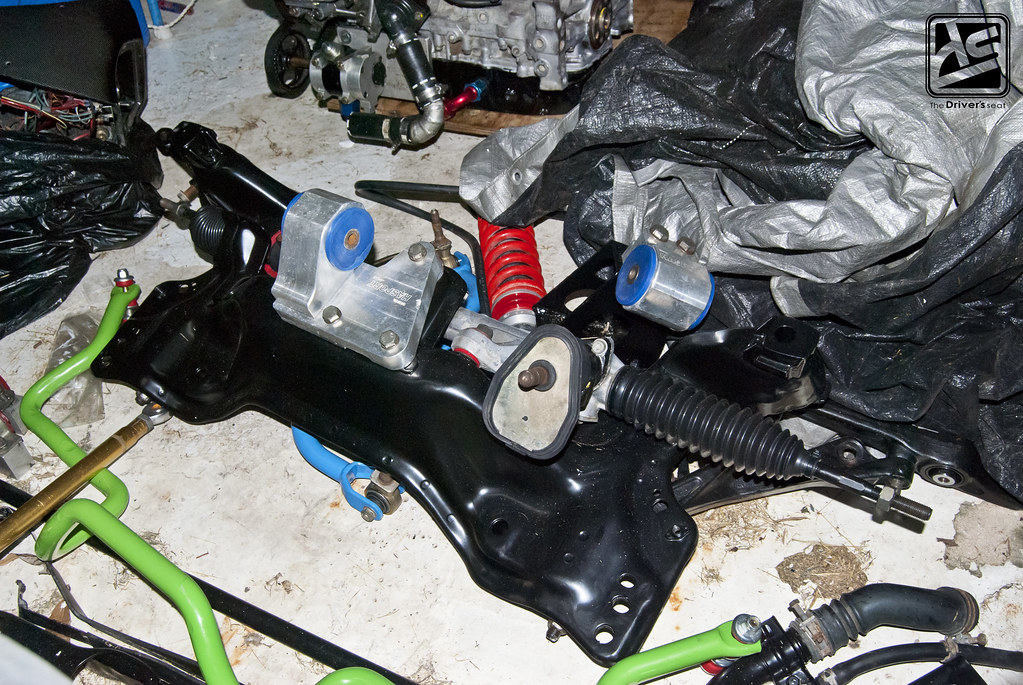
A look at the suspension parts before they are sent to be cleaned up and powdercoated…
Moving forward a few days…
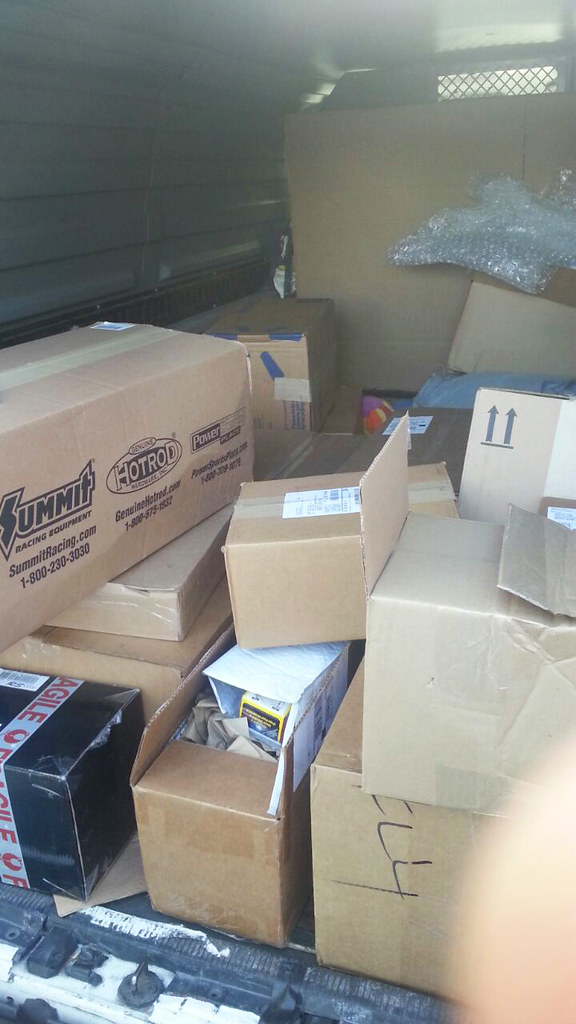
Daryl received a call to collect the bulk of the parts he was waiting on…
So far everything was going just as he hoped…
With the parts here, Daryl could move forward with assembling the motor…
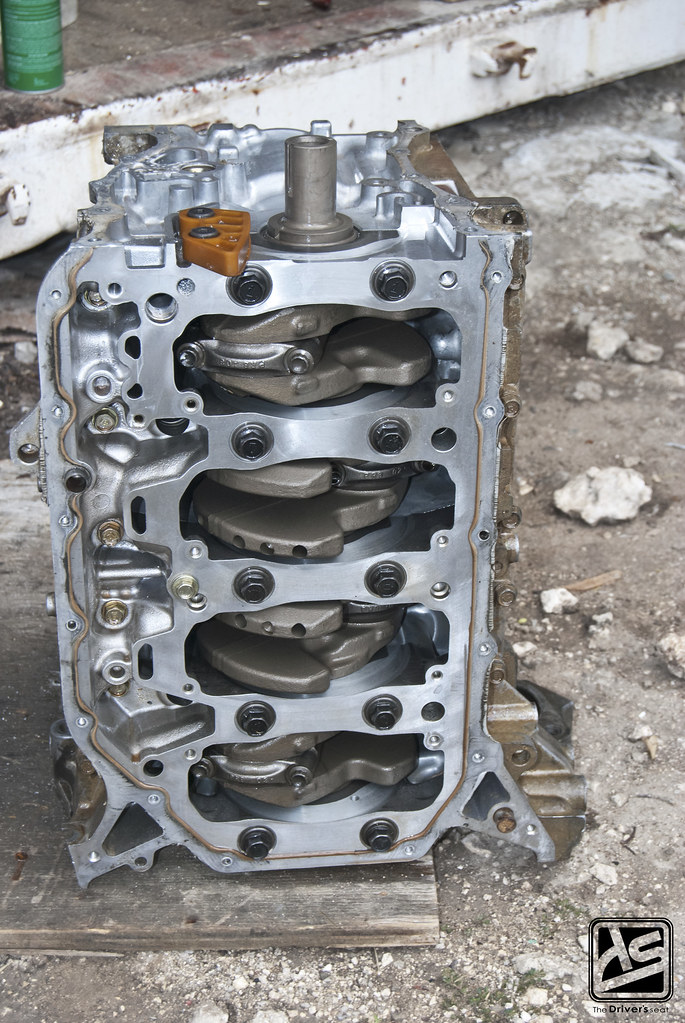
A shot of the bottom end just before it was disassembled…

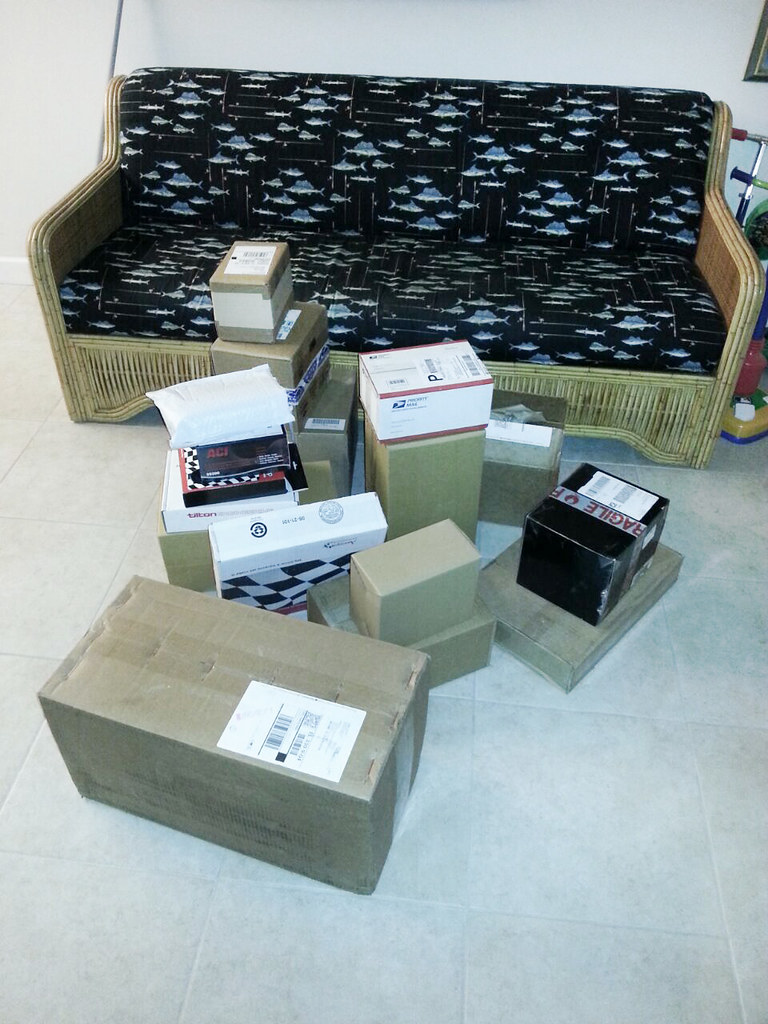
Within the boxes that arrived, that special package from Drag Cartel was included…
Along with a few other necessities; Cometic head gasket…
And Drag Cartel stage 4 camshafts…

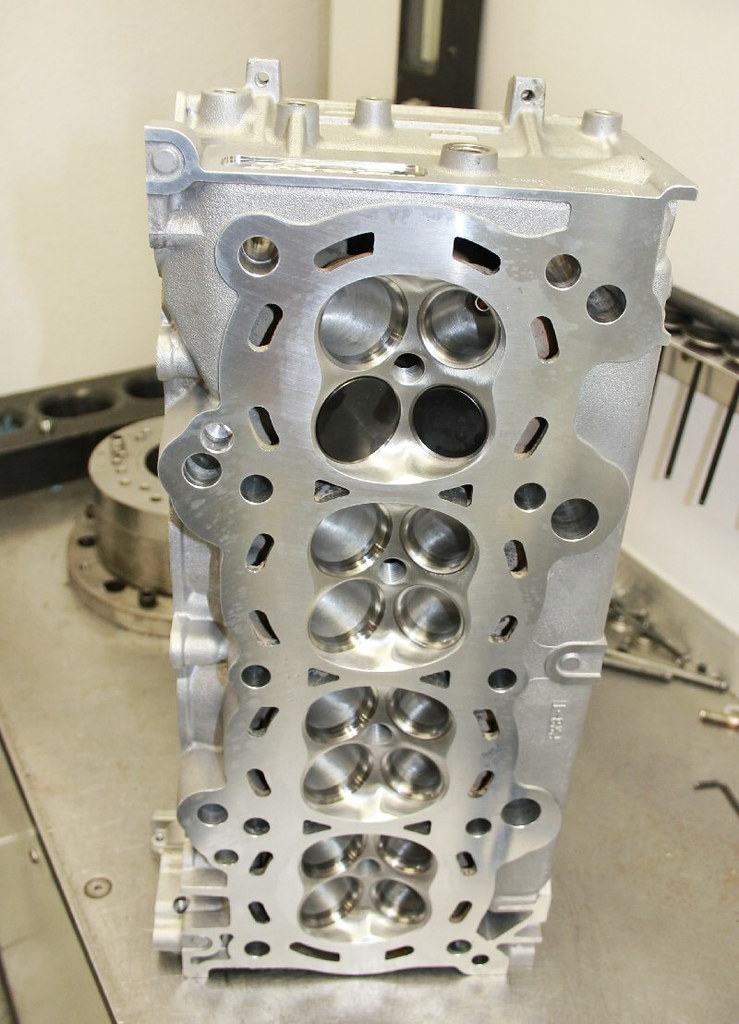
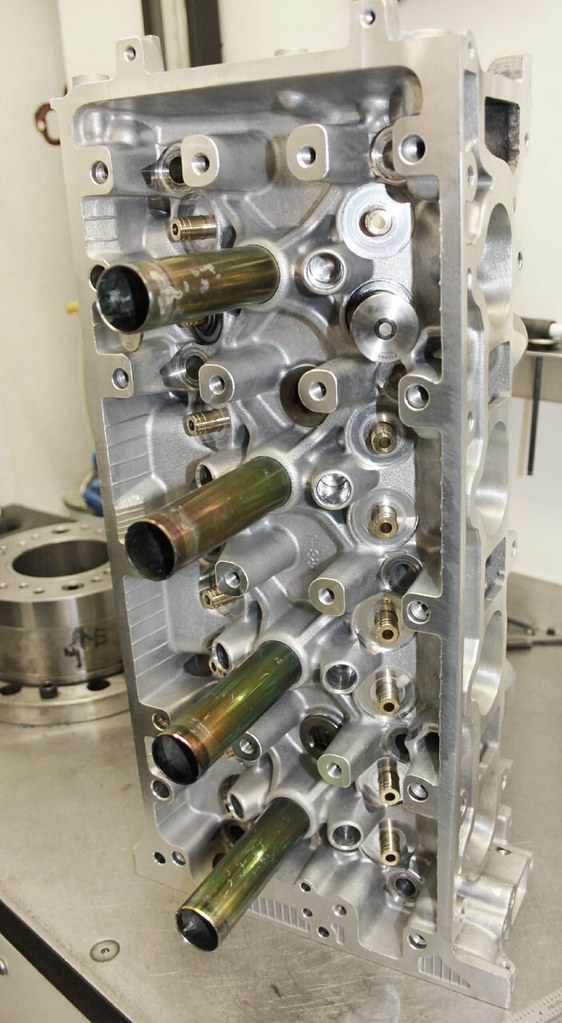
A close up of the head which was treated to Drag Cartel’s CNC port design…
A couple more shots of the head now fully assembled with PSI springs and Supertech valves…
Drag Cartel left their signature stamp of approval at the side of the head…
With the selected head package, Daryl decided to swap out the previous pistons seeking more compression and went with Wiseco 15:1 compression pistons…
The completed bottom end with Carrillo rods and ARP head studs…
The motor was fully assembled with just under a week left before the warm-up rally…
A report from the guys at MQI…
The shell was currently in the sanding phase and should soon be primed for paint…
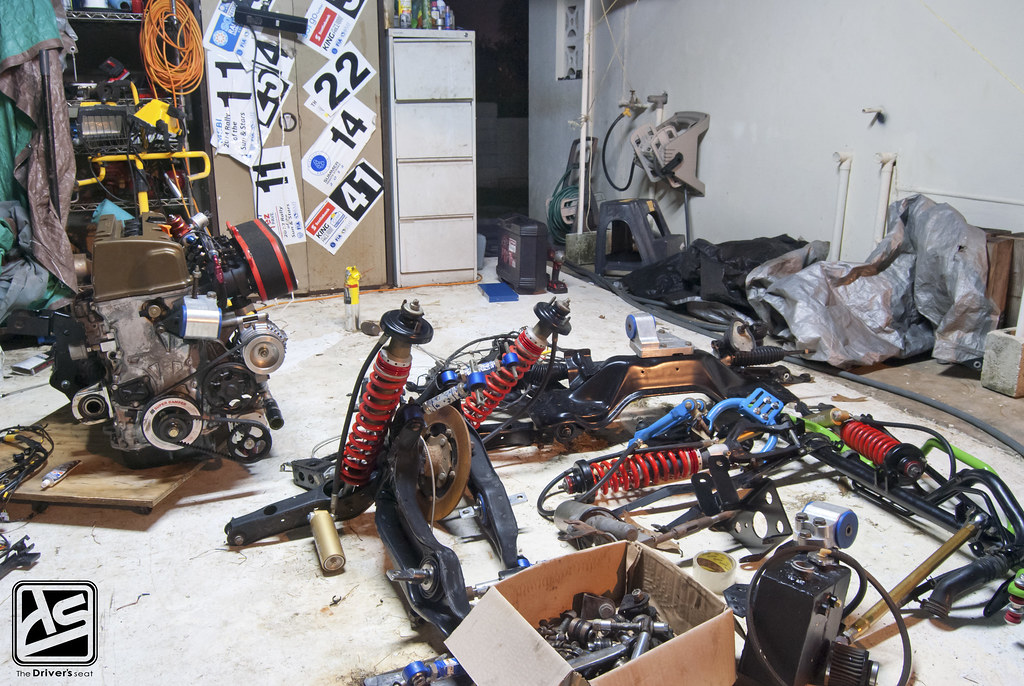
Until then, Daryl had been in the process of laying out everything and preparing for the return of the shell…
The subframe and various other pieces after they were cleaned and powdercoated for the reassembly…
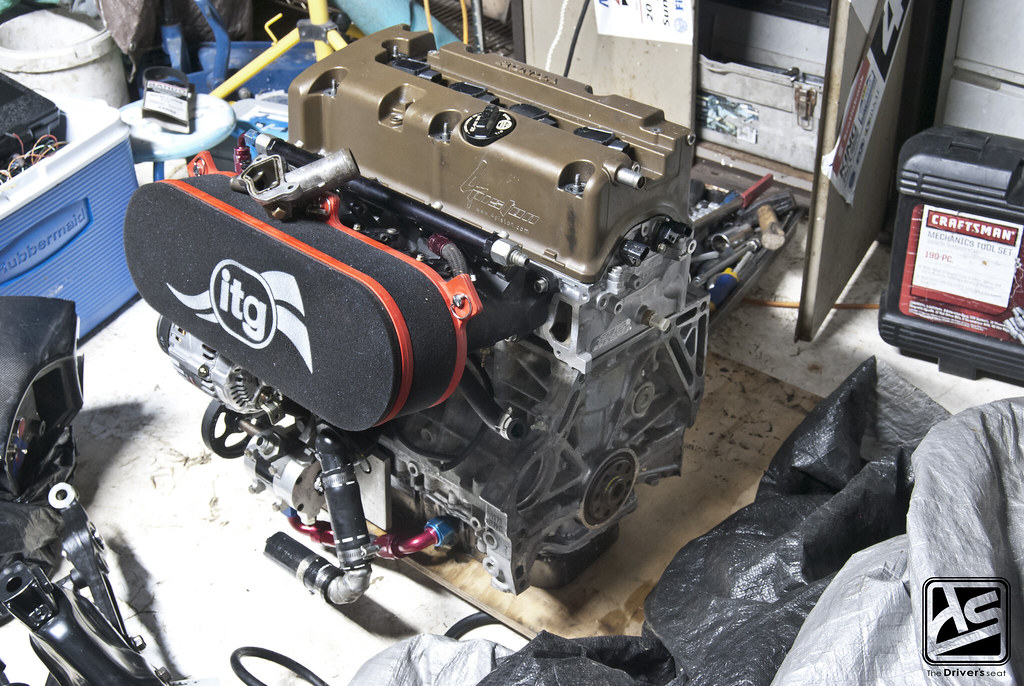
A shot of the motor with the necessities installed, included a new ITG filter adding protection to the 60mm Kinsler ITBs…
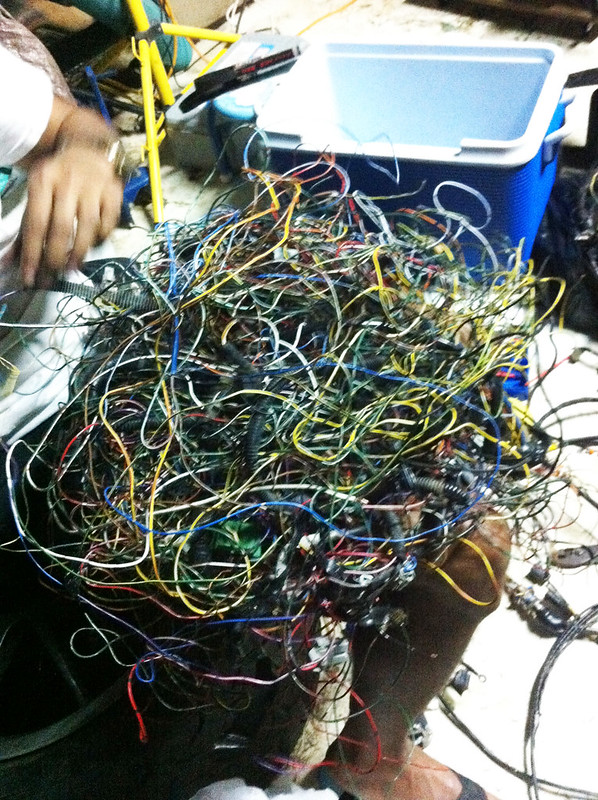
One of the more time consuming things which still needed to be dealt with was the wire harness. The guys needed to build a custom harness for the RacePak Smartwire system they will be running.
This brought us to the end of the day, leaving only three days until the rally. At this point I was starting to become doubtful about if the guys would be able to make the deadline.
After talking with the guys from MQI, they were pushing hard to have the car finished by the end of Thursday which would give Daryl just under two and a half days to work with. However, as the day dwindled away this too was looking unlikely…
Daryl took this time to do some cleaning along with installing the clutch and flywheel assembly and bolted up the Sadev gearbox to the motor…
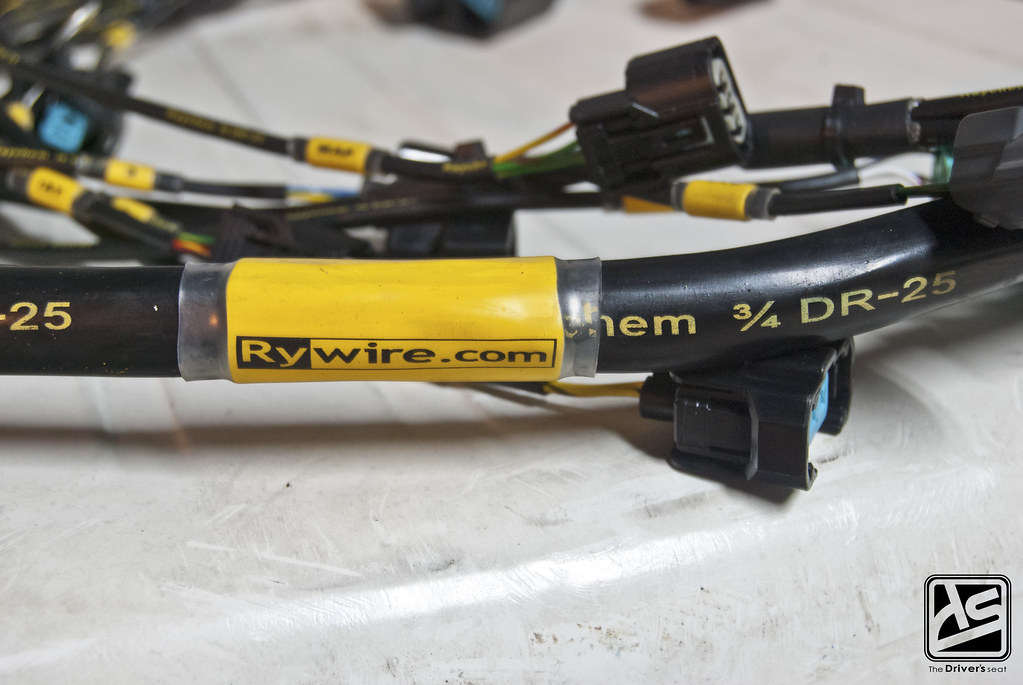
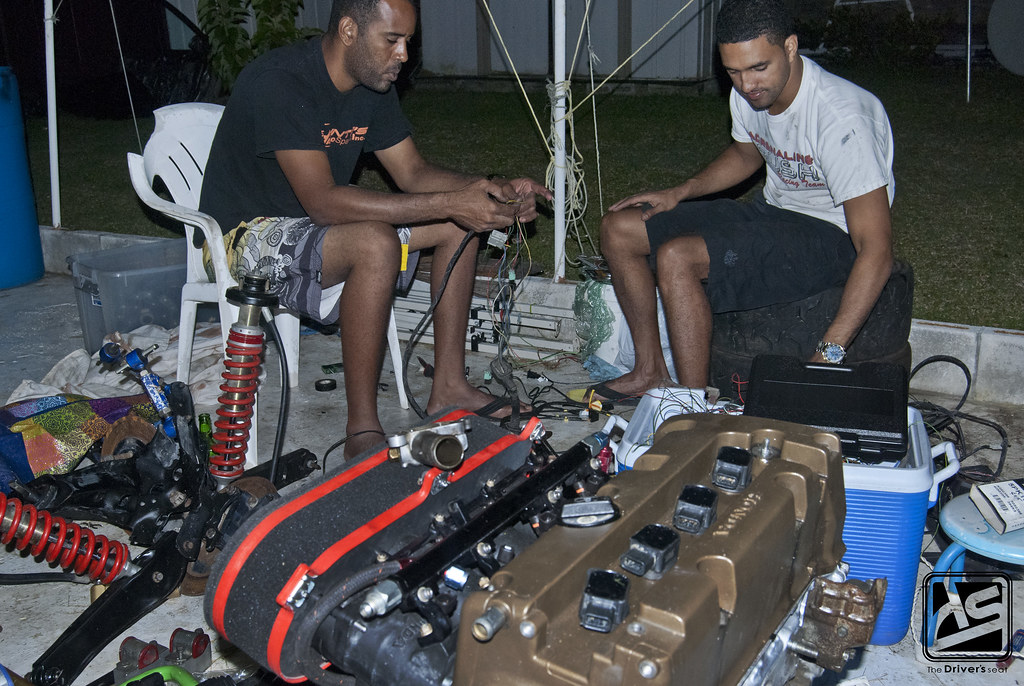
On the bright side however, Daryl received the new Rywire mil-spec harness earlier in the day…

Making it possible for him and Russell to finish up what they could on the harness without the car being there…
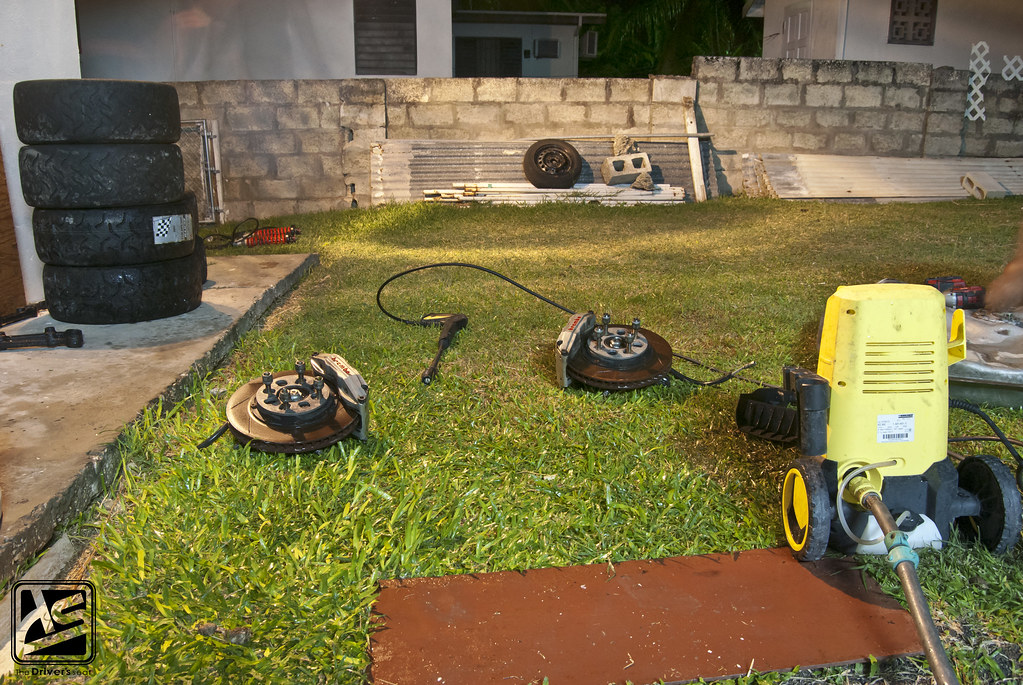
Additionally, Daryl spent some of the time cleaning up the brakes and a few other misc parts…
Finally the call came through from the guys at MQI who put in the extra effort needed to have the car finished…
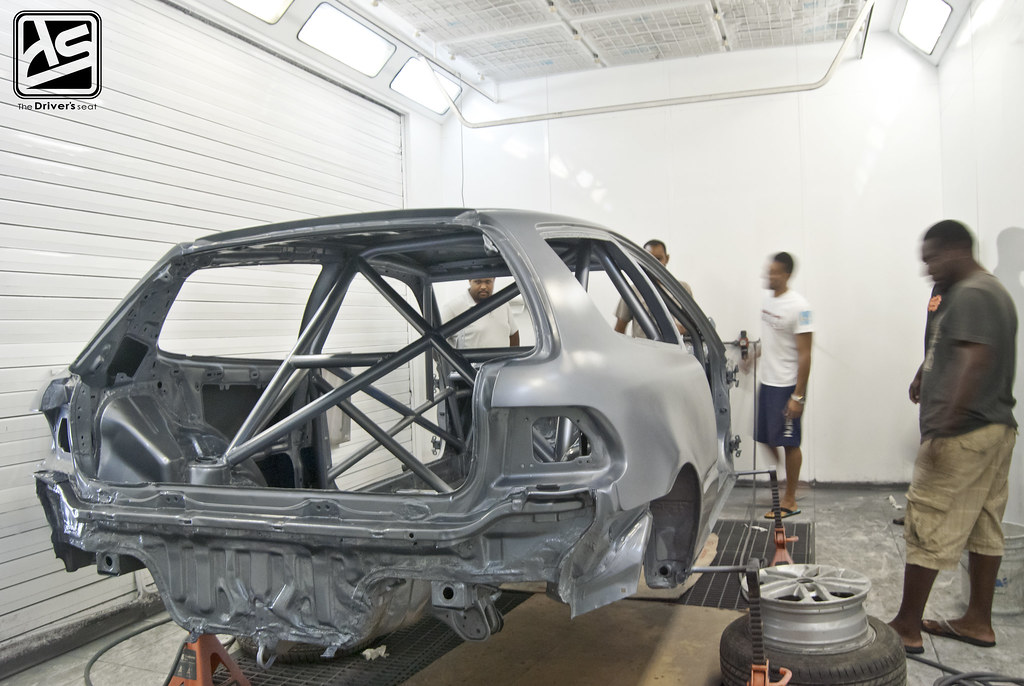
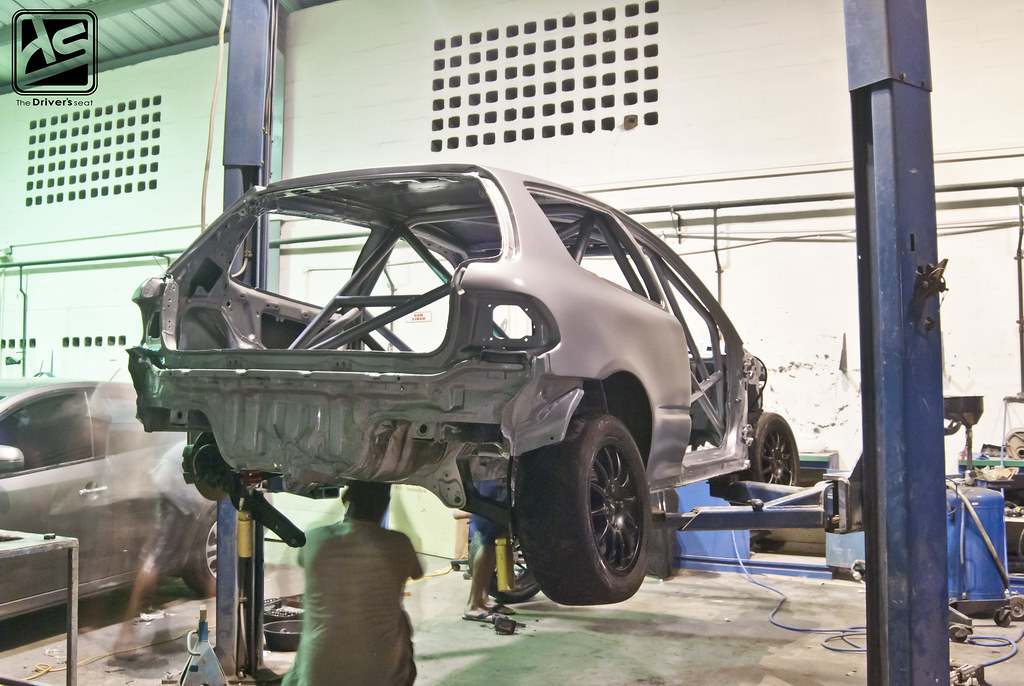
Upon arrival the car was still in the booth…

The color choice was similar to the previous one, however the exterior is now done in a matte finish while the interior and engine bay are done in a gloss…
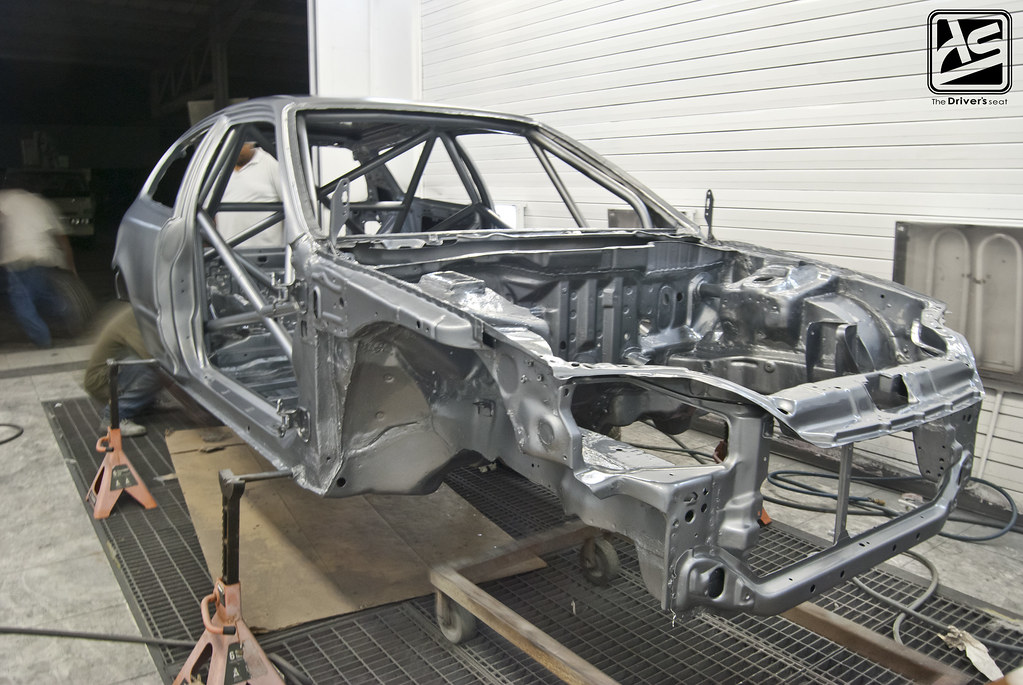
The guys quickly rolled the shell out of the booth and straight onto the hoist. Paying close attention, you get a look at the matte finish on the rear fender…
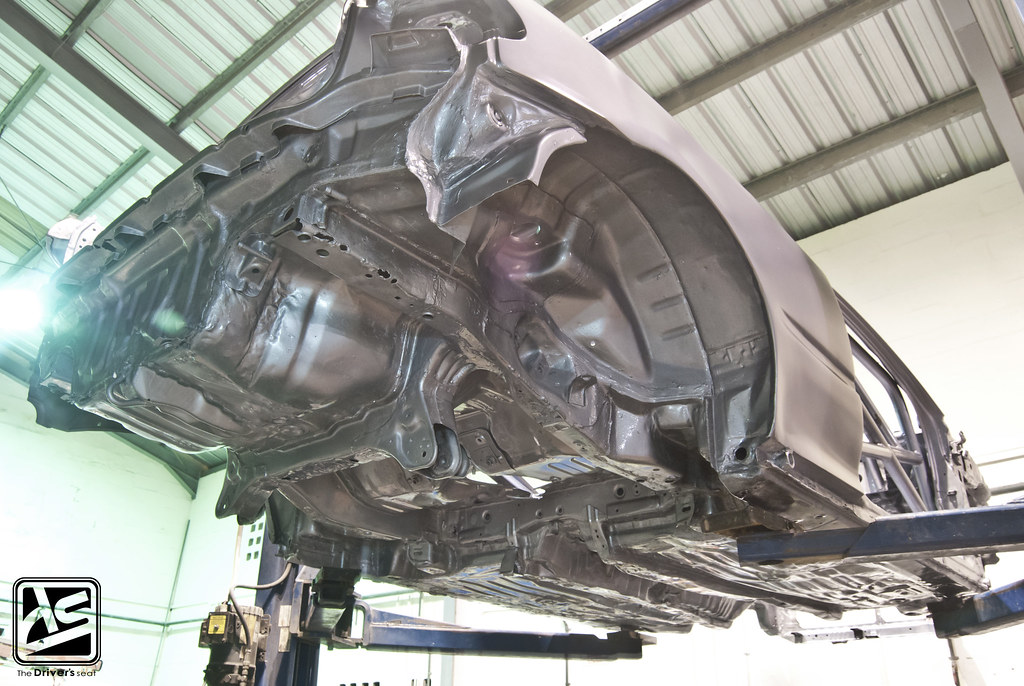
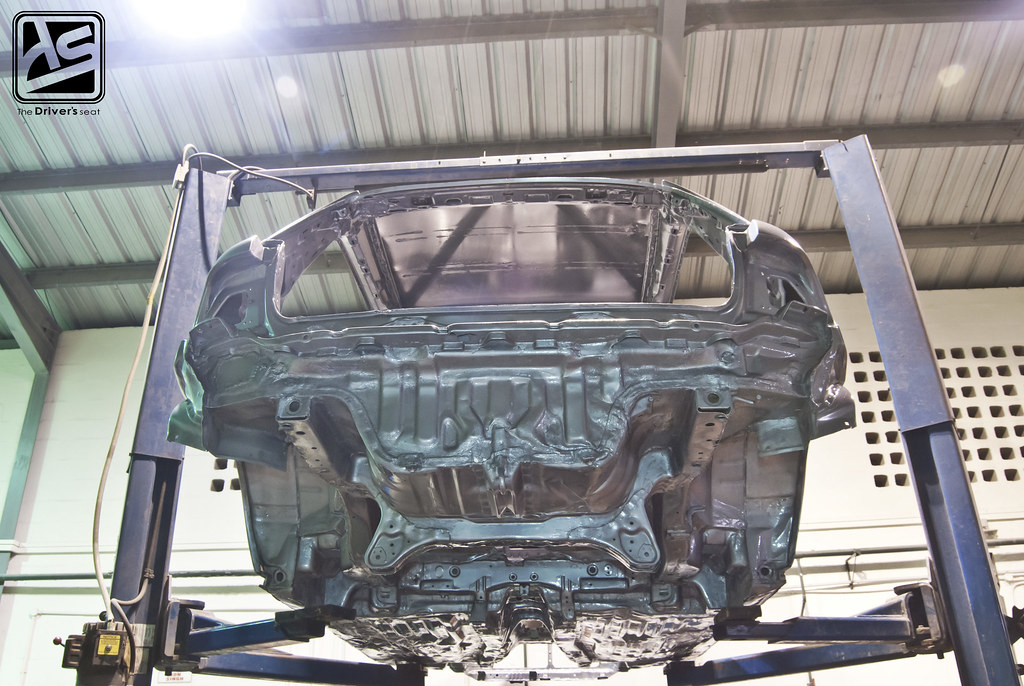
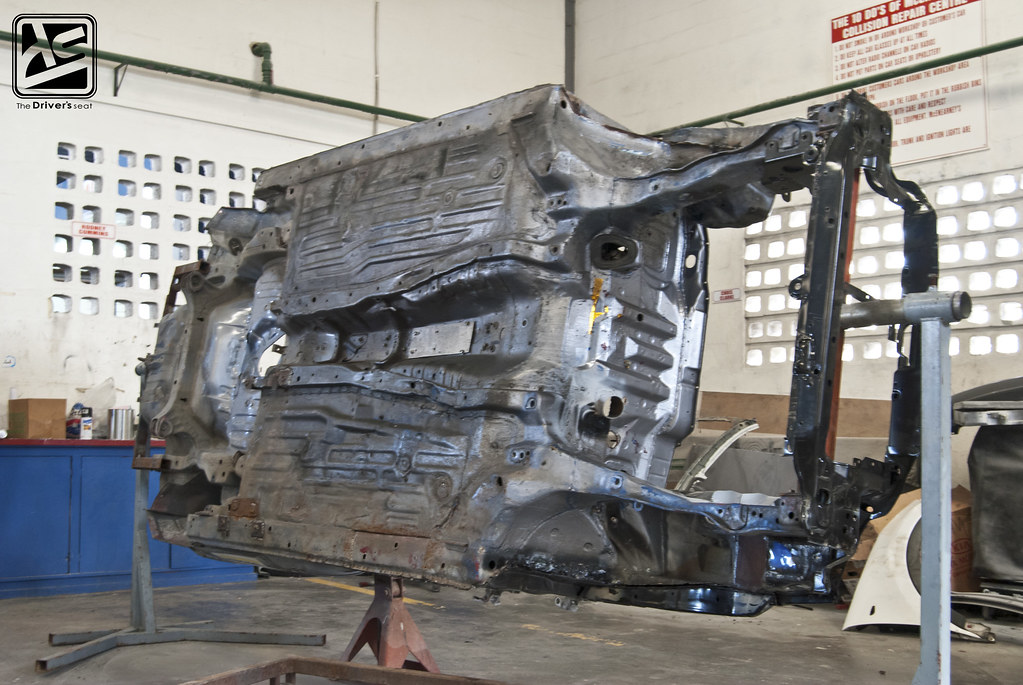
I was able to get some shots of the freshly painted underbody…
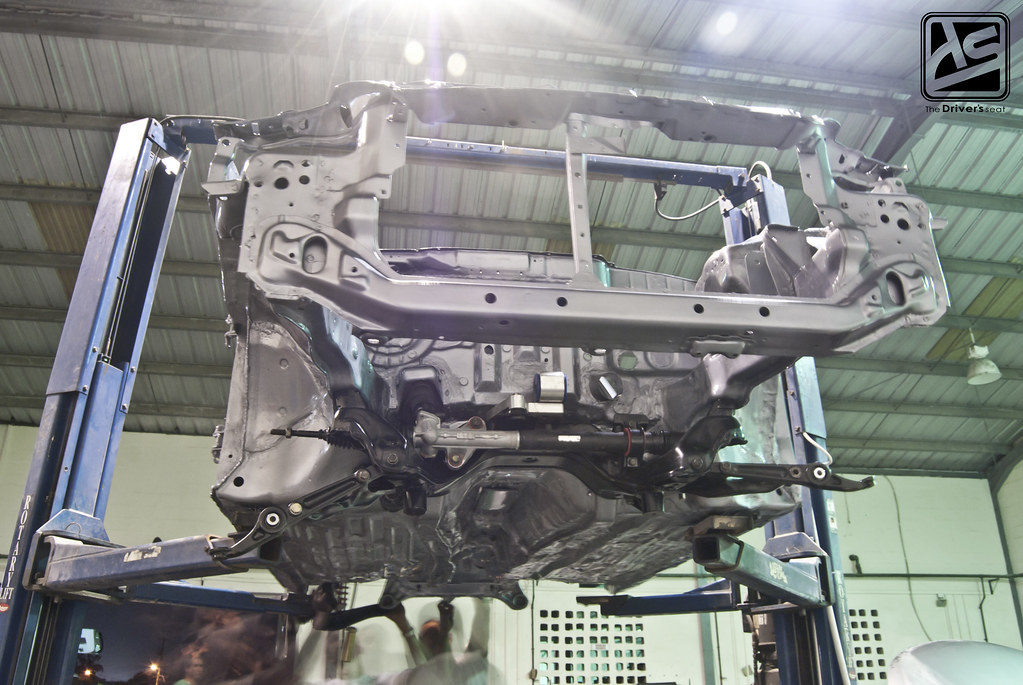
Followed shortly by the mad rush to get the suspension installed as time was rapidly ticking away…

In a matter of minutes the guys had the suspension almost complete and the wrecker was on its way…
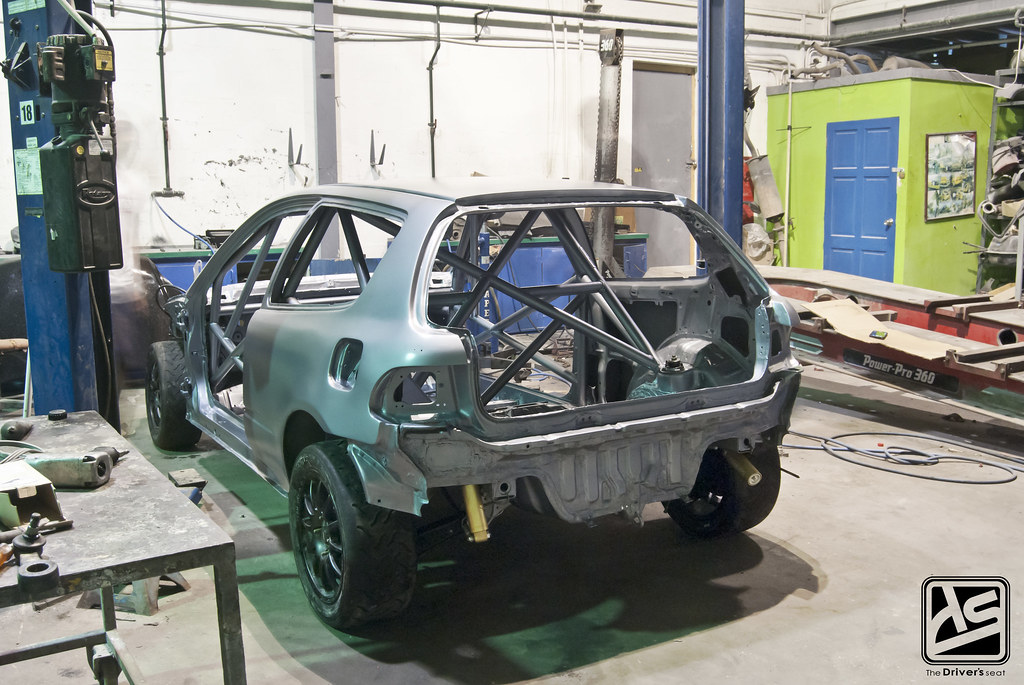
Moments after the shell touched the ground…
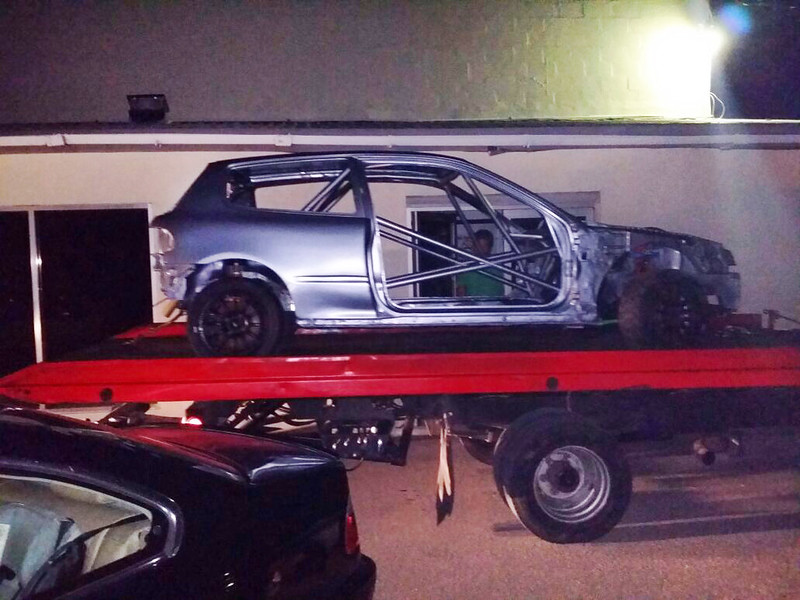
As quickly as the shell made it onto the ground it was on the wrecker ready to head home to begin the next phase of wrenching…
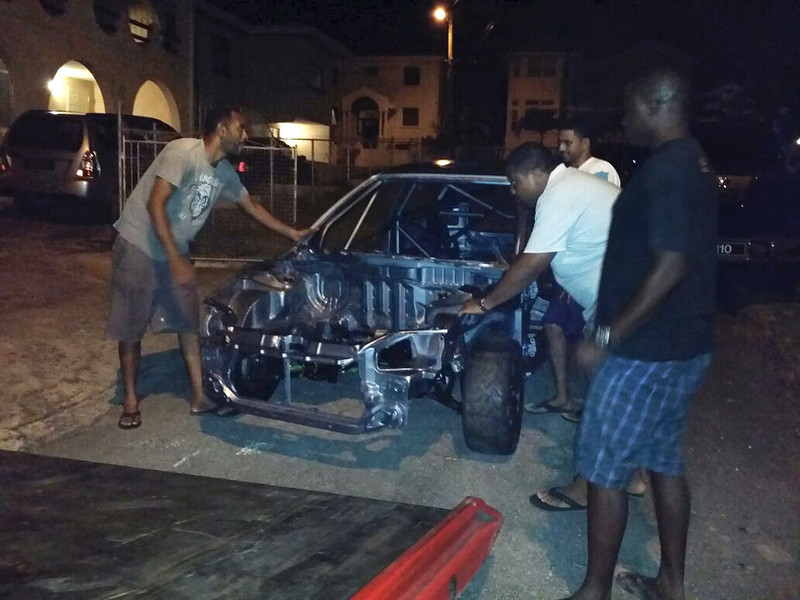
All hands on deck as the shell was offloaded…
On location with the biggest set piece waiting to be installed…
With everyone knowing their roles, the guys went to work…
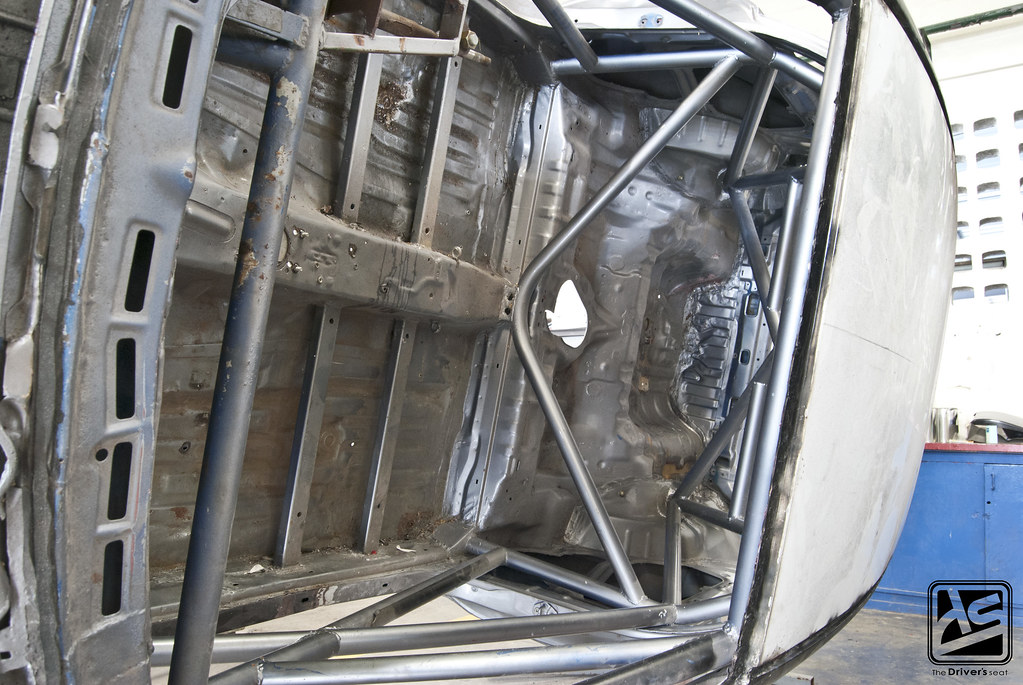
Quick view of the naked interior…
Chris went to work on applying the heat reflective film…
Chris finished up and the guys prepared to take on the next hurdle…
Even though everyone was exhausted at this point, they put in one final effort to get the motor and gearbox installed. It was at this point when I started to believe it may actually be possible to make the event.
Once the motor was bolted into the shell, Daryl and the guys ended work for the night, which in reality was wee hours of the morning. The guys had a light beverage with plans of hitting it hard once again after a few hours of sleep. Without a doubt it will be a strenuous two days ahead of them.
Thanks for taking a look, that’s all for today. Stay tuned for the next post where we will check back in on the guys and their progress.
CJ4A Evolution Build… Introduction
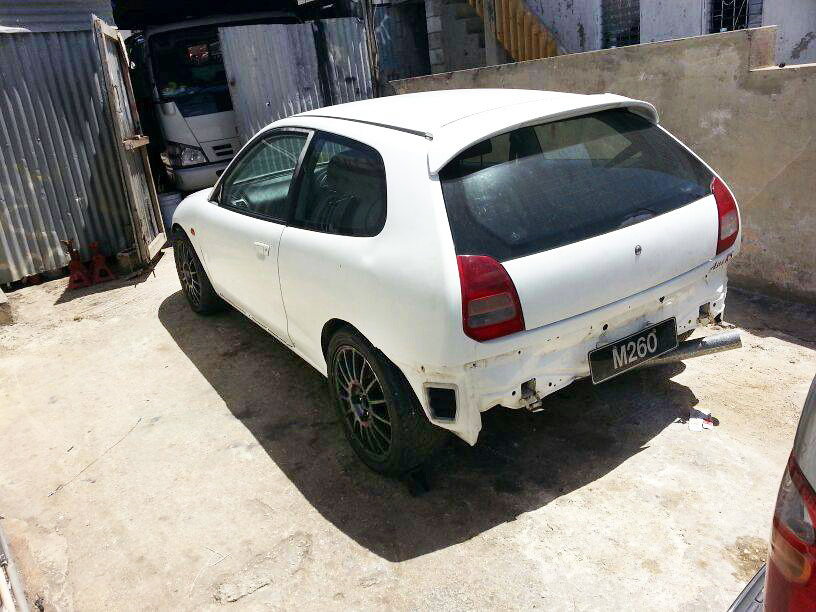
Sticking with my plan of bringing worthy posts for you automotive junkies, I have something special for you. In recent years, the Evo movement has increased significantly in Barbados, with a rapid rise of Evo VII, VIII and IX projects coming out the woodwork. Some guys have taken it further, and several FWD 4G63 builds have come to light. Despite these builds, a select few have gone beyond this point and have performed full 4WD conversions into lighter nimbler shells. Today, I have an inside look at one of the more extreme builds that the island has seen so far. Corey’s custom widebody CJ4A Colt build. Ironically enough, the owner Corey Stanford already has an ongoing project on the site.
Now some of you may be wondering why, but for Corey it’s something which has been on his mind for a while. First understand, that he previously owned a Subaru STi Spec C for a few years, so he definitely is no stranger to piloting a 4WD machine. Recently a few things changed for him, allowing the opportunity to re-emerge in the 4WD world. Even though Corey previously owned a Subaru, he felt as though it would be a step backwards with the necessary modifications and budget needed to match the performance level of lesser modified Evos. So three diamonds appeared to be the obvious choice but the problem was that Corey didn’t want an Evo. This is where things started to get interesting, as he would prefer the performance and reliability of having an Evo minus actually owning one. It was at this point the decision to build his own came into play; after all, why follow the grain when you can just go against it and make a much stronger impact with lots of satisfaction along the way.
With that in mind, he set out to do just that, first up was finding a shell for the conversion. While doing some research, he realized that it was relatively easy to do a full 4WD conversion into a Colt as some were 4WD from the factory. As simple as the conversion is, finding a shell was a bit more challenging. Corey eventually was able to find one but unfortunately it was missing a few necessary pieces. Looking at the pros and cons of this he decided against the 4WD shell and went with a FWD shell he found tucked away in storage. The differences were minimal with the exception of the gas tank which needed to be changed and the fabrication of the exhaust but already being experienced in welding, this was a walk in the park for Corey.
To perform the swap all Corey needed in addition to the gas tank was an Evo 4 front and rear suspension, gearbox, transfer case and differential.
Corey put plans in place to move forward with the FWD shell and quickly collected the necessary parts needed to perform the swap. What happened next was quite amazing, the time between bringing the shell home and the first drive was done in only a matter of 14 days.
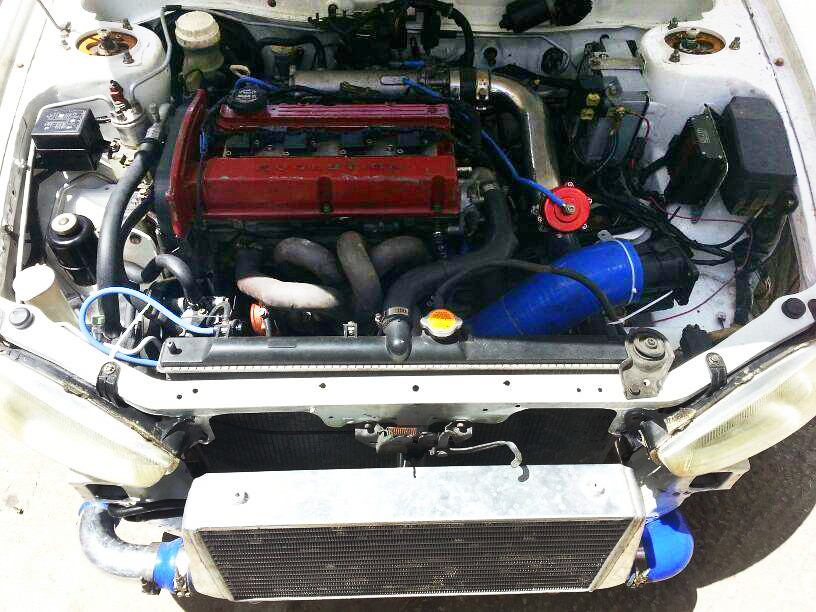
Taking a look under the hood, Corey went with a fully built 4G64 motor built by none other than Robert Bishop, utilizing a GT35 turbo and a straight 3″ exhaust.
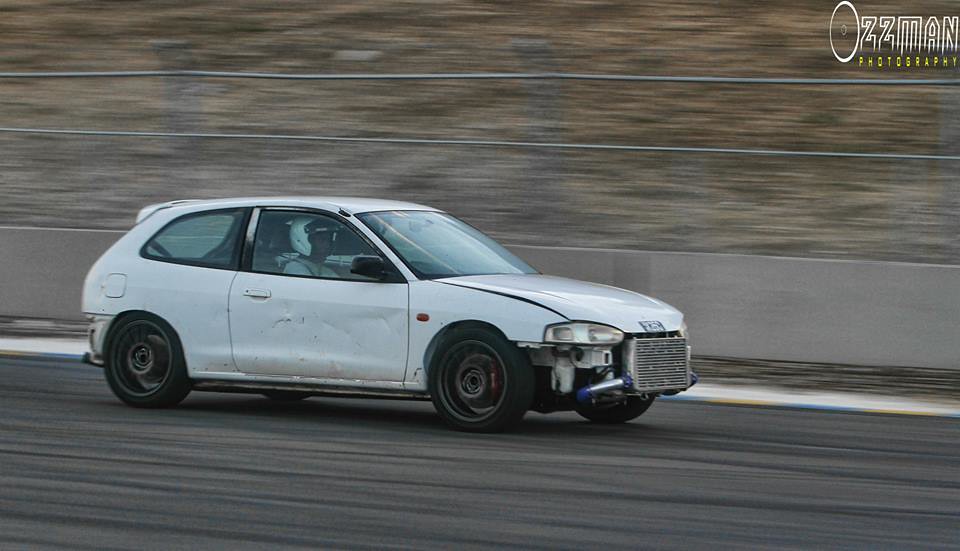
Being a member of Barbados Association of Dragsters and Drifters B.A.D.D, Corey took the car up for the 1/8 mile and the results for a first drive were pretty impressive, he recorded a best time of 7.4secs. With the car being assembled in such a short space of time, the bare essentials were installed. Not only the lack of bumpers and side skirts but along with this, the gauge cluster had not been connected as yet and Corey was merely shifting by ear when he drove.
After the drag event went by, Corey being as impressed as he was, wanted to take things to the next level. The initial goal of this build was to produce something above and beyond the average Colt. With this in mind the car was then sent to Danny and between him and Corey came up with a new concept for the car based off two other Colt builds Corey followed.

The custom made rear spoiler is the result of cross design between a GTi-R Nissan Pulsar and a WRC Suzuki SX4…
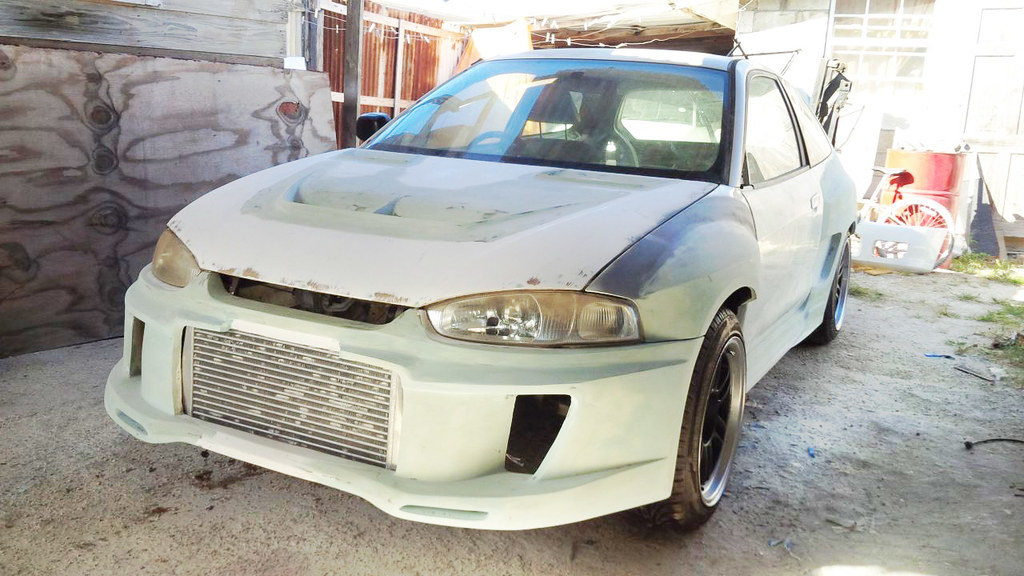

Once the idea came to life there was nothing basic about it or even anywhere close. The widebody kit brought the car to be 4″ wider than a stock body Colt. Along with the widebody kit a one off front bumper was fabricated with a large opening to ensure the intercooler gets the necessary air it needs along with two vents on either side which the usage is still to be decided upon as they both can be multi purpose.
A partial side view before the car made its way onto the next phase…
After the car retuned home from the paint, there was a buzz going around about the color choice which Corey made. This was one of the many decisions throughout this build made by his partner. As a matter of fact, most of the choices thus far for this build have been her ideas which Corey put into motion.
Unlike his AE86 build, this one will be more streetable, and Corey plans to retain all the typical creature comforts, such as a full interior, AC and PS.
Even with this very unique color choice, the car looks very menacing even from the rear. A custom made diffuser was fitted to accentuate the look of aggression even more and was painted in a gloss black to add some contrast…

Moving on to one of my favorite pieces of this build, the custom made rear spoiler now in its completed state, which in my books was executed flawlessly.
A close look at the widened rear fender and 17 x 9 +25 Enkei RPF1 wheels…
A quick side profile…
Every part of the exterior was addressed in this phase, Corey recently acquired these mirrors which were also painted in black to aid with the contrast of things…
A look at the widened front fenders which drawf the 17″ x 9″ Enkei RPF1s…
A view of the front, where you see the hugh ducts to the left and right of the bumper and smack in the center the opening for the triple core intercooler which also was painted black. Corey swapped out the stock headlights and opted for a pair of lightly smoked replacements.
Close up of one of the bumper vents…

Not leaving anything out of the mix, Corey was not only concerned about form but also function, and made sure to install several vents inside of the fully firbreglass hood to aid with dispersing heat within the engine bay.
The moment you all probably have been waiting for, but sadly no motor lies within the bay, the 2.4 motor was sold since the drag event and there is no doubt Corey will be working on something special to replace it.
I hope you guys enjoyed a first look at Corey’s latest project, be sure to look out for more on this to come.
Special thanks to Ozzman for allowing me to use his photo, you can check out his Facebook Page to view more of his work.
