
Special K… Part 2
Picking up where we left off, Special K was fresh out the booth and the guys needed to reassemble the car for Chubz to collect. After leaving the paint shop Chubz made sure that Special K made a few appearances, first on display under the SDRR booth at JDM Squared Spring Break meet and then followed closely at a track day at the Bushy Park circuit. With the next BADD event a few months away, both Chubz and the sponsors thought it was a good move for him to make a few adjustments to the motor setup before the event. While the engine was, out the sponsors took the opportunity to make some slight additions throughout the car.
For those who would have missed the previous posts, you can click the link below…
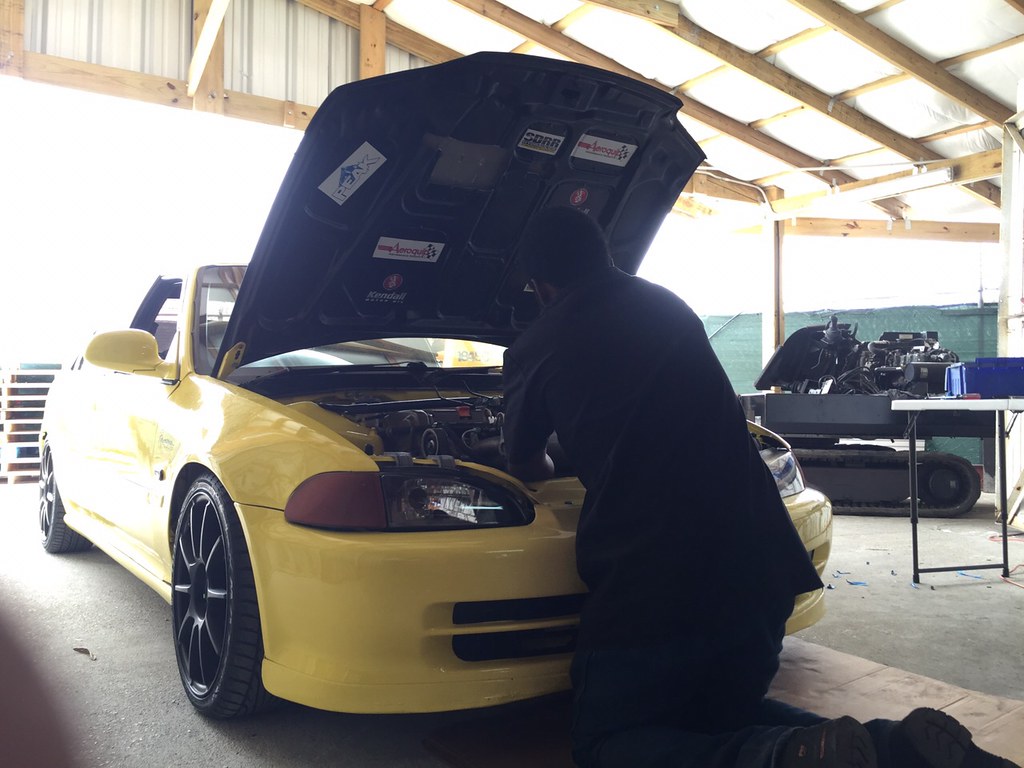
I made another trip to the paint shop to snap a few photos while the guys were putting the finishing touches on the car before handing it over to Chubz.
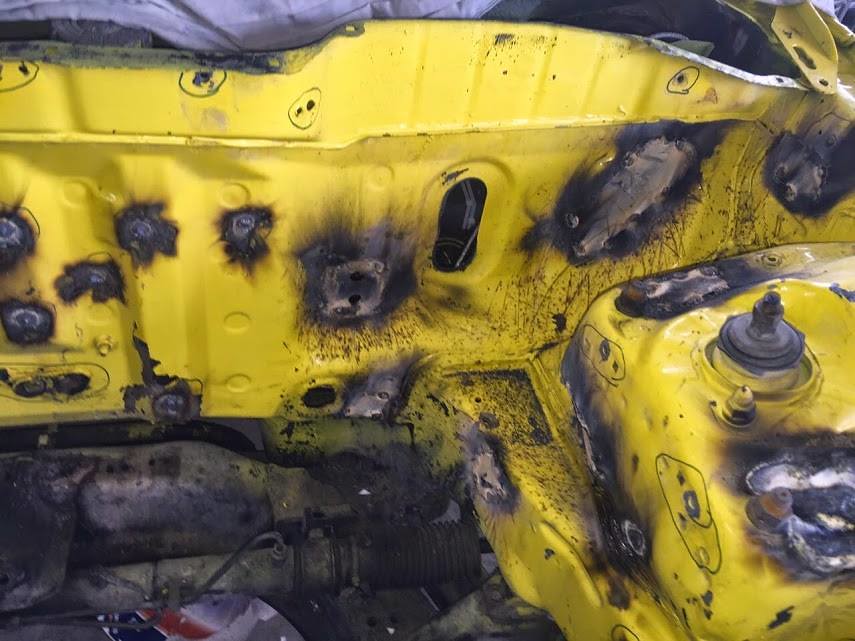
The previously damaged areas looking as though they never had an issue…
While Chubz waited for the guys to finish up, he applied the some stickers to the car…
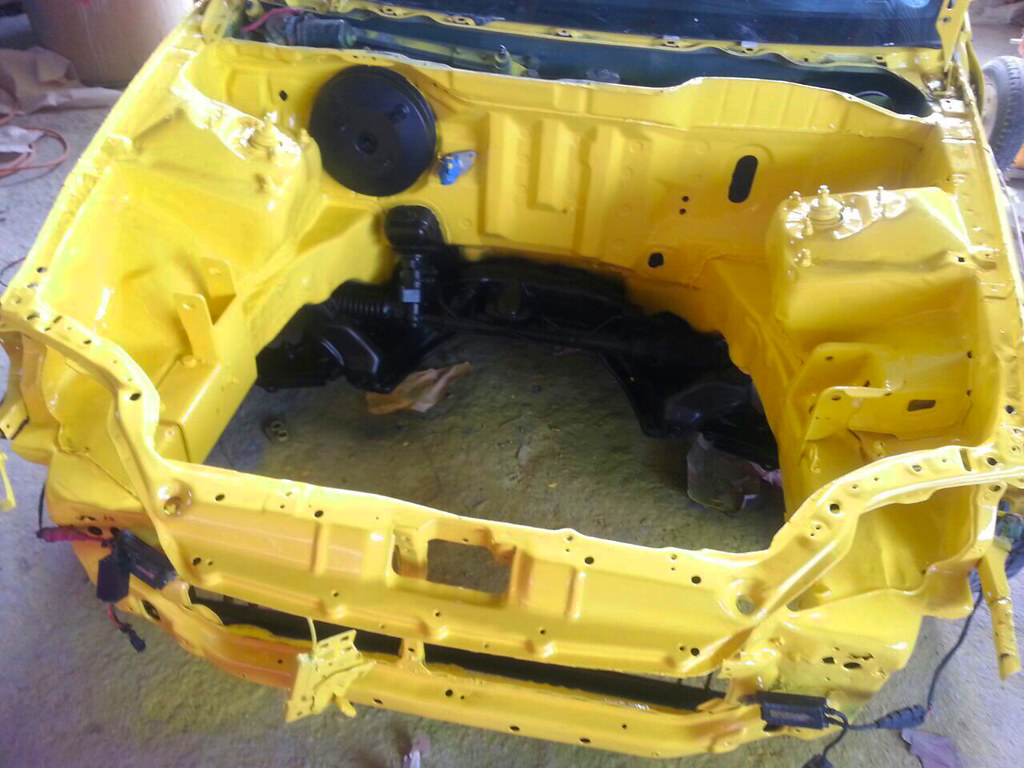
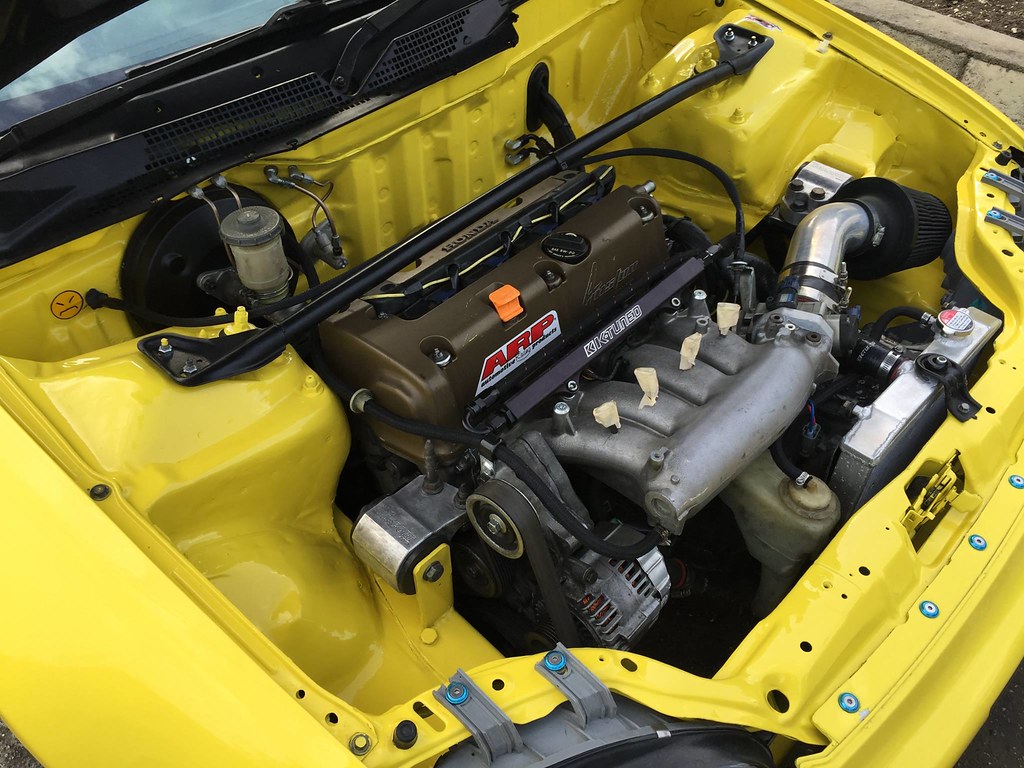
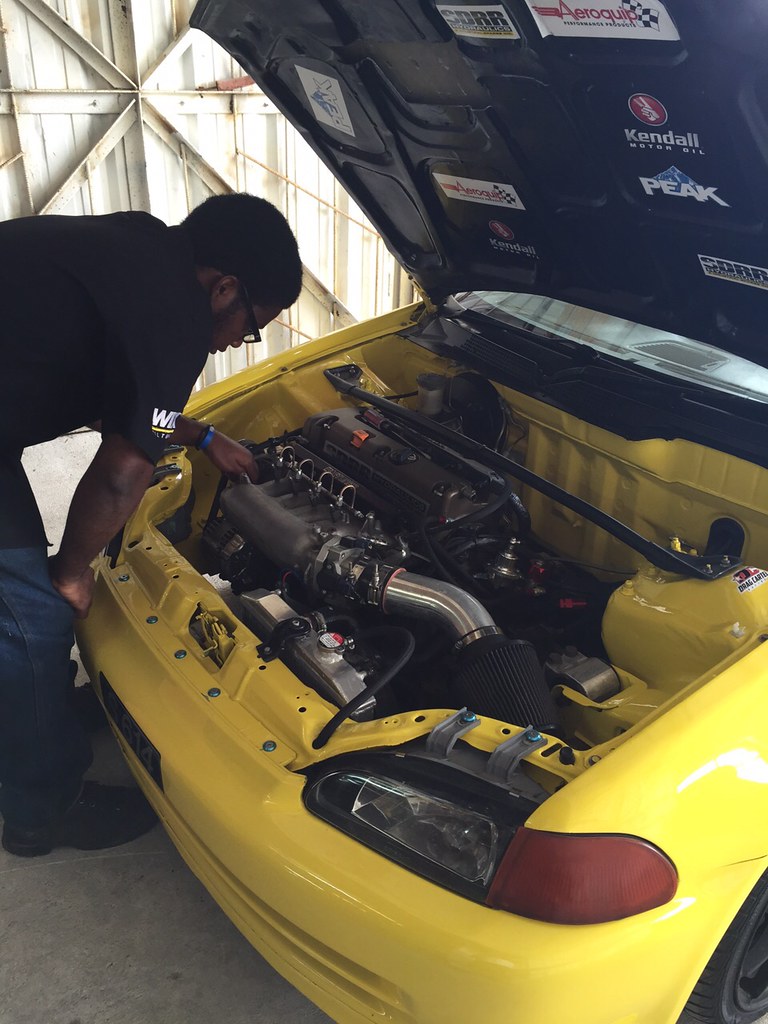
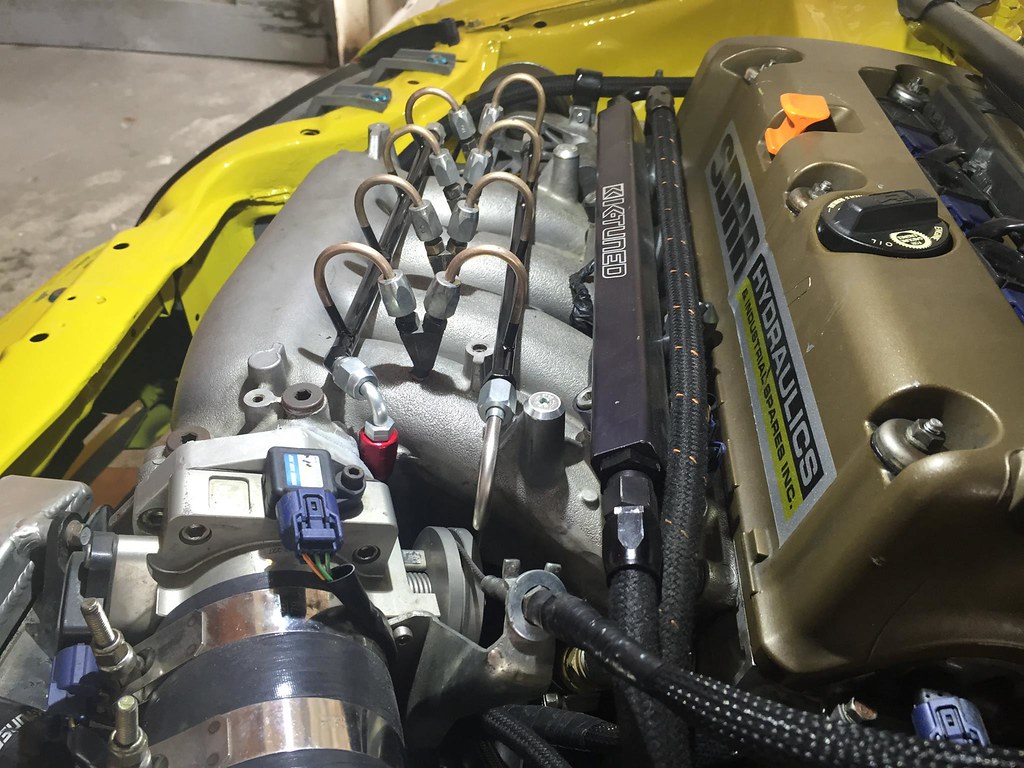
Quick shot of the bay with the soon to be NOS fed motor…

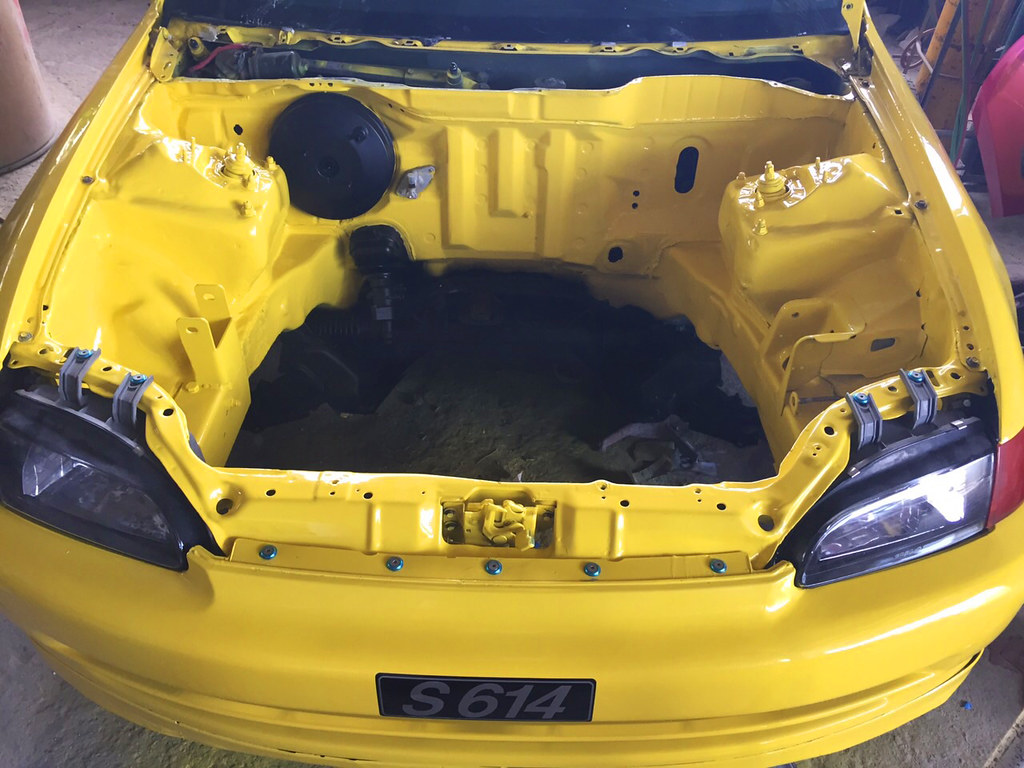
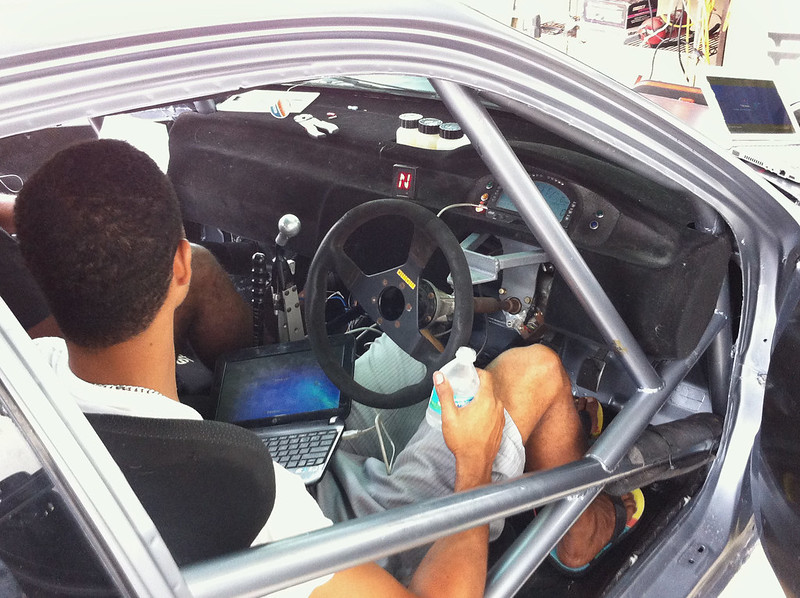
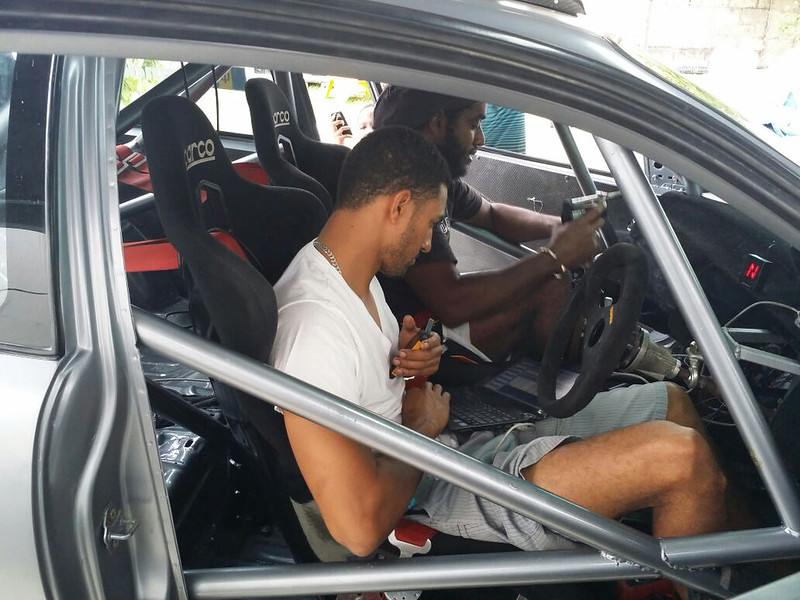
The guys making the final adjustments…
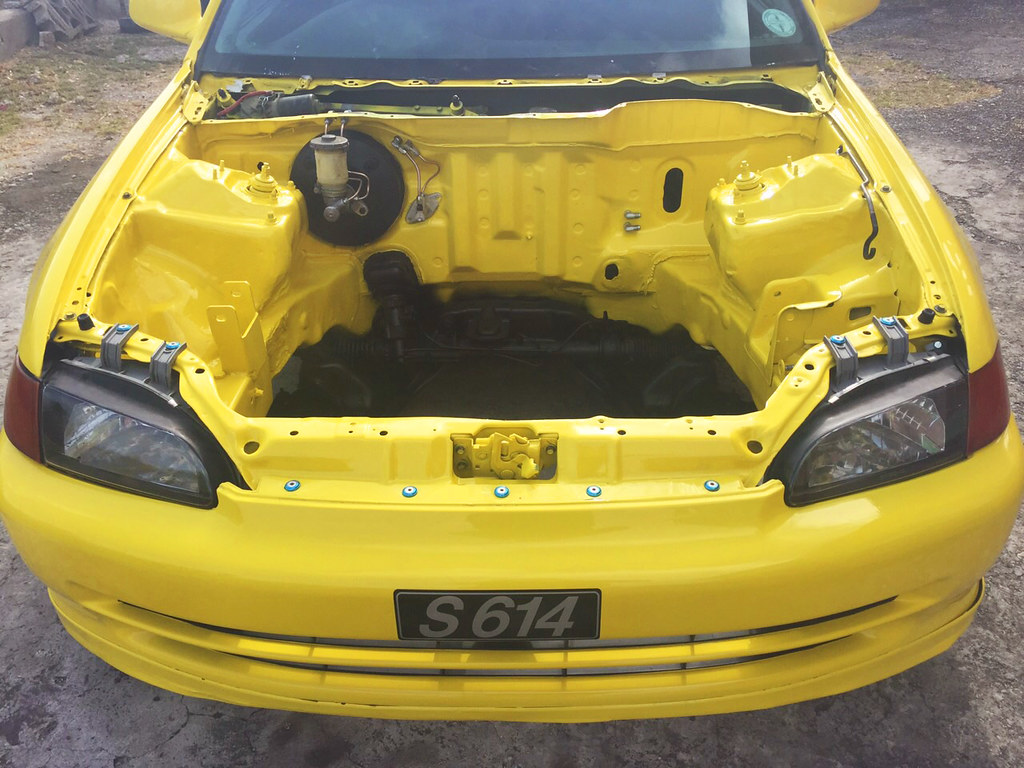
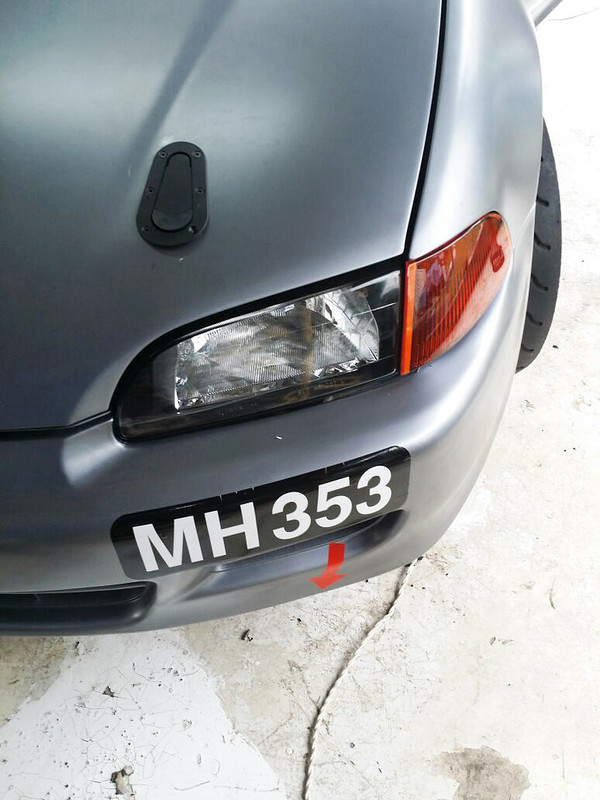
One final shot of the freshly painted front bumper…
A look at the freshly applied sponsor sticker…
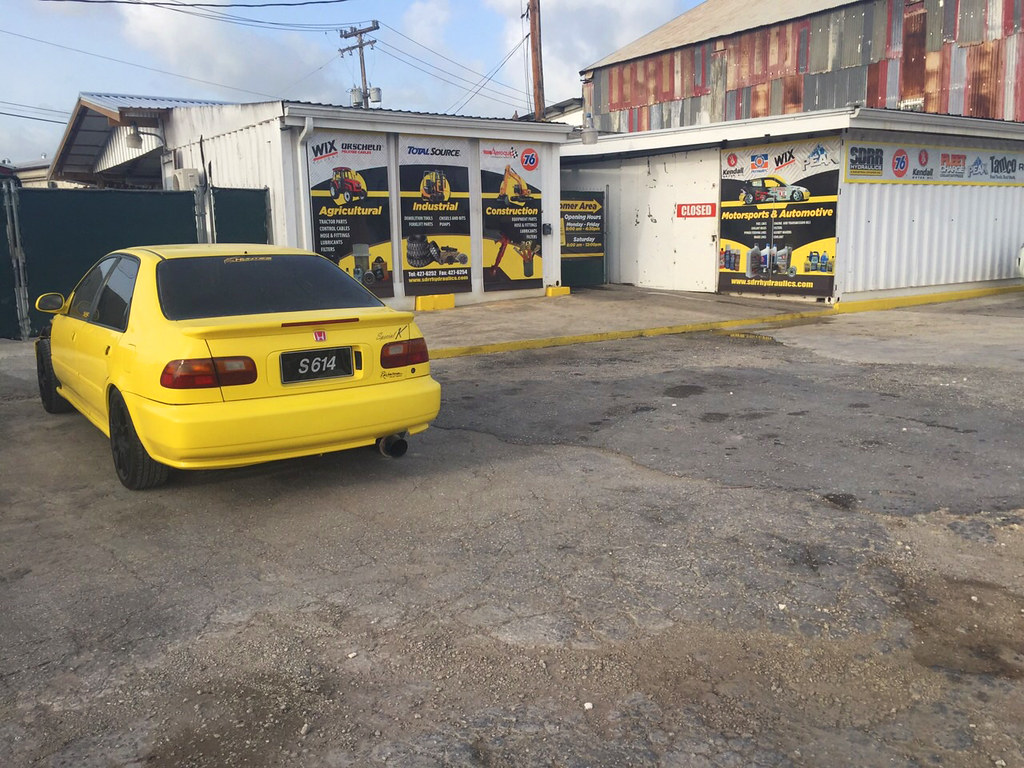
Special K at the SDRR booth during JDM Squared Spring Break meet…
Hanging with the big boys at one of Bushy Park’s track days…

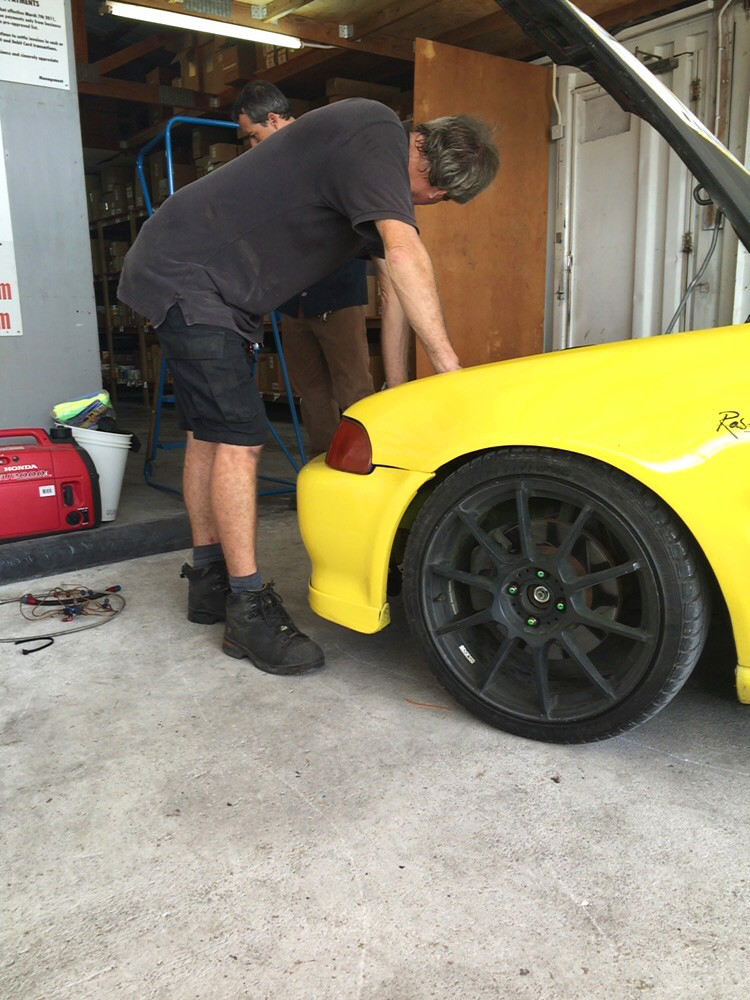
Shortly after the track day, the teardown began…
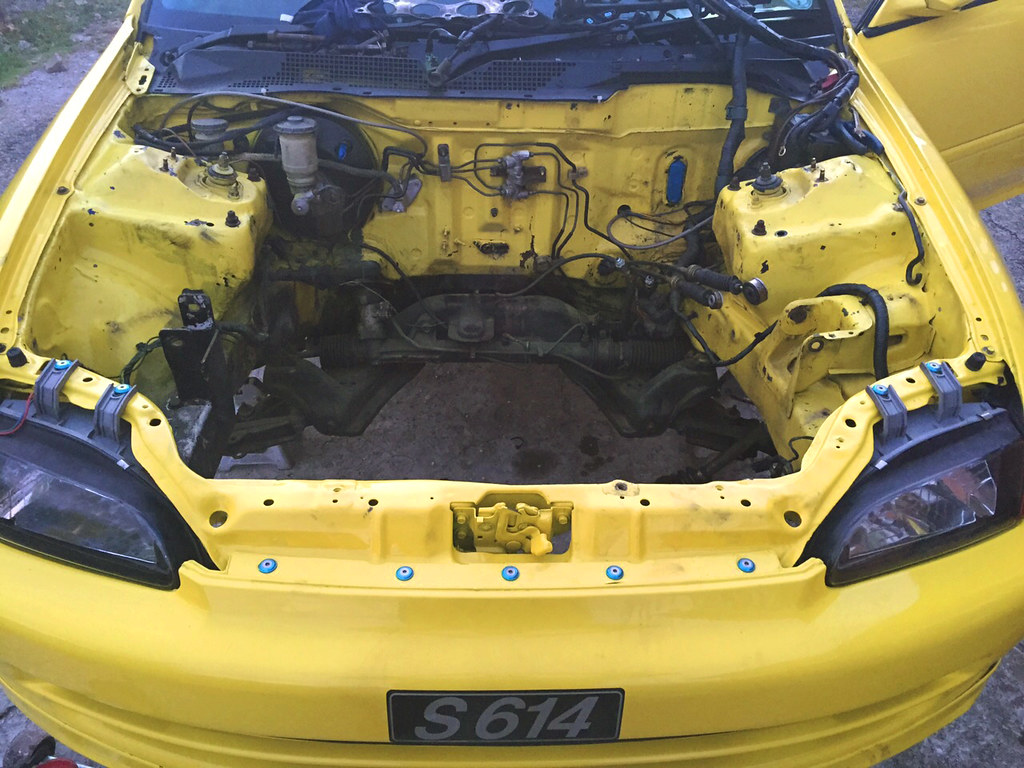
With the engine bay fully stripped the next step was to hand it over to the sponsors, SDRR. They would now be spearheading the shaving and tucking of the engine bay.
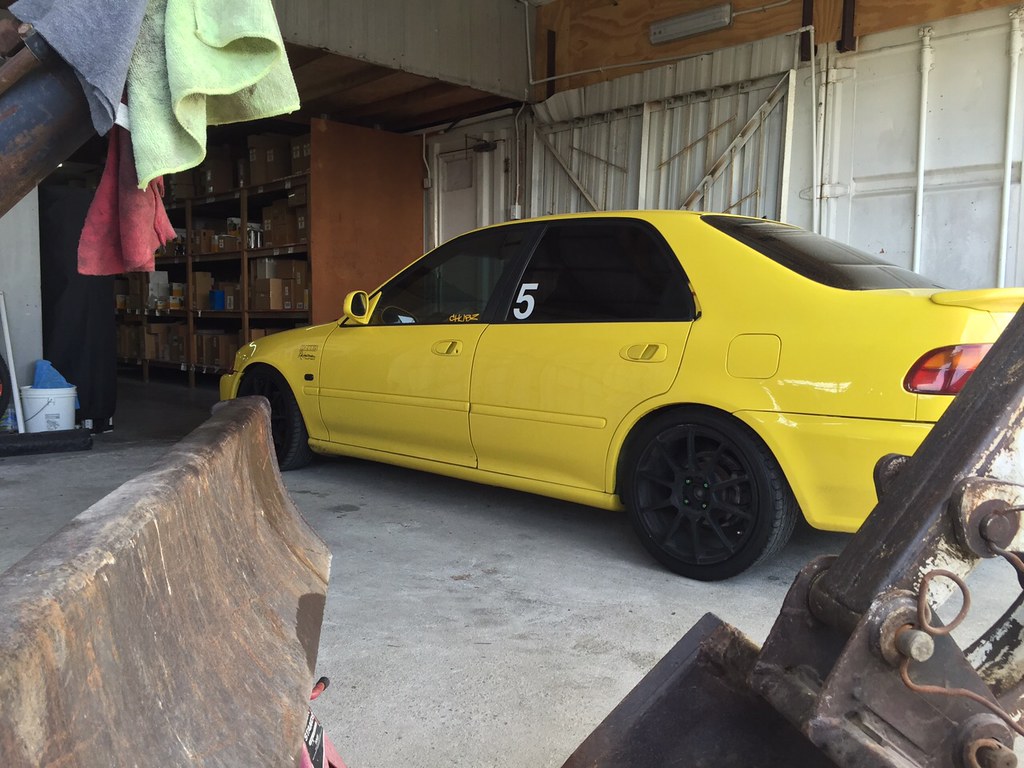
As the car sat patiently outside of SDRR…
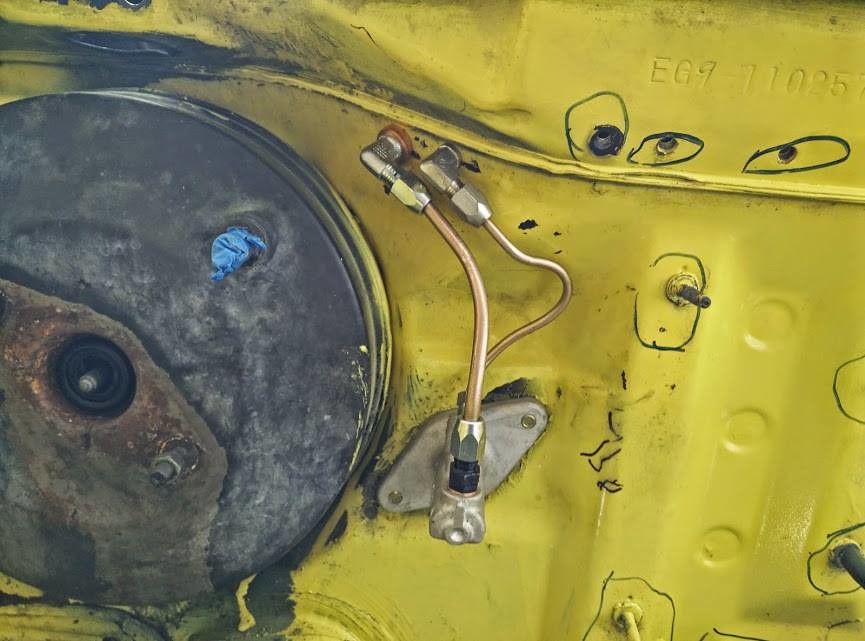
The guys at SDRR started out by identifying what needed to be shaved and filled then they went to work on the lines. To ensure that the bay would be as clutter free as possible, they opted to tuck the fluid bottle for the clutch master cylinder and relocated it inside the wiper panel.
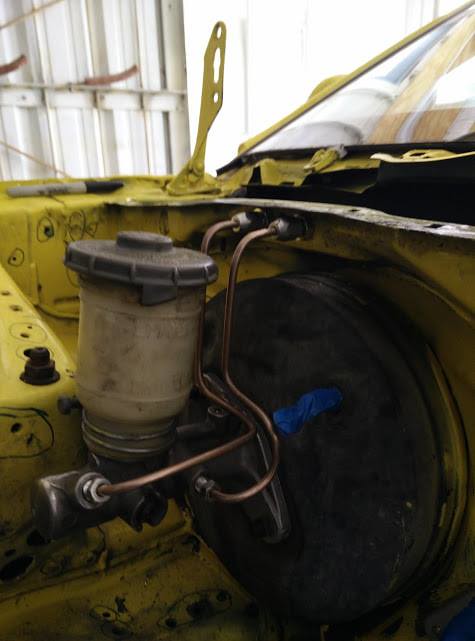
A quick look at the lines from the master cylinder…
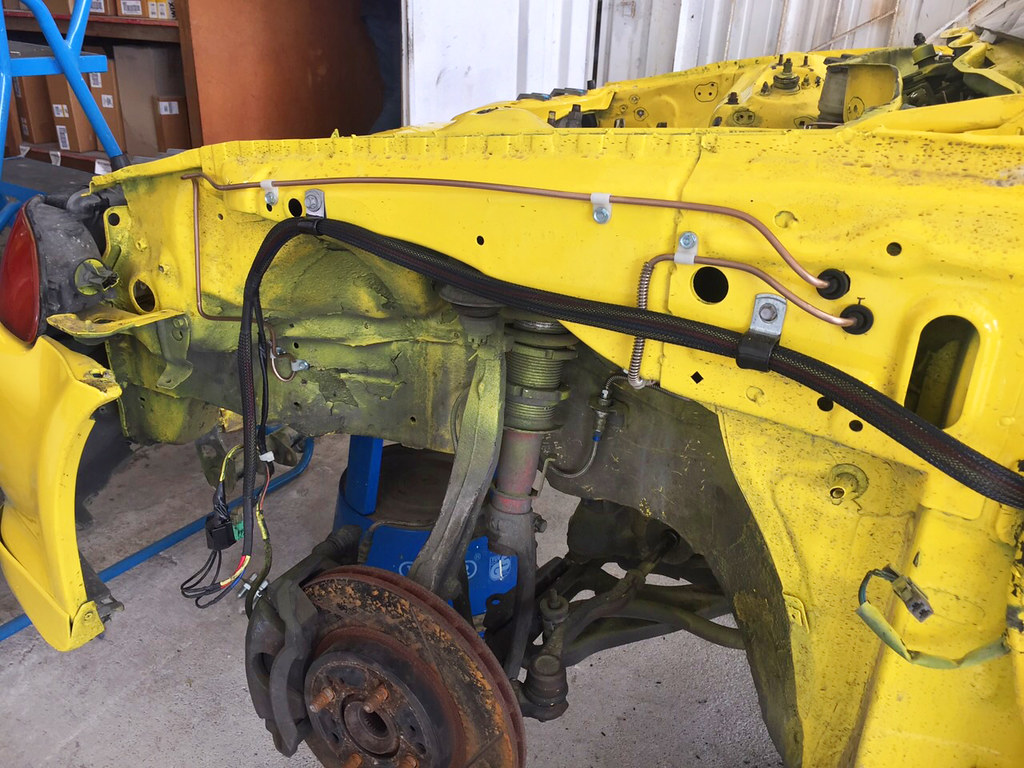
The headlight harness would now be rerouted on the underside of the fender in a flame retardant sheathing that would also keep the wires free from any moisture that may occur. Along with the harness, you can also see the brake and clutch lines have also been rerouted on the underside of the fender.
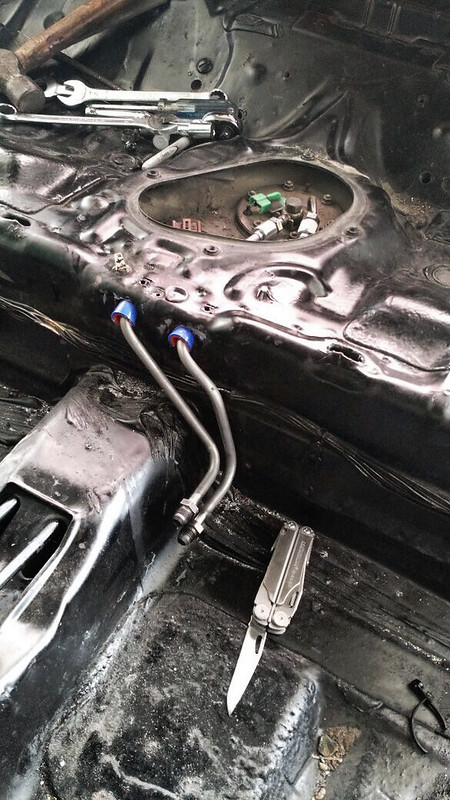
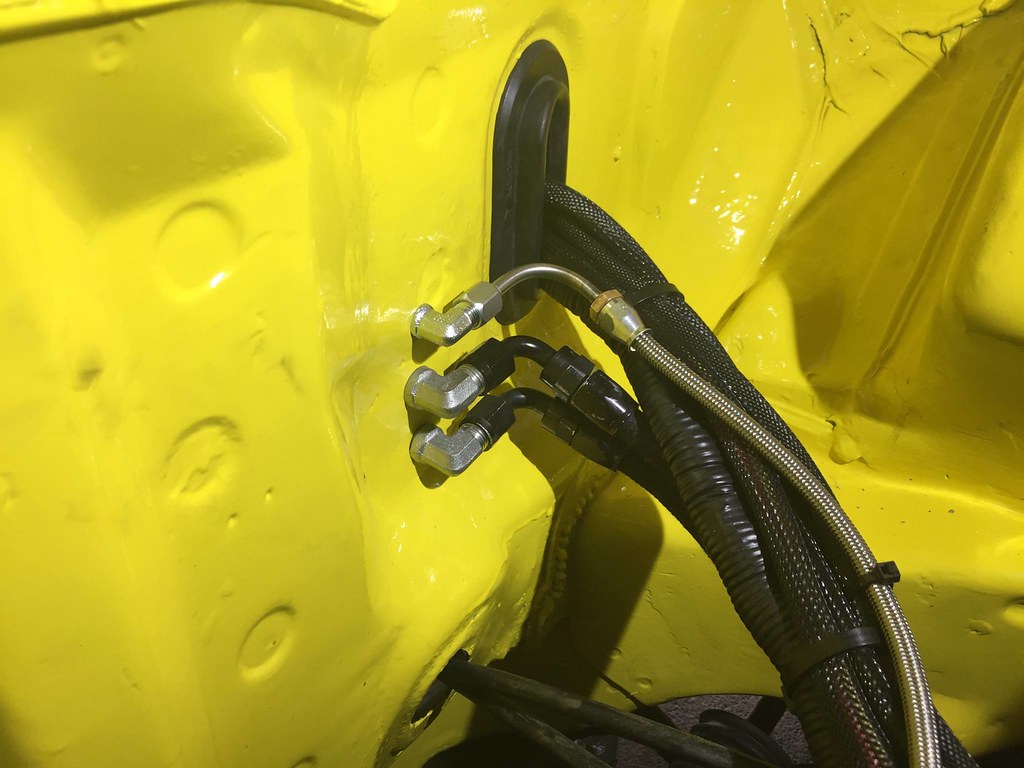
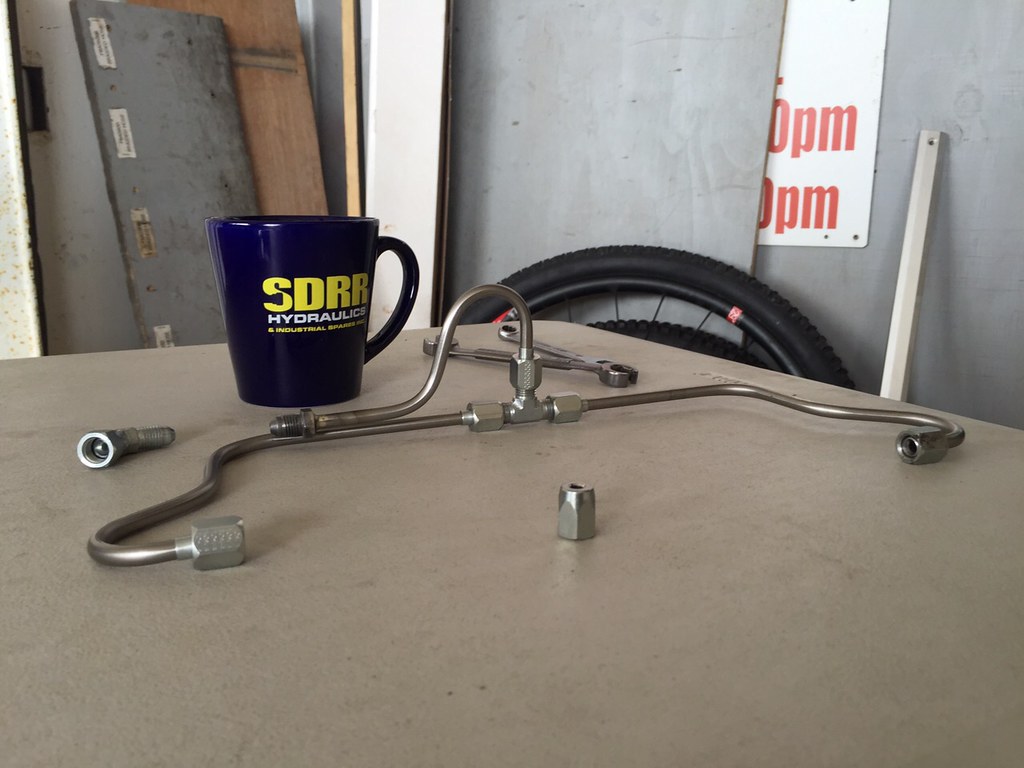
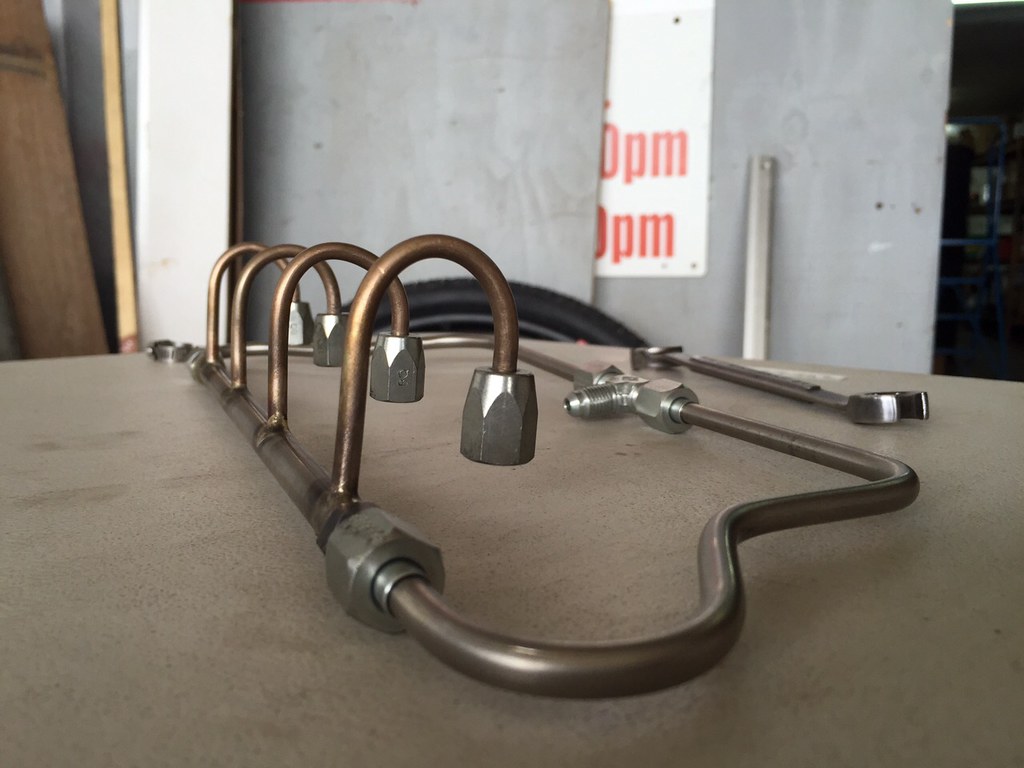
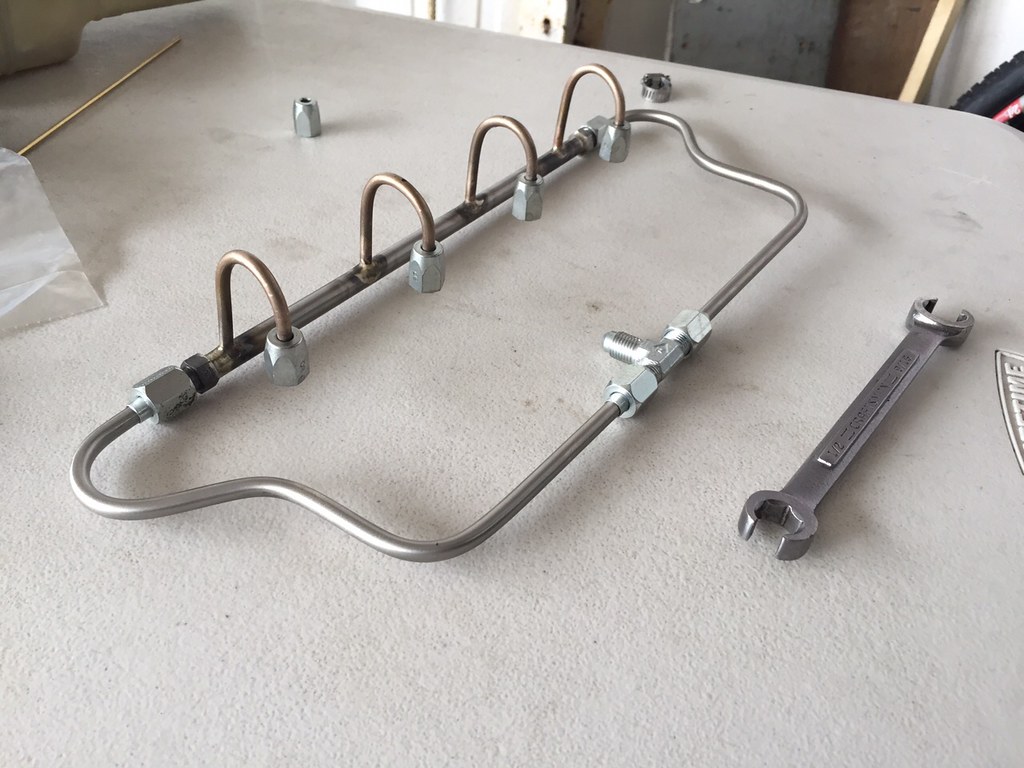
In addition to the brake line tuck, the fuel lines would also be replaced and rerouted on the inside of the car…
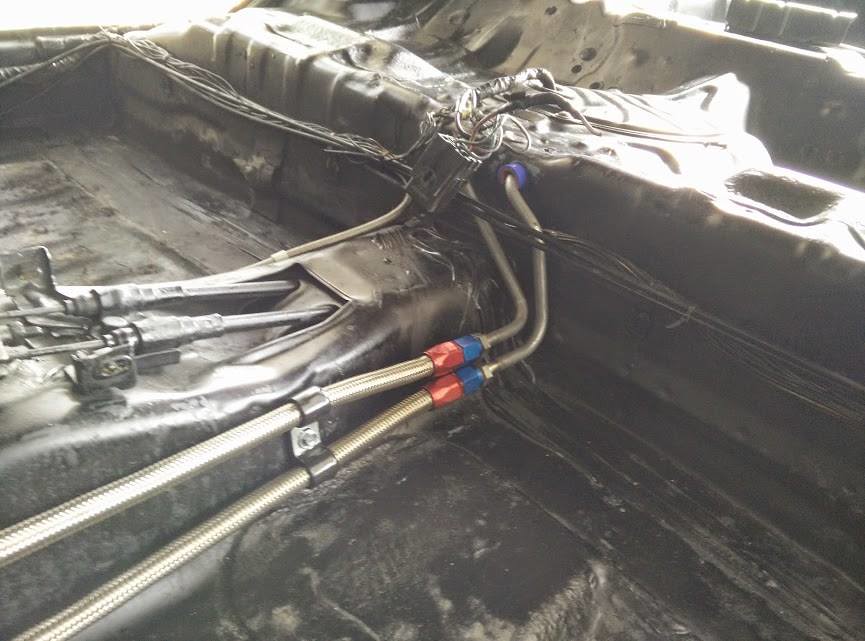

The stock metal hard lines have been replaced with steel braided lines with AN fittings…

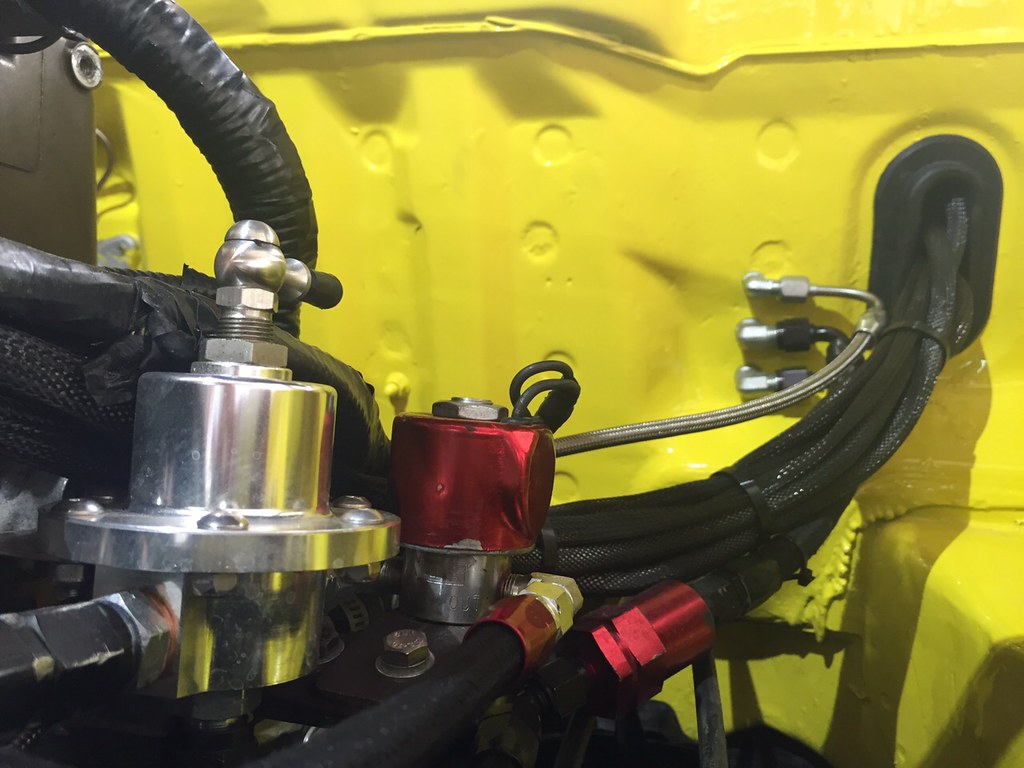
The proportioning valve which once was within the engine bay has been removed and not only mounted on the inside of the car but it has also been replaced with a Wilwood counterpart…
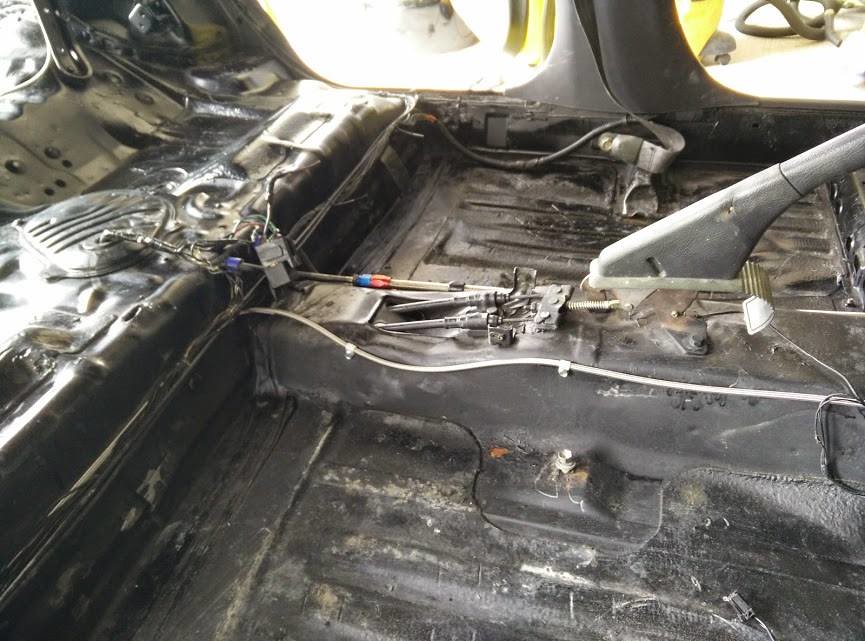
A look at the braided brake line from the proportining valve to the rear where it will split and run to the rear brakes…
Meanwhile, things were looking good with the engine rebuild…
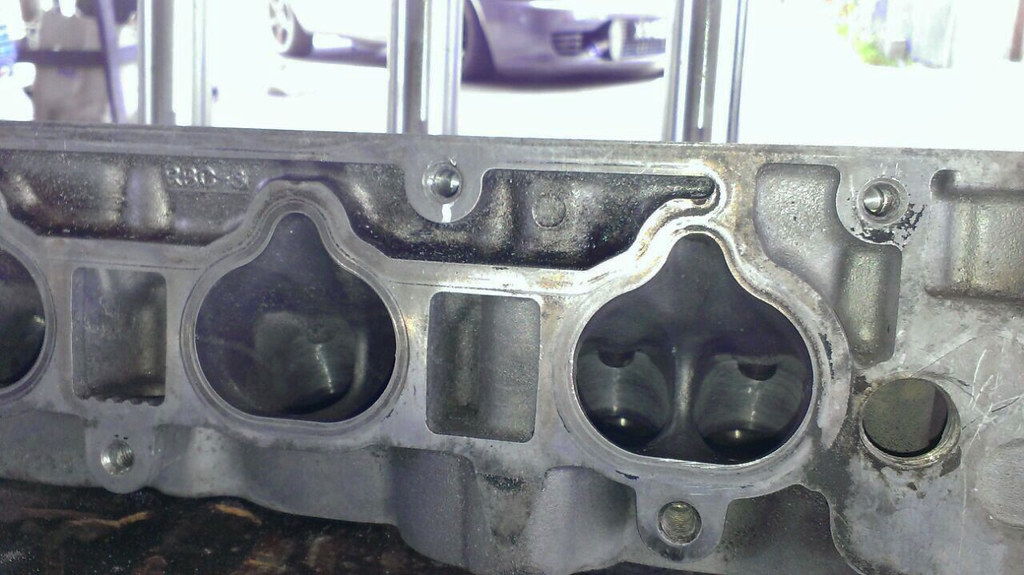
A look at the head shortly after it was removed and fully stripped…
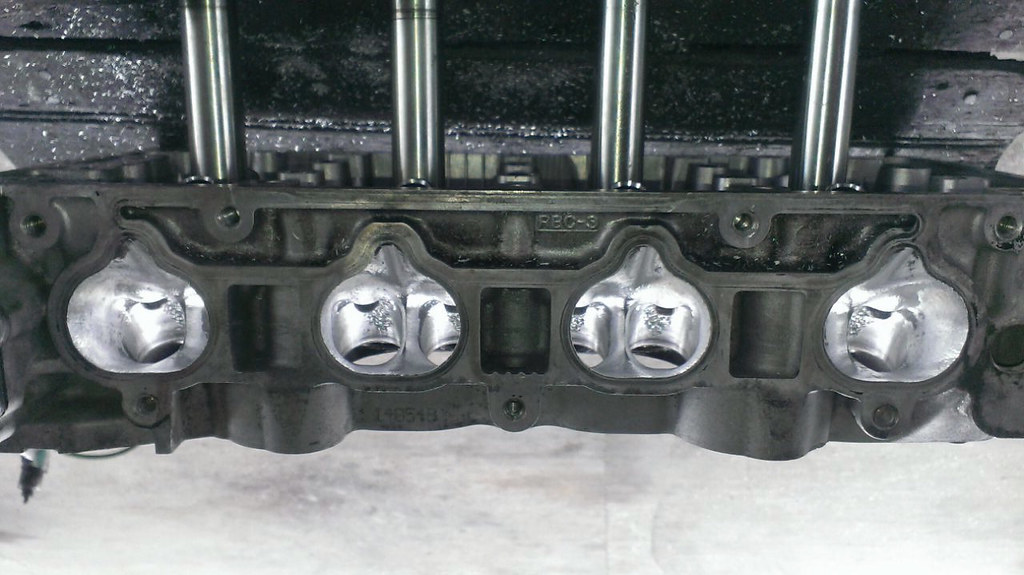
Another view of the head after it received some mild porting…

The fully disassembled motor. Going back up Chubz will be swapping out the stock A3 pistons and raising the compression slightly with some Type R pistons. These will now bring the compression from 9.8:1 to 11:1. However, he will retain the use of the A3 rods, bolts and crank.
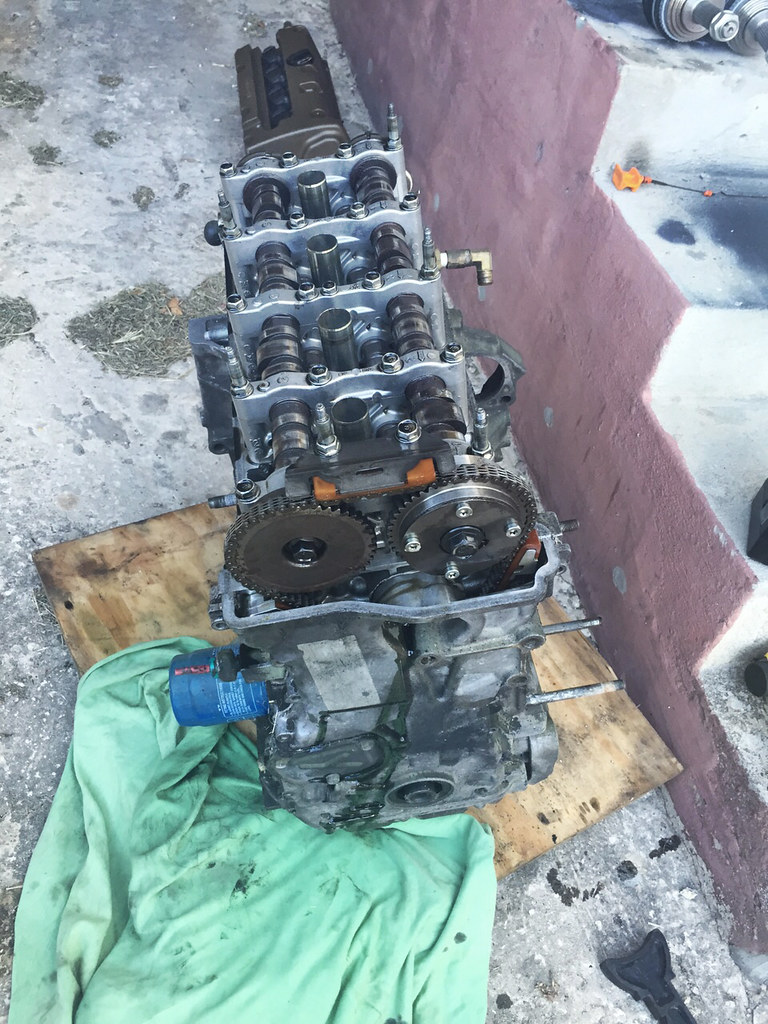
The stock head bolts were replaced with ARP studs and the Type R cams remain…
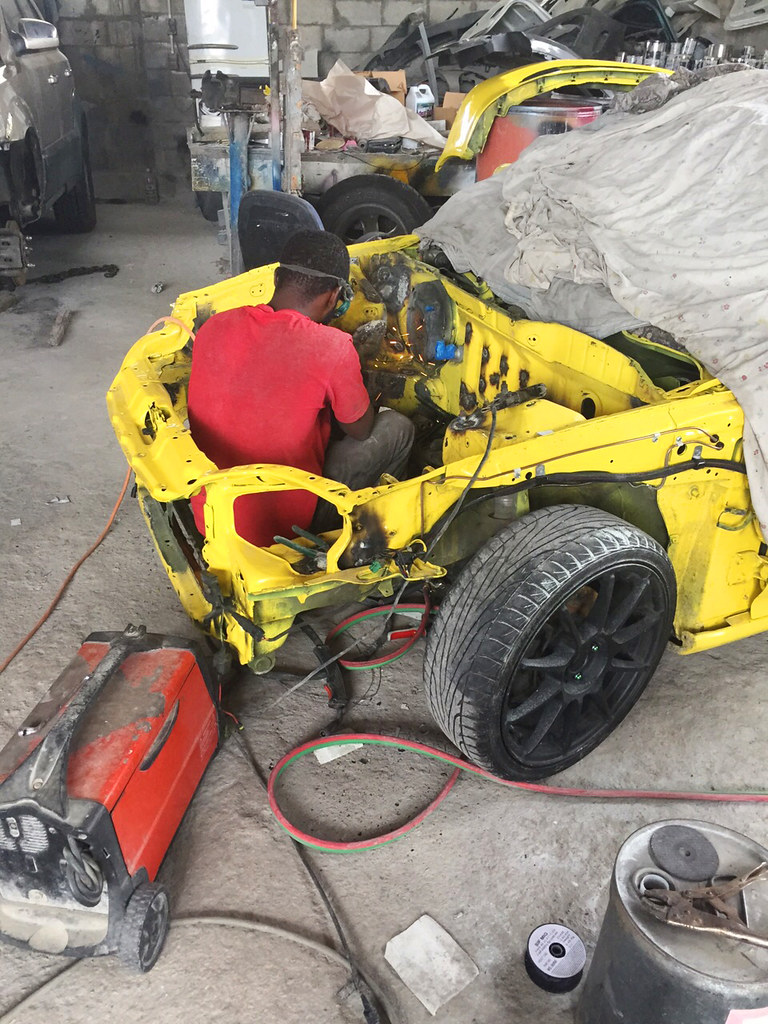
The car back at the body shop where the engine bay was being spot welded…
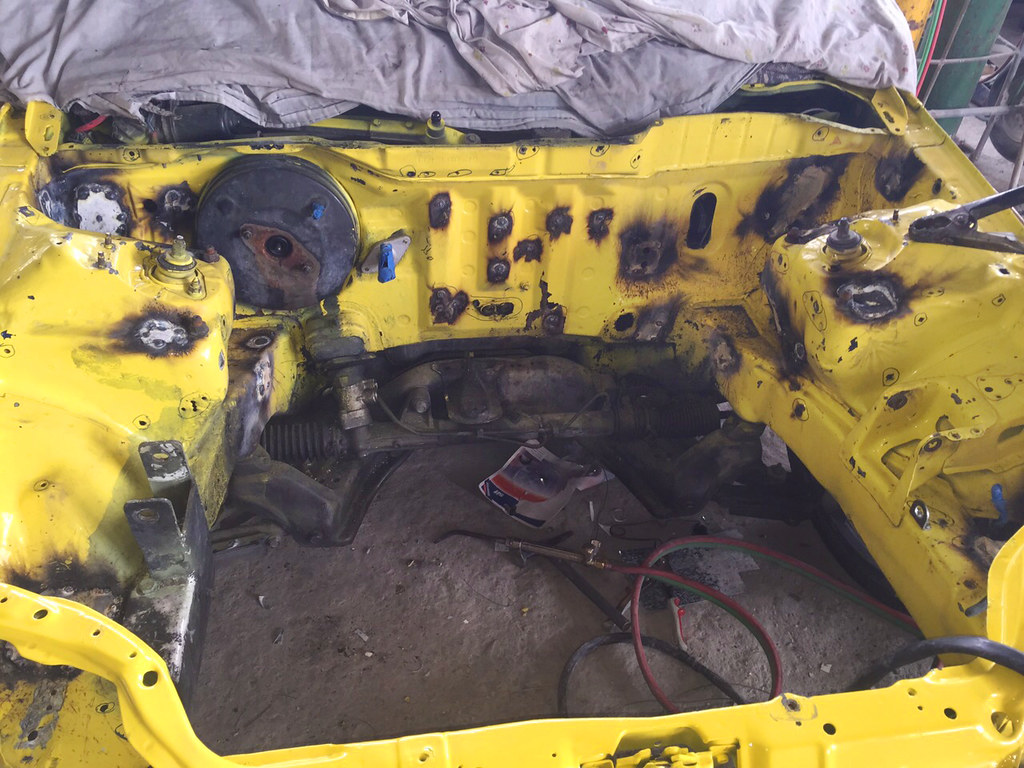
A full view of the work done within the bay…
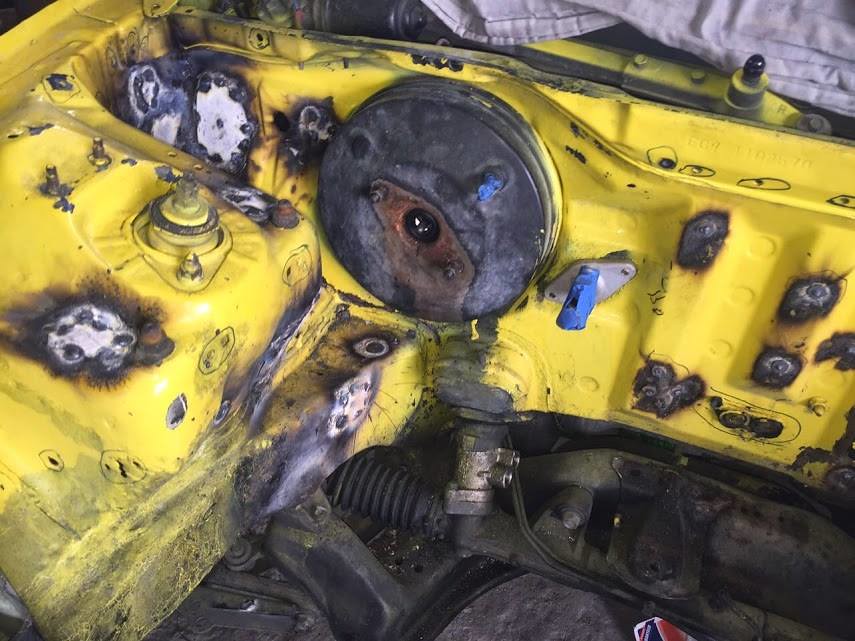
Closer look at the left and right side of the bay…

All of the lines were removed after the mock up, and the engine bay was then prepared to be painted…
Fresh…
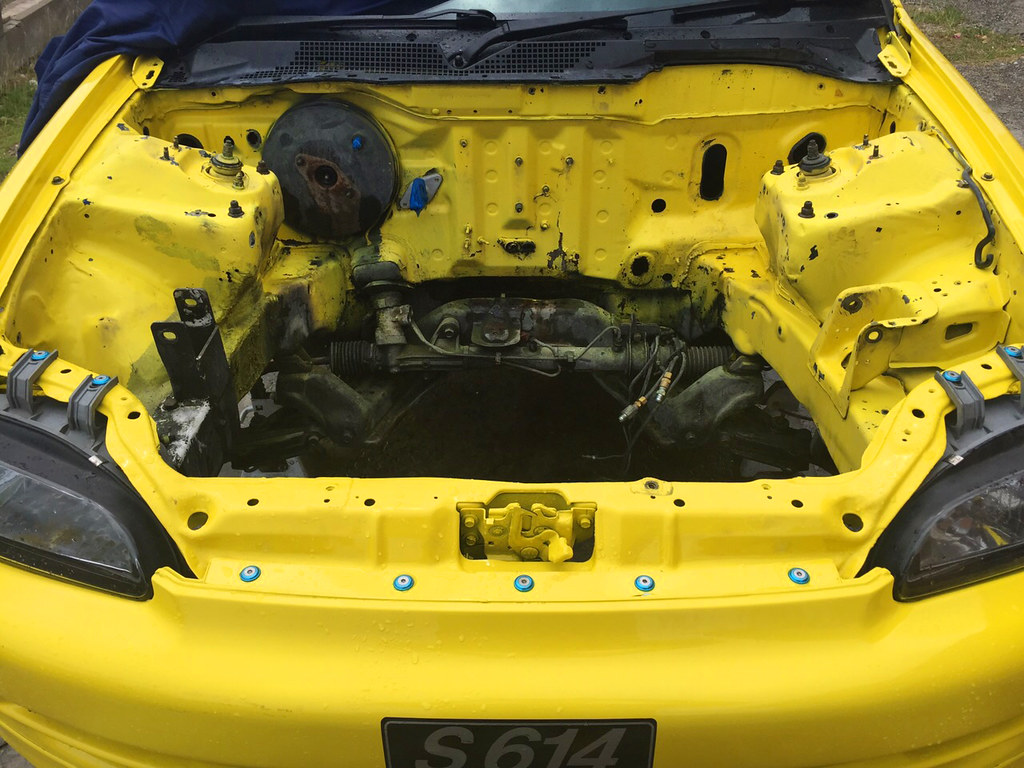
A few shots of the naked bay before it’s reassembled…
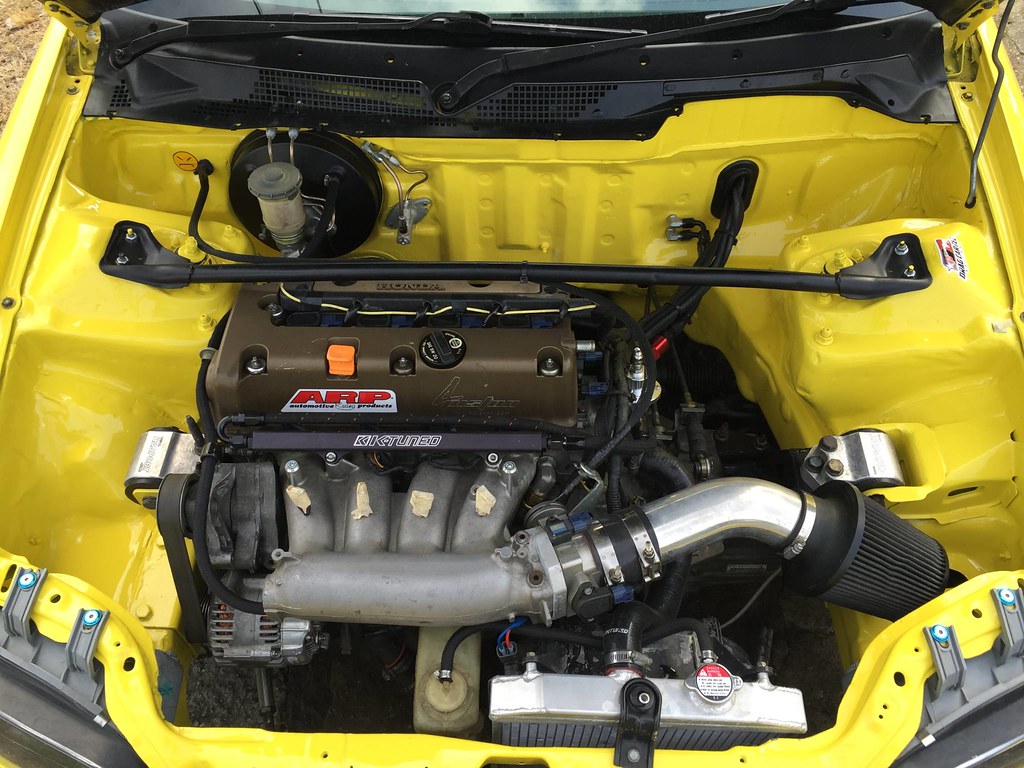
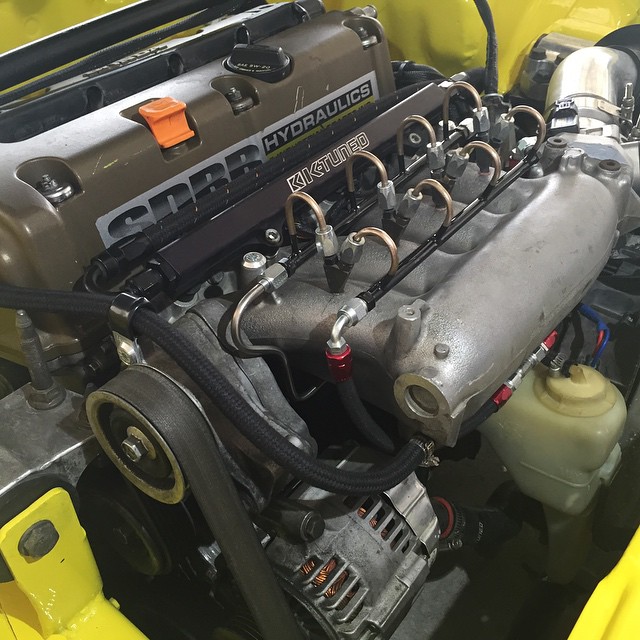
Final shots of the well executed bay with the motor installed…
Shortly after the car was driving once again, it returned to SDRR to have the NOS setup installed…
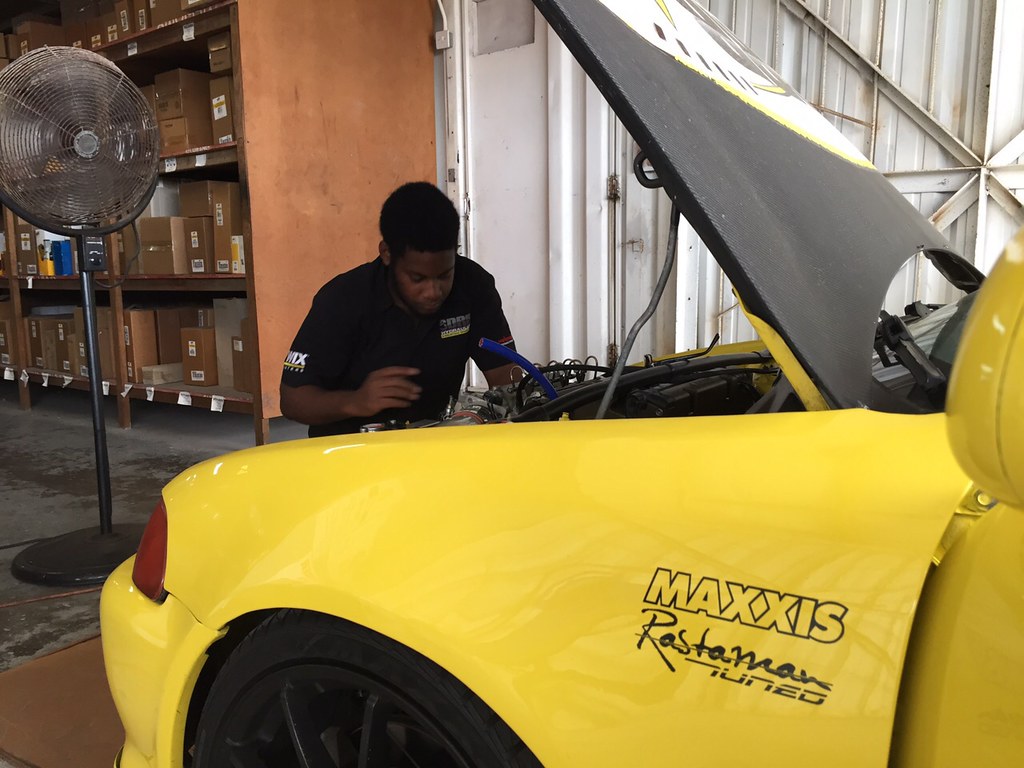
The guys just before they begun…
The three bulkhead fittings installed, the steel braided line is for the NOS and the other two are the fuel return and the fuel supply…
The lines from the bulkhead fittings were grouped together with the engine harness and fed to the NOS solenoid…
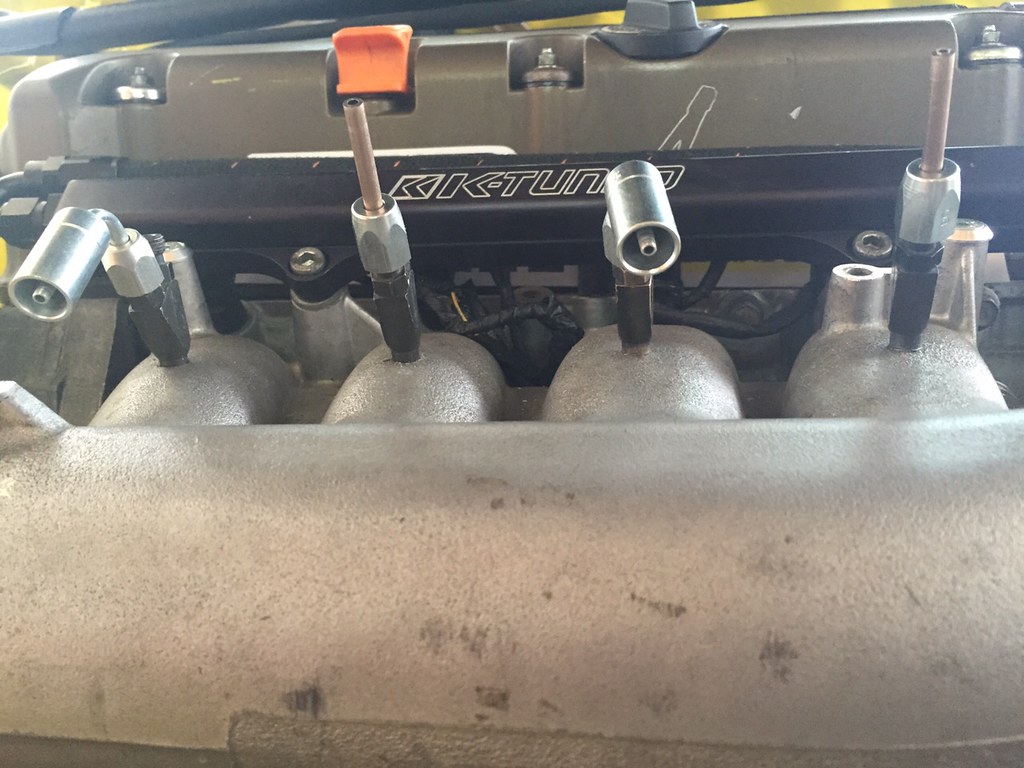
With that completed, the mock up for the intake lines were in progress…
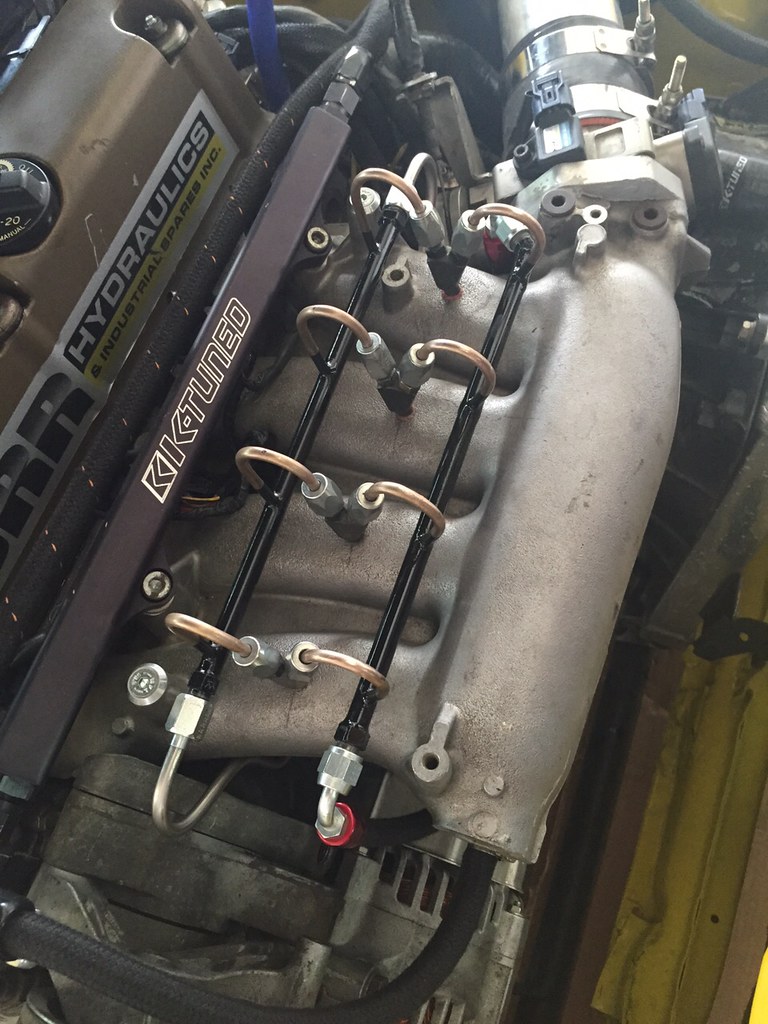
The custom made lines that will feed the NOS to the intake manifold and a T that will allow for even distribution to all four ports…
A look at how it all comes together…
A few shots of Michael from SDRR as he puts the finishing touches on the setup…
A view from above showing how it comes together…
Taking a step back…

How it looks head on from engine level…

Final shots of the setup…
After the guys finished with the engine bay it was time to get on with the remainder of the setup…
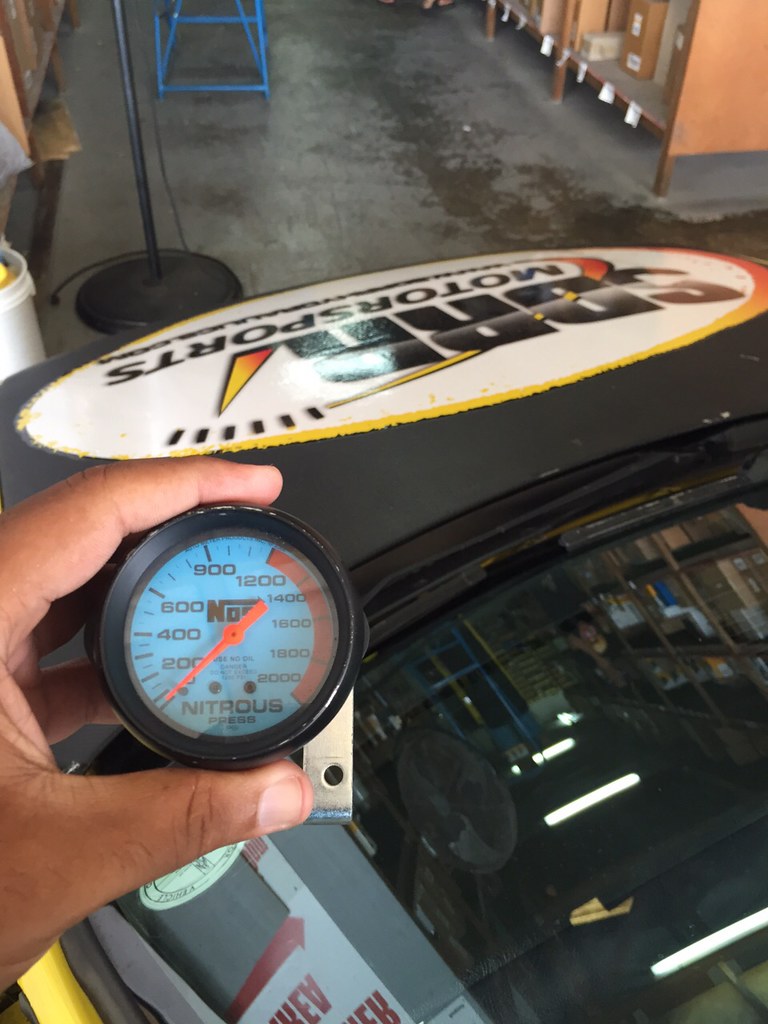
NOS gauge to be installed…
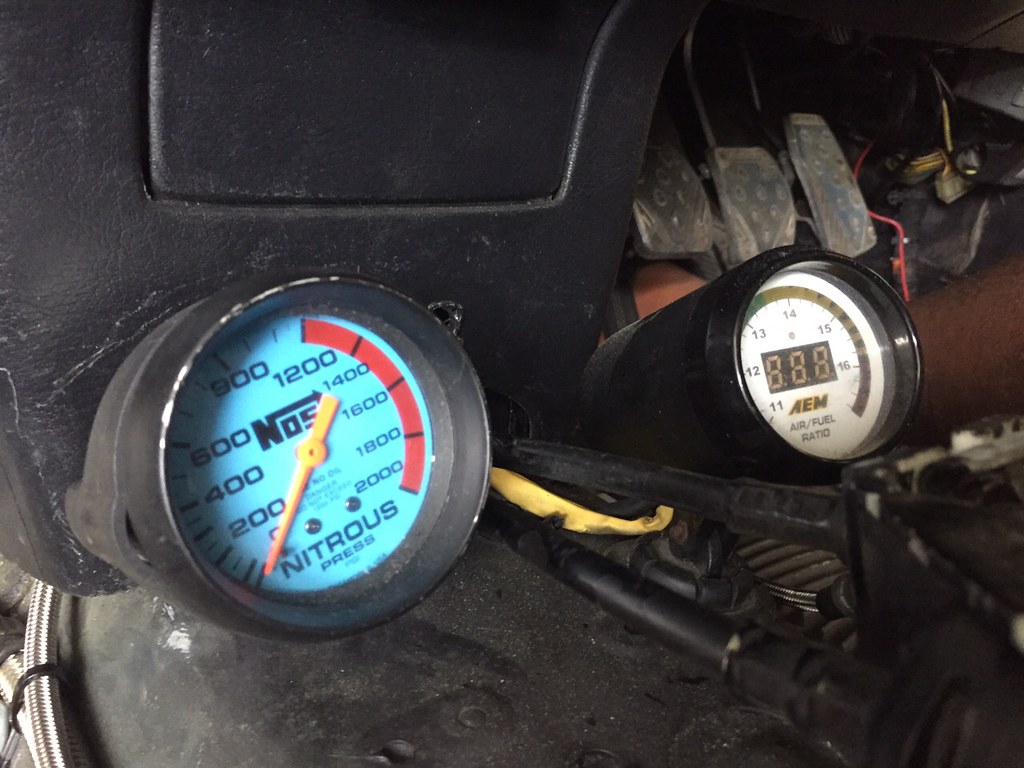
After the install…
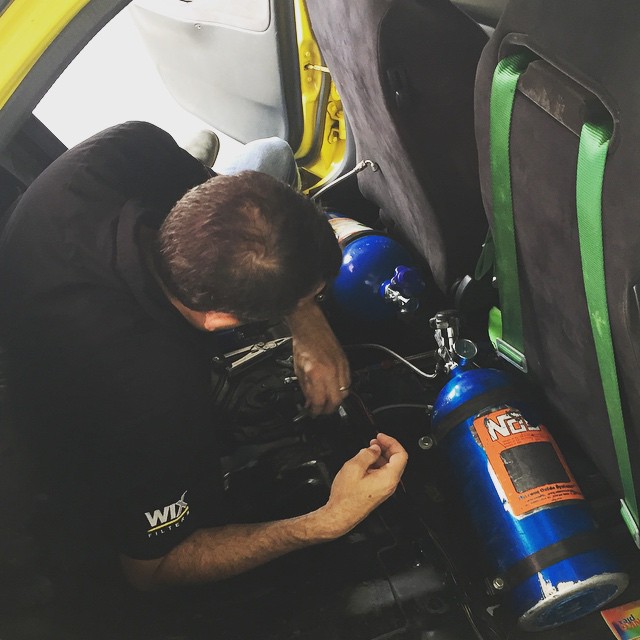
The plumbing being done for the two bottles…
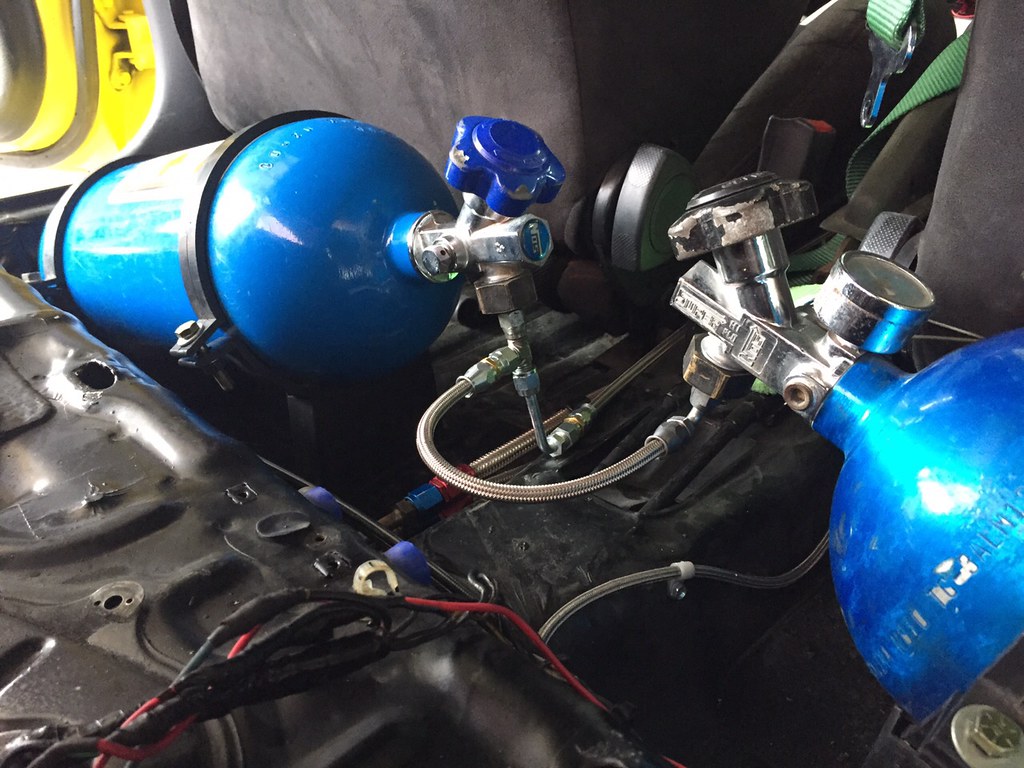
A look at the finished product…
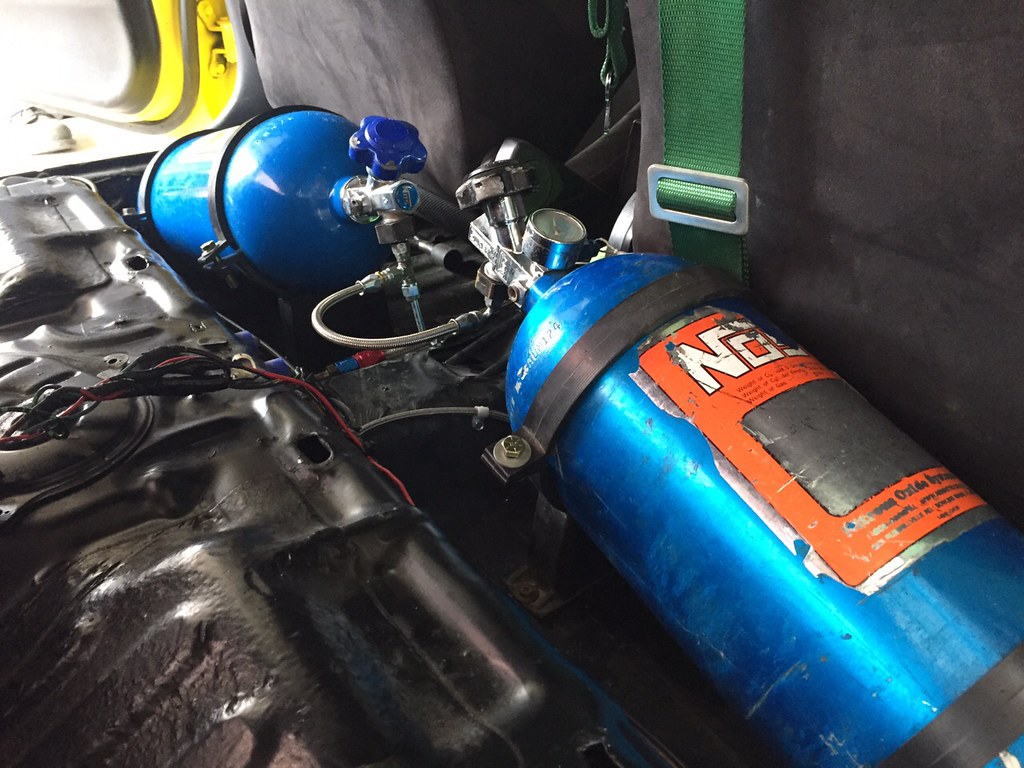
Tanks installed and ready for action…
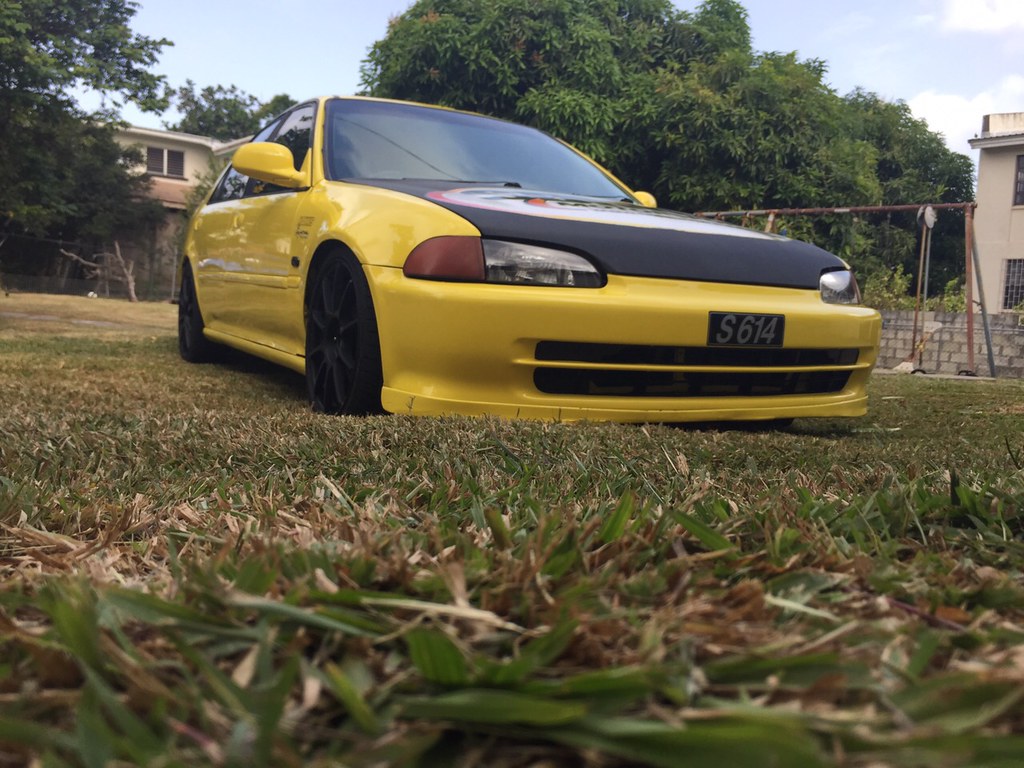
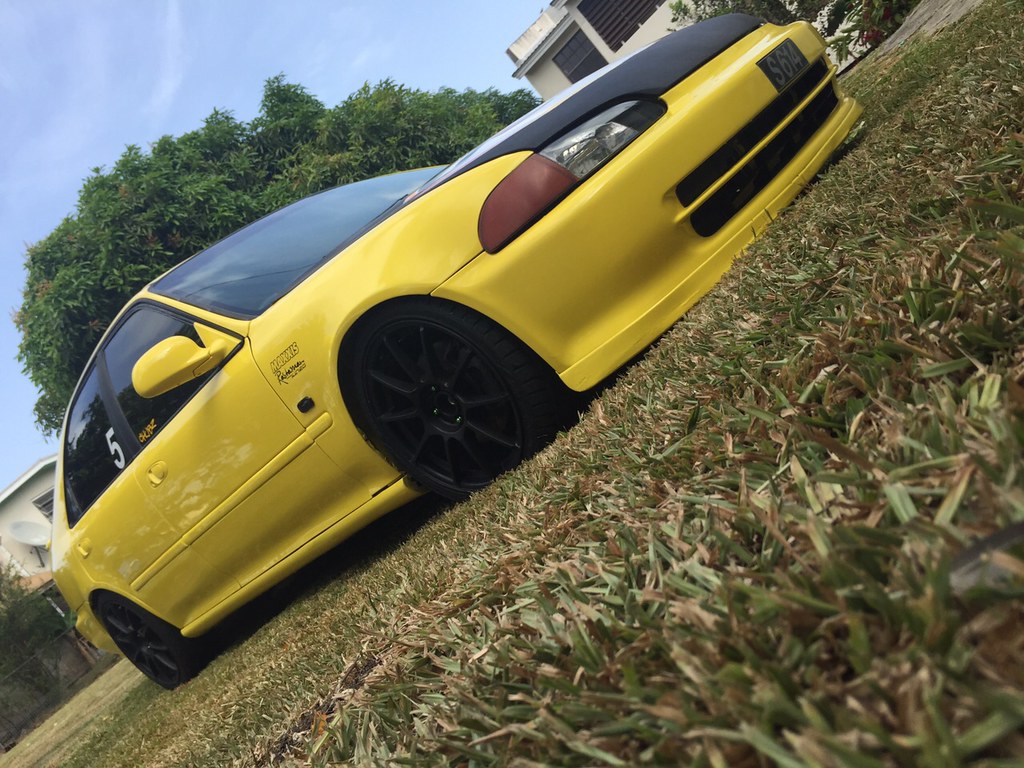
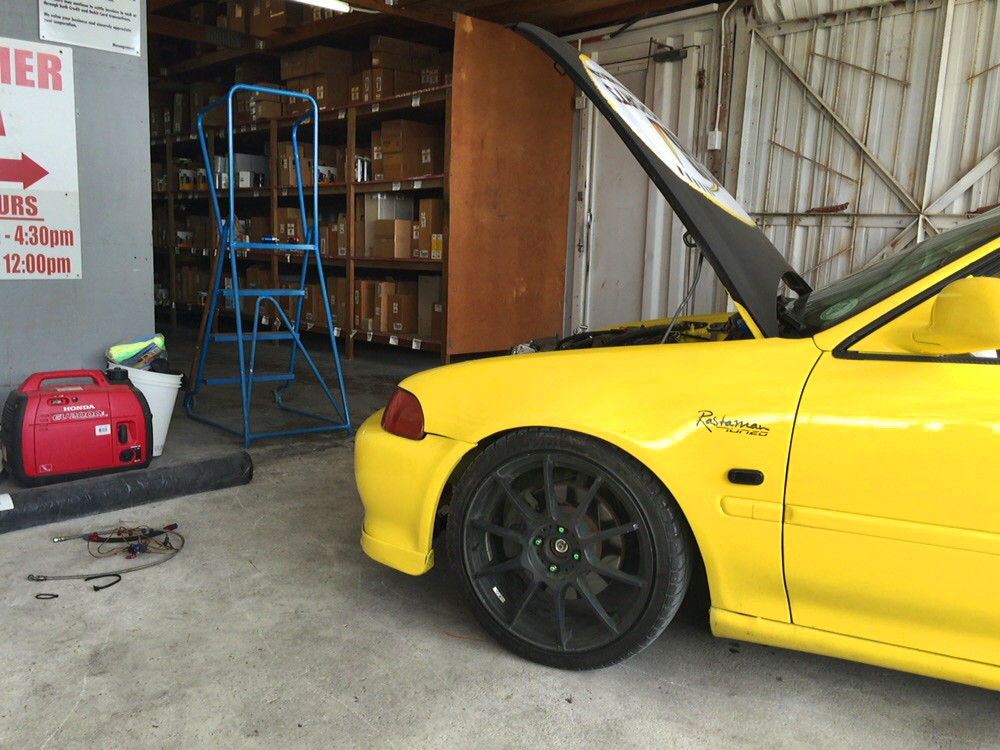
A few random shots of Special K…
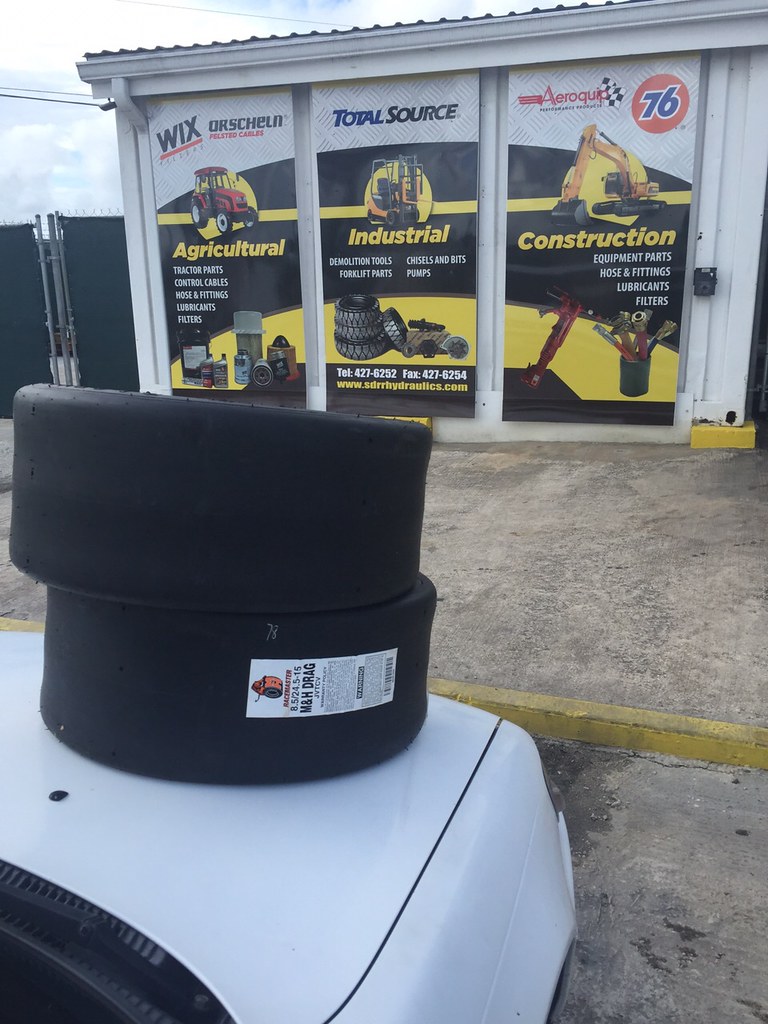
With Drag Warz around the corner Chubz main sponsor made sure he wouldn’t be struggling for traction and supplied him with some M & H drag slicks…
There was only one more thing on the list to be completed…
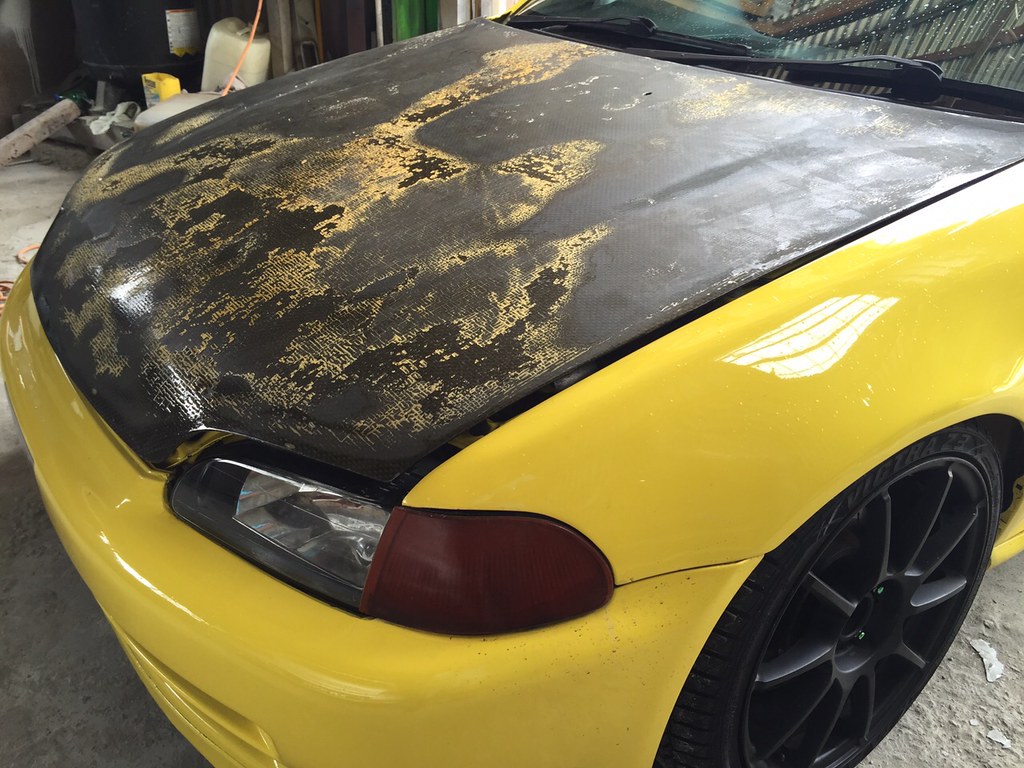
Sponsor sticker removed…
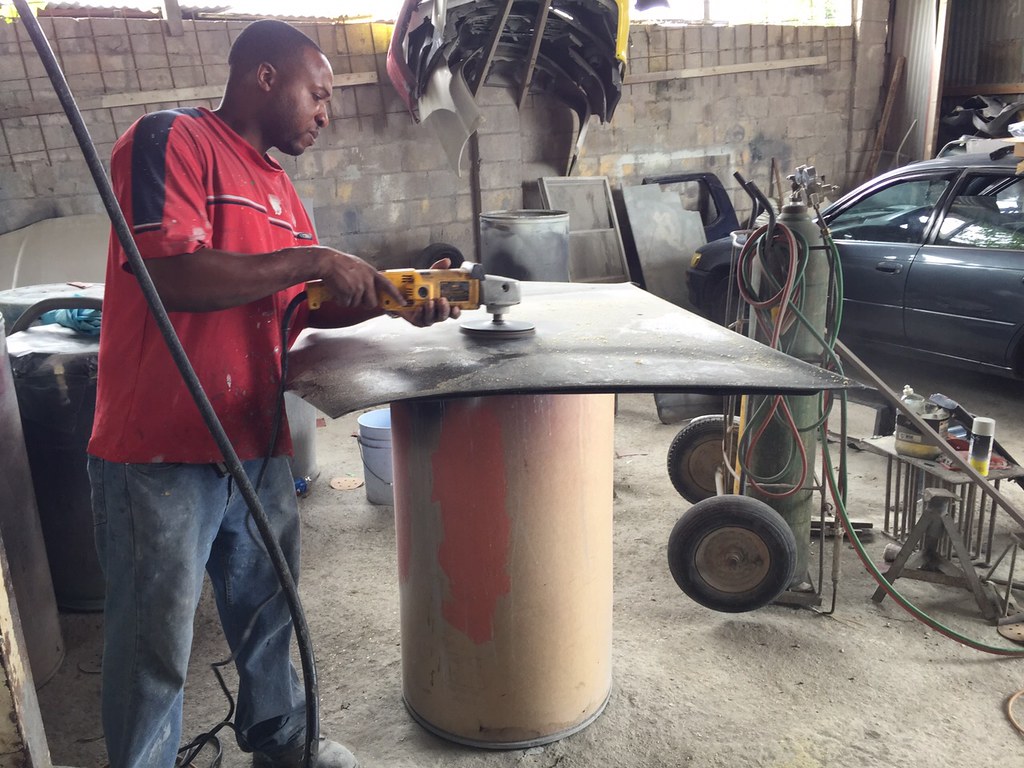
And the carbon fibre hood was treated to some much needed sanding…
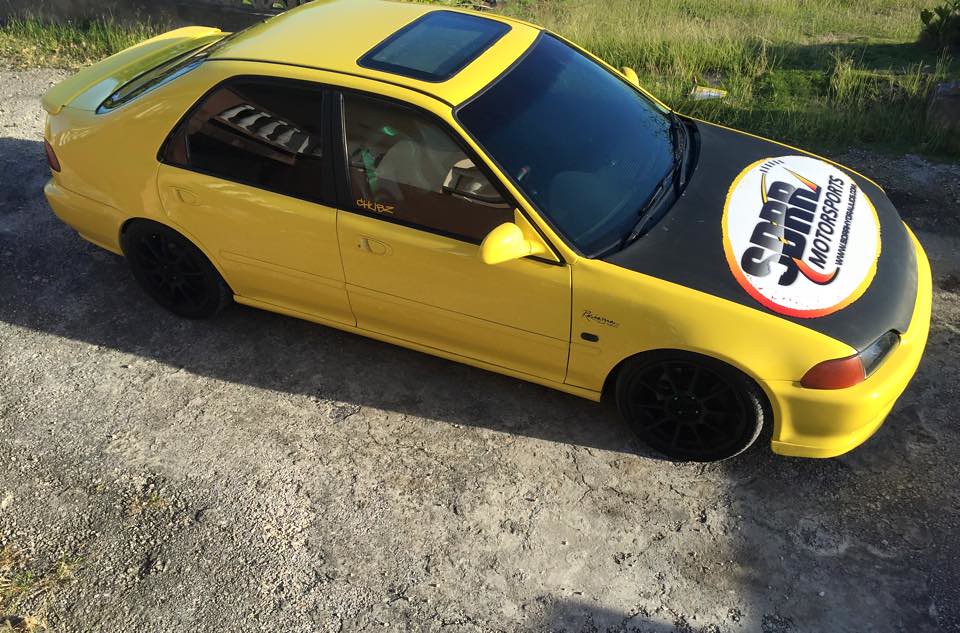
With the hood back in place, Chubz took the car to have the livery redone…
A look at the new livery, which is quite an improvement from the previous one…
Chubz would like to thank all his sponsors Hunte’s Auto Spares and SDRR for all the work done to the car throughout this rebuild. Additional thanks go out to Bally and Karl for the work they put in on the car also to Wendall Holmes for aiding Chubz in sourcing parts which he wasn’t able to attain locally; Jerry from JVM Signage for providing all of the stickers who is also the person responsible for the new livery. And last but not least Chubz would like to give a big thanks to Michael Bailey’s Body Shop for all the great work they have done on Special K.
Thanks for taking a look and stay tuned for more to come on this build…
Daryl’s Rally K-EG Build… Part 13
Left with just under two days, it was crunch time for Daryl and the guys. In the previous post the guys over at MQI were able to get the shell completed going into the night. Followed by the pit crew putting in some serious wrenching to have the motor and suspension installed the same night. Things were looking good but it was still a long way to go. The wiring was the most challenging phase, and this still needed to be dealt with. Daryl had a plan for the guys to knock out the wiring the following day and try to squeeze in a few other misc things which needed to be dealt with.
Now you have a basic idea of where we are at, lets move forward with today’s update.
Some of you may be viewing this post for the very first time, feel free to click the link provided below for a recap of the build so far.
The car was back in the air once more while the guys worked tirelessly throughout the day, here you can see the 3″ exhaust has been installed along with the taillights…
View from the back towards the front where you can see that the brake lines have been installed…
As well as the fuel filter, Radium surge tank and the battery…
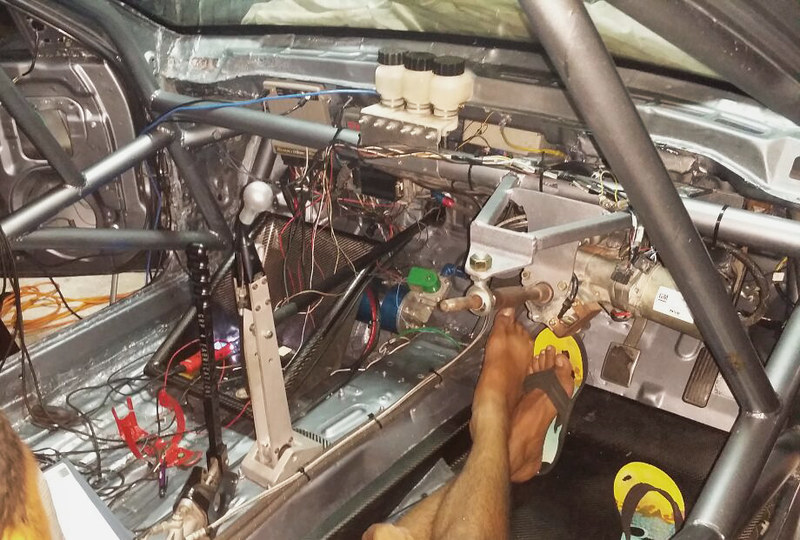
Moving towards the front you also notice the Sadev sequential shifter and hydraulic handbrake installed. Taking a closer look the pedal box and reservoir tanks were in place along with the Accusump oil accumulator including all of the necessary lines…
During the day the brakes were bled and the traction bar was fully bolted up…
If you pay close attention you will notice the 4 Piston Racing valve cover has been replaced with a wrinkle black powered coated one…
Russell busy trying to finish up the wiring within the engine bay…

The guys put in yet another extremely long day with the help of some beers. The Rackpak Smartwire unit still needed to be fully installed, the car also needed to go back to MQI to have the body panels fitted along with the windshield and rear quarter glasses installed. On top of all of this, the car still would need an alignment and the motor still needed a tune. Daryl and the guys still had a lot of things to be done and the clock was moving at a rapid rate. They were now down to one day at this point not factoring in sleep…
I wasn’t able to spend the day with the guys nor did they have the time to take any photos. When I checked in with them Saturday night things were looking good.
Official race numbers and names were being applied to the car…
Left and right quarter glass still taped down from when they were set in place…
Everyone was busy taking care of some aspect of the car…
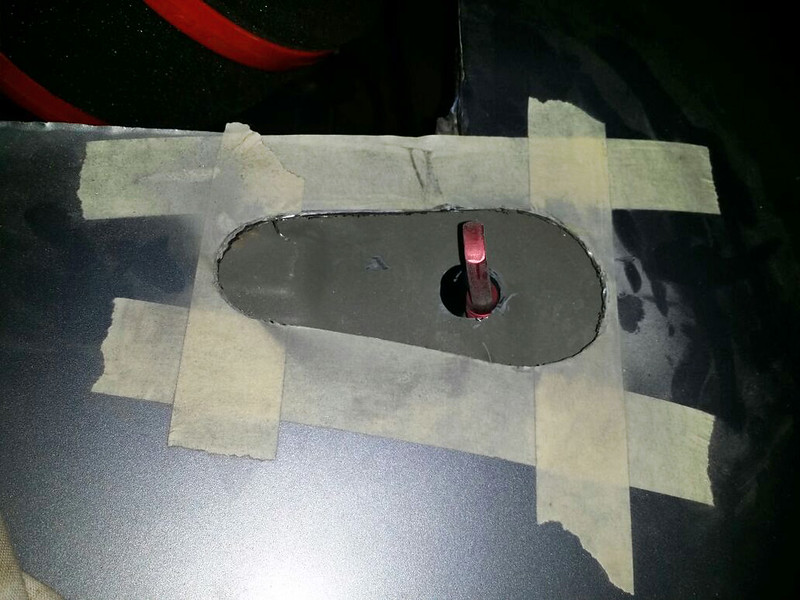
Daryl purchased a new hood for the car, which needed to be cut to allow for the quick release hood clips to be installed…
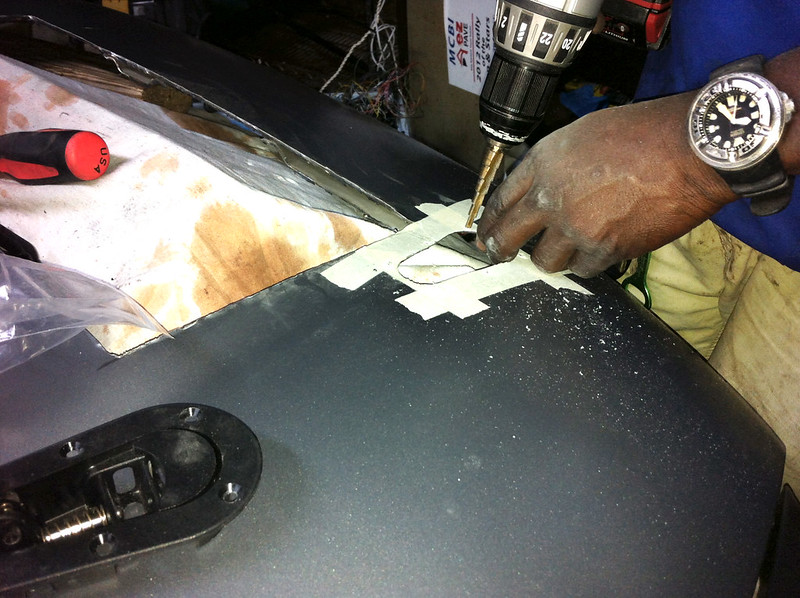
Chris was busy cutting and drilling trying to be as quick and accurate as possible…
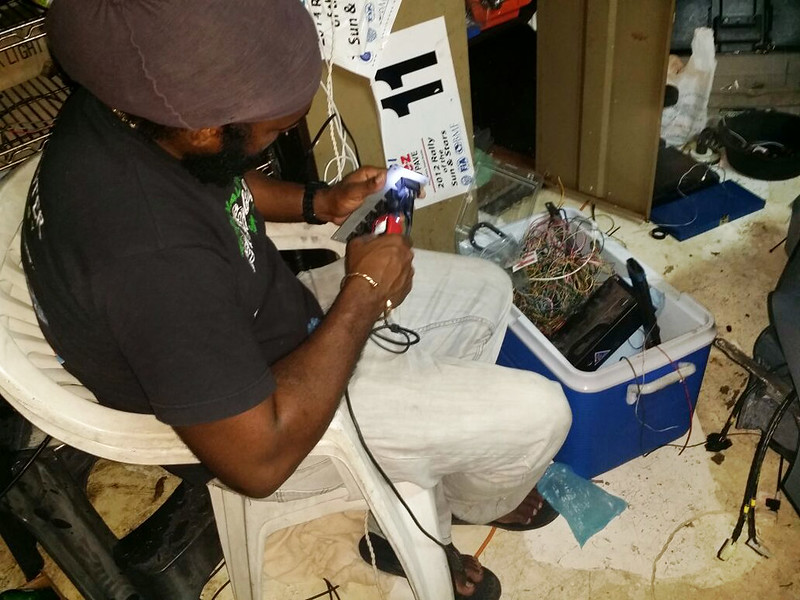
Meanwhile Bally was working on completing the switch panel for the Racepak Smartwire system…
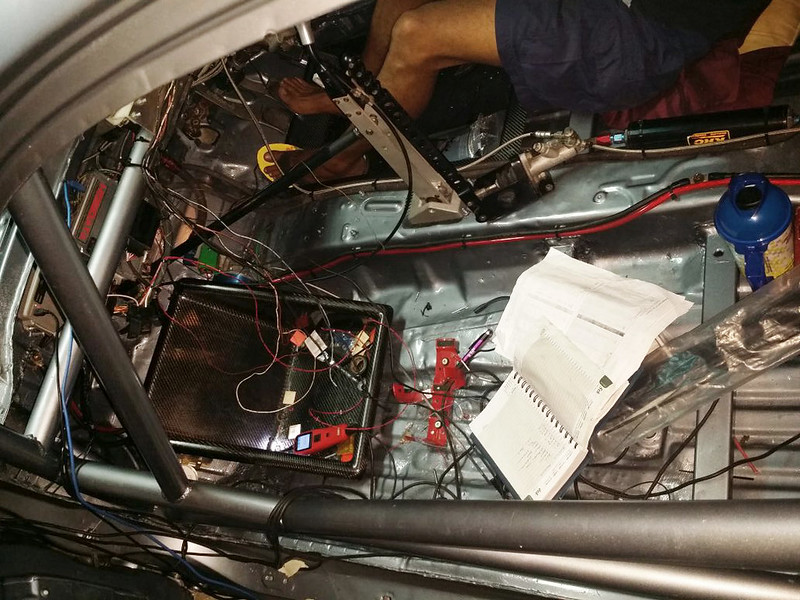
A glimpse of the havoc that is the interior, with wires desperately needing to be sorted…
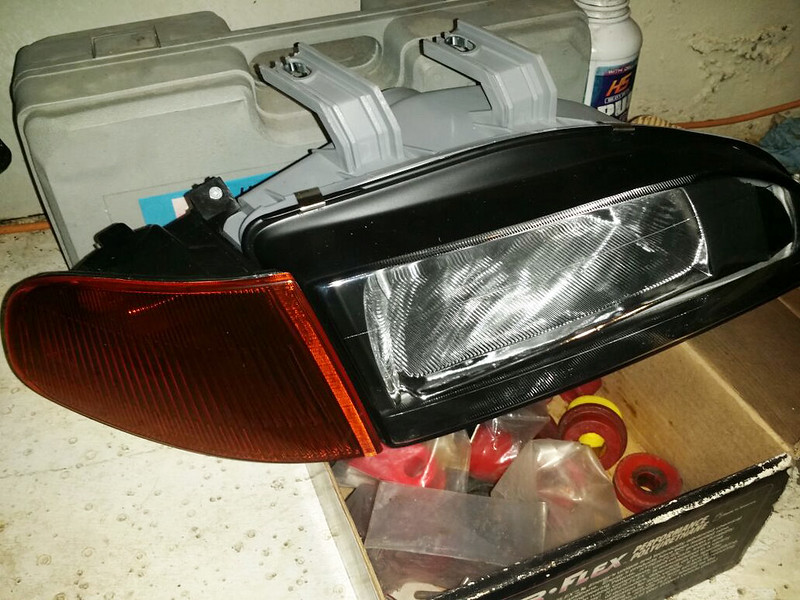
Black housing headlights and amber corner combo that will be used…
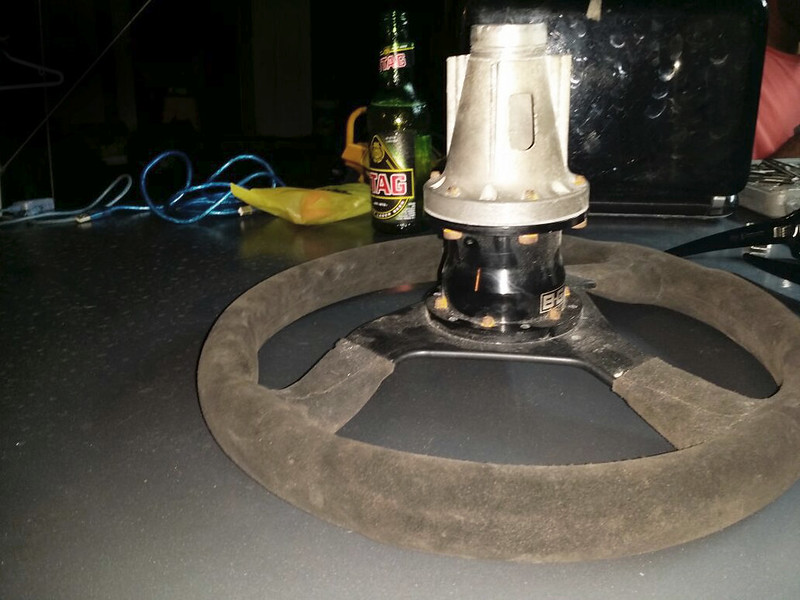
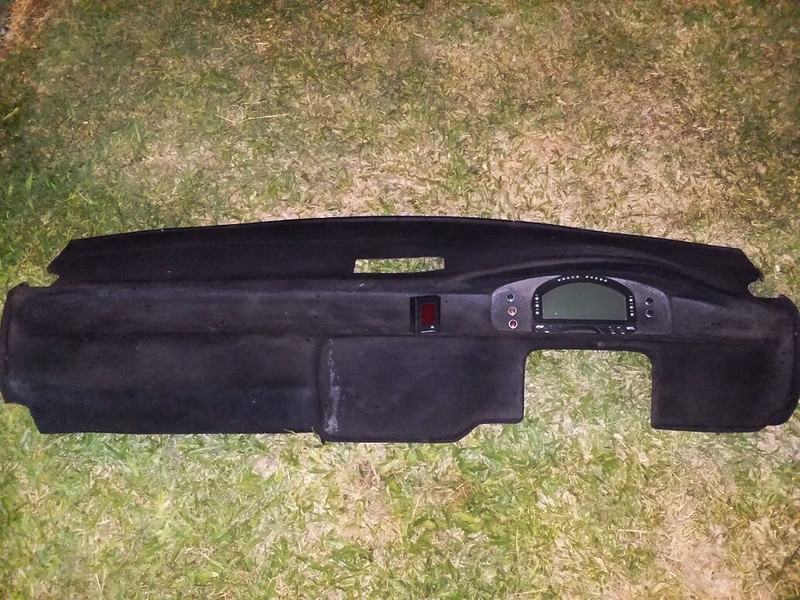
Steering wheel and dash just before they were installed…
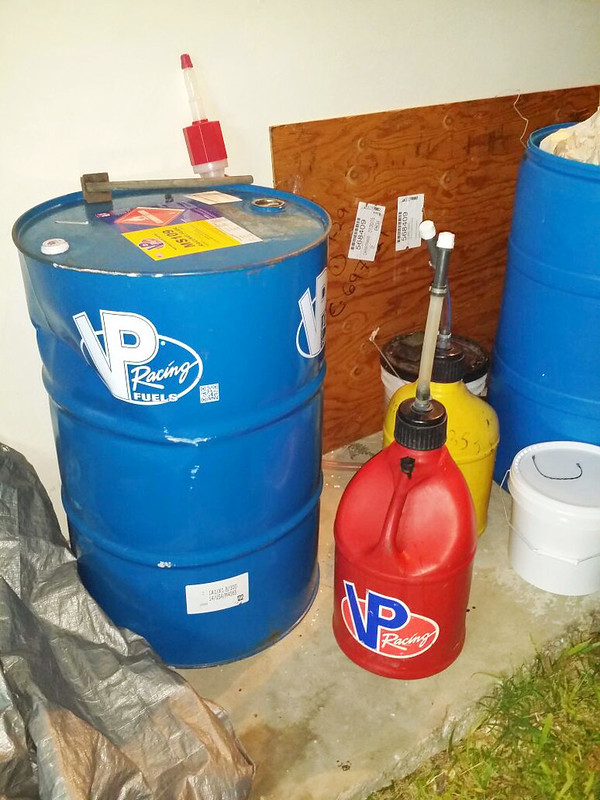
VP Racing fuel that will be used…
After Bally finished up the switch panel for the Racepak Smatwire system, he was able to start the car without any issues. The headlights and the hood clips were installed and it was time to take the car over to Auto Solutions for an alignment.
Everyone was in great spirits when the motor started up with no major issues. This brought the night to an end with the only remaining task was to make some adjustments to the map which the guys decided they would do in the morning. It was time to get some rest what little they could and prepare for the morning.
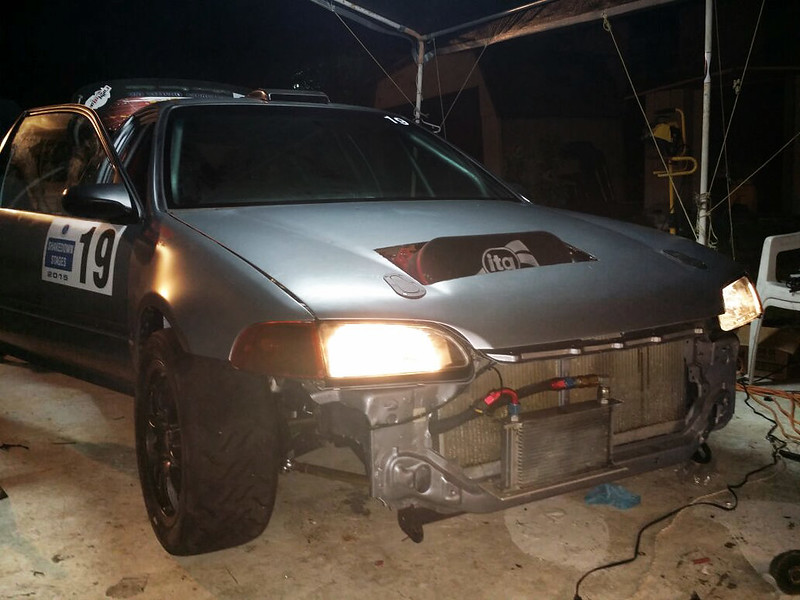
The following morning I got up early and made a trip over to make sure things were still going in their favor and to get some final shots before they left for the rally…
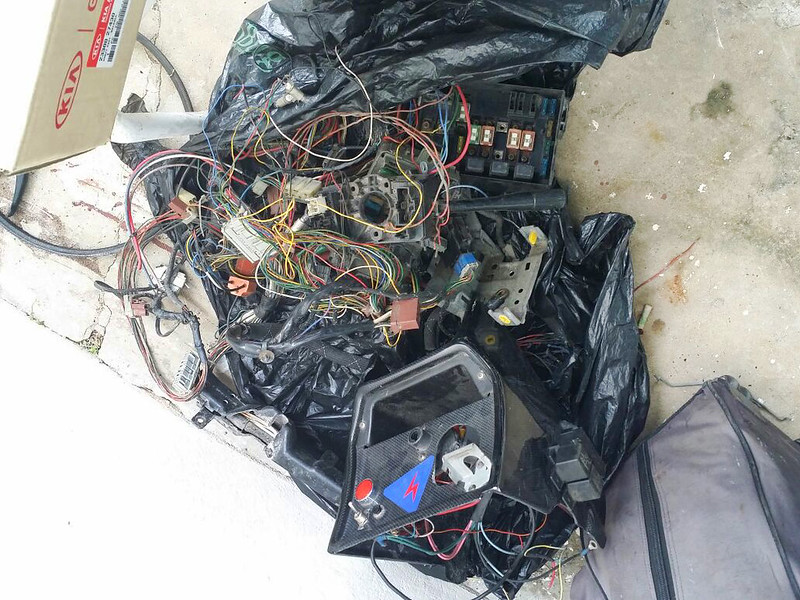
While I was there I came across this bag which contained the previous wiring that the Racepak Smartwire system replaced. Its really amazing how much more simpler the system made things, let alone seeing what it eliminated…
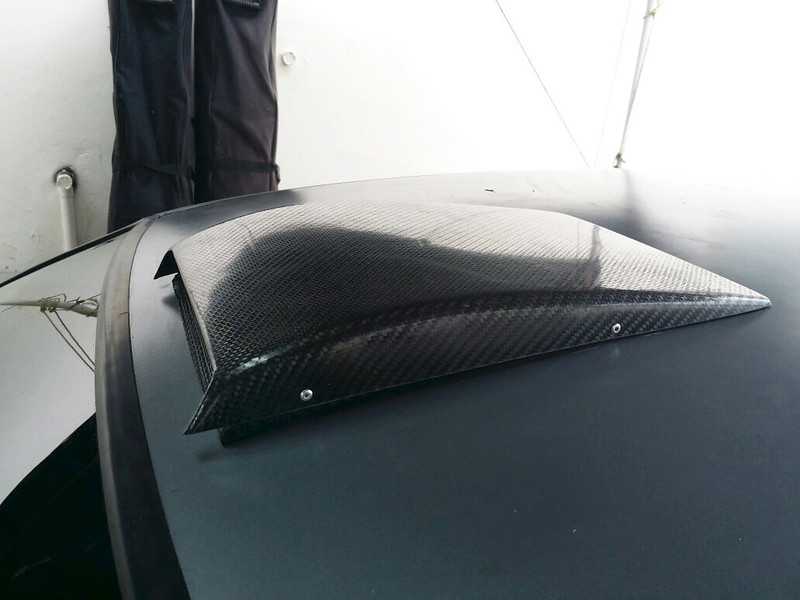
A couple shots of the carbon fibre roof scoop…
A view of the completed rear end…

Chris as he fills the tank…
Daryl doing some cleaning to the recently installed windshield before they head out…
Those of you who are playing close attention would realize the car is fitted with the 15″ wheels from last season, when in reality it was suppose to be on 17″ wheels. That is largely because the remaining parts needed to successfully rally the car on 17″ wheels are still in production and won’t arrive until after the warm up rally.
Close up of the front end with the license plate installed…
Daryl and Bally busy making some last minute adjustments before heading out to clean up the map on their way to the event…
It is easy to say the guys were successful in their challenge but this was by far not an easy task to accomplish. It has been a long stress filled couple of days but the team pulled through and got everything completed in an unbelievable amount of time. Daryl would like to thank Ryan, Bally, Chris and Russell for playing a vital part in the preparation for the event.
Thanks for taking a look, stay tuned for more to come on this build as it progresses.
