
Project EJ8… Part 4

In an effort to keep my promise to you guys I’ve decided to do something a bit different and brought you guys back to back posts. I thought it would be a good idea given the length of time which passed between updates. Although the swap was in place, there were still a host of items I was awaiting on to arrive. We’ll be taking a look at parts as they arrived and also a few hiccups I experienced along the way. In addition there were still a few things which I needed to take care on where the chassis was concerned in order to move forward with the swap.
For those who may want to view this build from the start I’ve provided the link below:

Wanting to tone down the bay I was in search for some black couplers; I hit up the guys at JHPUSA for some Mishimoto couplers to start working on the intake system…
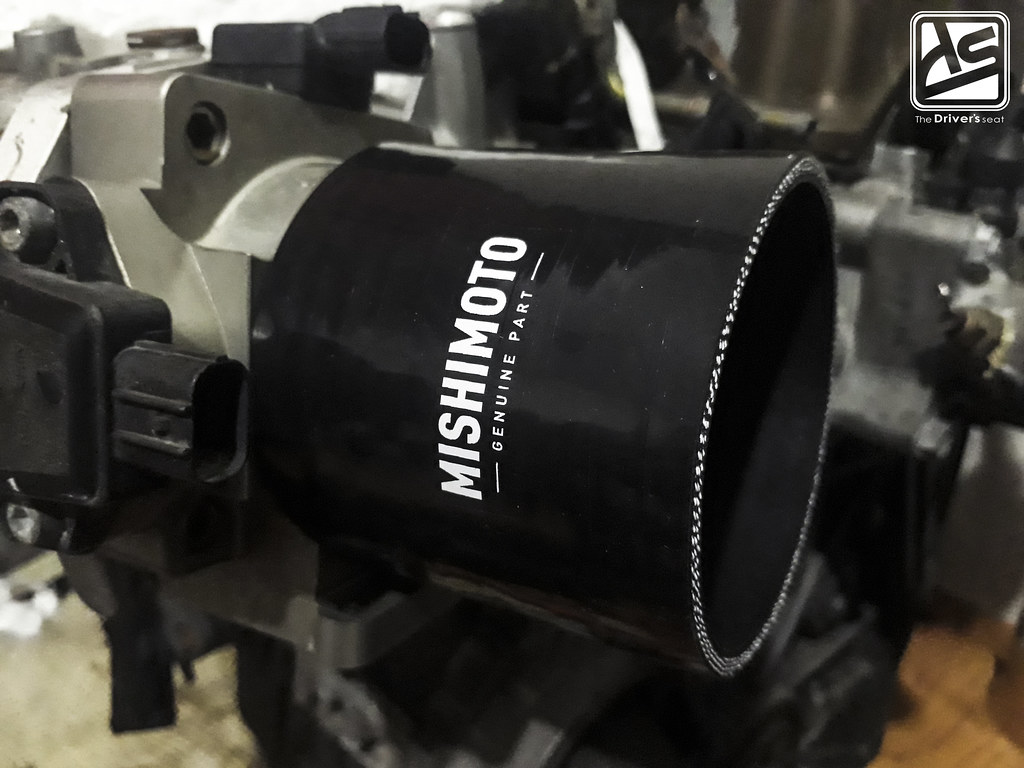
The 3″ coupler fitted to the Skunk2 billet throttle body…

As I would have mentioned to you guys in the last post, I’m a huge fan of the USDM way of styling so naturally with a naked bay as my canvas I selected a few of my favorite concepts to execute…

Already having to make some adjustments to my fuel system for the K series motor, I went ahead and picked up a few extras, starting with a Karcepts fuel rail along with a Walbro 255lph pump…
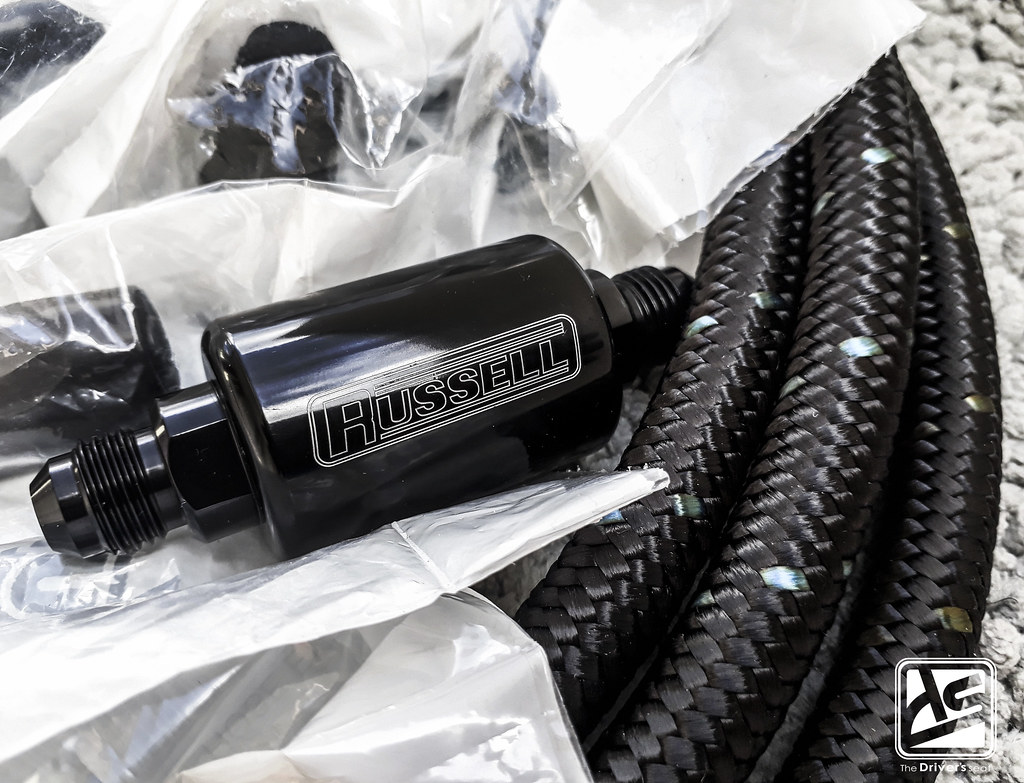
Wanting to have things looking as tidy as possible I purchased a Russell inline fuel filter…


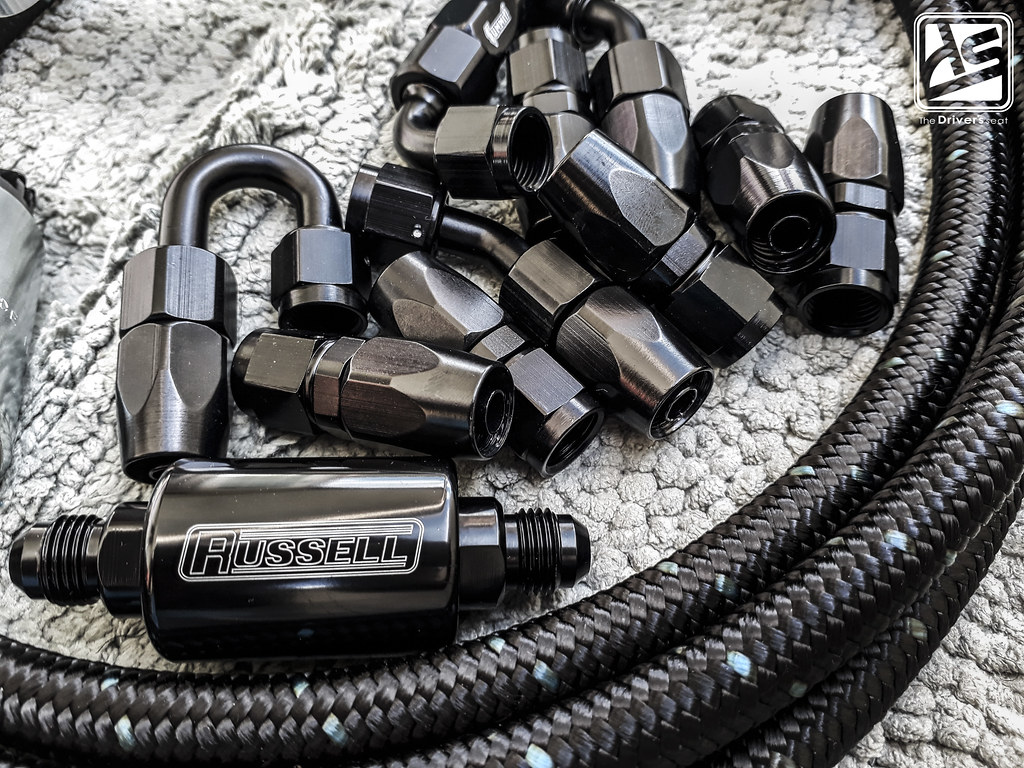
In addition, I placed an order for a host of Summit Racing AN hose ends in various angles for when the time came to have to fuel lines ran…
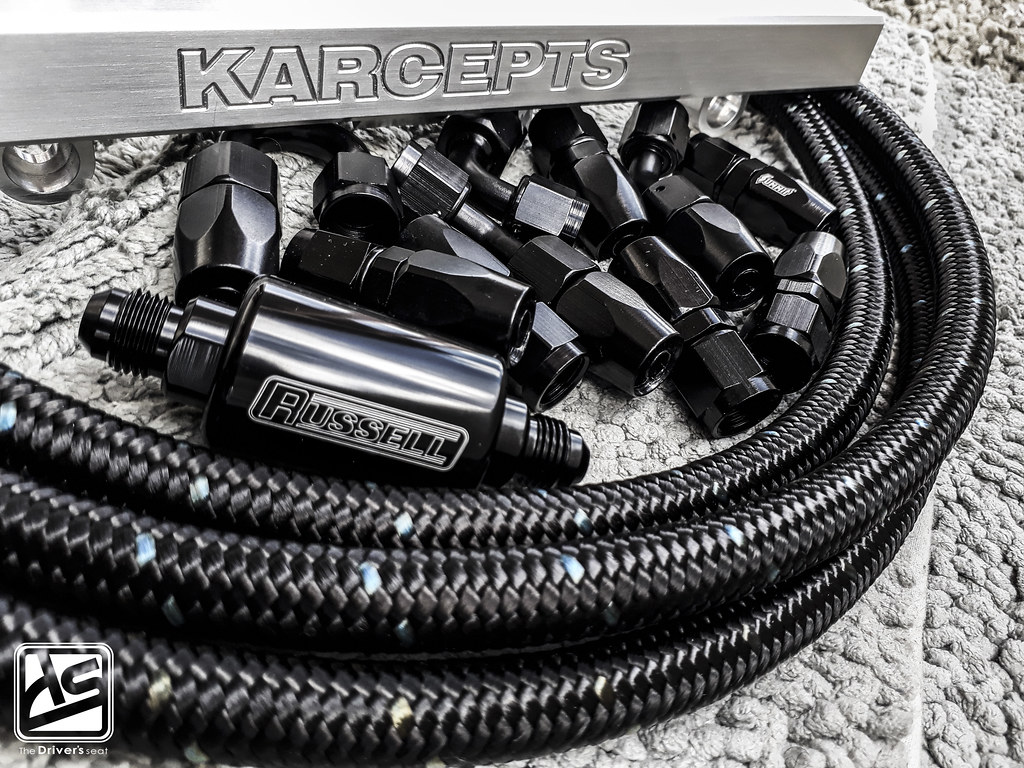
Another look at the fuel hose, fittings and rail…
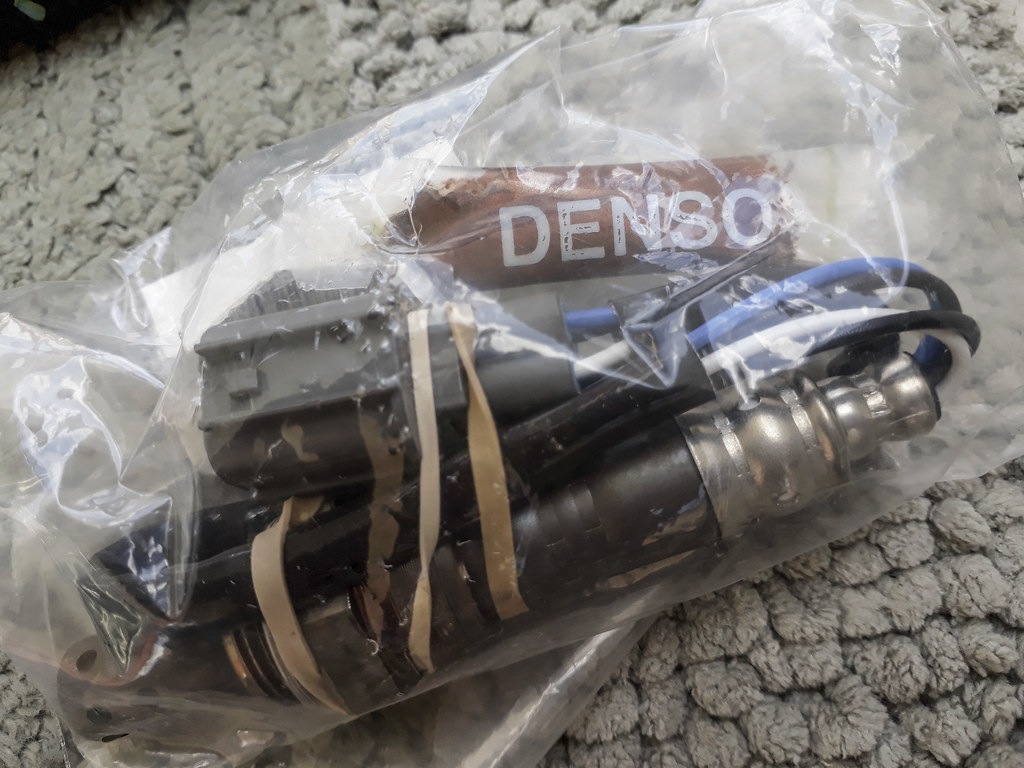
Wanting to execute the swap the correct way, I had to purchase an oxygen sensor. After seeking some advice I went ahead and picked up a Denso unit…

Up to this point I was yet to install the remainder of the Downstar goodies…

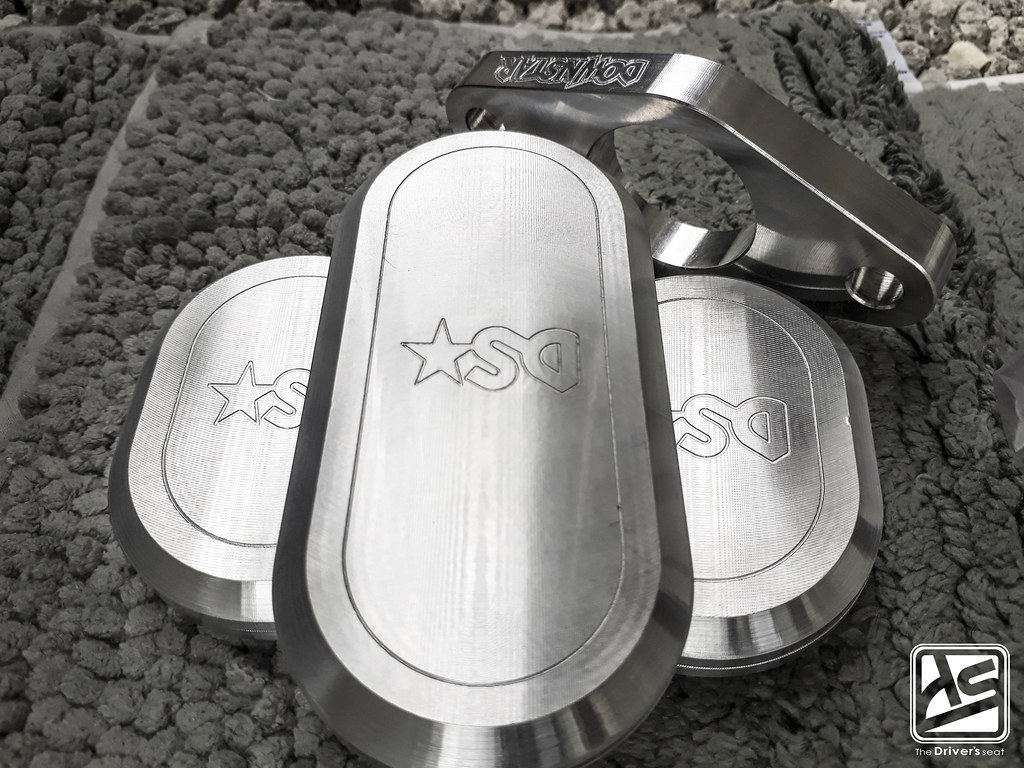
Peering through the master cylinder spacer at the CNC engraved firewall blank…
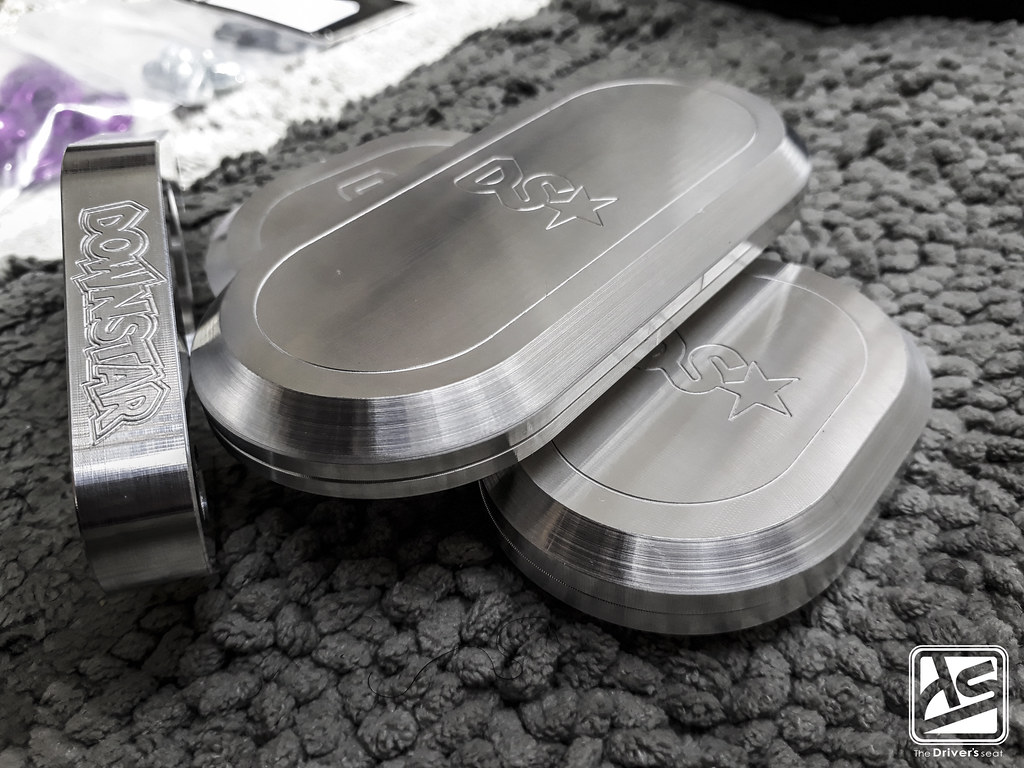
A few shots of the billet aluminum firewall blanks and S2000 master cylinder spacer. The firewall blanks were one of those things which were an absolute must for me as its often reflected in USDM culture. However this would cause me to have to take things a step further in deleting the blower motor assembly and as a result not being able to run air conditioning…

A size comparison between the pieces…
Around that time I got a call indicating that a few more items had arrived…

In having the DC5 shifter in hand I still needed a shift knob to complete the setup…
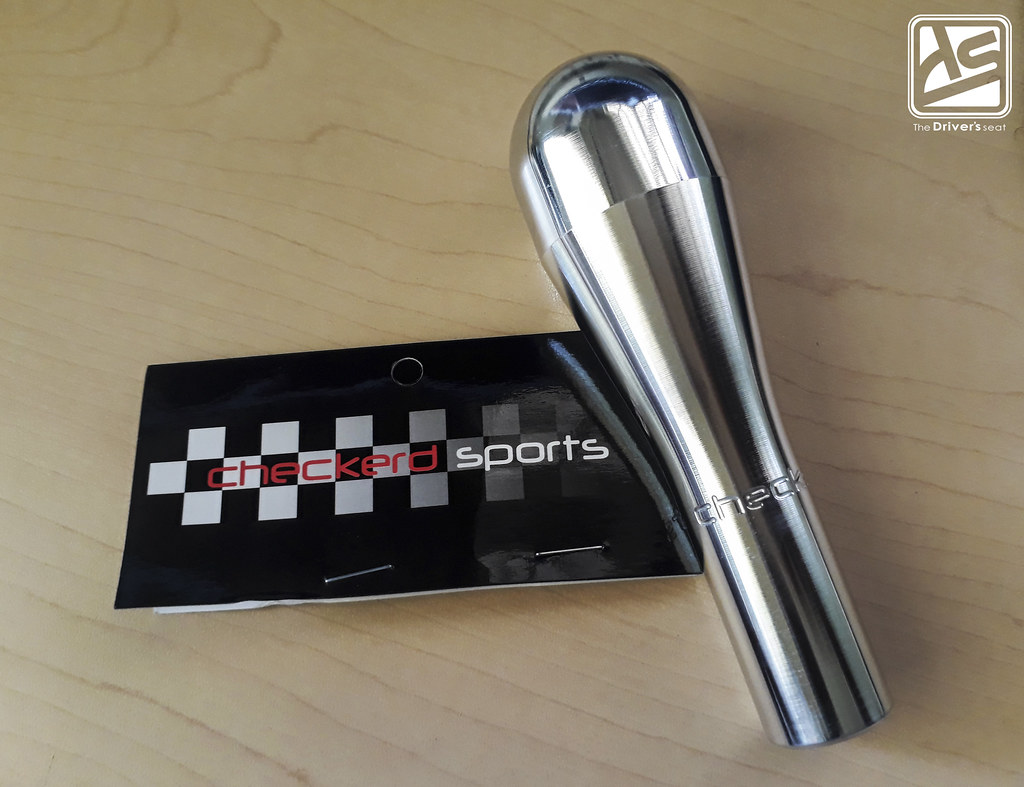
I opted to go with a Checkered Sports extended billet aluminum knob…
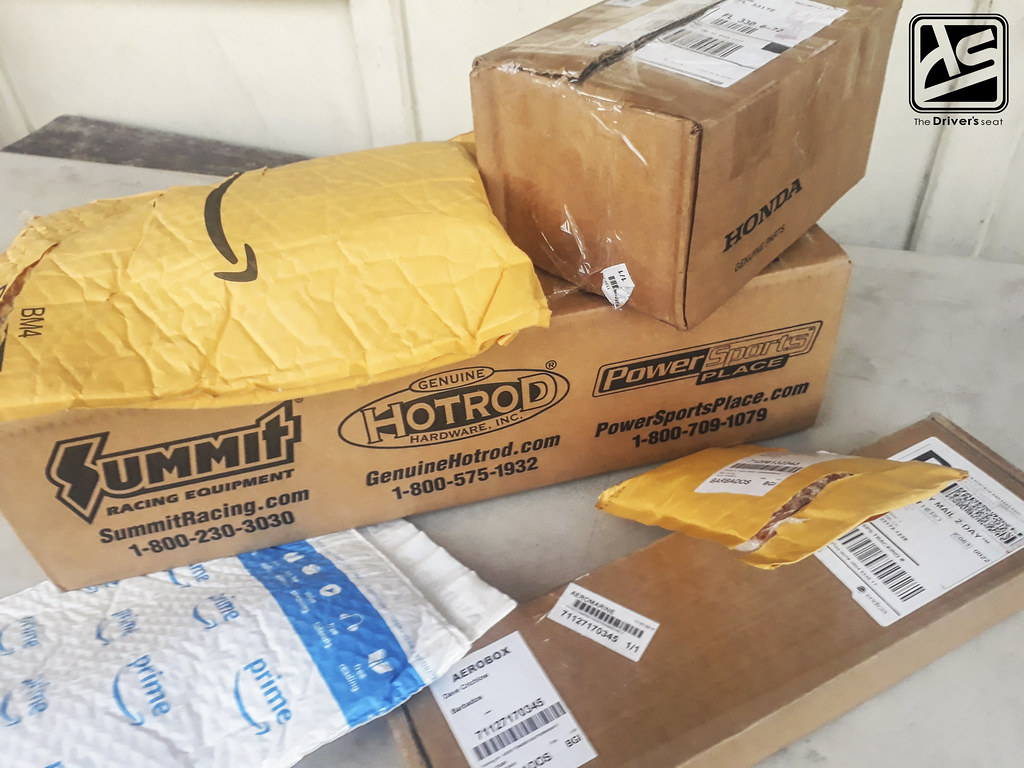
Boxes on boxes of goodies…

I was having some fitment issues on the wheels which would require me having to use a spacer. To be on the safe side I opted to place an order for some ARP extended studs given the minimal amount of threads on the factory units…

When I purchased the motor it didn’t come with a coil plug cover and wanting to have it look as complete as possible. I did some searching around and landed on the brushed aluminum Circuit Hero coil plug cover…

As I started to assemble the shifter system I realized I was missing the shifter cable clips. I placed an order with Hybrid Racing for some along with their awesome sauce air fresheners…
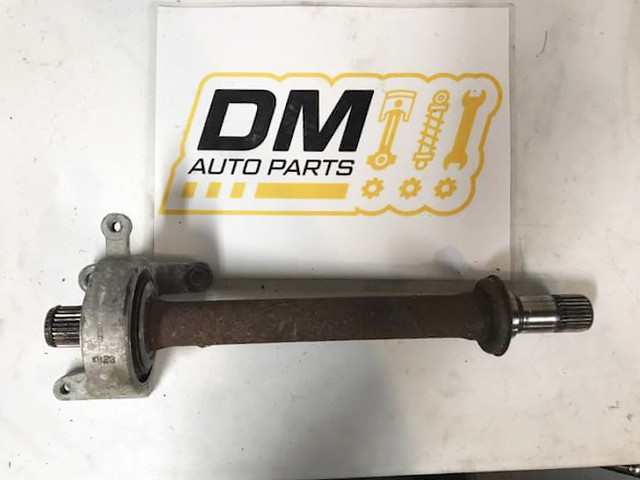
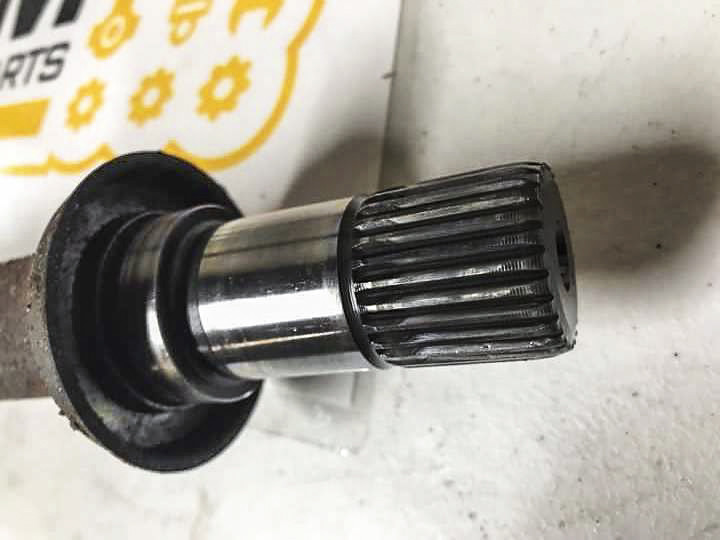
Even though I received axles with the swap package, I still needed to purchase a half shaft…


Unfortunately I wasn’t able to get the bolts with the half shaft, a few clicks later I placed an order for the OEM bolts…

The Walbro fuel pump wired and fitted to the hanger, just about ready to be dropped into the tank…
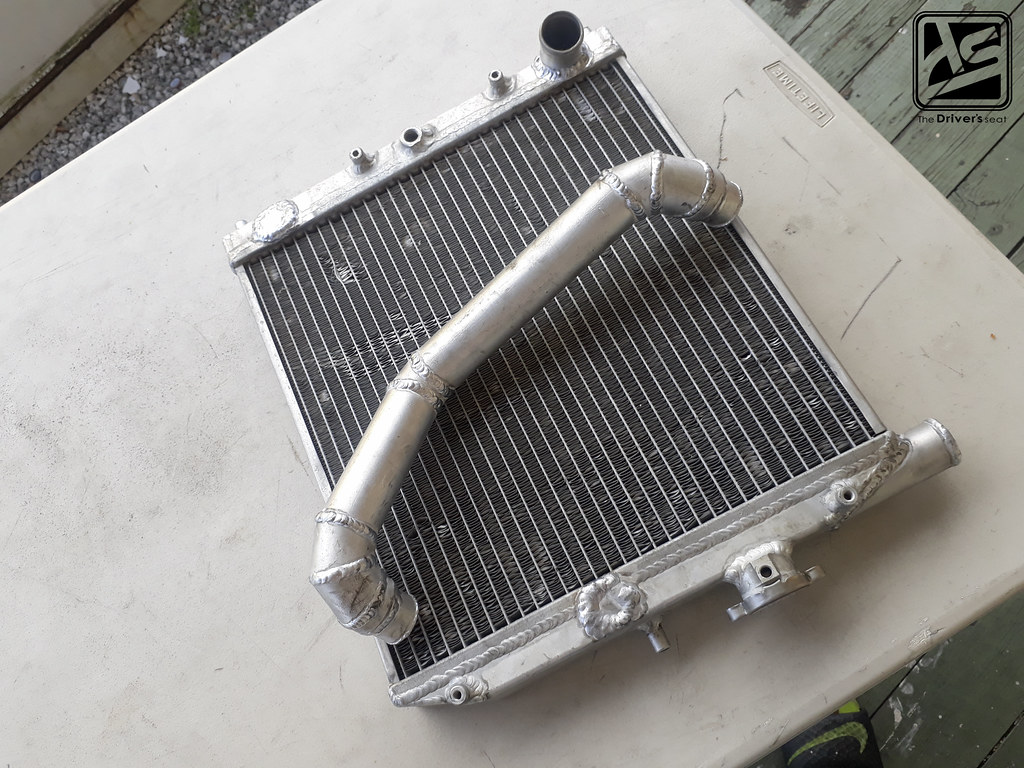
In the previous post I mentioned I received a radiator with the swap package; however, it would require some modifications based on the vision I had in mind for the bay. Having been around the work ReWeld produced, he would be perfect for the job…

The location of the existing upper coolant inlet would need to be blanked and repositioned to the side of the radiator…

A look at the completed radiator so you guys can get a better idea of what was necessary…
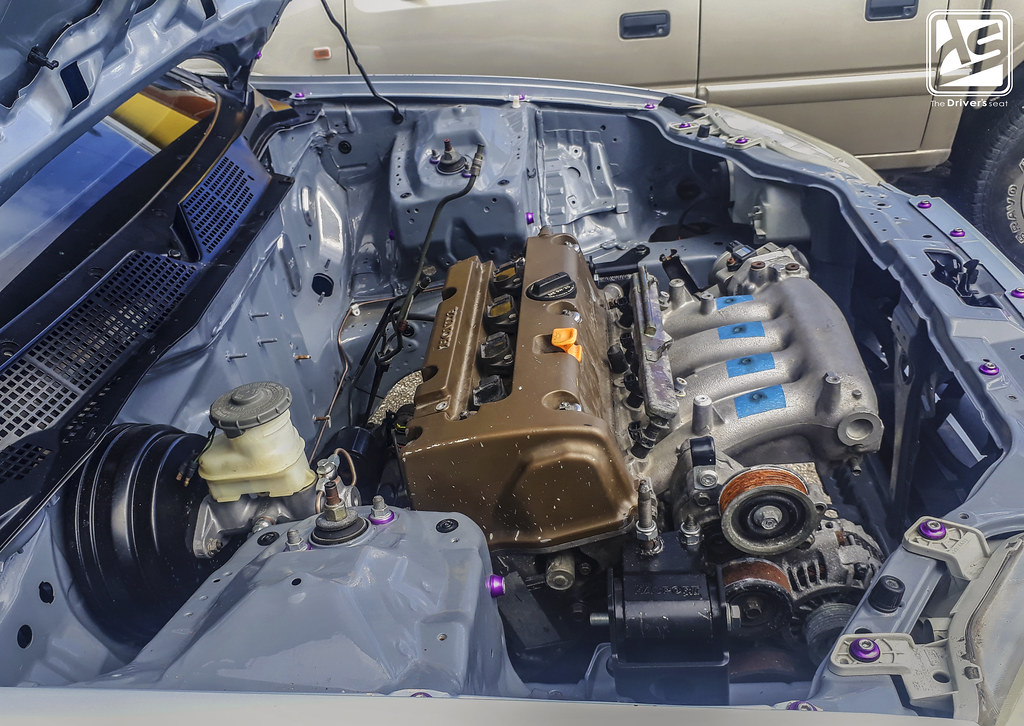

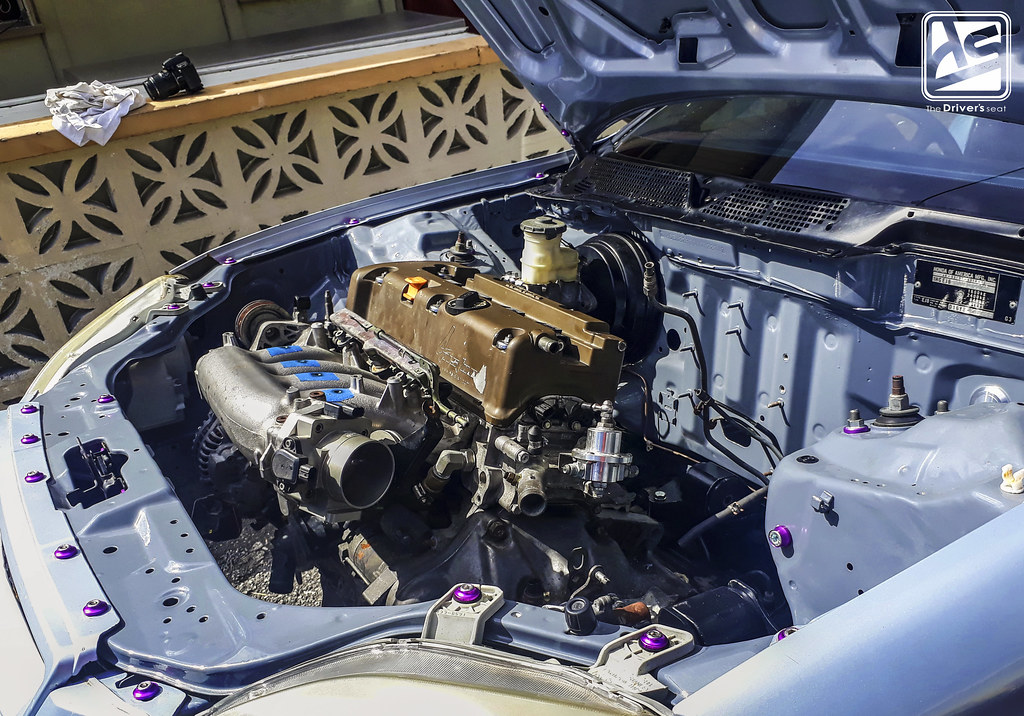
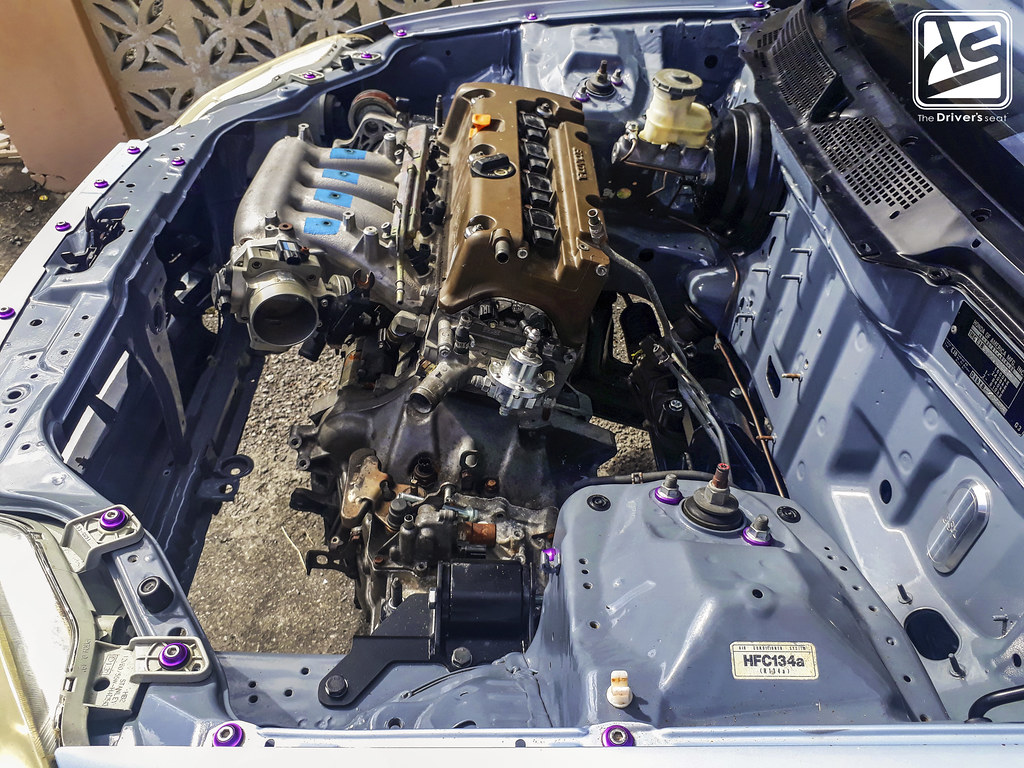
A few shots of the motor assembly fitted within the bay awaiting the next few stages…
Now that I had the motor fitted in place, it was time to start work on getting the fuel system in check. Not versed in this area, I contacted Pierre at S.D.R.R to come and take a look to confirm I had purchase the correct components and take an estimate of what additional fittings I would require…

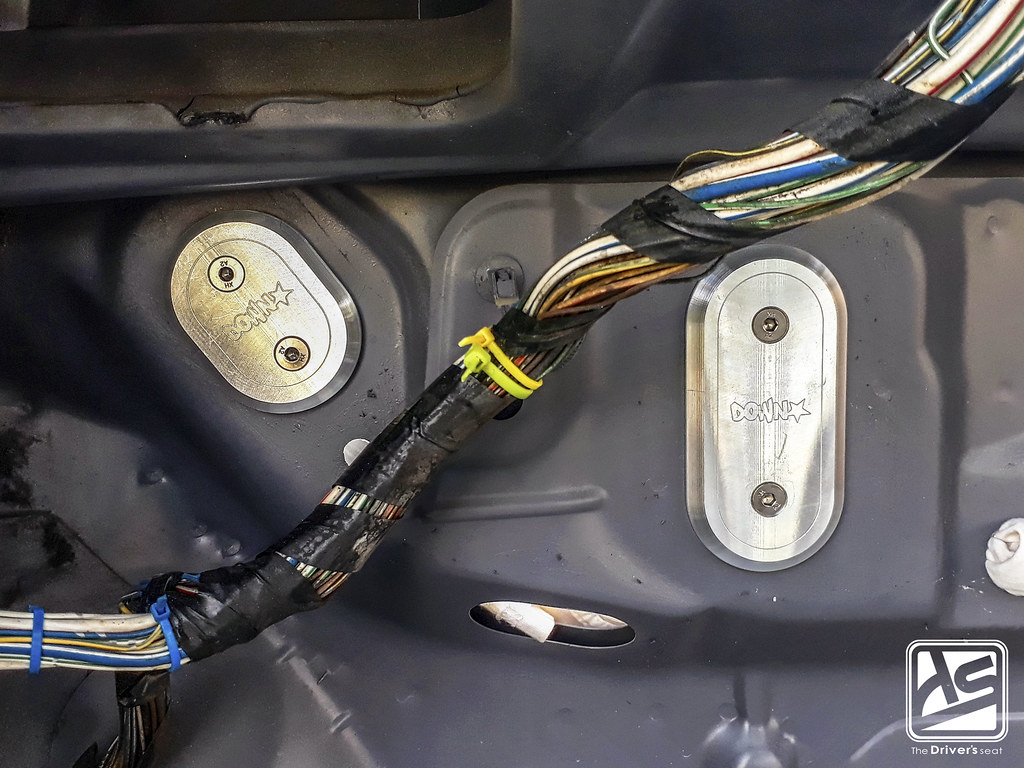
A few shots of the Downstar billet plugs fitted to the firewall…
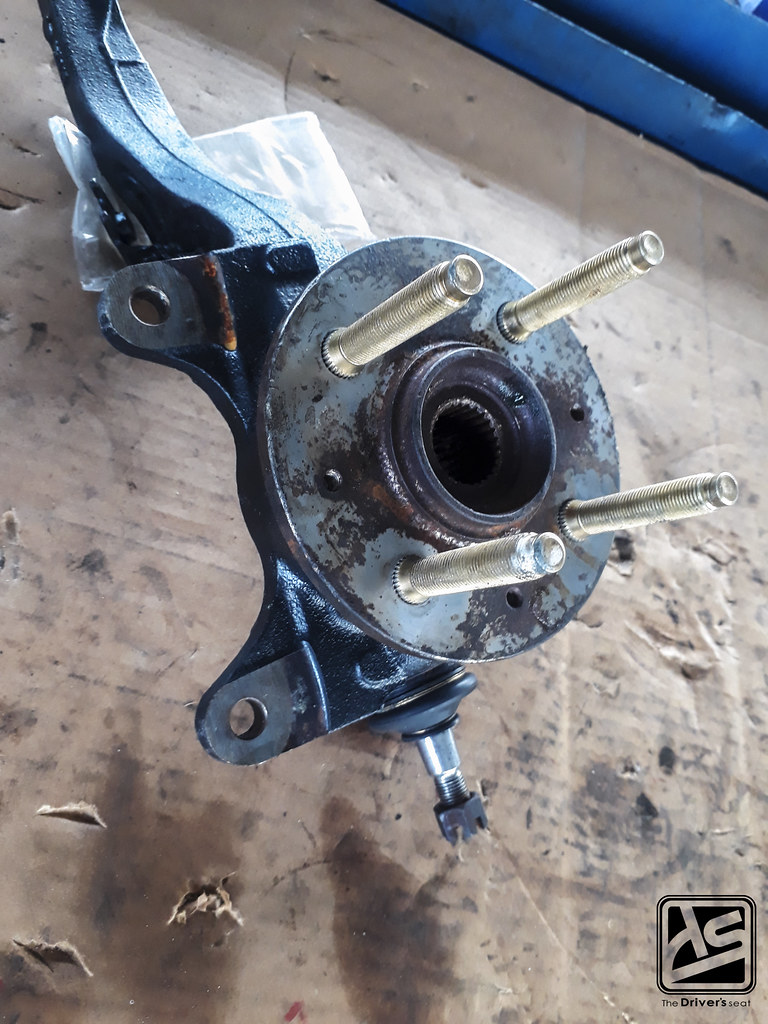
With the spindles removed I took the extended studs to be fitted…
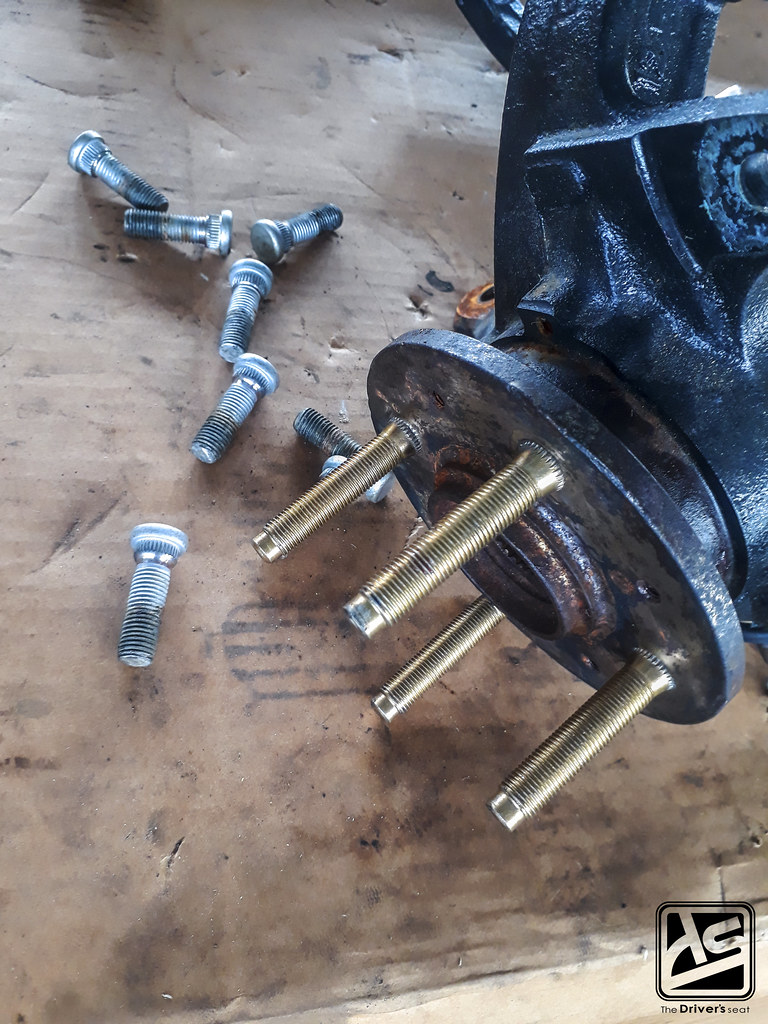

Out with the old and in with the new…

During this period I went ahead and swapped some Kumho Ecsta C03s to the front as well…

Spindles bolted back up to the front end and the brake assembly fitted…

A glimpse of the interior as I started to get the wiring in order…
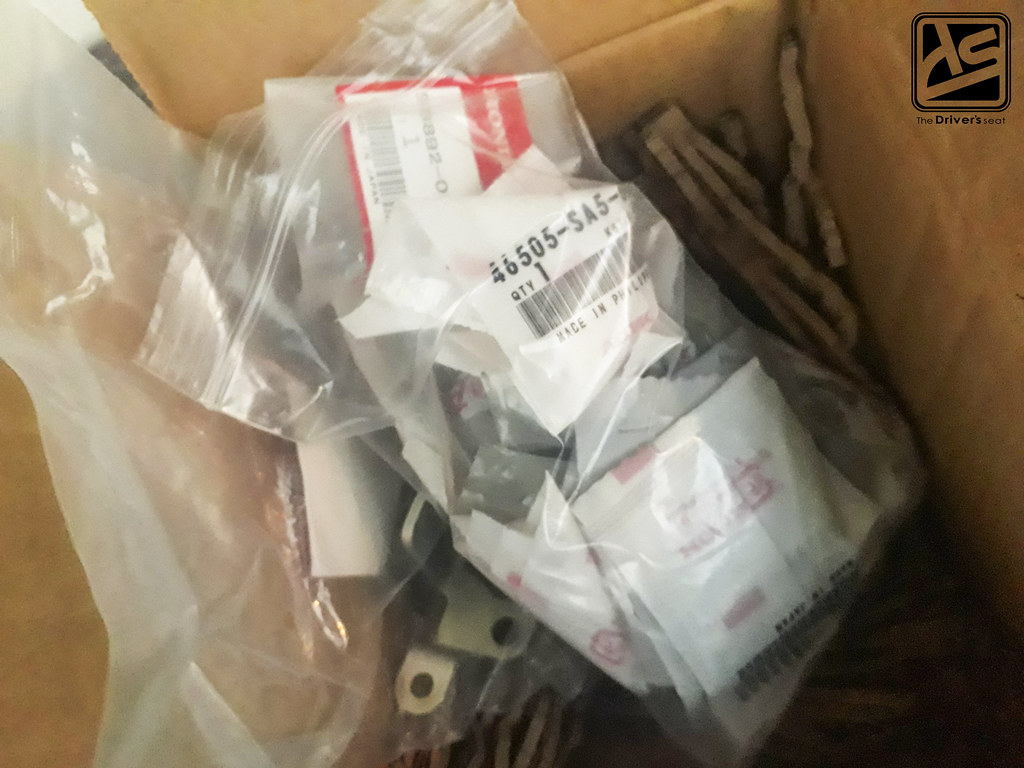
I needed some OEM pieces from AFHK Parts to start buttoning up a few things on the EJ8…


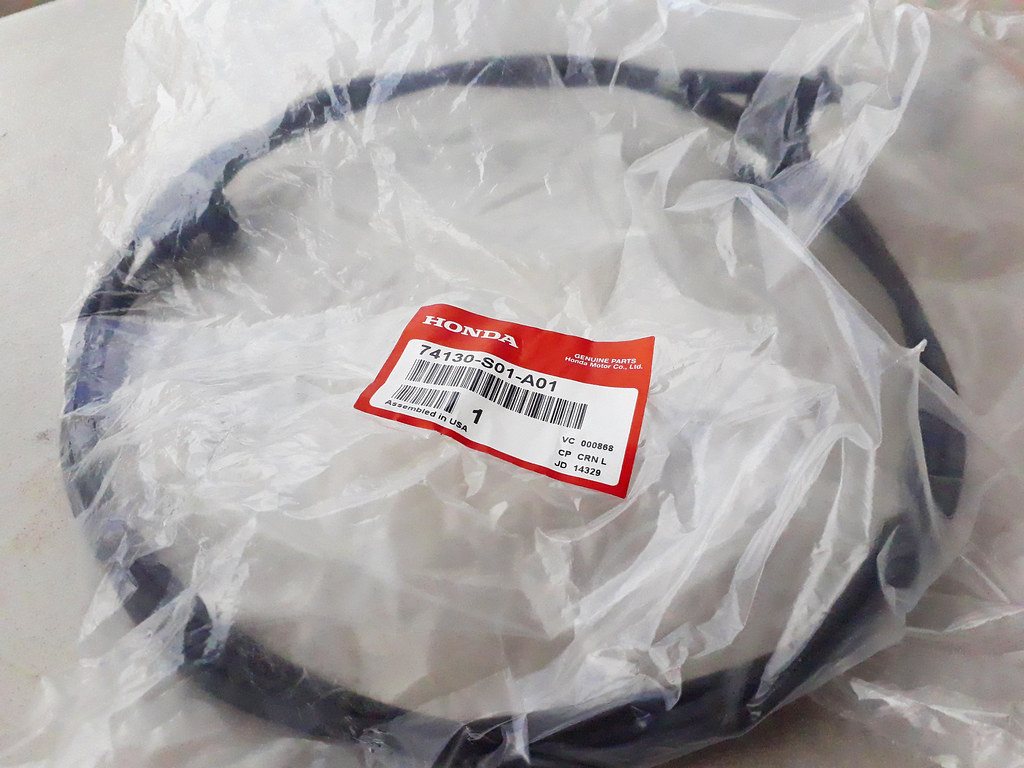
After taking a look at the dated antenna gasket I opted to replace it with a new one…
A common item that is damaged is the hood pull, with mine broken and the car torn apart, I thought it would be best to take this time to replace it…
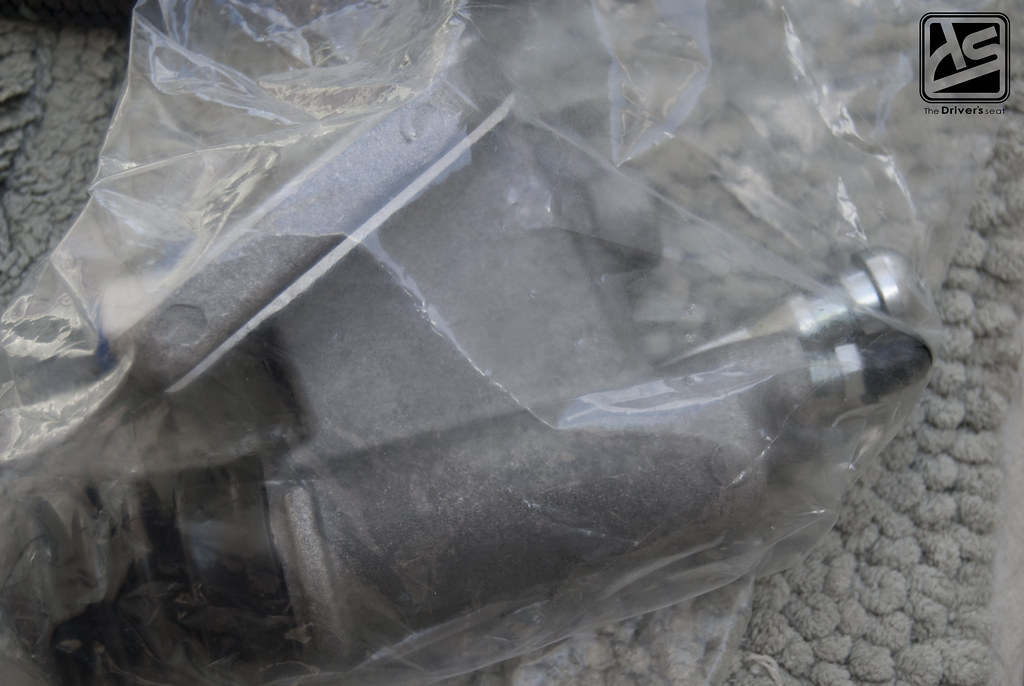

To ensure I had no issues, I picked up a new salve cylinder…

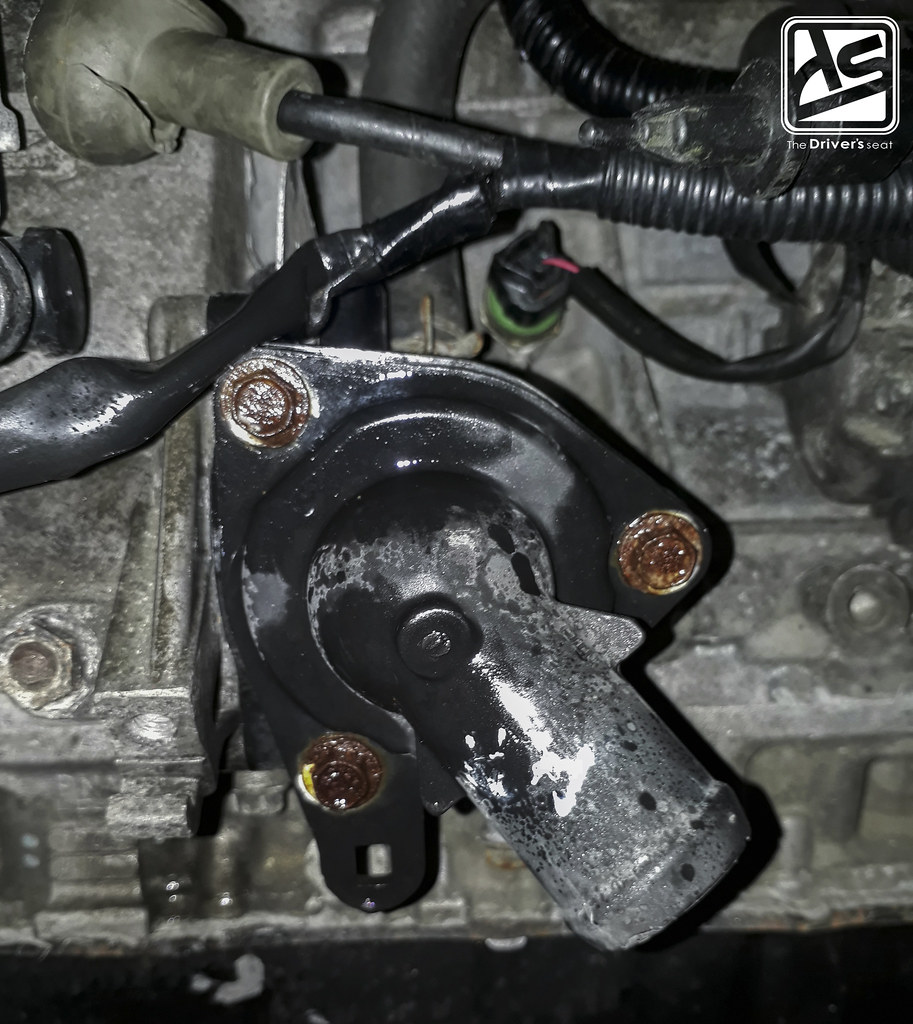
The S2000 clutch master cylinder with its compact design makes the engine bay less cluttered without having to run a hose to a remote reservoir bottle…
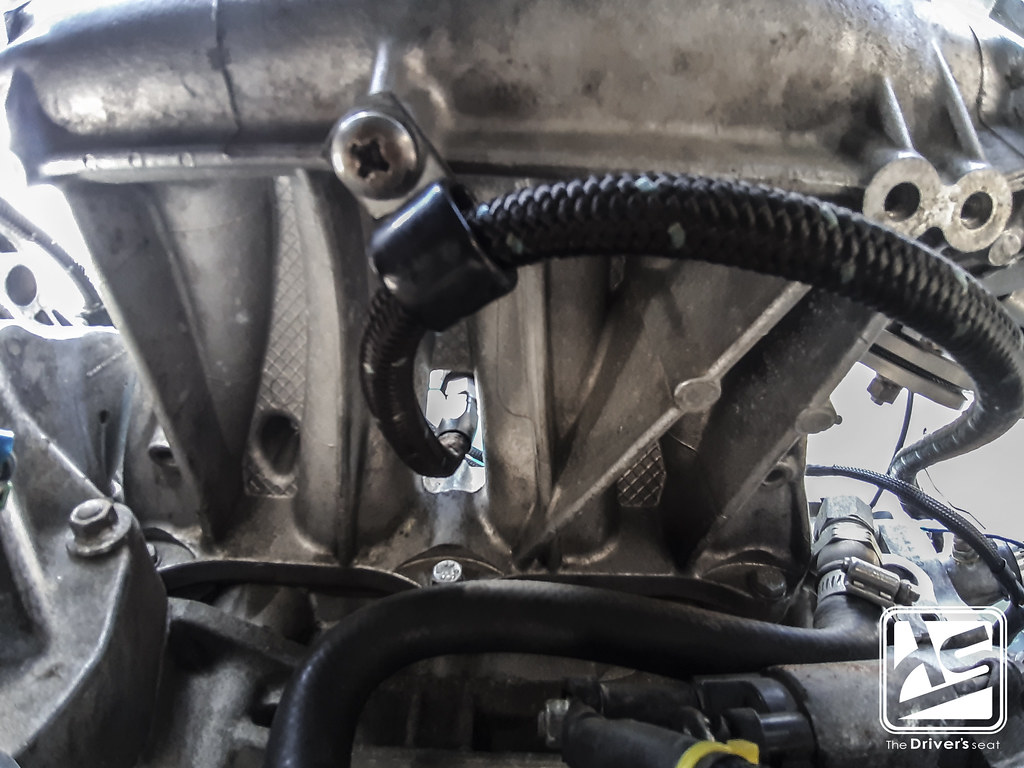
Due to the angle of the hose connection on factory thermostat housing, it can be a challenge with finding a hose with the appropriate bends…

To ease with this commonly associated issue I opted to purchase the K Tuned swivel thermostat housing. With the ability to swivel, it allows the water outlet to be positioned to the angle of your liking. Additionally, the unit has some extra ports for a fan switch, the recirculating water hose and also a 1/8 NPT port for gauges…

I decided to remove the entire OEM housing as I wont be using any of the heater core hoses…

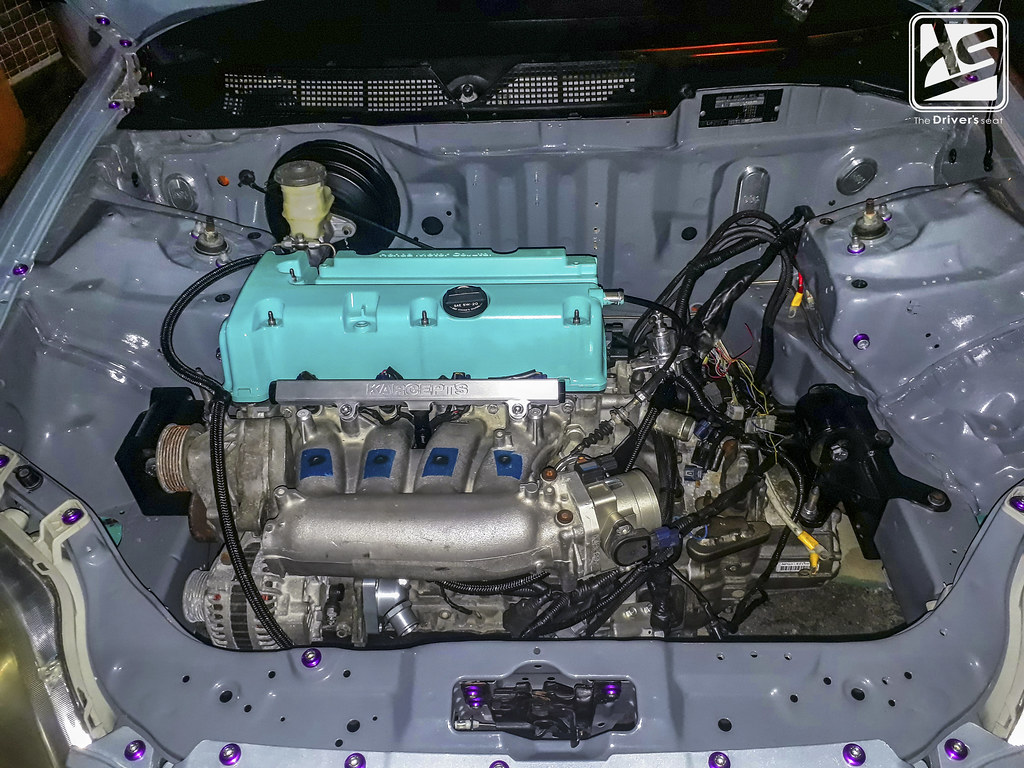
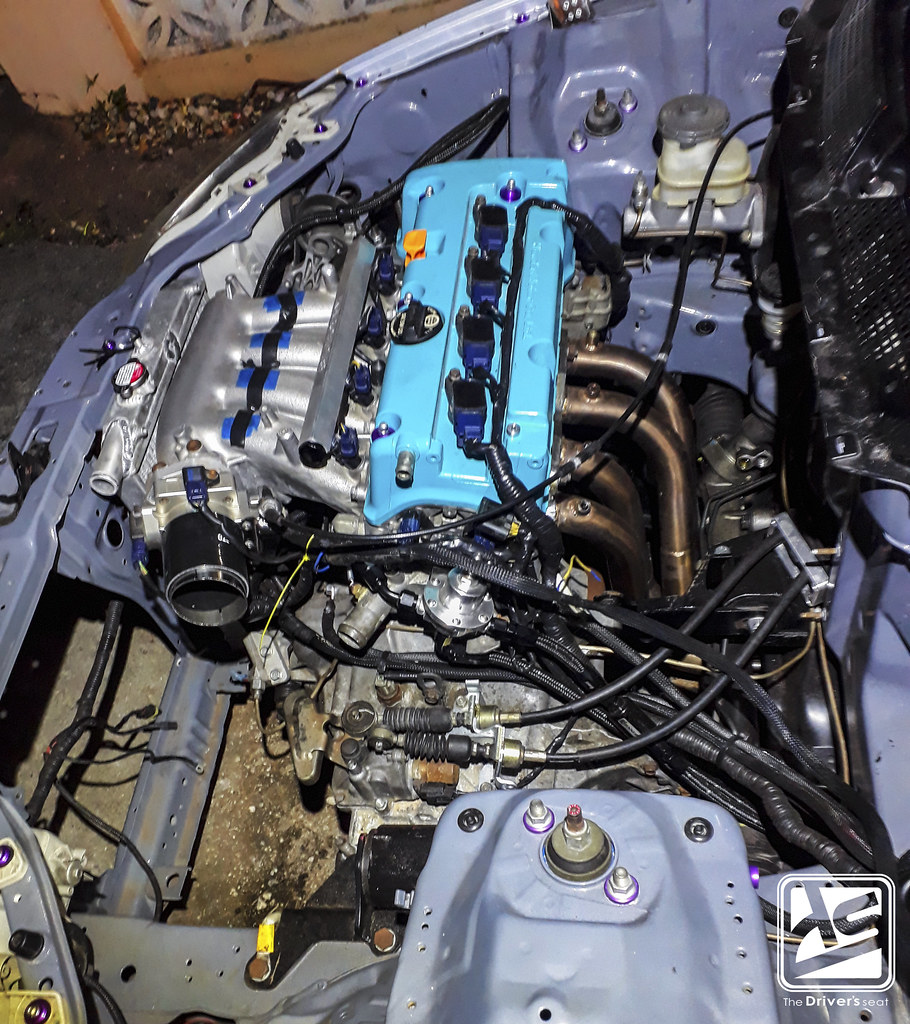
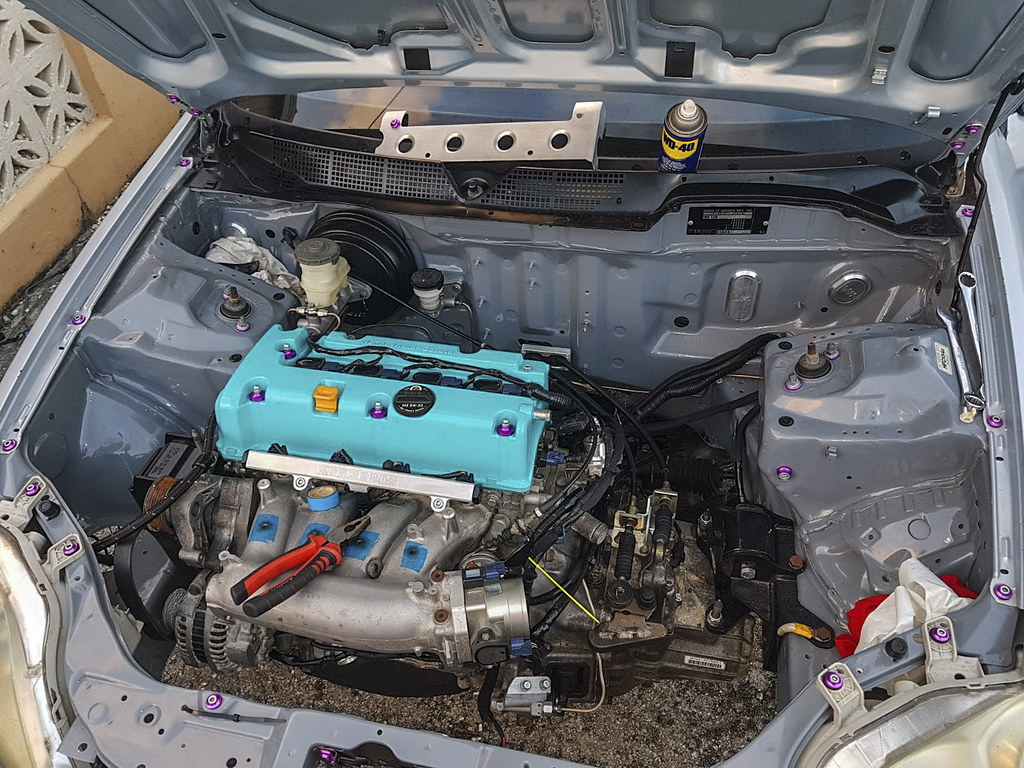
A look at the freshly painted valve cover fitted to the motor along with the addition of the Karcepts fuel rail…
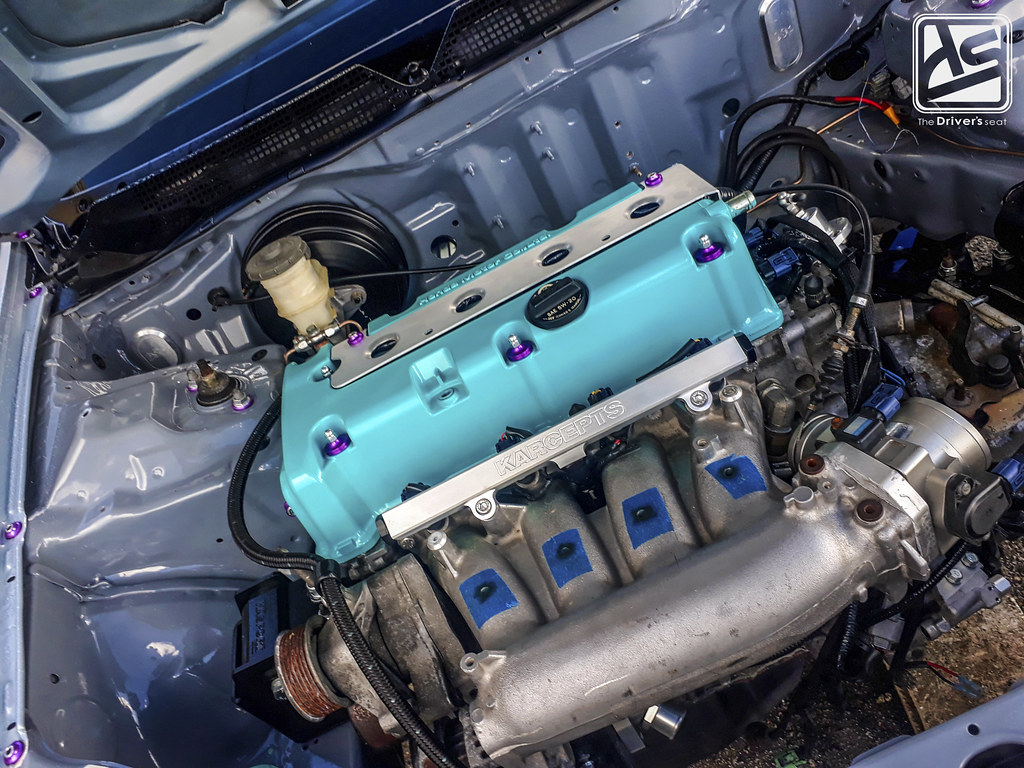
Having the valve cover in place, I installed my Downstar hardware and brighten up the bay…

Excited about having the Circuit Hero coil plug cover in my possession I decided to test fit and see how the bay was coming together…
After securing the remainder of fuel fittings from S.D.R.R, Pierre returned and was able to knock out the fuel system in no time. A huge shout out to him for taking the time to aid me with the setup…

I opted to run my fuel feed in the centre of the Karcepts rail…
A look at how the feed line came in from the fuel pressure regulator…

From the tank the -6 fuel feed goes through the Russell fuel filter on its way to the regulator; with the return line following close by…

A look at the underside of the car where the AN lines meet the compression fitting and then are converted to the factory hard lines…
Although I had ReWeld take care of the adjustments that were necessary on the radiator, I was still having some trouble in finding an upper radiator hose locally. During conversations, he came up with the idea to use an aluminum pipe instead…
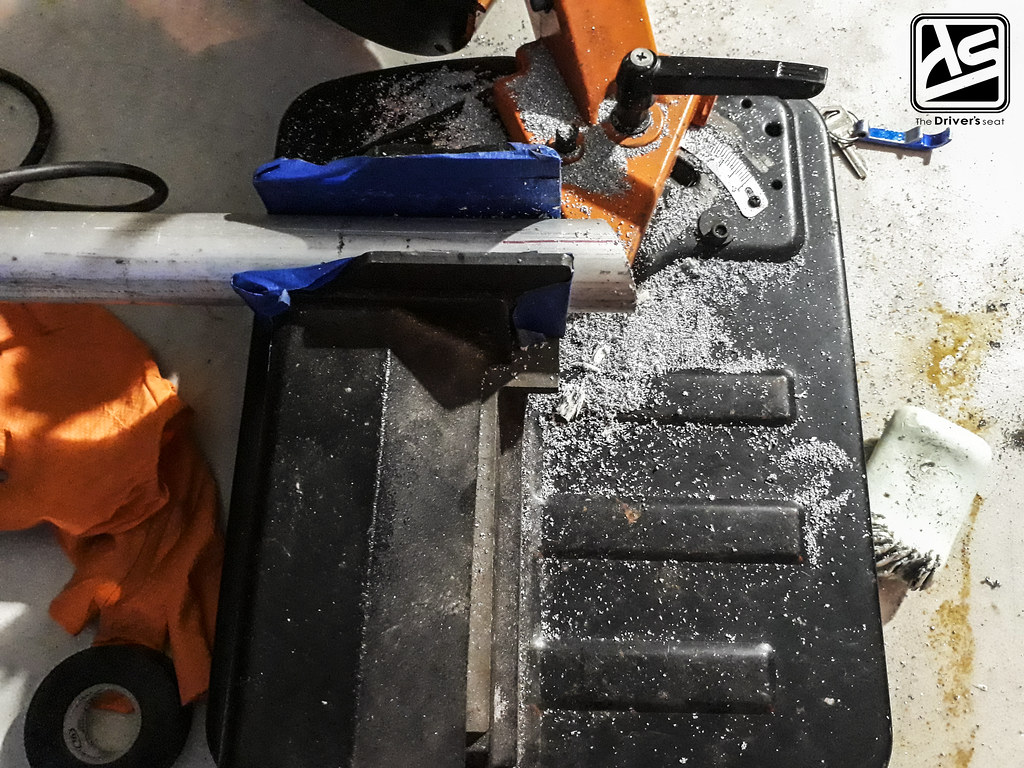
With the pipe acquired, Reudon arrived and began the process…
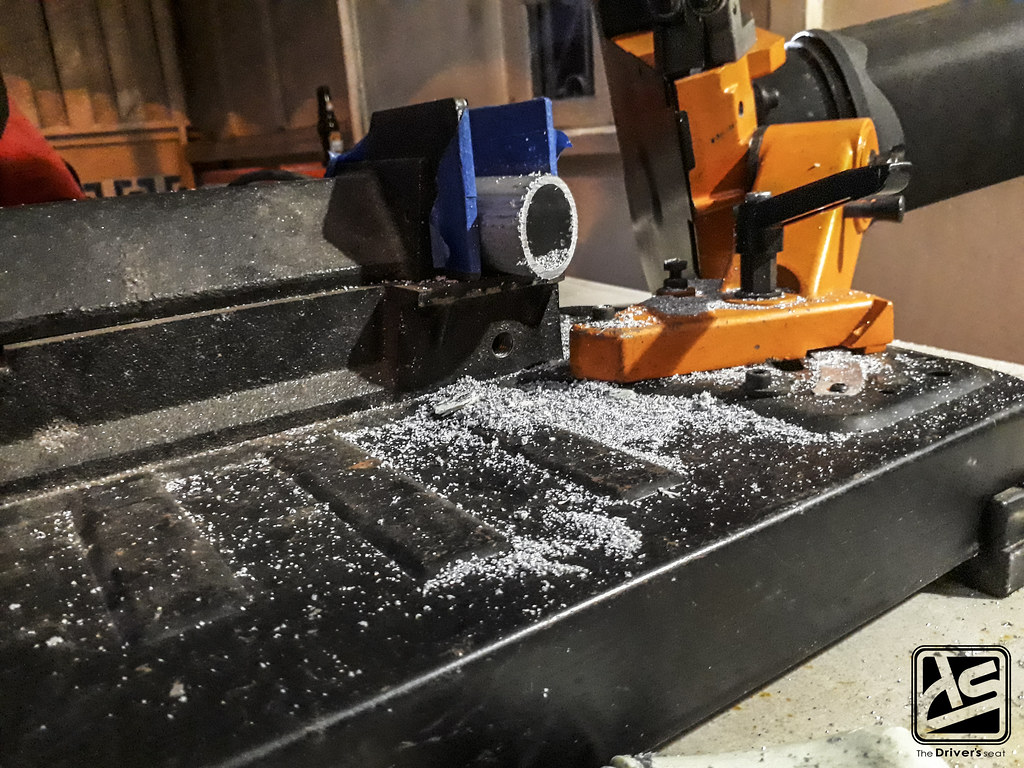
Given the complexity of the angles, a fair amount of cutting was necessary…


A look after the dust settled and the pies needed had been cut for the upper radiator pipe…
The work for the evening wasn’t quite complete as yet. After the decision was made to go K series I began some research on various intake setups. I landed on a concept and we went back and forth for a while about what would be necessary to execute my plans. With the swap finally in place, Reudon could begin the process of moving from concept to reality…
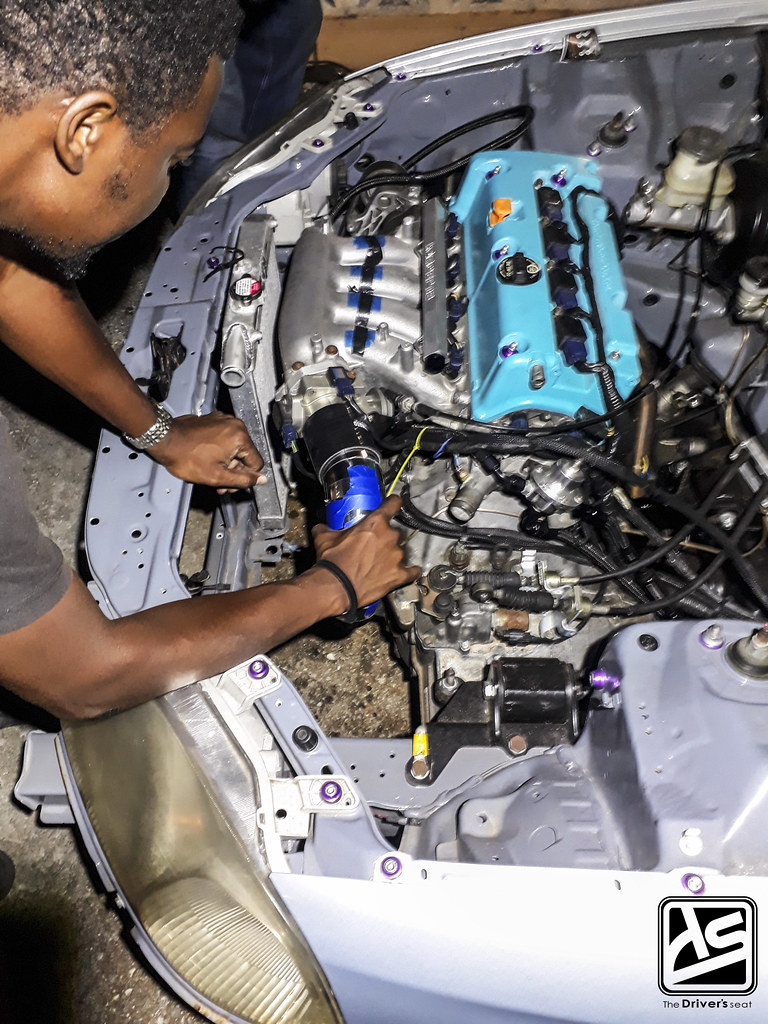
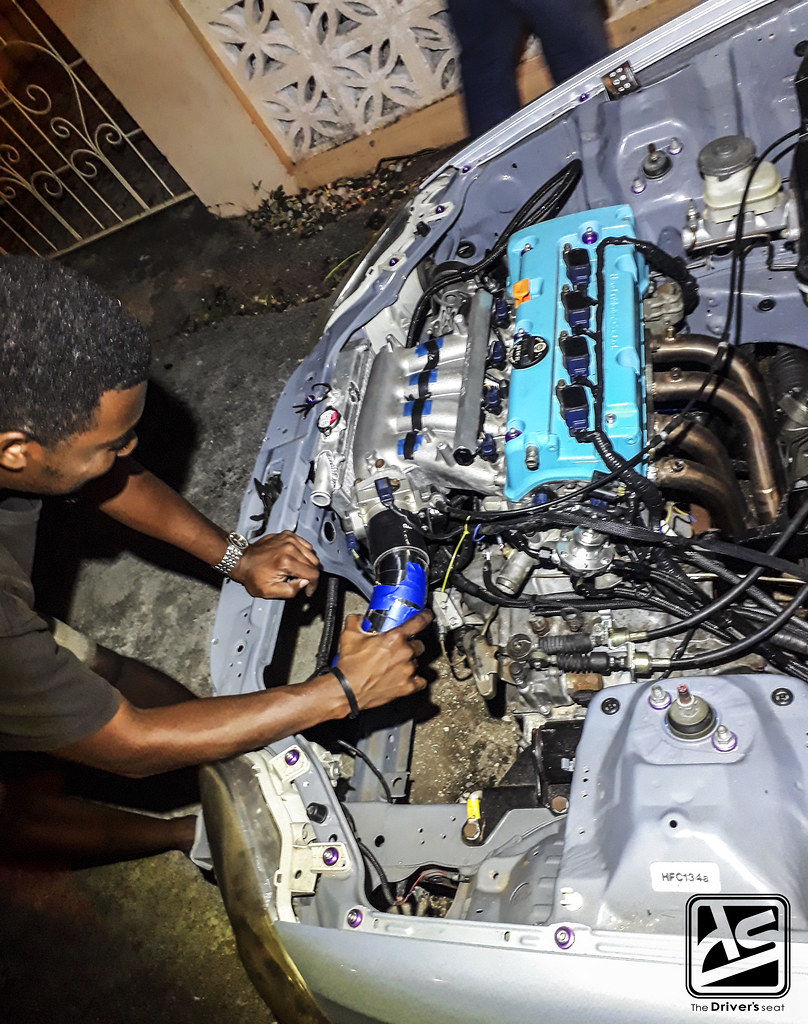
A glimpse of how the bay currently sat with the first potion of pipe fitted to the throttle body…

Reudon as he began cutting the stainless steel piping that we’ll be using for the intake system…
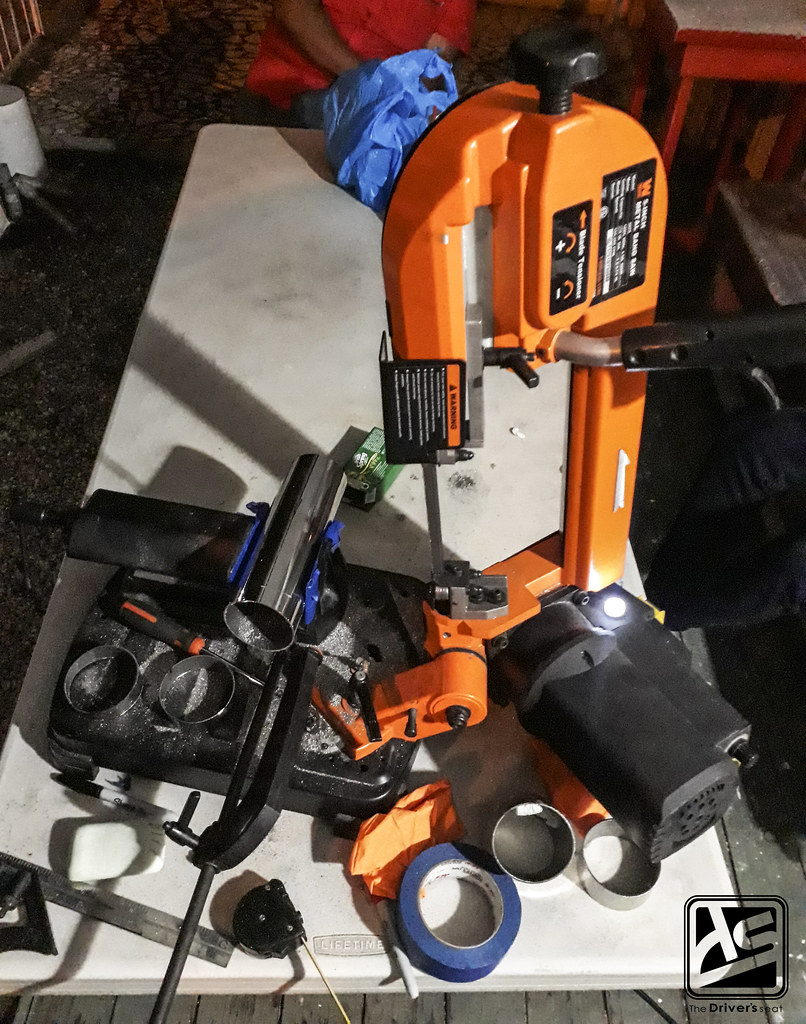


A few shots as he was busy at work ensuring the angles on the pies were accurate for what we had previously discussed…

After the bulk of the cutting was complete, he made sure to mock up within the bay to further confirm he was on the right path…
There is no such thing as too much mocking up, a few more as he checked on the estimated final positioning of the pipe…
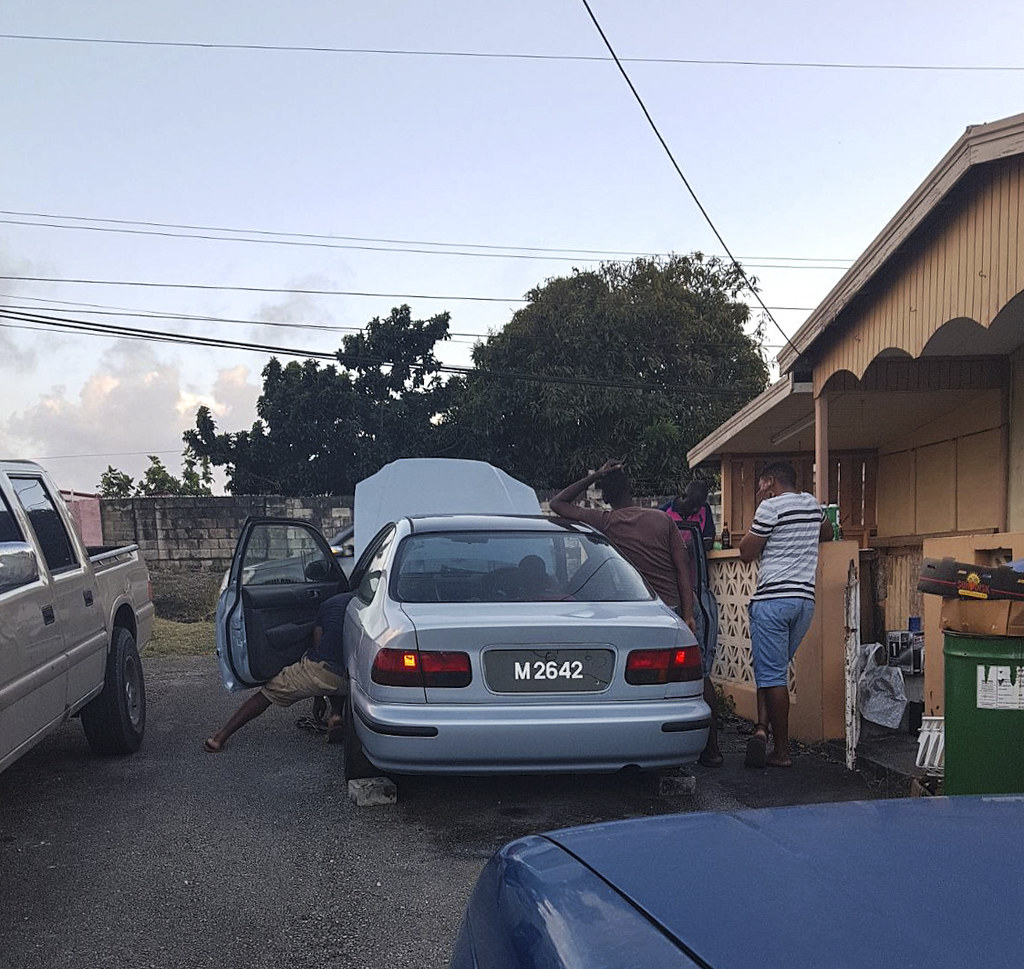
Having made some steady progress on the car thus far, a few friends came over to lend a hand…
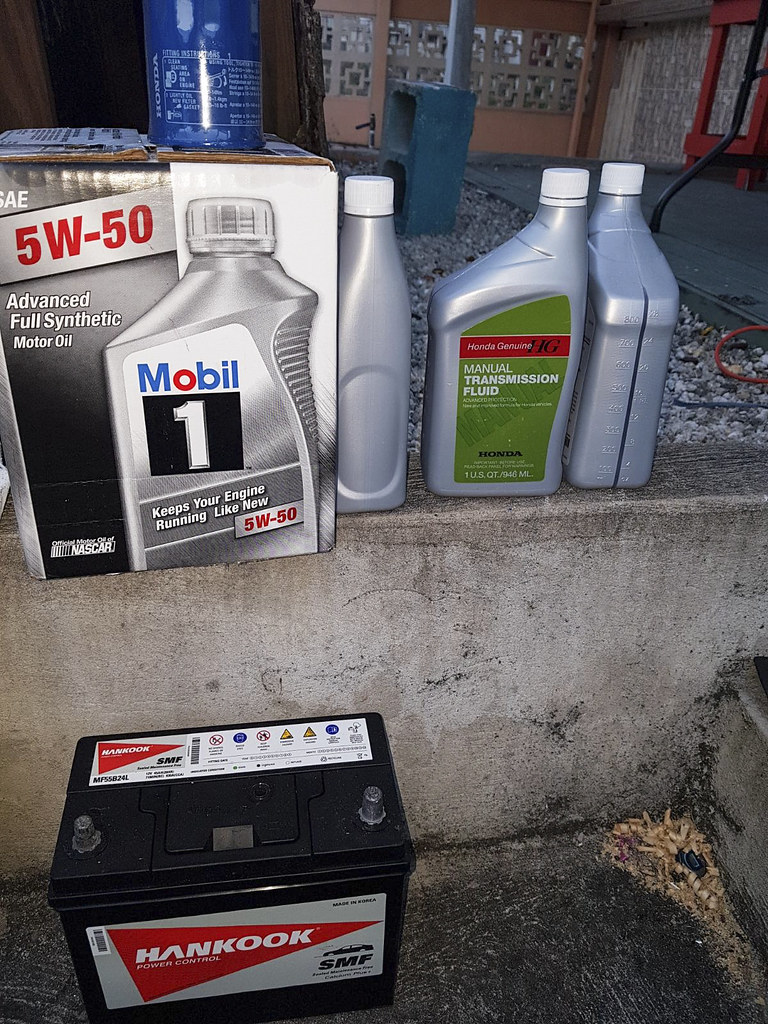
It was now time to add some fluids to the motor, I opted to go with Mobil 1 full synthetic 5W-50 oil and the highly recommended Honda MTF for the gearbox…


Front end torn apart as we worked on a multiple things at a time…
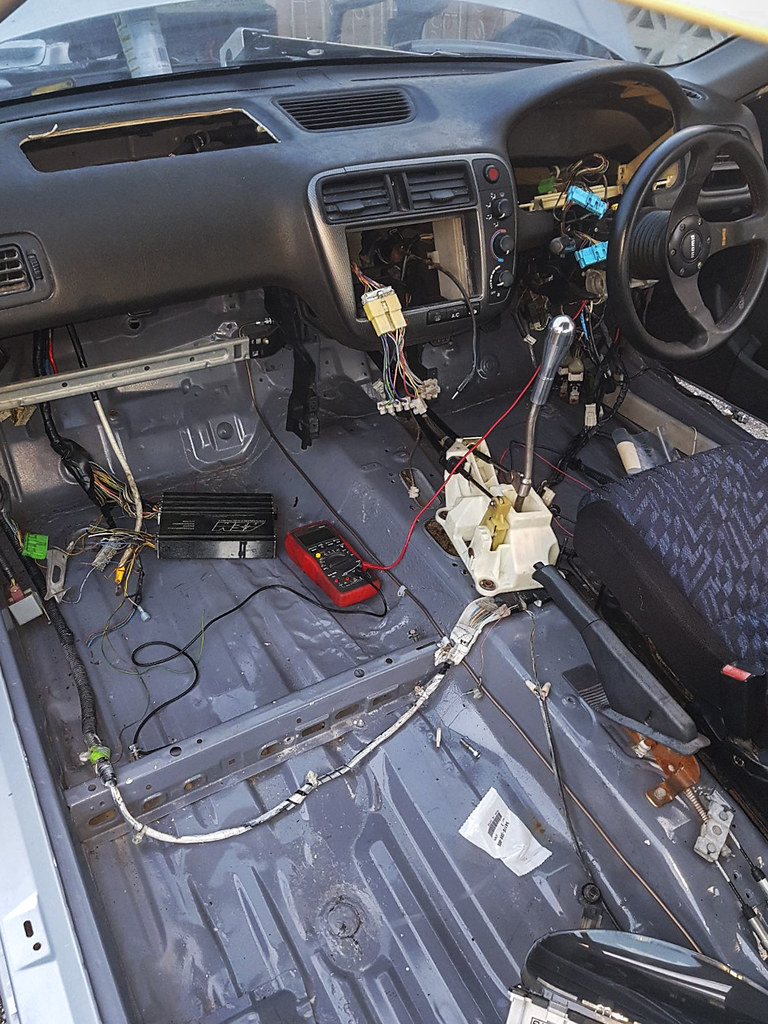
A look on the interior as some electrical work was being carried out…

A helping hand in preparation for fitting the OEM DC5 axles in place…

A couple shots of the engine bay as it stood with the clutch master and slave cylinders fitted and bled…

The headlights sat for quite some time exposed to the element and required some work to get them back to a presentable appearance…

A close up on the completed right headlight, shout out to Jin for coming through and sorting these out for me…
Around this same time ReWeld hit me up to let me know he had finished the radiator pipe…


A few shots of the pie cut aluminum pipe paired with the radiator…

The radiator in the bay mocked up…

A look at the custom upper radiator pipe fitted in place for the moment…

Having completed the radiator pipe, Reudon returned after tacking together the first portion of the intake…
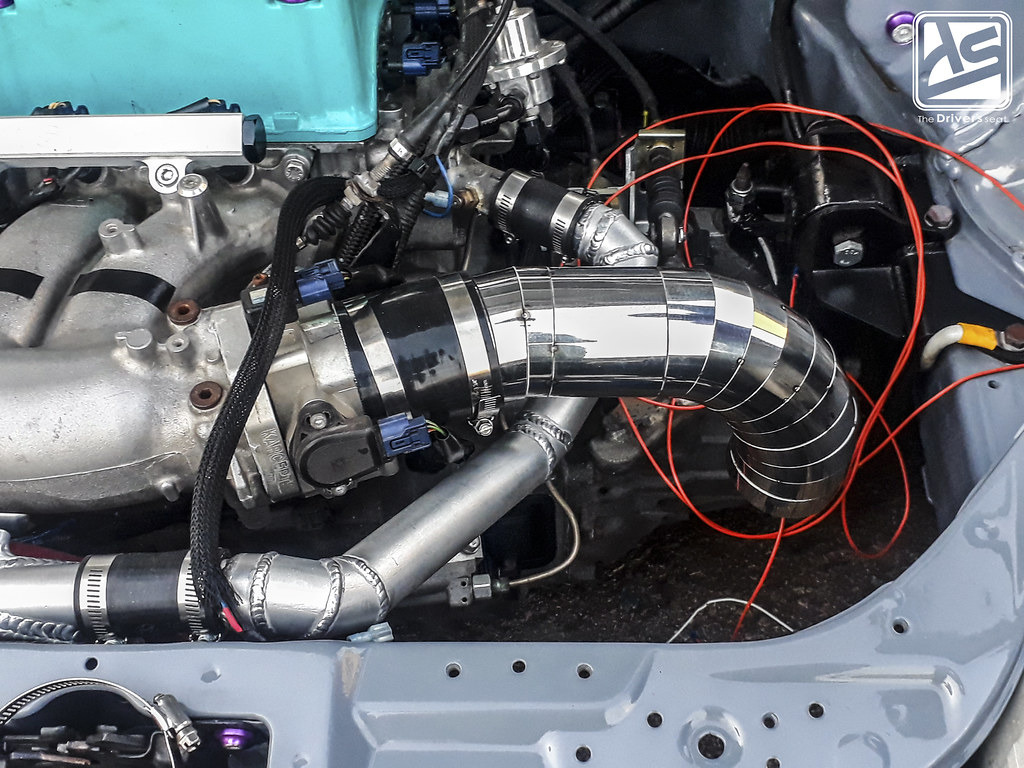

A few varying angles of the intake progress for you guys to get an idea of the direction in which it was going…

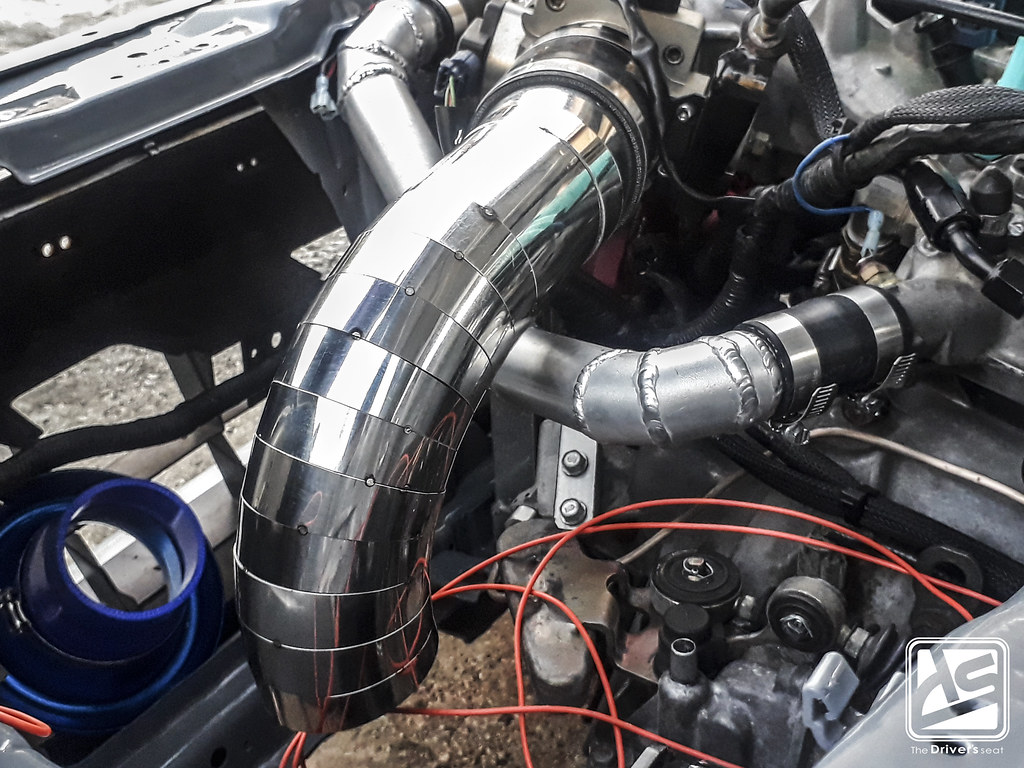
So far things were going as planned with regards to the clearance with the radiator pipe. It was a matter of getting the remaining pieces together to fully execute the mock up on the concept…
On that note I’ll close out this post, thanks for taking a look at another installment in the Project EJ8 series. I just want to give a huge thanks to everyone who came through and helped with getting the build to this point.
