
Sol’s EK9 Circuit Build… Part 4

It was a mad dash to the finish; with the days winding down the guys tried their best to cross off several items on the daily checklist. The event was literally one week away and the guys held the torch high and pushed forward as hard as they could. We’ll be taking a look as they planned and executed tasks on their race car prep list. There were also a few custom pieces which needed to be built in time for the event. The electrical system still needed to be knocked out, as a few more goodies arrived.
That’s enough of an intro, lets get on with this update…
For those who may be viewing this build for the first time, I’ve provided the link to the previous posts below:-
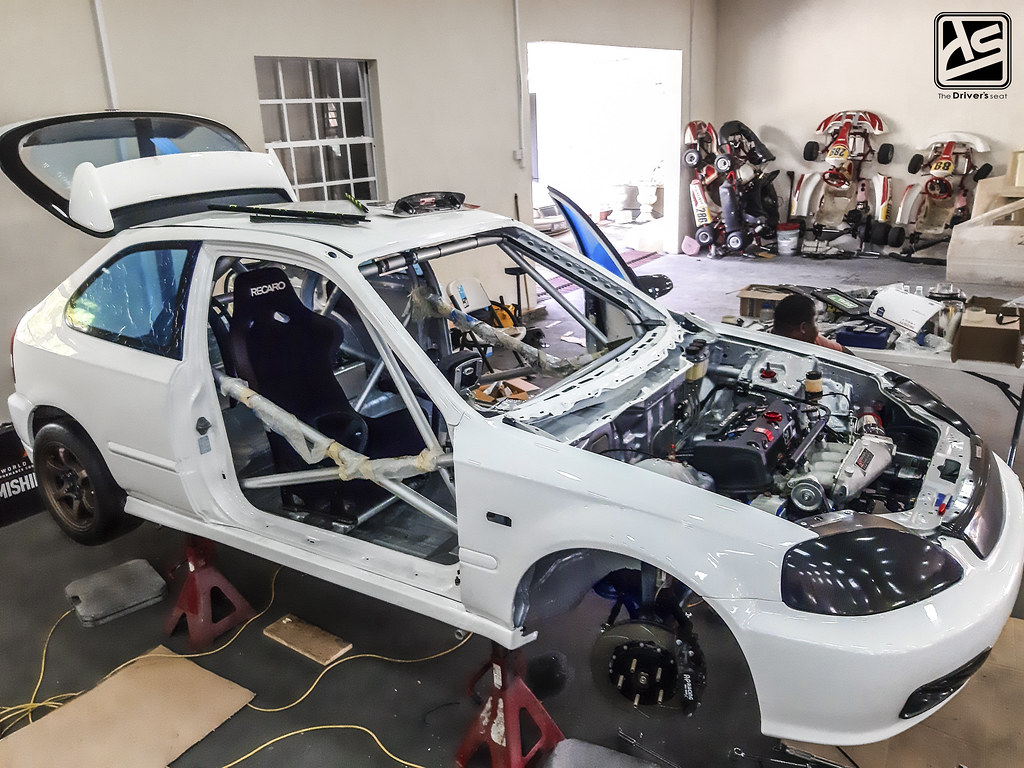
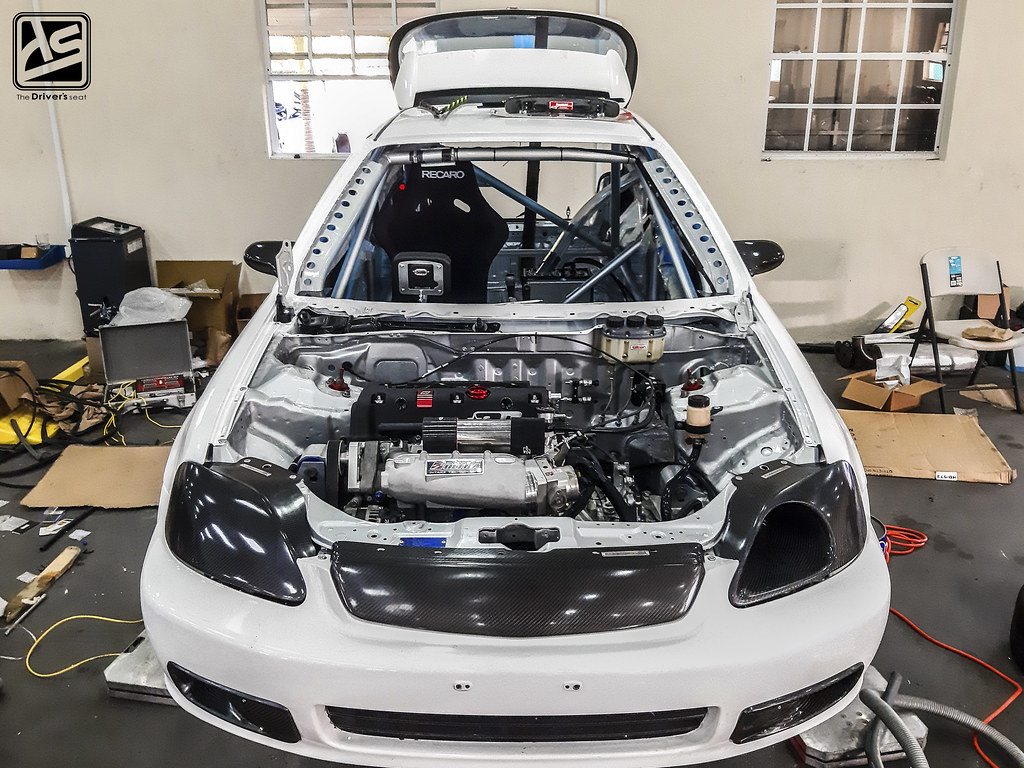
The scene that was laid out in the garage with a handful of days left to go before the event…

The way the rules are setup for this class, the use of aero is very limited; however, the use of a splitter is allowed and Sol made sure to take advantage of each opportunity he was given to be more competitive…


The widely spoken about AP Racing Pro 5000R big brake kit, which is stated to be exceptional on the track…


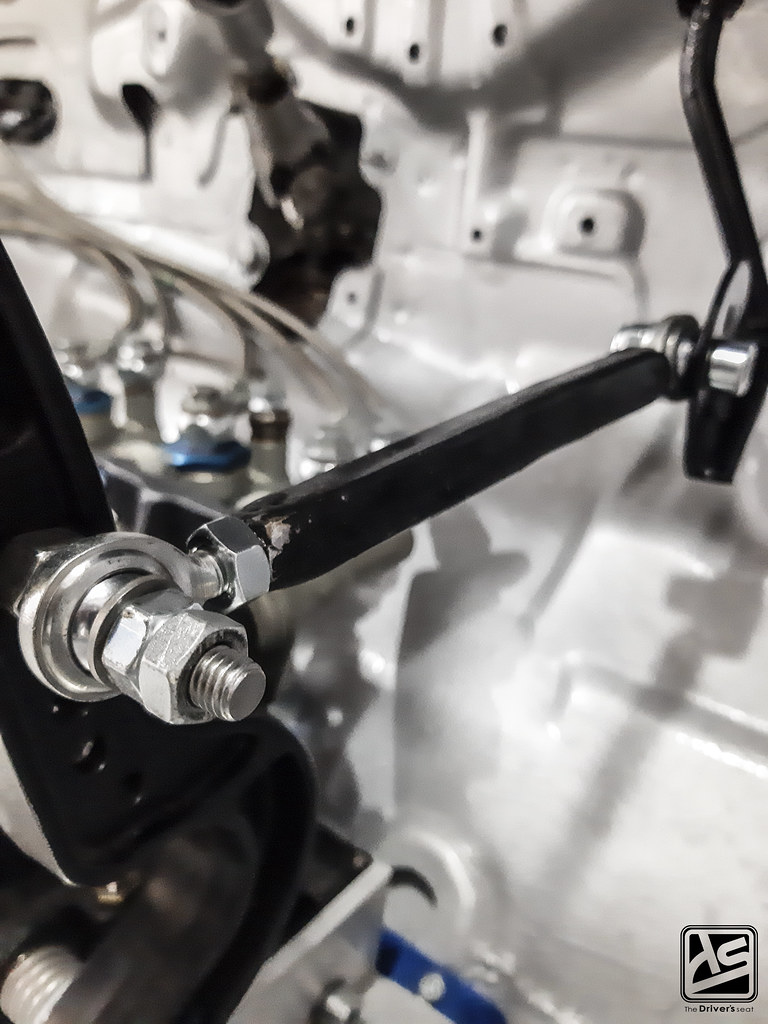
I thought I would get you guys a look at some of the suspension components as I wasn’t able to capture them prior to them being installed. Pictured are the Insane Shafts 32mm 500HP axles which would more than suffice for the power goal slated for this motor setup. In addition the Honed Developments spherical tie rod ends and Hardrace Performance LCAs make up the remainder of components visible…


A few more shots of how nice the front suspension and brake package looks, the joys of working with new parts…
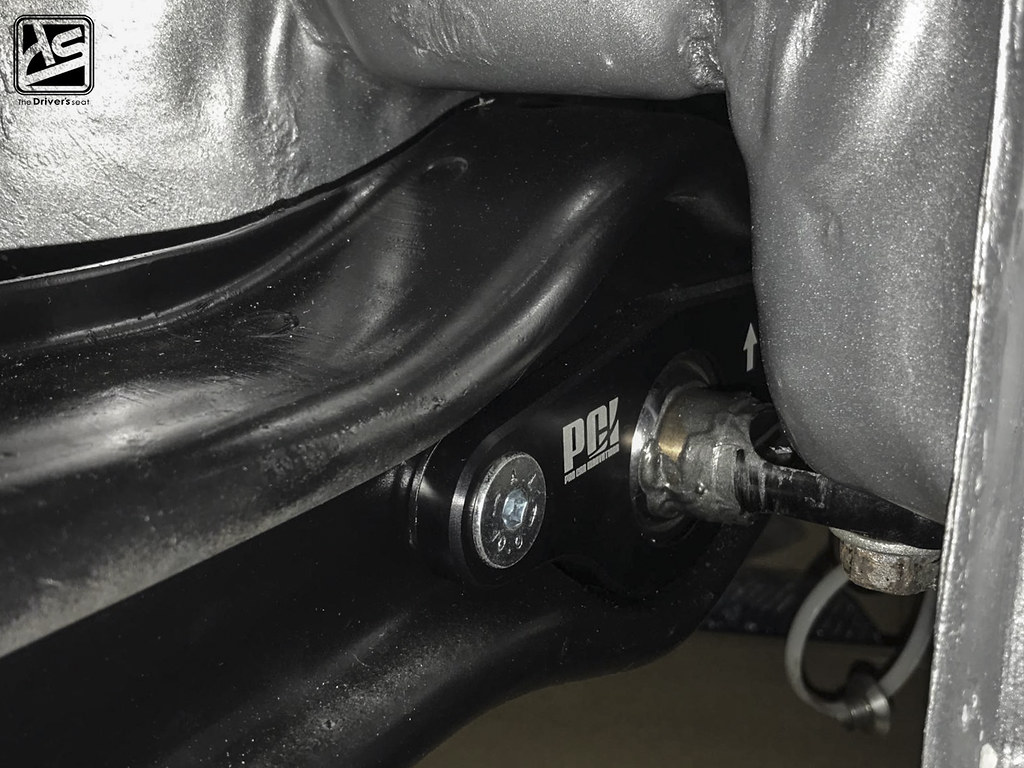
Moving to the rear, the dated trailing arm bushings were removed and replaced with PCI’s spherical kit which eliminates any excessive movement within the suspension. It also helps to know that they are all but maintenance free…

Upon further inspection you’ll notice the rear camber arms have also been replaced with Honed Developments spherical units…

Taking a step back reveals the freshly coated Type R rear caliper and Password JDM slotted and drilled rotors…
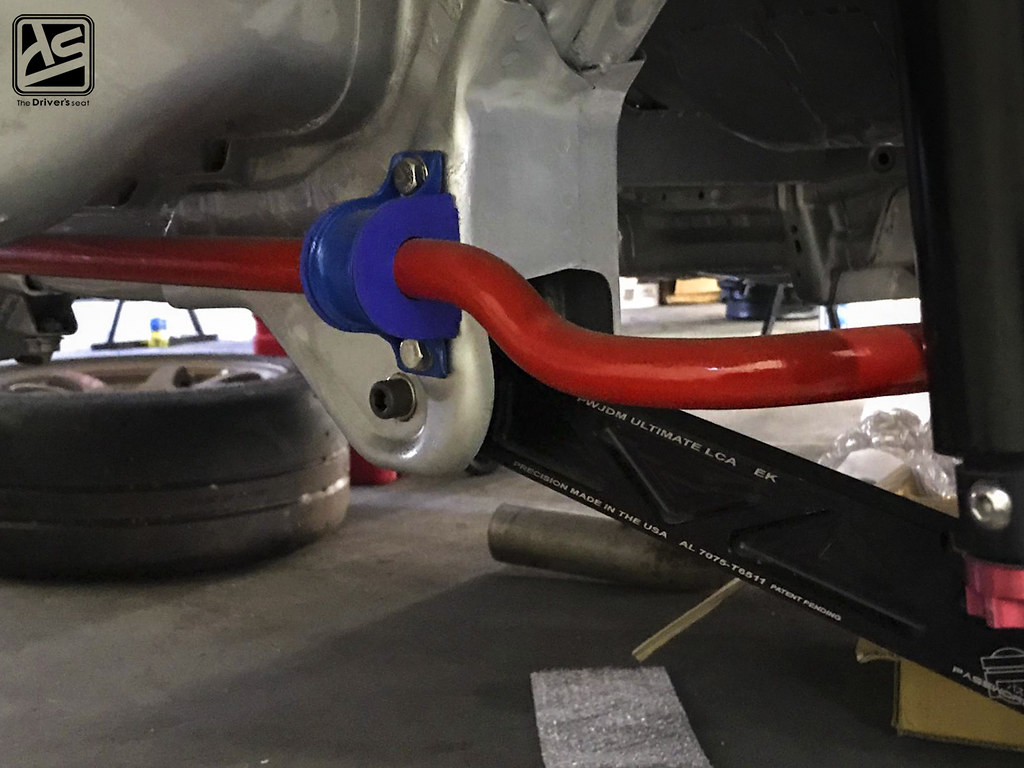
To close out the rear here is a shot of the Type R rear sway bar and billet lower control arms…

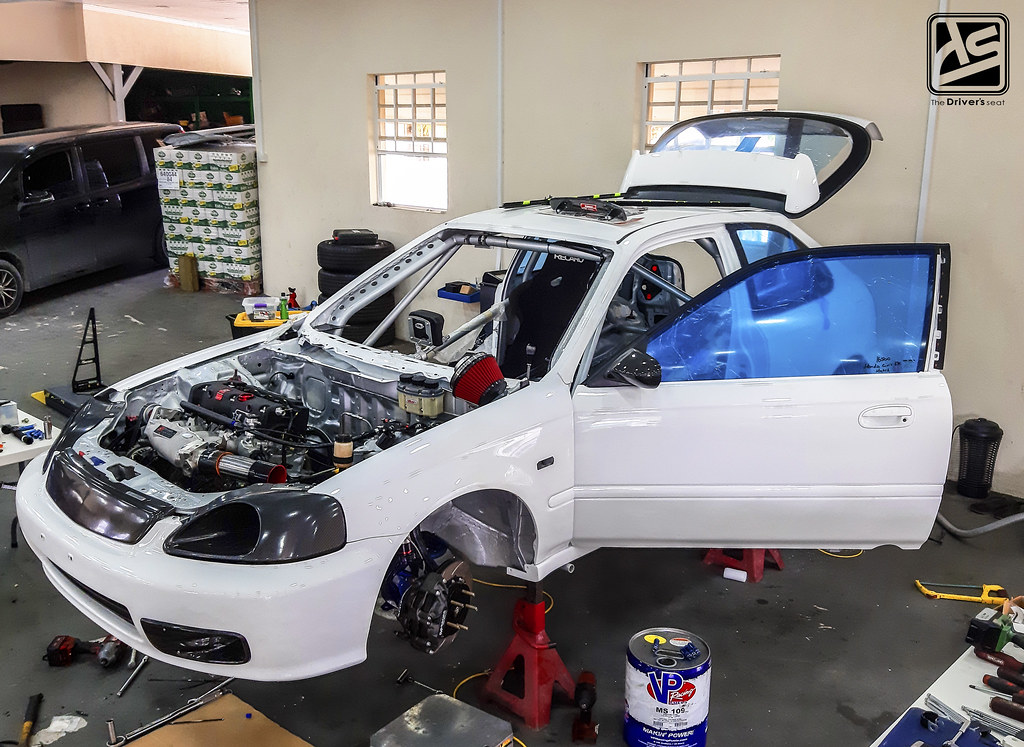
Random shot of the progress so far within the bay…
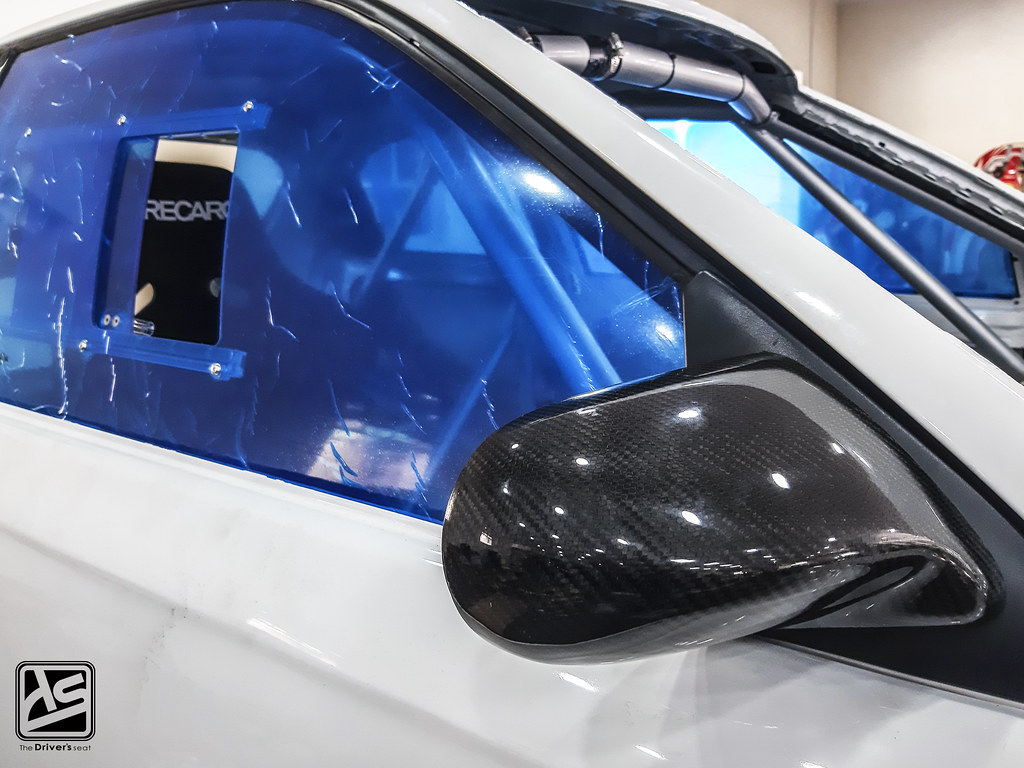

A few shots of the carbon mirrors which have now been fitted to the doors…

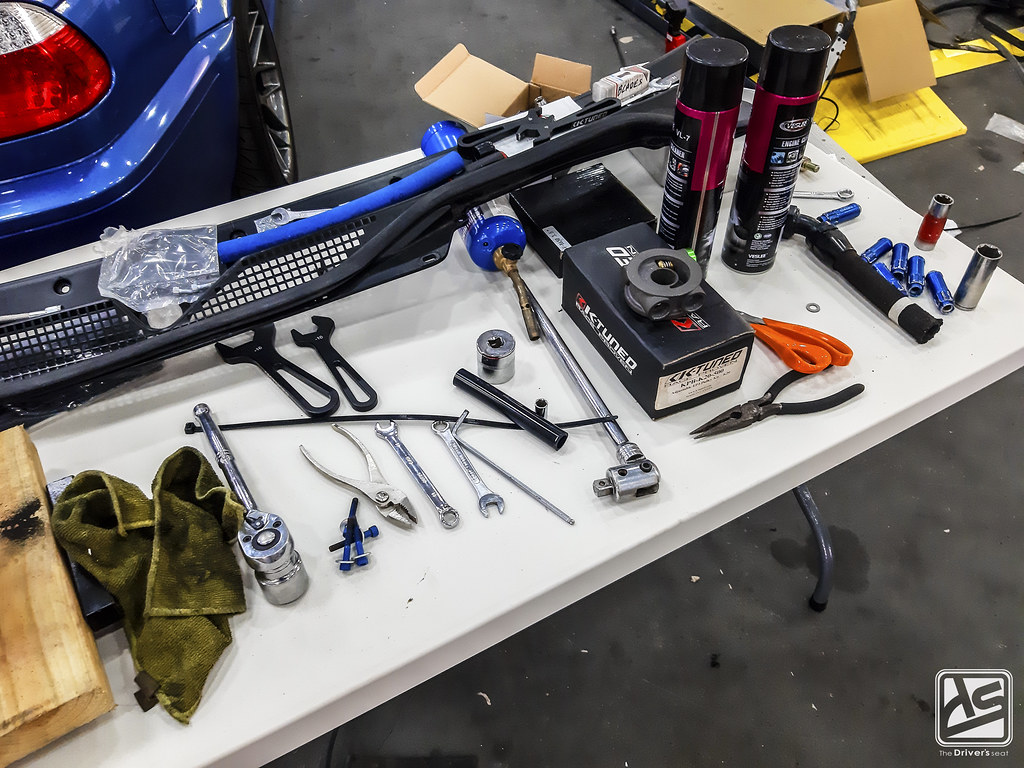
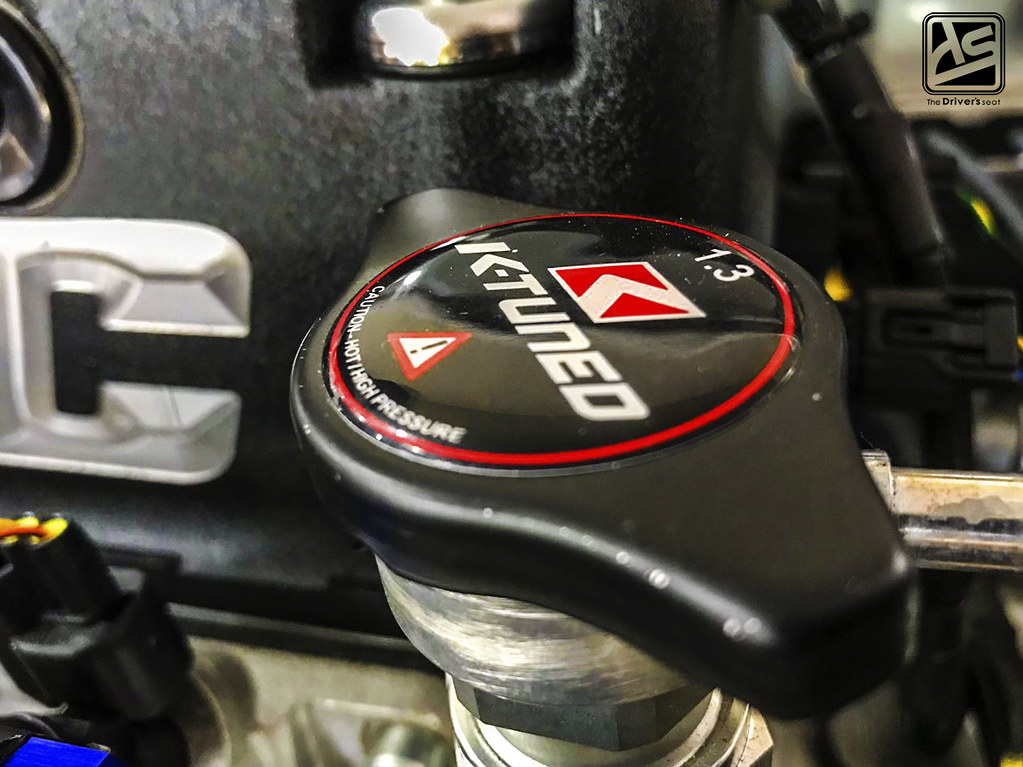
Aside from the K-Tuned goodies that arrived, Sol was able to hunt down a wiper motor and arm which can come in quite handy given the unpredictable nature of our climate…

The K-Tuned velocity stack and air filter combo; a go to especially for circuit racing where at any given time a car may exit and return to the track causing a host of debris in the atmosphere which consequently can enter the intake if not careful…

I would have mentioned in a previous post about the custom OEM styled dash the guys knocked out. It’s finally back from being flocked and looks absolutely amazing…


A few shots of the work in progress on the -16 coolant hoses…

Handy contraption Fred put together while trying to find an easy way of cutting hoses accurately. Using the original brake pedal from the EK9 and modified it to accept a standard 4.5″ electric grinder. This worked out perfectly when preparing the hoses that were needed for the build…

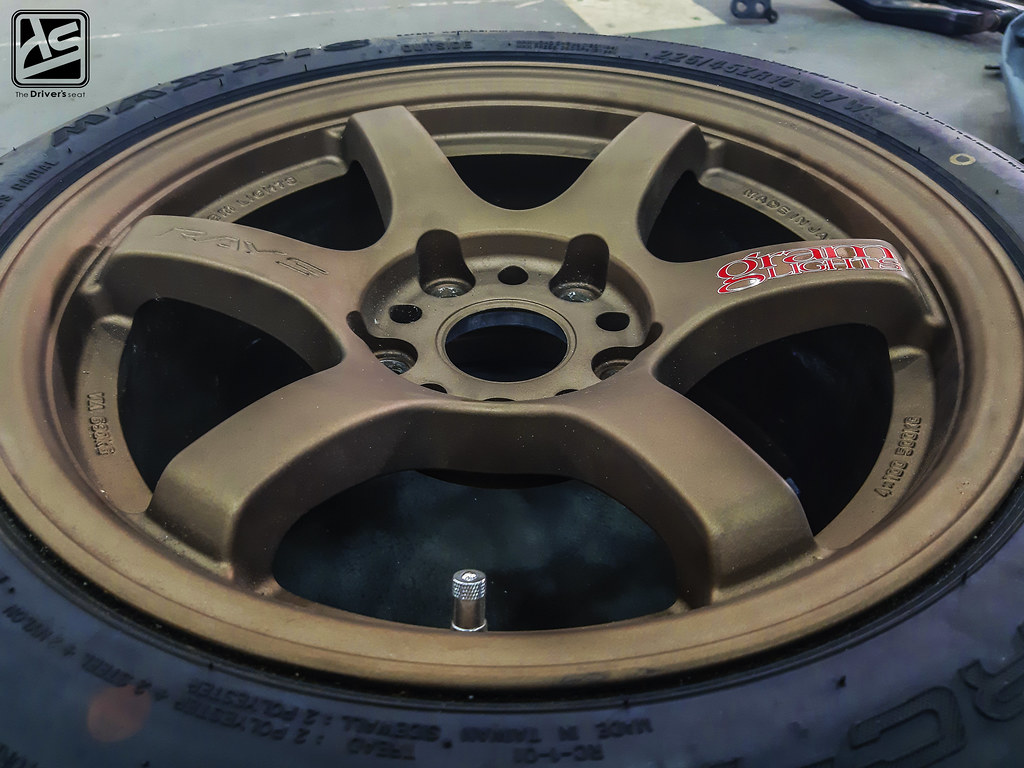

A few close ups on the 57DR Gram Lights and Maxxis RC-1 wheel package…
Mean muggin front end shot still awaiting the windshield to be fitted…

Almost there…
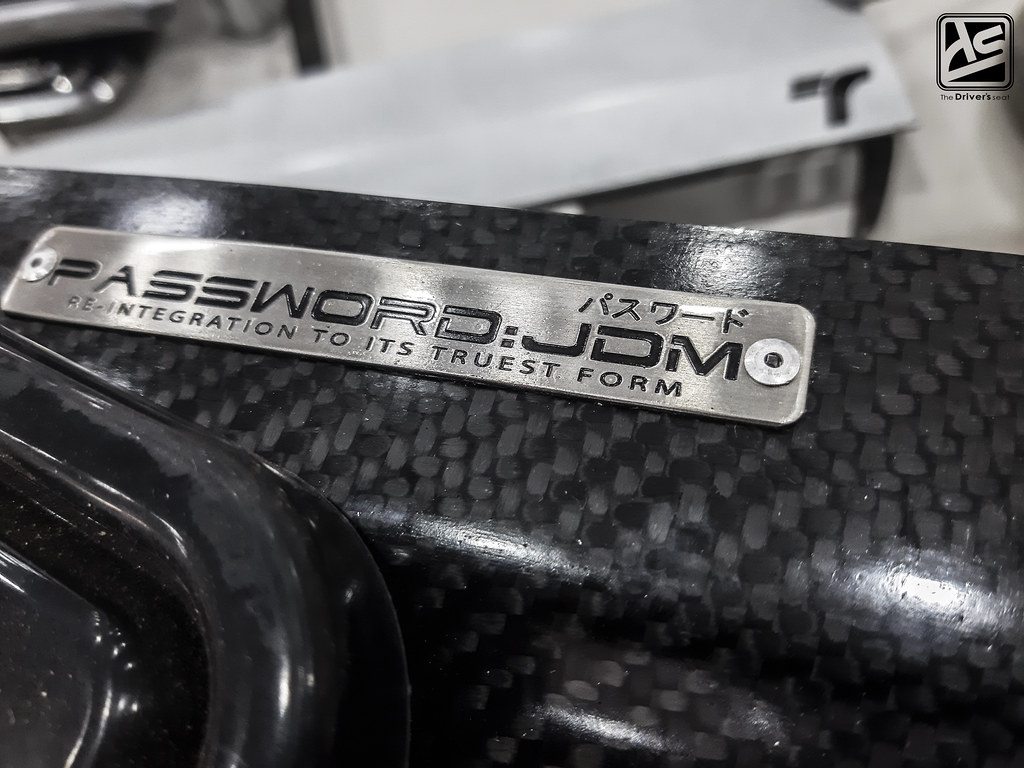
Password JDM carbon cooling plate…
Sneak peak of the Password JDM carbon combination fitted in place…

ASP header just about ready for the first startup…

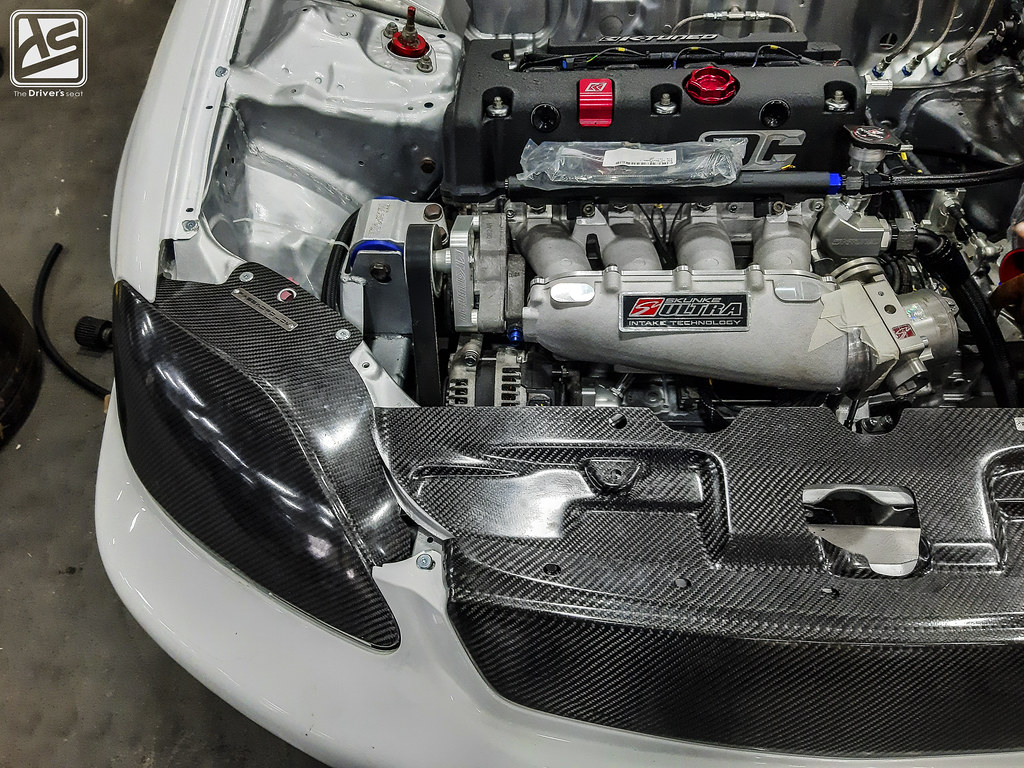
Having finished most of the things on the list… The guys went to work on test fitting the intake setup….


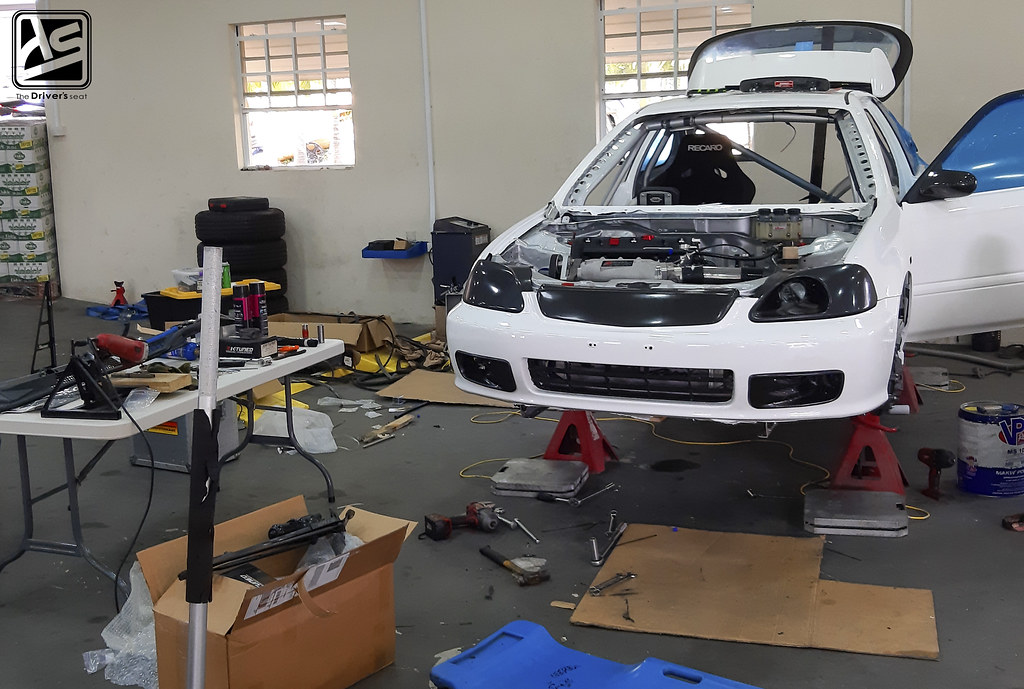
Further test fitting was done to the front end with the hood now in place…
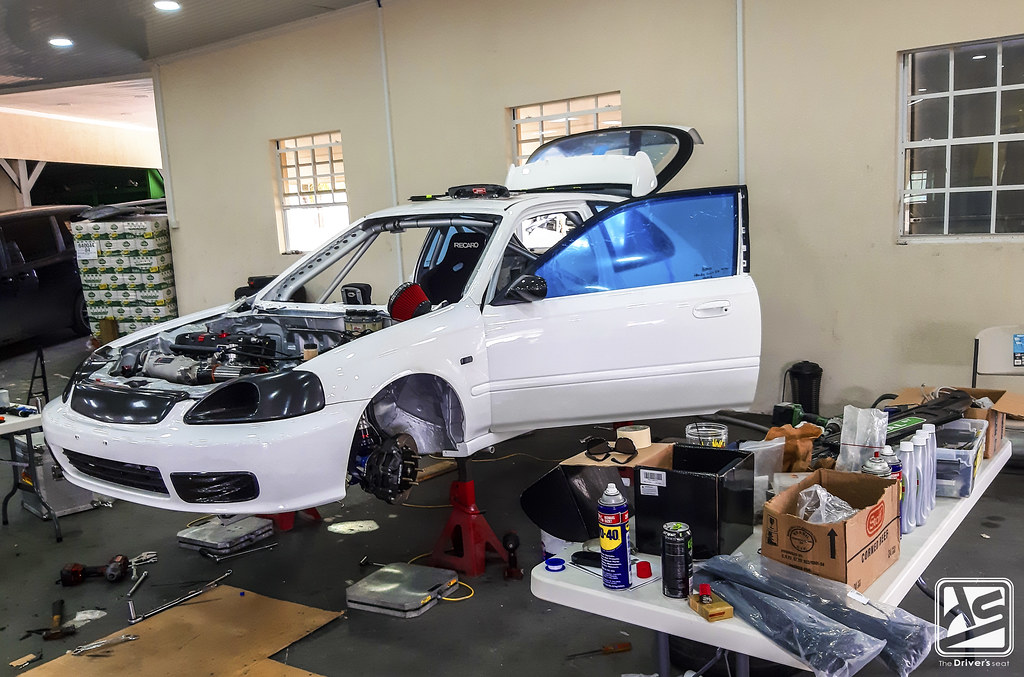
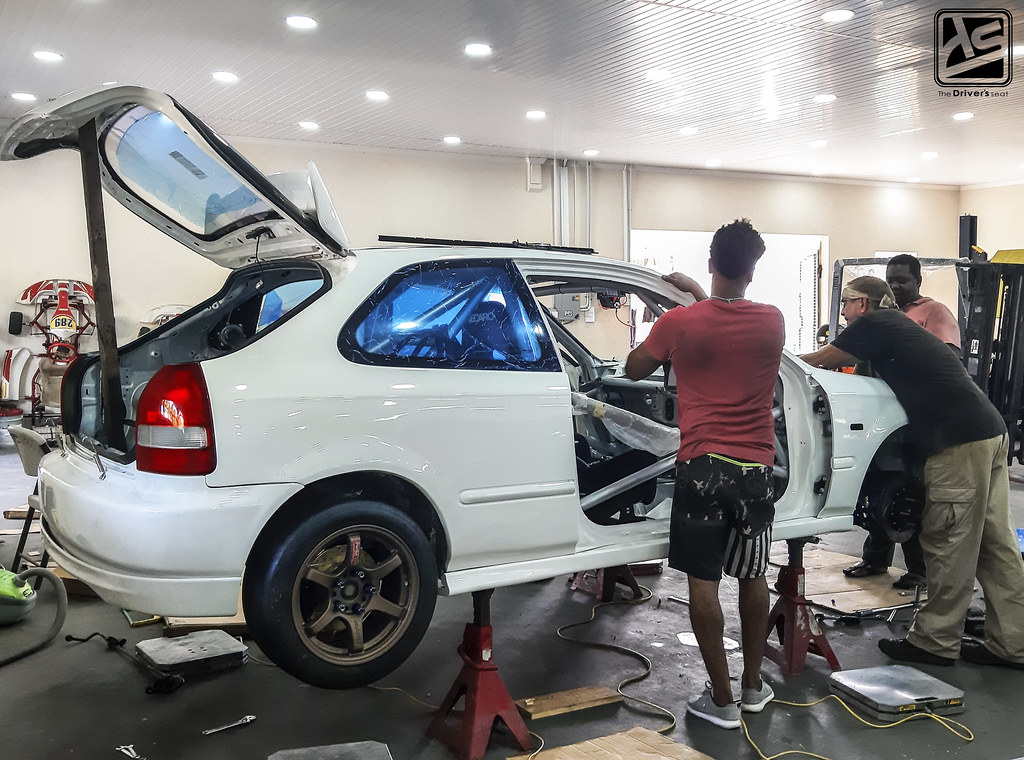
The shop in full race prep mode, it was all hands on deck trying to get this project to completion…
When building a dedicated race car there are a few things in which you must take into consideration unlike when building a street car. Having a circuit car which will be constantly abused for an extended period of time, monitoring the operating temperature of key components play a big role. You must be aware of the temperatures of your fluids, be it engine oil or coolant. Some even take it a bit further and keep and eye on gear oil, fuel and even brake fluid temperature. The condition of the components directly affect not just winning or losing but can result in very costly repairs. And additionally may also impact on driver’s safety…

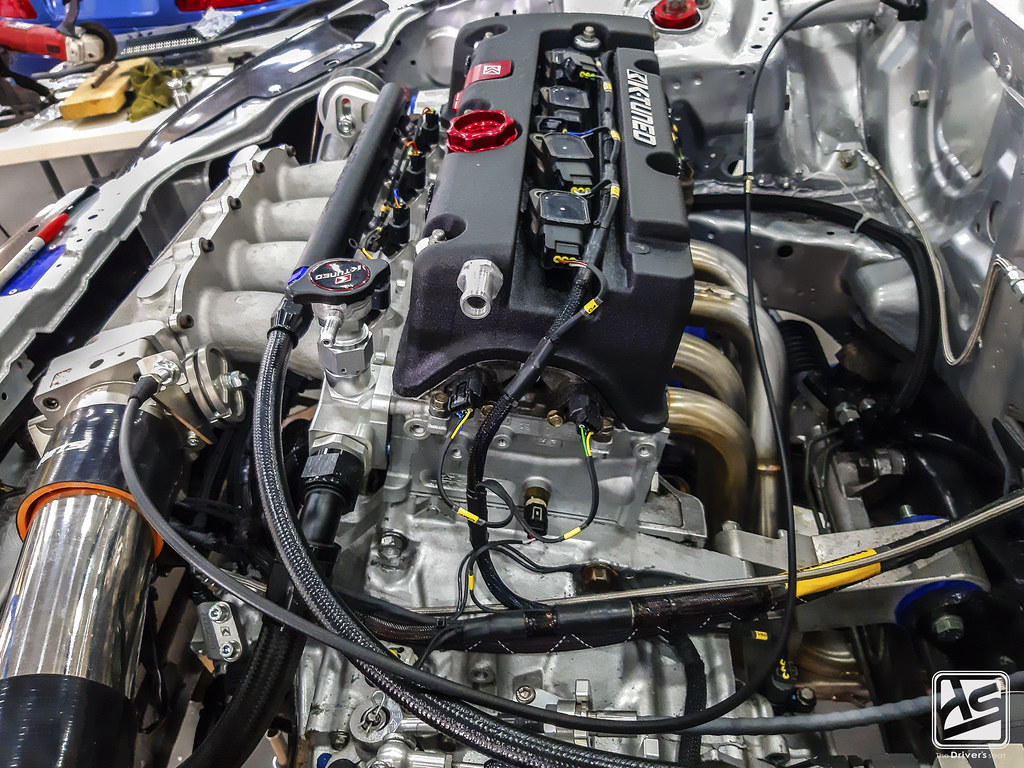
To aid with controlling oil temperature, Sol purchased a Laminova water cooled oil cooler. This type of oil cooler requires the use of the coolant system rather than air to operate. A great advantage of this is being able to have the unit mounted anywhere within the bay. This can be particularly useful when fighting for space based on the application. These units come in various compact sizes in comparison to conventional oil coolers. Despite their compact size, Laminova coolers are said to aid with prolonging engine life by reducing wear due to the rapid warm up process…

With the product in hand some modifications were required, the unit came with a 38mm connection. However, the guys planned to use AN fittings and with the deadline rapidly approaching a call was made to ReWeld to have him execute the conversion…

A look at the Laminova unit fitted with the necessary lines ran…

The lower radiator -16 connection feeding into the Laminova unit…


A look at the oil lines ran from the unit to the sandwich plate at the back of the block…
The completed cooling system…


Back on the interior, the guys were making some steady progress…


A look at the custom built battery box with Odyssey PC925 unit test fitted…
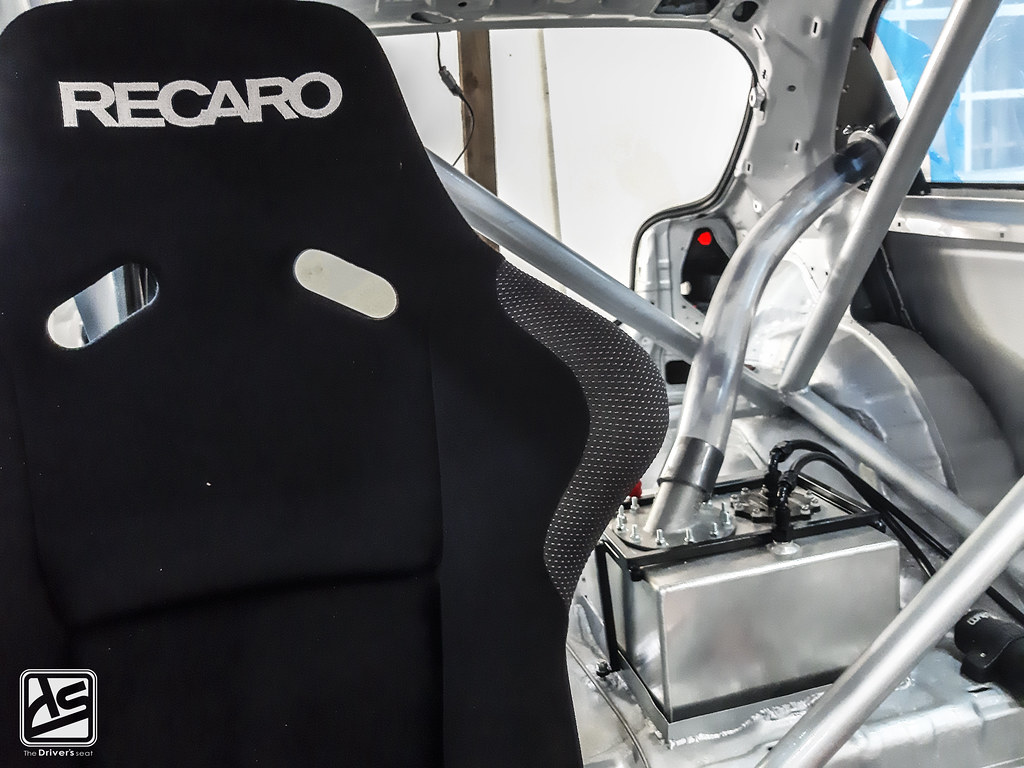
The Recaro Profi SPG seat looks great but more importantly the fuel filler hose has now been installed to Aeromotive fuel cell…


A few shots of the AEM CD-7 display mated to the ididit Inc steering column…


Having secured the Tilton pedal assembly, the floor plate was in the process of being completed…


A view from the inside, of the brake and clutch cylinders lines ran to a bulk head on the firewall which exits and enters the reservoir tank…


With the final concept out of the way for the floor plate, Fred moved forward with fabricating the connection between the throttle pedal and cable. One of the downside of converting to a floor mounted pedal assembly is figuring out the union between these components…

Fred opted to retain the use of the factory throttle pedal which maintained the original connection of the throttle cable going to the motor…

Fred removed the footpad on the OEM pedal and custom built a spherical joint to bridge the gap to the Tilton unit…

Over on the Tilton side, the joint can be adjusted at varying height levels…

The guys started to equip the car with the necessary fluids; still sticking to the recommended fluid for the gearbox…

An item yet to be touched on is the K-Tuned quick release hood hinges; these will make working on the car extremely easy both at the track and in the garage with the simplicity involved with removing the hood…

Earlier I mentioned some varying points of data which when collected can be a great advantage while in competition. Pictured are some sensors which will be used to keep a keen eye on the oil and fuel pressure…

The completed floor plate after being cleaned and having applied a few strips of a non skid 3M Product; which is essentially a low girt grade of sandpaper…

K-Tuned shifter goodness; taking a closer look you’ll notice that the brake light switch has been fitted to the rear brake line…
Further in the interior, Fred had a few things he was still working to have in place…


Fred went ahead and fabricated a battery strap to ensure the Odyssey unit was secured…
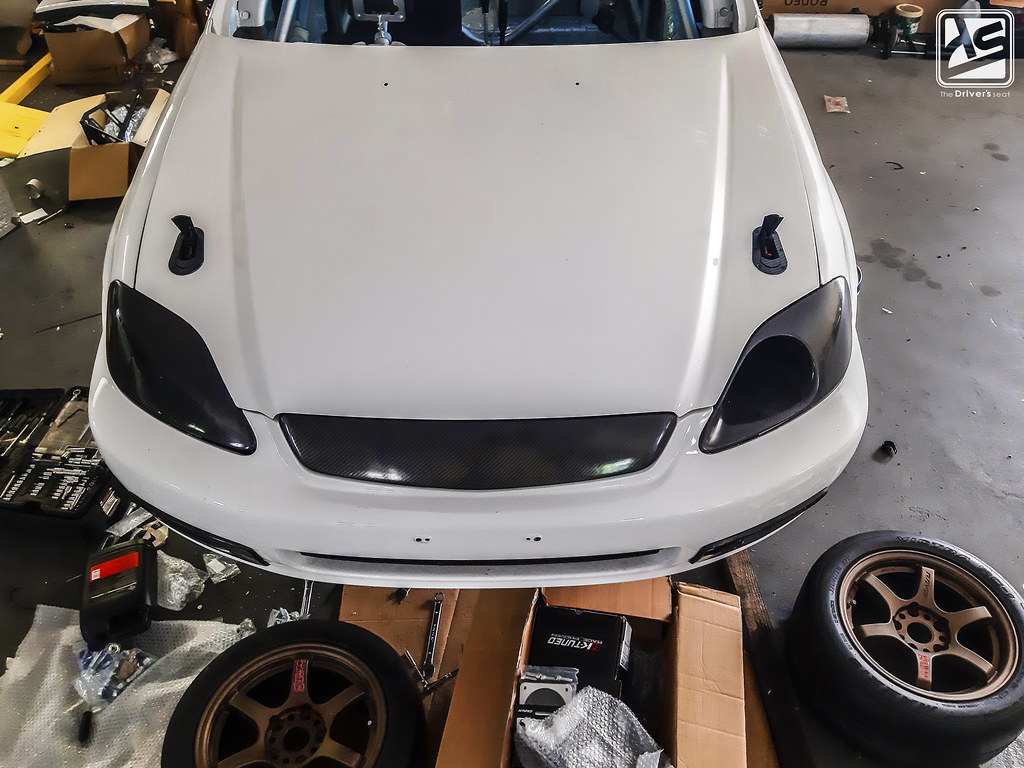
Aerial shot of the EK’s front end with the hood and Password JDM pieces fully installed…
The guys gave Bally a call to aid with the completion of the wiring system so the car can be fired up and start the next phase in the process; ensuring there are no leaks in any of the fluid systems, and basically run through the car’s setup…

A view of the interior while Bally got to work in completing the wiring to a few key components on the EK9…
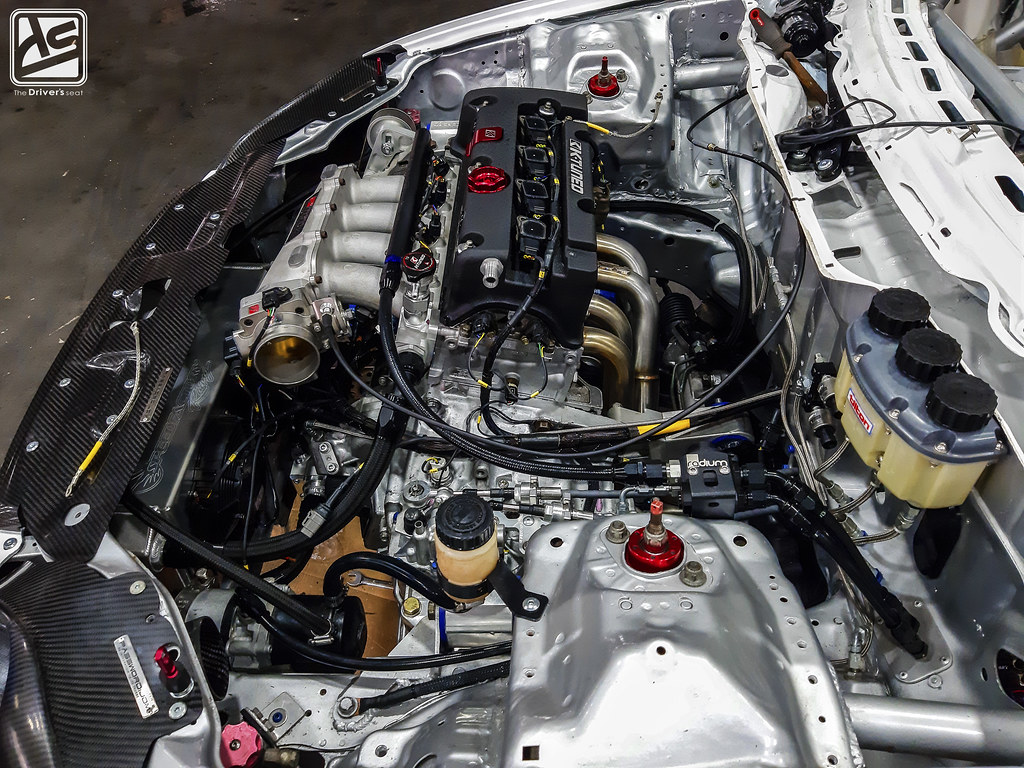
A quick look at the bay with all systems in check it was just about time to fire this thing up for the first time…

Ignition…
A shot clip of the first start up where the guys ran though the basics ensuring everything was spot on…
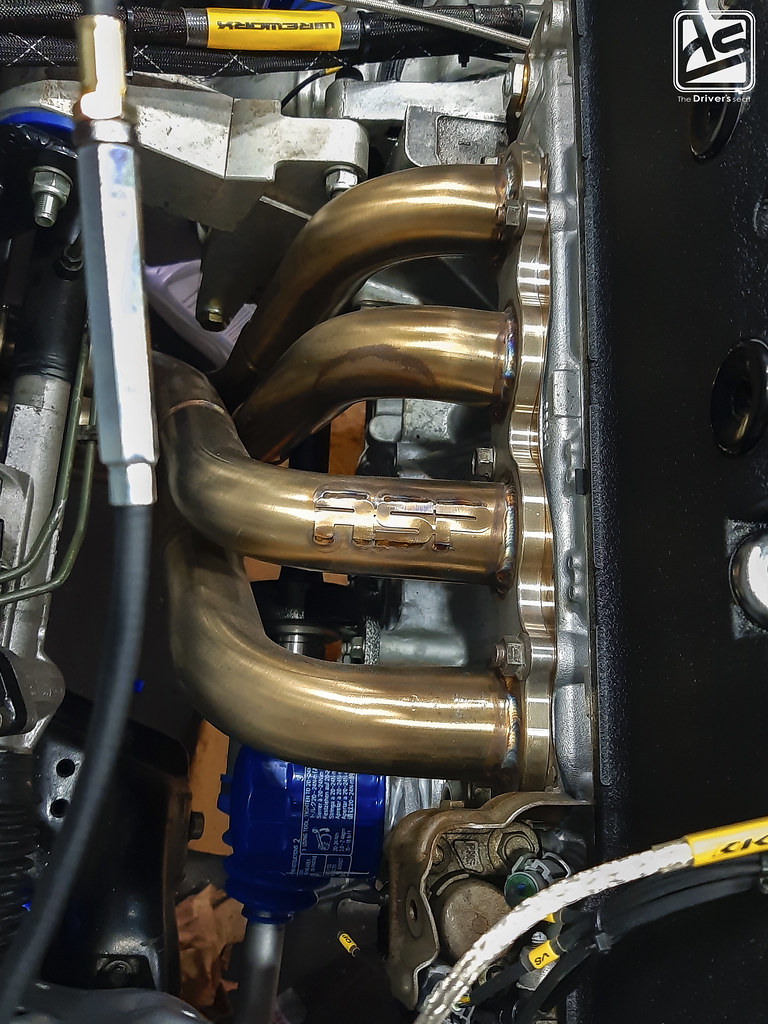
A look at the ASP header after the first start was a success…

It’s finally alive… EK9 after the guys fired it up for the first time…
The guys in a huddle after the first startup was a success and discussing the next few stages in development necessary to making this goal a reality…
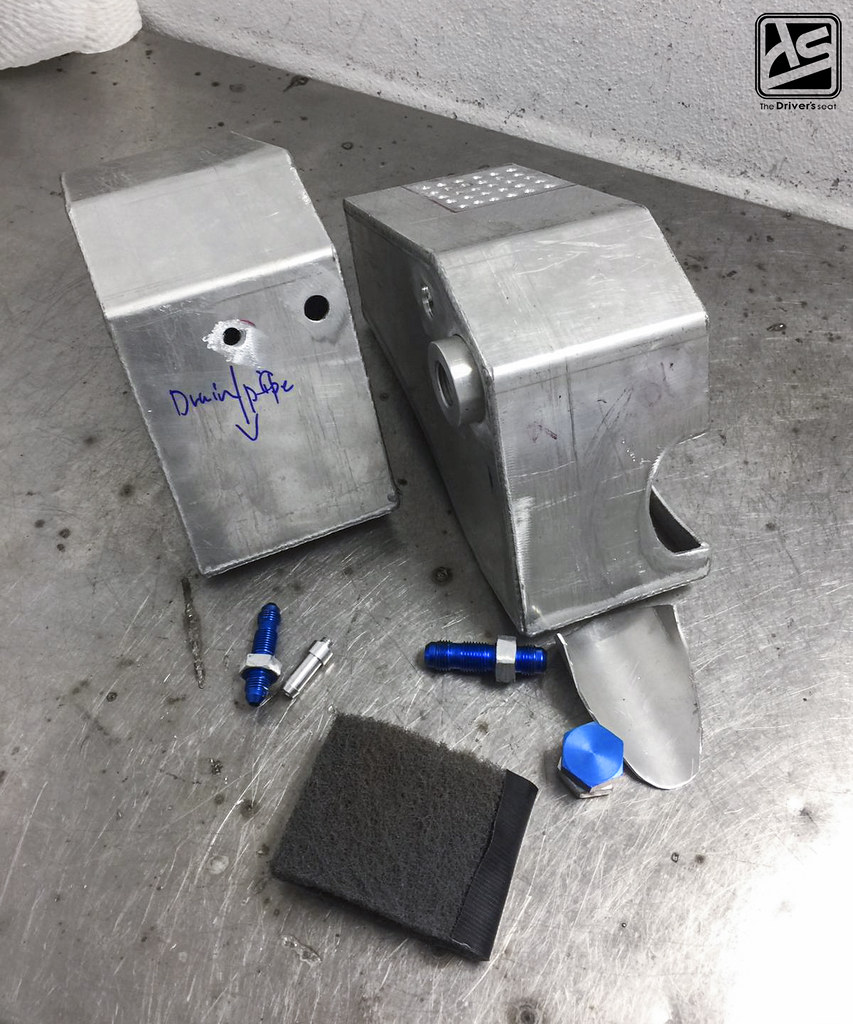
Along with the fabrication work to EK9 chassis, Fred was working on a few additional things which were mandatory based on the rules for Group 2. The guys opted to custom build both radiator expansion tank and a breather / catch can system. The two tanks were designed to occupy the spaces between the strut tower and firewall. After the guys performed the initial fit of these items, Fred made sure to pay close attention to what needed to be done. Already on a rapidly elapsing clock, the guys opted to have ReWeld on the job…


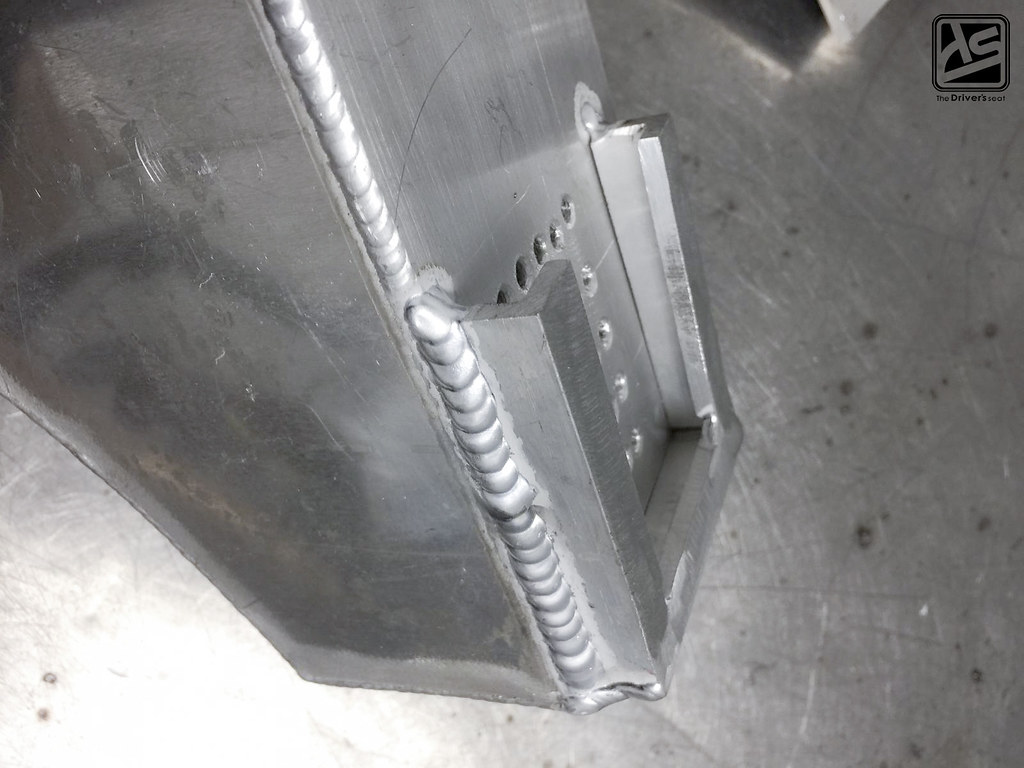
The mounting tabs welded in place only to be drilled for the ideal location…

At the top of the tank some provisions were made to fit the breather pad…
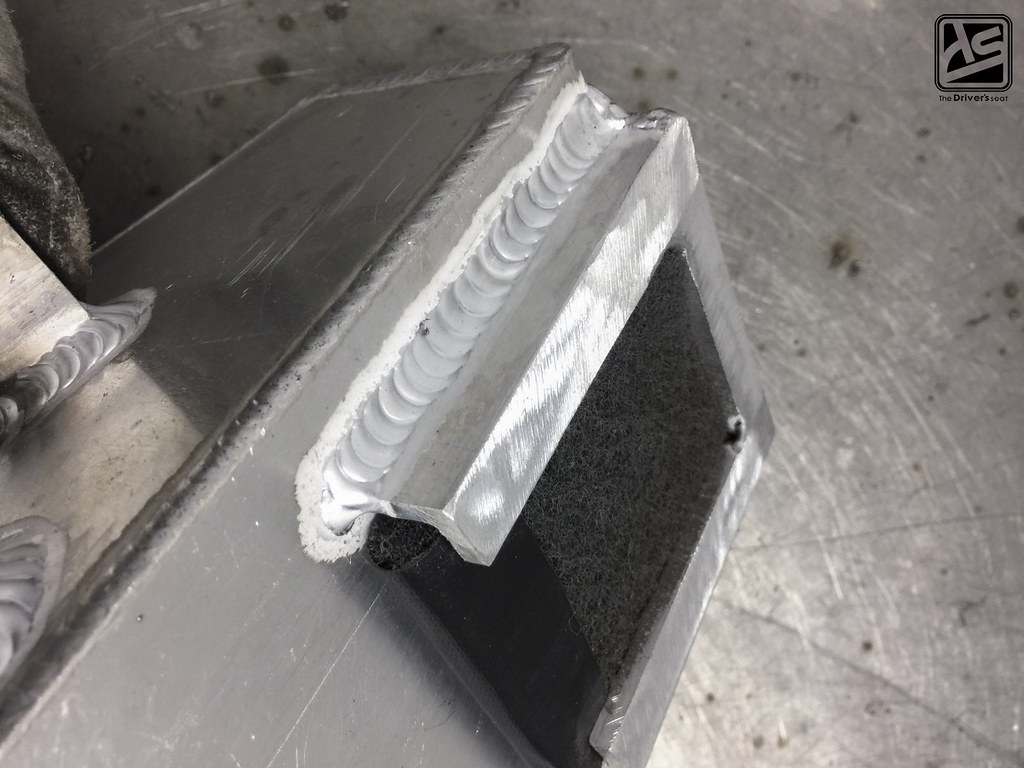
Breather pad in place to give you guys an idea of what the completed setup will look like…
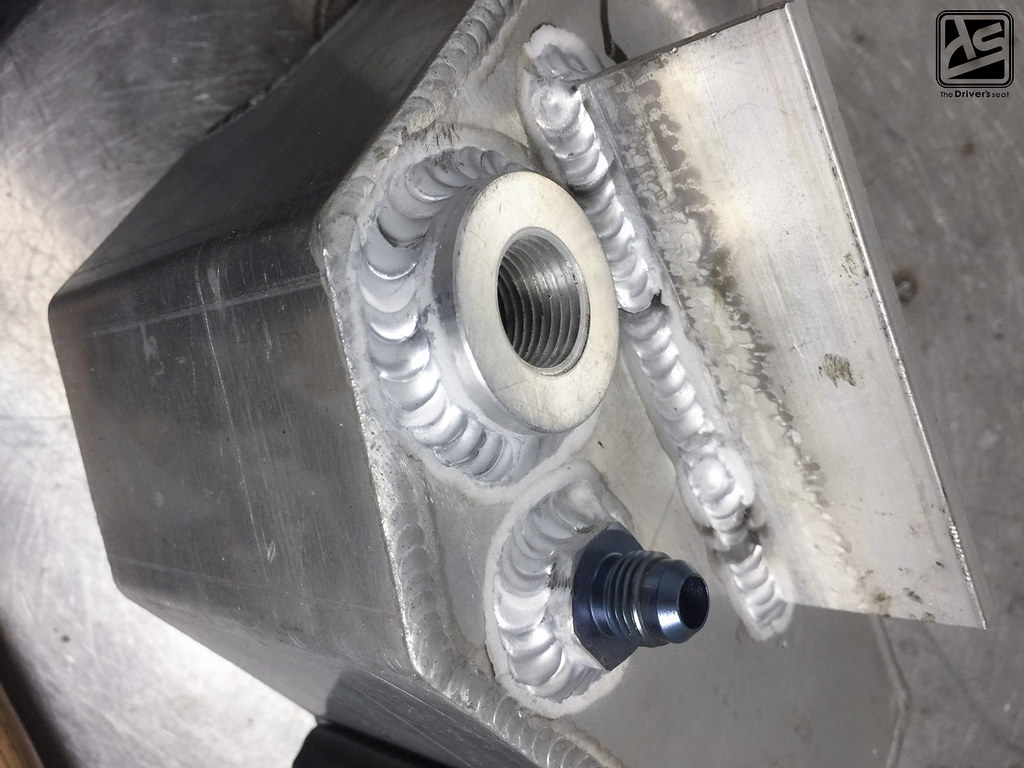

The -10 Port is for the breather inlet and the -6 is for an overflow hose…

At the underside of the tank a drain bung was welded into place…
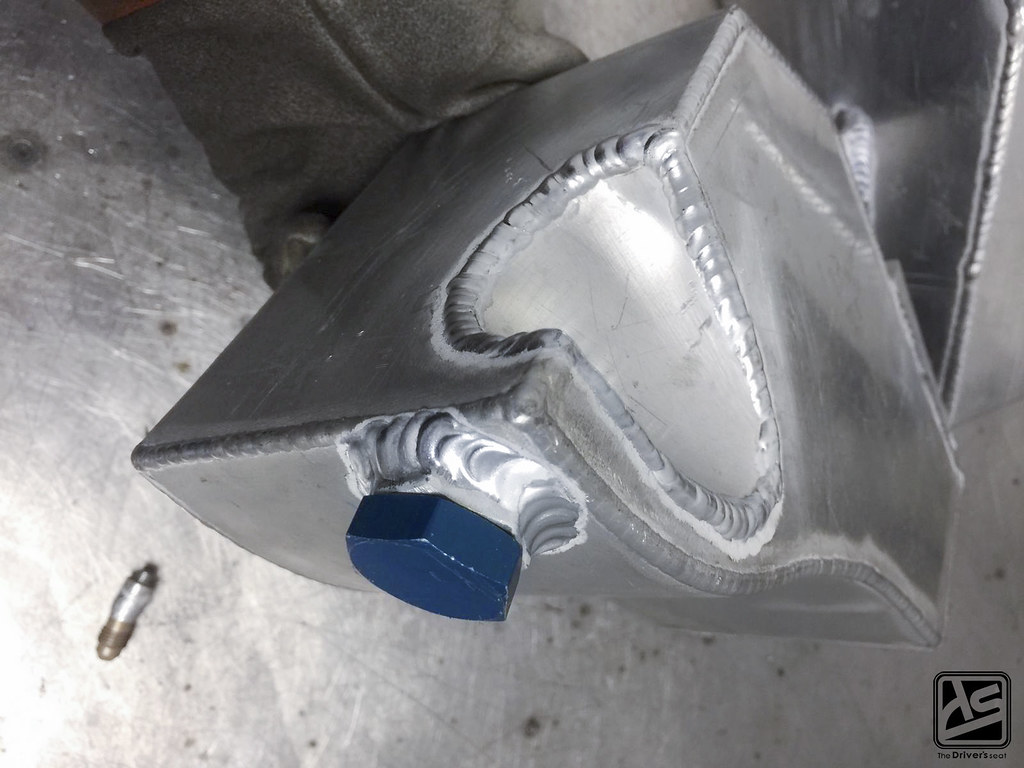
In addition to the necessary fittings and attachments that were added, there was a clearance issue that arose with the back of the breather tank and the throttle cable…
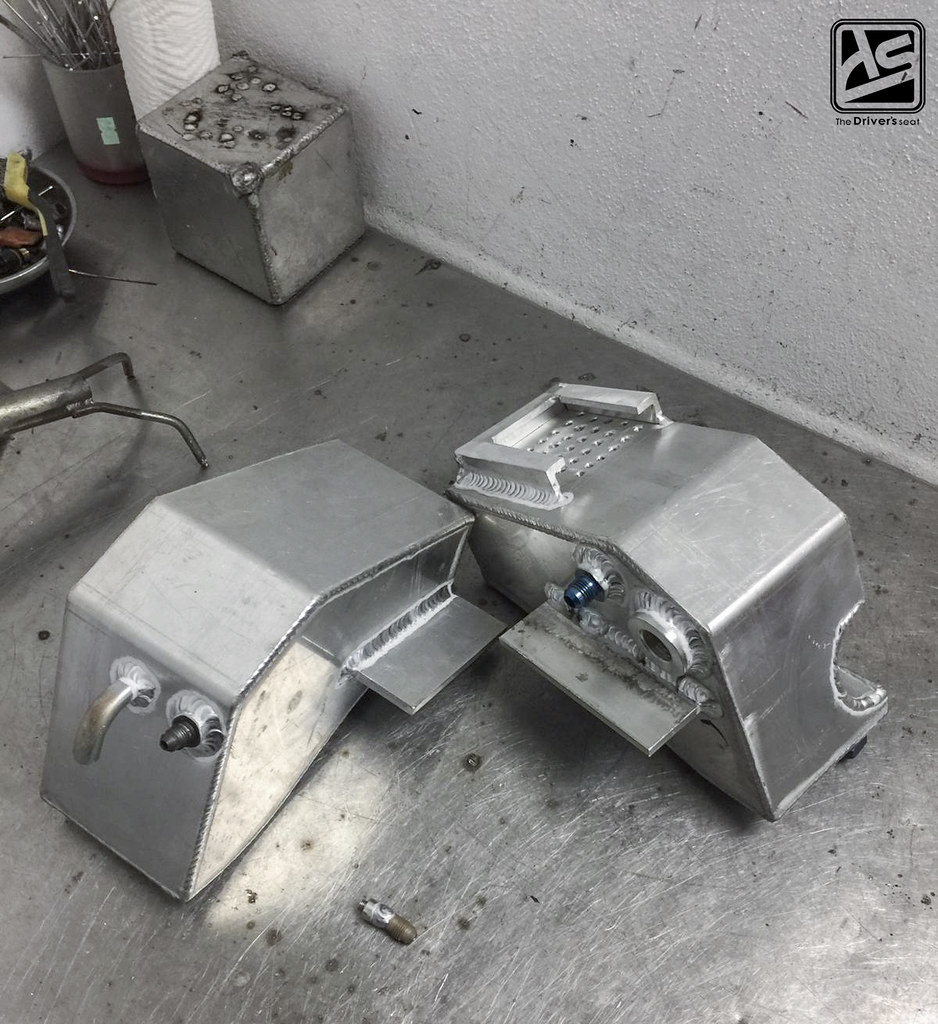
The completed pieces ready for collection…

Adrian as he looked on focused on the task at hand of put the finishing touches on the Civic…
Although the guys were in good spirits after the motor fired up, there was still work to be done. The intake pipe required some tweaking to fit in the desired location…

ReWeld went to work and made the adjustments to the intake pipe and while he was at it, he welded a bung for the intake air temperature sensor…

A closer look at the weld work done on the intake pipe and IAT bung that was fitted….
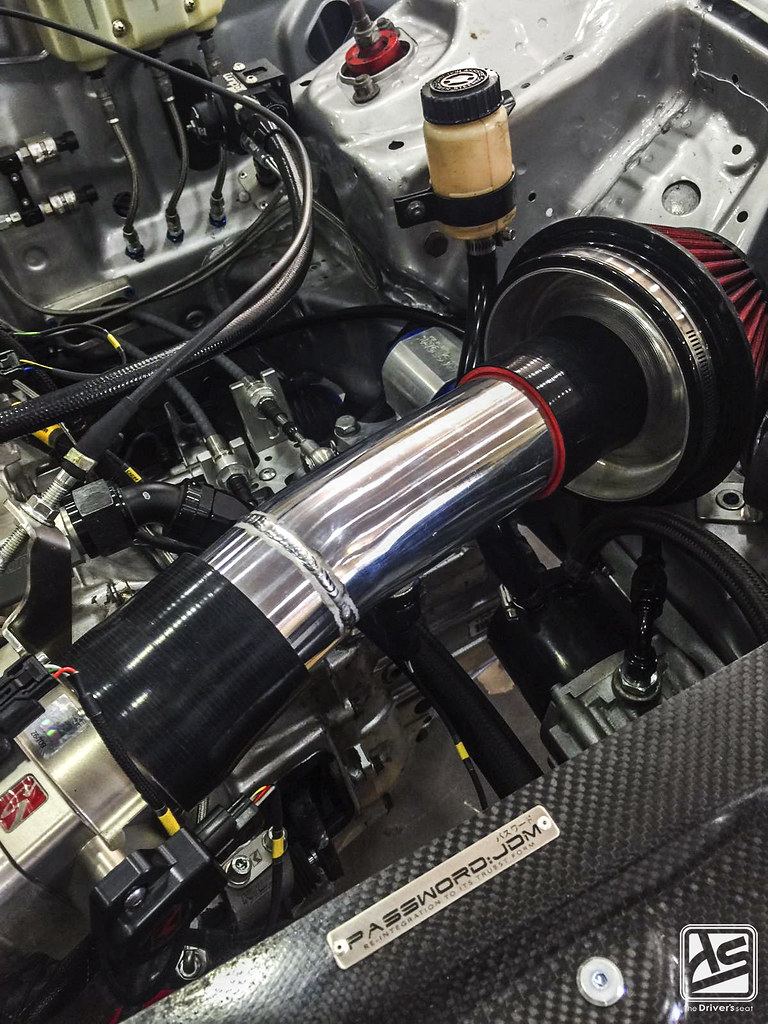
With the intake back at the workshop, the guys tested the fitment on the car…

Mated to the K-Tuned velocity stack and filter combination…
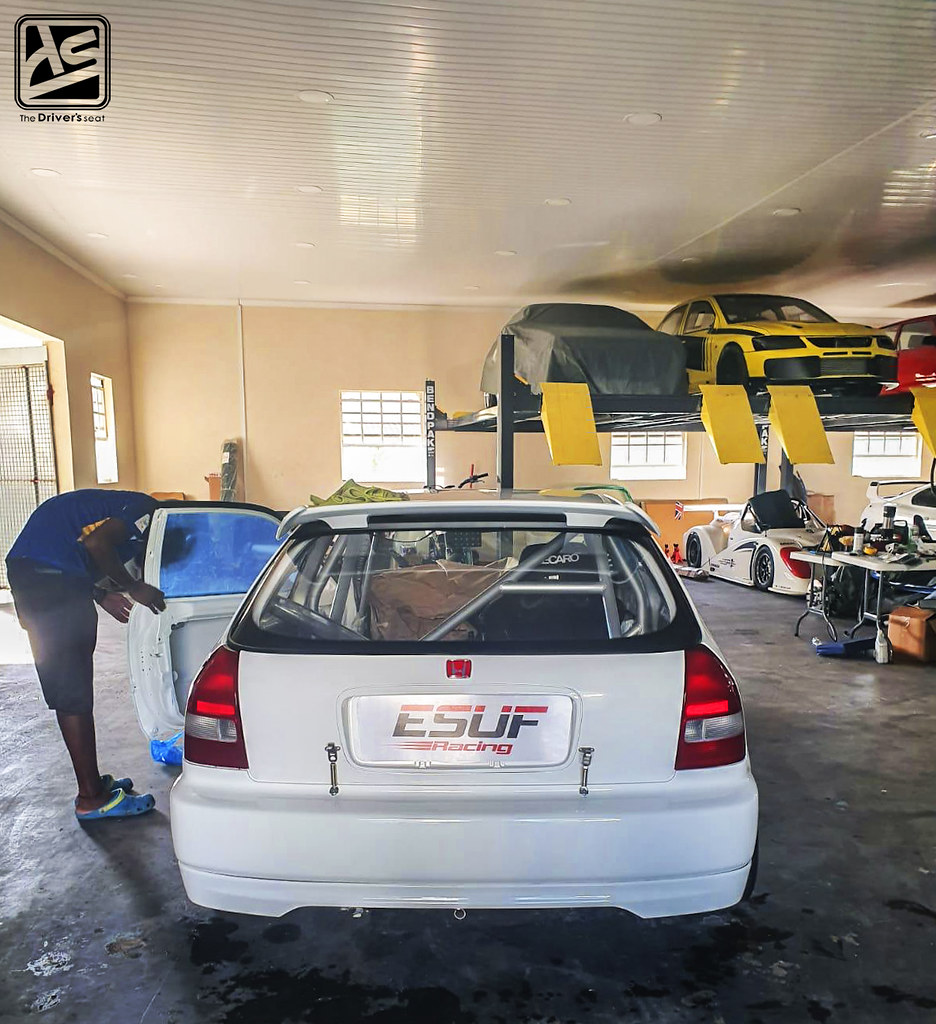
The car was now fully fitted together and even had Esuf Racing decals, all in preparation to hit the dyno to have this thing tuned and ready for some testing…
This brings us to the end of Today’s post, a huge shoutout to everyone who aided in anyway possible to reach this point within the build. Thanks for taking a look, be on the lookout for more to come your way.
