
Sol’s E46 Rally Build… Introduction

Growing up Sol was an all time fan of RWD cars, and rallying was always a distant dream of his. Fast forward to being in a position to turn it into a reality, Sol jumped on the opportunity and gave it some serious thought. Given his experience with project cars over the years, he knows how complicated and time consuming they can become. Having a reliably built car needed to be at the core of his decision; and after doing a fair portion of research for a competitive RWD car, Sol landed on the idea of a BMW.
Specifically the E46 M3, which is not only reliable but is also a very strong competitive based car and is the most logical choice to start with. In addition to this, he would be taking a leap into a form of racing that he had little to no experience. Not being versed in this form of motorsport from a competitive standpoint, Sol spent a significant amount of time doing some research on the vehicle itself as he never owned a performance based BMW before. The E46 comes from the factory with a very capable motor, suspension and braking system; this is combined with a great chassis, making it optimal for most forms of motorsport.
Upon making a decision on moving forward with this plan, Sol went on a hunt for an unmolested E46 that wouldn’t require much effort in transforming it to rally specifications. As the BMW is a European based car, he decided it would be best to search within the U.K for a car that matches his criteria. He was successful in his search and found a great base to start with and immediately went to work on having the car stripped to be prepared. We’ll be taking a look at the first photos of the car when Sol purchased it and following through upon arrival on the island.
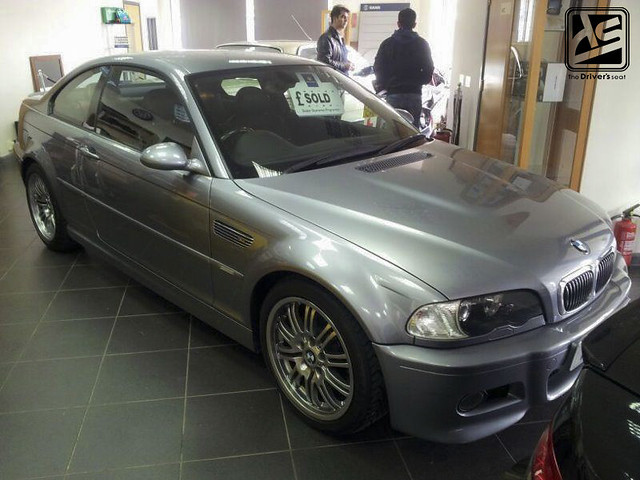
A first look at the E46 M3 Sol purchased, which was in mint condition…
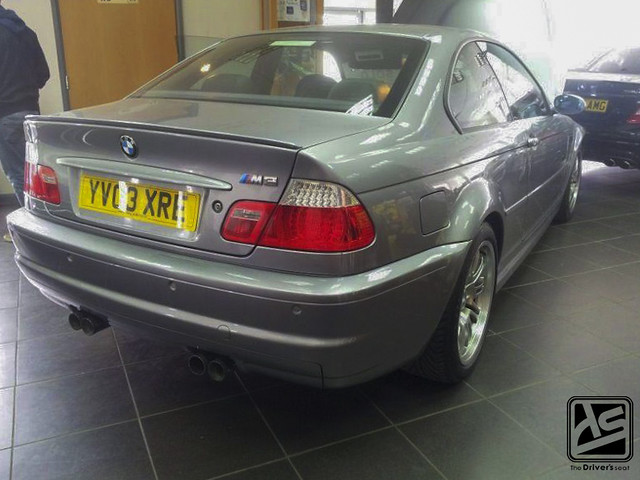
A look at the rear of the car while it was in the showroom on display…
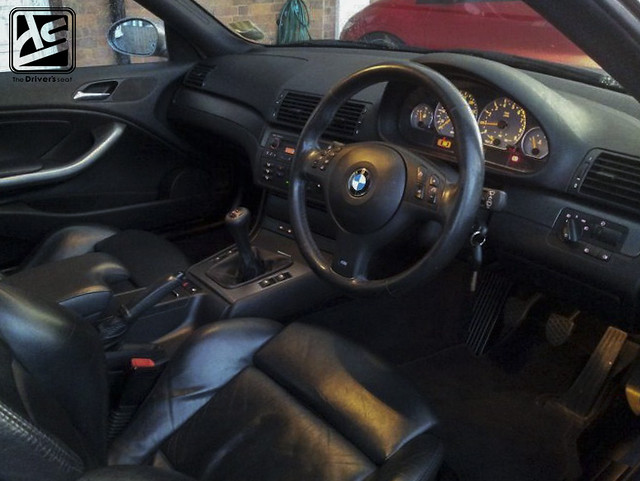
A look at the interior with the optional leather seats…

Given the age, the car was relatively low mileage…

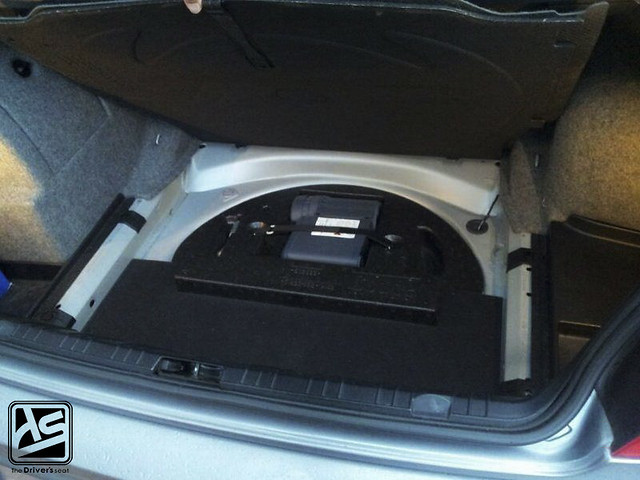
Moving to the rear you guys can get a look at just how well maintained the car was…
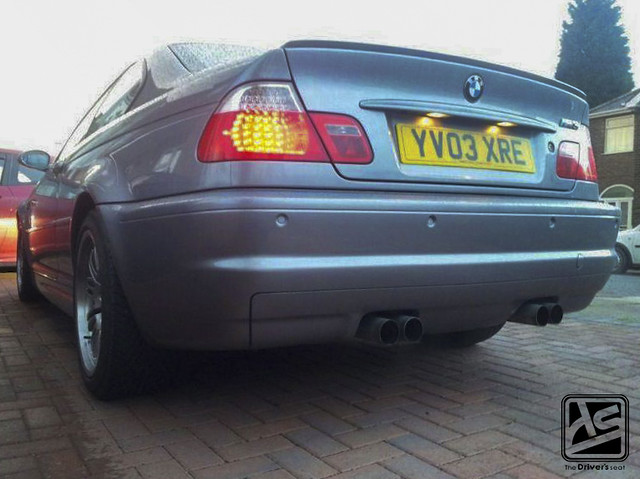
Another shot of the rear just before it was on the way to be stripped…
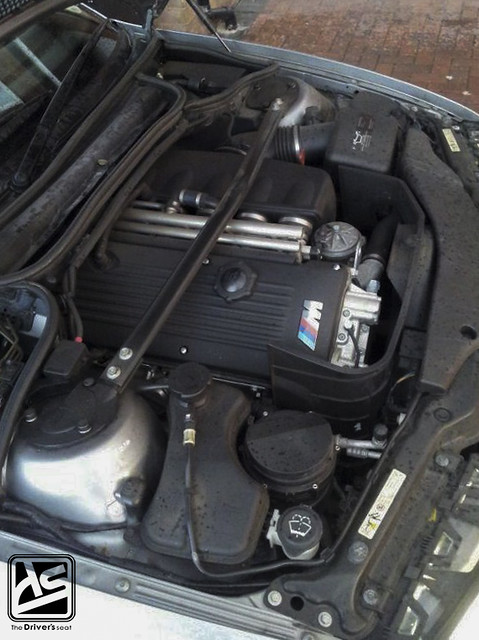
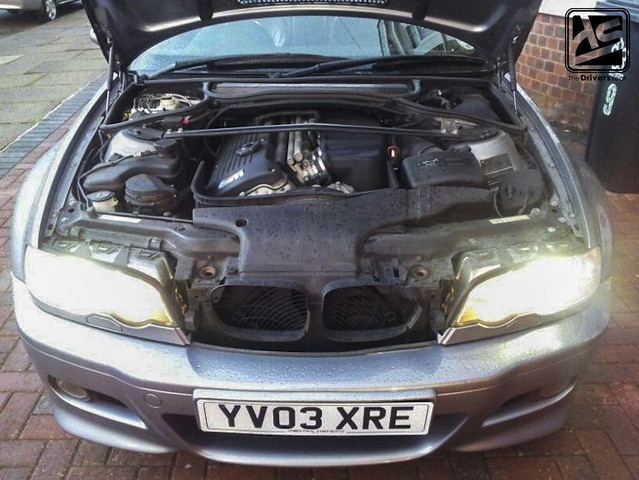
A few engine bay shots of the bone standard S54 motor…
The car was then stripped and sent to Custom Cages. While it was there the guys fitted it with one of their units to ensure the car will be legal for competition. This would also speed up the process of having the cage fabricated locally after it arrived. Upon completion the car was then loaded up and shipped…

Shortly after the car was cleared and arrived at the workshop…


The doors and other misc pieces stuffed inside of the car…
A look at the partially torn apart front end as the car sat on a pallet…

A look at the bay with the hood removed; from here the remaining items will be stripped before sending it off to be painted…

A first look at the cage after the guys showed it some love with some sand paper…
The car sat for some time after arriving on the island awaiting some parts before it was sent off to Corbin’s Garage to begin the bodywork and paint phase…
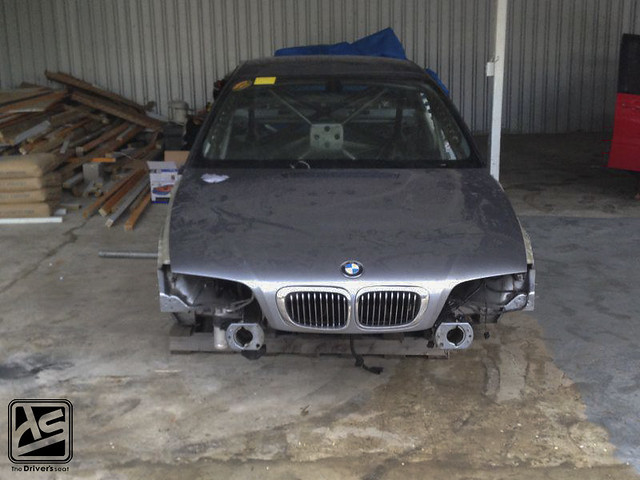
Based on the condition, it was clear the car had been sitting in storage for quite a while. Nevertheless it was time to start making some moves on the build…


The E46 shell shortly after it arrived at the garage for the guys to fully assess the condition and make a decision on how they should proceed…

Since the car’s arrival on the island, the front end had not been reassembled; a side shot of the missing front fender…


Varying angles of the torn apart front end exposing the steering rack and bottom arms…
A shot of the engine bay where the cage ties into the shock towers…
Moving our way to the inside of the car, the exposed Custom Cages unit had seen better times…
A look at the dash bar that ties into the cage…

A view of the gusseted driver’s side door bars…

Bars on bars on bars…


In the rear a significant amount of pipe was added to aid with the rigidity of the chassis…

A view of the trunk area…
A glimpse of the fitment on the factory wheels…

From the factory the E46 M3 comes with BBS 18×8 wheels at the front and 18×9 in the rear…
The wheels came wrapped in a set of 225/45 series tyres…

Another look at the gusseted door bar, this time from the passenger’s side…
Cant get enough of this centre gusseted cross bar setup…
A look at where the mid points of the centre section ties into the chassis…

The guys went all out on the gusseted sections on this cage, here they are in the cross bars for the roof…


A look at the floor where the factory seating brackets were removed in favor of some custom seating brackets that would allow both driver and navigator to be positioned lower in the car…
Full side shot of the M3 sitting…
After going through the car from top to bottom the guys came up with a game plan and started to begin work…

A view through the quarter panel where you catch a glimpse of the Custom Cages tag…

The guys began by first stripping the remaining sealant from within the cabin….

The guys were making steady progress throughout the interior…

Next up was the removal of the rear windshield as to make things significantly easier while preparing the interior…


The trunk area after the bulk of the sealant was removed…
Along with the rear windshield, the front was also removed…


Working our way to the engine bay, it was clear where the guys spent most of their time…
A view of the current state of the engine bay after the guys went to work…

Random shot of the rear of the gutted E46 where the bars seem the be in perfect symmetry to each other…

Having completed the interior, trunk and engine bay, the guys focused on removing any and everything they could have from the fender arches…
A look under the rear fenders…


What I was able to capture on the front under arches removal…


And with that shot, thats all for today’s post. Thanks for taking a look at Sol’s E46 Rally build; and stay tuned for part one to come shortly where we take a look at the transition process carrying us into the paint stage.
