
Dominic’s KP61 Build…Part 3
I have quite an exciting post for you guys today, Dominic finally got the car back from Corbin’s Garage and the guys did a great job on the restoration. I also have an update on the engine build along with some shots of the car during the re-assembly process. Without wasting any time, let’s get right into it…
For those of you that would like a recap of the progress of the build thus far, I’ve provided link below…
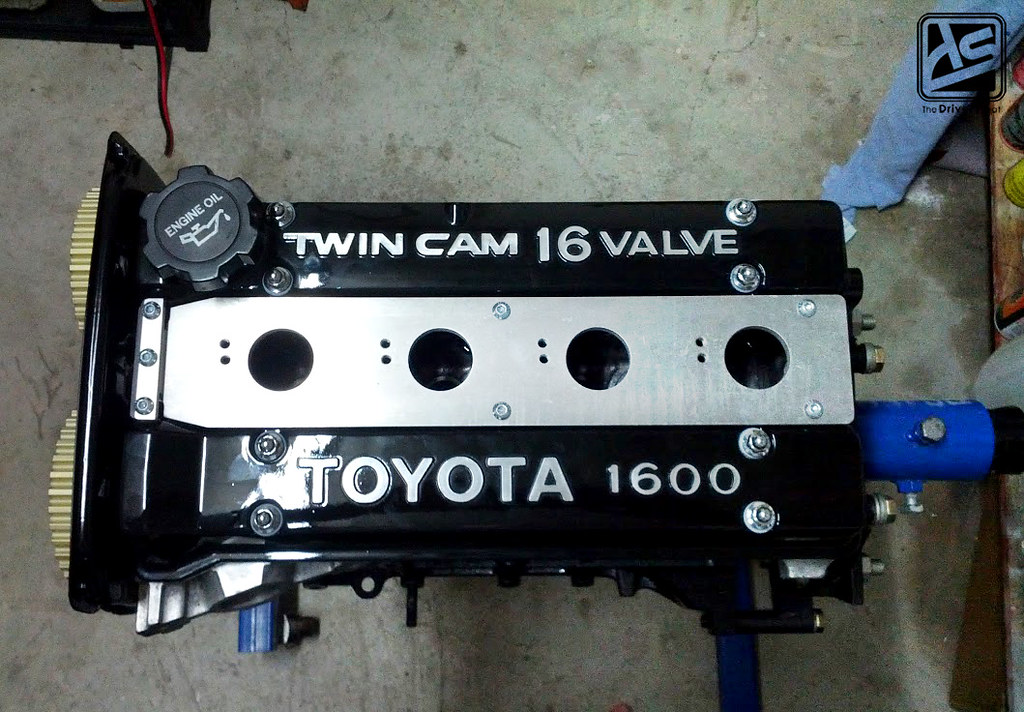
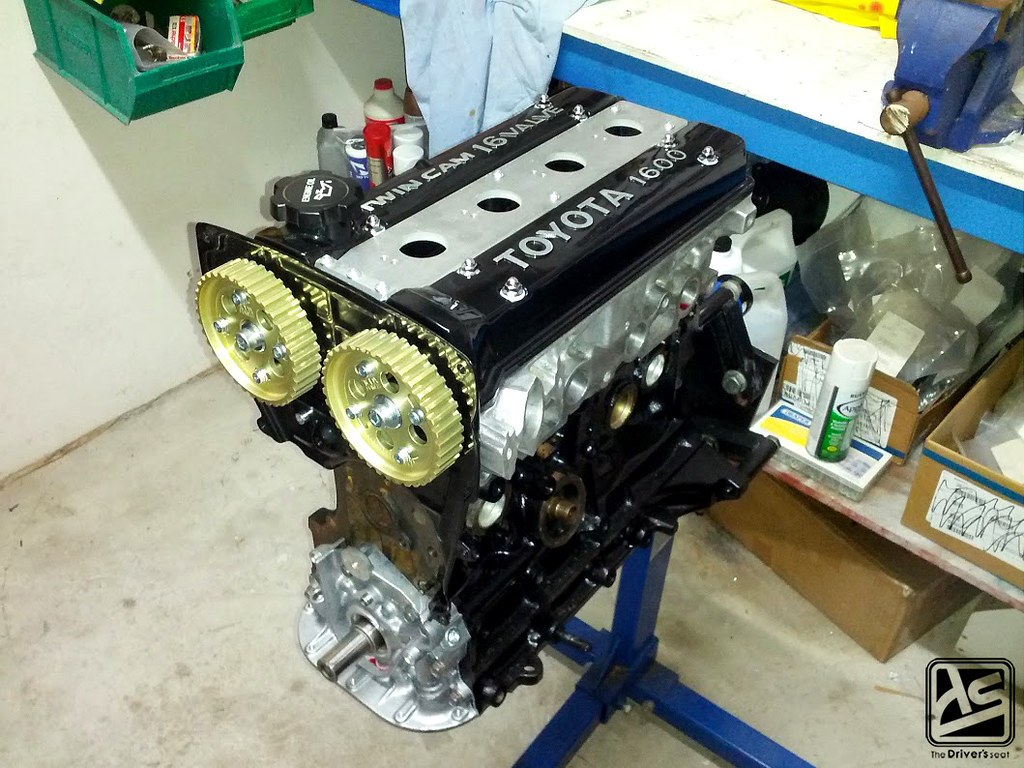
Some shots of the engine as it was being assembled on the stand… The gold Toda cam gears combined with the gloss black cam covers and the custom made aluminum coil plug cover is an indication of the quality of this build…

Techno Toy aluminum crank, water pump and alternator pulleys were used to help shed some weight…
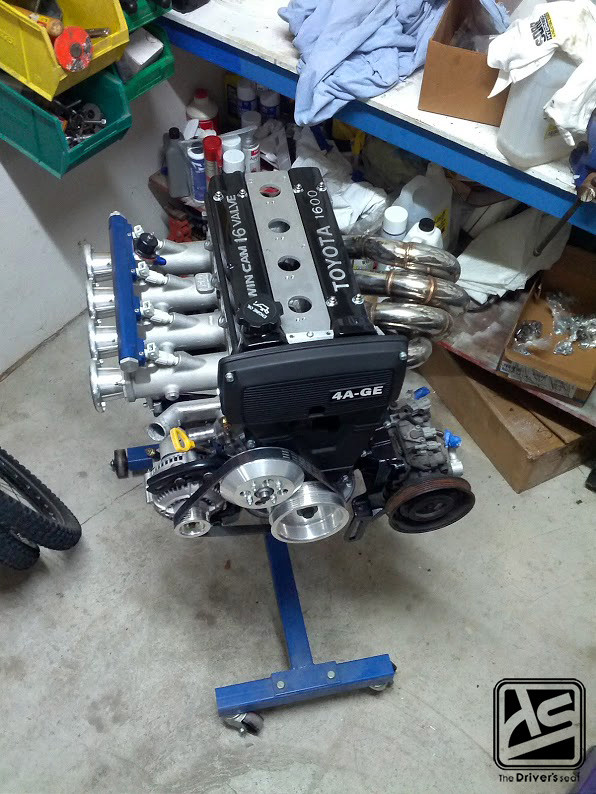
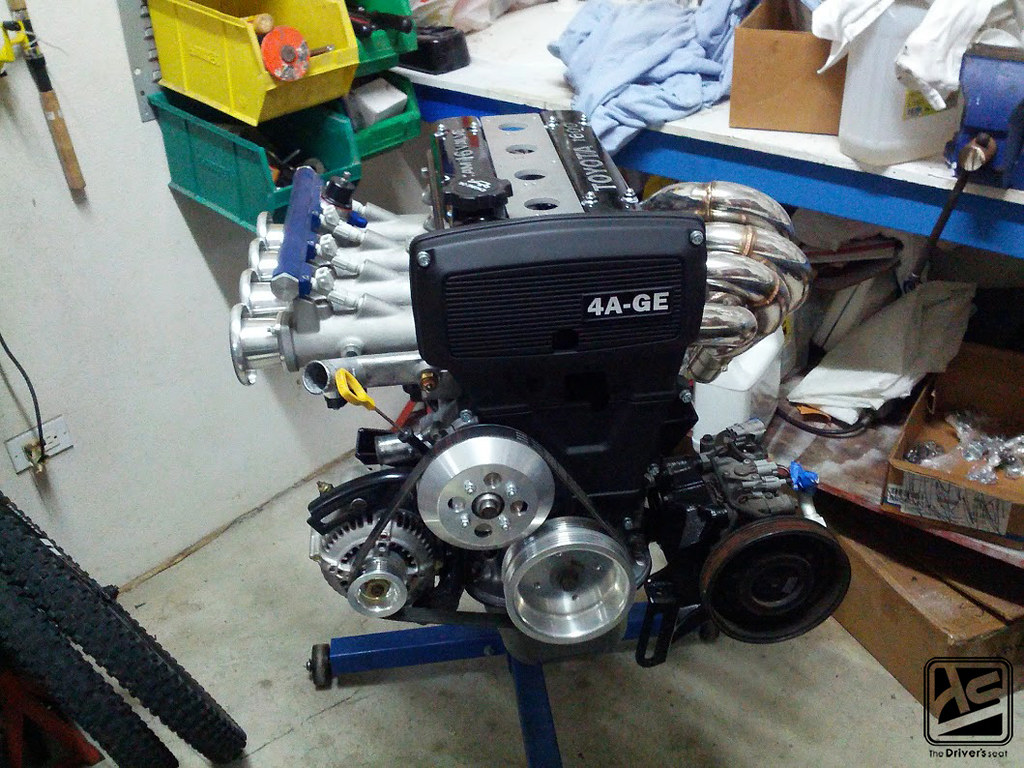
The complete motor with the ITB’s and header fitted…
The engine was primarily built around reliability, the block was stripped, cleaned and rebuilt with a new oil pump, water pump and starter with just a few extra add-ons…
– ARP bolts and studs
– Toda adjustable cam gears
– Toda timing belt
– Toda flywheel
– TWM ITBs
– OBX Header
Meanwhile at Corbin’s Garage… The guys were busy laying down some paint…
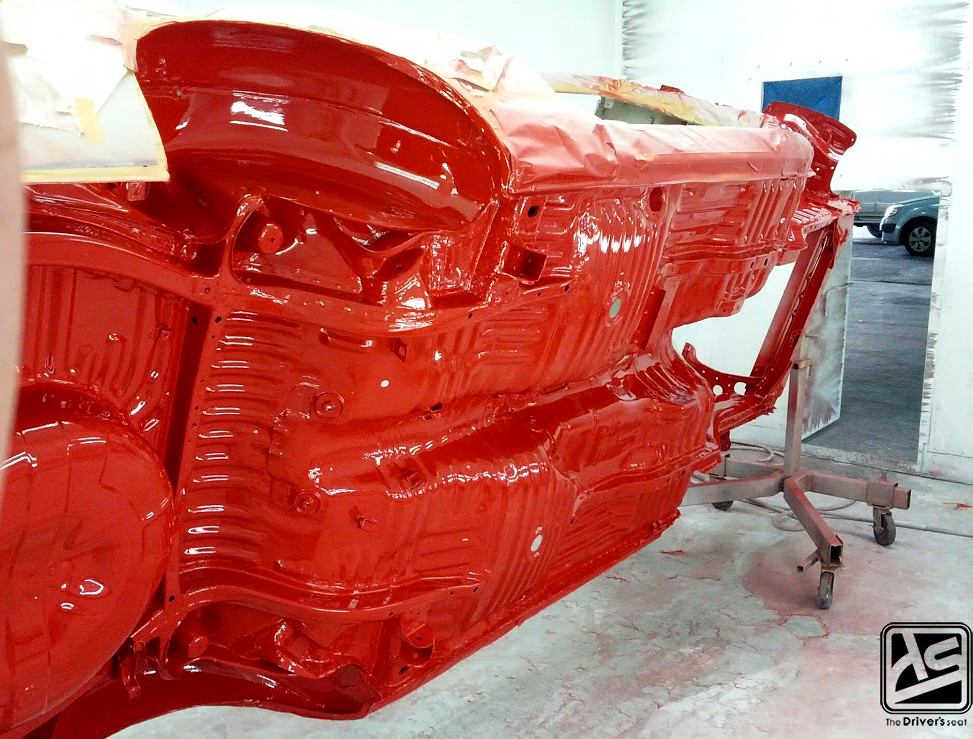

When I first saw the underbody I was at a complete lost for words…
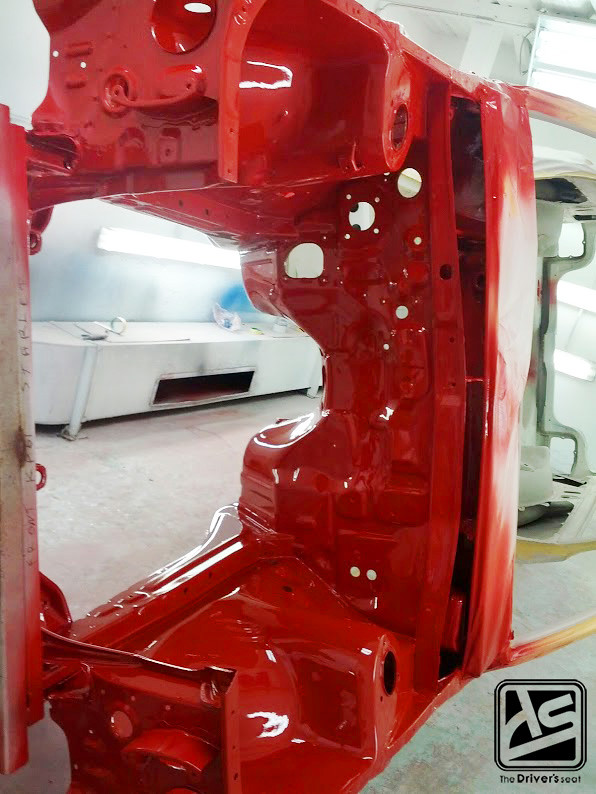
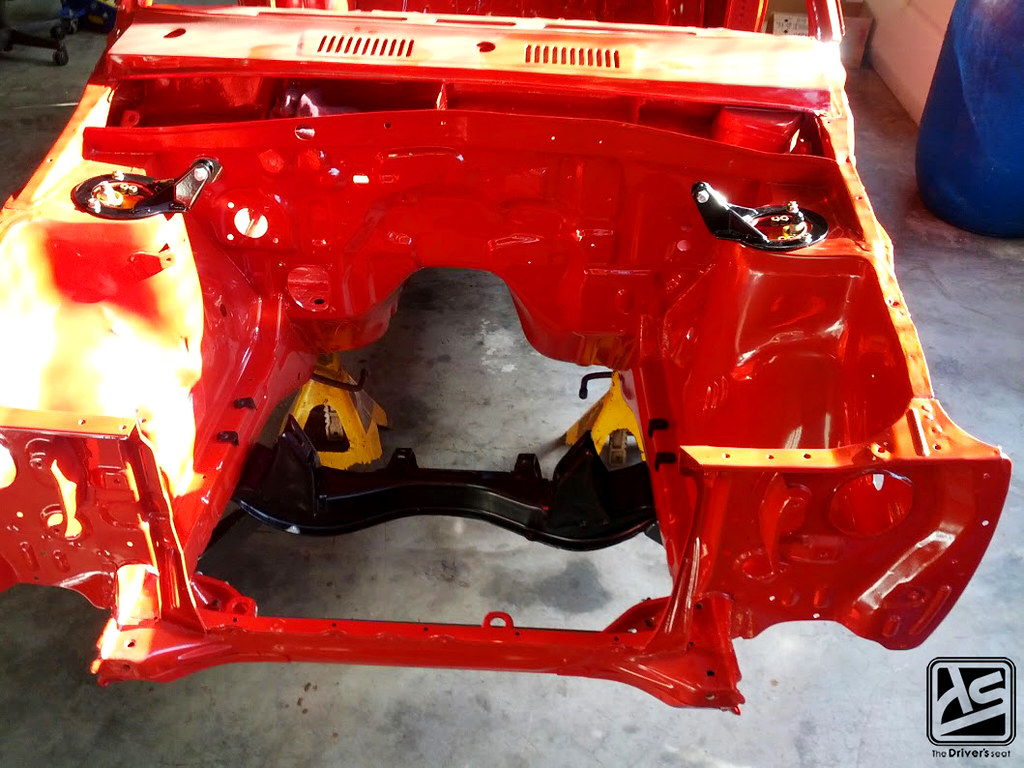
View of the engine bay…
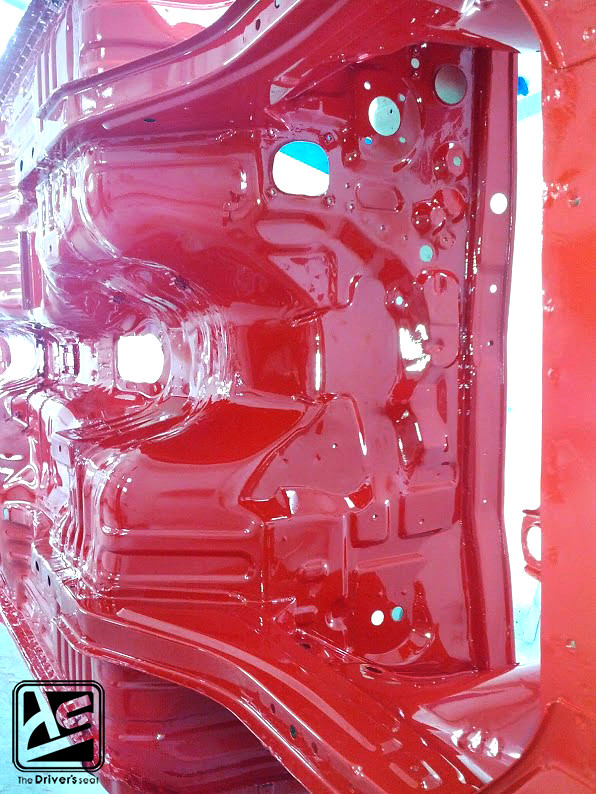
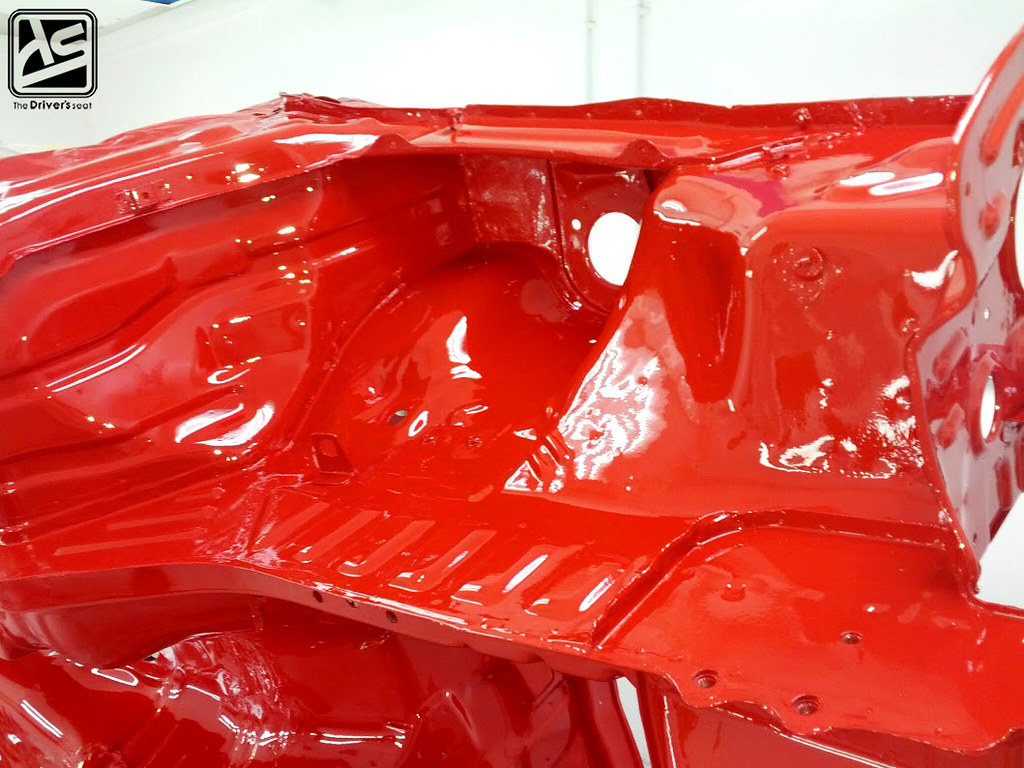
A few more of the underbody… the attention to detail was simply amazing…
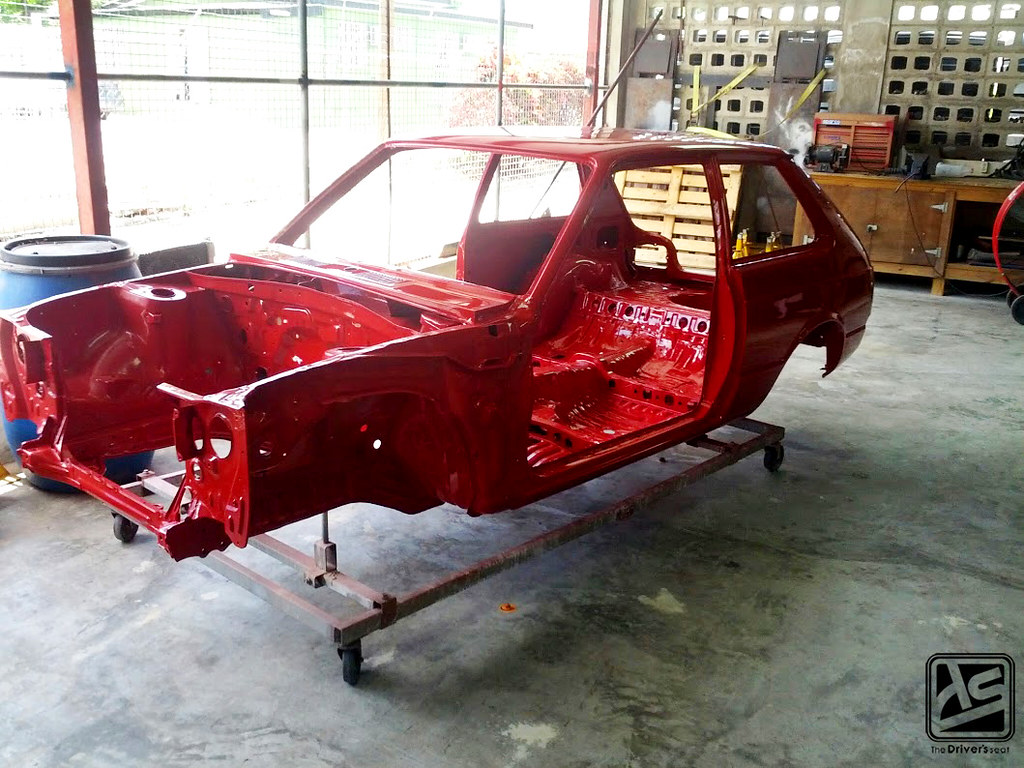
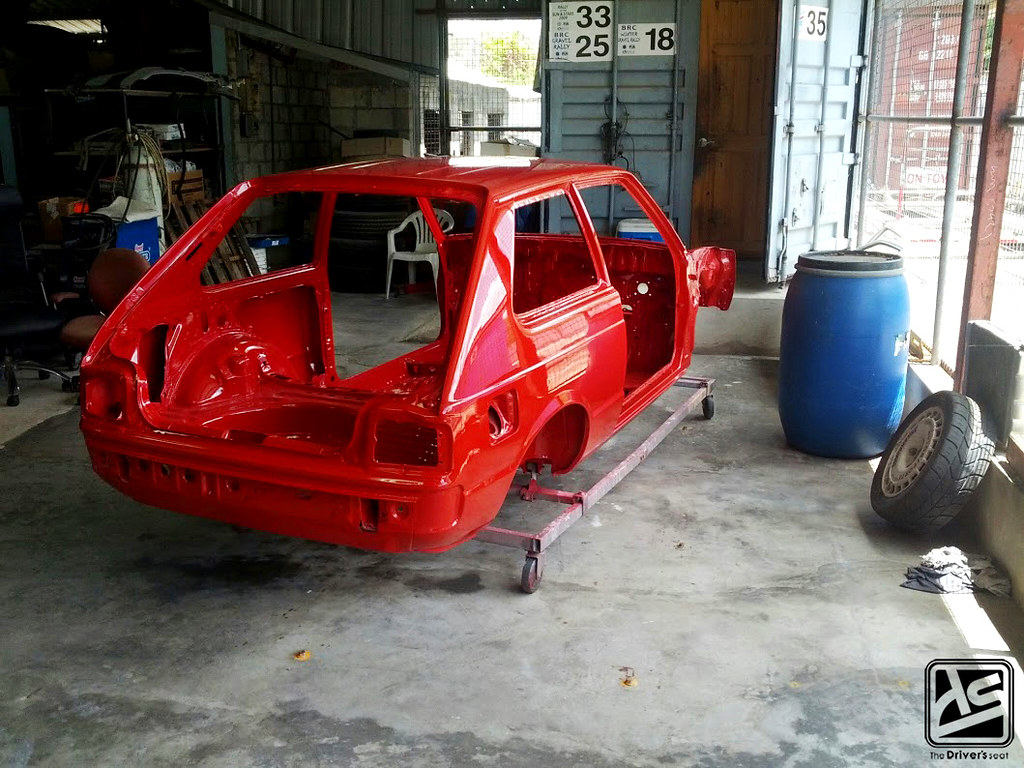

Varying angles of the shell still sitting at Corbin’s Garage…
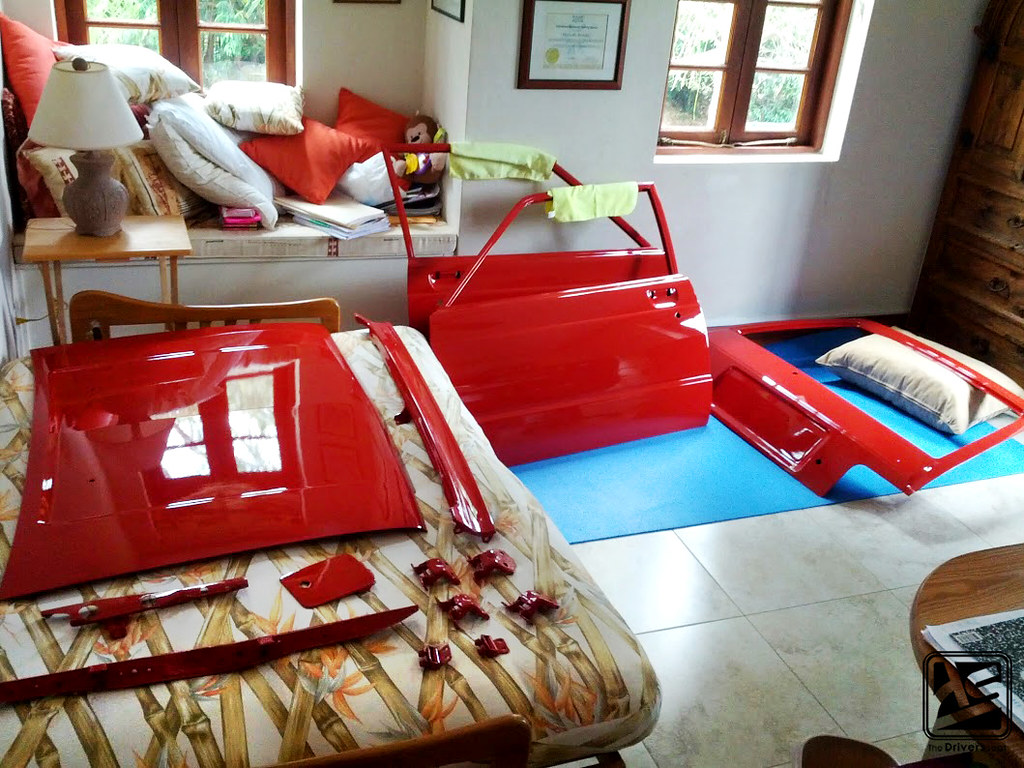
The door, tailgate, hood and other pieces as they arrived at home…
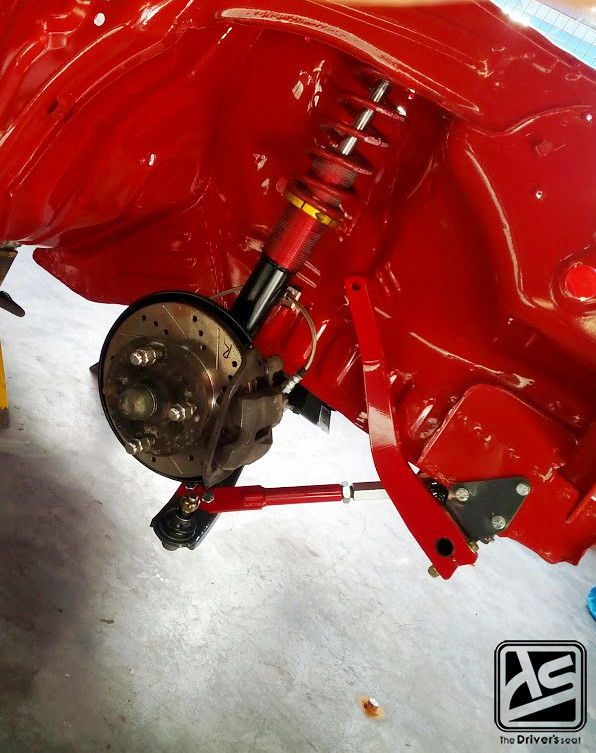
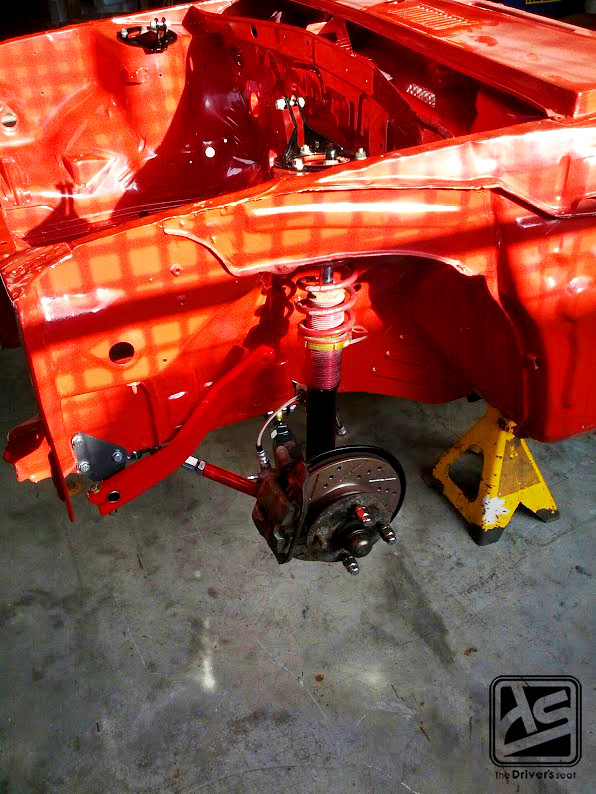
While browsing Techno Toy Tuning’s site Dominic got a little carried away and this was the result… Dominic had the Techno Toy coilovers rebuilt with the AE86 strut casing with custom spring rates that would be more suitable for this build. This upgrade would allow him to utilize the AE86 brakes as an upgrade from the stock KP61 units. Dominic also had Techno Toy fit their adjustable camber plates and upper hats to the struts. As we’re on the topic of brakes Dominic will be using cross drilled and slotted brake rotors with the AE86 calipers and Mintex performance pads.
Another notable change is the upgrade to Techno Toy front suspension conversion and sway bar. This includes adjustable lower control arms, adjustable TC rods, rose jointed adjustable end links, modular racing adjustable swaybar and front chassis brace.
While on Techno Toy Tuning’s website, Dominic also decided to pick up their strut tower brace. When it arrived, he sent it to be powdercoated in black to go with the black and red theme of the build.
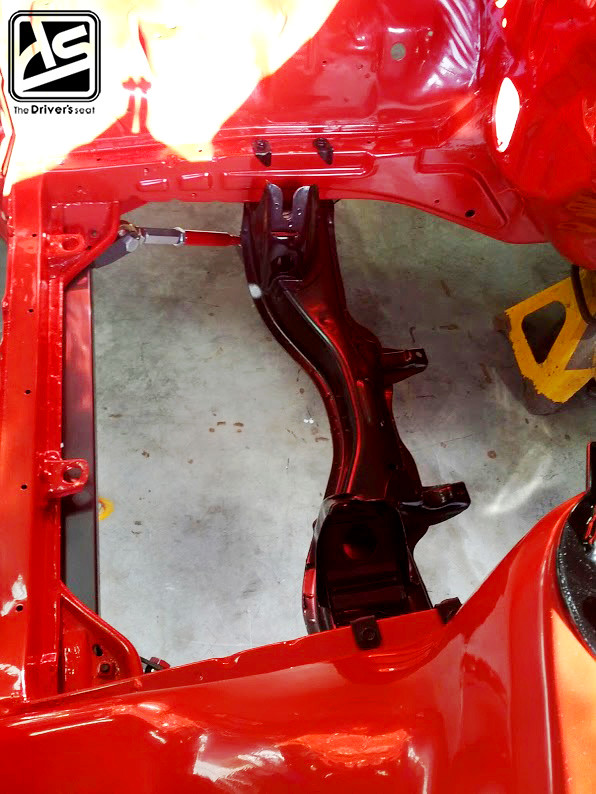
While Dominic was at it he had the subframe powerdercoated…
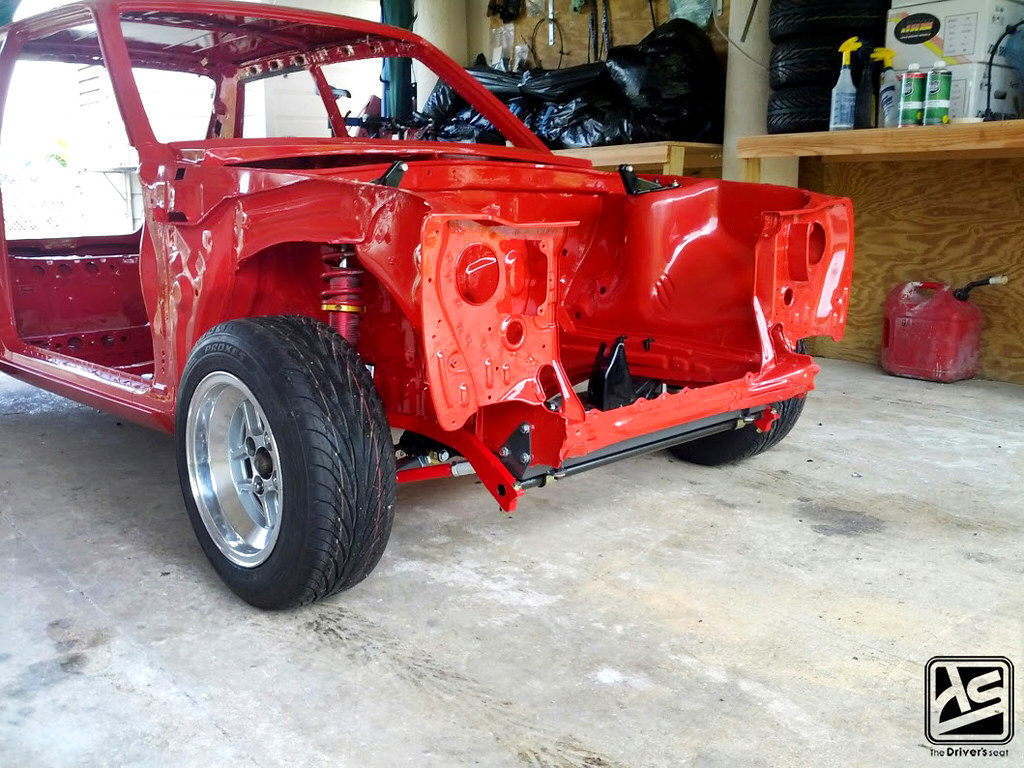
Tom’s Igeta wheels fitted and you guys get a better look at the Techno Toy front sway bar setup…
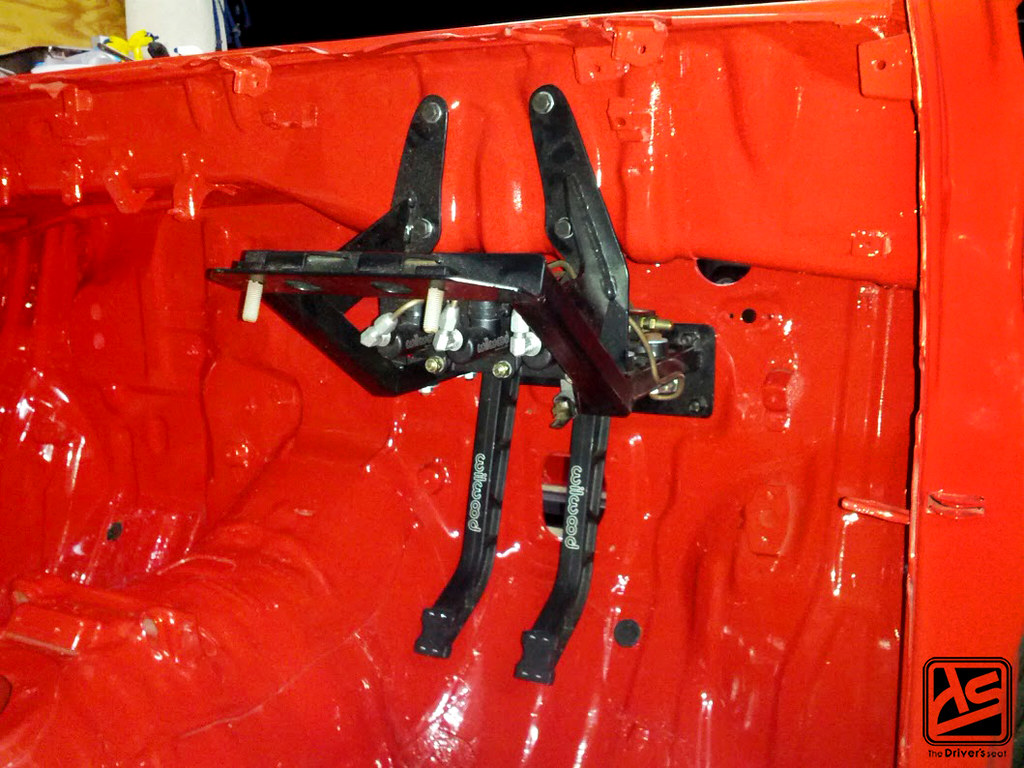

Les Hunter Racing mounting bracket along with the Wilwood reverse mount pedals…
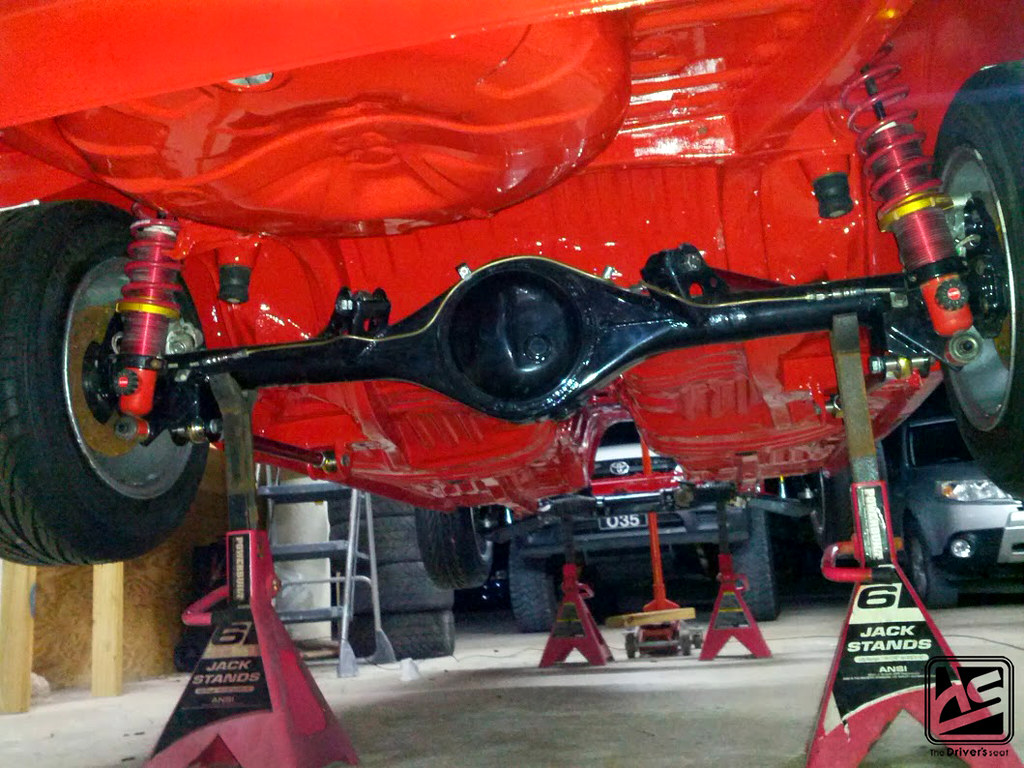
The recently modified Carina rear end finally made its way onto the car along with some additional goodies. In addition to rebuilt coilovers, Dominic purchased Techno Toy’s rear 4 link. These will help with traction while eliminating wheel hop and also improve driver feedback.
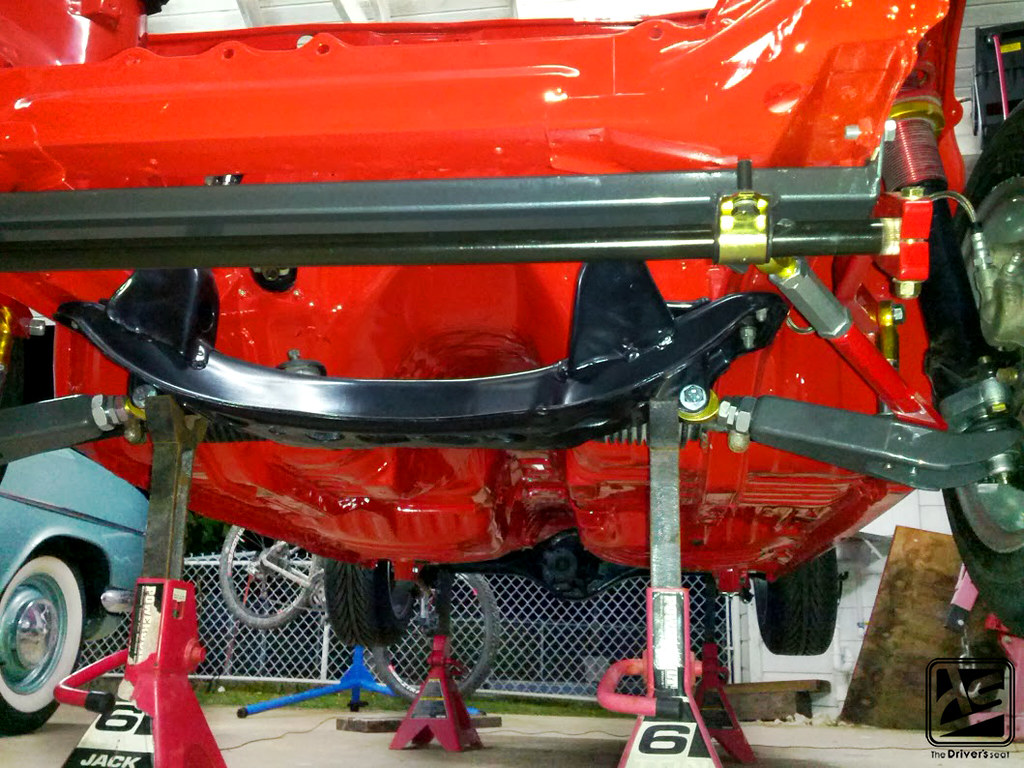
A closer look at front subframe with the Techno Toy front suspension and swaybar setup…


Things starting to come together… While the car was off to be painted, Dominic had the dash disassembled and sent to get a fresh coat of paint in the original brown.
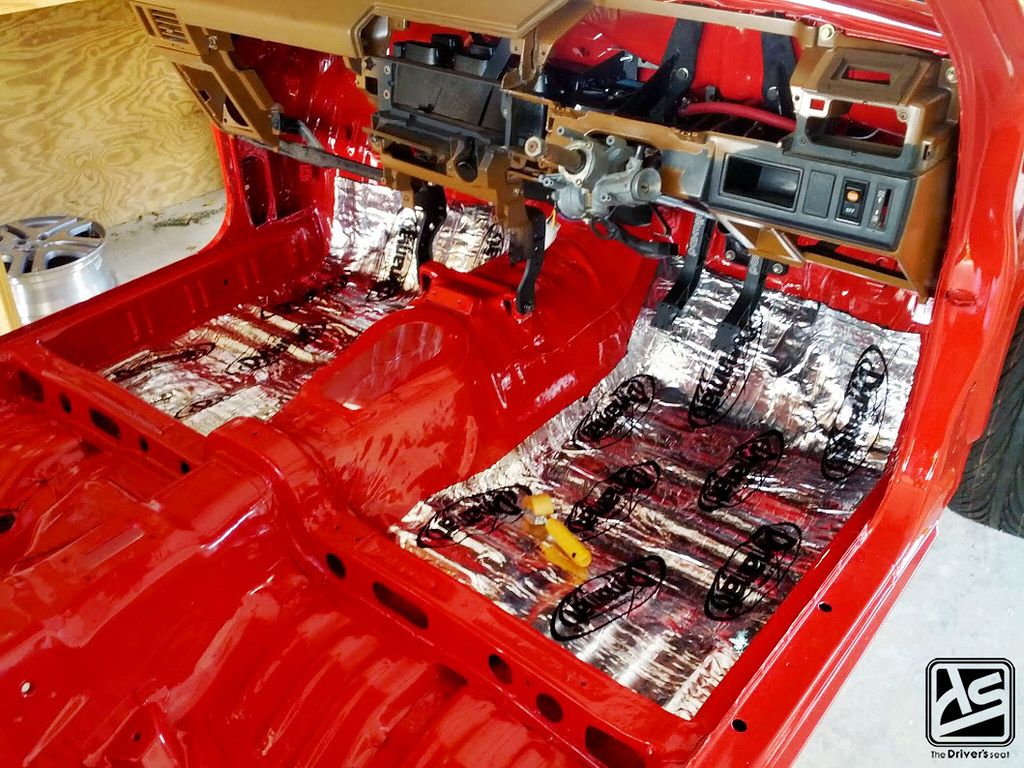


The Dynamat being installed which should eliminate a significant amount of road noise…

At the front and rear…

The downside or upside of having the Wilwood reverse mount pedal assembly is that you have to find a location to place the reservoirs. With the Starlet already being cramped for space and wanting to keep the engine bay as free as possible; Dominic had a great idea to mount them next to the wiper motor. It was quite a challenge but it all worked out in the end as it looks as if the location was built to house them.
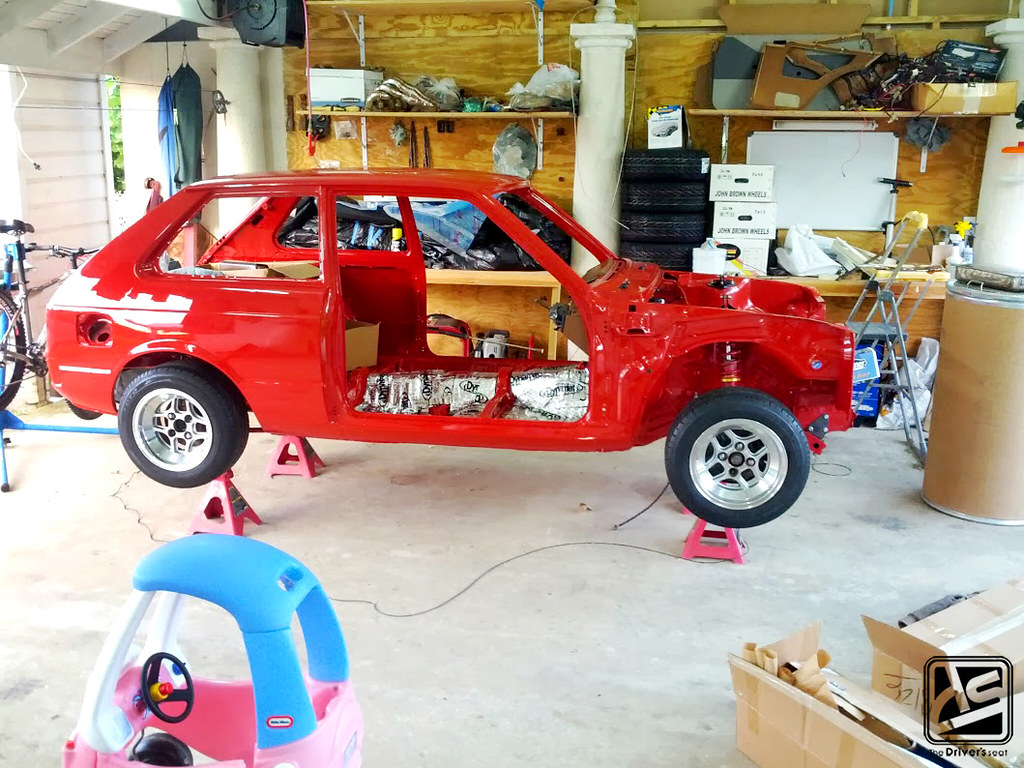
A full side view so you guys can get an idea of how things are coming along…
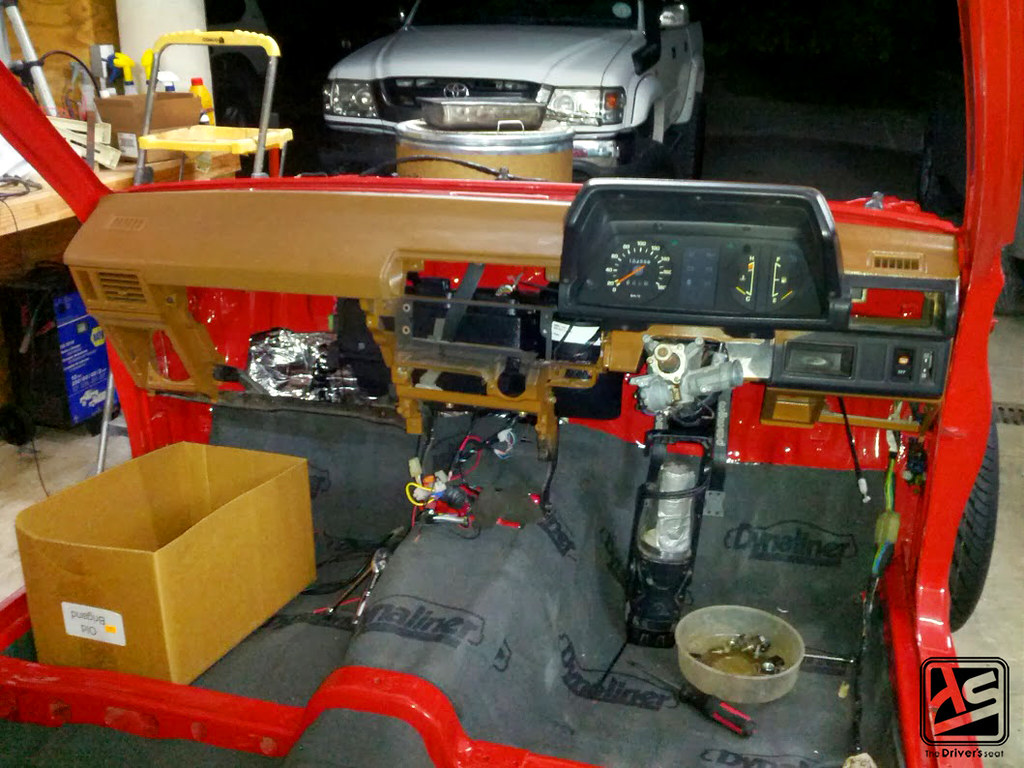
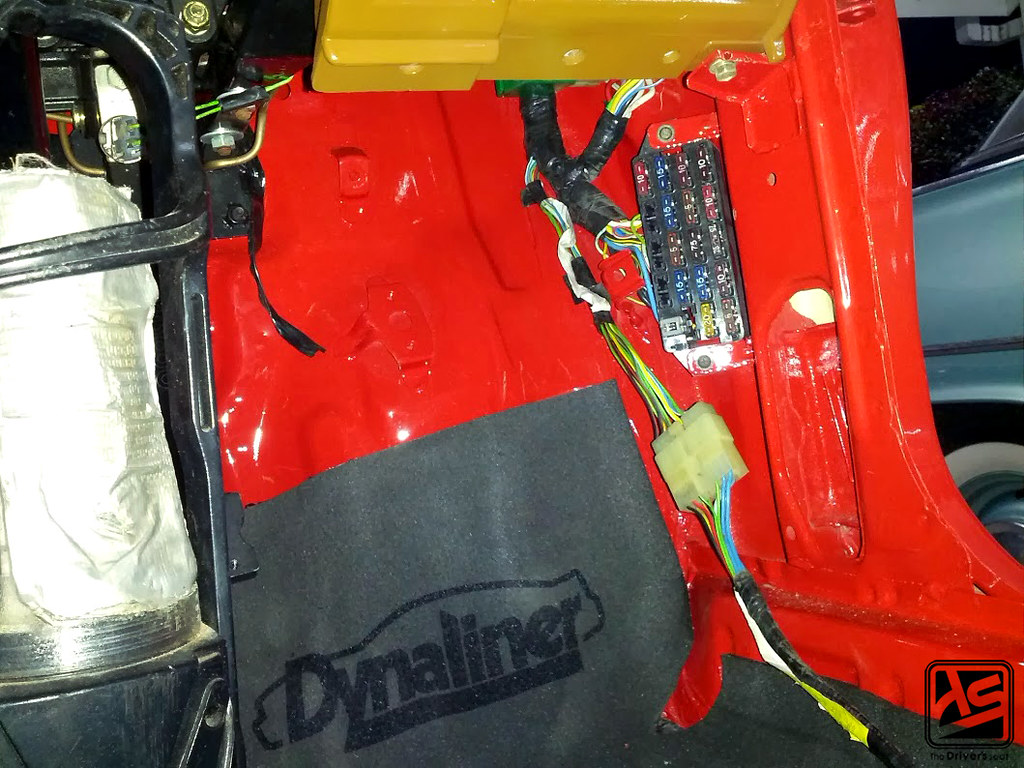
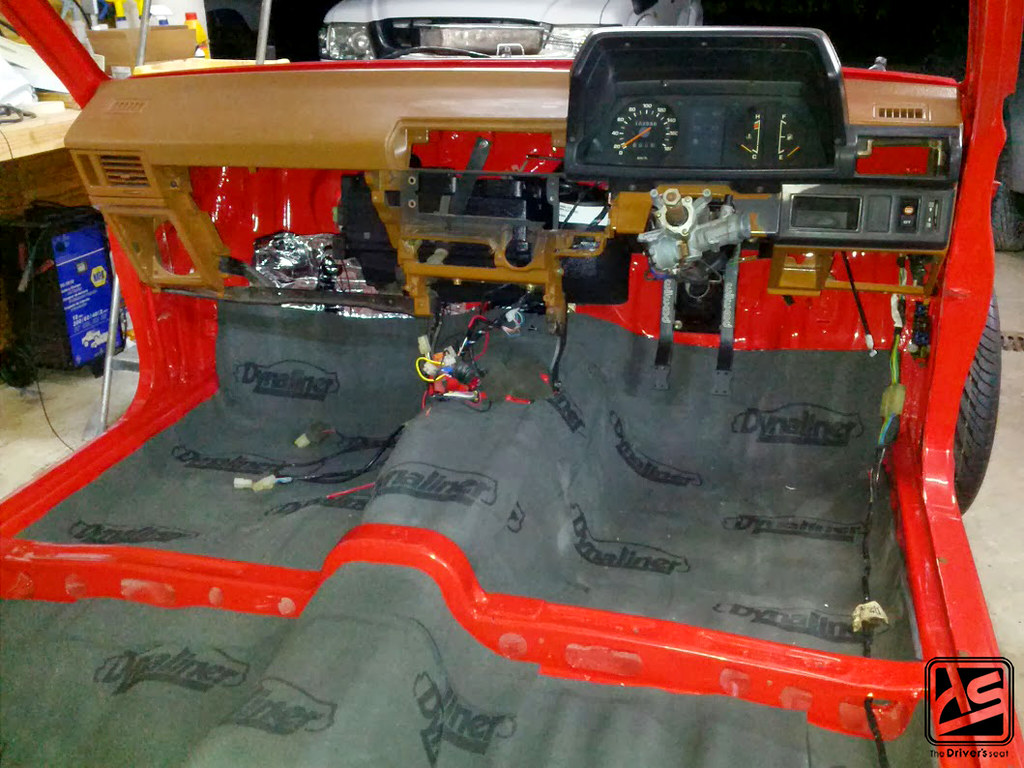
Onto the next phase of the sound deadening as the Dynaliner is being laid down…

Wrapping up today with a shot of the progress being made in the engine bay… The wire harness is partially installed along with the steering rack and column. Thanks for taking a look and be on the lookout for the next update…

wooow, the fresness, the details, the parts!…this build is def. worth following!
Subscribed HARD!