
Dominic’s KP61 Build… Part 2
Let me start off by saying that I am amazed at the positive feedback this build has generated from the very first post. I had no idea that it would stir such a buzz but it’s good to see that there are still a host of KP61 enthusiasts out there.
Today I’m back with another update on this build where we’ll be taking a look at the progress so far. Interestingly enough, Dominic has taken this build to yet another level that wasn’t in the initial plans. It literally feels as though every week the level of this build is increased several notches from the last…
For those of you that would like a recap of the progress of the build thus far, I’ve provided link below…
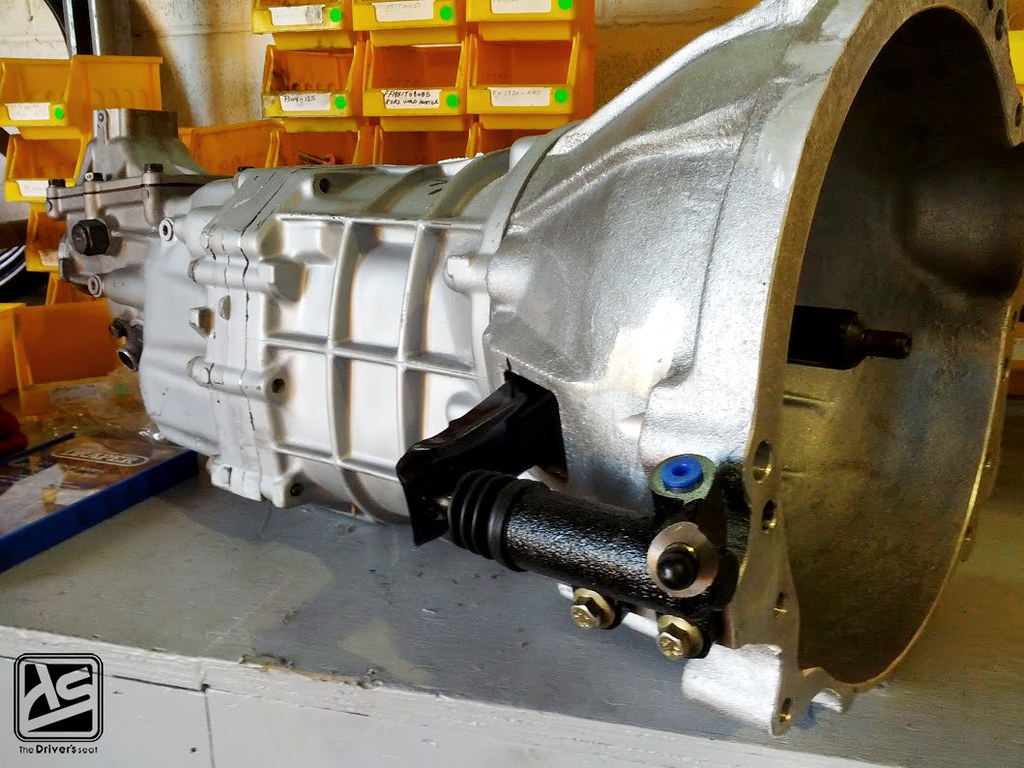
You guys would have seen in the last post that a final decision had been made on the direction in which the engine build will be going. However with that out of the way, the engine builder broke the news to Dominic that the gearbox would start to fail and it would be wise to source an upgrade. Dominic being a firm believer in doing it correct the first time, went on a hunt for a W58 gearbox which originally was made for the Supra and Celica. Finding the gearbox was quite a challenge but after some searching he was able to not only source one but he also had it completely rebuilt. In order for Dominic to use this gearbox, he needed a custom built bellhousing to fit the back of the 4A-GE motor. This was yet another challenge Dominic was faced with and once again he found himself shopping on the other side of the world, yes you guessed it, back to New Zealand but in the end it all worked out for the best.

The next thing that needed to be dealt with was the clutch, yet another fork in the road which Dominic was faced with. Due to the custom gearbox setup, the clutch proved to be equally as troublesome while sticking to the rules of the build. So being hell bent on the car being as street as possible, Dominic purchased a Toda Racing clutch kit and replaced the clutch disc with a custom made ACT counterpart in order to get the splines lined up.
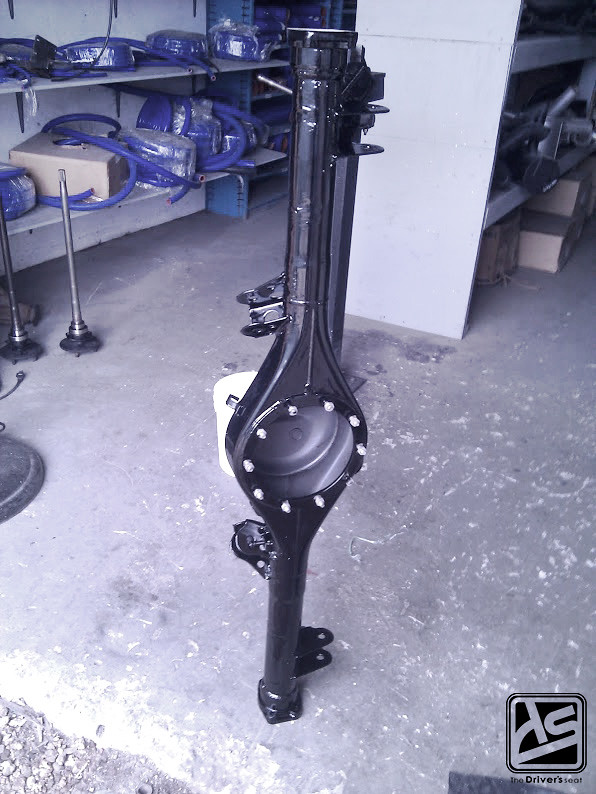
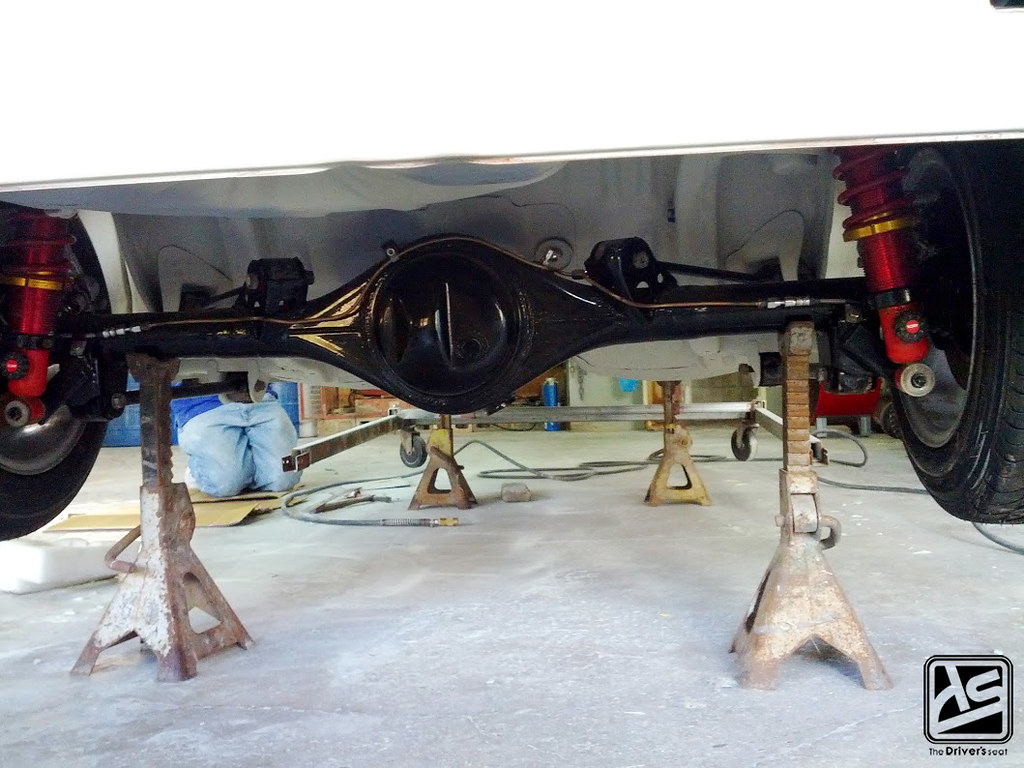
When Dominic purchased the car it came with a welded differential, the downside to this is that after a while it causes the floor to crack unless it’s caged. Not being a fan of a welded diff nor the idea of caging it, and with no one making a LSD for the Starlet diff, Dominic was stumped again. He started to do some research to explore what other options he had especially knowing that this build must be made of all Toyota parts. One of the options was to go with the AE86 rear end but that would be a problem because of its width, it would involve flaring and cutting and based on Dominic’s rules for this build that wouldn’t be able to work. After some much extensive research, he came to realize that a Carina rear end would fit with some modifications and would only be 3/8″ wider on each side.
Wasting no time the Carina rear end was acquired, but the mounting points weren’t the same so Dominic had to cut the and remove the perches from the Starlet rear end with a jig and weld them to the Carina one. Sounds pretty easy but anyone familiar with this kind of work knows it’s quite tedious. The perches were finally welded in place but that wasn’t the end of it.
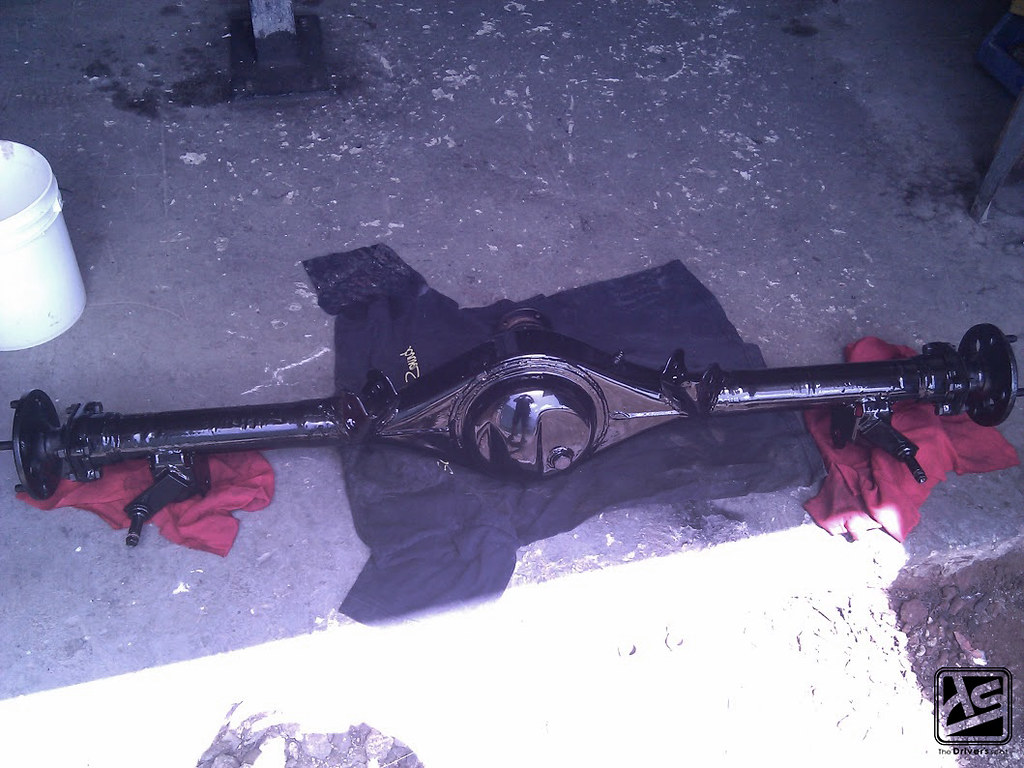
The plan is to use the AE86 brakes as an upgrade which would be sticking within rules of being a Toyota part. However, the Carina axles wouldn’t allow for the AE86 brakes to fit as they were initially made to fit drum brakes. To accommodate for the brakes, Dominic had to get the ends of the axles machined until they were able to fit.
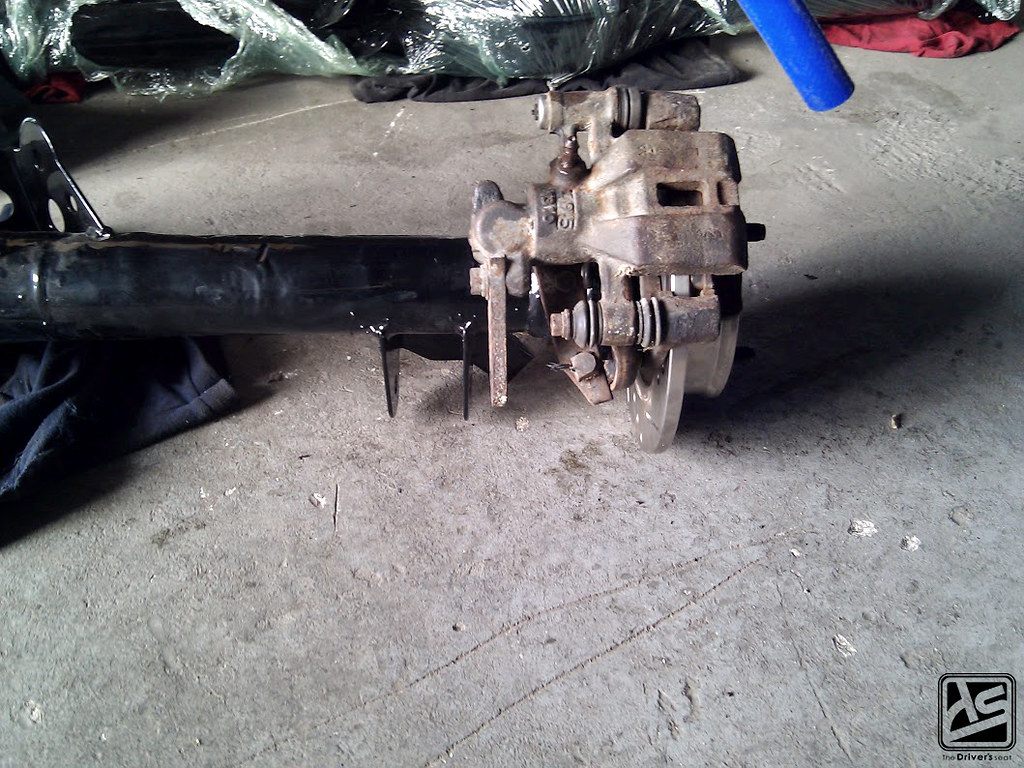
Naturally there weren’t any brackets for the calipers to be mounted onto. The task at hand would be to custom build brackets for the calipers, and the ideal positioning for them would be at the back of the diff but due to clearance issues with the coilovers Dominic had to position them elsewhere.
While all of this was going on…

Dominic being a long time fan of Tom’s Igeta wheels, decided to go on a search and eventually found a set located in Indonesia. To many this would seem a bit far but as Dominic was already shopping in New Zealand it wasn’t that much of a stretch and quickly had them shipped.

In relation to the car itself…
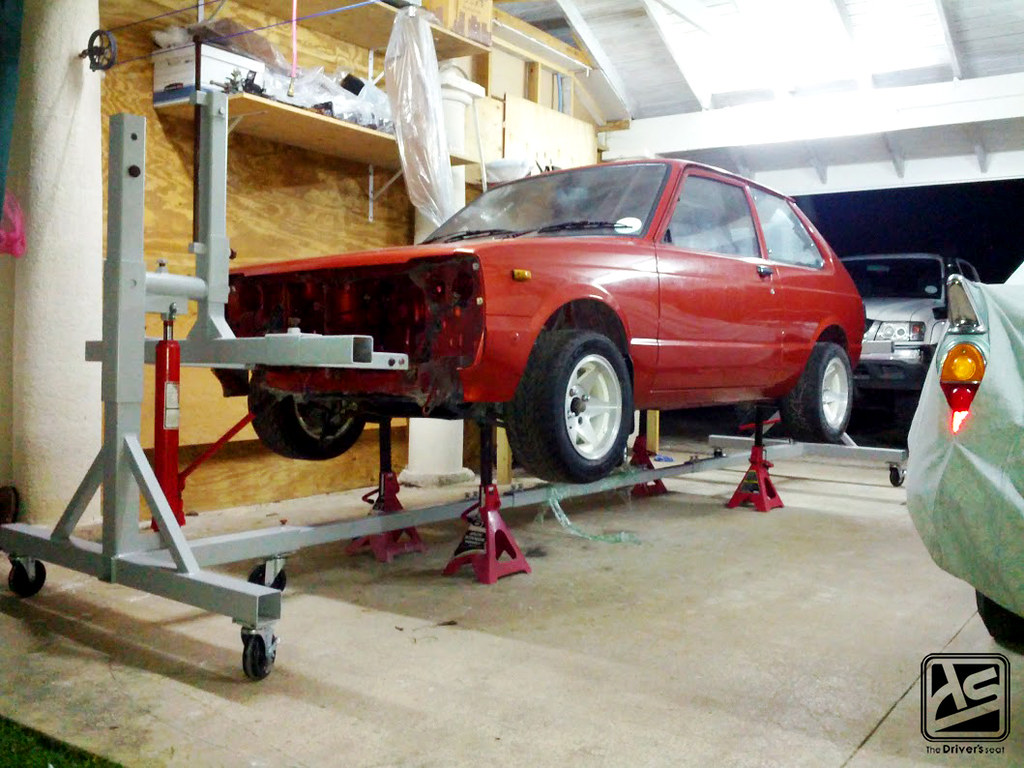
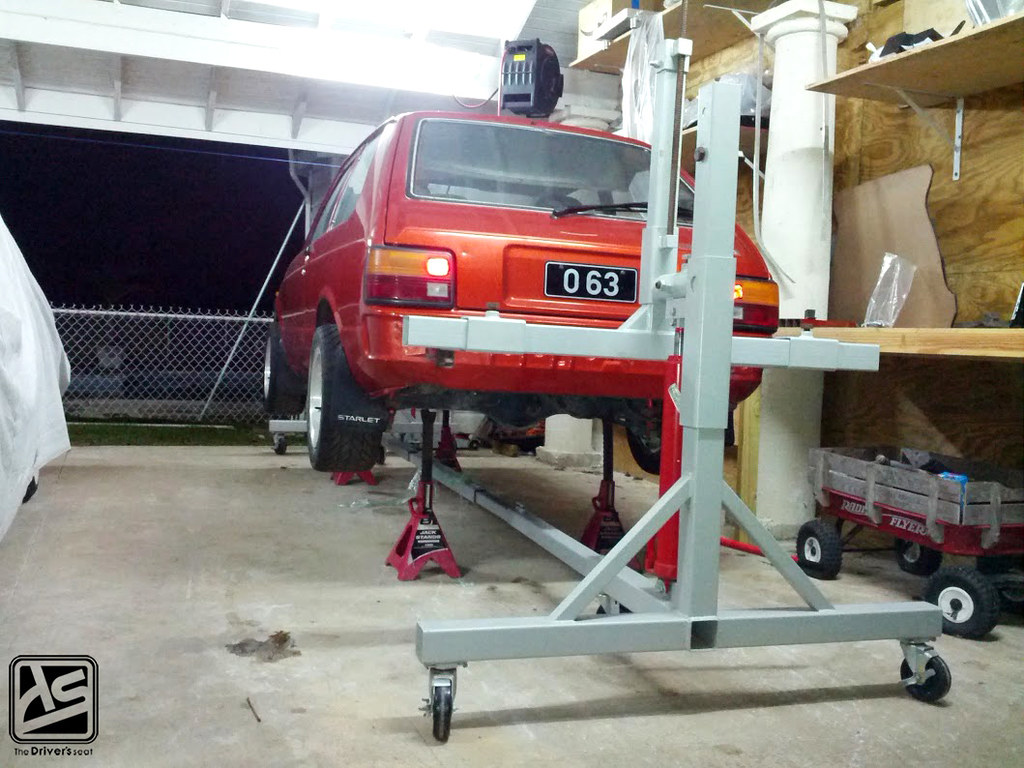
It had made its way onto the rotisserie… Which wasn’t exactly in the plans as such but…

After going so far with this build it would be a shame not to top it off with a full paint restoration…
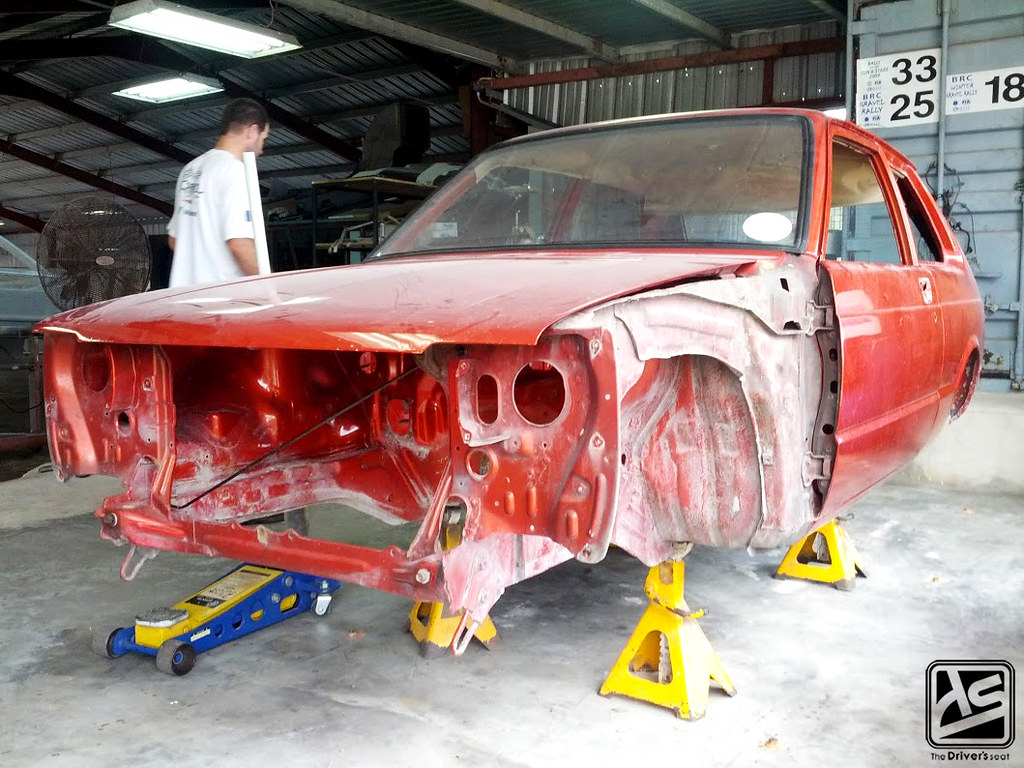

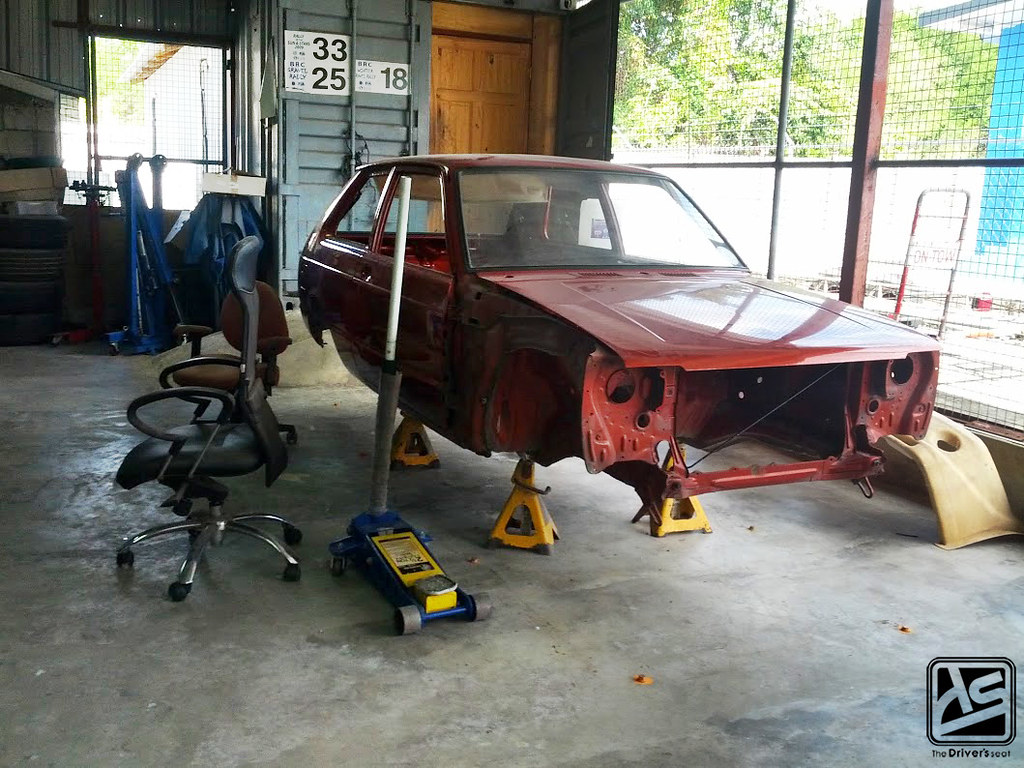
So naturally, off to Corbin’s Garage it went, where it was fully stripped down…


To absolutely nothing…

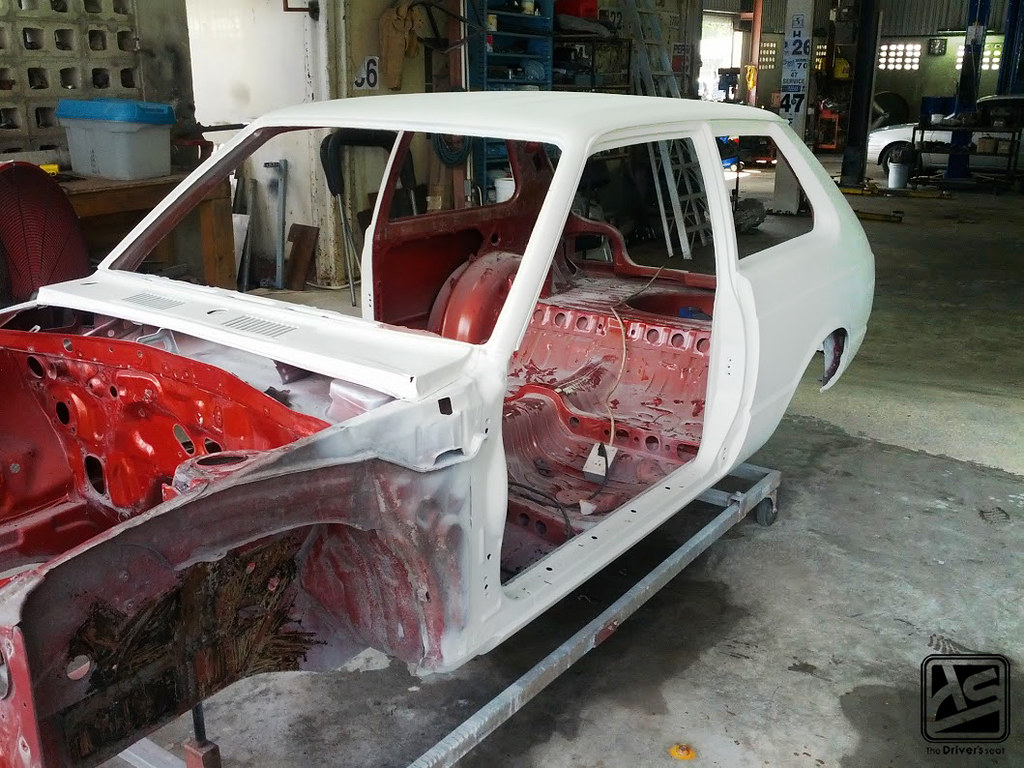
Then the process began…
Making its way onto the rotisserie once again while the under-body is stripped and prepped…


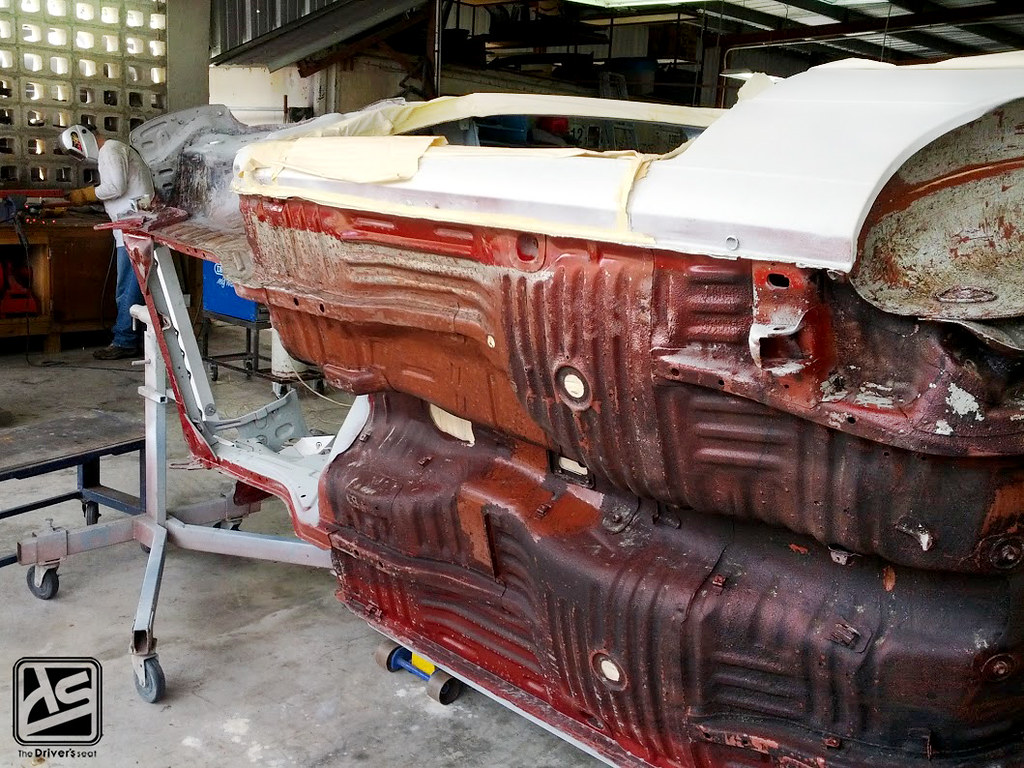
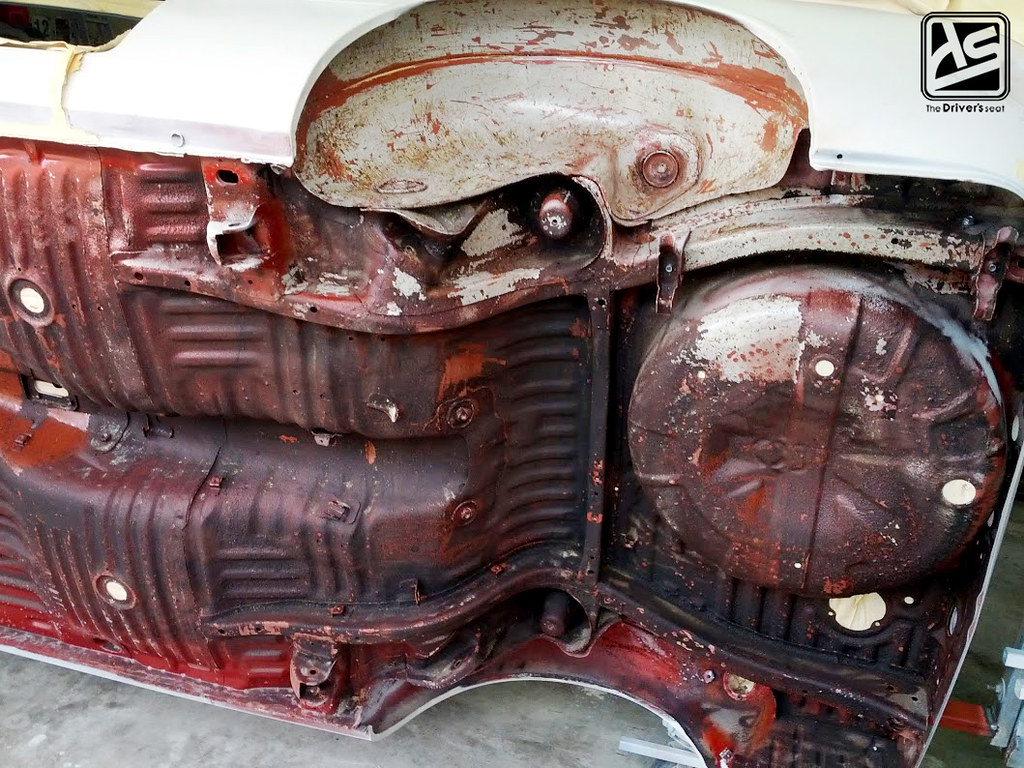
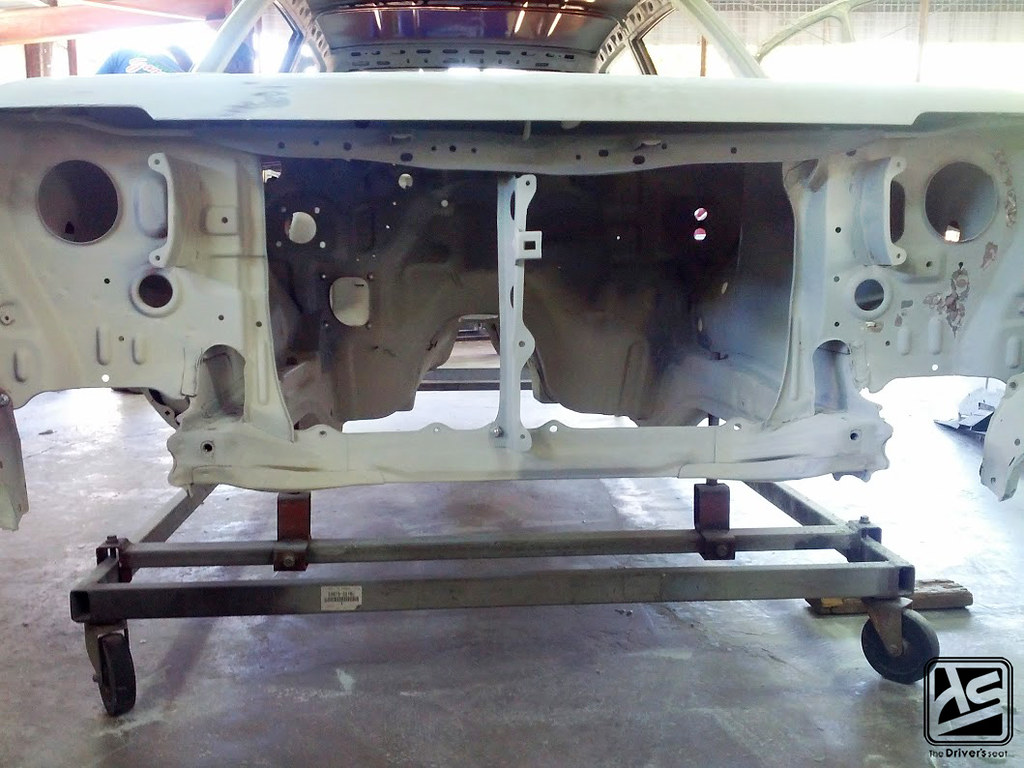
A view of the under-body now primed and soon ready to hit the booth…

Some shots of the engine bay while it is being prepared…
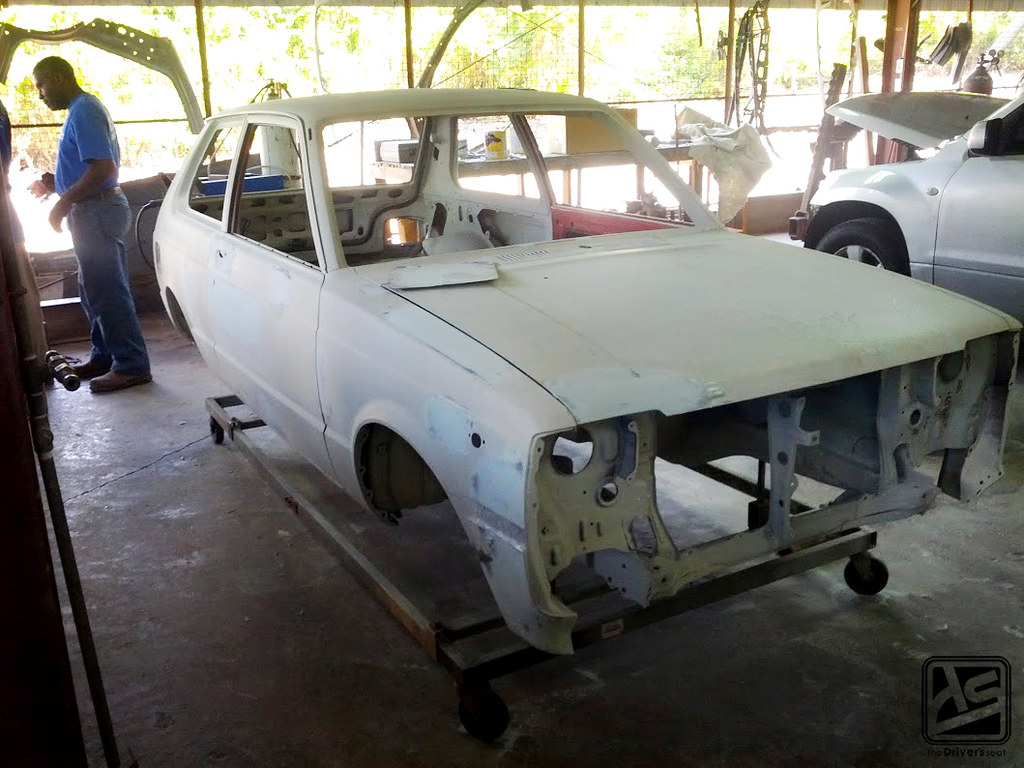
Body panels being test fitted to make sure everything lines up perfectly after the body work was completed…

A view of the interior…
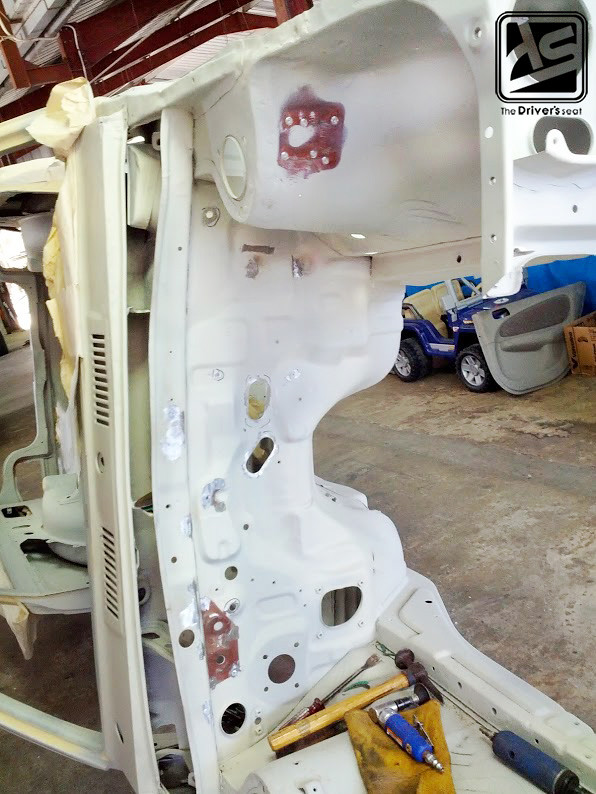
Close up of some work that was needed to be done to the firewall…
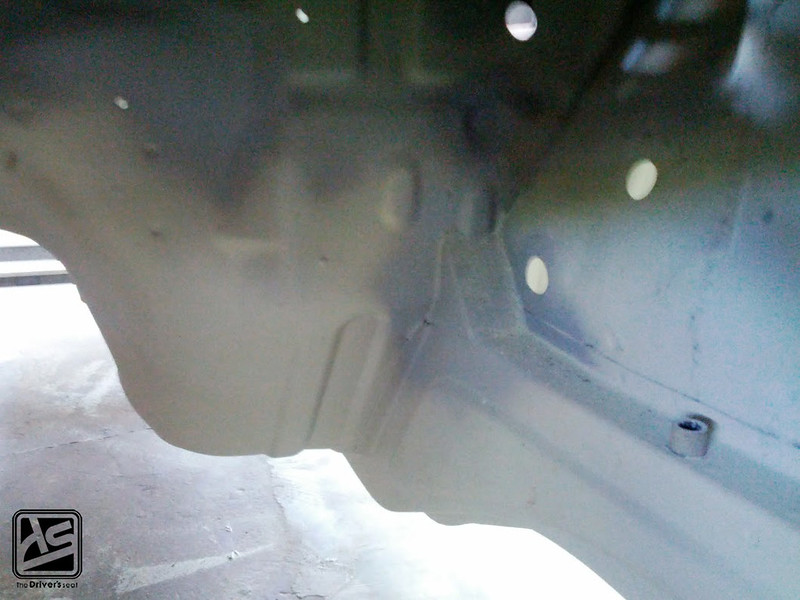

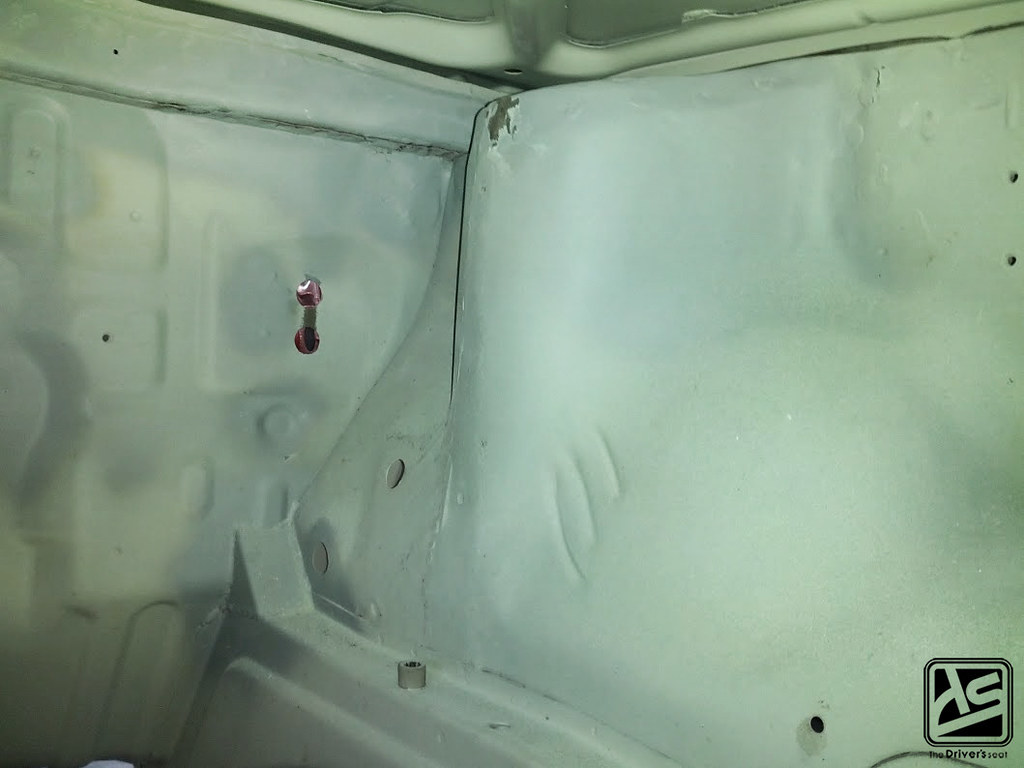


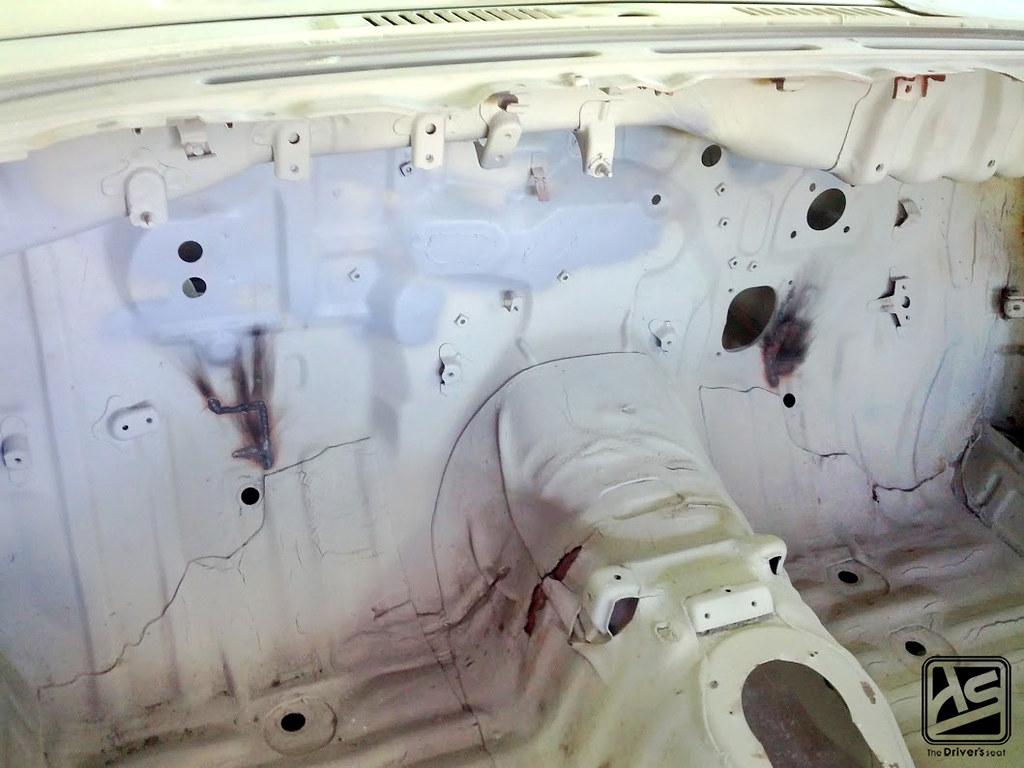
A random selection of shots of the firewall and tunnel…
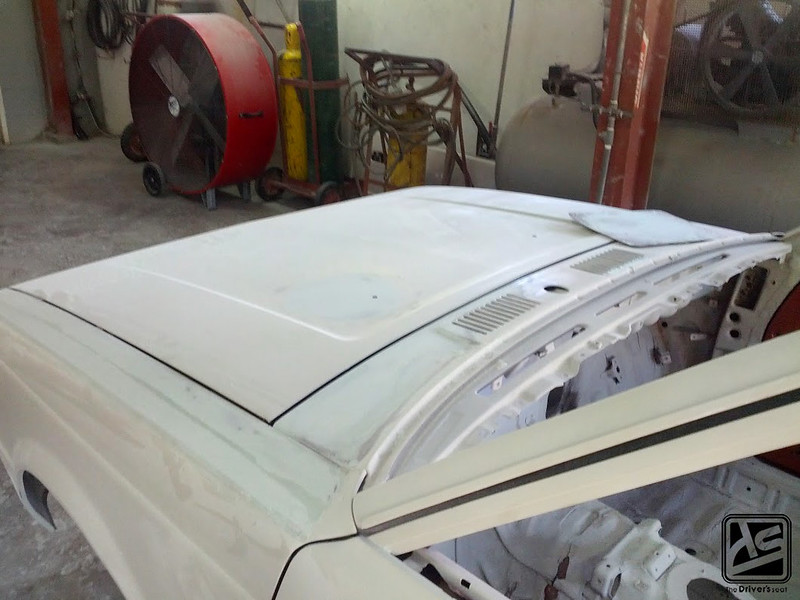
Testing the fitment of the hood…
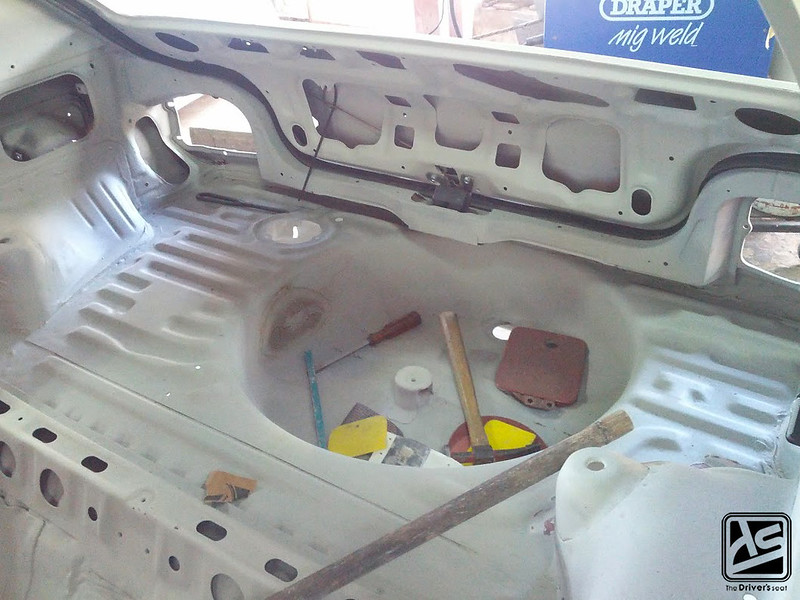
A shot of the trunk area being prepared…
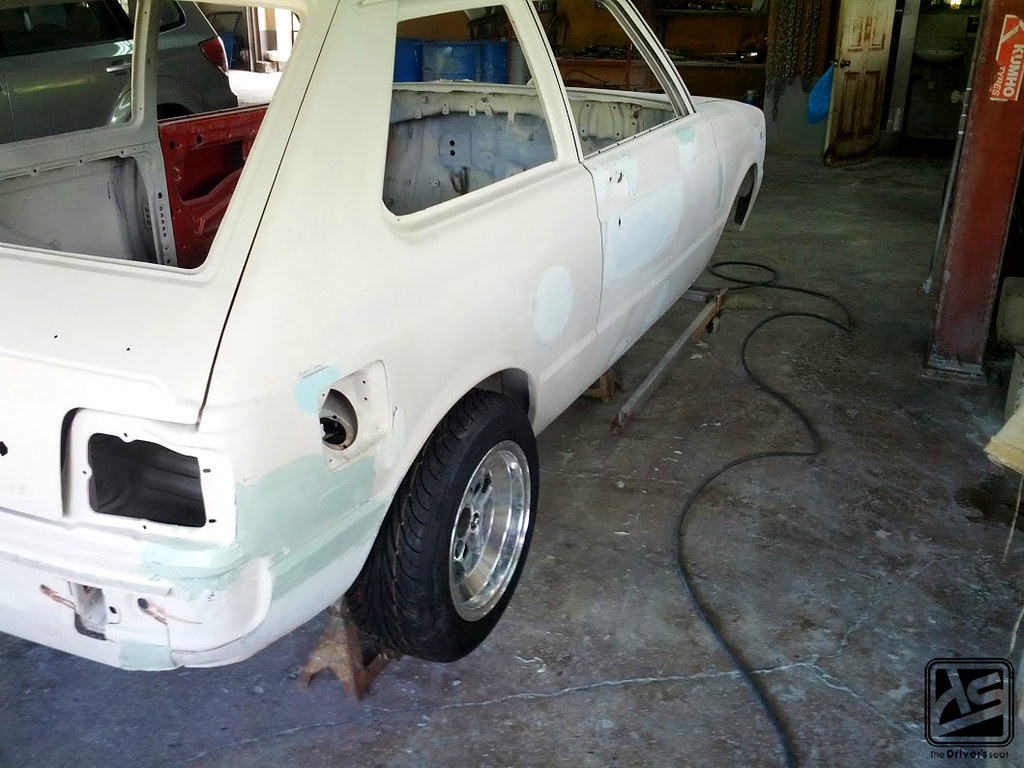
View of the work done to the right rear quarter…
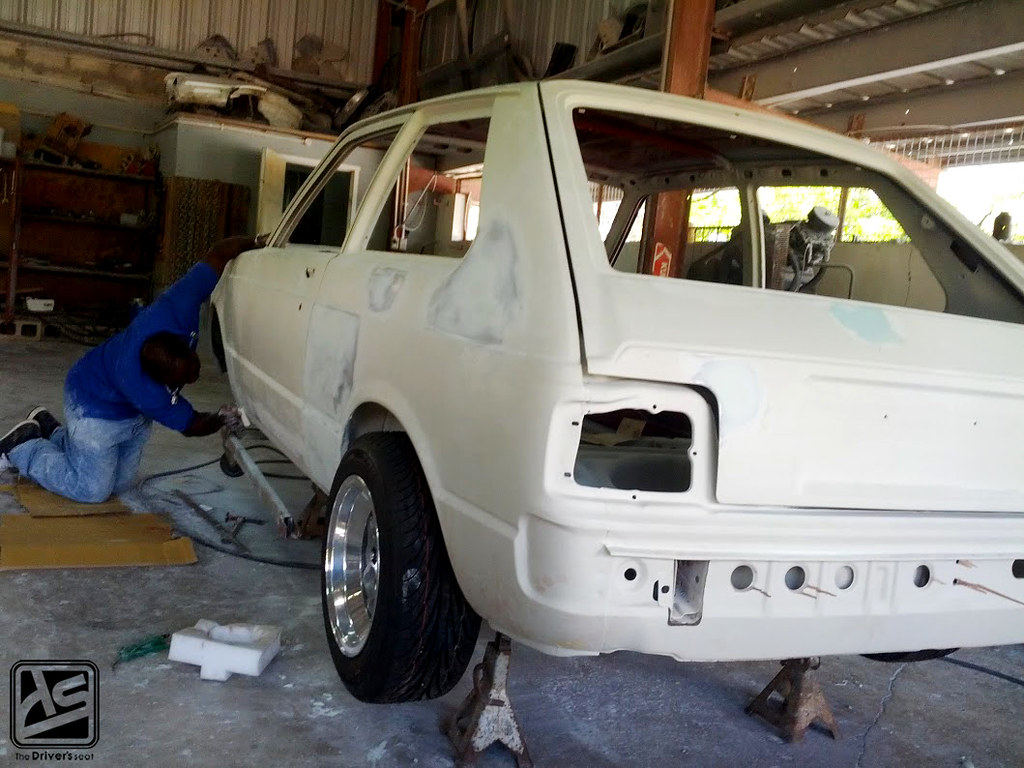
Left rear quarter…
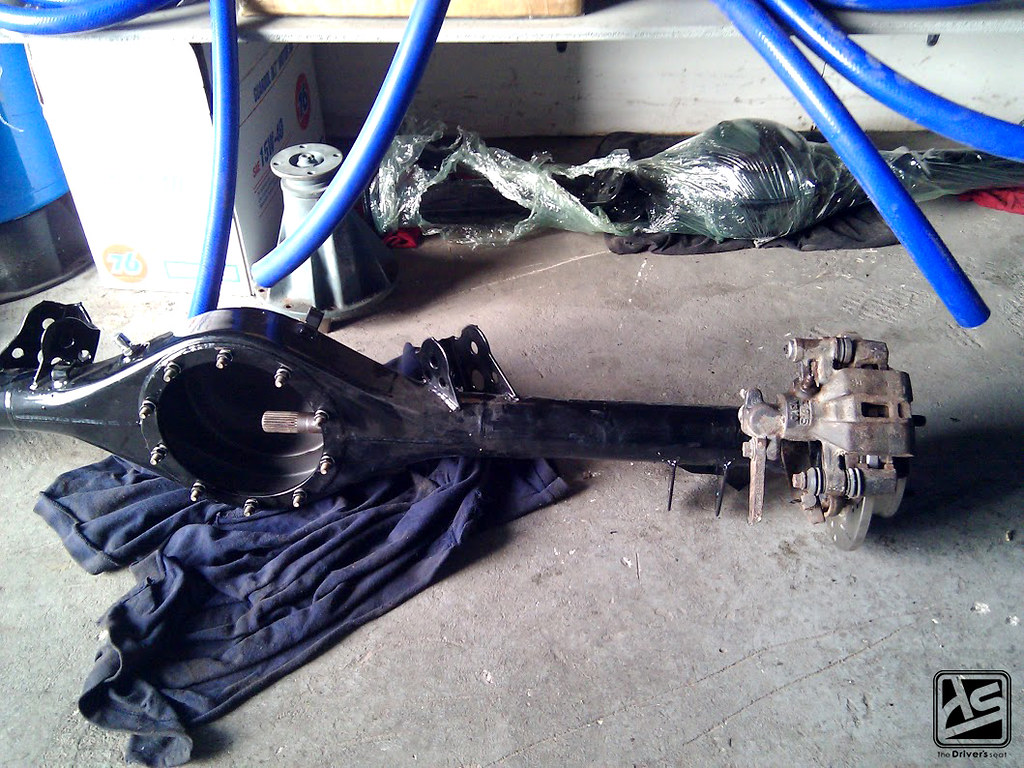
Closing out today with a shot of the rear end test fitted…
That’s a wrap for today, hoped you guys enjoys part 2 of this restoration build and stay tuned for the next update.
