
Dominic’s KP6 Build… Part 1
In the last post I briefly touched on the initial push to start this build. Dominic wanted to switch over to fuel injection, seemed easy enough, a few bolts here and there, some slight wiring and while he was at it a full valet. For many of you out there that’s probably exactly how it would have gone, but for Dominic… This was that thing we spoke about, countless hours-down time-money spent thing, that would cause the following events to occur…
In today’s post we’ll be taking a look at some goodies that Dominic has acquired and also a sneak peak of the phase that followed next…
As always the links to the previous posts are below for those who may need to catch up on this build…
Dominic’s KP61 Build… Introduction
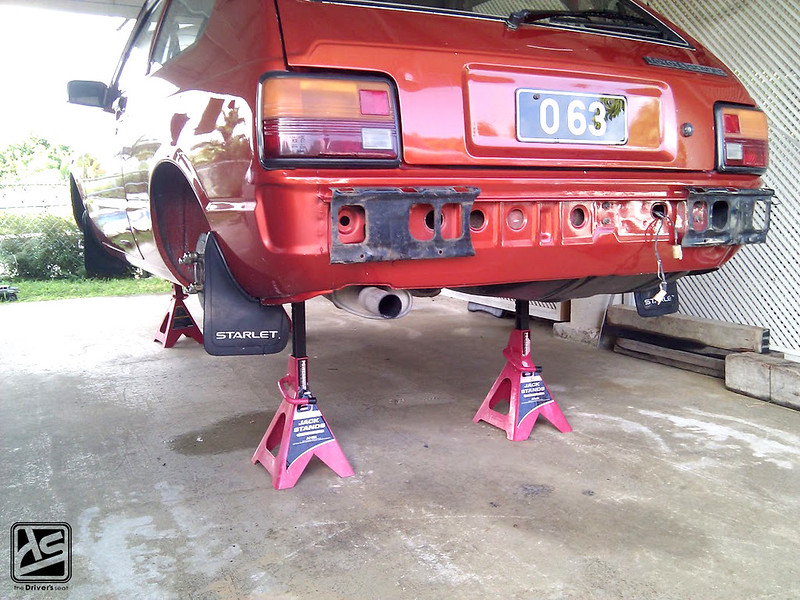
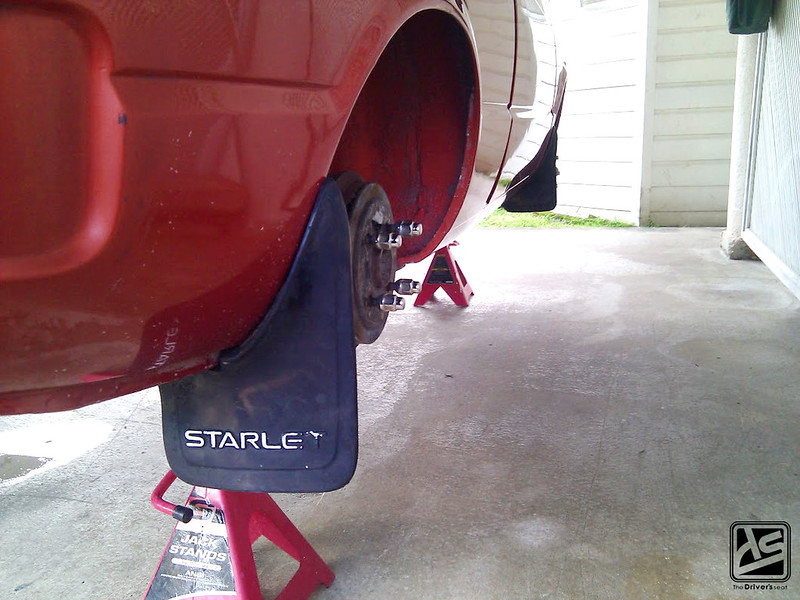
Dominic is a very meticulous guy, so when the opportunity arose for him to get his hands on a set of original mud guards, needless to say he jumped on it and picked them up…
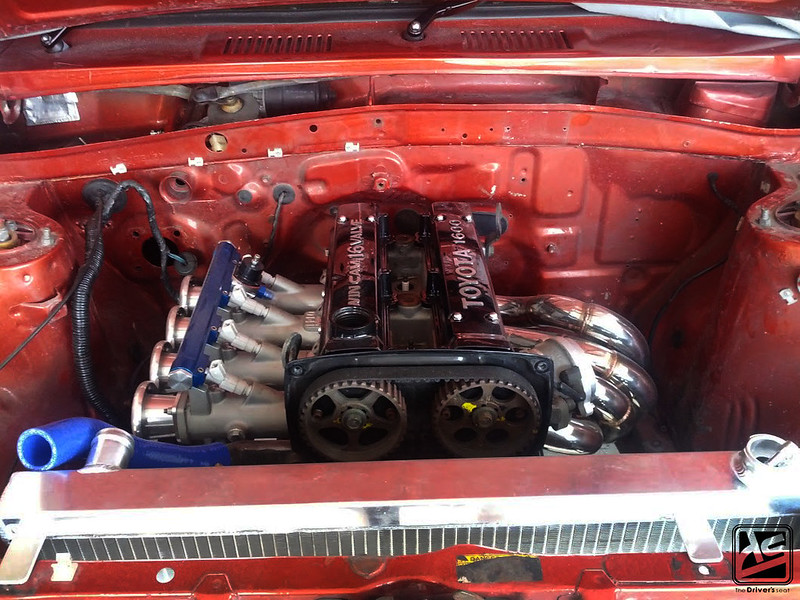
16 valve motor…
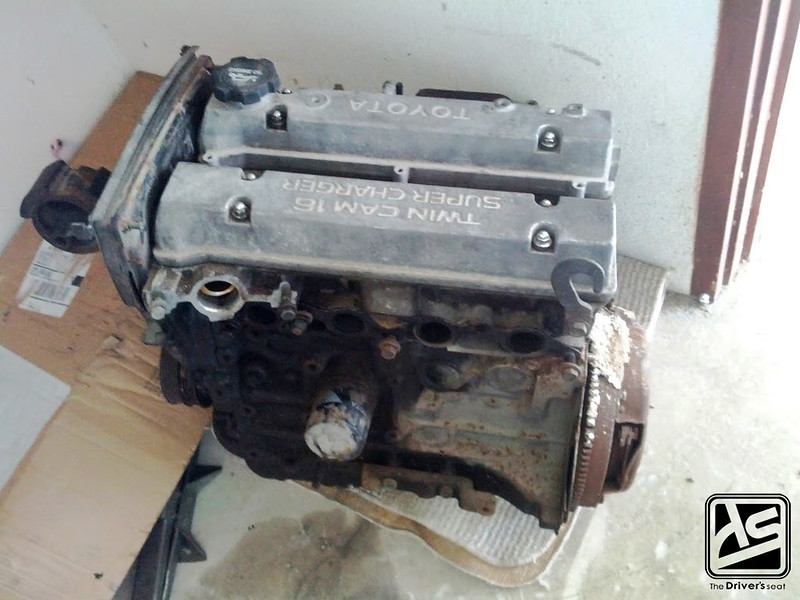
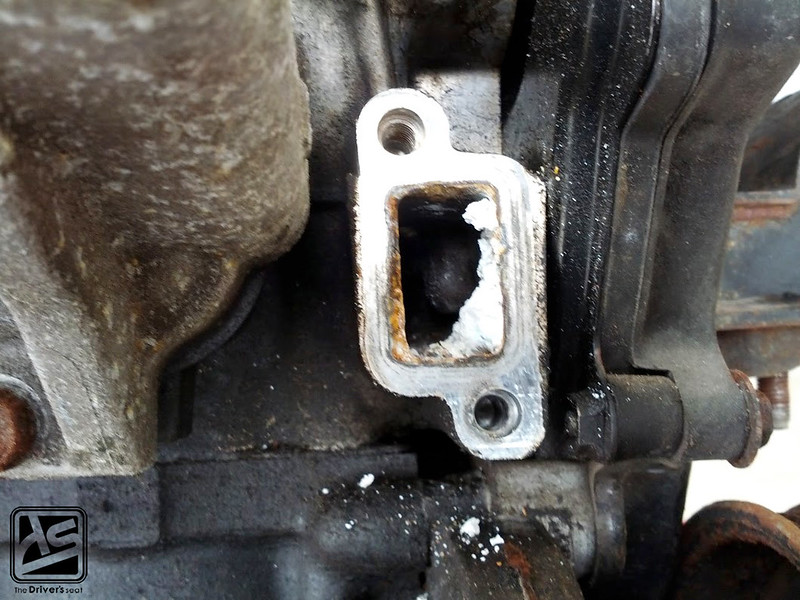
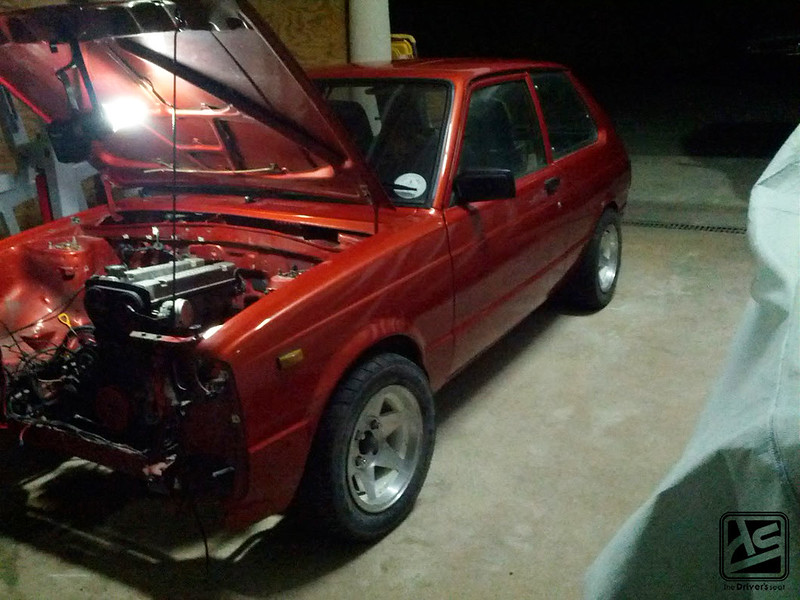
Yes, yes… you are seeing correct, that is a 4A-GZE. What happened was, Dominic made an attempt at changing the carbs to ITBs and ran into some problems. The port in the head didn’t quite match up with the ports for the ITBs. Stuck, Dominic would have to source a head in order to run the setup he plans, but on second thought, why disassemble what was a pretty good build by slapping on a head… In comes the idea to just build a motor to accommodate the ITBs, plus, at the same time he wouldn’t have to look at the engine any time soon… That is where this 4A-GZE comes into play…
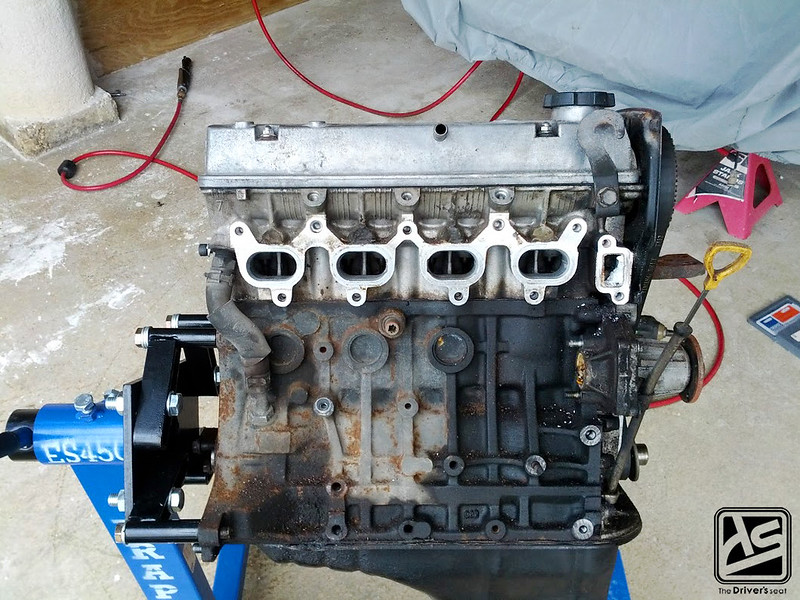
As you can see it clearly saw better times but very soon this will be torn apart and rebuilt from top to bottom…
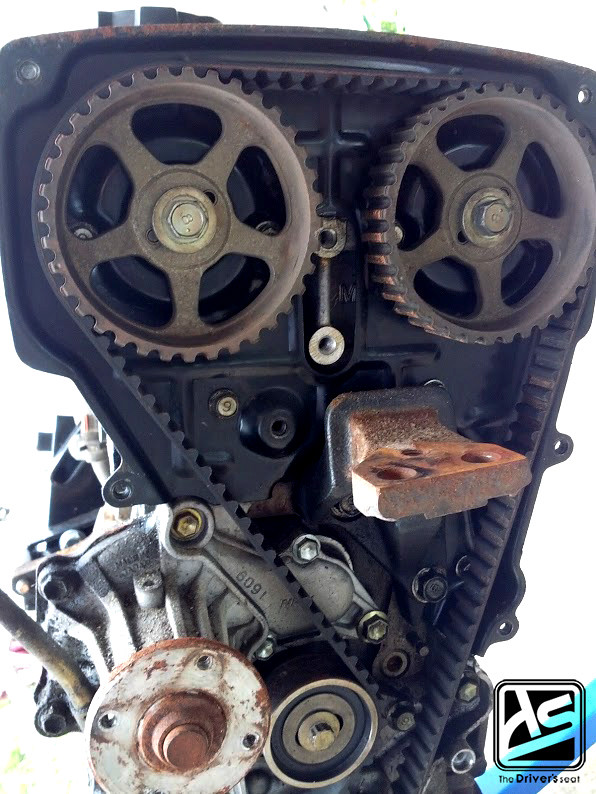
Timing face…
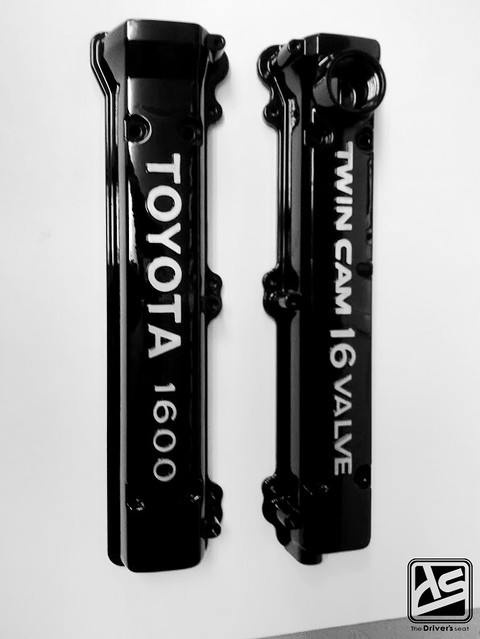
Freshly painted valve covers in gloss black…

On to some test fitting… Dominic contacted the guys at Ron Davis Radiators and had them custom build a full size radiator for him…
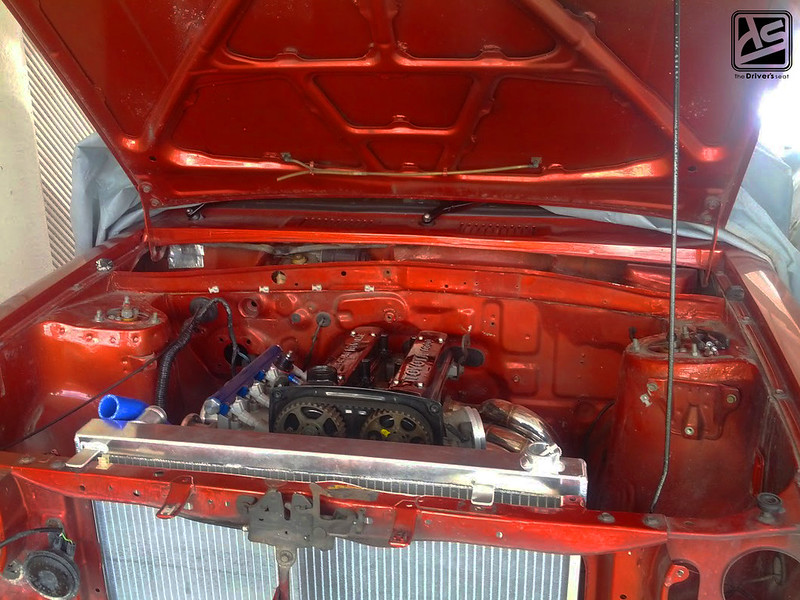
While test fitting the TWM ITBs, Dominic decided to throw on the OBX header at the same time,along with the freshly painted valve covers to get a feel for how the bay should look once completed…
Note the silicone radiator hose, Dominic picked up from S.D.R.R Hydraulics…
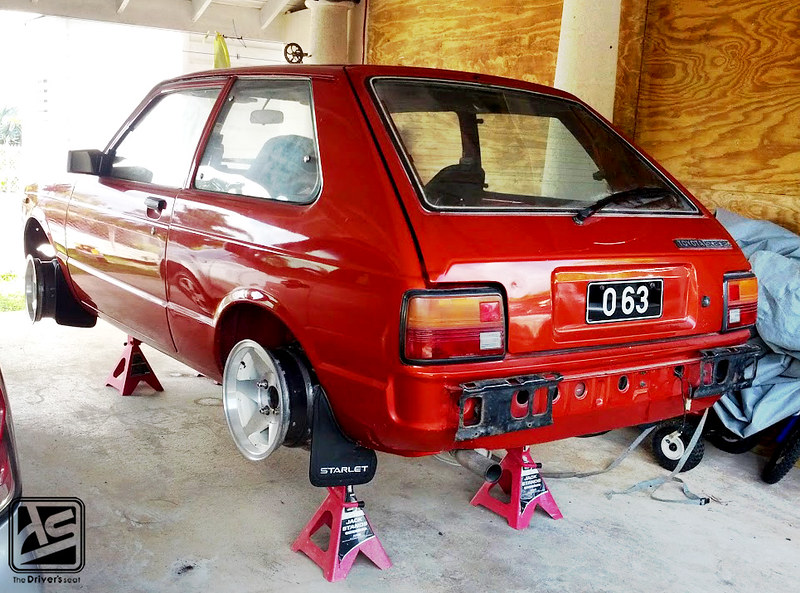
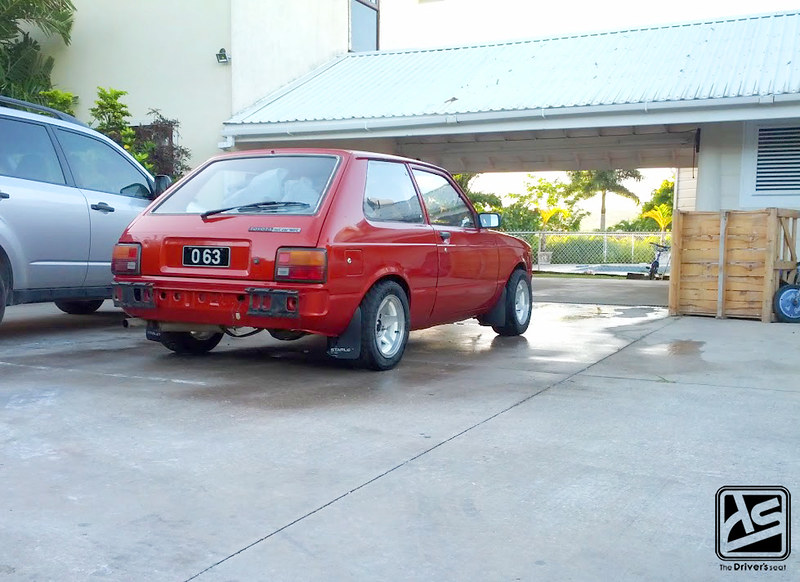
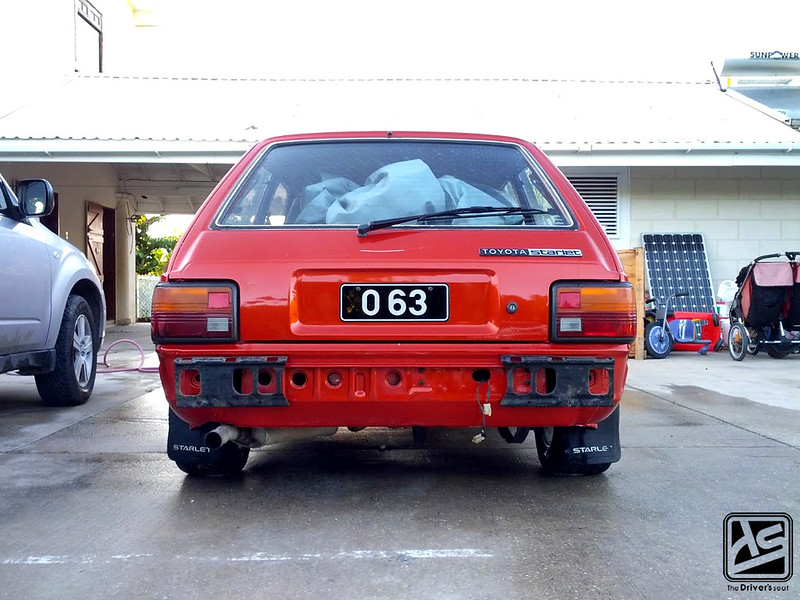
As I would have mentioned in the introduction, Dominic once had a starlet in his younger days that was similar in colour to the one he has now but what was missing was a set of Starmags. Shortly after purchasing this KP Dominic went on a search to find the cleanest possible set of Starmags available to complete the look he once had before. Another thing worth noting as well, the license plate. On his old Starlet Dominic had these same very plates, once again he went on a hunt to find out who currently had them and tried his best to acquire them. With these added goodies at his disposal, everything is shaping up to be a true build of nostalgia.
Varying angles of the Starmags fitted and awaiting tires…
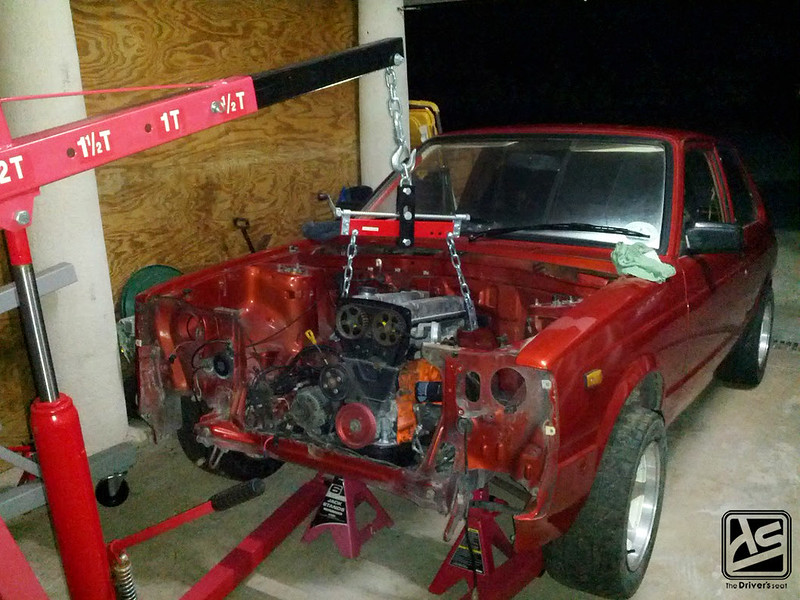
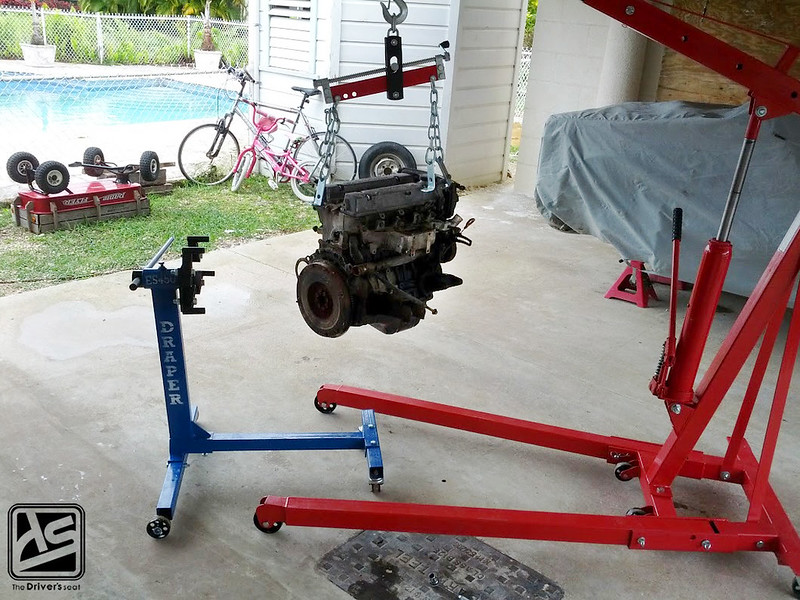
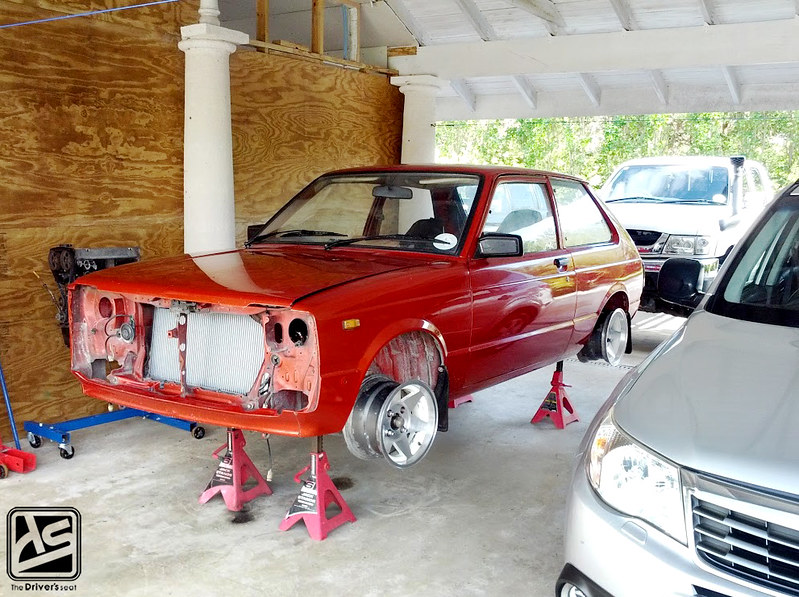
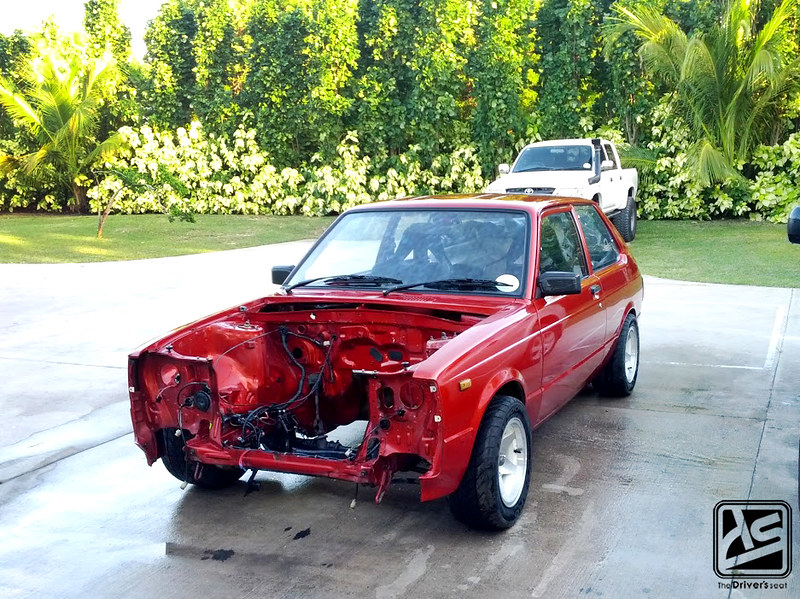
Then the time came to lift out the motor…
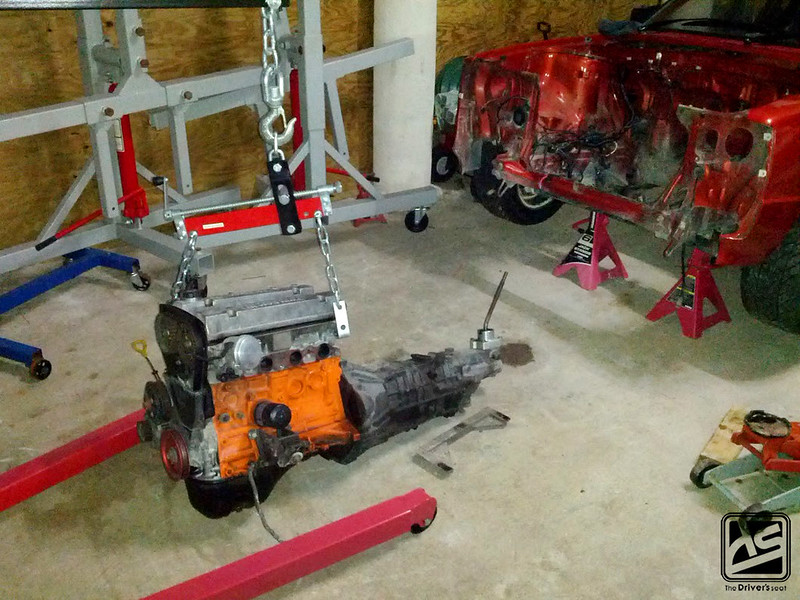
Engine and gearbox out and will make its way into storage…
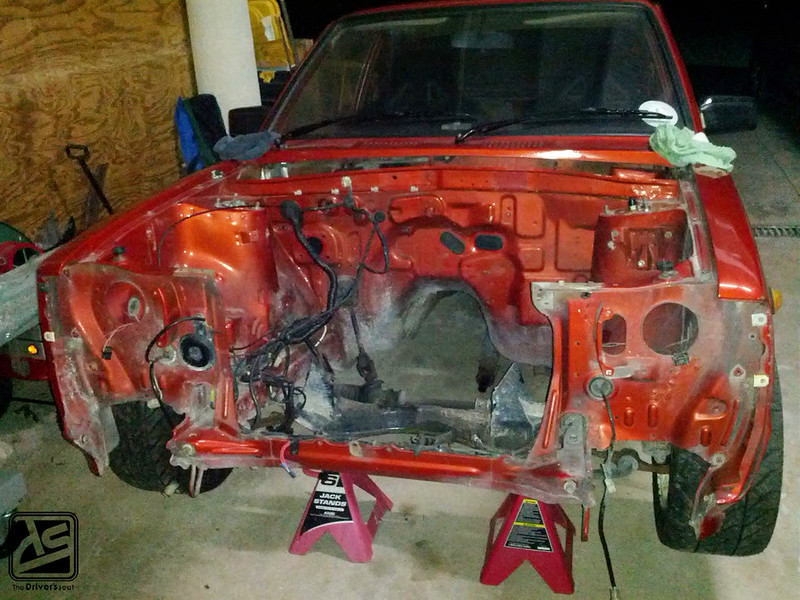
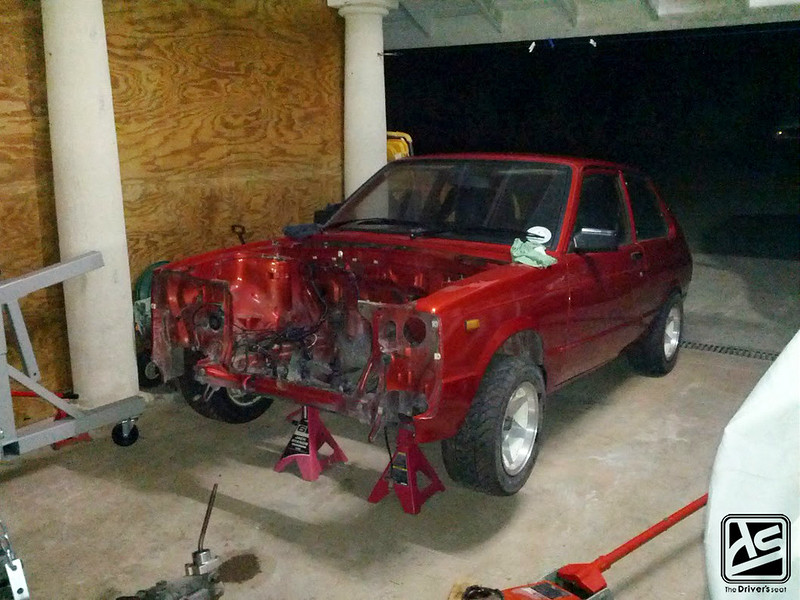
Empty bay awaiting a wash down…
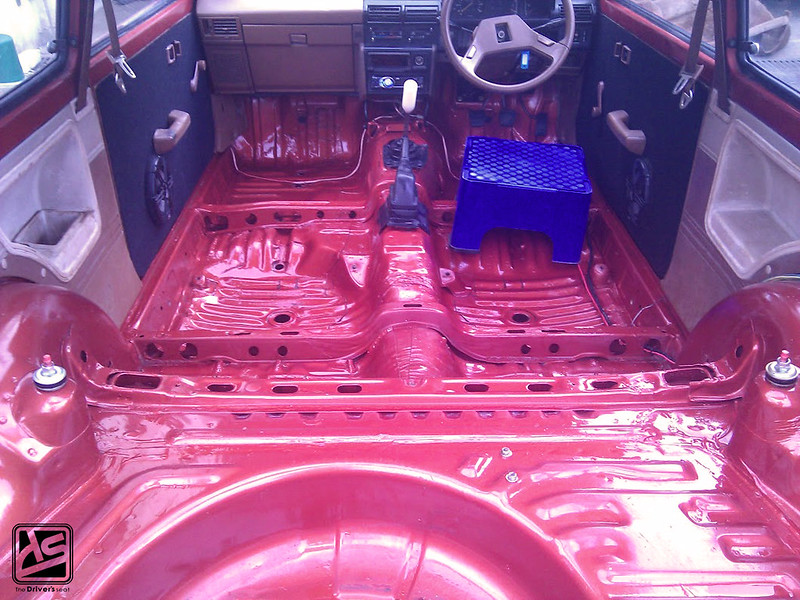
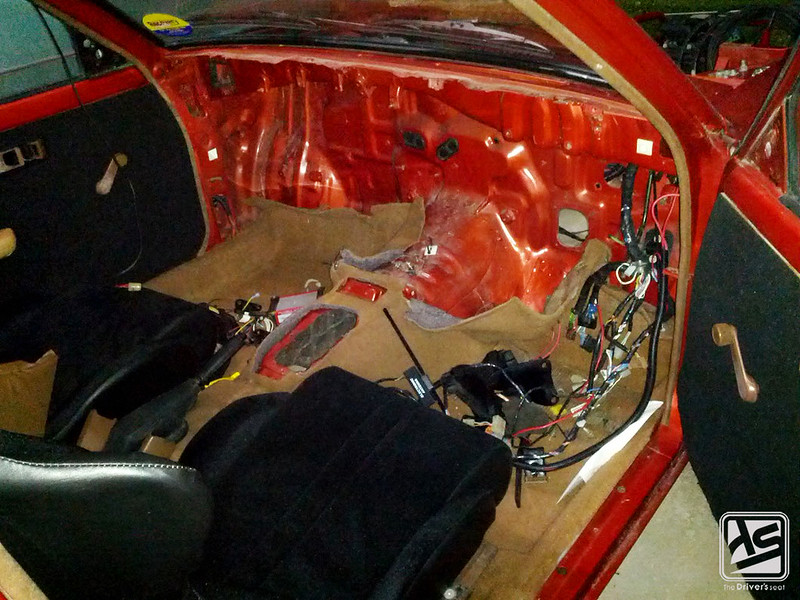
Interior stripped out to be cleaned up…

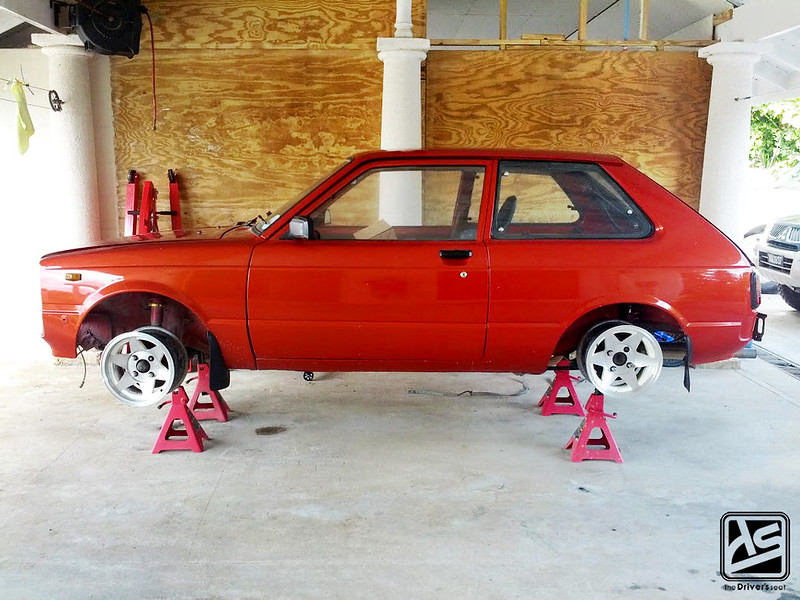
Some shots of the Starmags since the tires have been mounted…
A better look at the recently added mudguards…
Engine bay finally clean…
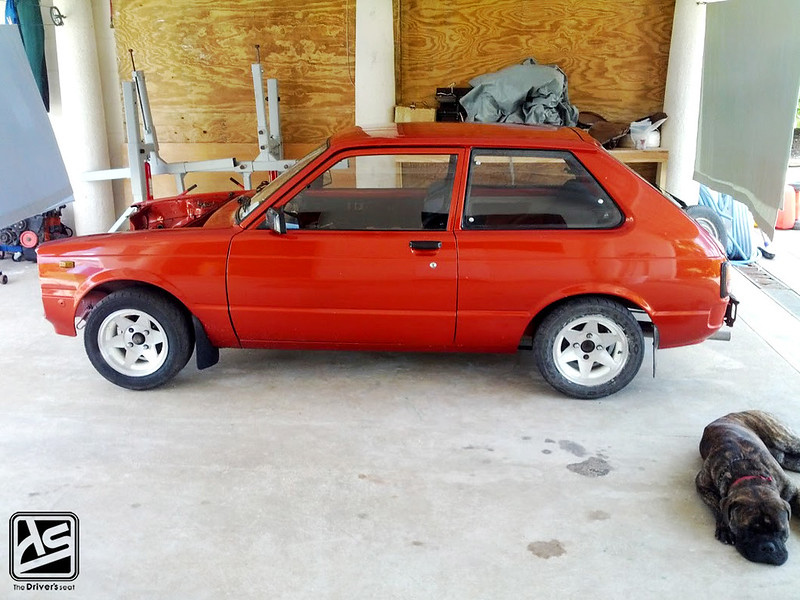
Side view of the Starmags…
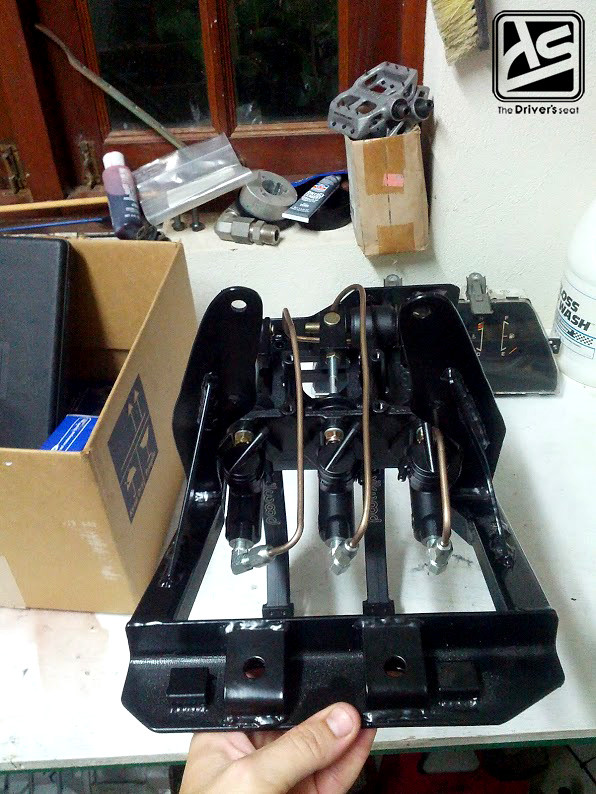
Another issue that presented itself along the way was the clearance between the TWM ITB’s, master cylinder and brake booster. At this point is where things got a little tricky due to the options available. Dominic wanted the car to be as street as possible so the safest bet was to go with Wilwood’s reverse mount pedal assembly to eliminate the master cylinder and the brake booster from the engine bay.
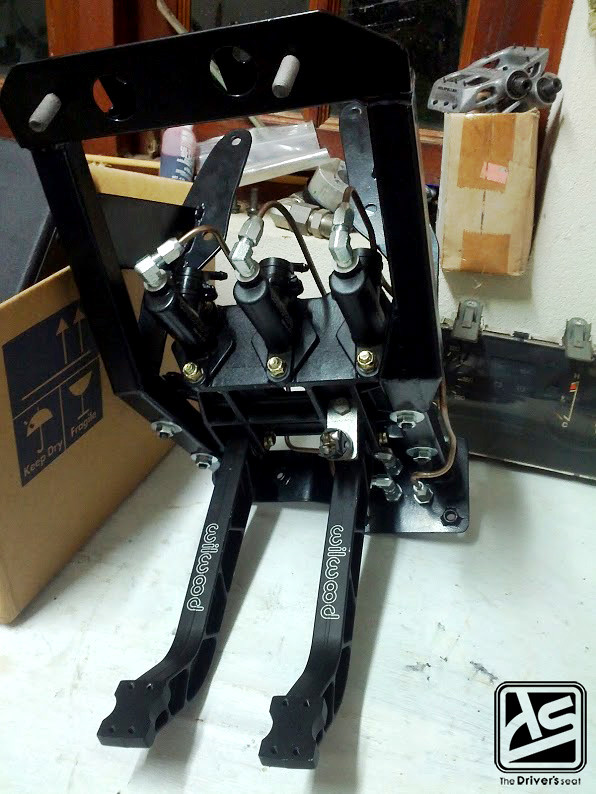
The problem with this however was the mounting brackets for the pedals, because of course we’re talking about a 1984 Starlet. This isn’t exactly something that is done very often so naturally sourcing one wasn’t a walk in the park. Luckily one day while browsing online, Dominic came across a company out of New Zealand called Les Hunter Racing that manufactures the exact bracket for the Wilwood pedals that he needed. So without wasting any time, the order was placed and a little while after…

Las Hunter Racing mounting bracket for Wilwood reverse mount pedal assembly…
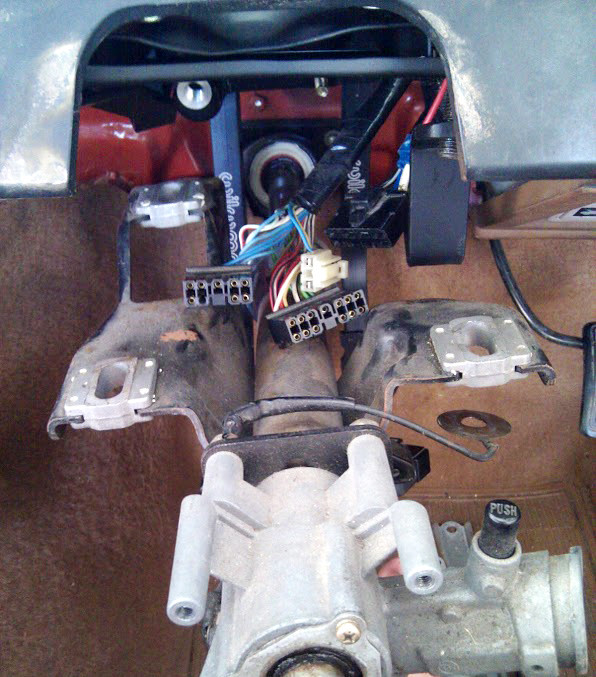
Test fitting to make sure everything lines up correctly…
Dashboard stripped down…
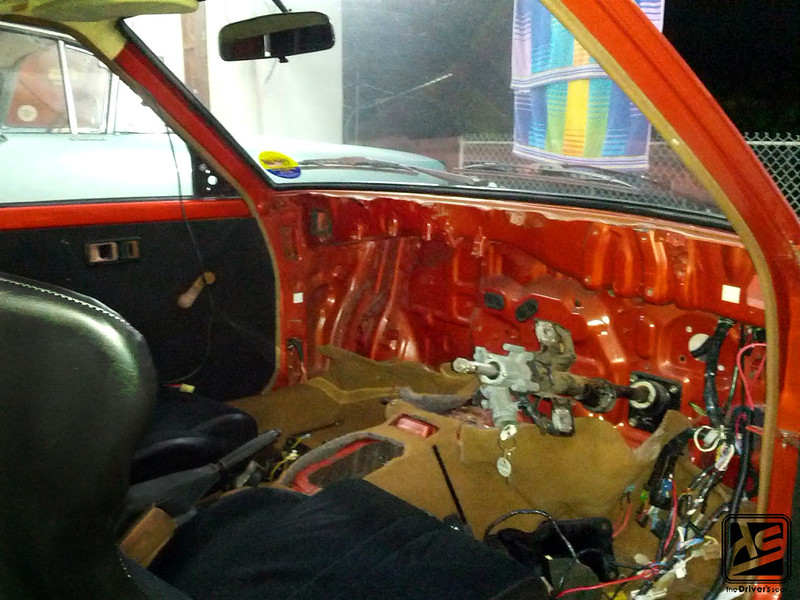

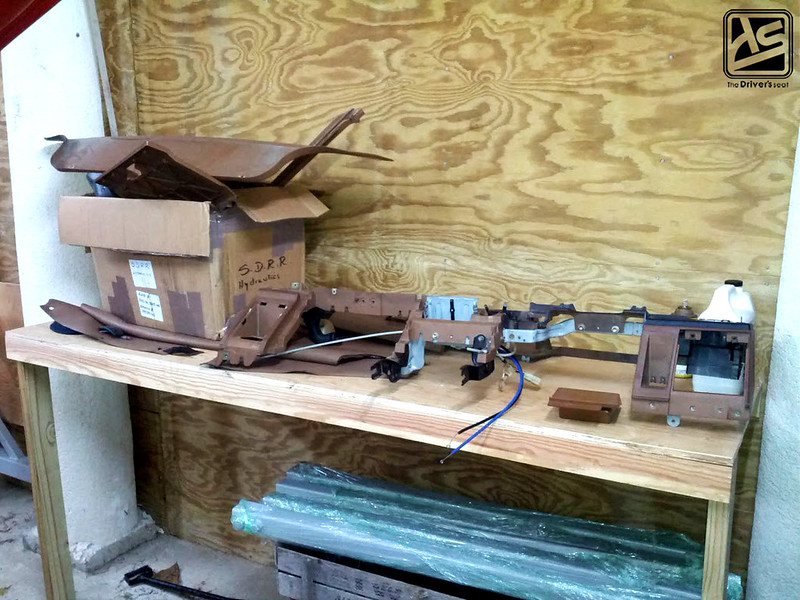
Basically how the interior sits…
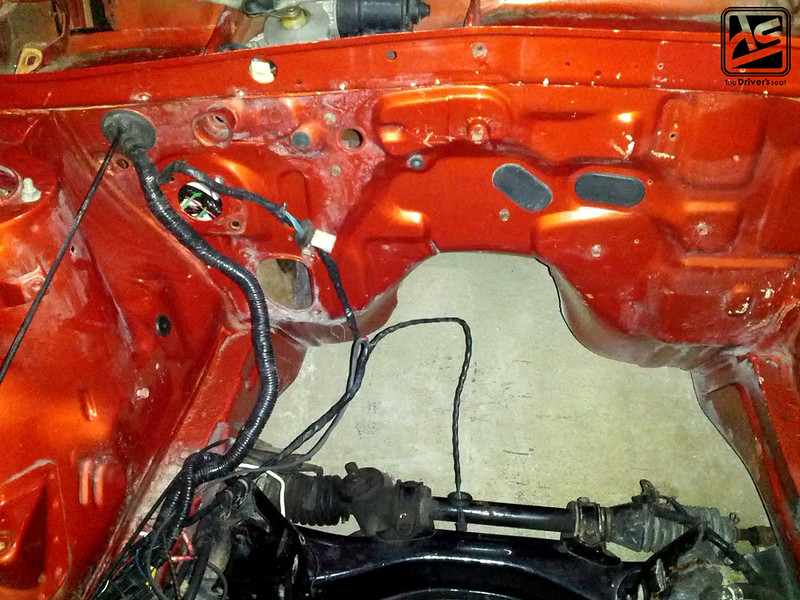
A much cleaner looking engine bay…
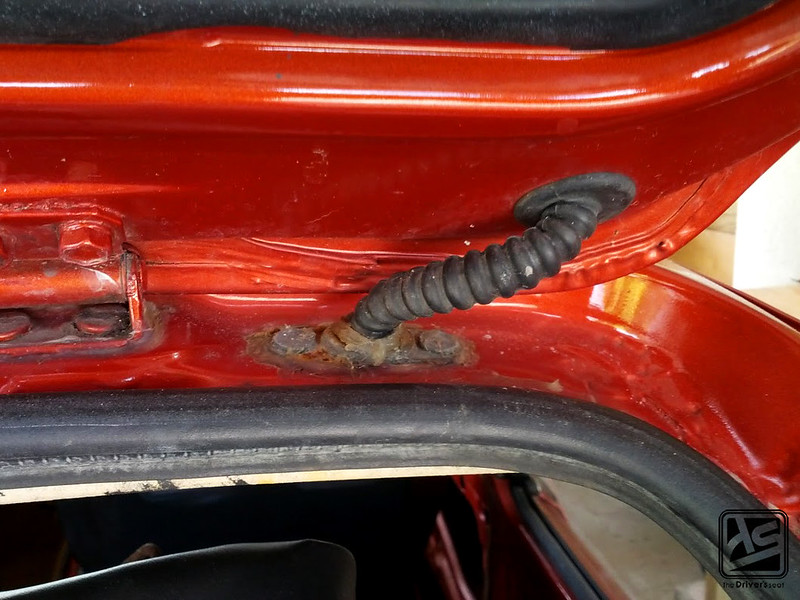
Some rust was starting to build at the top of the tailgate, so this will need to be taken care of before it gets any worse…
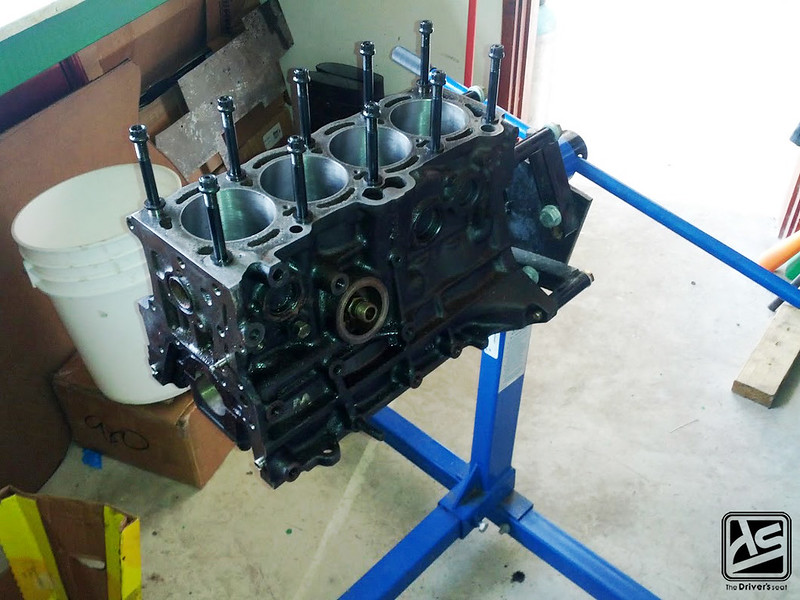
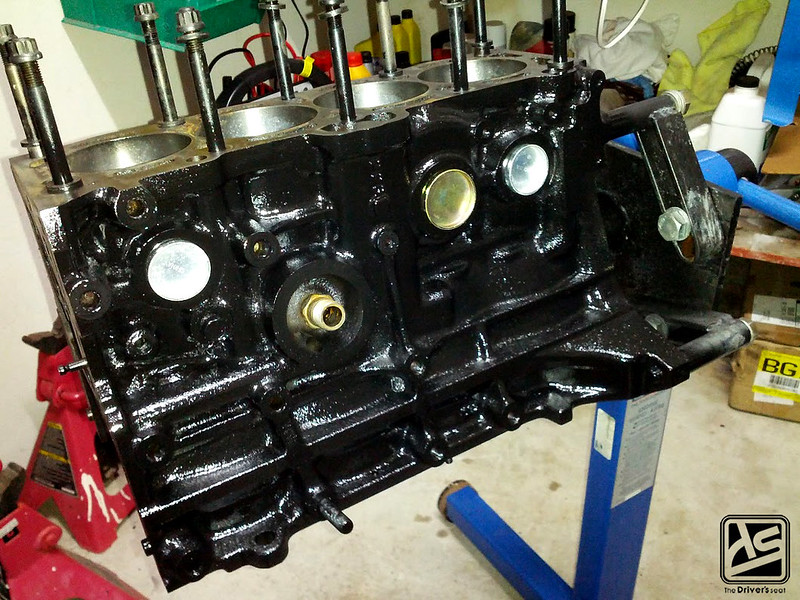
4A-GZE block refreshed and looking good, with some ARP goodies installed. If you guys were wondering, the reason for using the 16v motor instead of the 20v, was simply because the 20v motor would require Dominic to have to cut the firewall and the rules for this build were quite simple, no cutting involved…
Well that’s it for today’s post, I hope you guys enjoyed it… Until next time…
