
Track Bred EG6 Build… Part 17
We’re back today with another part to Jerry’s Track Bred EG6 build. In the previous update, the interior had been completed and Jerry was in the process of test fitting everything to make sure it came together correctly. Today we’ll be taking a look at some of the new goodies that he received for the build and I also have some shots of the car during the paint process. So far everything seems to be coming together quite well in terms of being on schedule for the race meet.
For those who would have missed any parts along the way, I have provided the link below…
For those already updated lets jump right in and take a look at the parts Jerry received…
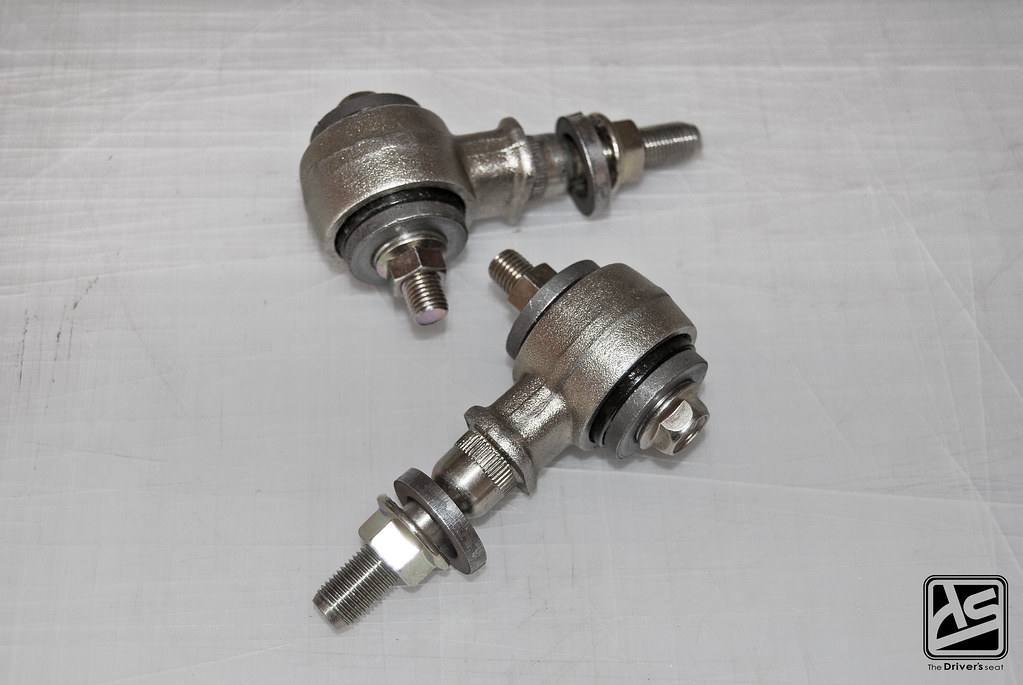
First on the list, upper control arm eye bolts with solid bushings…
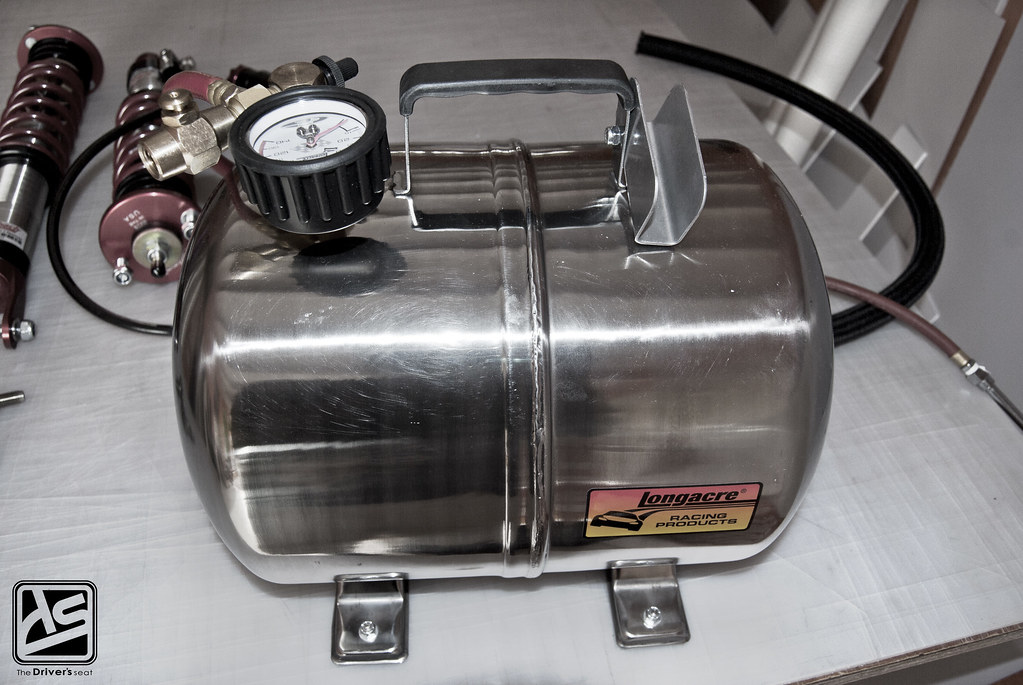
Due to temperature changes from the last race meet, Jerry had an issue regulating the tire pressures. However for the next race meet he plans to use nitrogen instead of compressed air in the tires, in doing so the tire pressure will remain stable for longer periods of time and it will also read consistent as the tires heat up during a race. In the event that Jerry may encounter any problems at the track he purchased a 5 gallon tank from Longacre to store some nitrogen.
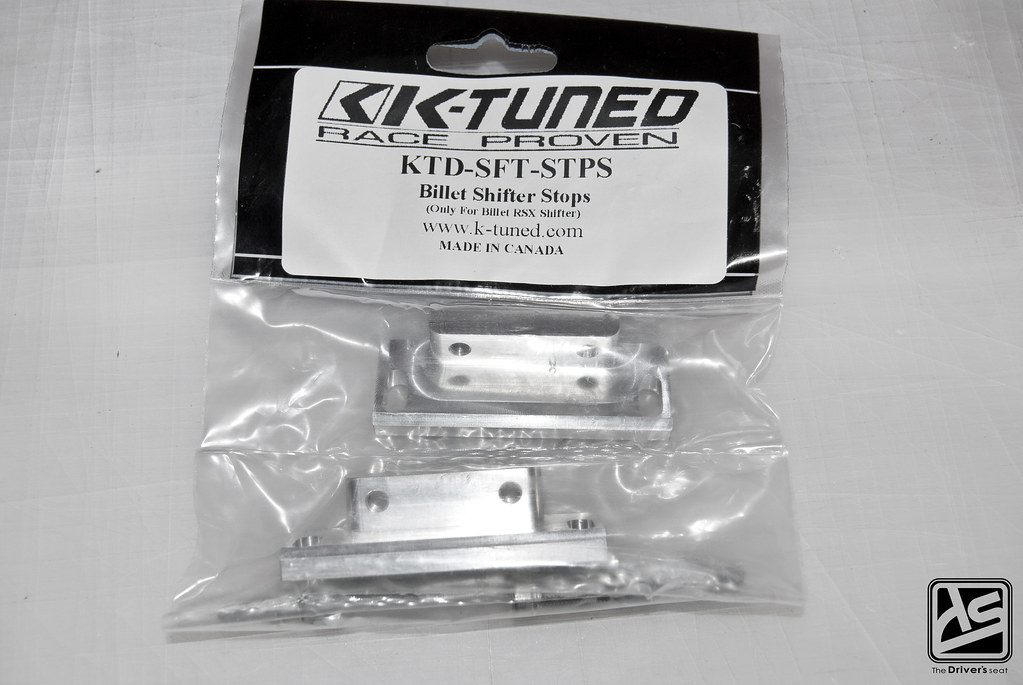
Jerry also picked up some of K-Tuned’s billet shifter stops. These are suppose to help with over shifting during a race, which can cause shift cables to stretch or break, shifter selector to break or damage gears and shift forks in the gearbox.
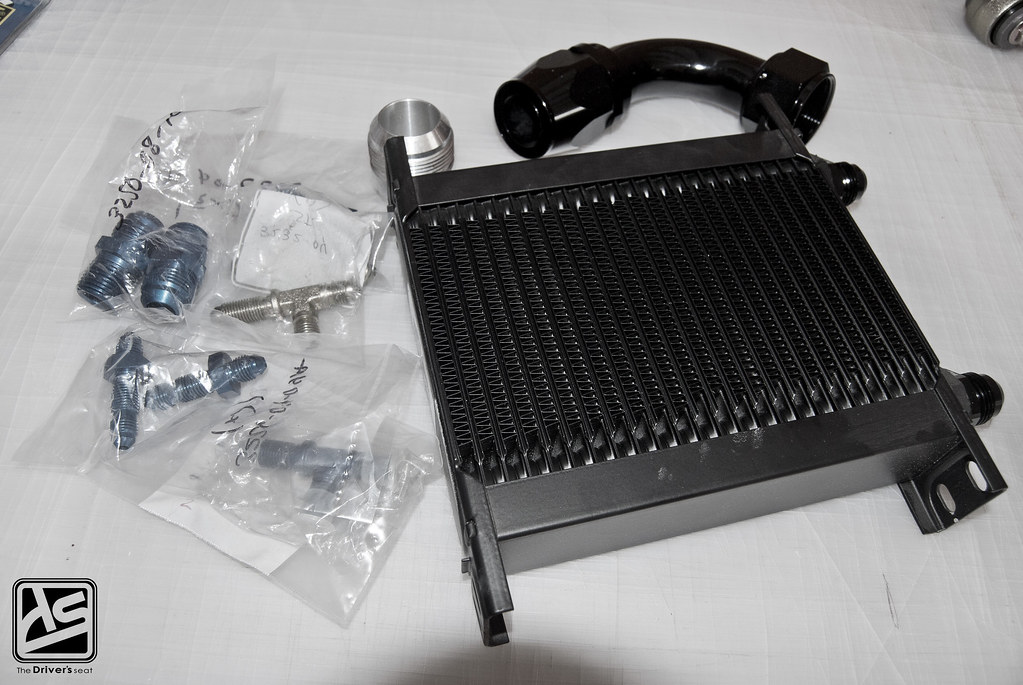
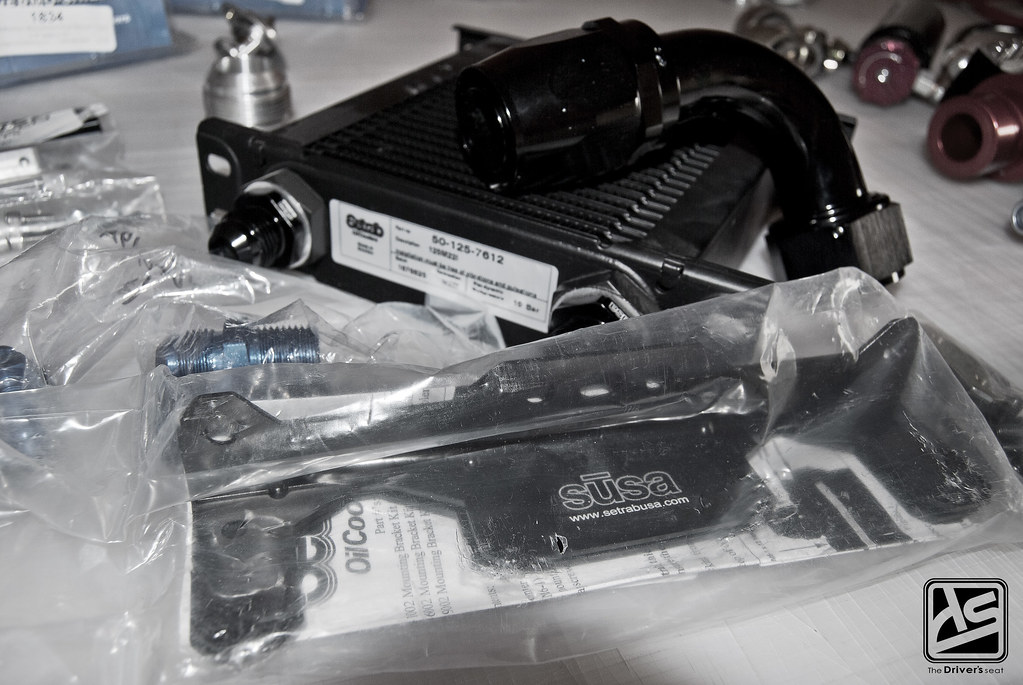
Another noticeable change from last event, Jerry picked up a Setrab oil cooler and ditched the old setup…

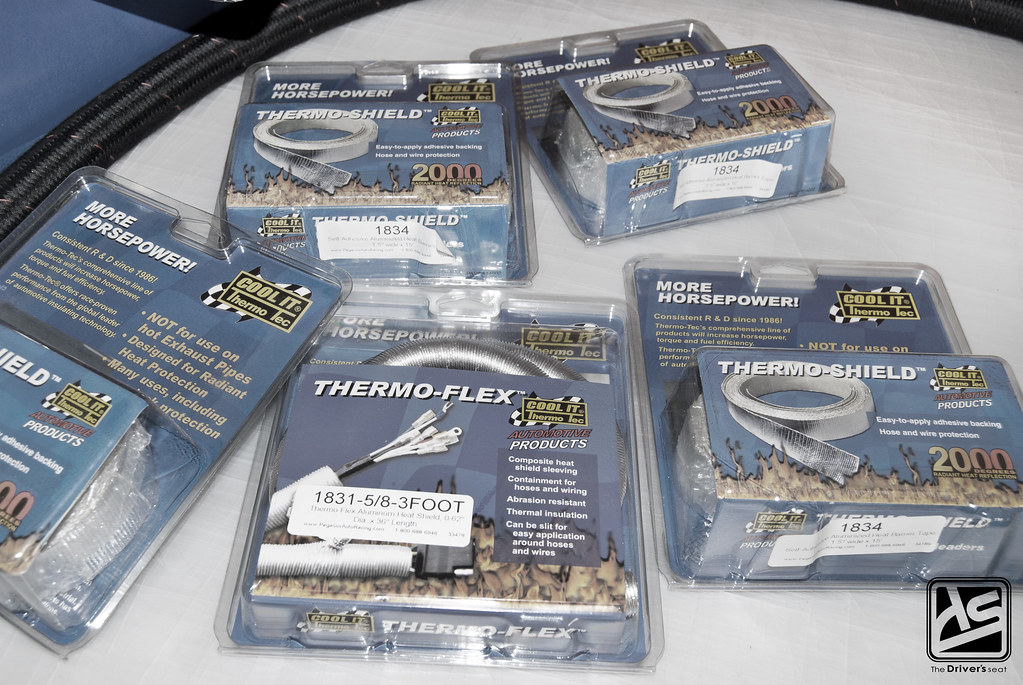
With the redesigned floor being out of aluminum, there will be a significant increase in heat, to help with this Jerry got hold of some thermo-shield…
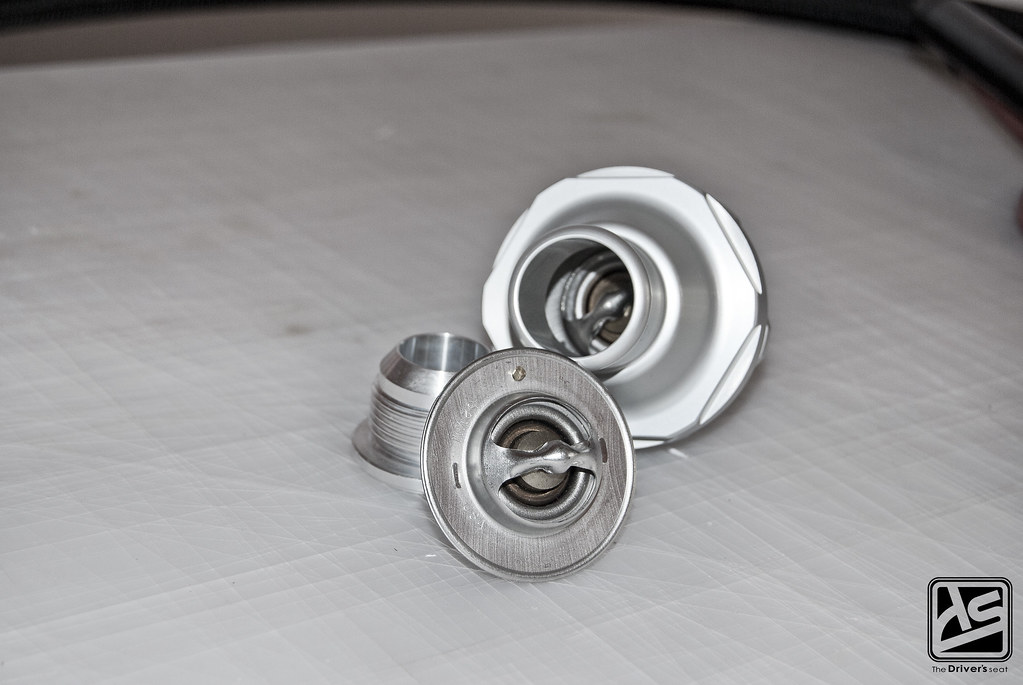
K-Tuned thermostat housing…
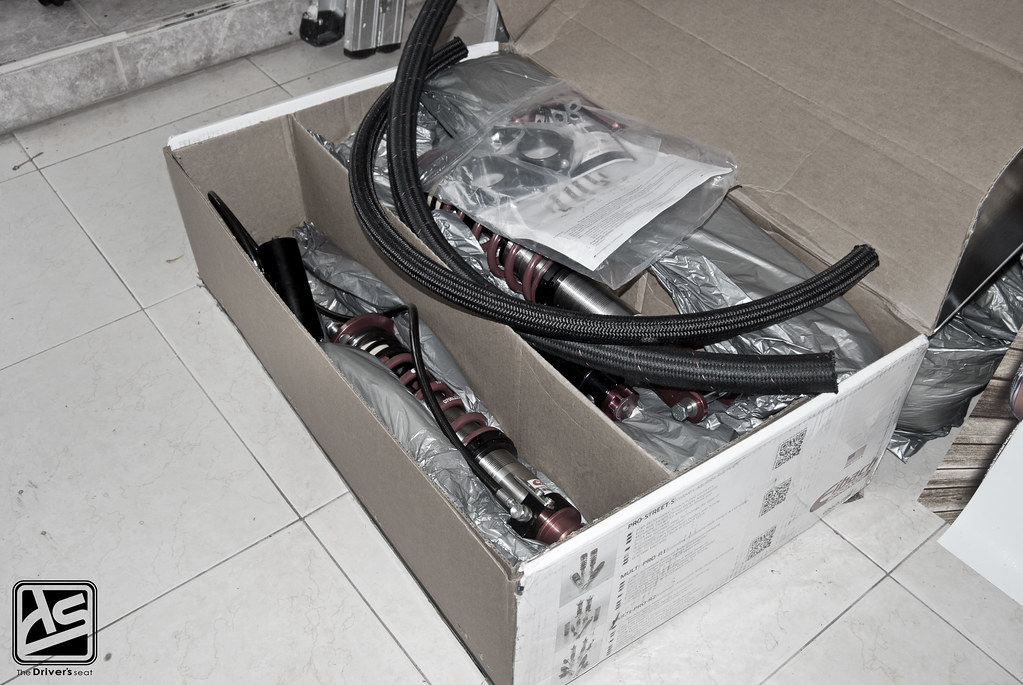
Highly anticipated package….

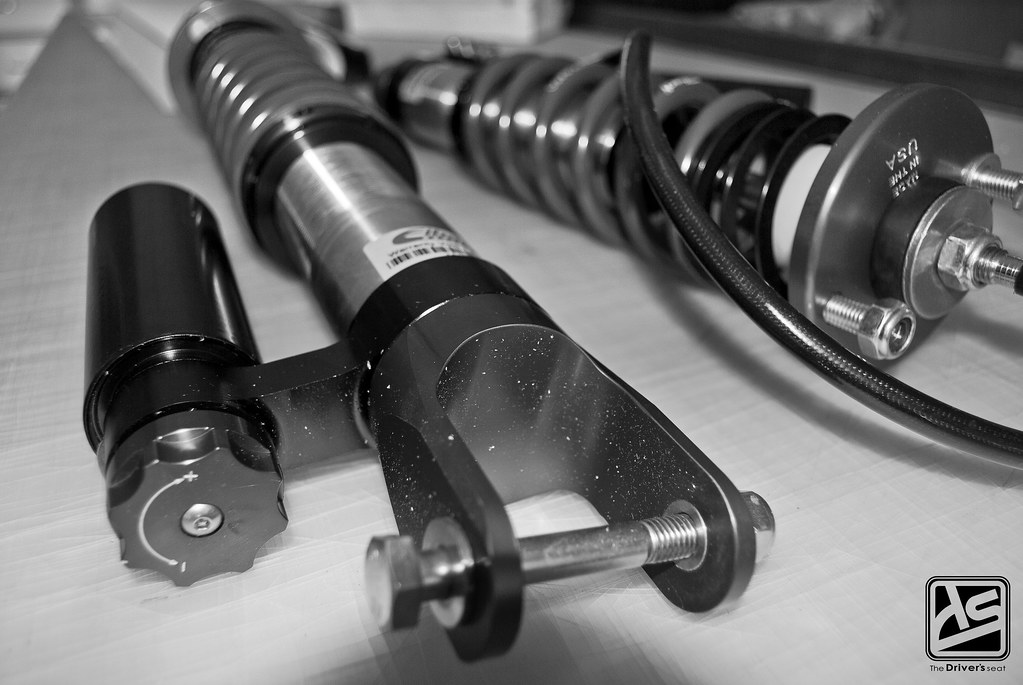
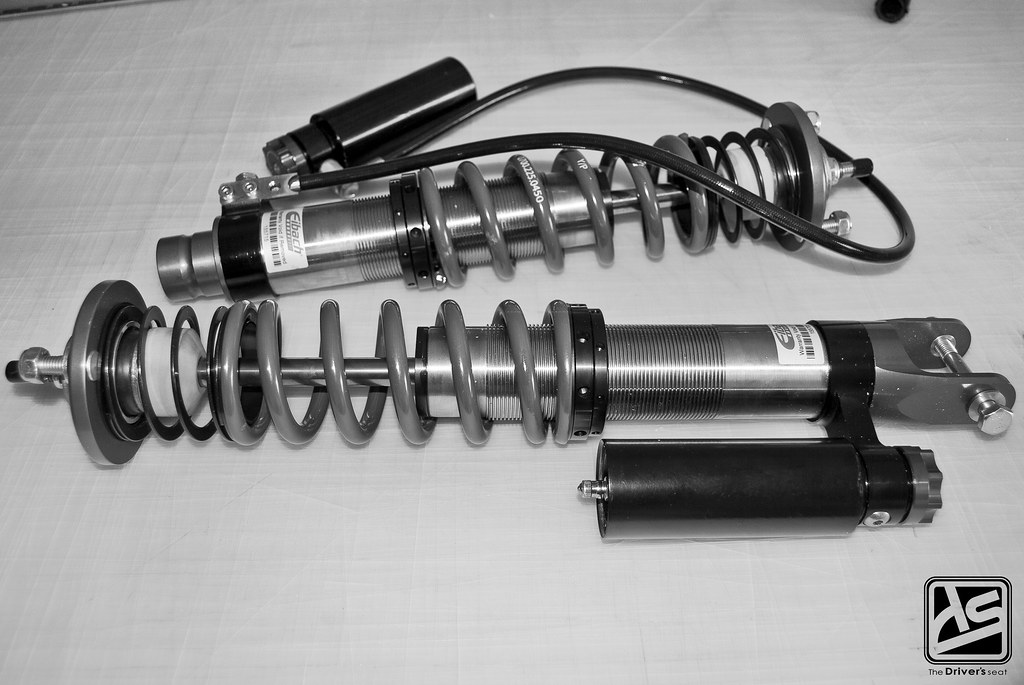
Eibach Multi-Pro two way coilover suspension…
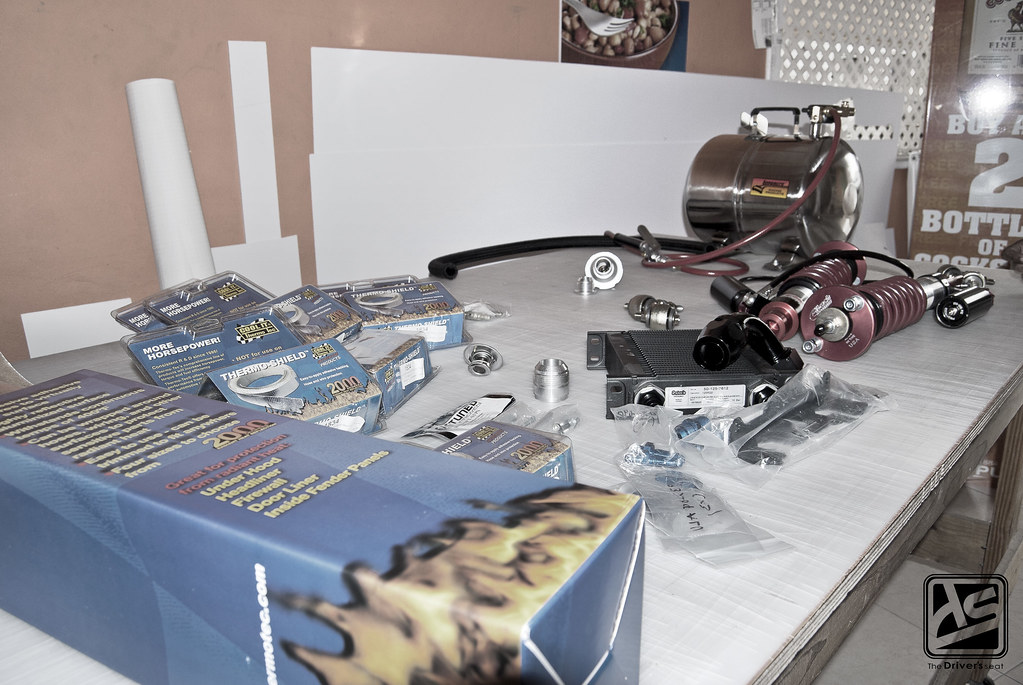
Table full of goodies…
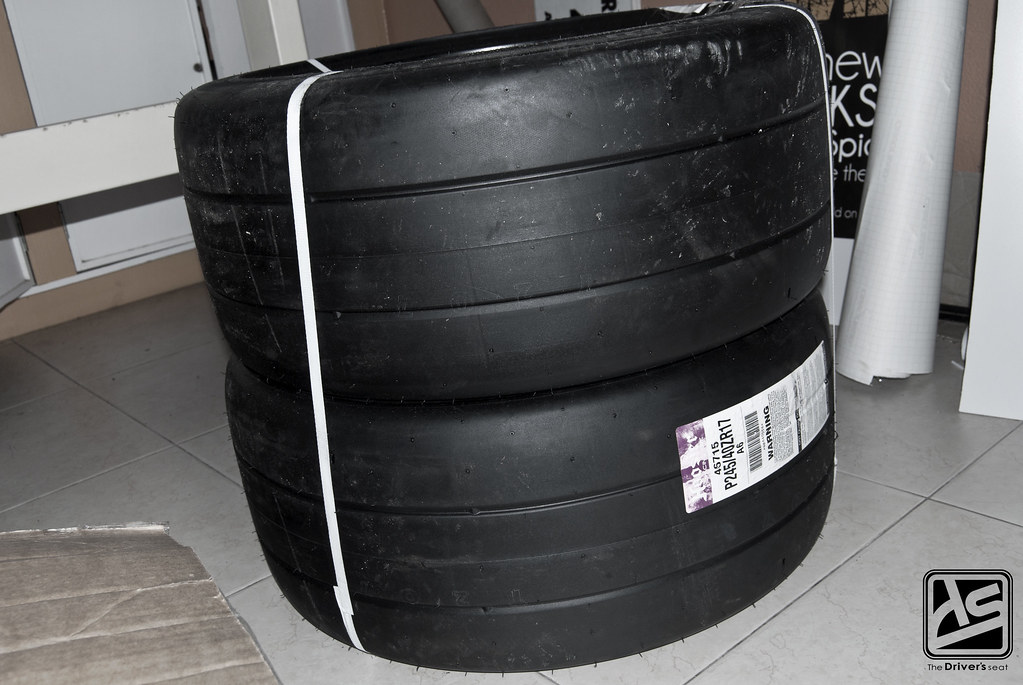
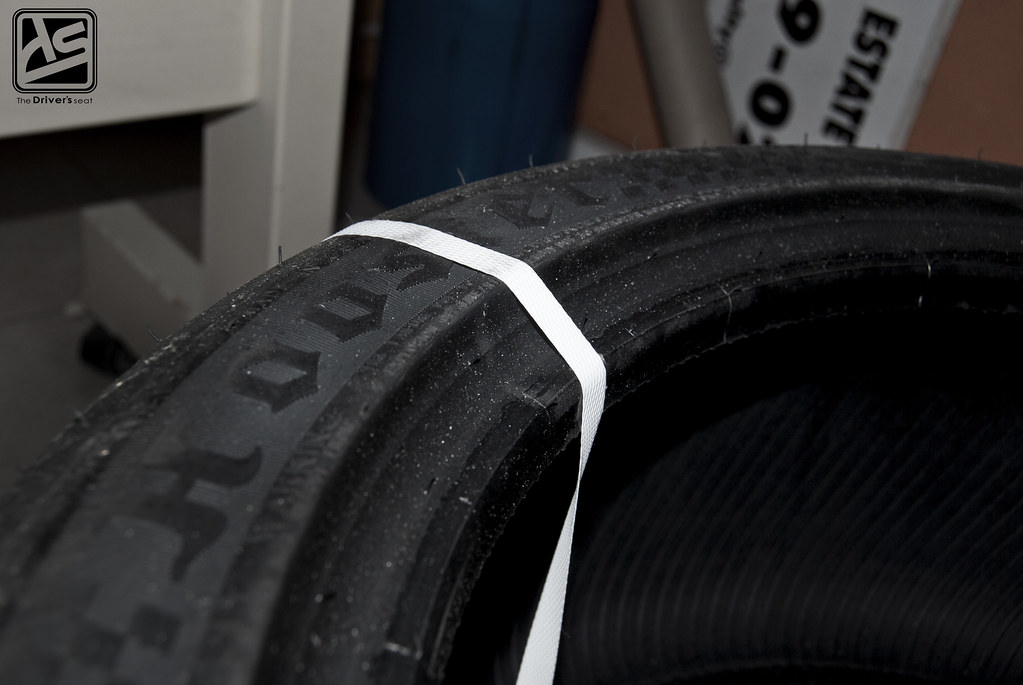
New Hoosier A6 rubber…
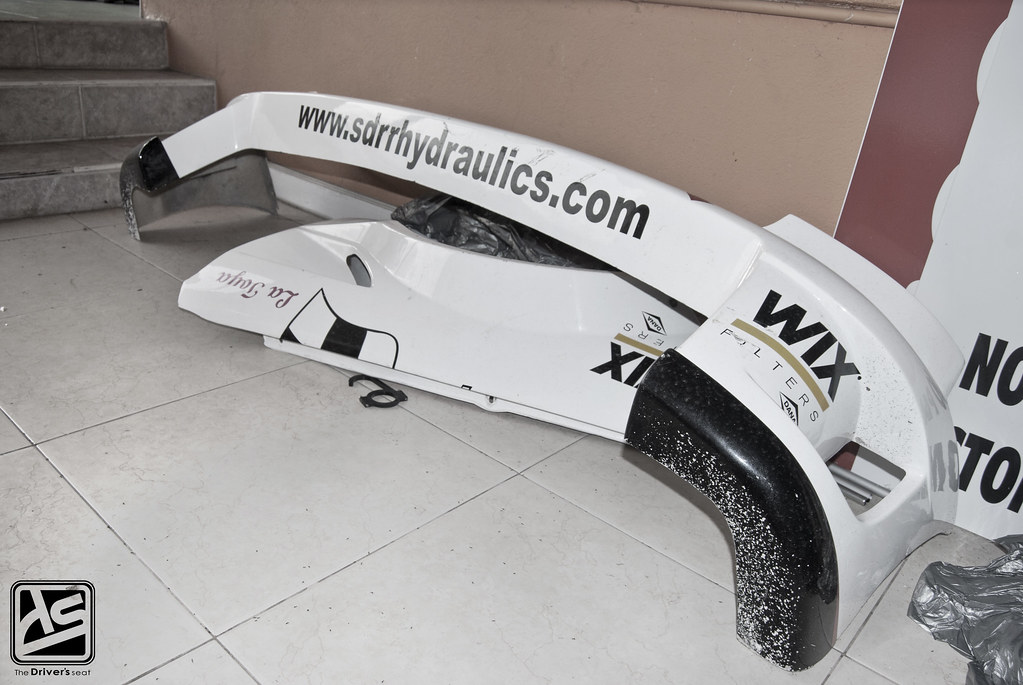
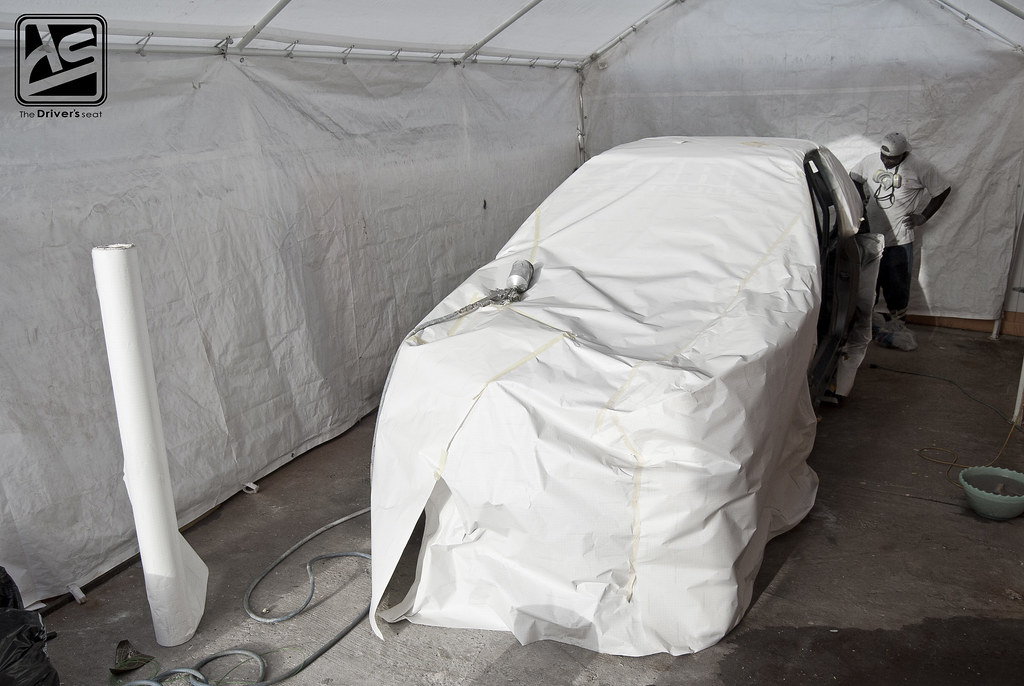
Rear bumper and front fenders could do with a little touching up…
Meanwhile….
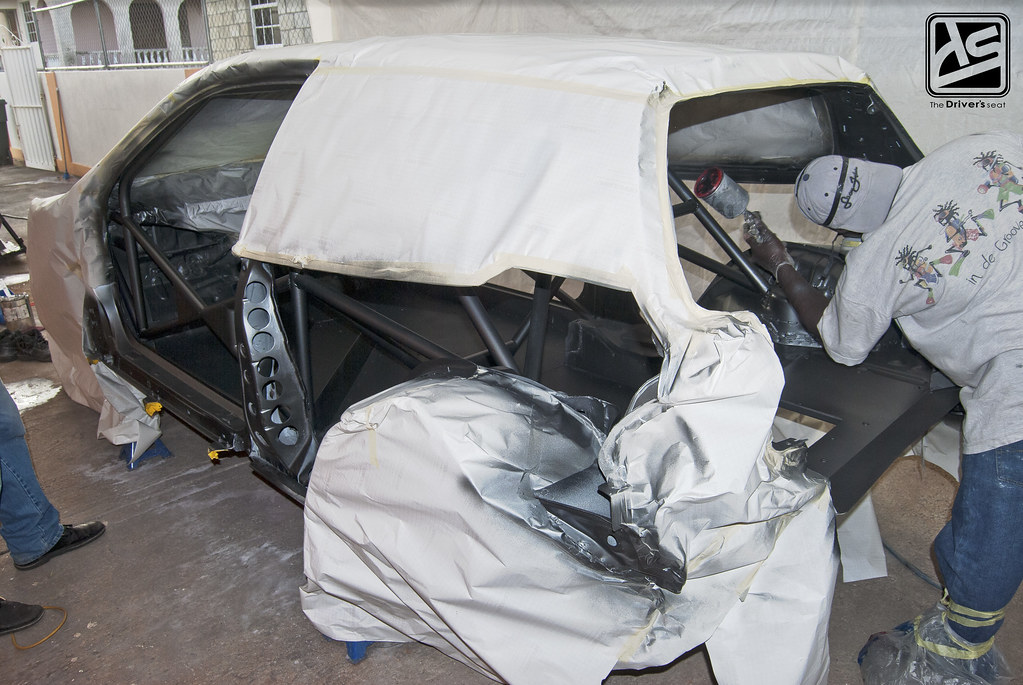
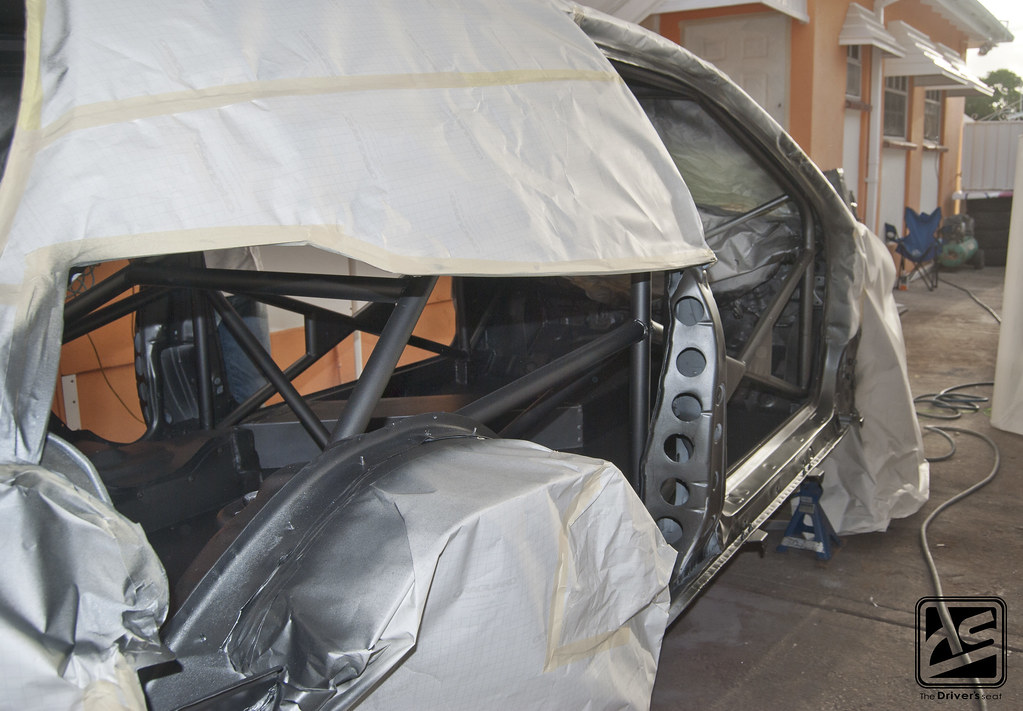
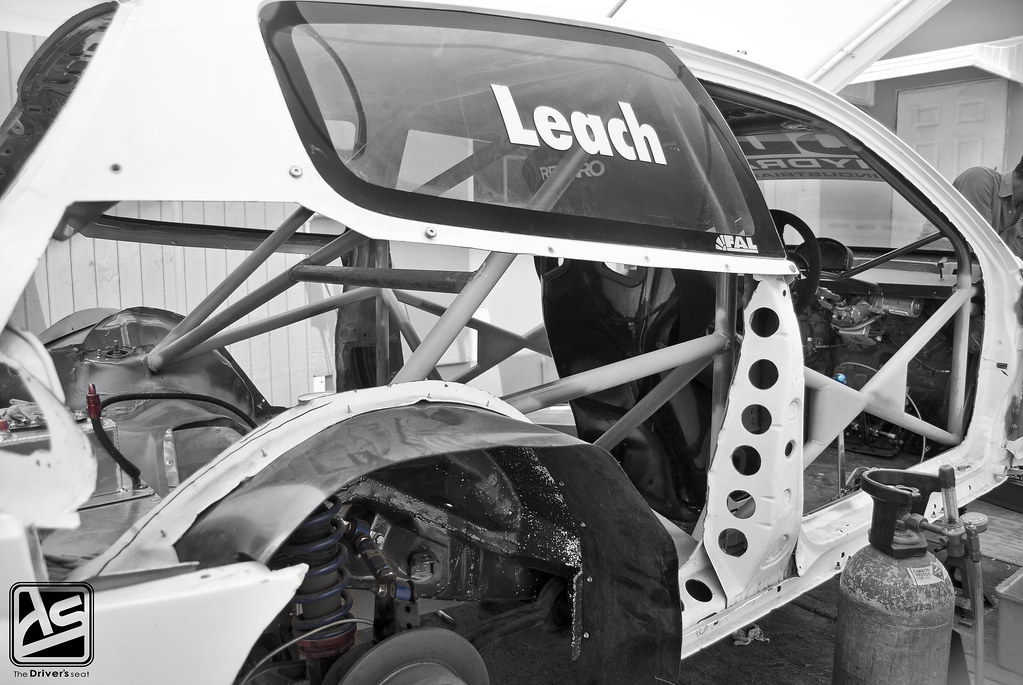
As the paint is being blown…
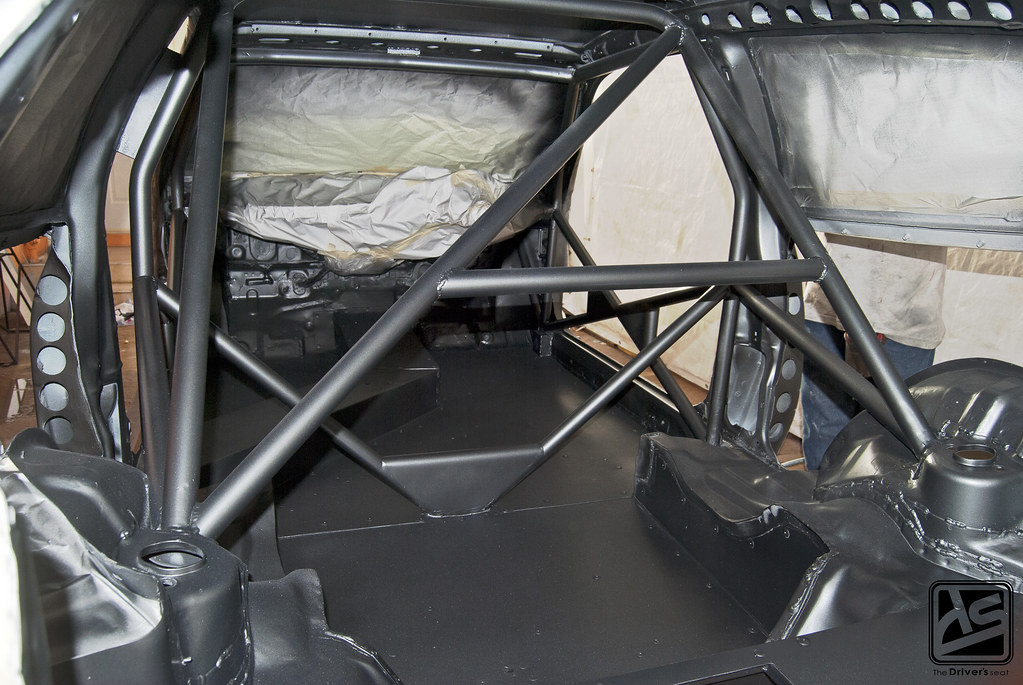
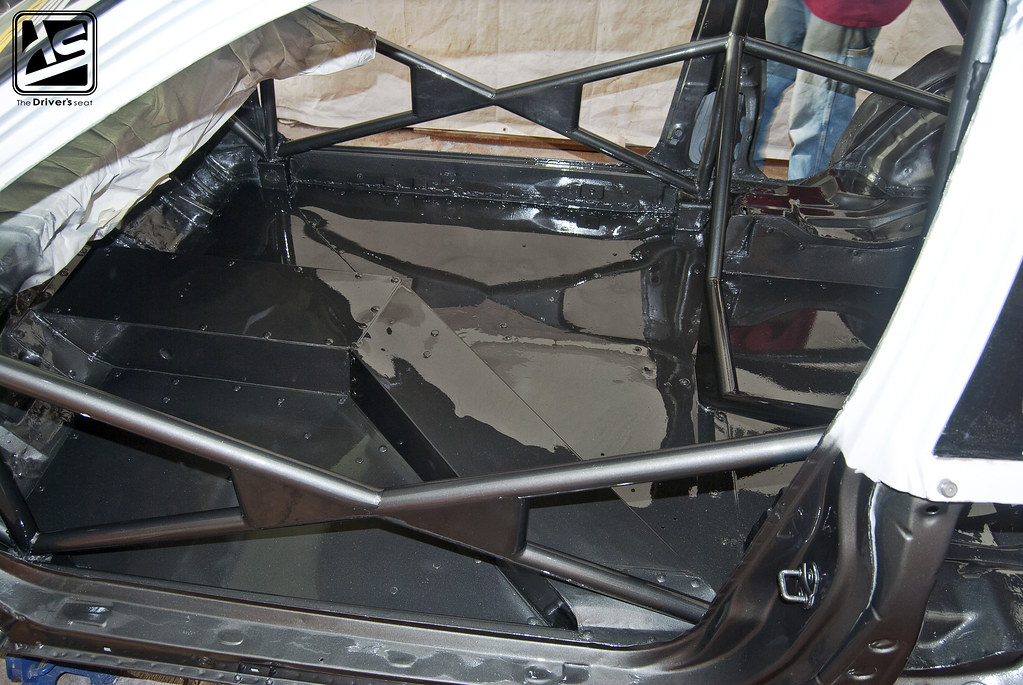
A view to from the back…
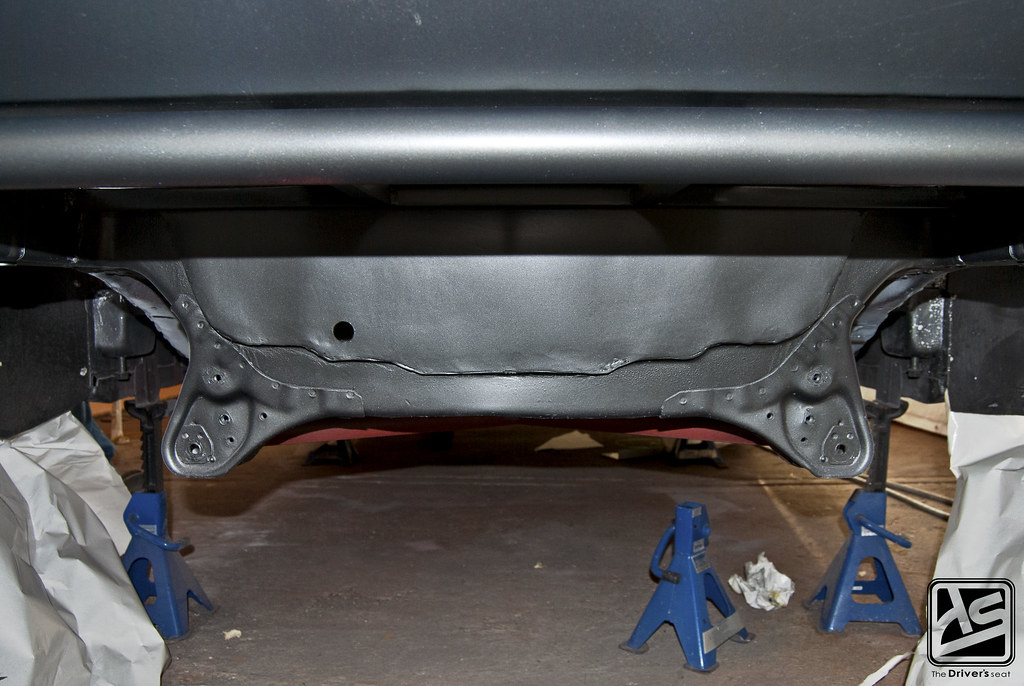
Underside included…
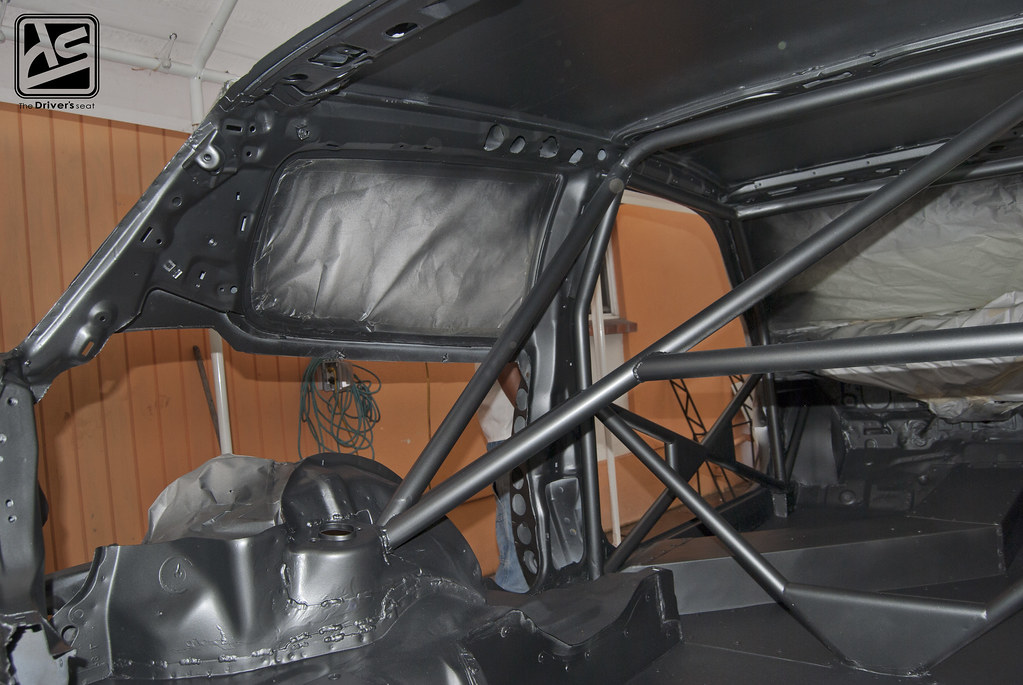
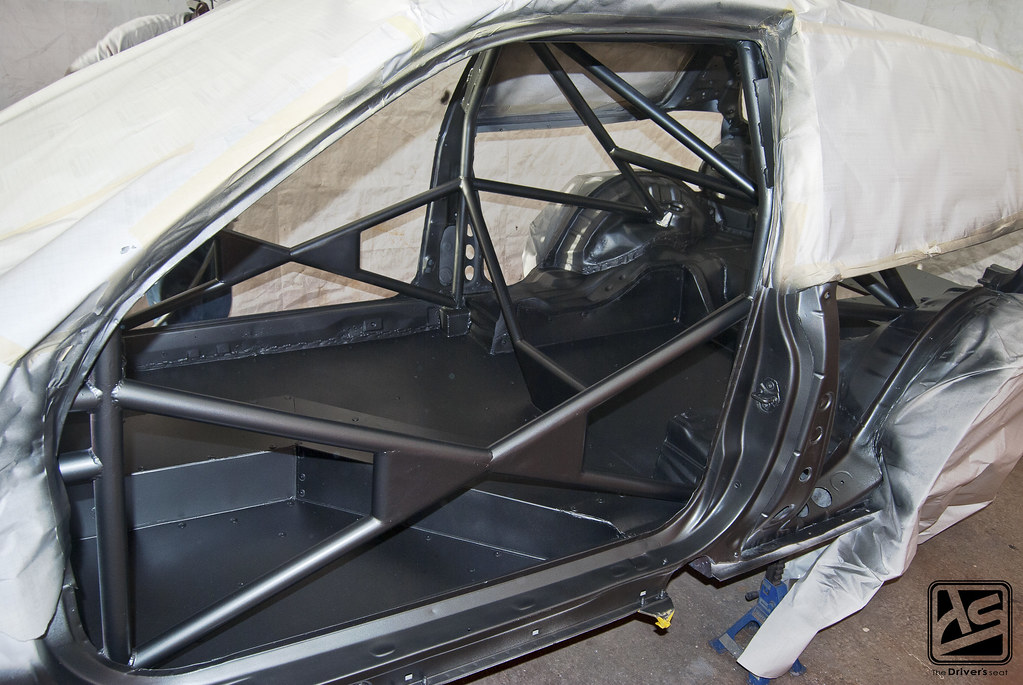
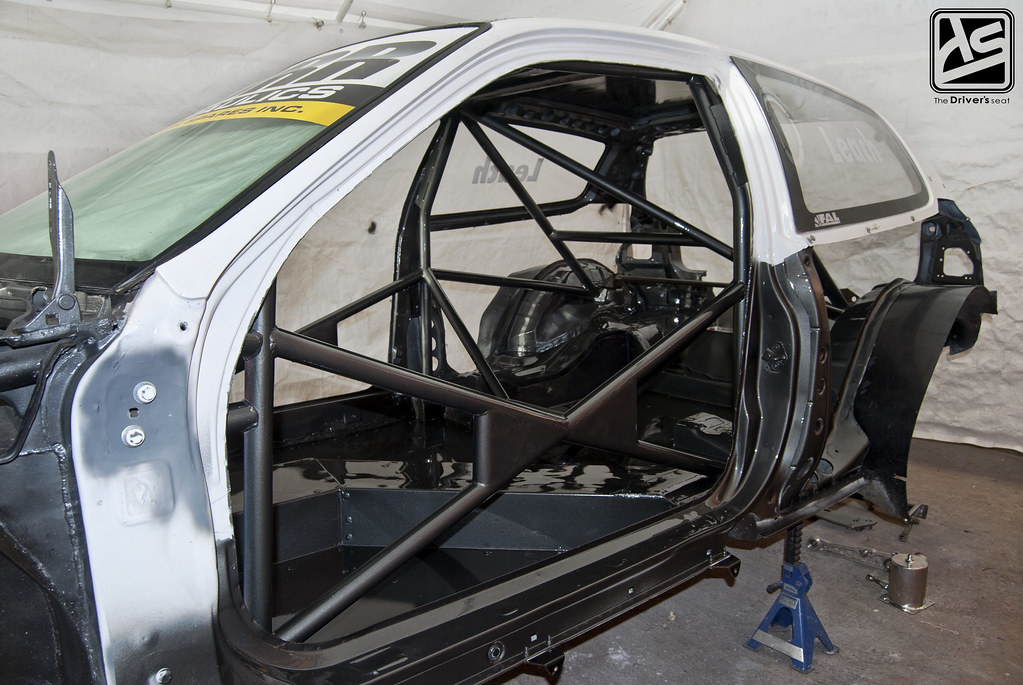
View of the cage fully painted, you get an idea of what the final product will look like…
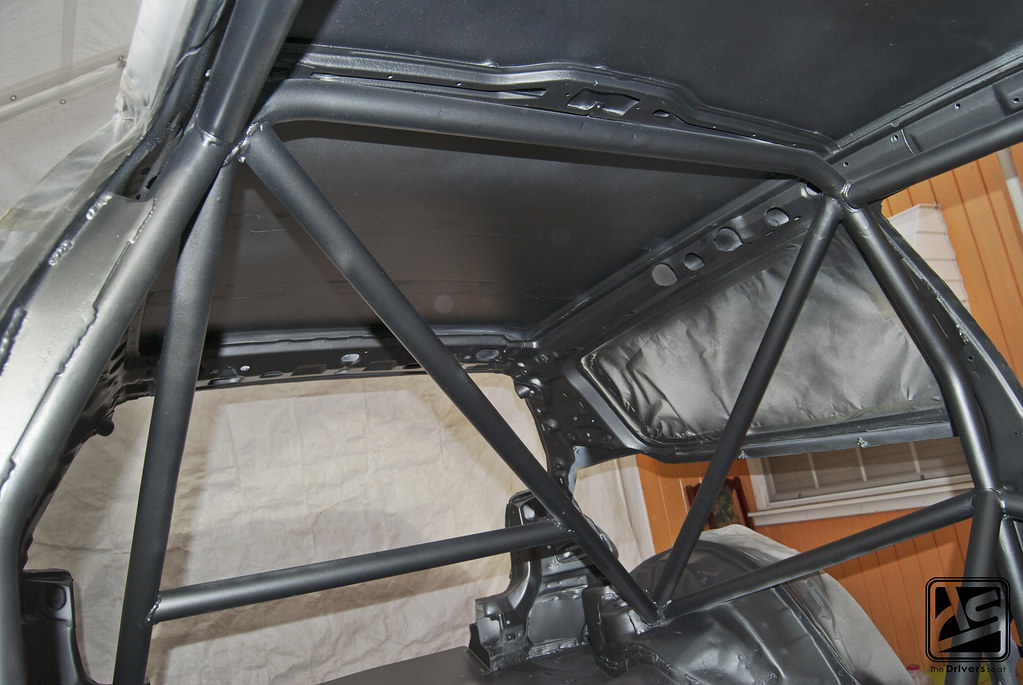
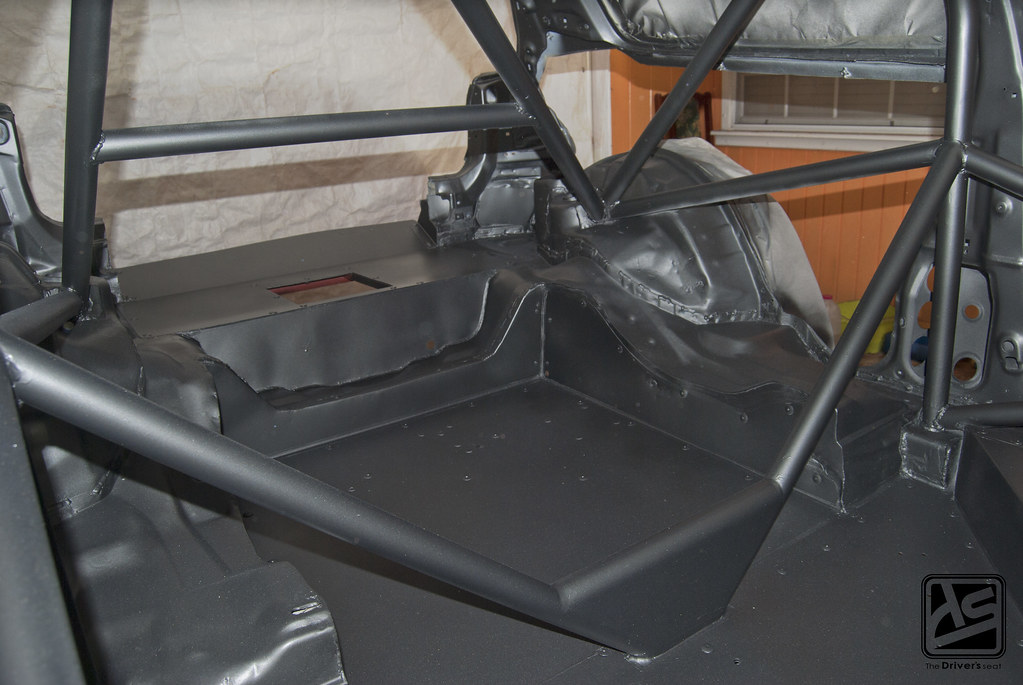
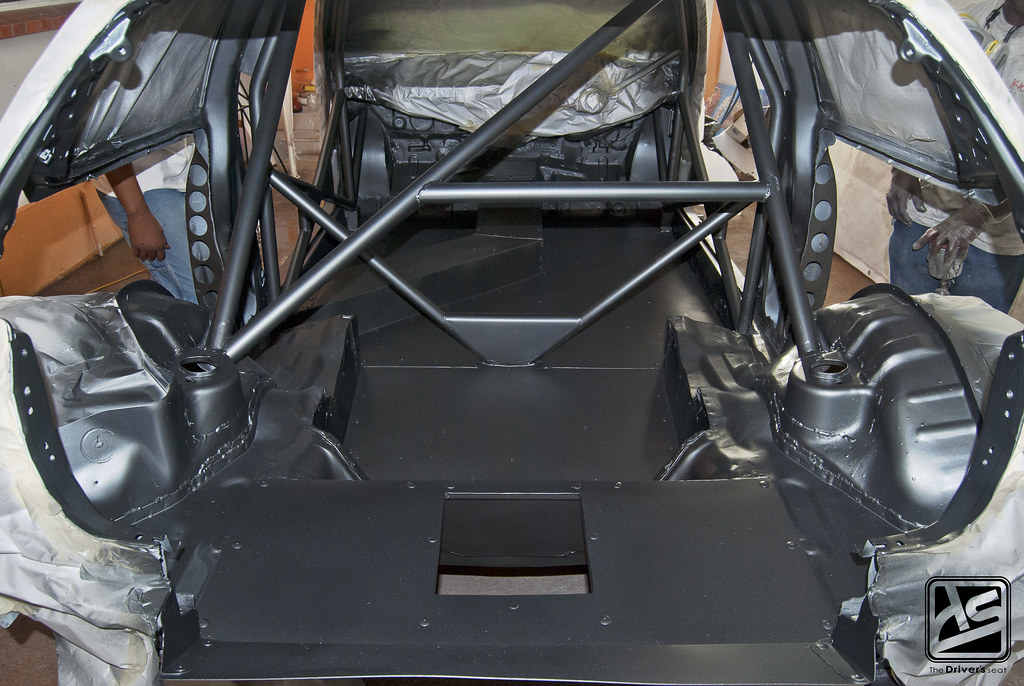
A look towards the back…

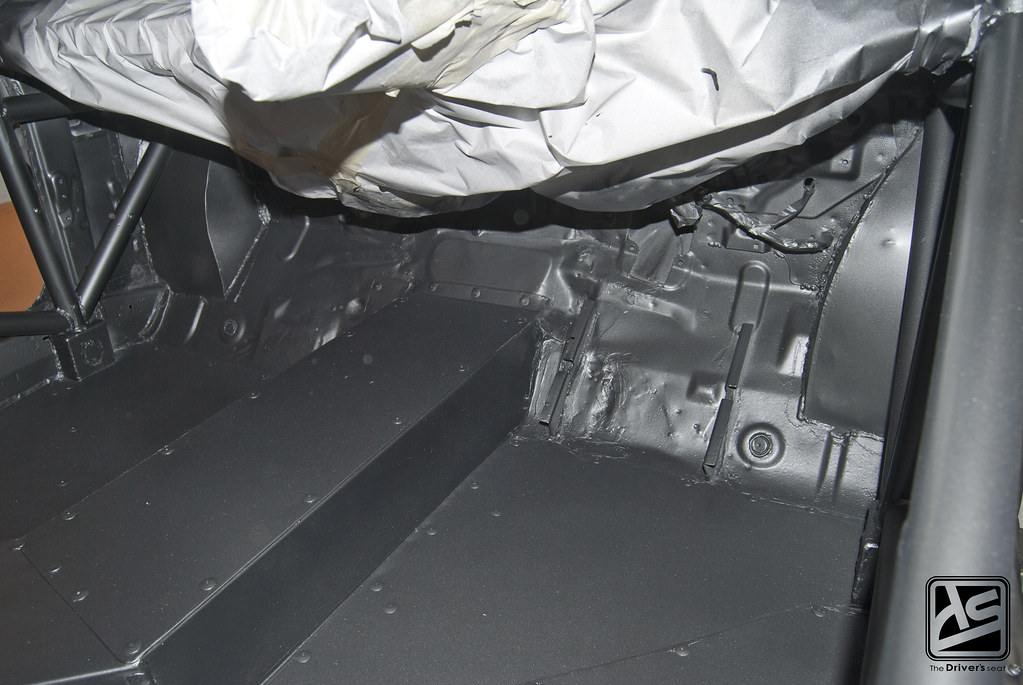
Closeup of where the tunnel meets the firewall…

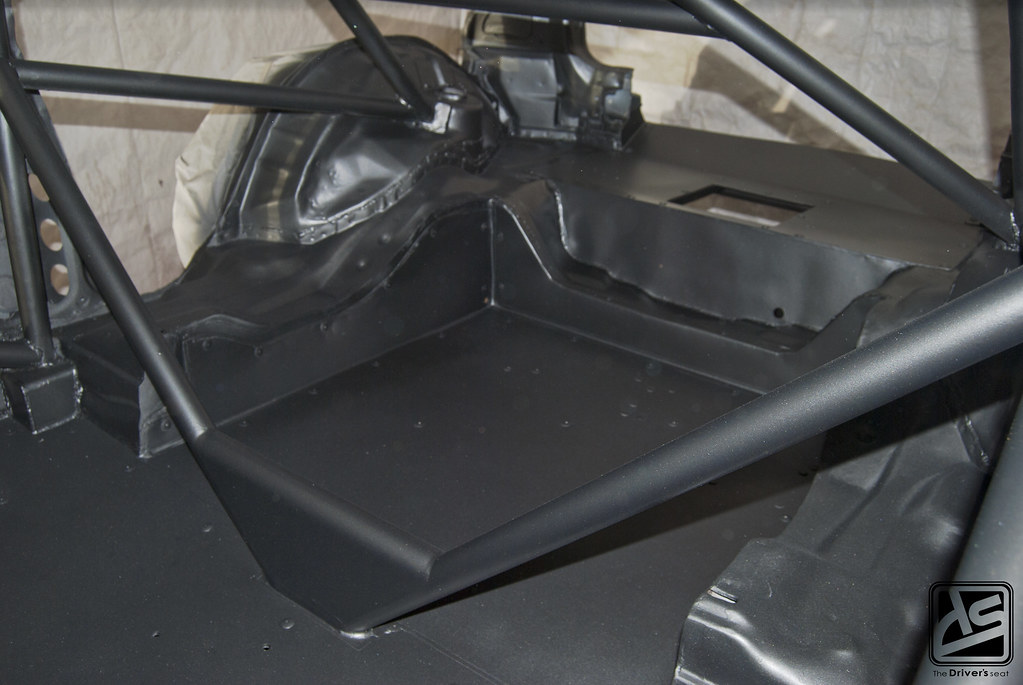
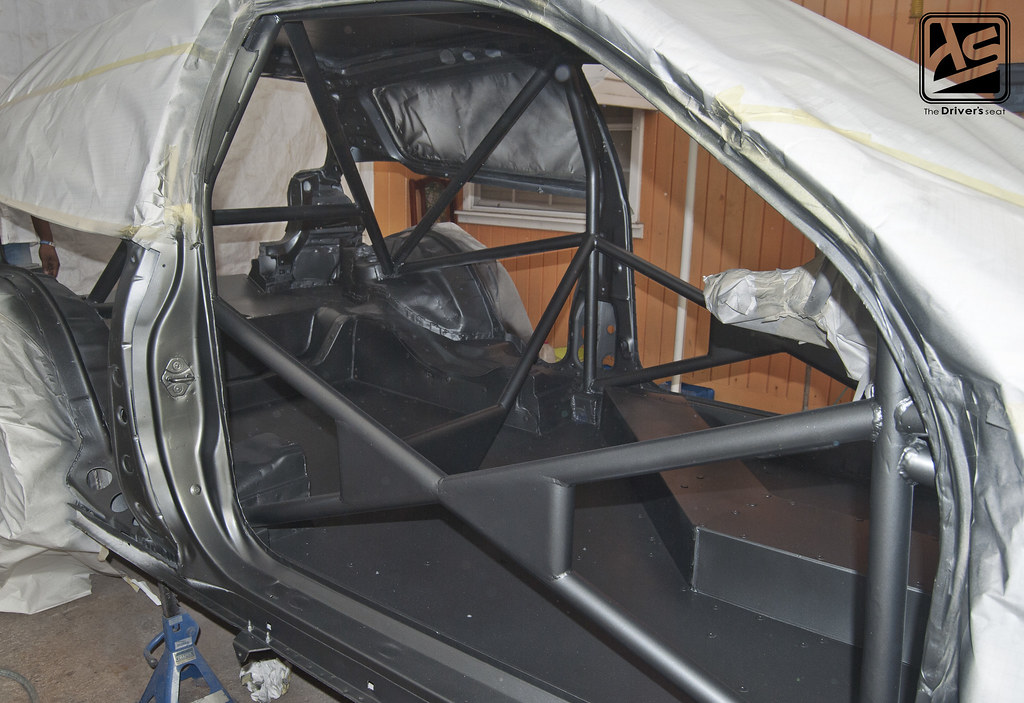
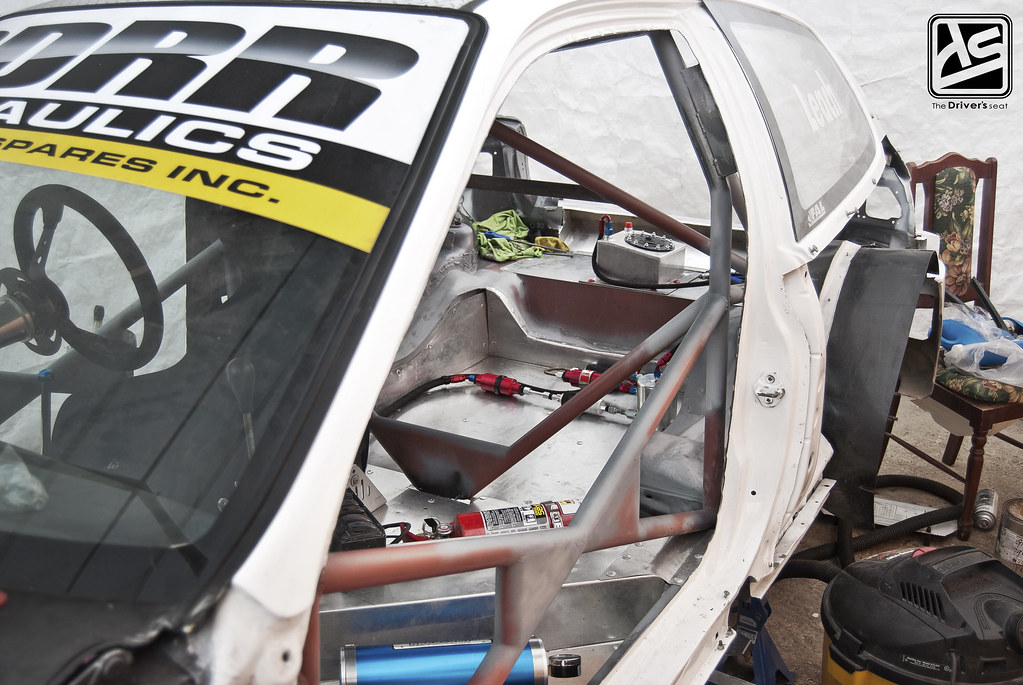
A view towards the back of the car where the new fuel setup will be going…
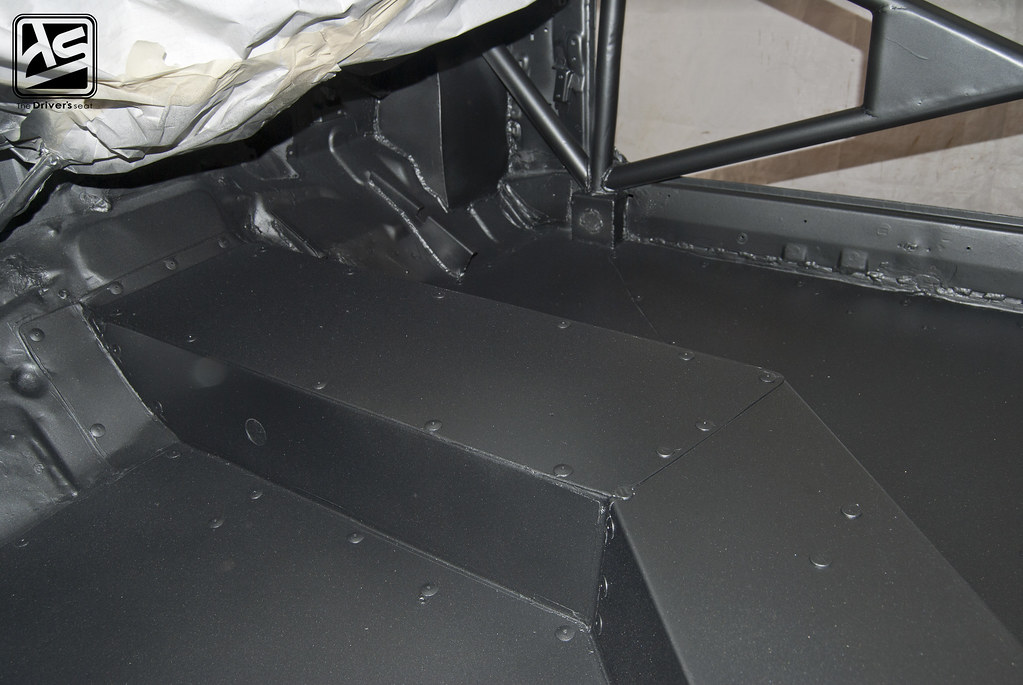

Along with the rivets, Jerry went ahead and added a thin coat of sealant wherever the aluminum sheets met…
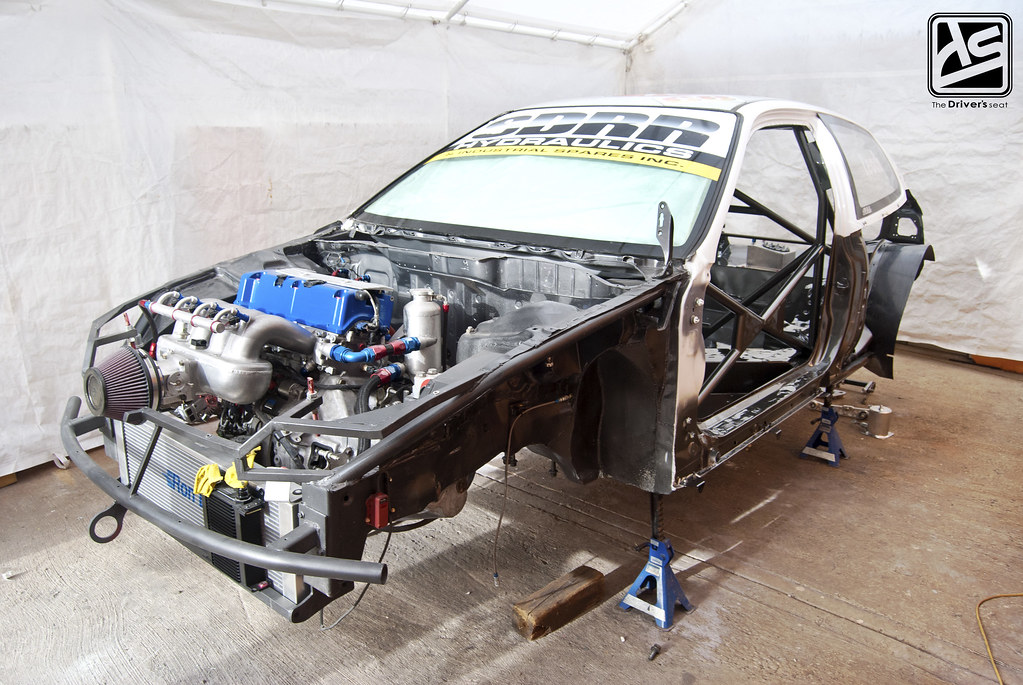
How the car sits after the paint stage has been completed…
Clear coat added…

Shiny shiny…
View of the tunnel now completed with a clear coat…
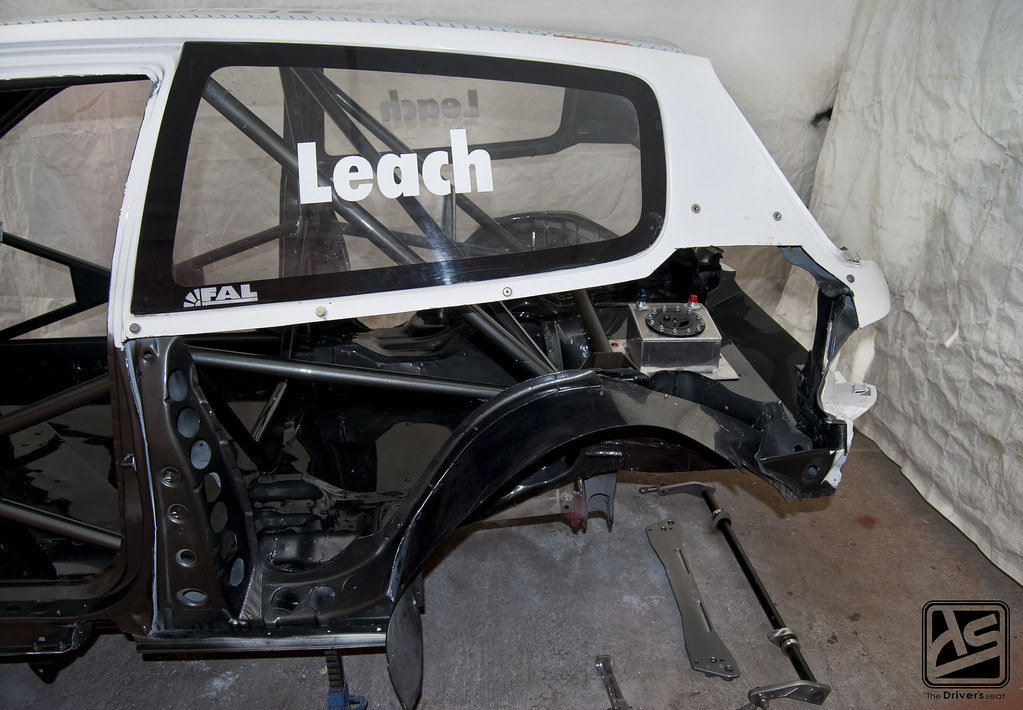
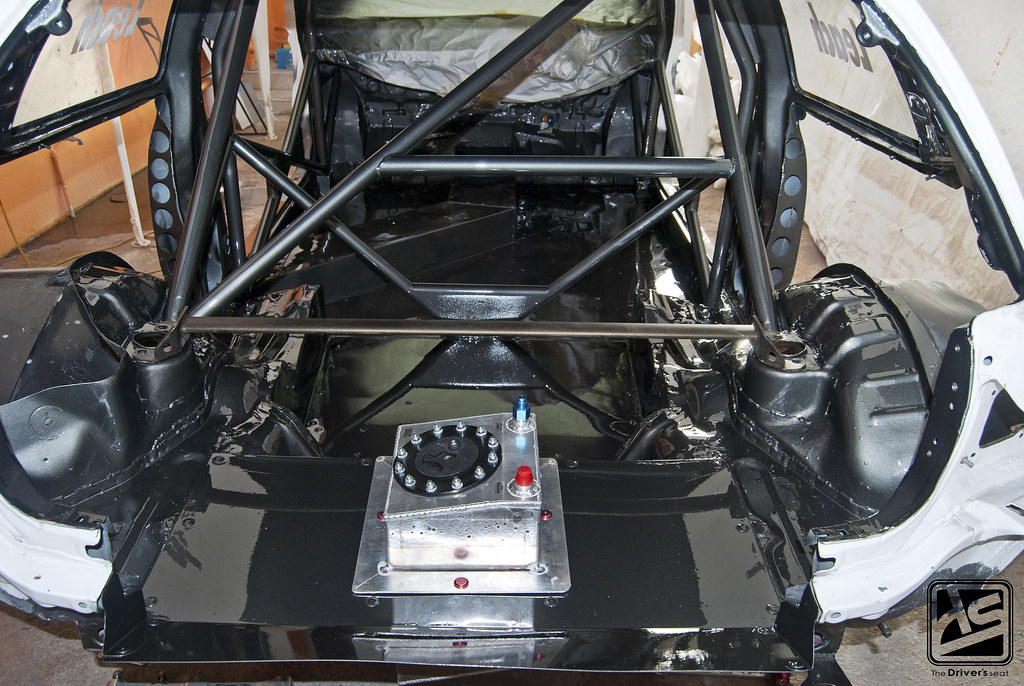
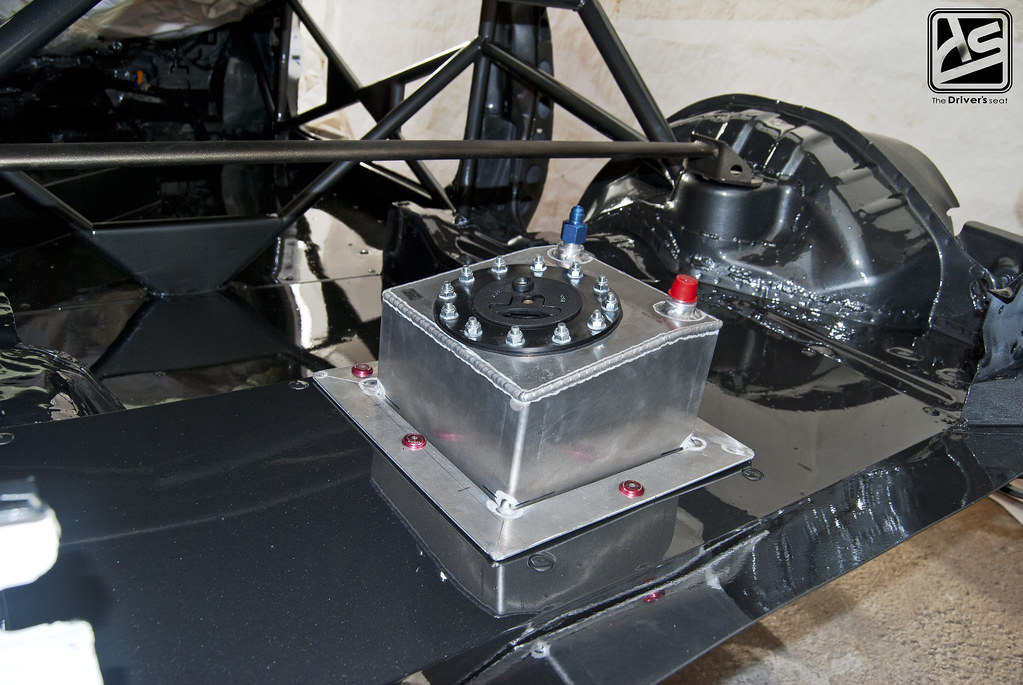
As you can see Jerry wasted no time in starting the re-assembly, fuel cell in place…

Swirl pot, LCAs, ASR brace and hollow sway bar, all laid out and ready to be installed. And on that note, this is where I will close out today’s update, I hope you guys enjoyed it.
Track Bred EG6 Build… Part 16
Today I have a pretty exciting post for you guys. The floor is now completed and we’re in the test fitting phase just to make sure everything lines up correctly. Also, a first look at Jerry’s new fuel setup and some close ups as the engine bay starts to come together. I’ll let the photos do the talking from here…
For those who would have missed any parts along the way, I have provided the link below…
While going through some photos, I managed to find a few with the new intake mounted before the radiator support was redesigned…
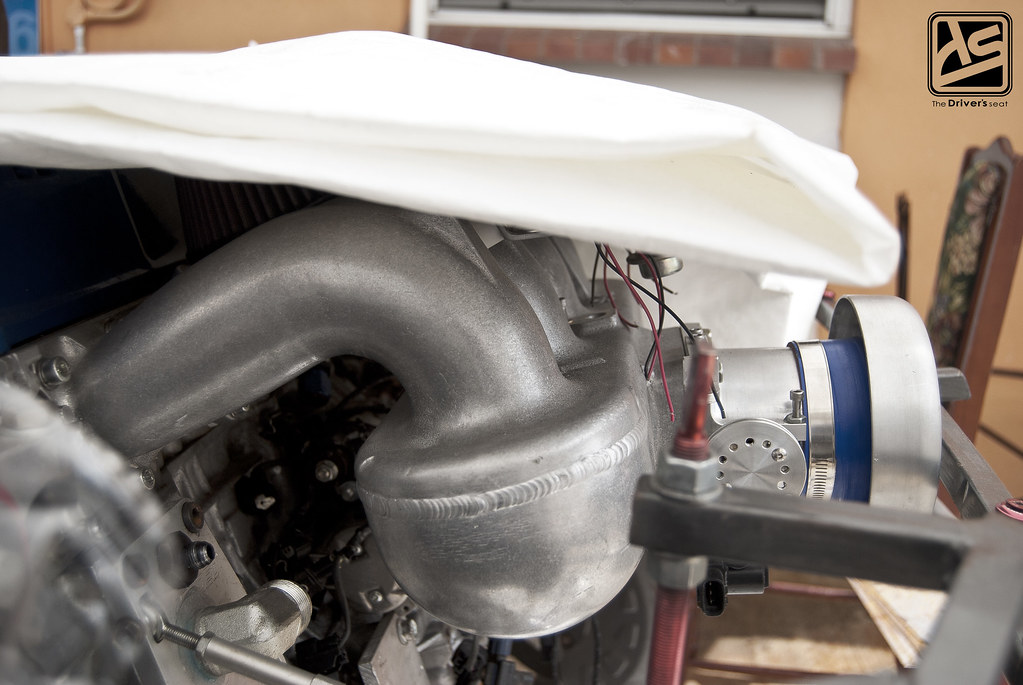

As you can see it already was a tight fit and it wouldn’t be possible for the air filter to be mounted, so it was a no brainer that the radiator support would need to be redesigned in order to accommodate this setup.
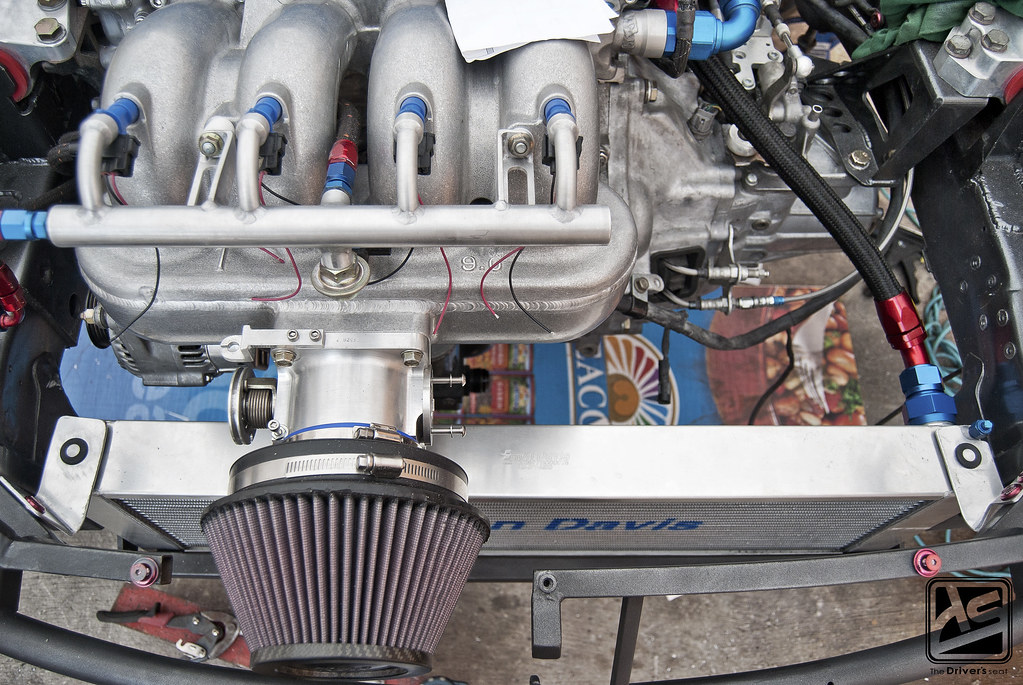
In comparison, here is a look at the intake after the radiator support has been redesigned…
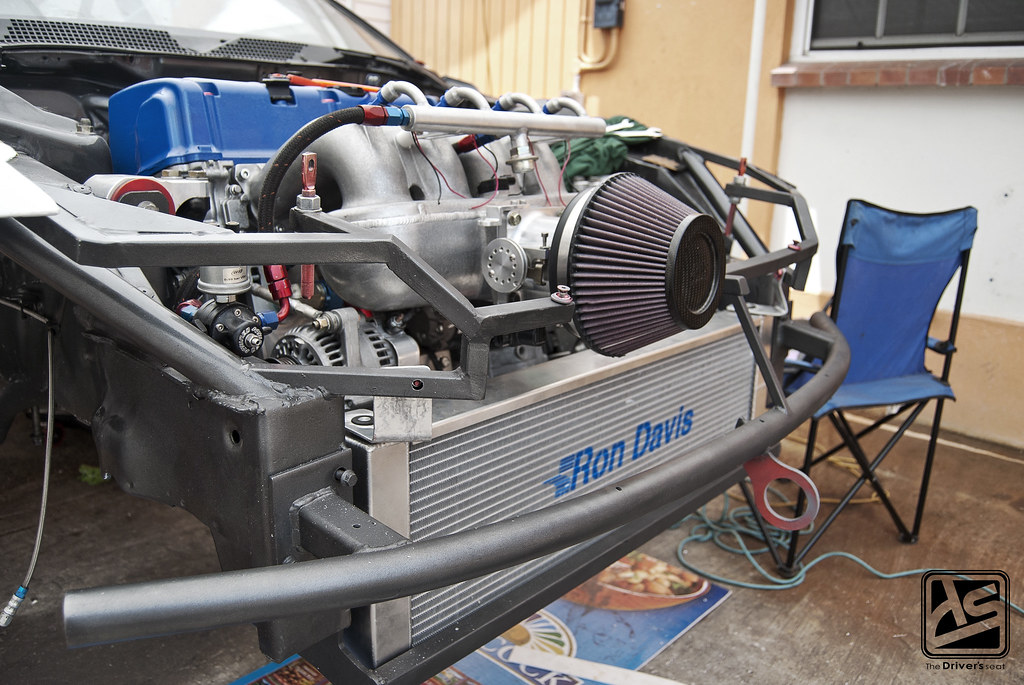
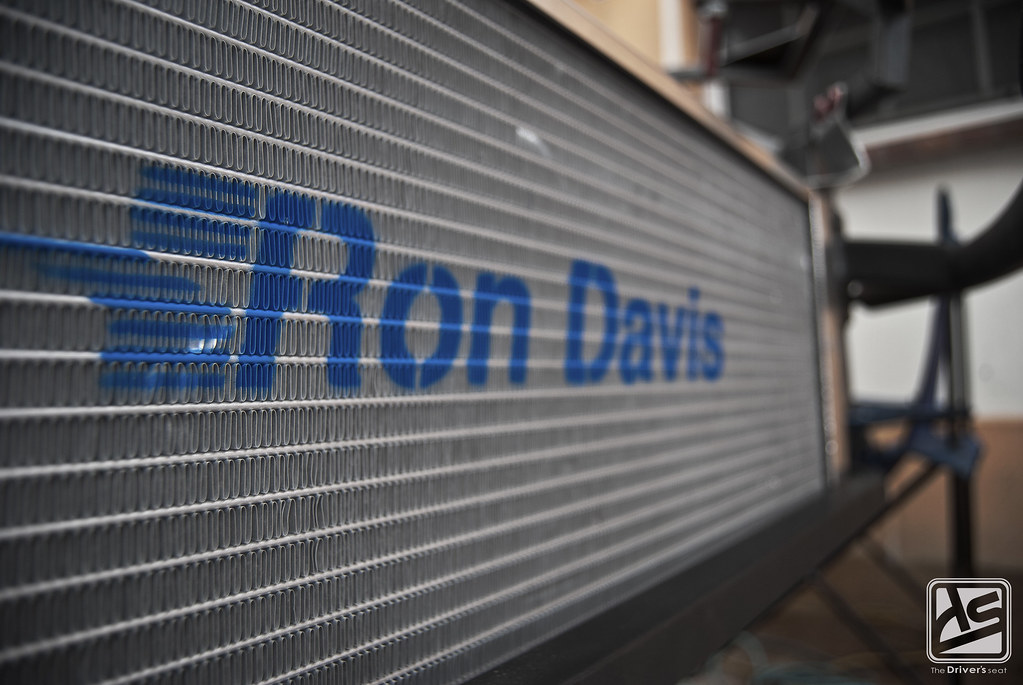
With the new intake fitted, it proved to have some serious clearance issues with the Misimoto radiator, to solve this problem, Jerry contacted Ron Davis Radiators and had them custom build one to his specifications.

A view from the front where you can get a better look at the redesigned front, with the Ron Davis radiator mounted…
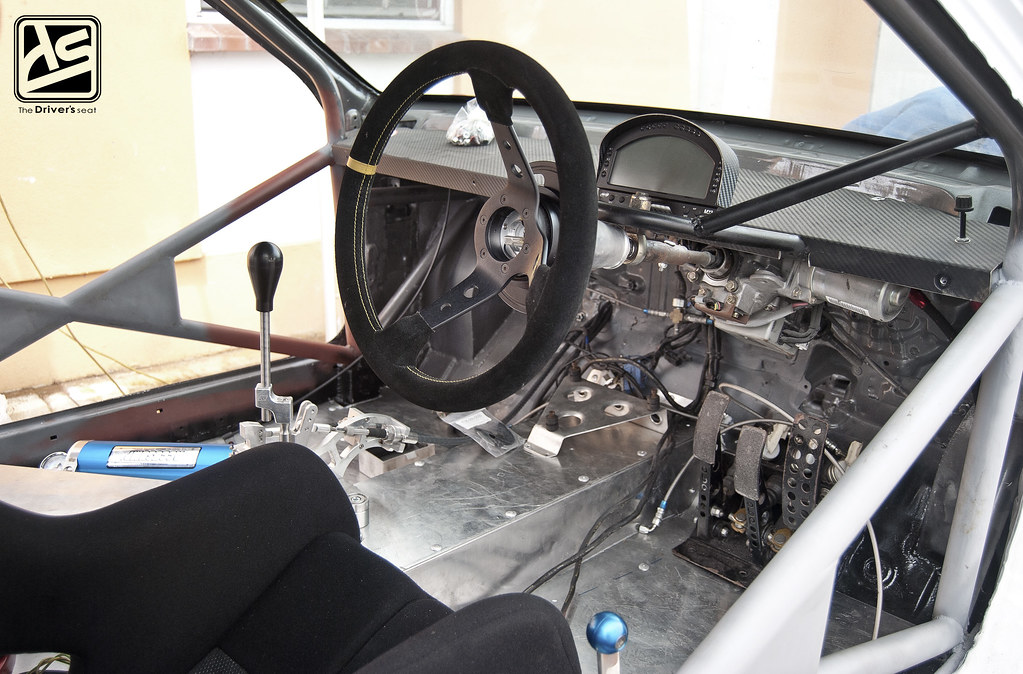
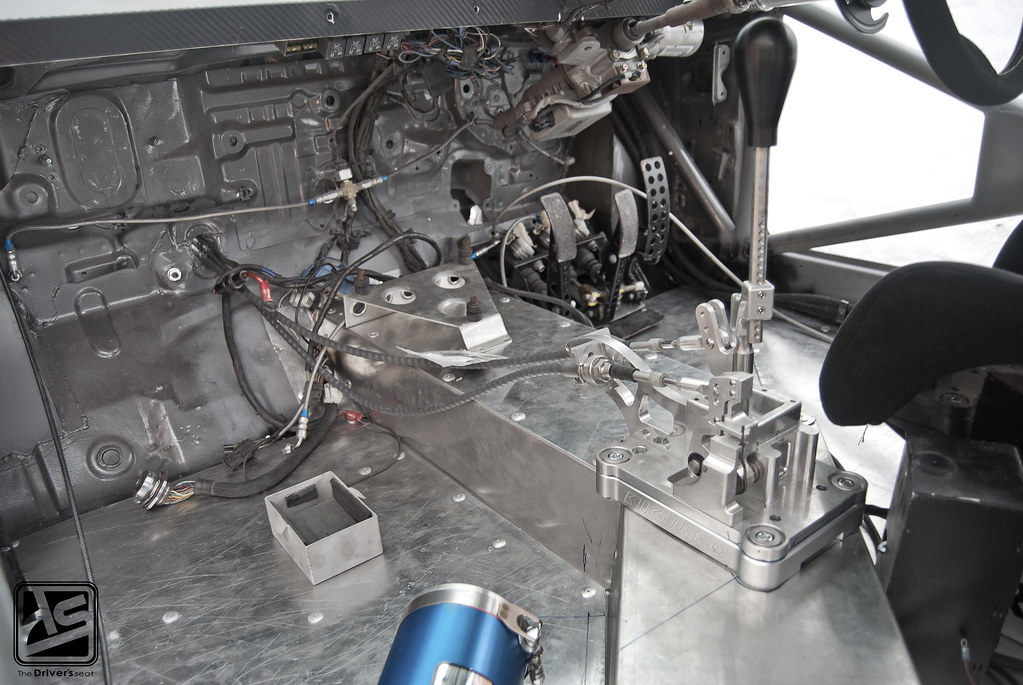
Interior test fitted to ensure everything works with the redesigned floor…
Included in this process was for Jerry to test out the new seating position to make sure everything was correct. If you pay close attention you would notice that Jerry has moved the handbrake from his left repositioned it next to the seat to his right…
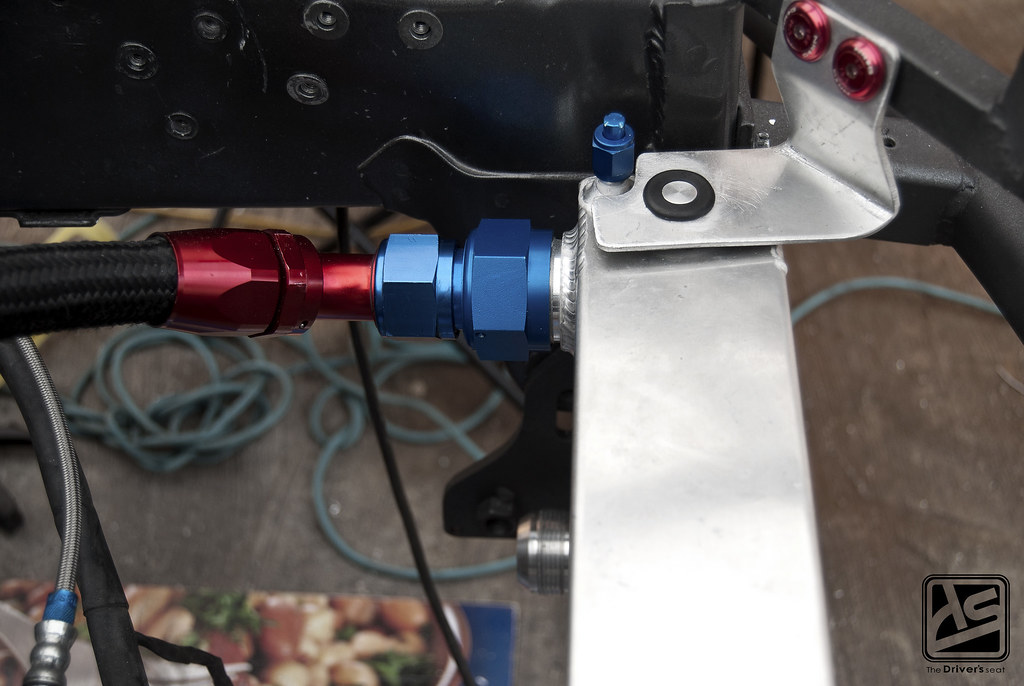
A glance at the new fuel setup…
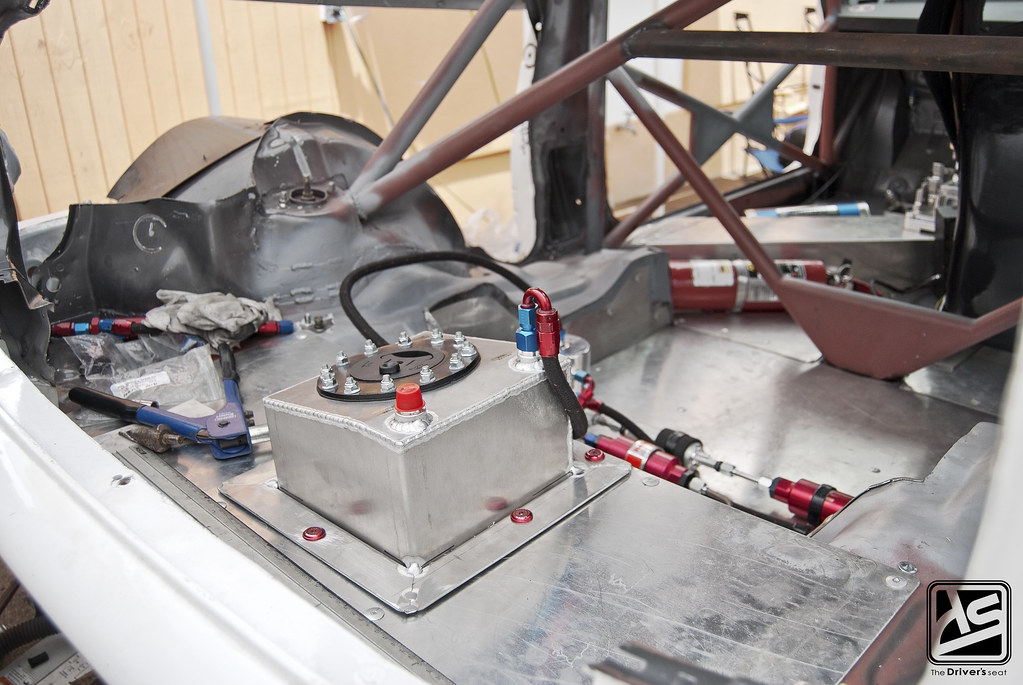
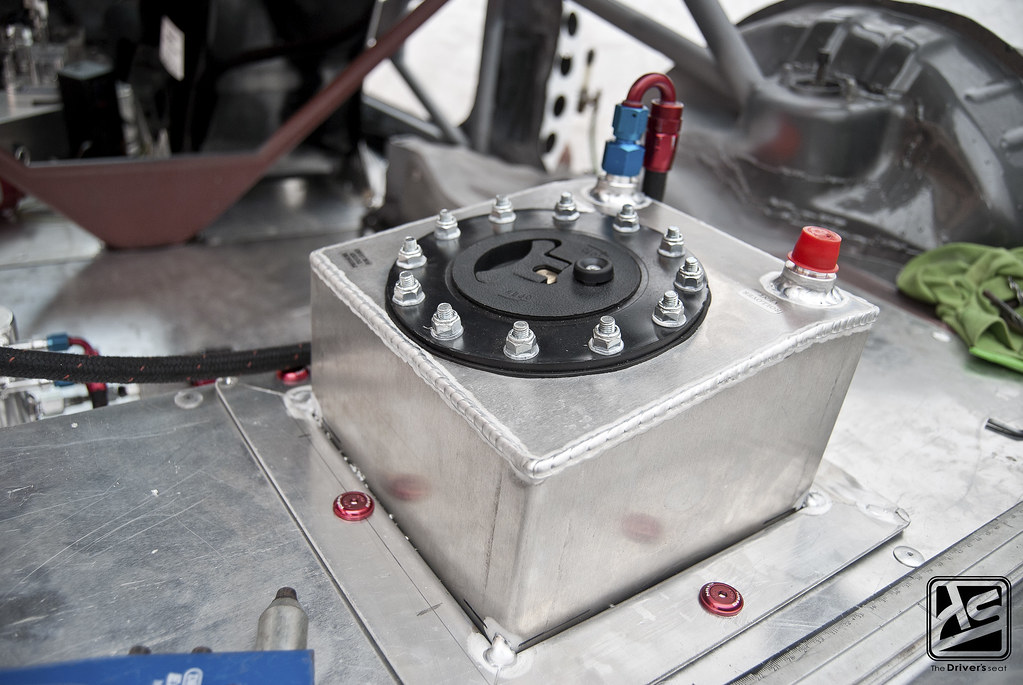
Here is a closer look at the fuel cell that Jerry will be running for the next race meet. Straight off you’ll notice that it is significantly smaller than the previous one, still being very concerned with weight, Jerry opted for this 3 gallon unit.
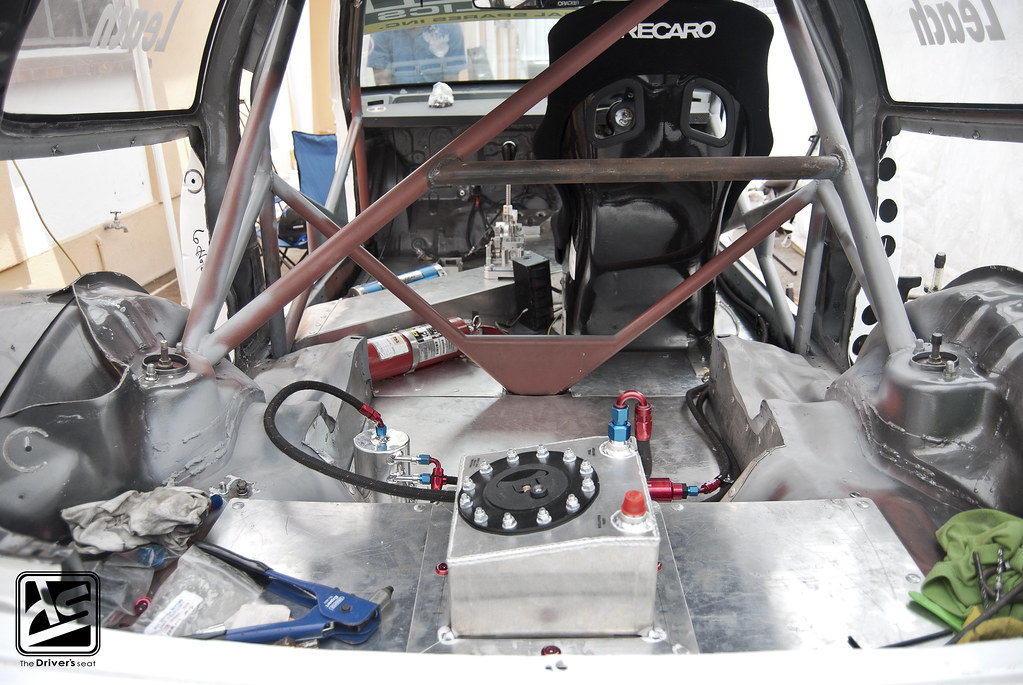
Good view of the interior as it starts to take shape, this car has come a long way from where it started…
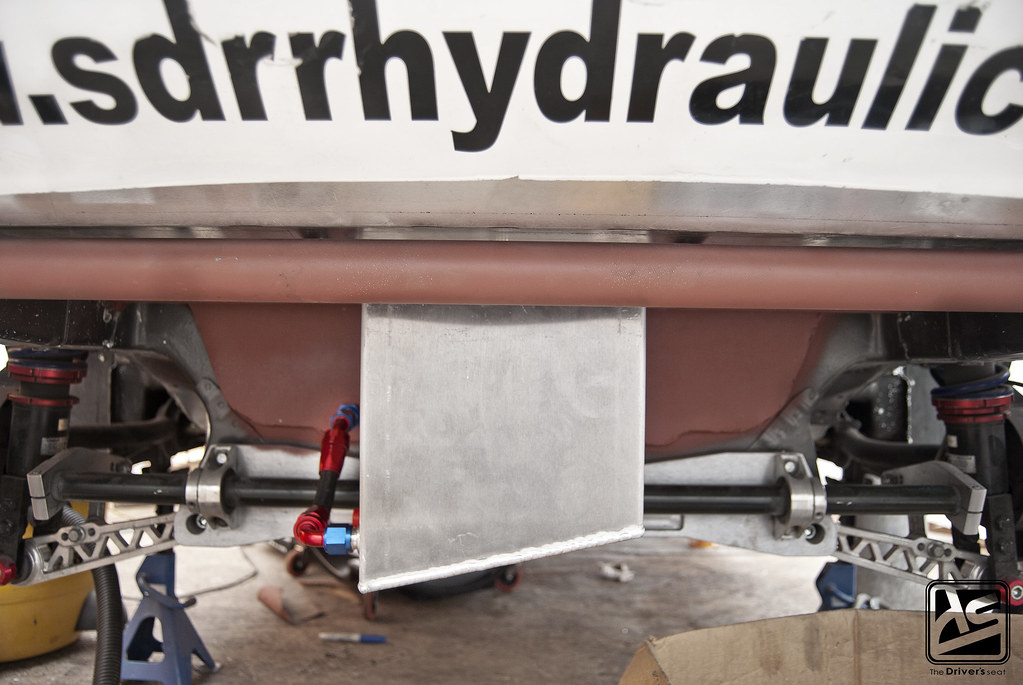
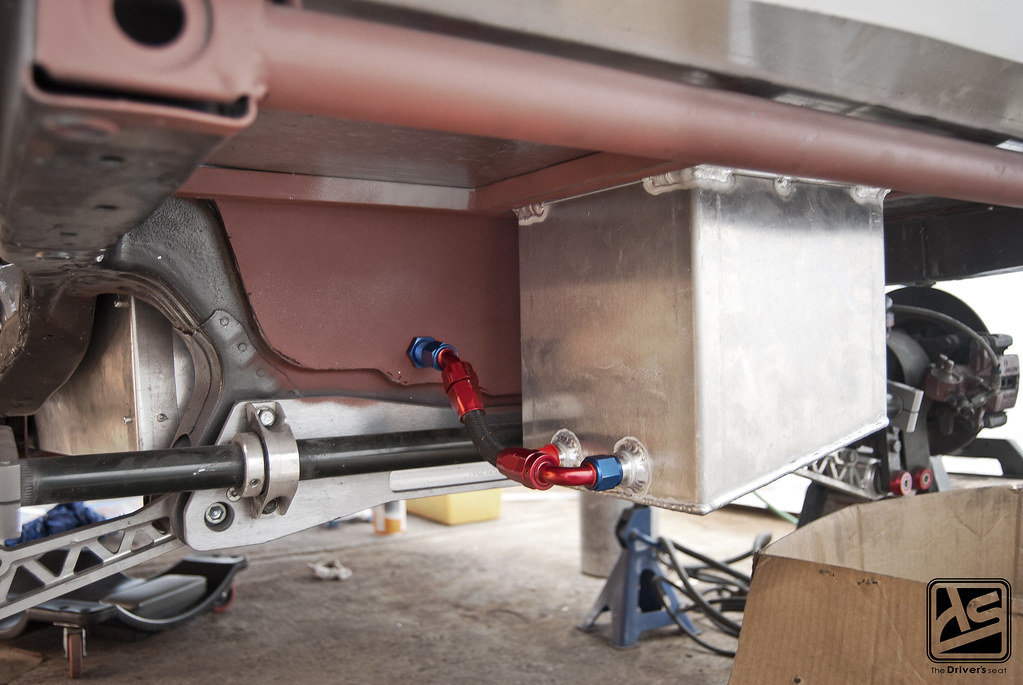
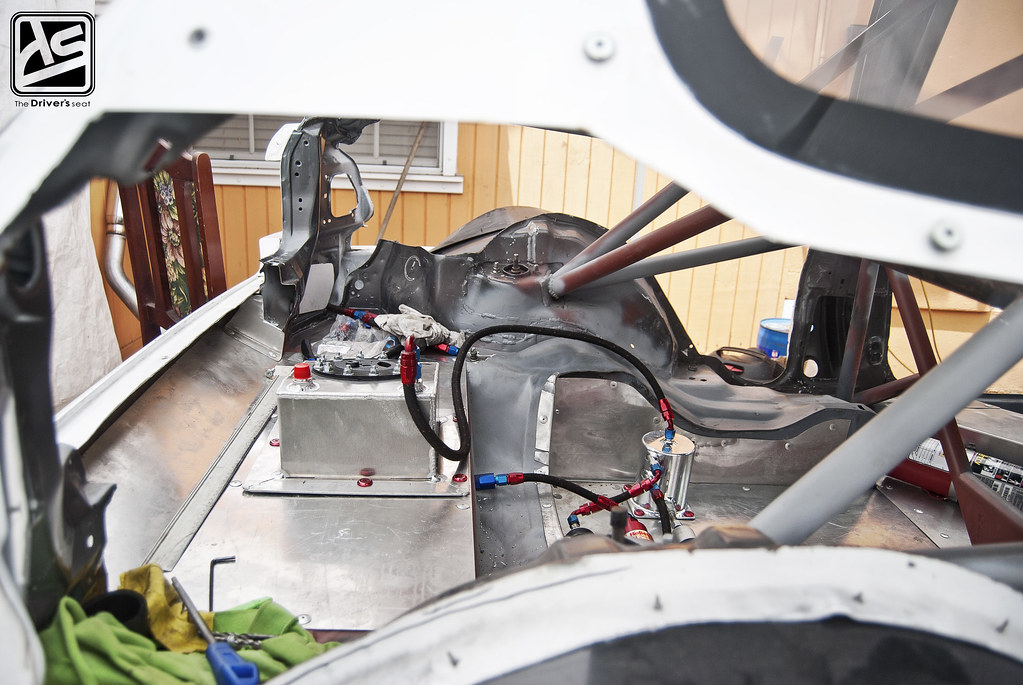
Few shots of the back where you can see the exposed tank looking pretty daring, especially for a circuit car…
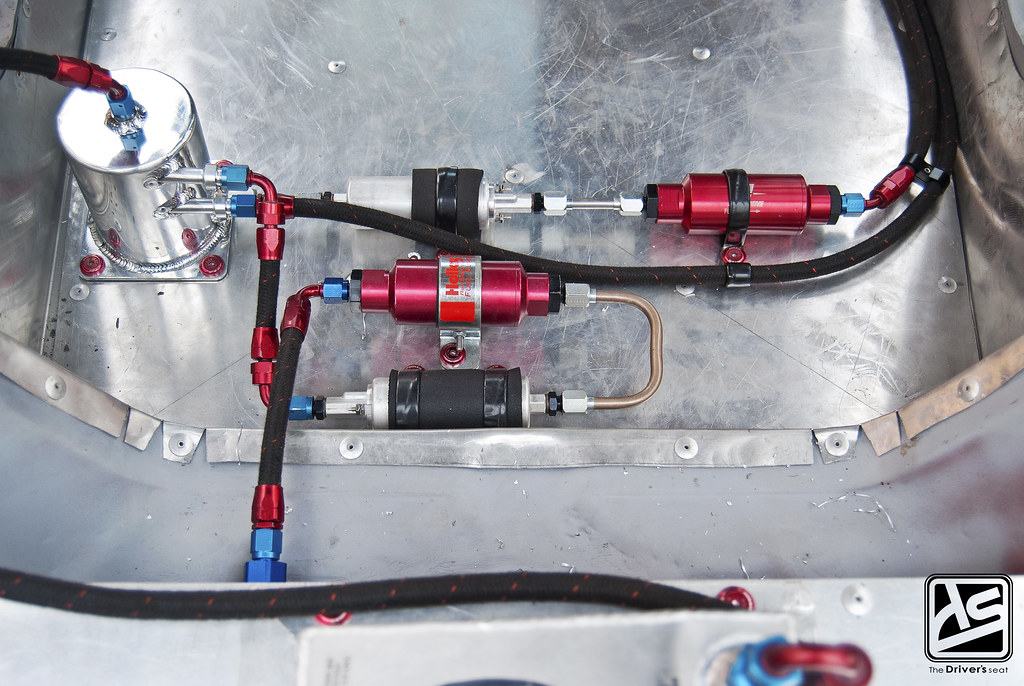

The culmination of necessary components needed to supply this beast with adequate fuel…
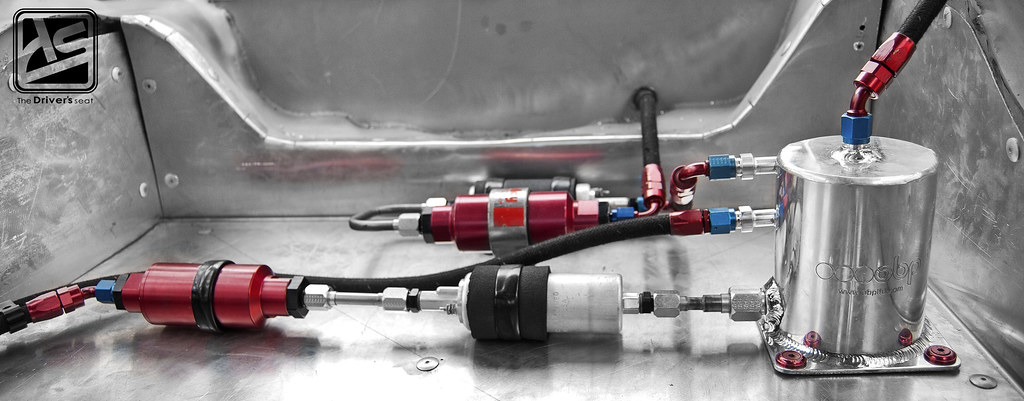
I loved the way this shot came out of the new fuel setup displayed at the back of the car…


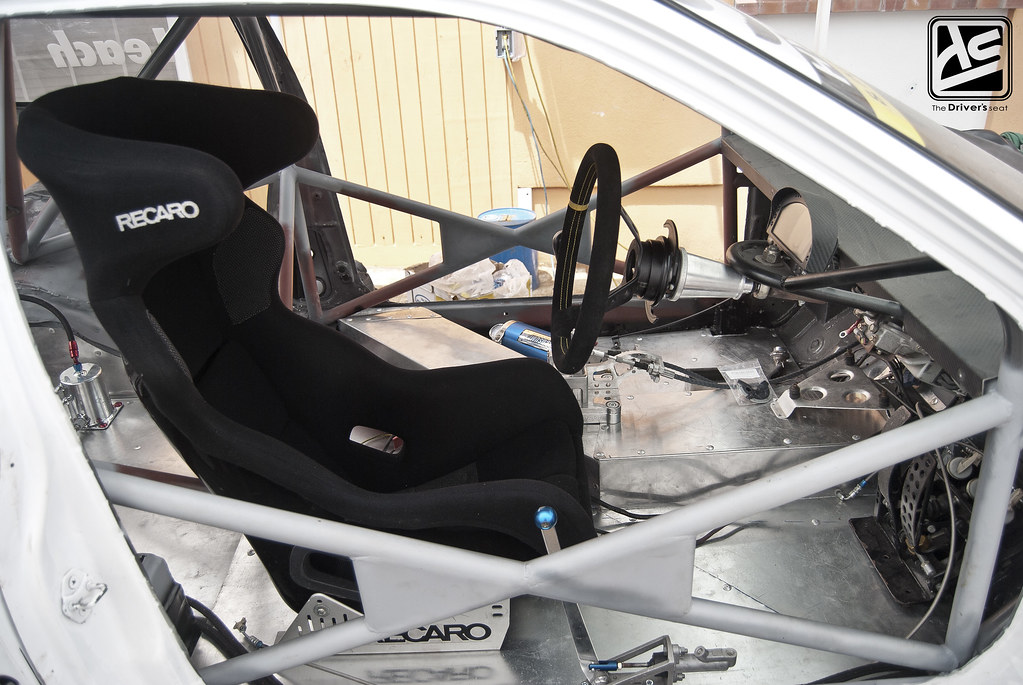
Pretty cool shots of the Recaro seat mounted in its new position…
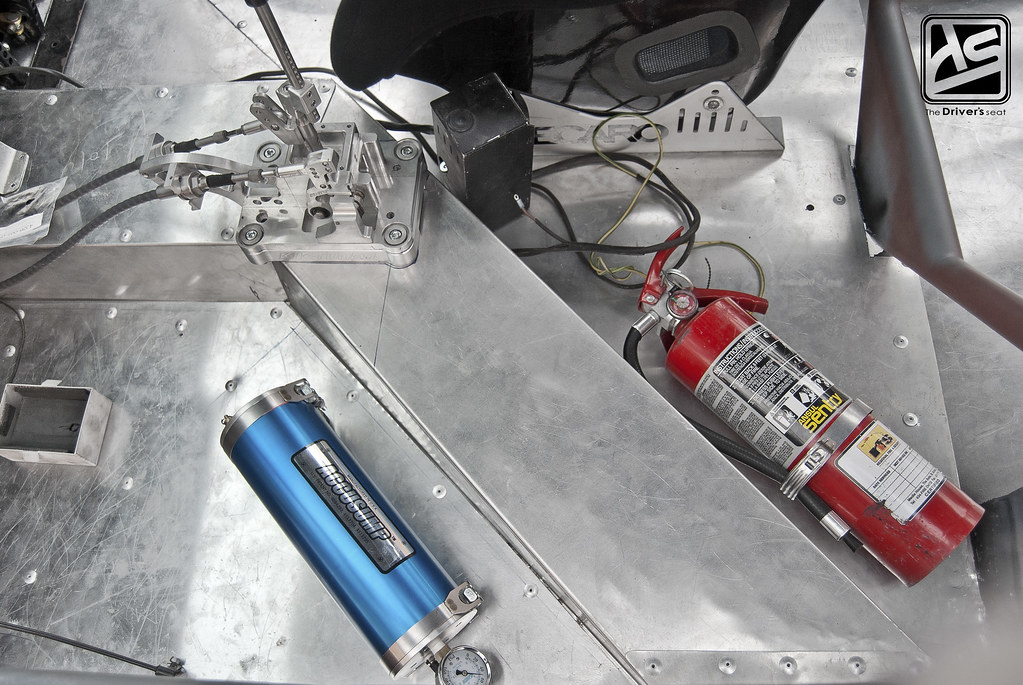
A view from above of the now redesigned exhaust tunnel with the fire extinguisher and Accusump mounted. You may not be able to tell straight off from this shot, but Jerry ditched the old Accusump for a smaller one, which in turn would be lighter. Another thing worth mentioning is the reason behind the placement of both the fire extinguisher and Accusump, they were positioned on either side of the exhaust to help with the weight distribution of the car. Placed directly opposite the driver’s seat on what was once the passenger side.
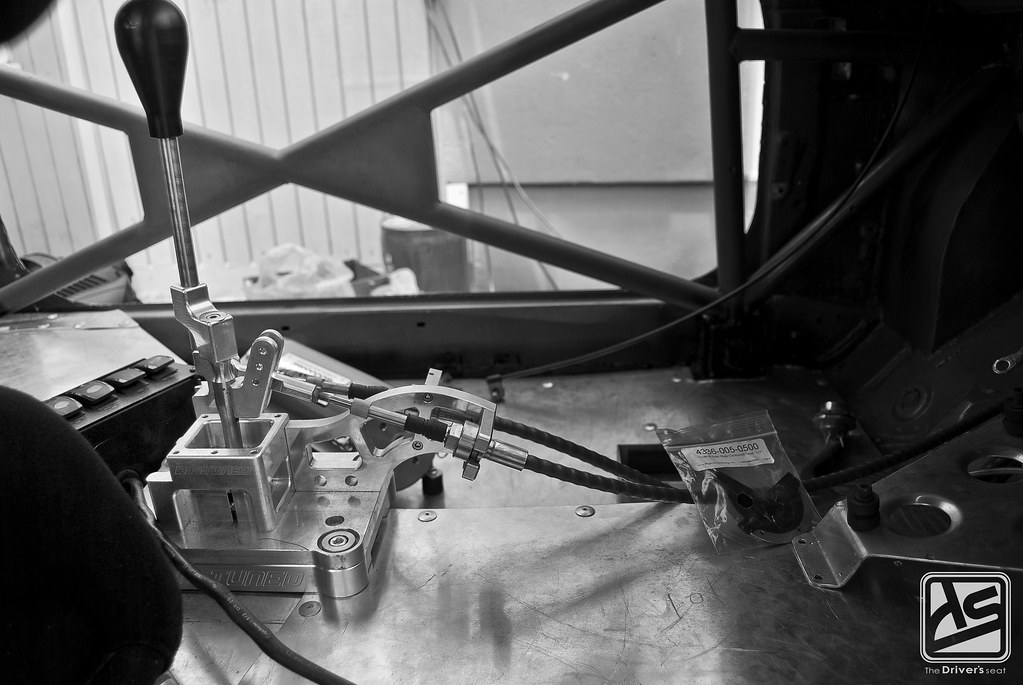
K-Tuned billet shifter with cables…
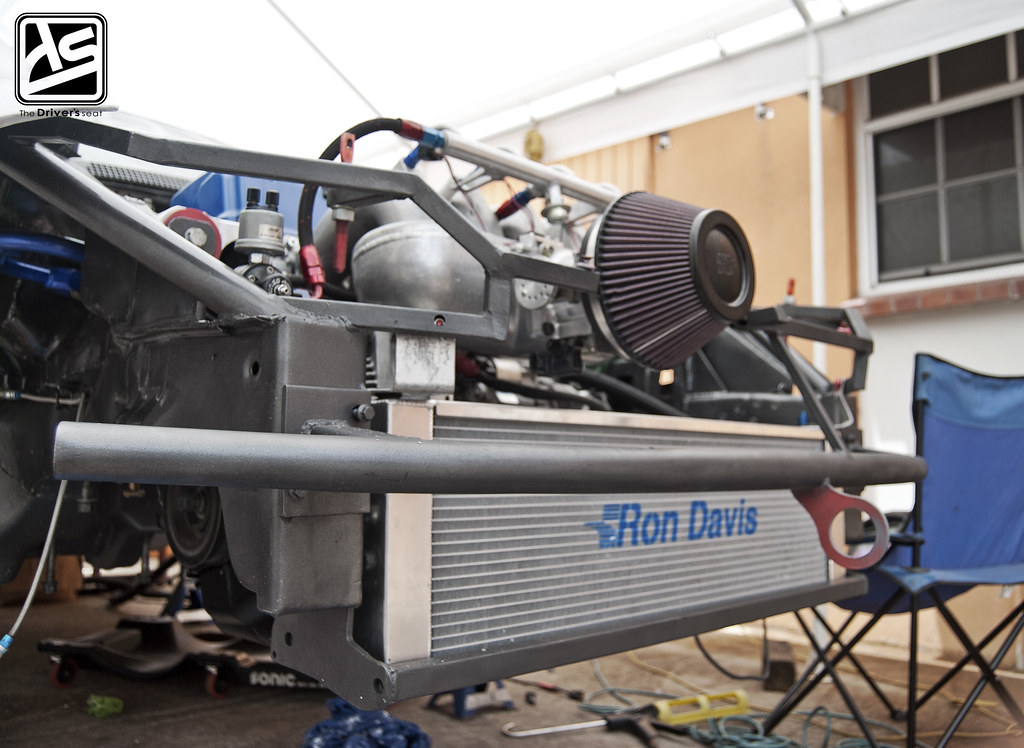
Almost there, the next step from here is to paint and reassemble the interior, then get the new setup tuned and ready to go for the race meet. That’s basically it for today’s update, I’m going to leave you guys with a few shots of Jerry’s custom built Ron Davis radiator…

A rough mock up…
Thanks for taking a look and stay tuned for our next update in this series…
