
Landis’s EP82 Build… Part 2

Back with another installment in Landis’s EP82 build series. The ReWeld built manifold was now complete along with the downpipe and wastegate dump tube; Landis was now ready to move onto the next phase. Unfortunately he would be struck with some bad luck; while trying to work-in the motor in preparation for tuning, the guys discovered a few issues. Sadly, this would force him to take a few steps back where he would need to revisit the engine build.
Even with this major setback, Landis was still in good spirits and tried to get everything resolved as quickly as possible. We’ll be taking a look at some of the additional changes Landis made while rebuilding the motor along with some photos of the setup after completion.
For those who may want to view this build from the start I’ve provided the links below:
Landis’s EP82 Build… Introduction
After sourcing the necessary parts for the rebuild, Landis dropped the car over at DCR Motorsport to have the work done. In having to tear the motor apart, Landis saw this as an opportunity to pay closer attention to his head package and make some adjustments. Initially Landis wanted to have the head ported but being cramped for time it wasn’t possible. However, with the car already at DCR Motorsport and the rebuild in motion, he decided to use this to his advantage and had it done…
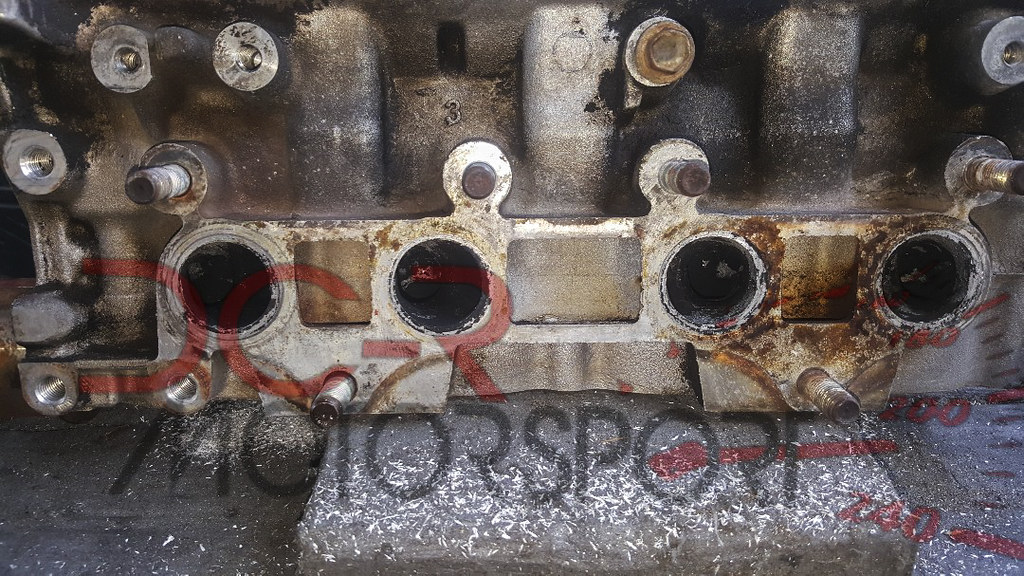
A look at the torn apart 4E-FTE head in preparation for the port job…

As previously mentioned, Landis purchased as set of Speedvision 270/280 camshafts for the build. After reviewing the setup, DCR performed their street / strip port job with special attention towards the cam specs…

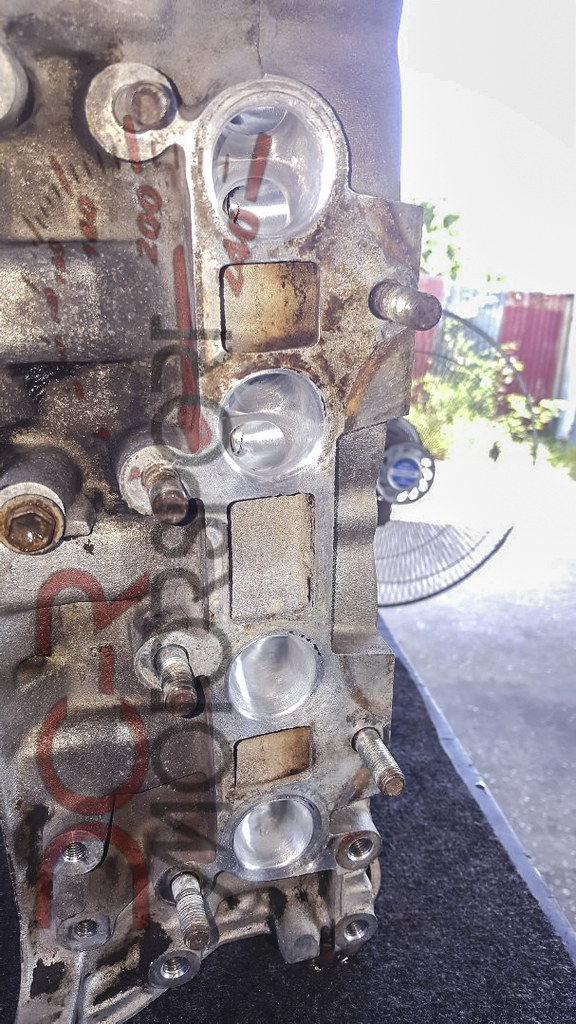
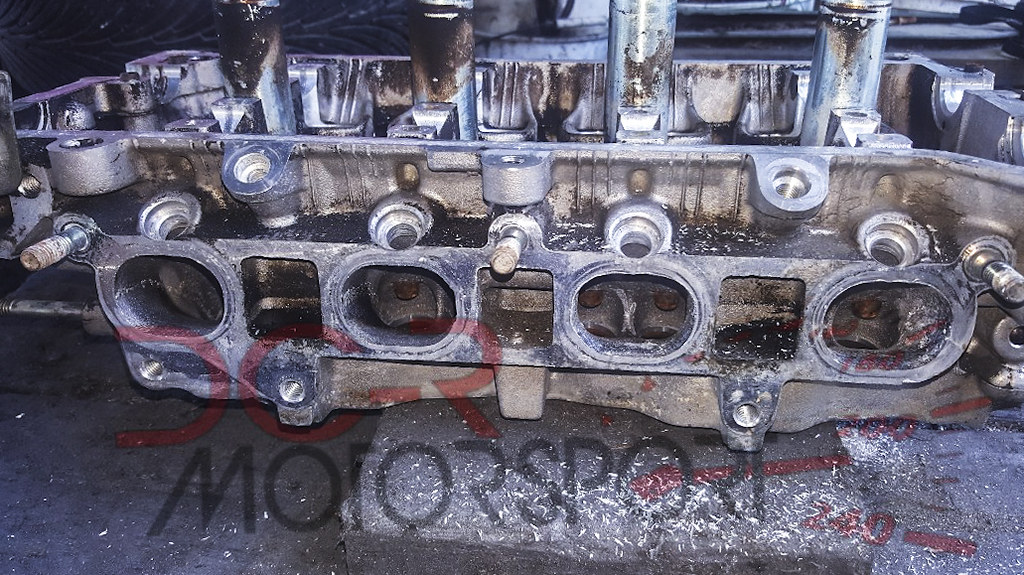
A few shots of the intake and exhaust ports after the job had been completed…
The bottom end was completely pulled apart and rebuilt with careful consideration to the power goals in mind for this setup. The head was then fully assembled and mated to the short block…

A look at the motor after receiving the intake and exhaust manifolds along with the all the necessary ancillaries…
DCR Motorsport successfully completed the rebuild process and carried out the necessary checks to ensure everything was working as it should. With this out of the way, the car was finally able to make its way onto the next stage to have the ECU installed…
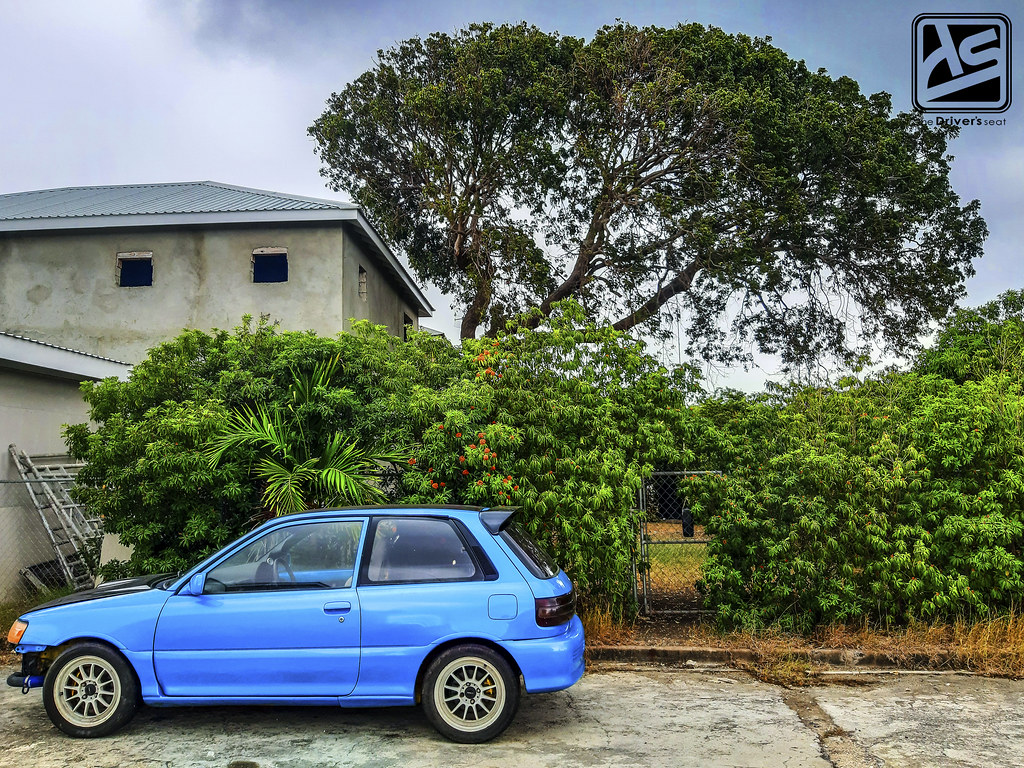
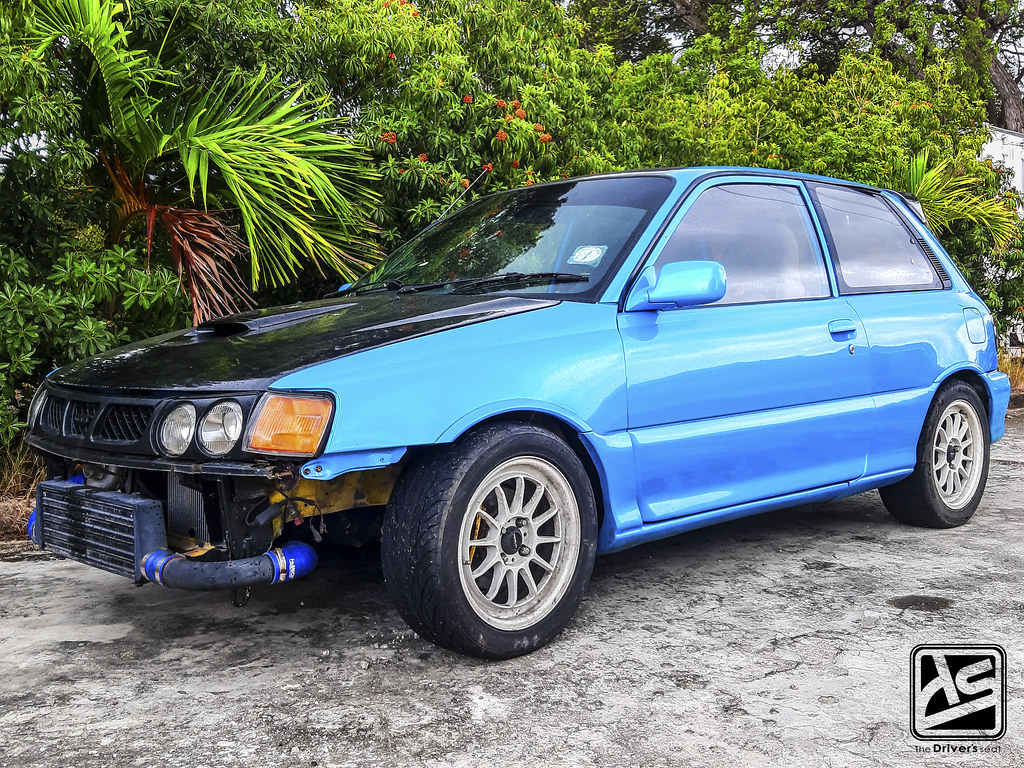
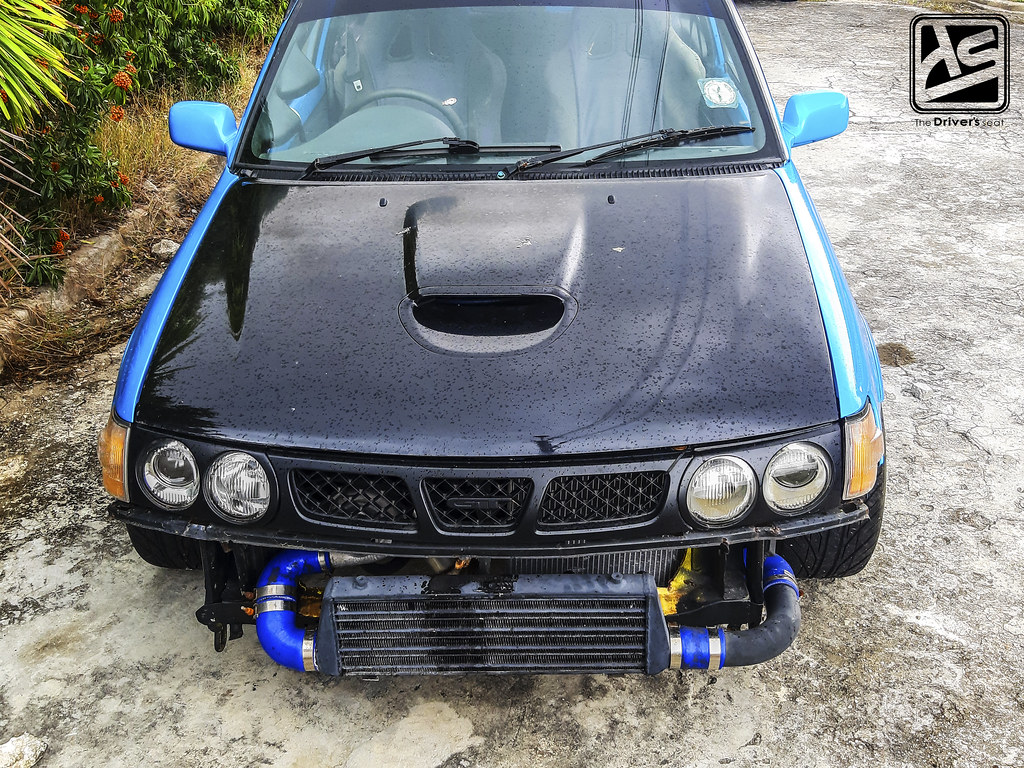
While it was there I had a chance to take some detailed shots of the car for you guys…


The front bumper was missing due to ease of access while working on the car…
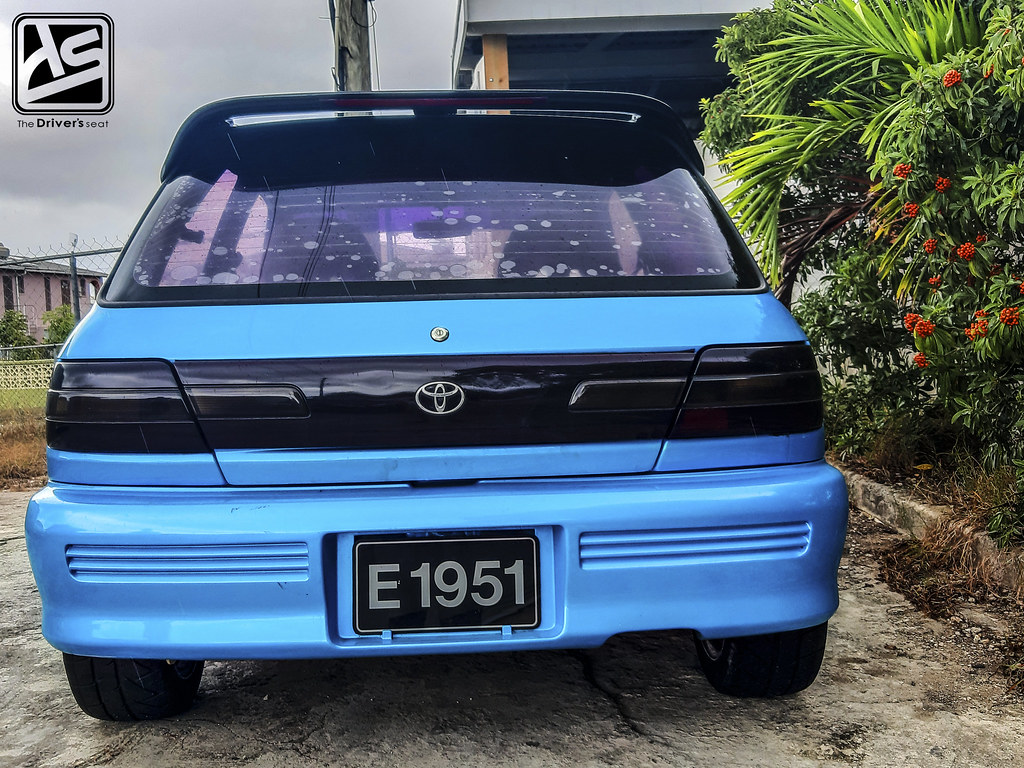
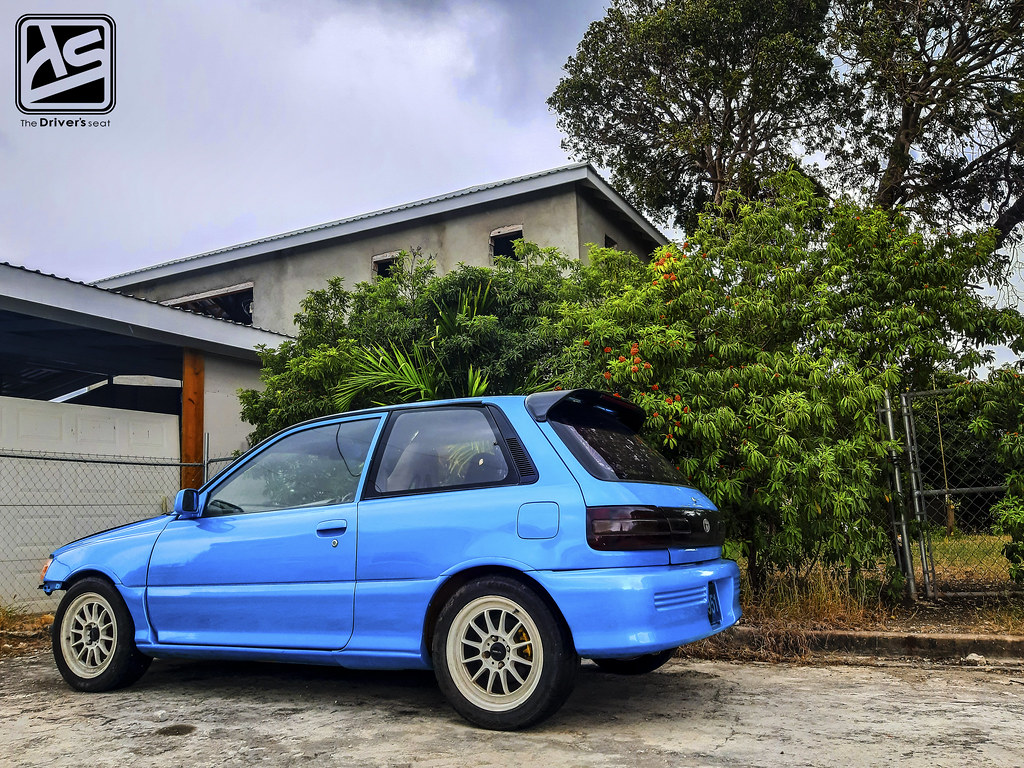
The previous owner of the car had the factory tail lights smoked which over time started to grow on Landis…


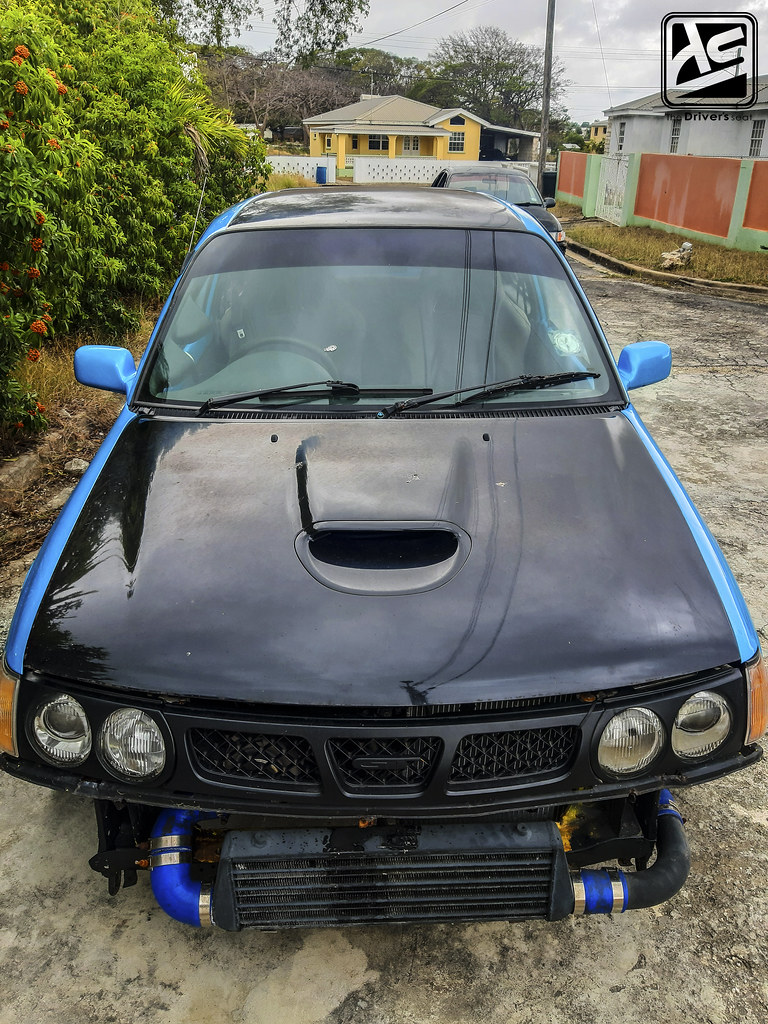
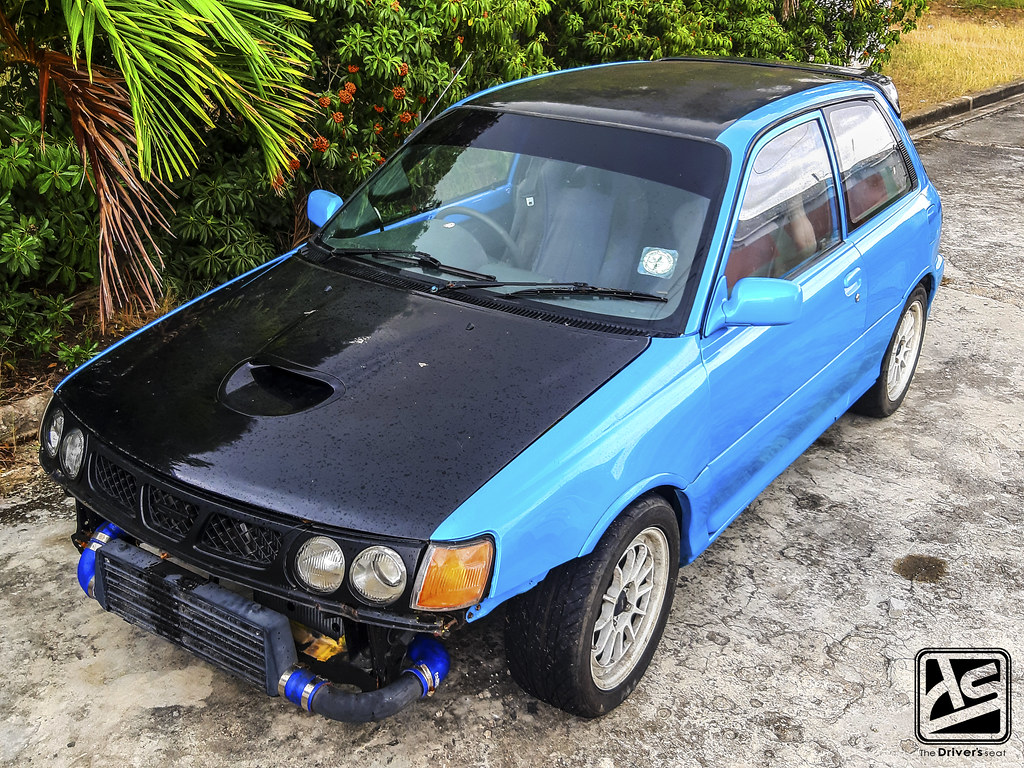
And ultimately led to the addition of black accents like the rear spoiler, roof, hood and grille…
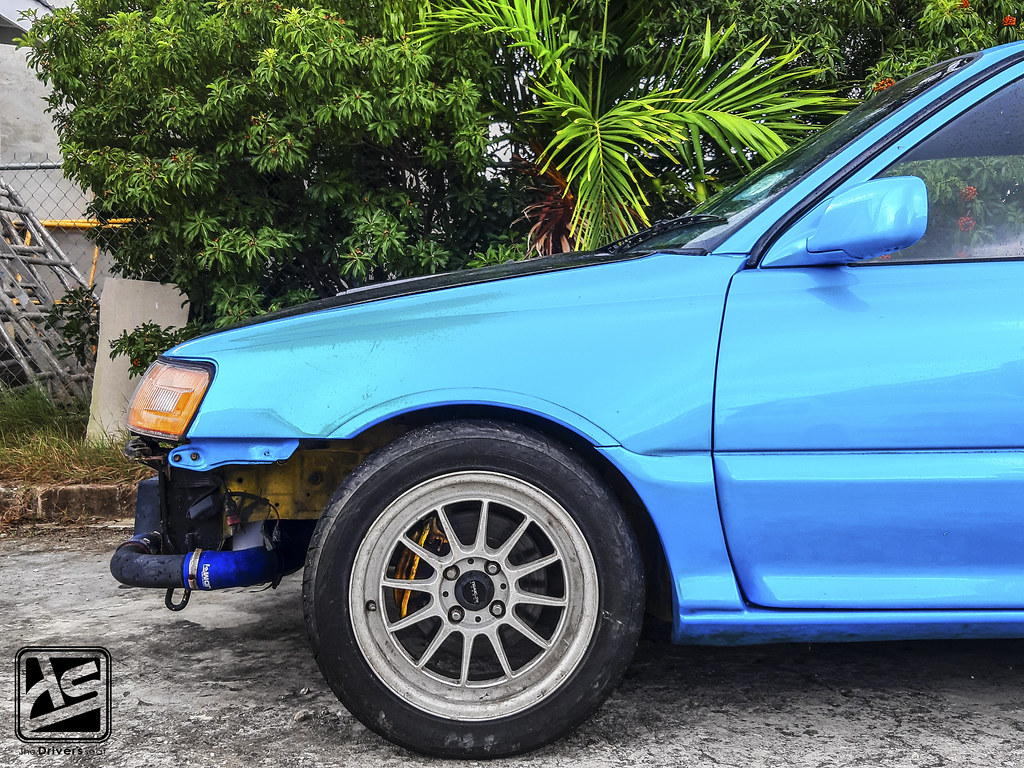
Landis had the car fitted with a set of Traklite Gear wheels in a 15×7 +35 sizing…

The wheels on the front end received a pair of 205/50 Toyo Tm1 Proxes…

Which fit the front end with a significant amount of clearance…

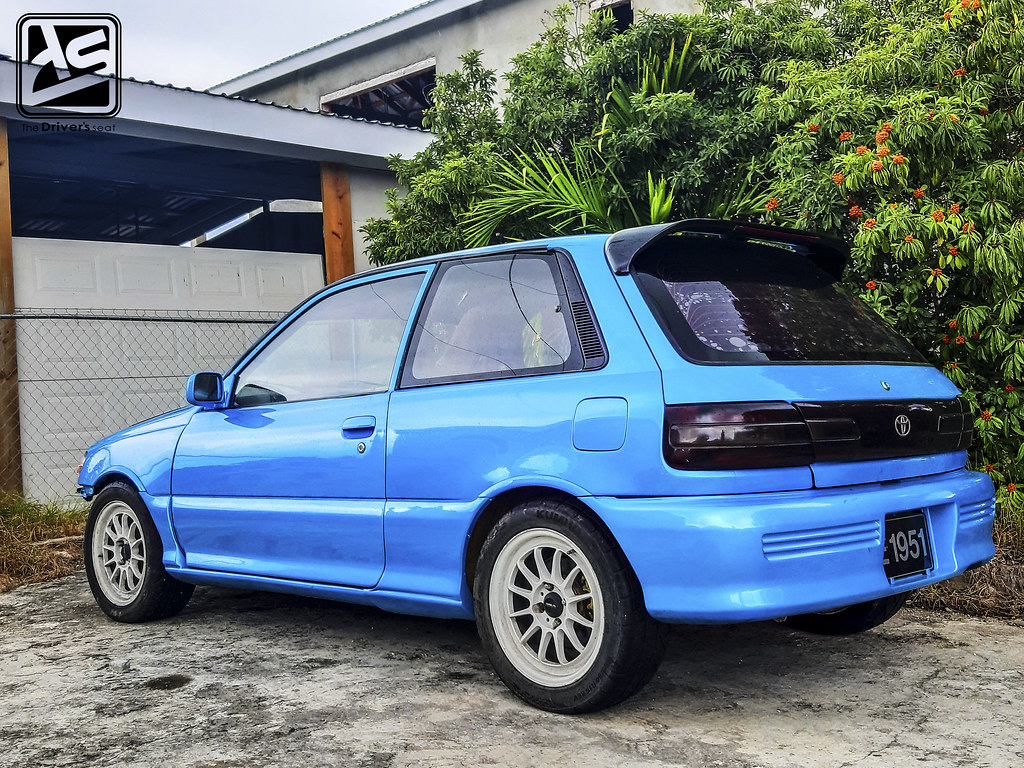
On the rear, Landis went with a pair of Kumho Ecsta V720 in the same width and profile as the front end…

A look at the fitment in the rear…

Interesting enough, the color choice Landis made flowed perfect with the material on the door panel…
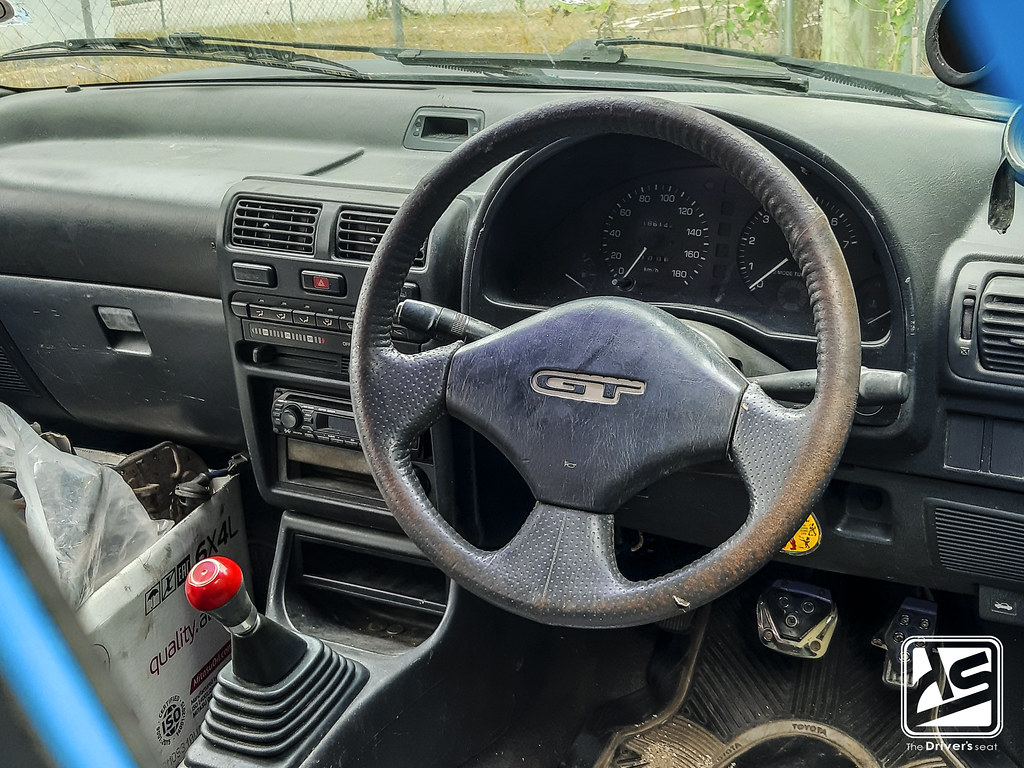
A quick view from the driver’s side, Landis is still running the factory GT Turbo steering wheel for the moment…
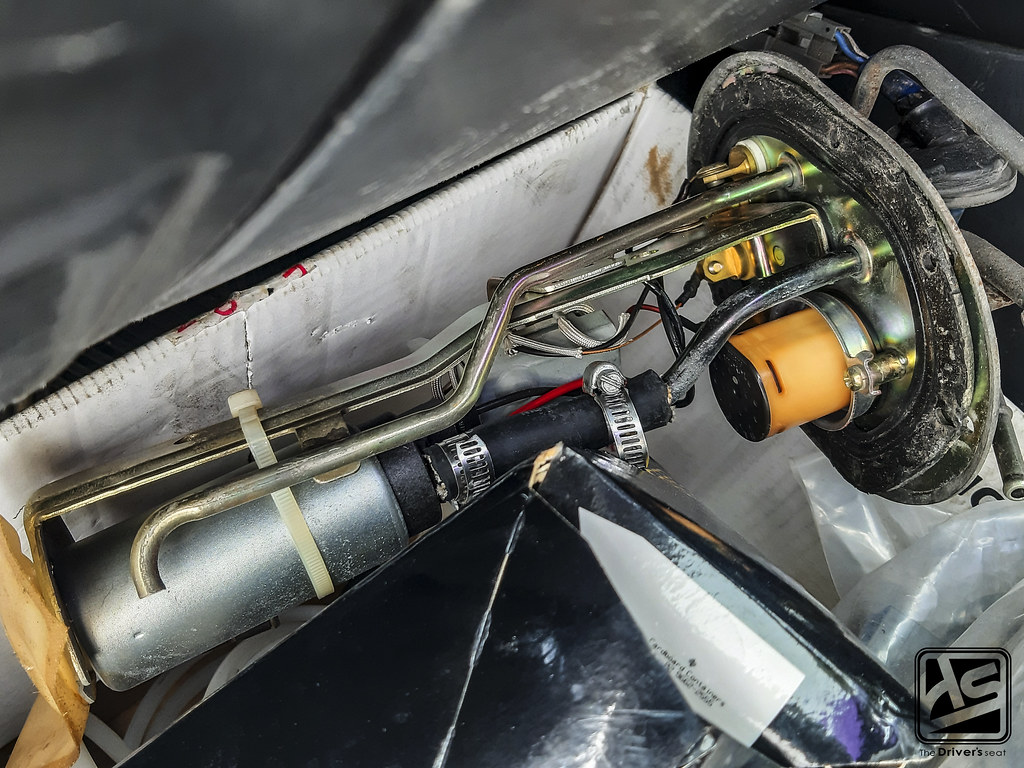
Focused on covering the basics necessary to have the car running, Landis still needed to install the upgraded Walbro fuel pump…

Additionally, to add a bit more safety, a Cooling Mist methanol injection kit was acquired. This system will aid with lowering intake air temps while increasing octane level and ultimately allowing Landis to run a more aggressive ignition map…
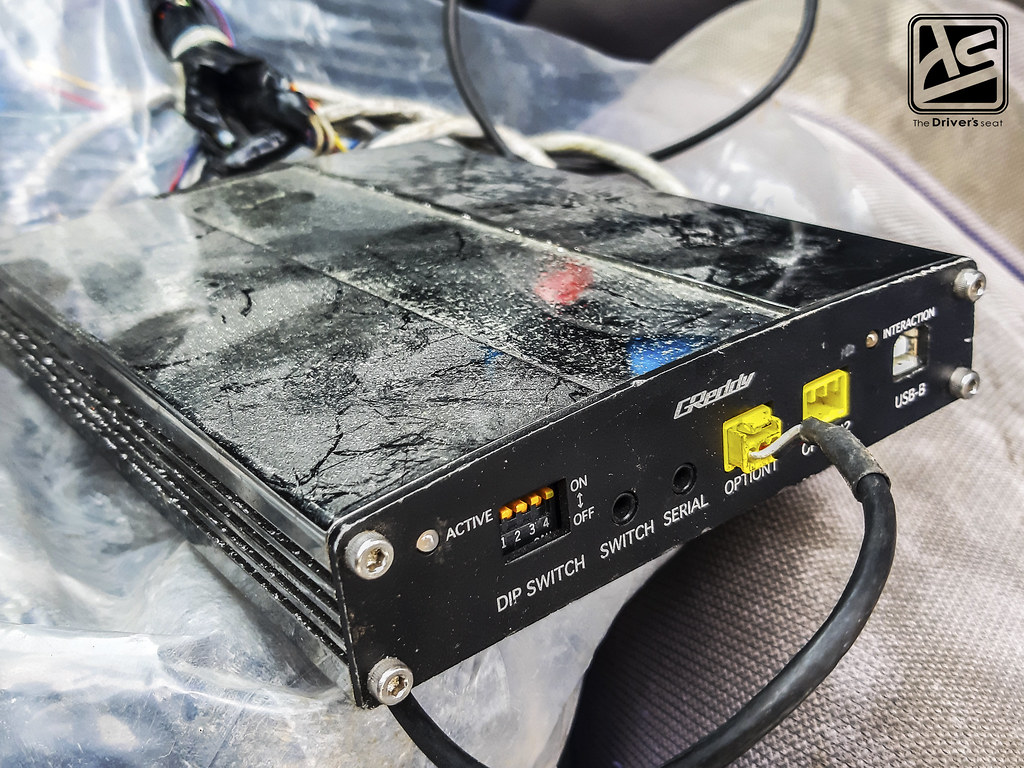
Speaking of tuning, a Greddy Ultimate was picked up to aid with dialing the car accurately to accommodate for the host of modifications Landis made to the 4E-FTE motor…
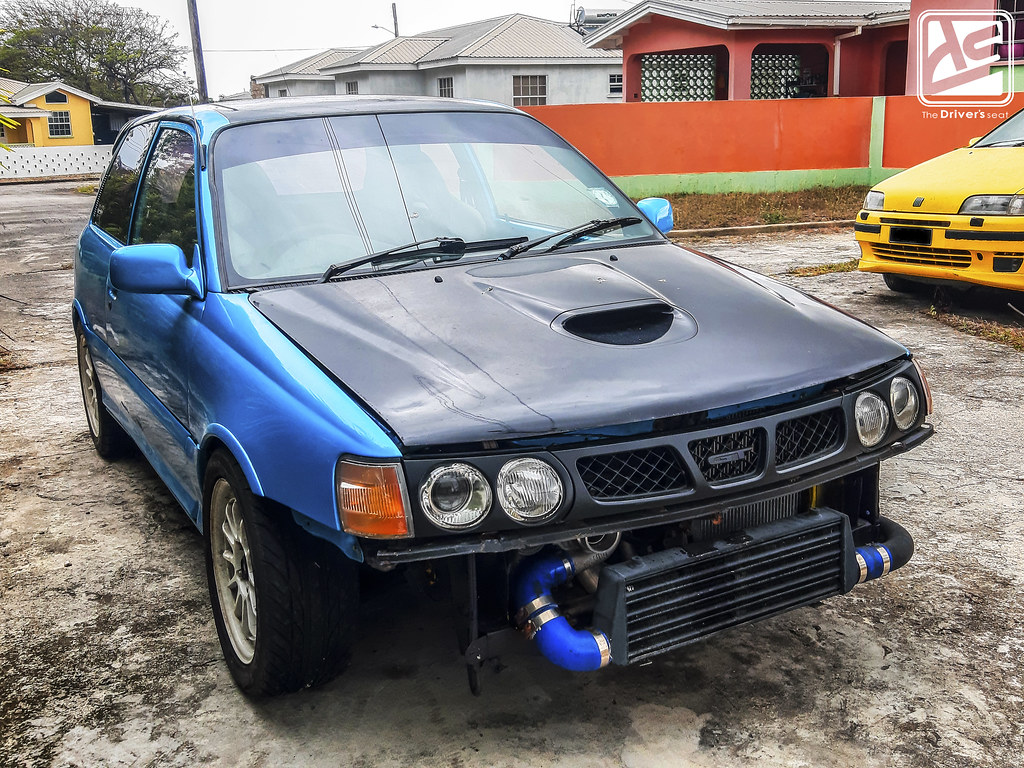
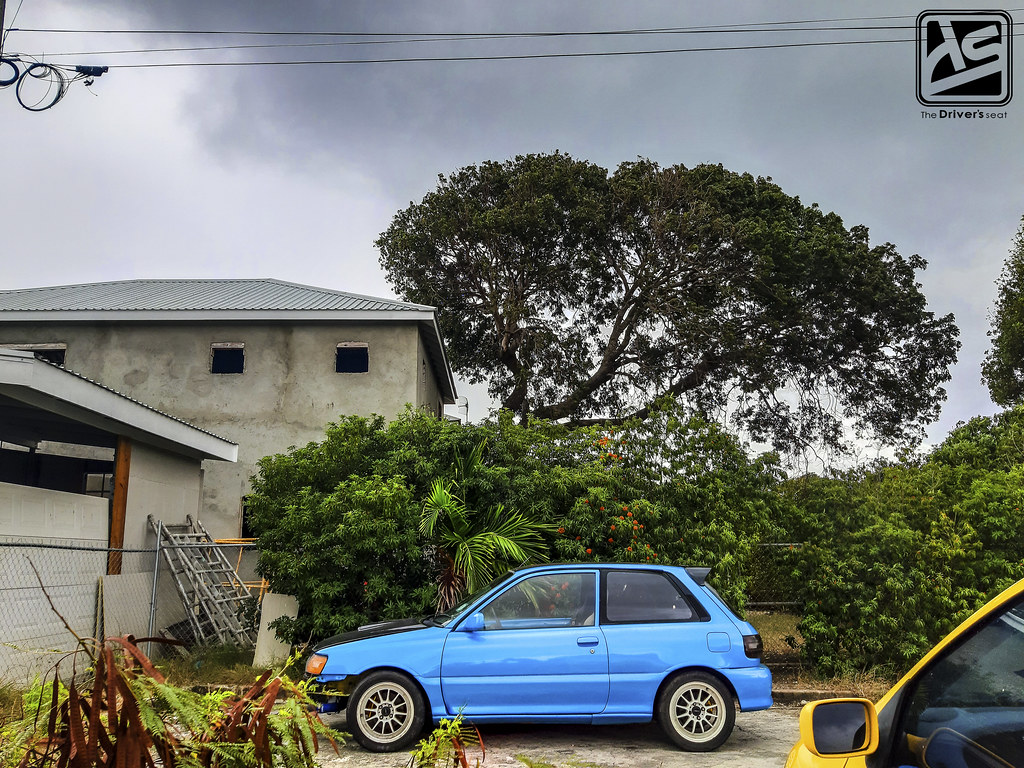
A few shots of how the car sat…

This intercooler came over from a previous build that Landis was working on and possibly will be upgraded in the future. His current goal is to have the car up and running to ensure everything is working as it should…

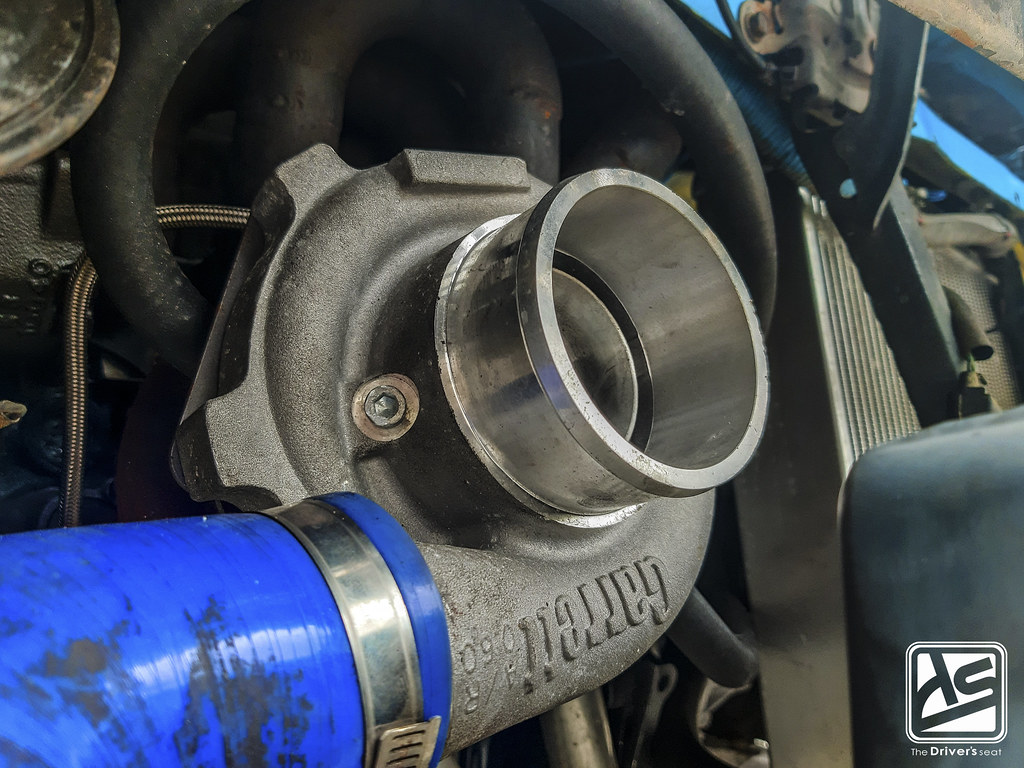
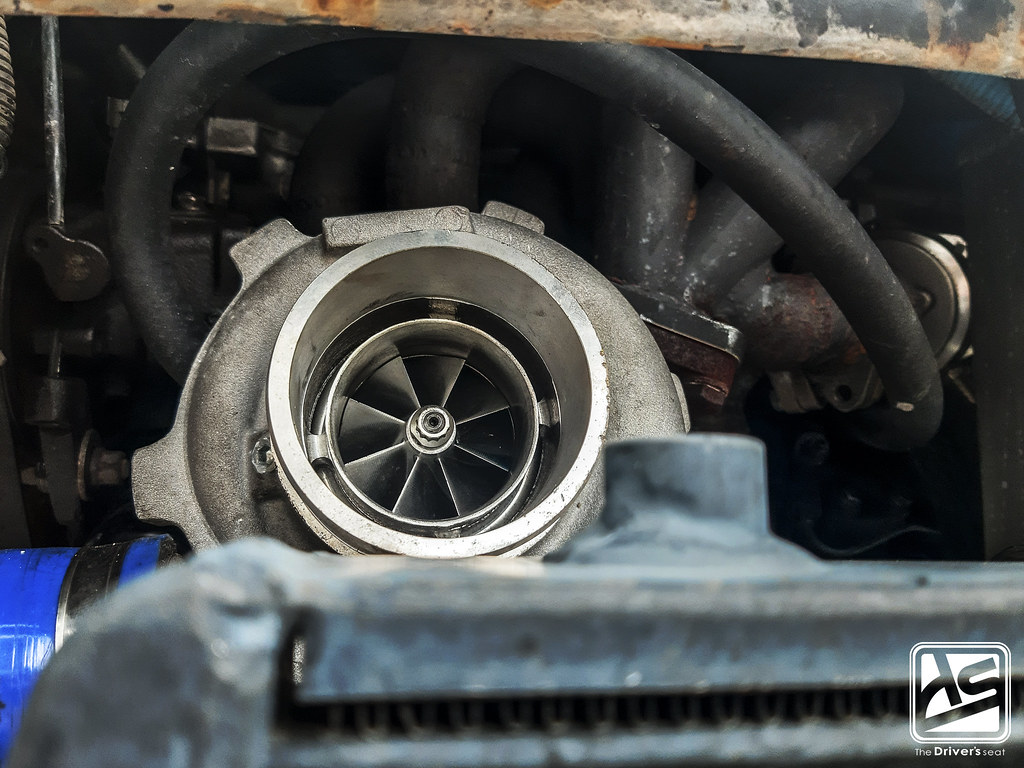
With the front bumper off, I couldn’t help but snap a few close ups of the Garrett GTX2867 Gen II turbo mated to the ReWeld forward facing manifold…

To aid in the cooling department and also being mindful of the space available, Landis went with a half sized triple core radiator…
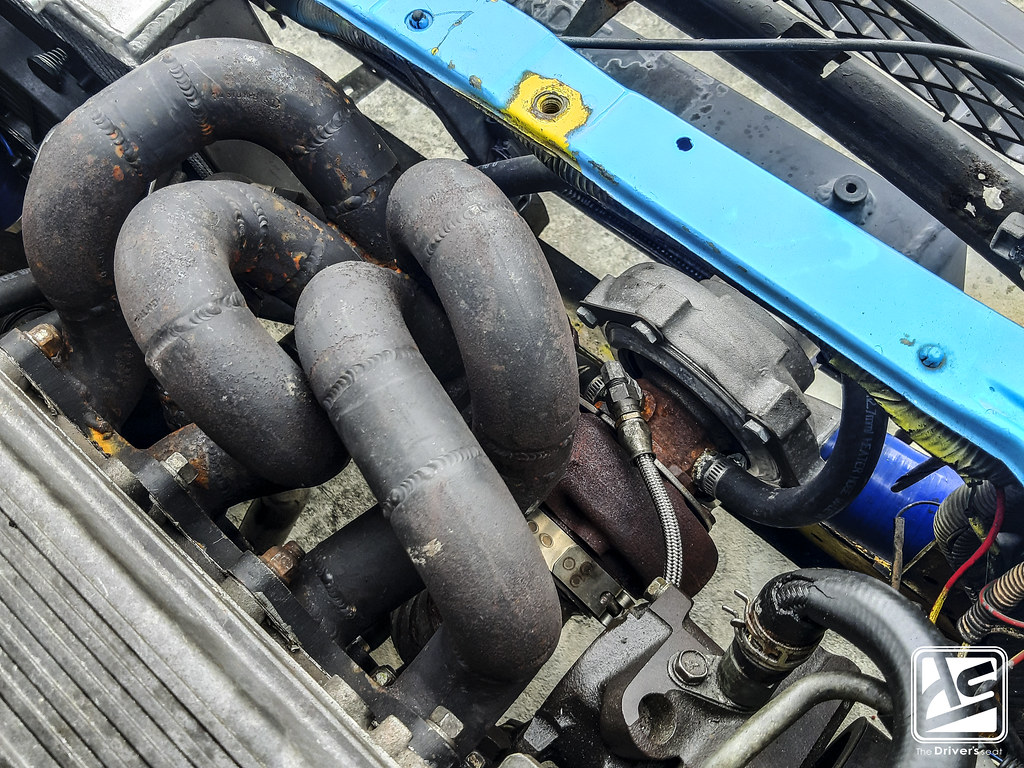
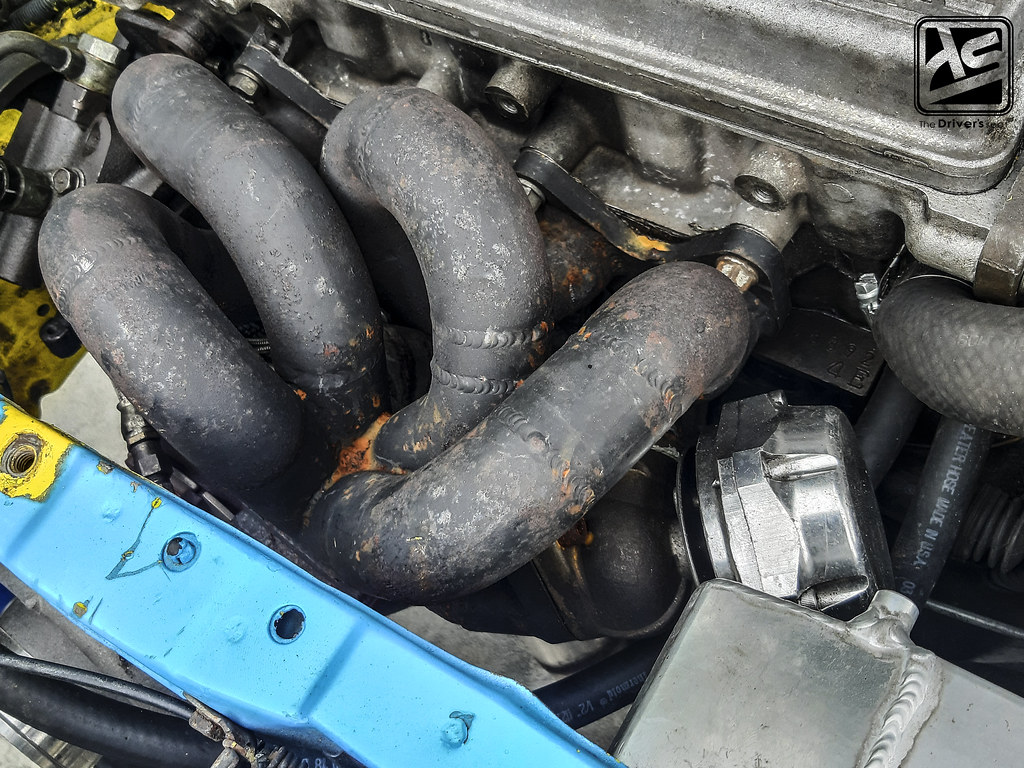
A few close ups on the ReWeld turbo manifold…


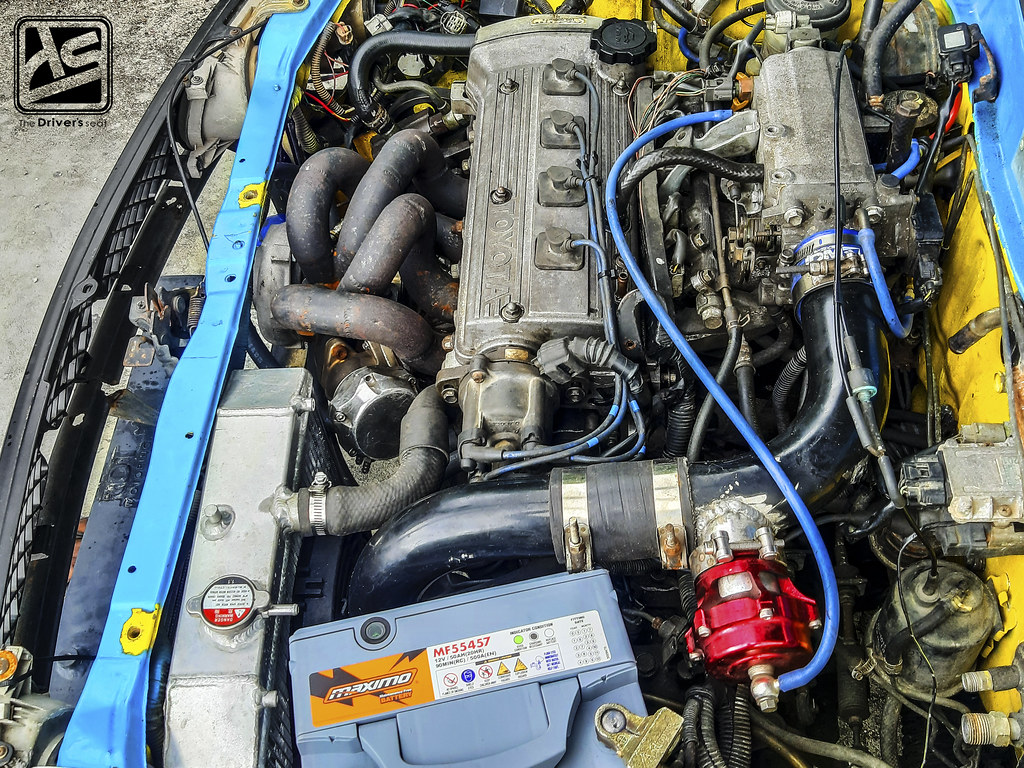
A first look at the partially completed engine bay; being in a rush to have the car on the road, Landis opted to leave the engine bay in the previous colour…
In relation to boost control, Landis chose to keep it simple and went with a manual controller…
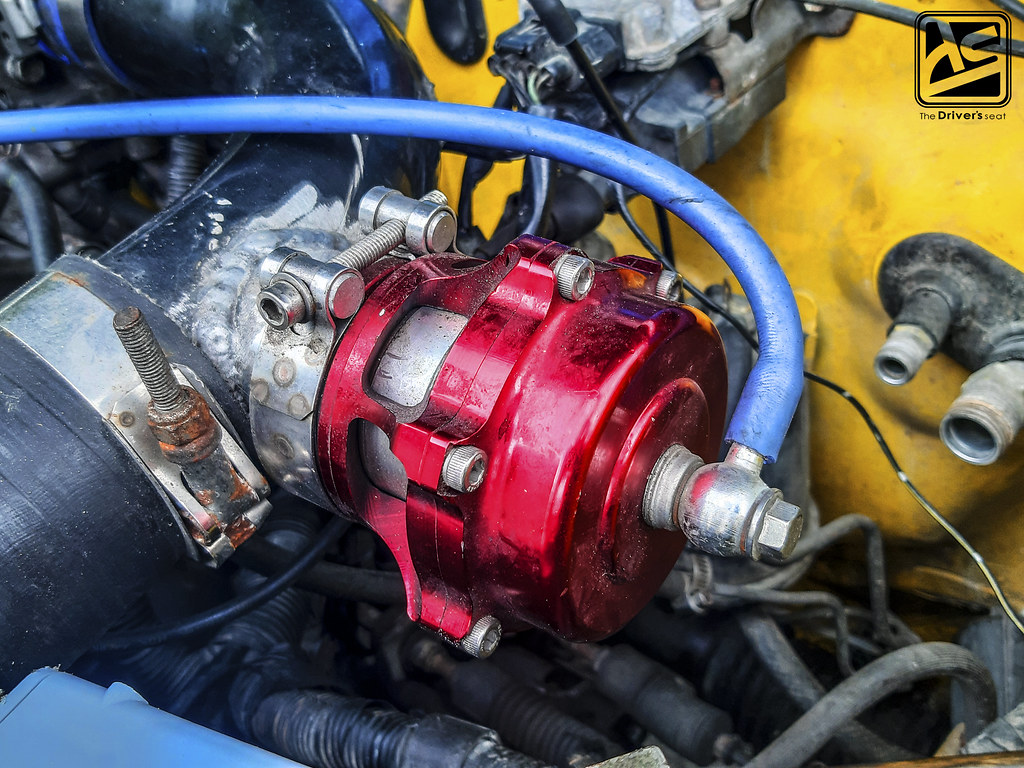
Carrying over simplicity and reliability, a Tial blow off valve was selected for this build…

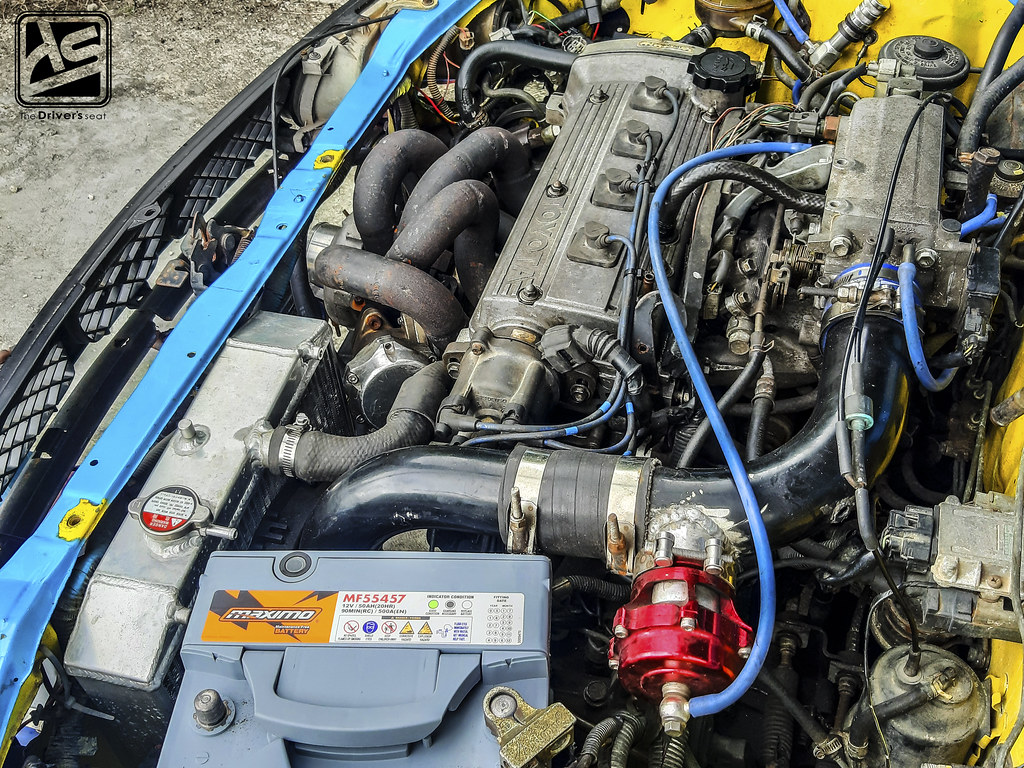
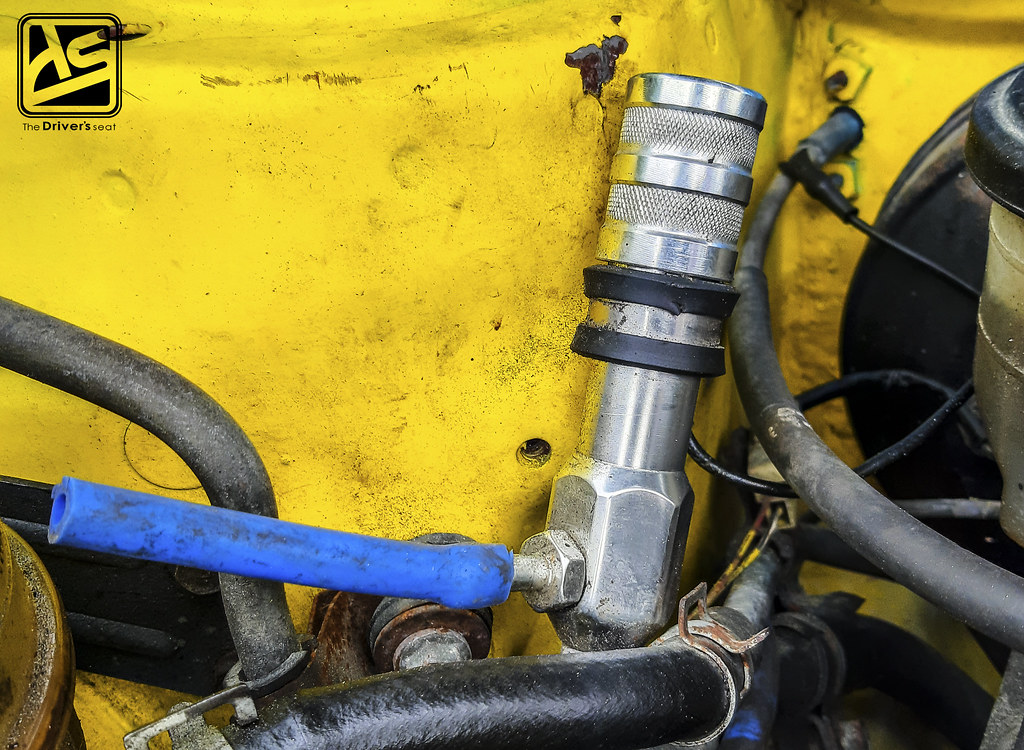
Varying angles of the engine bay to give you guys and idea of just how neat the clearances needed to be…

I’ll close out today’s post with a final shot of the front end. Thanks for taking a look at another installment in Landis’s EP82 build, stay tuned for more to come in this series…
James’s CN9A Build… Part 1
The Mitsubishi Evolution is one of the more favored AWD platforms locally and today we’ll be diving into a few of the parts James has accumulated since regaining ownership of the car. James always had big plans in store from his initial cross over to the AWD platform, unfortunately these plans were short lived at the time. Having separated himself from the scene somewhat, James has returned with a new energy in hopes of producing what in his eyes would be the ultimate all purpose Evolution. In the previous posted we touched on the plans James has for the Evo to attend track days, take in some drag racing and he also intends on street driving the car heavily with comfort being one of his main focal points.
Even though the car was already equipped to be a very fun street driven car, there were a few specific things James wanted to tweak. The sole purpose of this would be to bring the car to a level at which it can not only be reliable, but also competitive and consistent when he does take it to the track for either 1/8 mile events or track days.
For those who may be viewing this build for the first time, I’ve provided the link to the previous posts below:-
James’s CN9A Build… Introduction

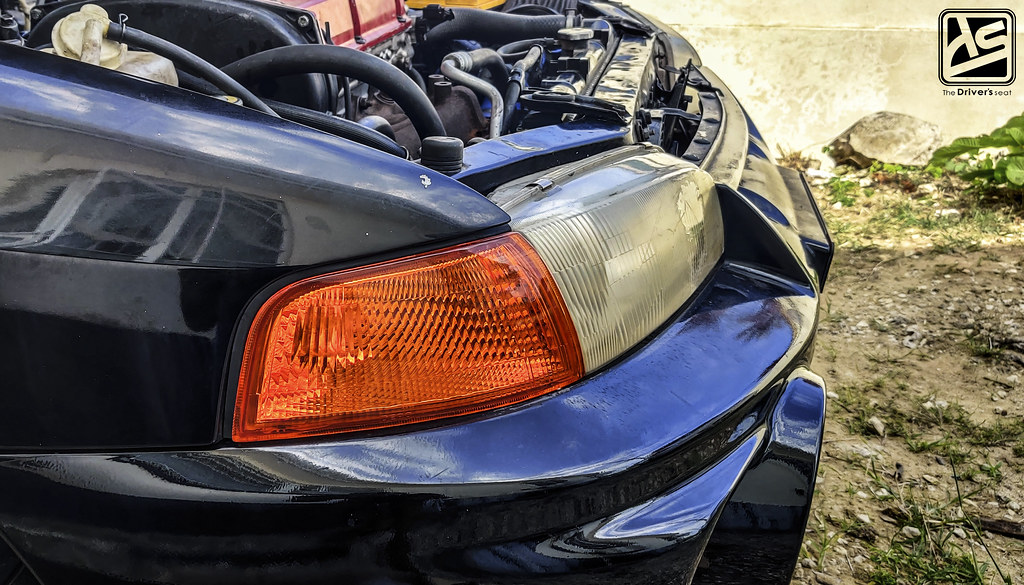
Upon having the car back in his possession James had a few items he wanted to take care of, first was to replace the factory corner lights. On a mission to find OE spec orange corners for the car, James went as far as to source a set out of Japan; and wasted no time in fitting them upon arrival…
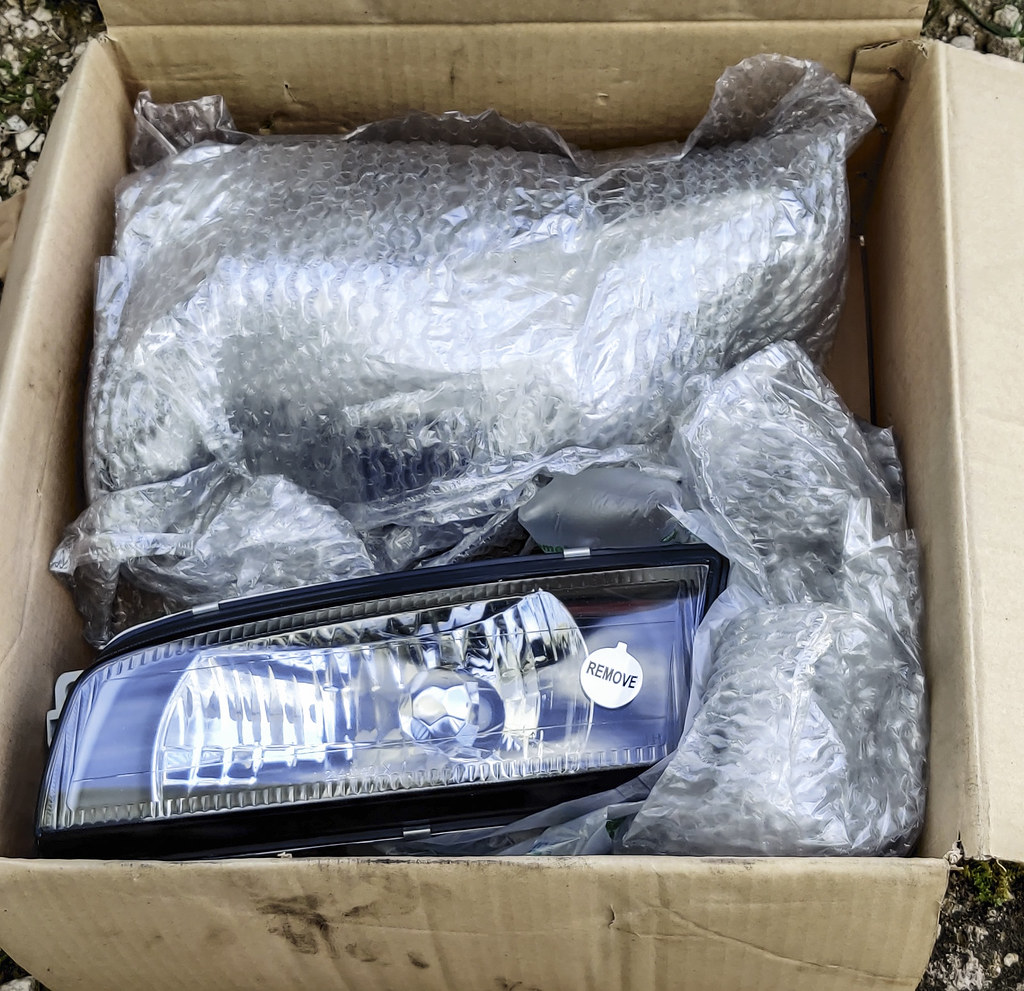
James didn’t stop at the corner lights, he also thought it was necessary to change out the dated factory headlight units…

When thinking about going faster with the CN9A chassis, James also factored in how he would be able to slow down. With a plan in mind, he went ahead and upgraded the braking system to the Evo VII Brembo setup all around…

Still being very much on a budget, he opted to pick up a set of Evo VIII Enkei wheels locally and had them wrapped in Falken Azenis RT615K rubber in a 215/45/17 sizing…
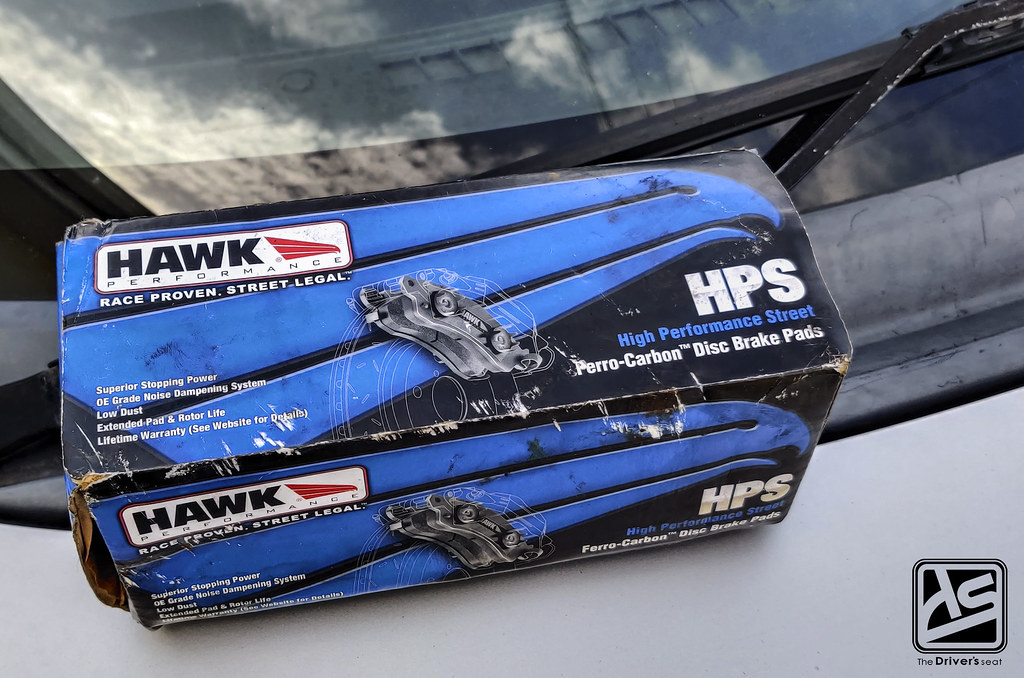
In doing the conversion to the Evo VII calipers, James picked up a fresh set of Hawk HPS pads to go with a full set of aftermarket rotors…
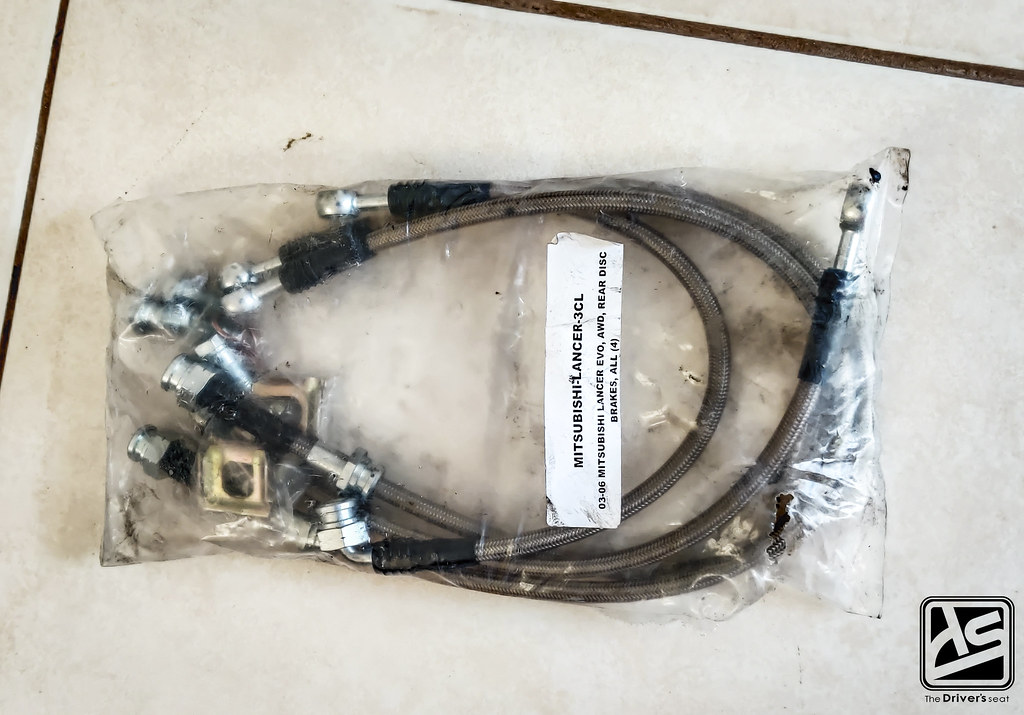
Not satisfied as yet and with plans to take in some track day action with the build, he opted to get some FTP steel braided lines for each corner that would allow him to be more consistent with his braking while on the track…
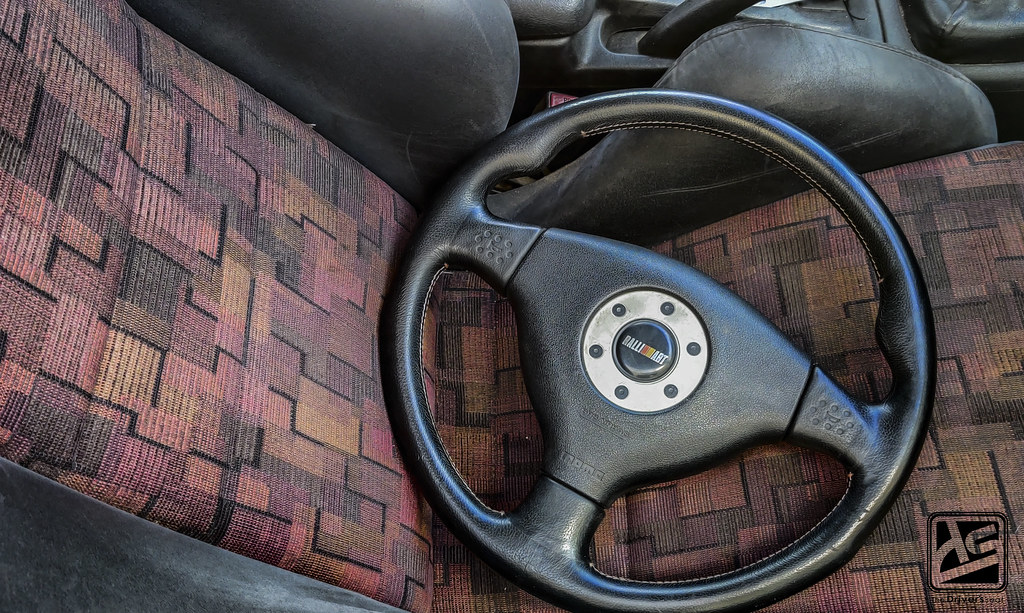
James is a big fan of the OEM spec interior that Mitsubishi provided from the factory; so when it was time to purchase another steering wheel, he opted to go with the factory Momo wheel which gives a sporty feel while retaining the use of the airbag…
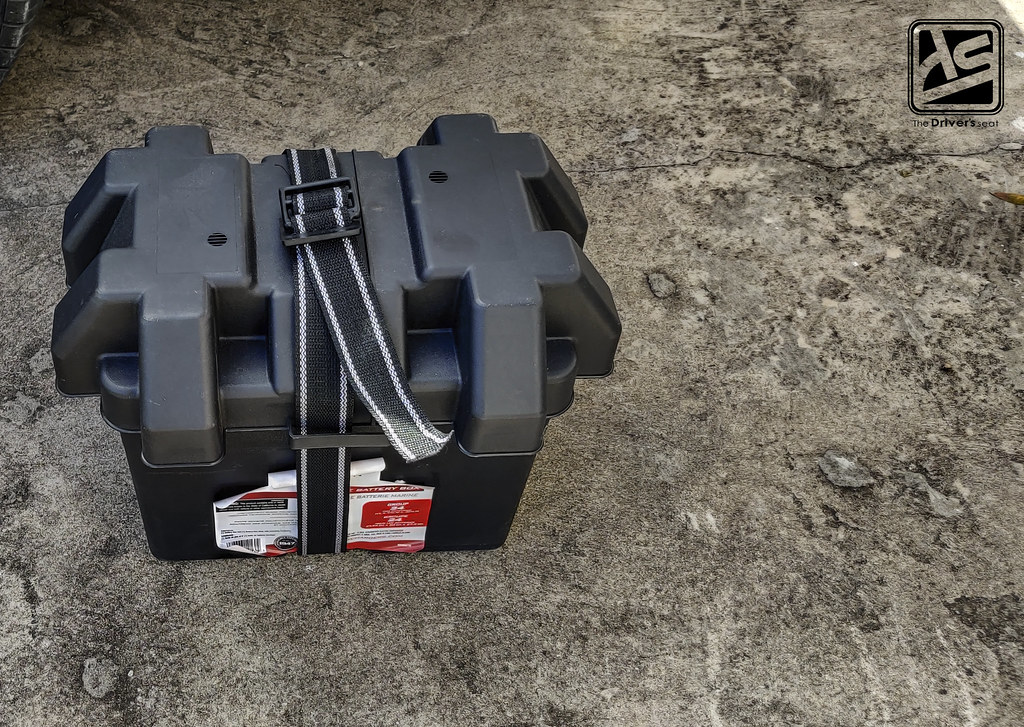
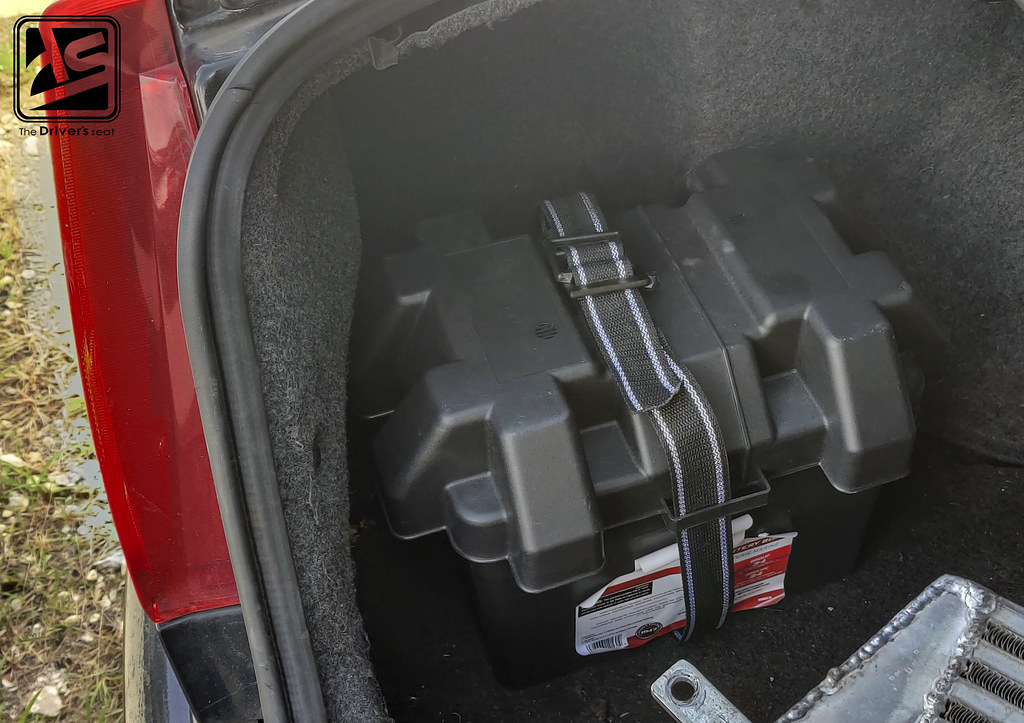
In the name of performance, James chose relocated the battery to have some more space in the bay that would accommodate for the use of a better intake system…

One of the main components of this conversion is having the correct wire necessary to extend the length of the car…
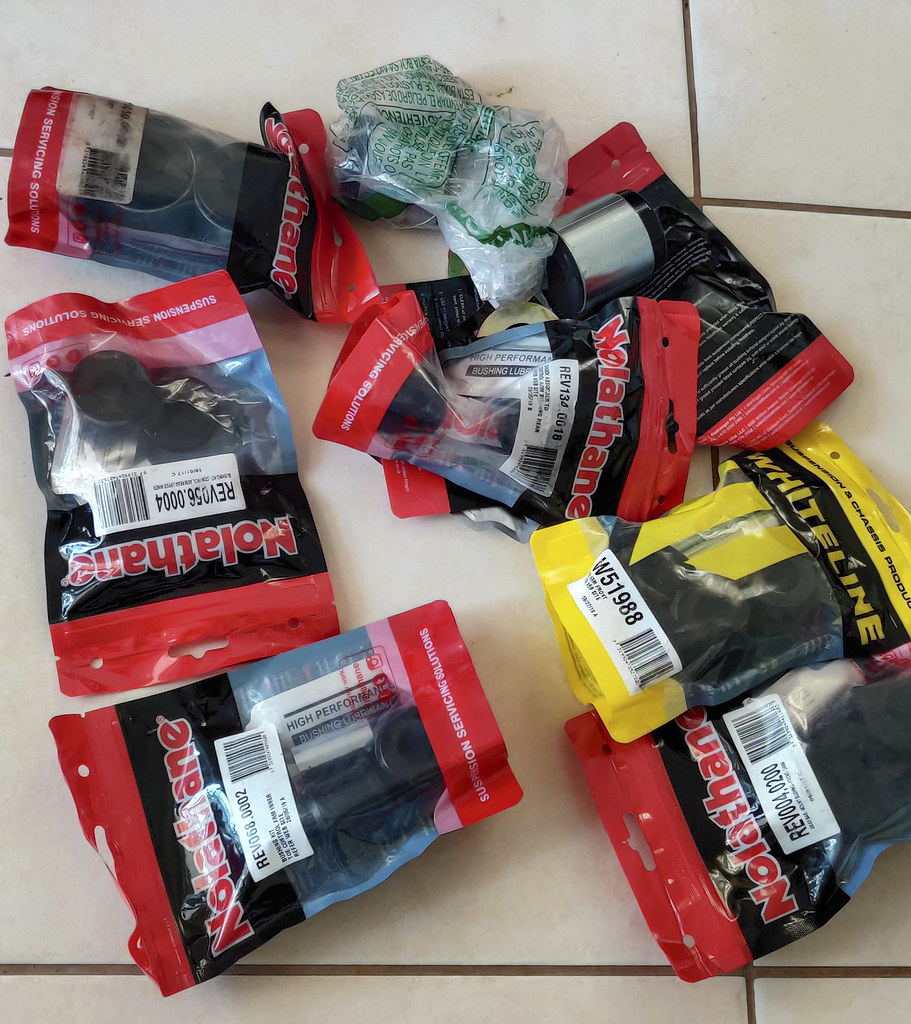
James wanted to ensure everything on the underside of the Evo IV was in top working order and would be up for the tasks ahead. He placed an order for all the necessary bushings that would tighten up the handling characteristics of the CN9A chassis…

Along with the bushings he also replaced all the ball joints and worn steering components…
Moving forward with the motor related plans for the build…
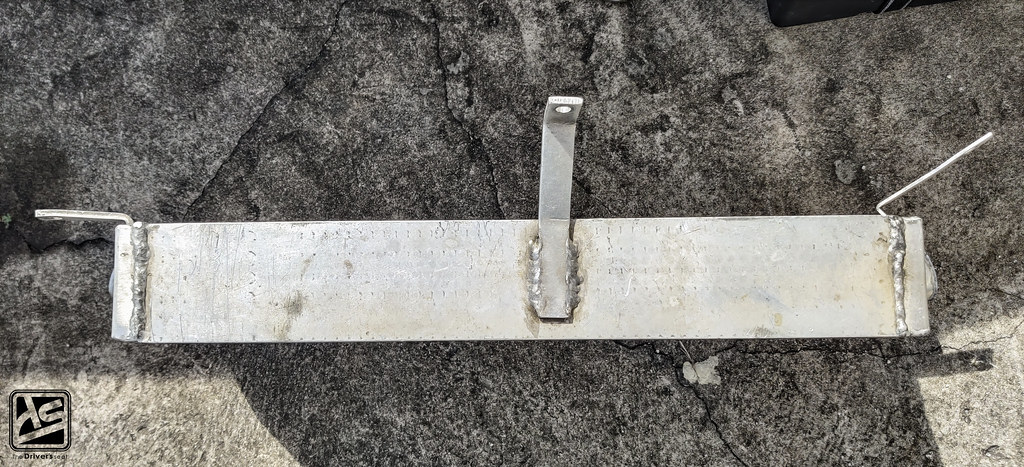
James knew he needed to make some changes to the cooling system given his intentions of increasing power. He was able to pick up a custom built intercooler locally…
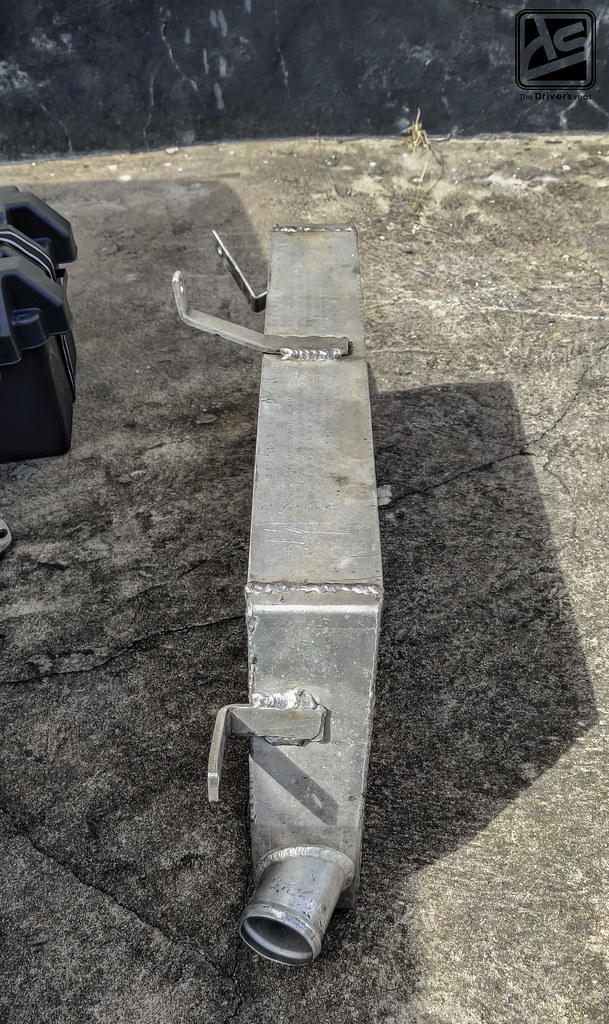
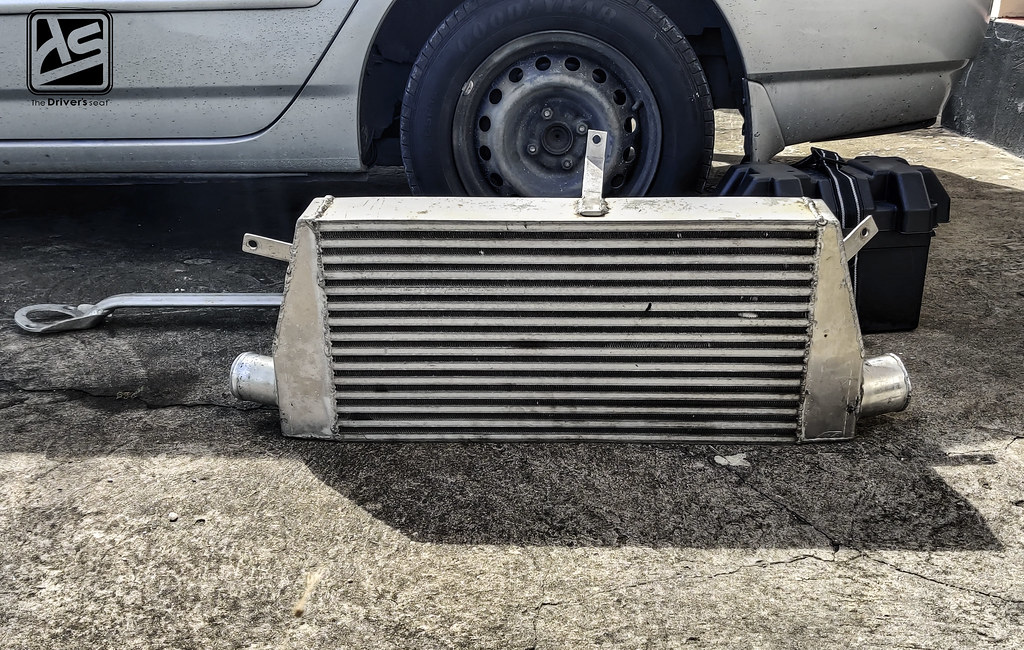
This featured a 4″ Garrett core and custom end tanks with 3″ inlets; fortunately for James it came with brackets already built for the Evo front end…

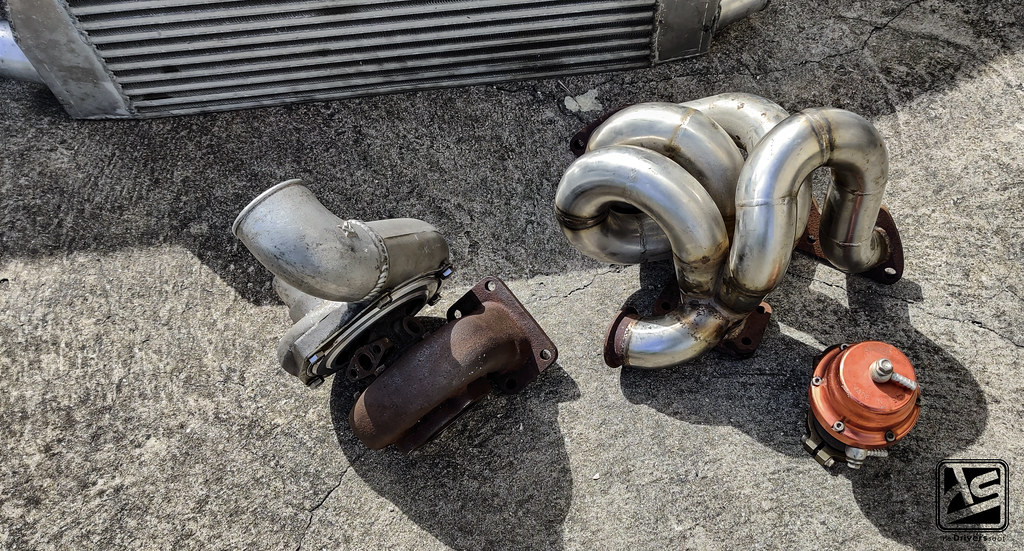
When James purchased the car from the previous owner, he was given an option to have an upgraded turbo kit included as a packaged deal. After doing the necessary research James jumped on the opportunity…
One of the more exciting things about owning a turbocharged vehicle for James is being able to have an external wastegate…
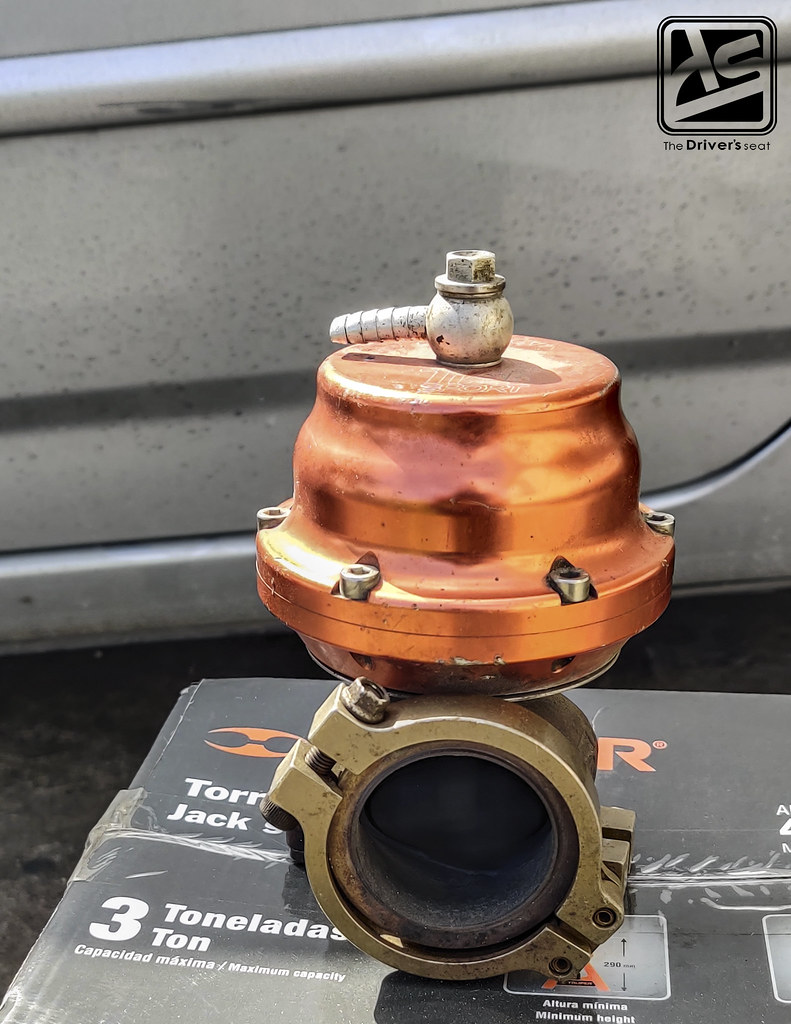

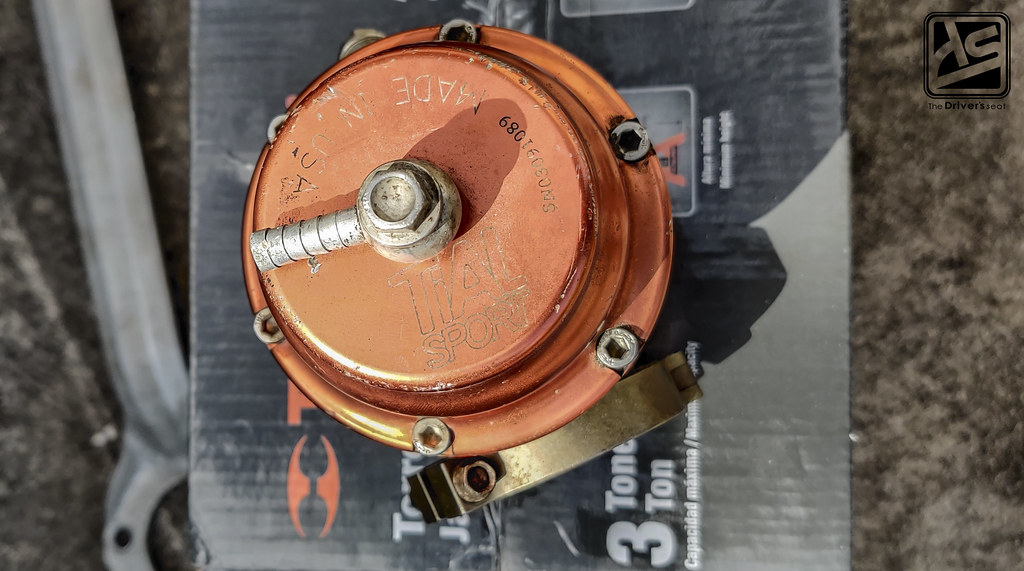
With the build moving forward, James knew he would need a larger wastegate to accommodate for his goals. In came a used Tial 44mm that would be adequate in handling the boost pressures…
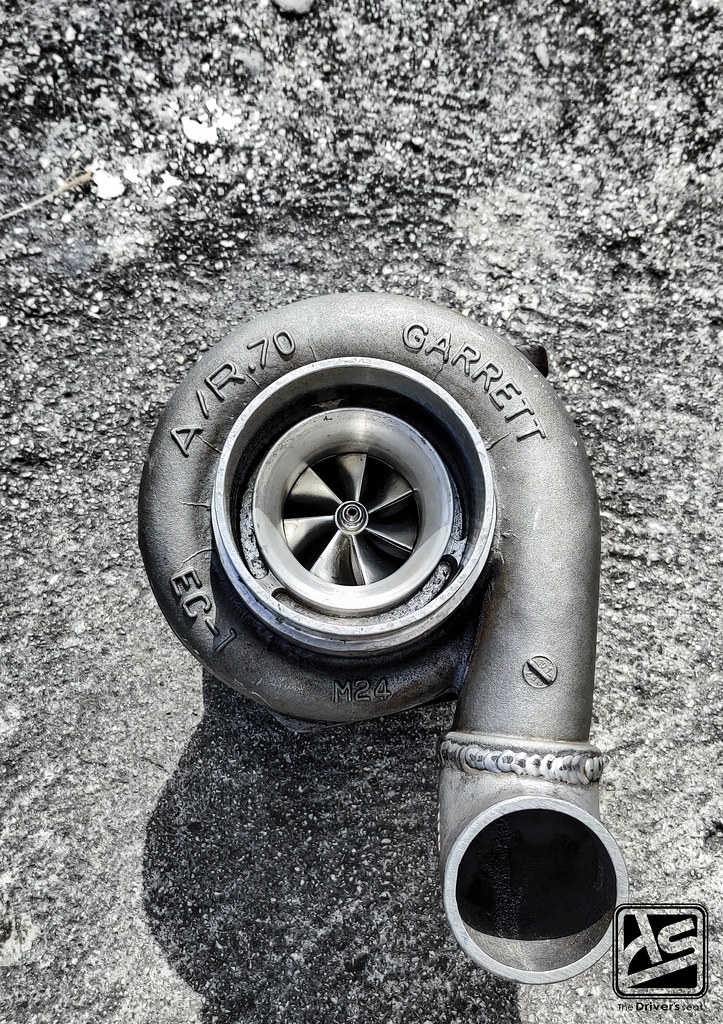
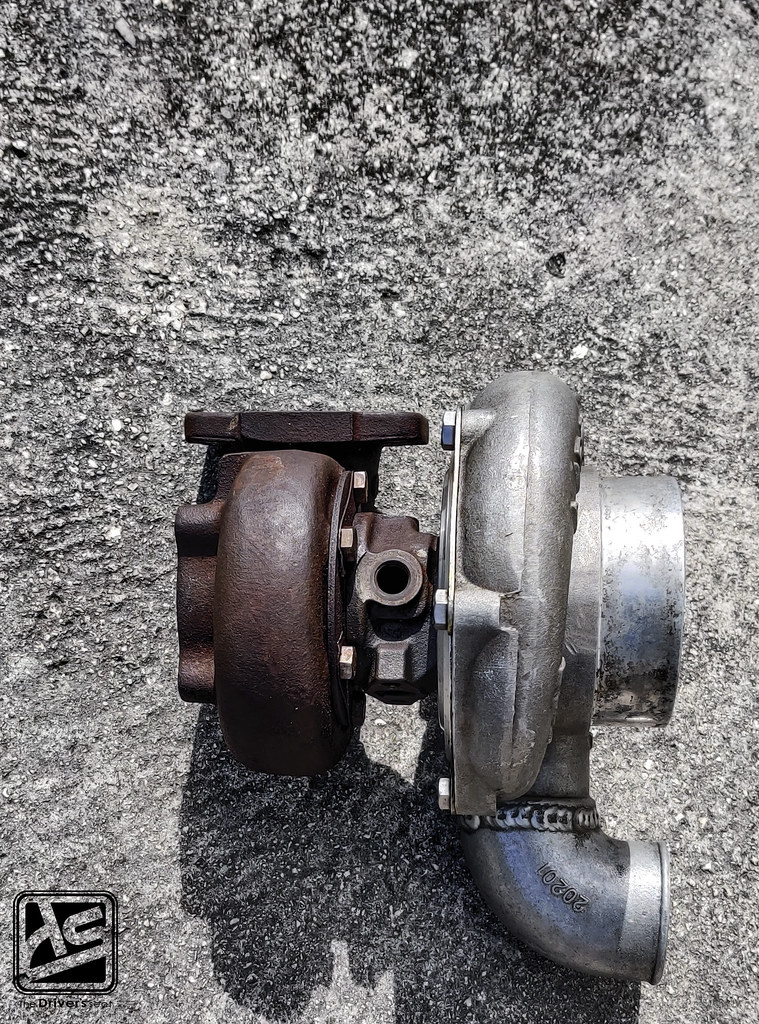
As for the main piece selected to power the build, a used GT3076 gen 1 Garrett turbo with a modified core is what James will be using…

In the past James had some unfortunate luck where motors stood; wanting to add some more reliability to the car James decided to swap the Manley H beam rods for a set of their lightweight I beams rods…
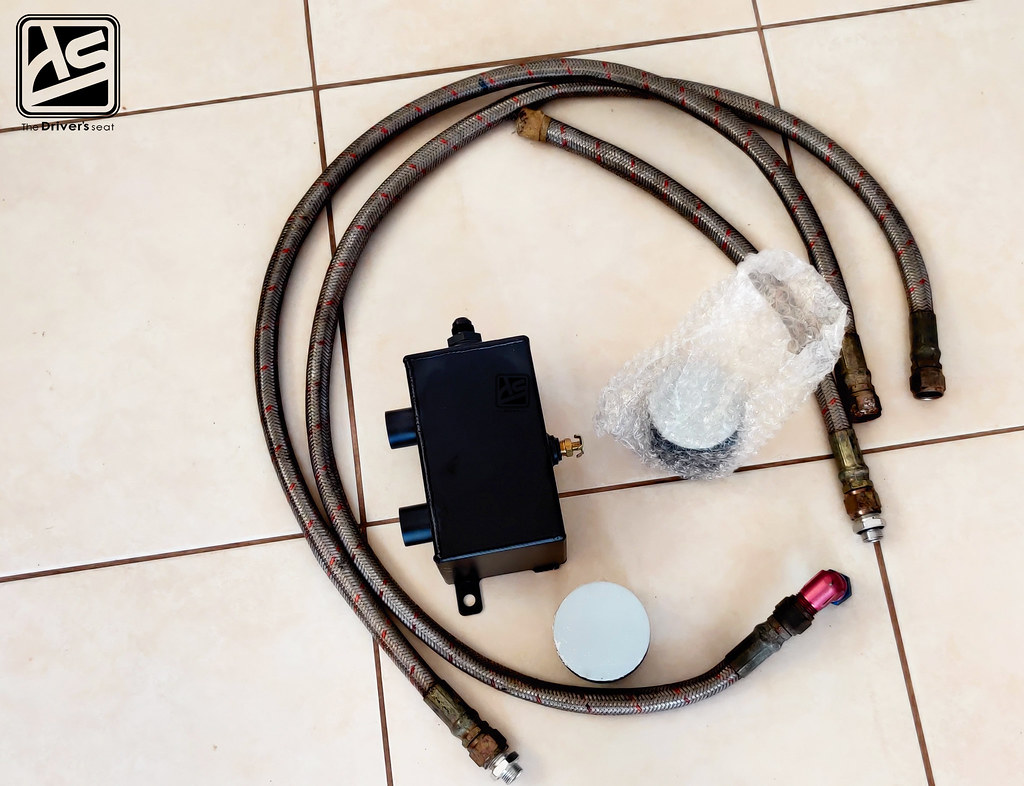
A catch can was advisable not only for the track duty but also for the power range in which James was aiming…
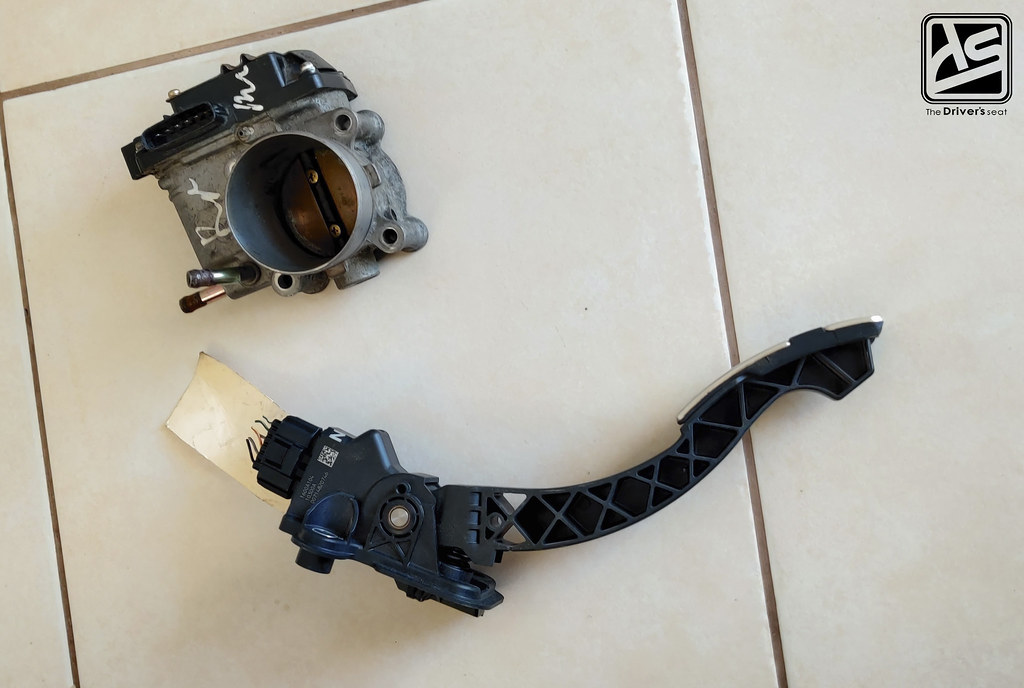
Wanting to use technology to his advantage, James sought out an Evo X gas pedal and throttle body to incorporate the use of the drive by wire system…

A 4 port mac valve was also included in the mix of things to aid with the regulation of boost…
Another major aspect of the build that required some serious attention was the fuel system…

This is an area that James made sure was more than adequate to support his future plans. He went with a Magnus billet fuel rail with plans on changing the lines throughout the entire system to AN. The car currently sat with a Walbro 255 pump but an upgrade to their 440 unit was the plan ahead along with increasing the feed line to a -10 and the return line to -6. This was all in preparation for the car to run on Ethanol fuel…


A few shots of the AN hose ends in an assortment of bends that will be used in this process…
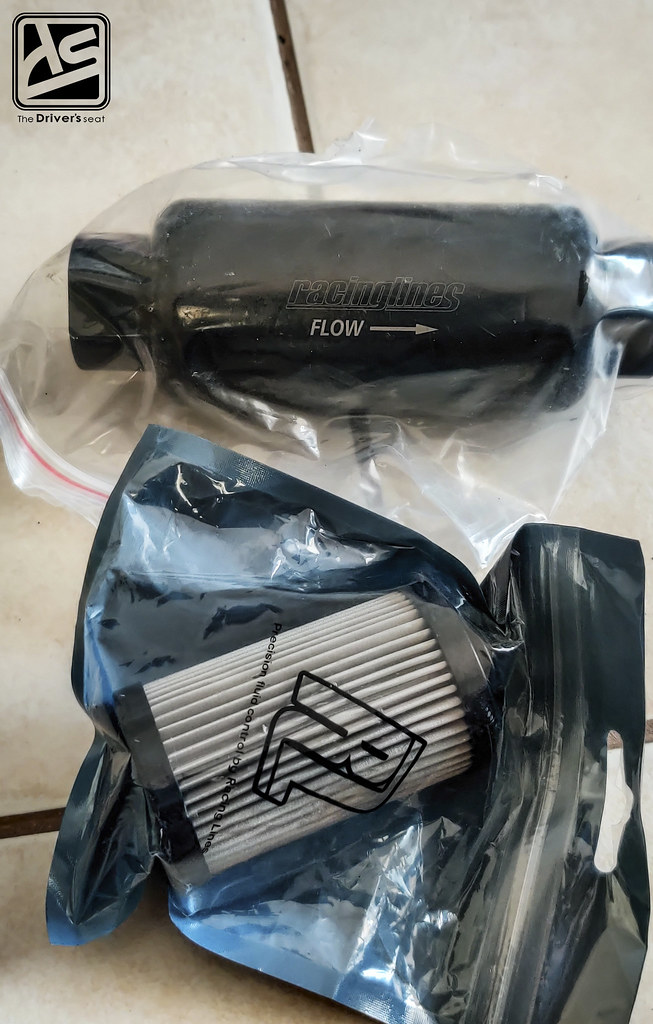

As for the fuel filter, James went to S.D.R.R and picked up one of their Racing Lines 10 micron inline units…


While he was in the fuel department he made sure to get a Fuelab regulator in black to go with the theme…
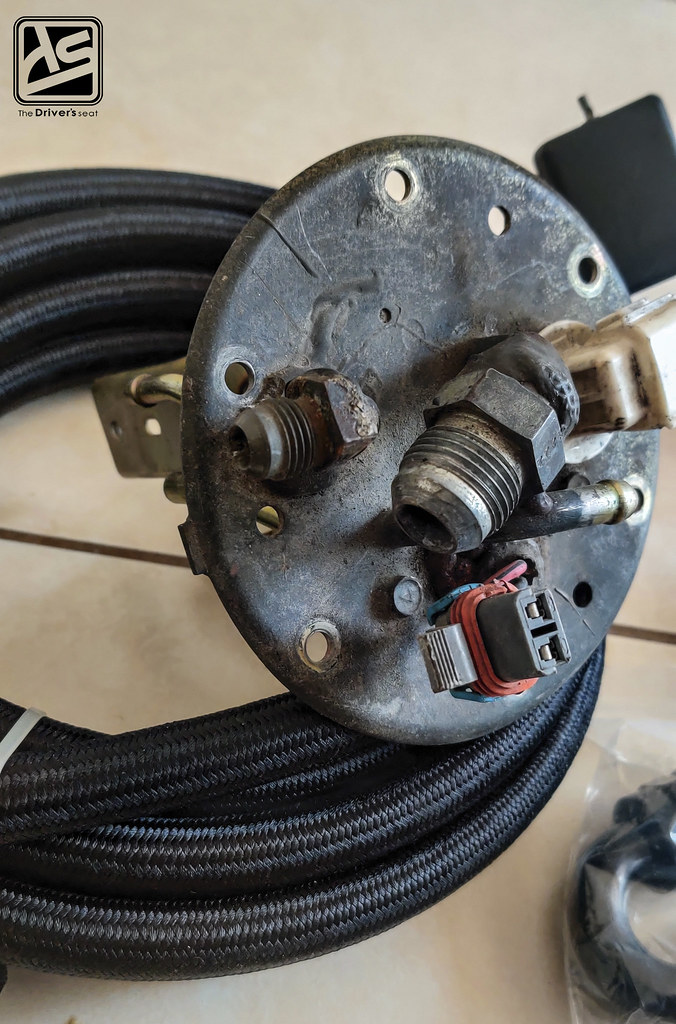
To fully execute the AN conversion, James modified the fuel pump hanger to accommodate for the fittings…
Apart from his previous builds, James wanted to be more hands on with this build especially where it related to tuning. Even though James wasn’t physically involved in the scene with a project car, he still played a major role. James spent a substantial amount of time around the drag racing scene working with the timing equipment at B.A.D.D for both official race days along with practice sessions. Being so heavily connected to the scene sparked his interest in getting involved with tuning on this current build…

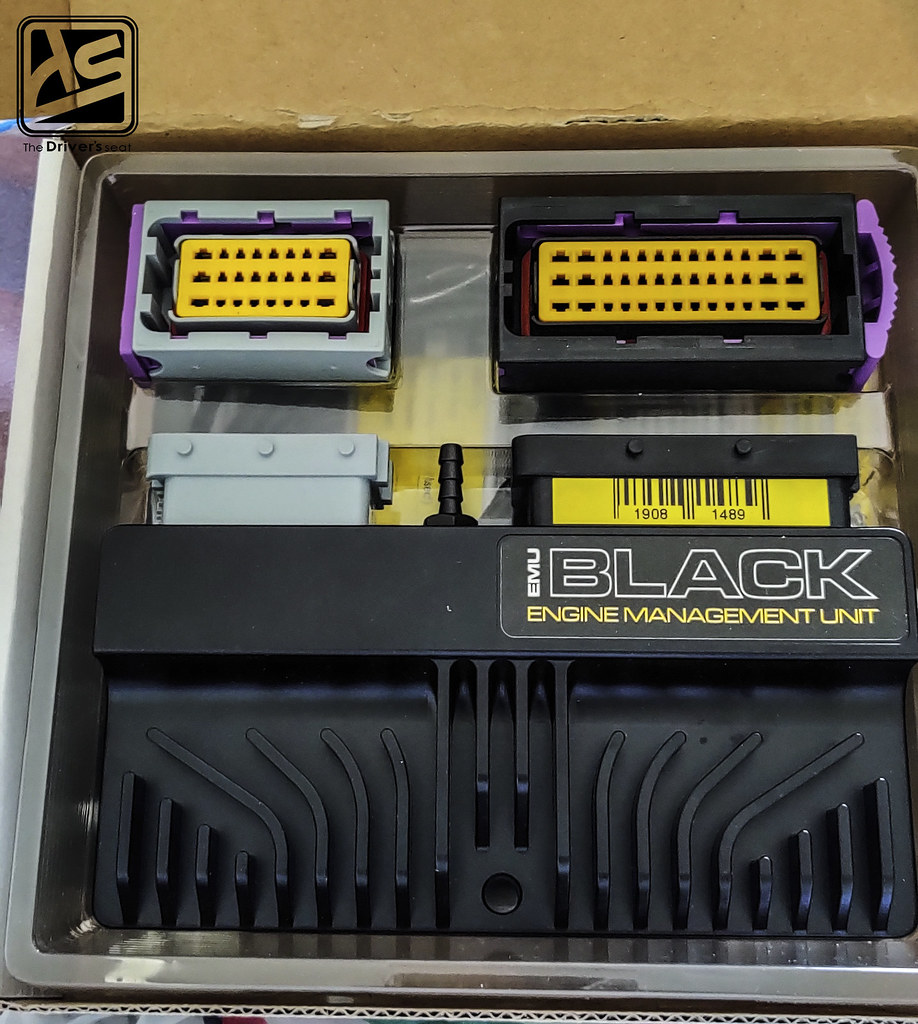
With the idea present, and a car to build in his possession James went about looking for an ECU of his liking. The EMU Black caught James’s attention after hearing some great reviews on the software and the ease of use. As a beginner, James figured this would be ideal for him and went ahead…
We’re going to close out today’s post with a shot of the additional components that came with the ECU…
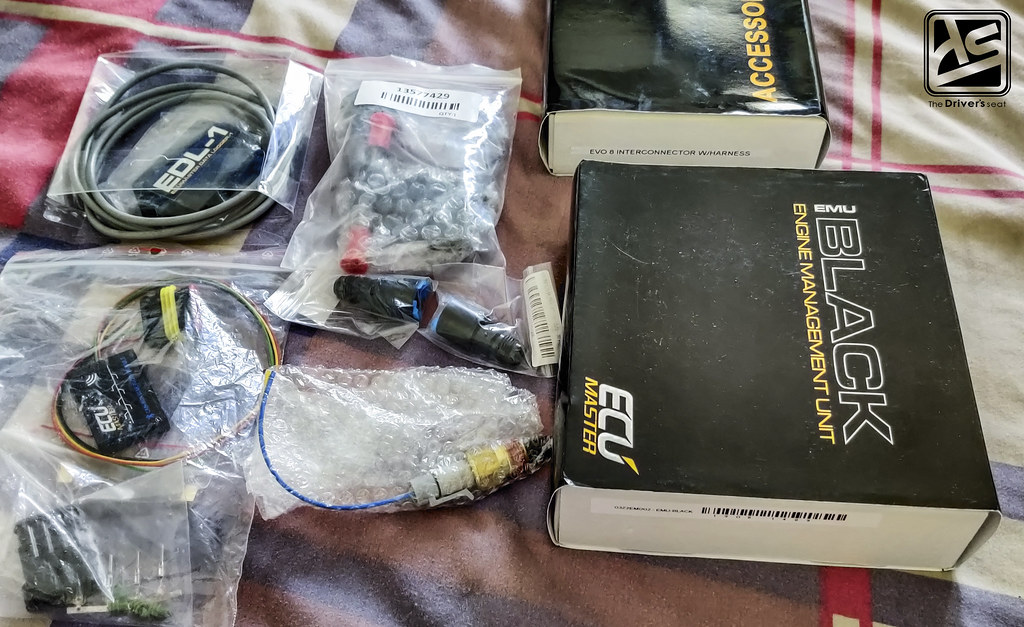
Thanks for taking a look and stay tuned for more on the build; also feel free to leave a comment below…
